Close
0%
0%

Color-coded clock! by full color OLED

My favourite parts are ATMega, OLED, RTC and Lipo. Here I simply made these summation. Colour OLED is really beautiful!

Similar projects worth following
Expression of color OLED is really beautiful. Through my all previous project, I have loved OLED, RTC, ATMega and LiPo battery and its charging circuit (since I don't need to care battery replace). Here is a summation!

This is the schematic of this wonderful clock. Actually not always FTDI is required but I had one (FT231XS) and put it for self-consistency. In addition, Lipo charging circuit with some LED indication (charging/battery full) are put inside. All the logic (ATMega, RTC, OLED) are driven by Lipo battery and 3.3V I/O of FT231XS is also taken from battery.

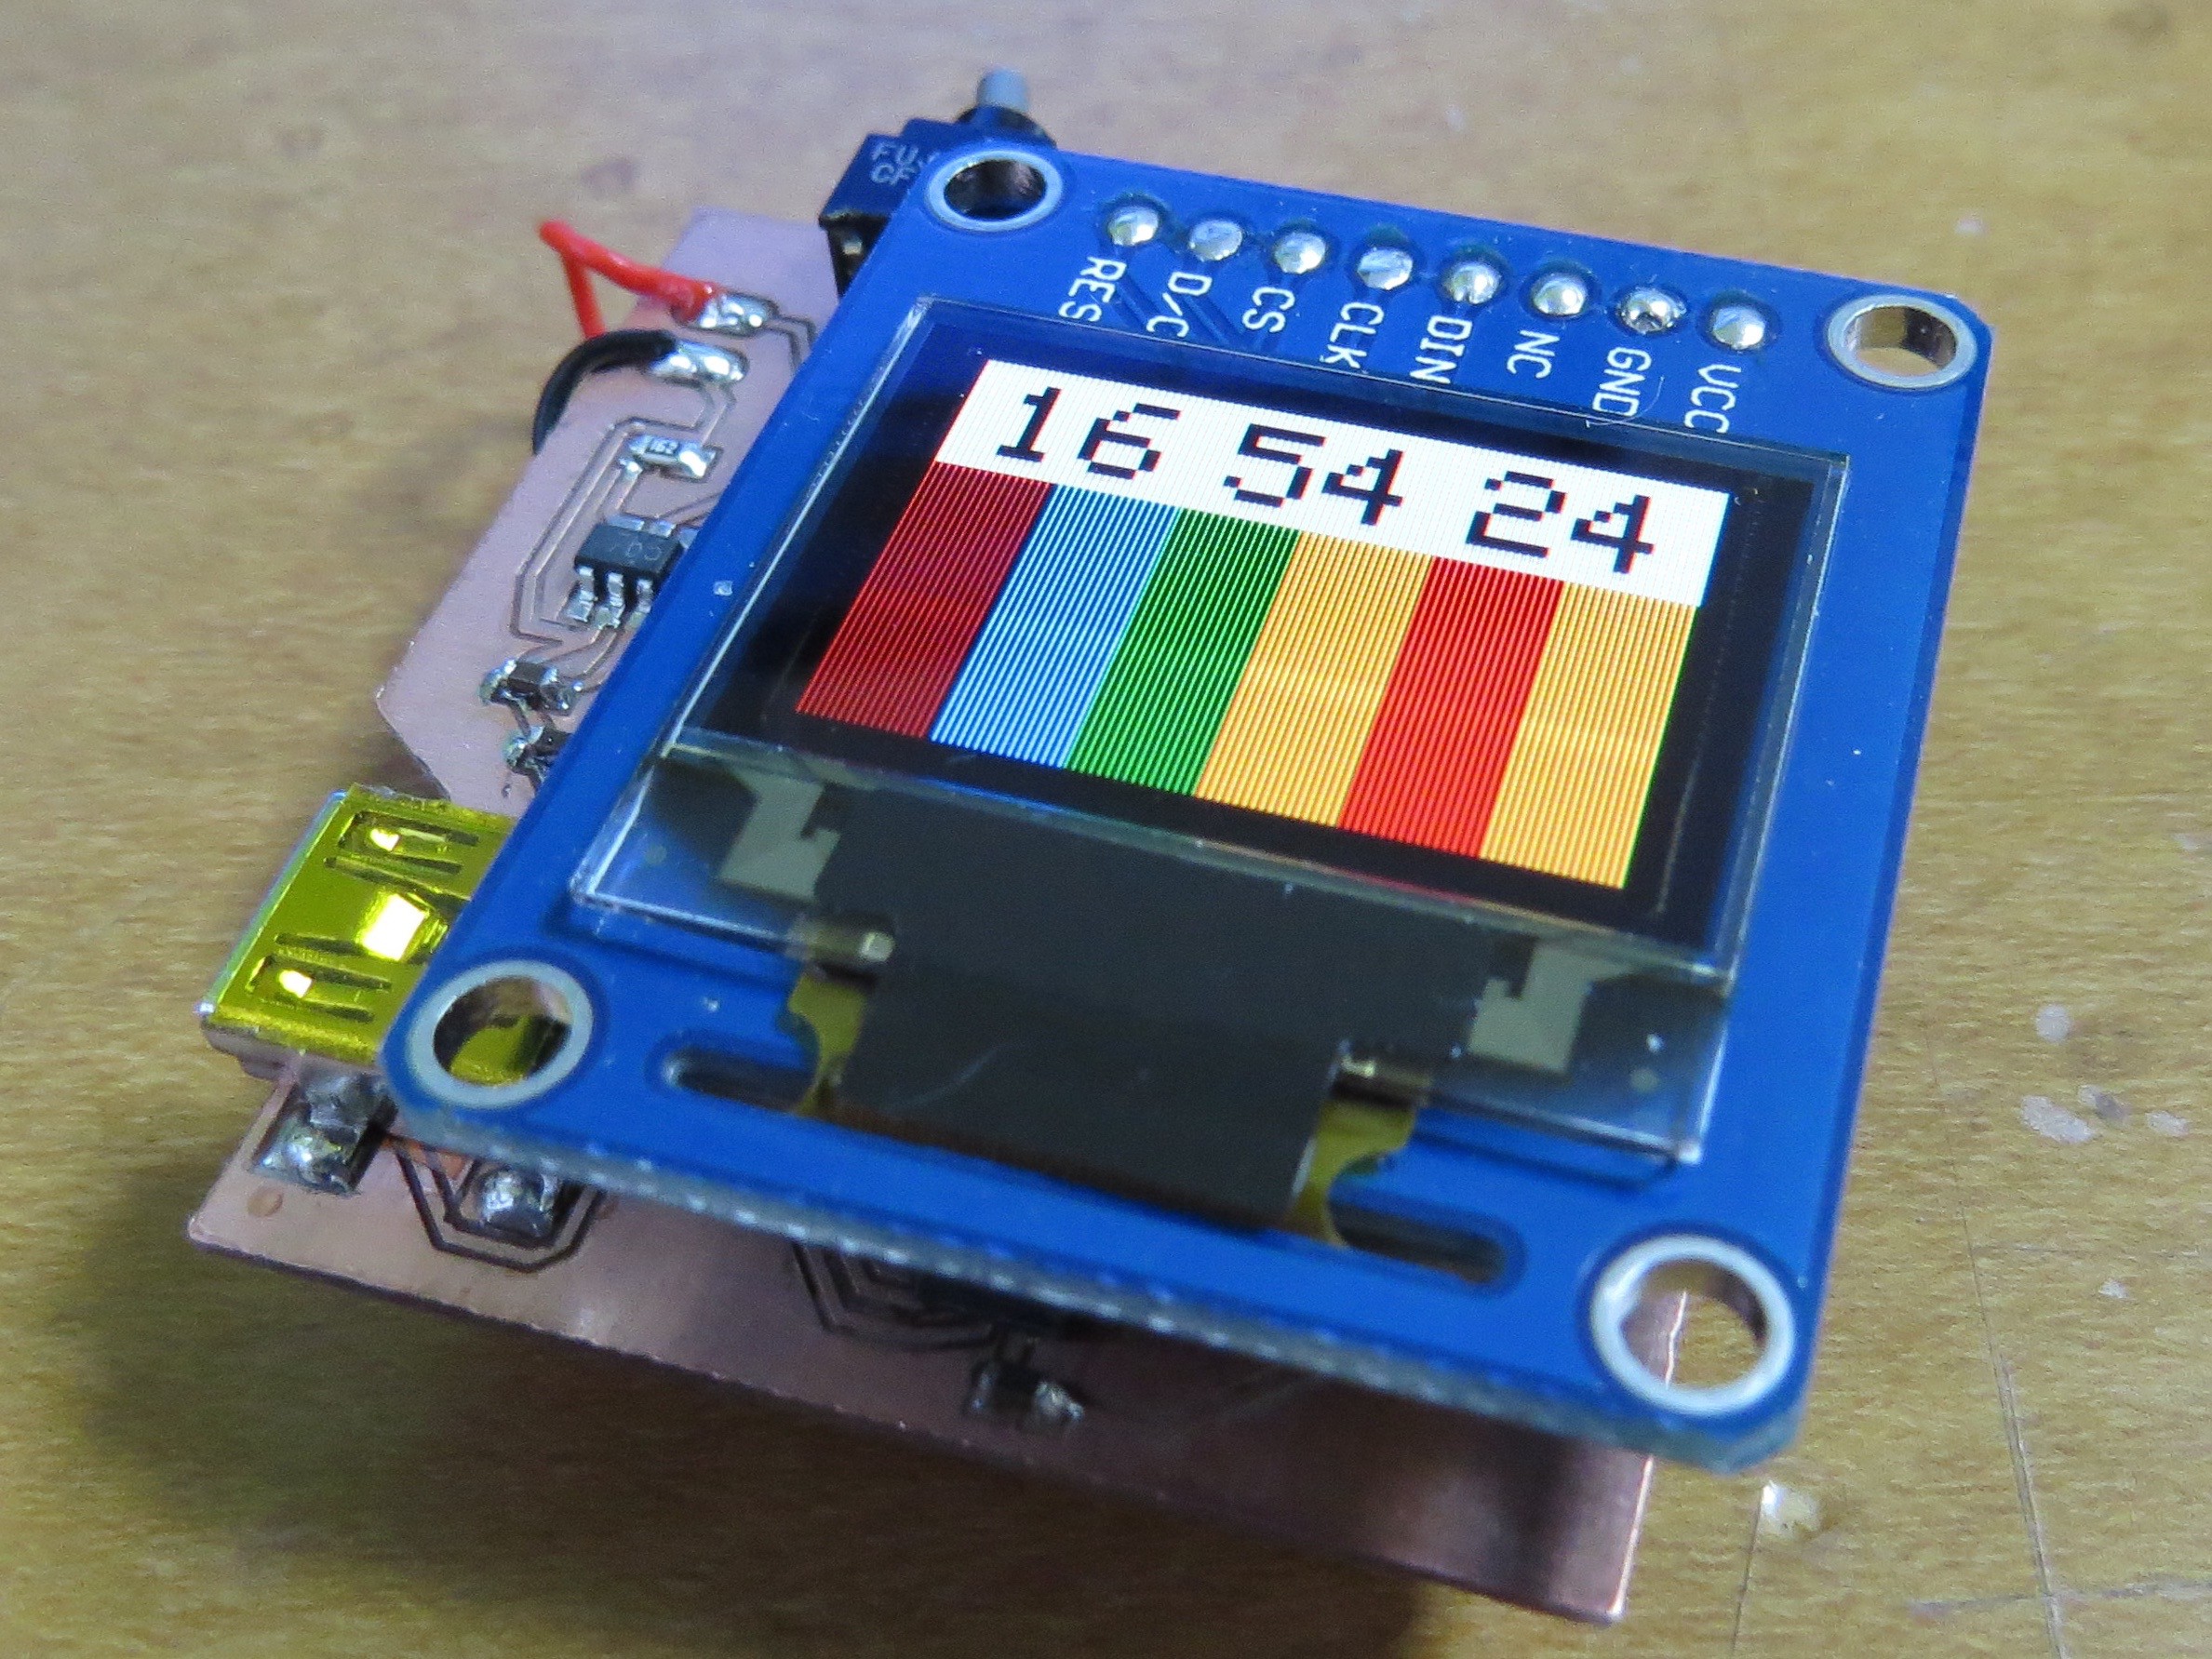
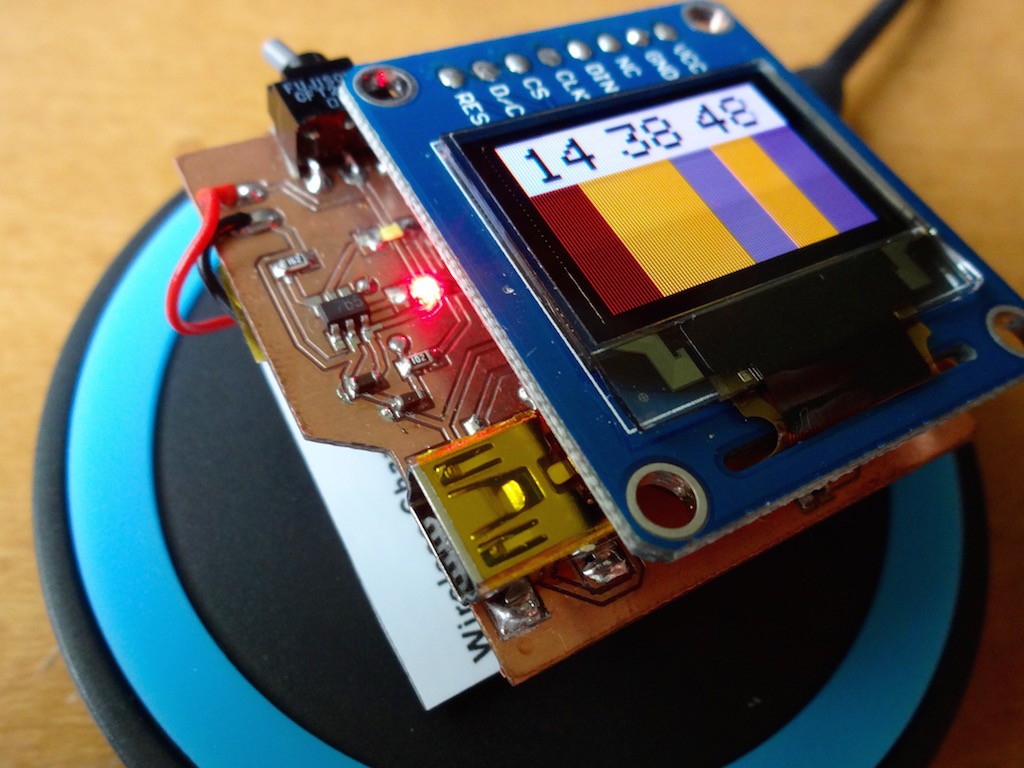
This is the top view. Really, really clear color we can see! Of course, viewing angle is not limited like general LCD. The feeling has some similarity to watching CRT.

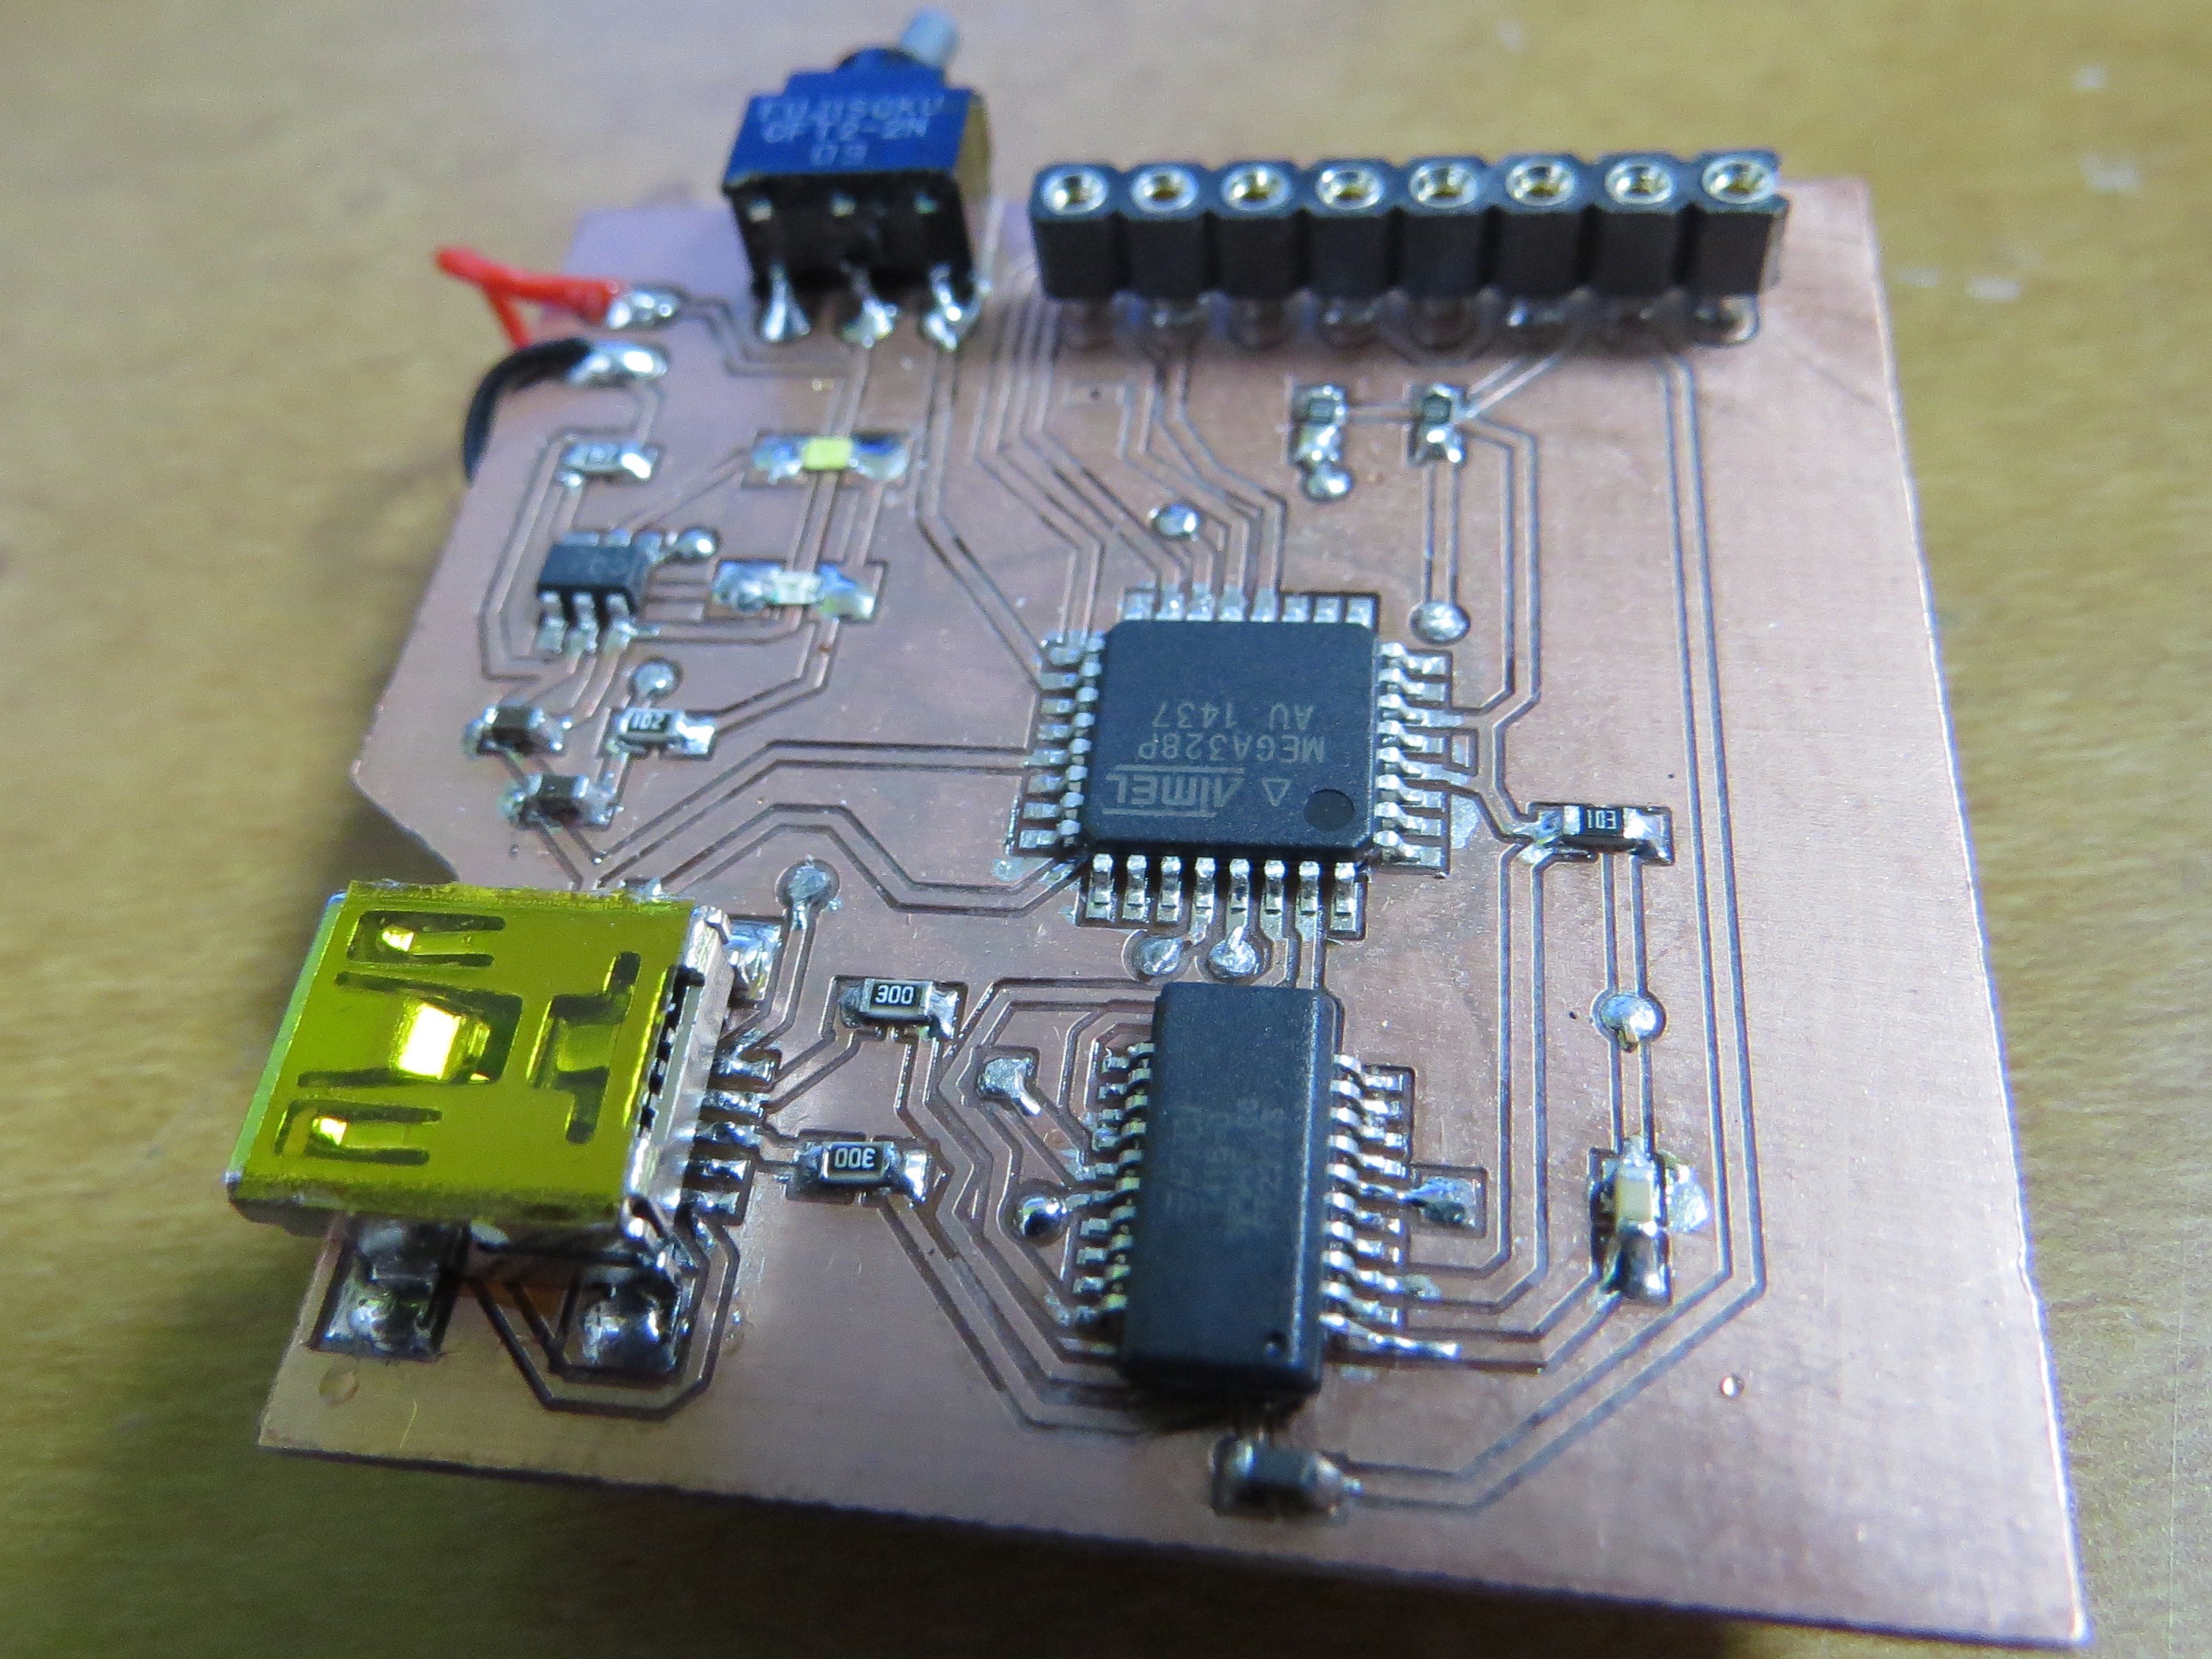
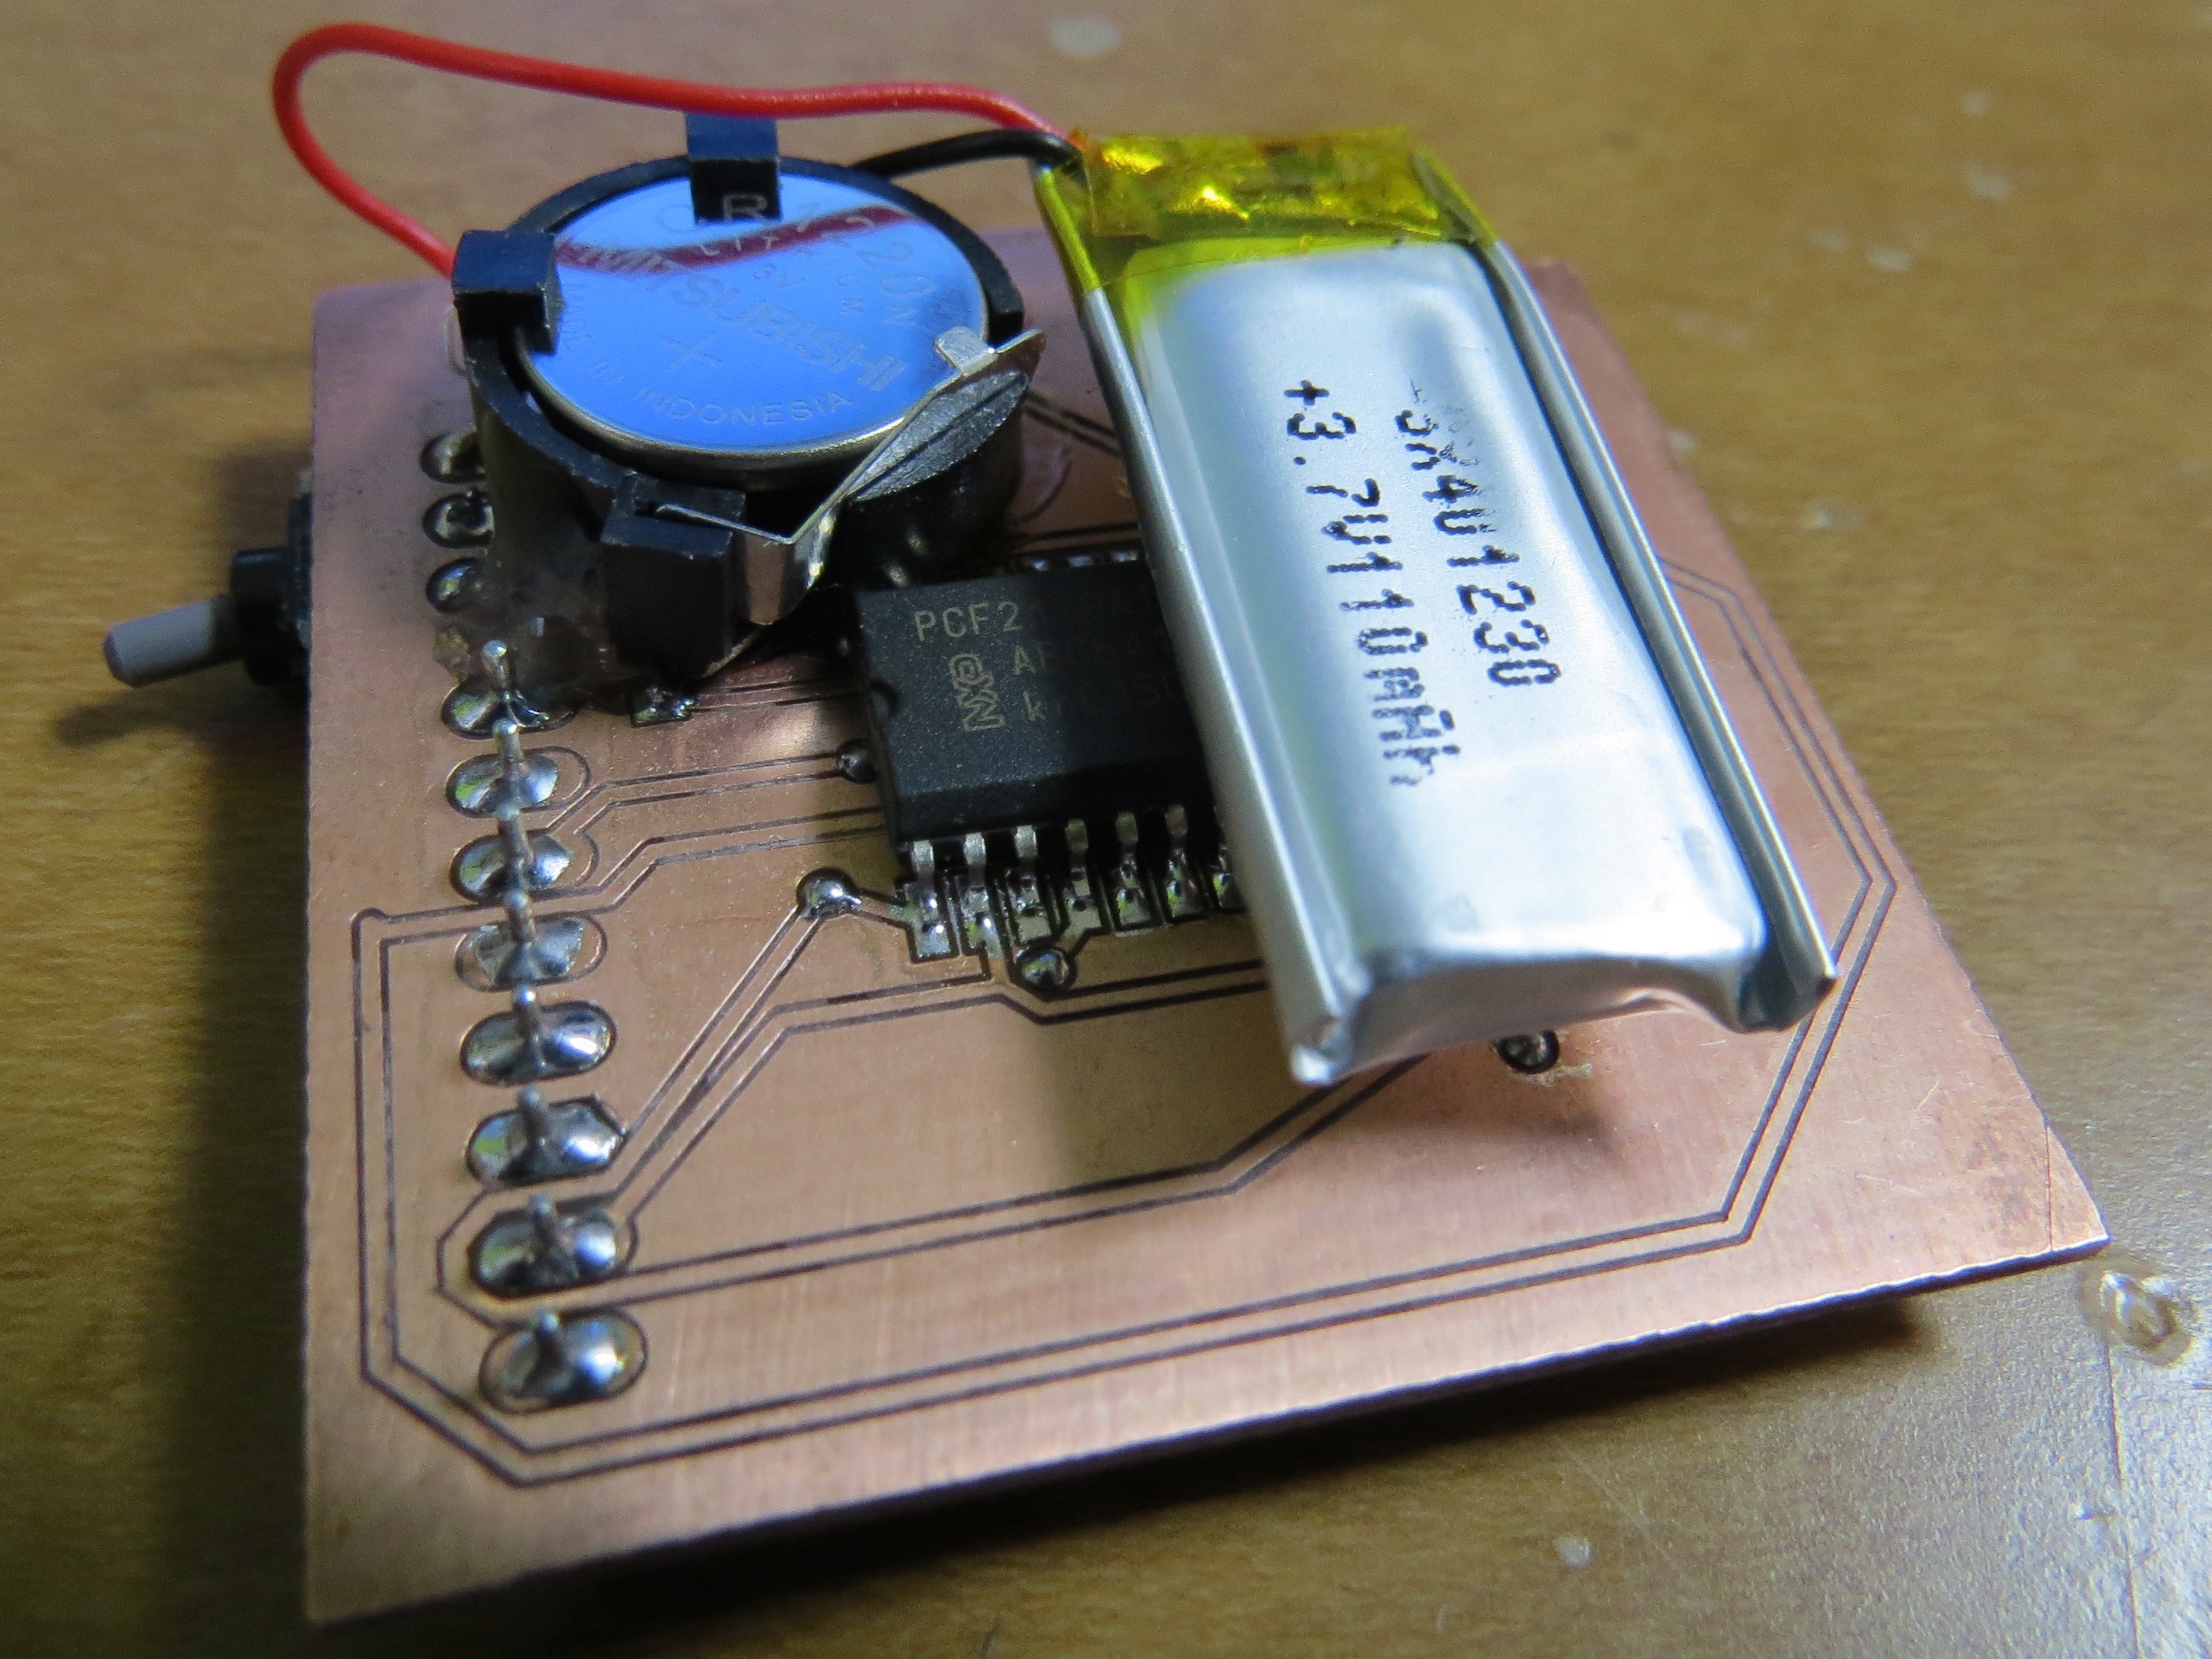
Below OLED, I put ATMega and FTDI. RTC is backside with two batteries (main Lipo, backup for RTC).

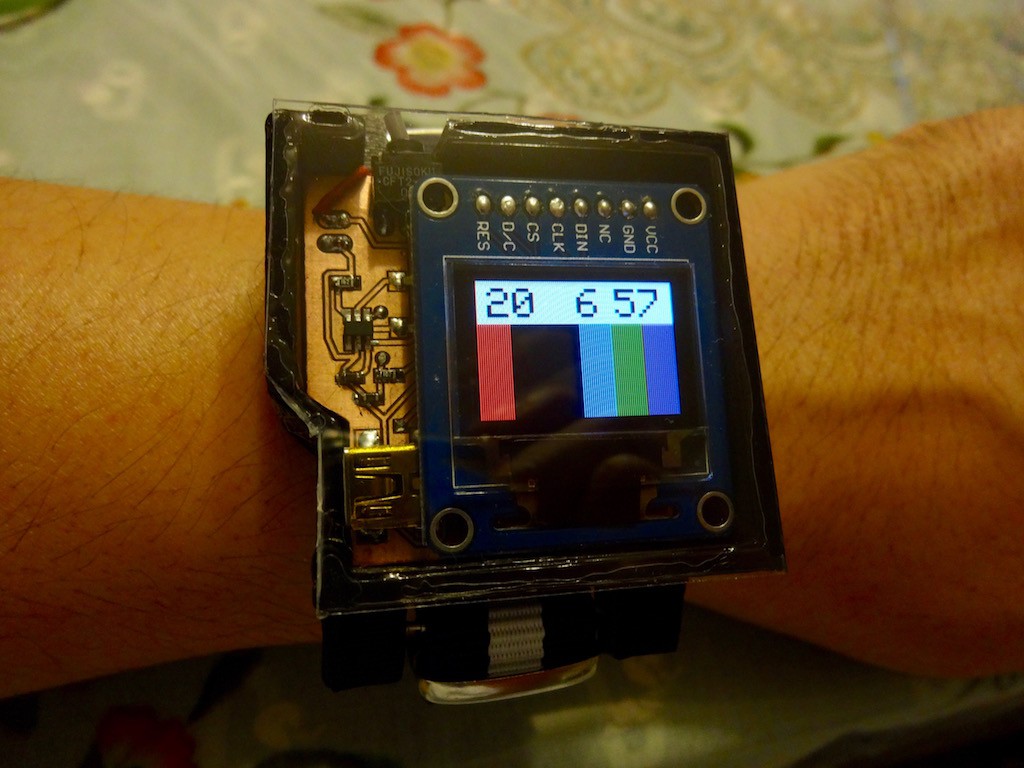
At this moment, I have no idea to make it "wearable thing" but I may need more consideration of parts arrangement...

As same as all of my project, all the source and schematics are uploaded to github. Operation can be found in the following movie... have fun!

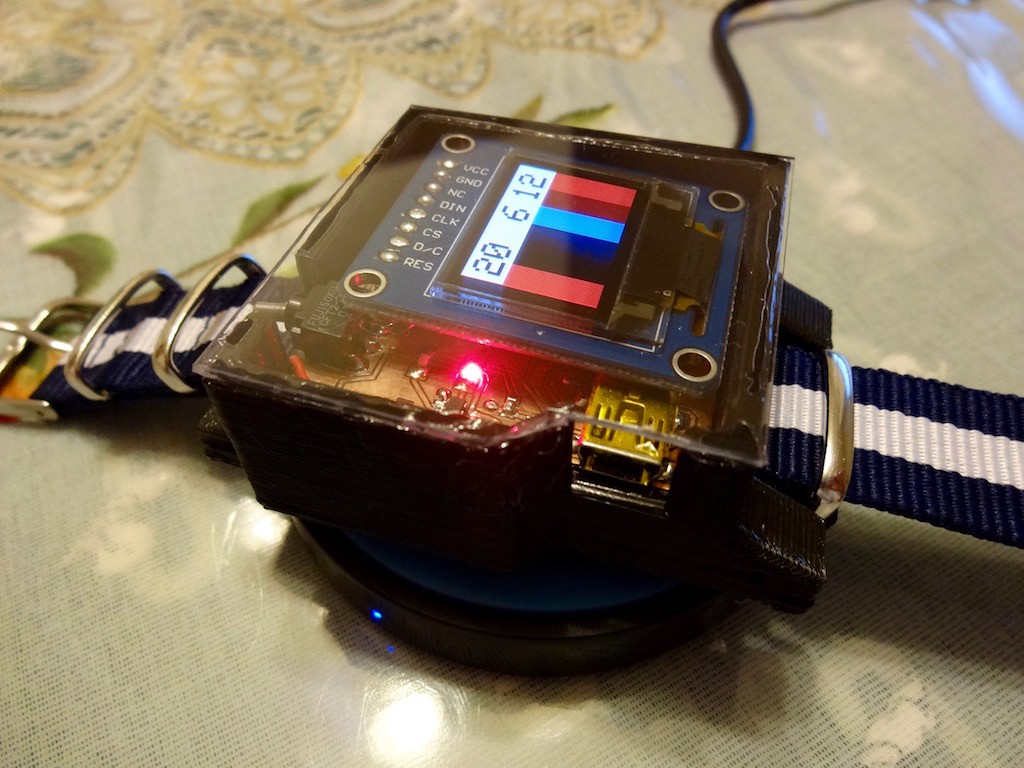
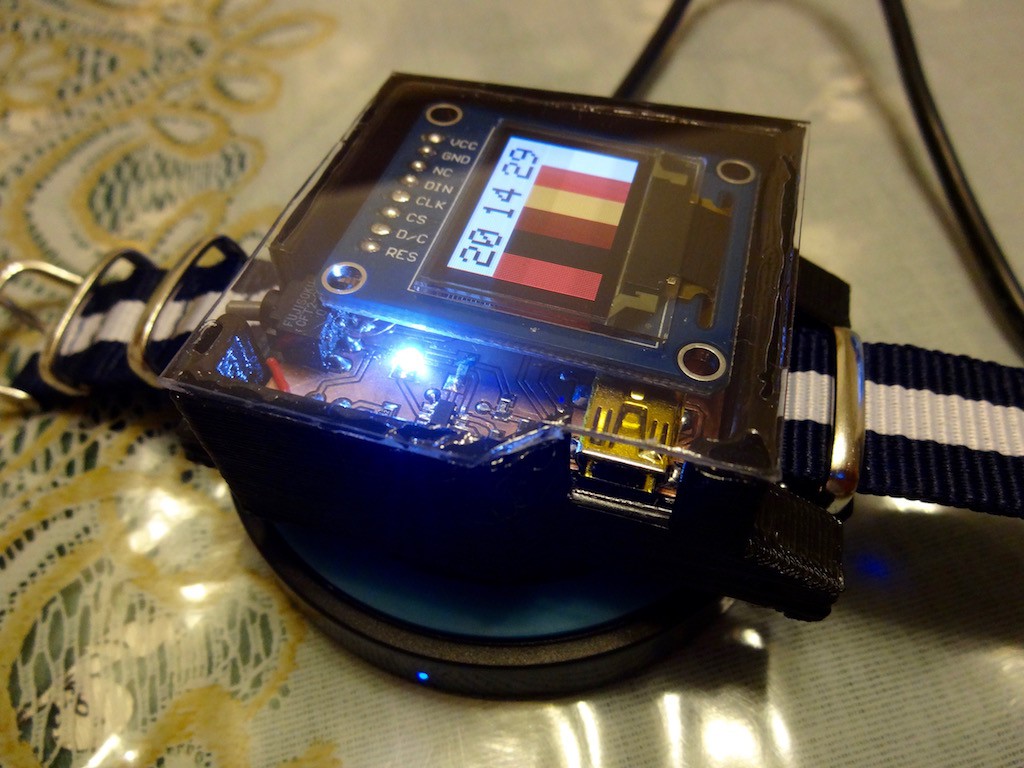
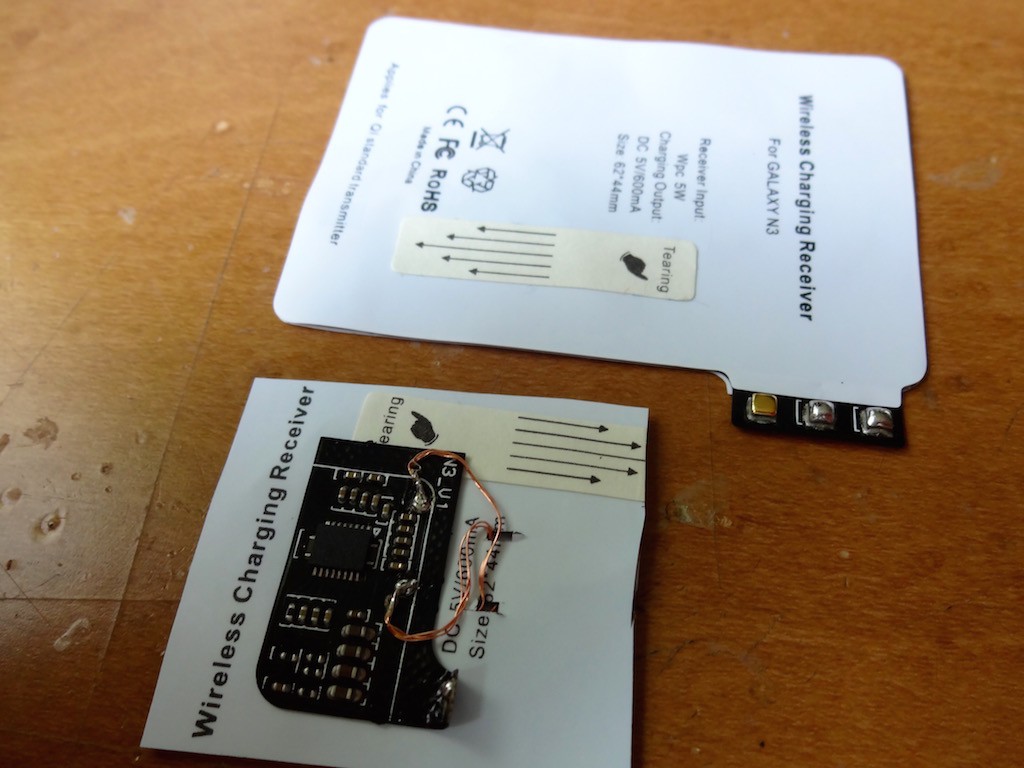
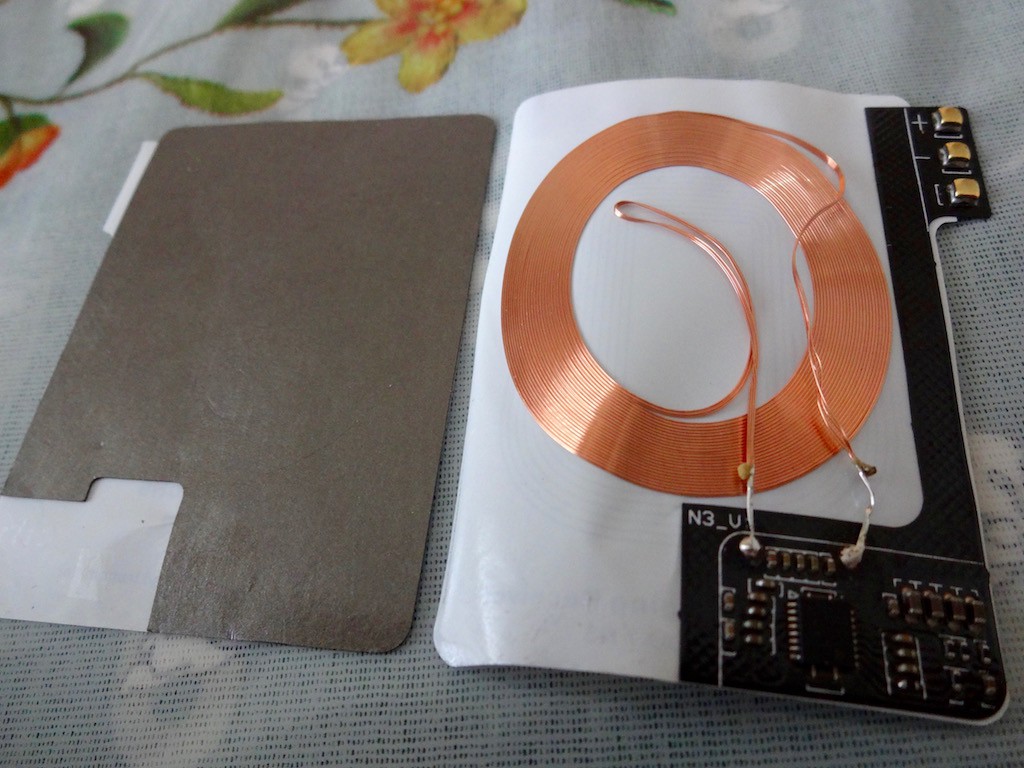
and Qi charging supports...

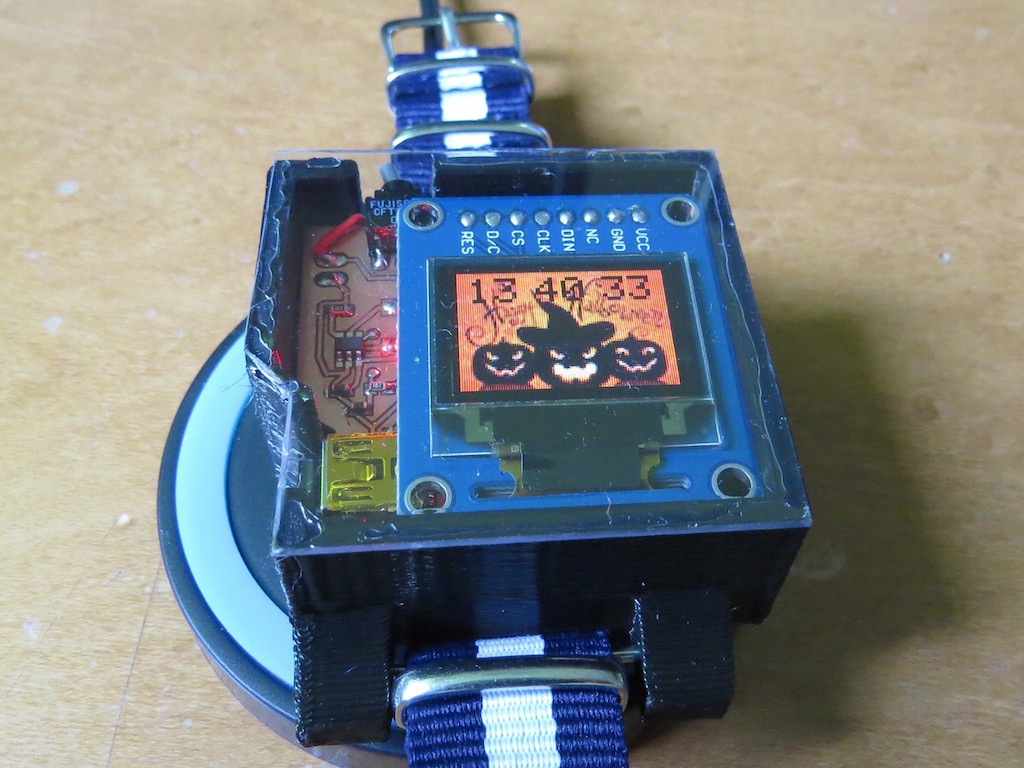
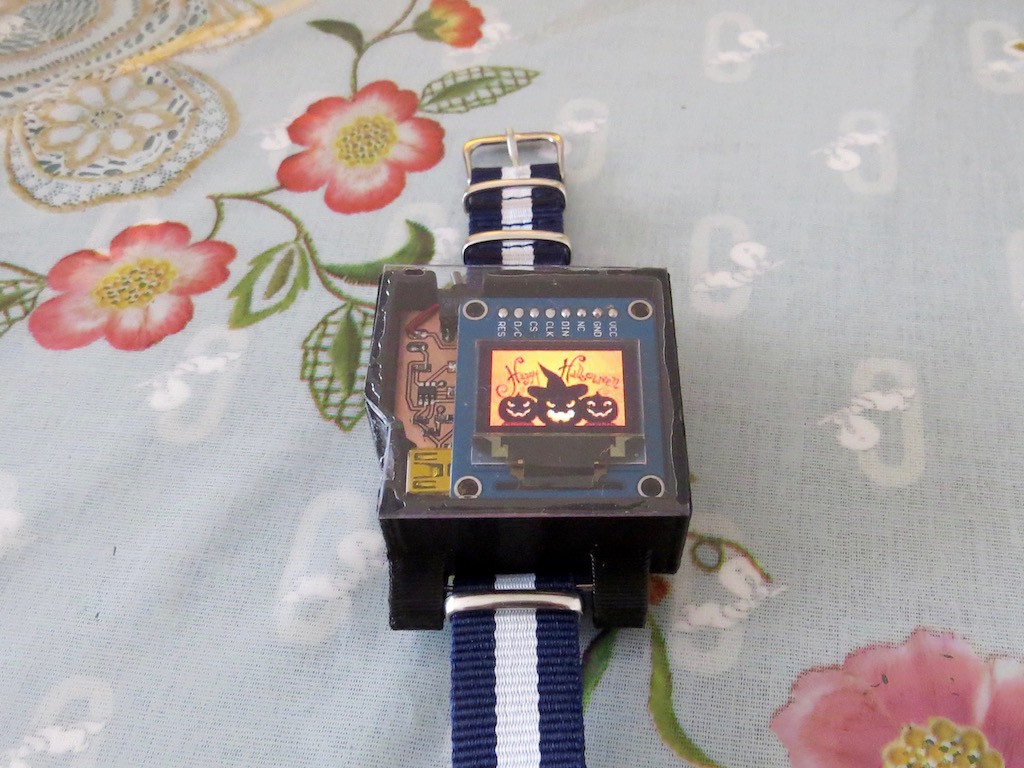
And now on the wrist...

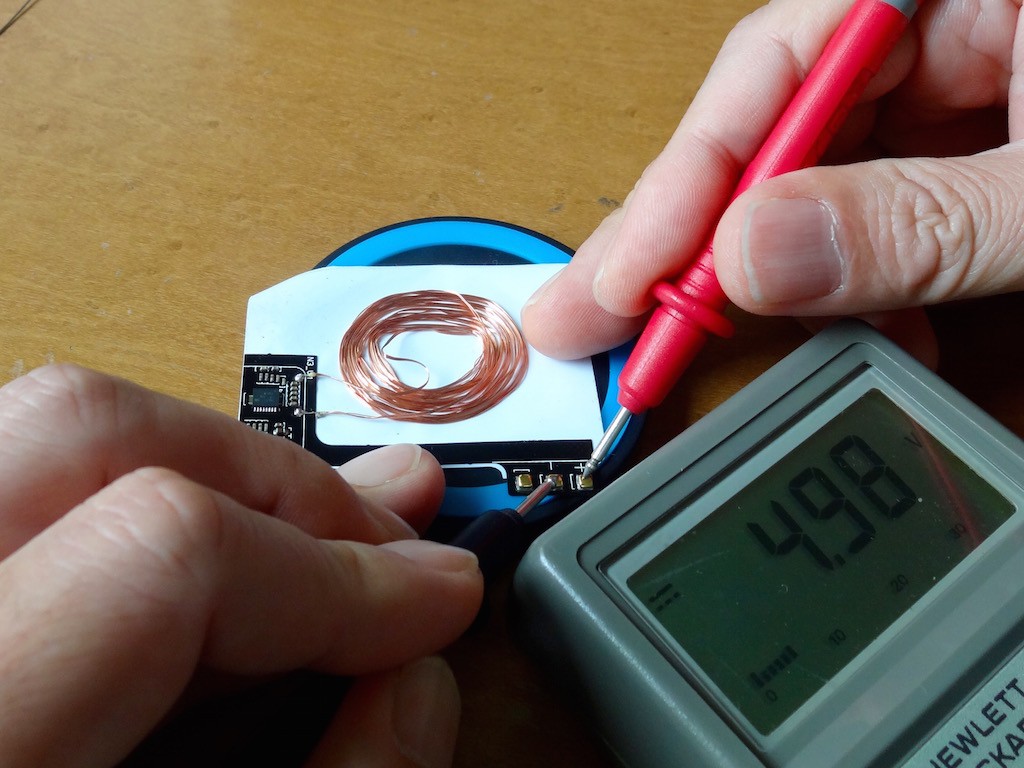
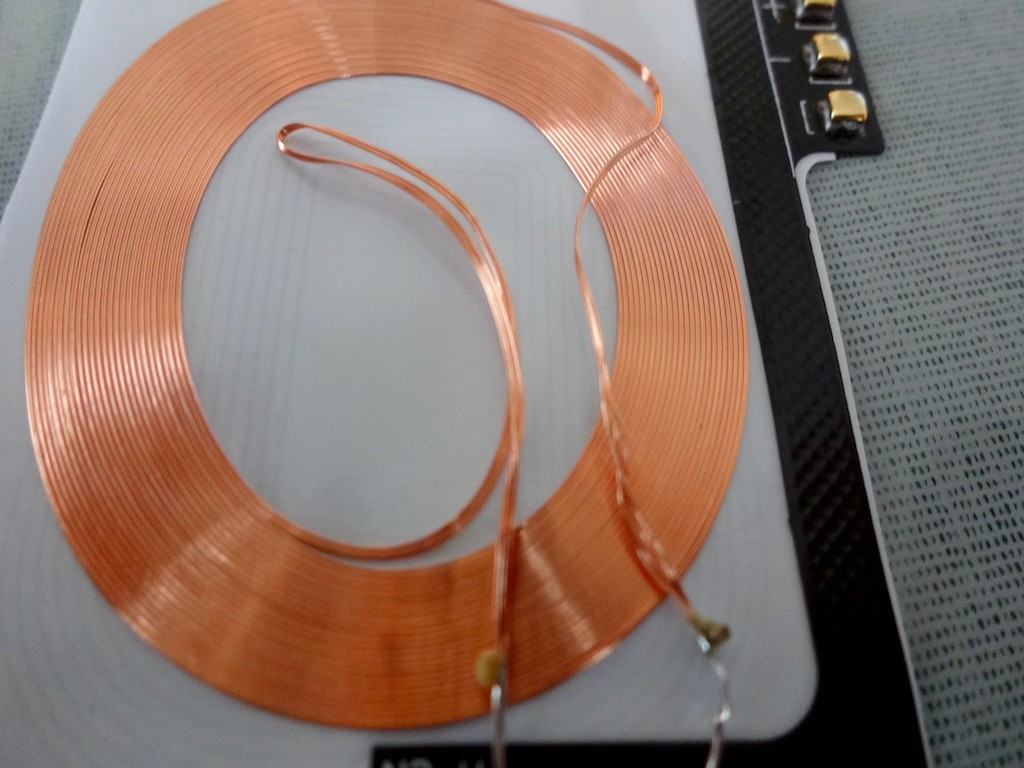
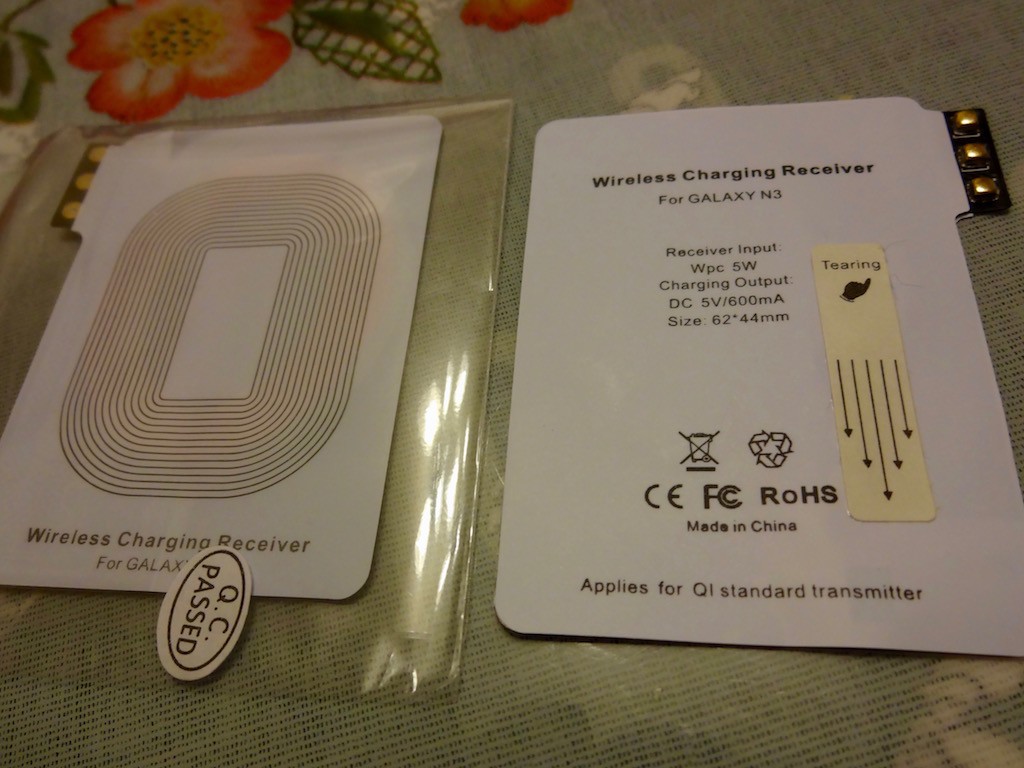
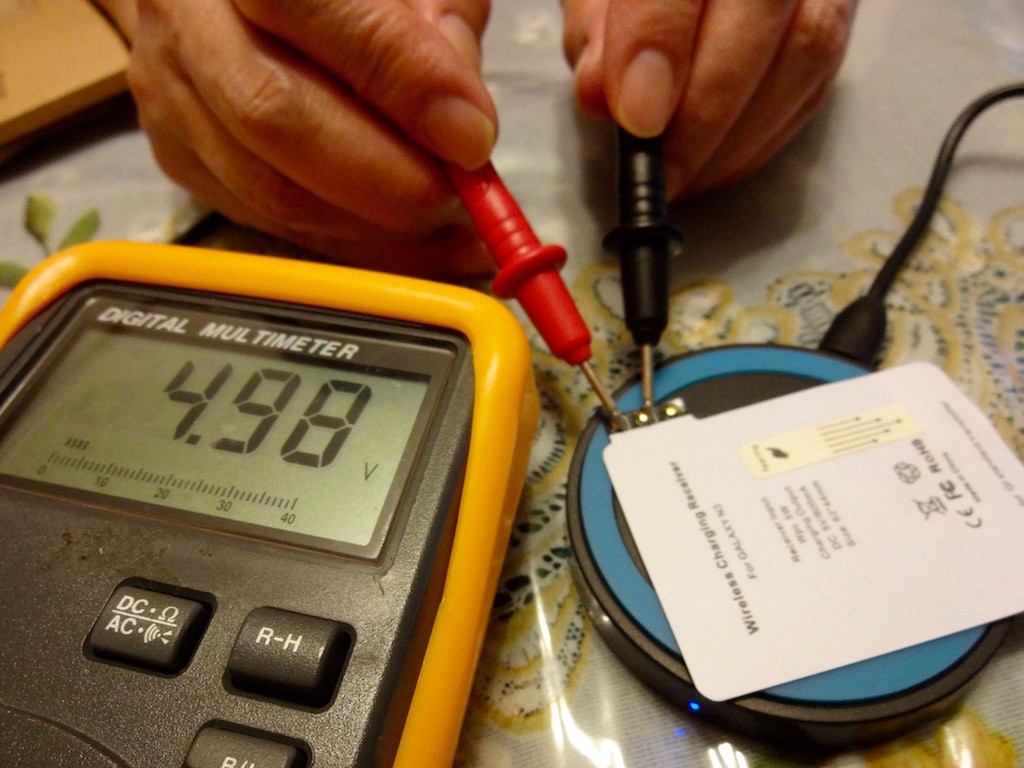
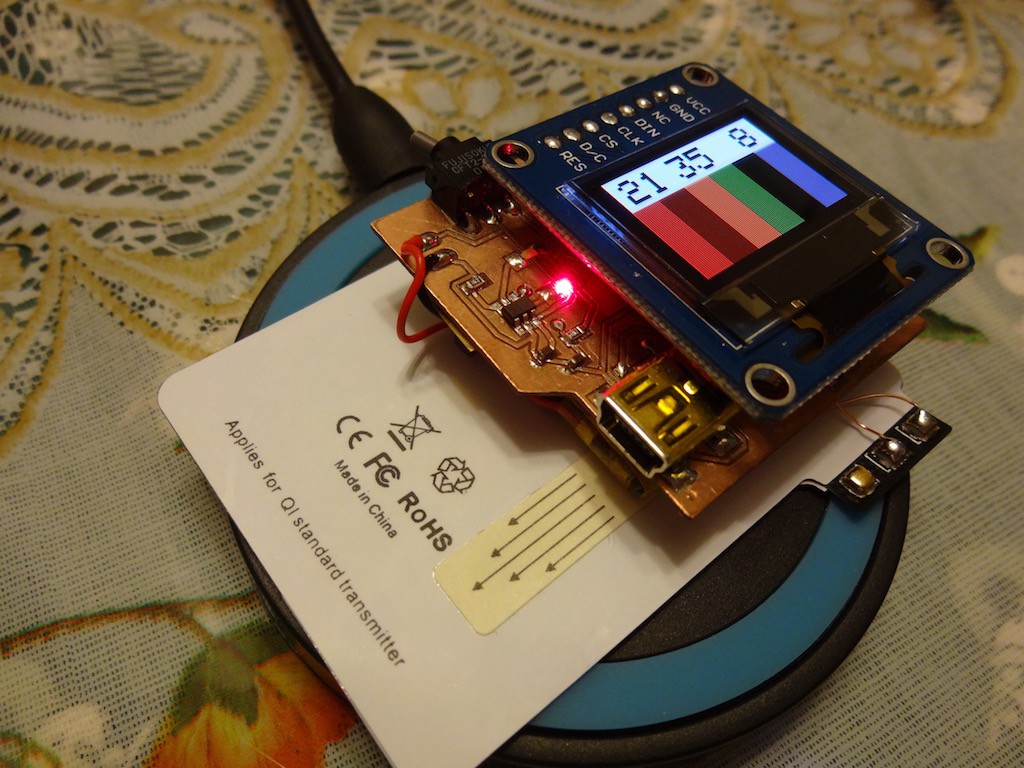
Qi wireless charging supports!

  • Halloween clock!

    kodera2t10/31/2015 at 04:48 0 comments

    Halloween clock! All the source is released at github, and actual operation can be found in the following movie.... Have fun!

  • Happy Halloween

    kodera2t10/31/2015 at 03:04 0 comments

  • And it is wrist watch now.

    kodera2t10/30/2015 at 11:17 0 comments

    Enclosure (case) was made by 3D printer and putting into it..

    Embedded battery (LiPo) charging is quite easy. Just putting it on Qi charging unit, done! During charging, RED LED turns on, and

    After full charge, it turns to white. Very bright!

  • Smaller Qi receiver by coil-rewinding

    kodera2t10/29/2015 at 05:57 0 comments

    Surely it works,

    BUT the big size of Qi receiver is not acceptable at all. In the previous log, I confirmed its structure, and this time I make it smaller by coil rewinding!

    I just remember that I am teaching electromagnetic and in the course I always say "Every electromagnetic effect can, and should be analysed, designed by theory! "... I forget it a few minutes. As in picture, Qi coil is rewinded with smaller dimension than original to fit it to back of "colour coded clock". I was completely not sure that such a random and irresponsible coil would work appropriately, but it produces 5V, as you see!!!

    And the modified coil is re-assembed and put inside adhesive sheet. Very small!

    Finally I put it back of the clock and confirmed LiPo battery is charging correctly!!

  • What's inside Qi receiver?

    kodera2t10/29/2015 at 04:27 0 comments

    Qi is an wireless power transfer system, and according to wikipedia, OOK 2kbps communication between charging station and receiver is established in order to detect non-receiver object on charging station. So I guess some circuit inside it, and dis-assembled...

    This is the inside of Qi-receiver. These two sides are simply attached by adhesive thin tape. The grey part of left part is some thin magnetic material, which will have high permeability to produce high magnetic flux density. The right side (circuit side) has a coil and circuitry.

    The coil is wounded by 5-in-one (not bifilar but pentafilar ?) 5-lines are consisting this coil so the number of turn is not so much. During operation, this part produces some temperature increase. This thin coil is simply fixed by adhesive sheet, and the structure is simple so may be I would make some different form.

  • Qi charging system support.

    kodera2t10/28/2015 at 12:52 0 comments

    This summer, during stay in NY, I bought Qi charging circuit and receiver at tinkersphere, but until today I did not touch it. This morning, I briefly check its performance and understand how it is useful and easy to handle. I quickly order at amazon for charging station and receiver patch for some smartphone, and.. excellent Amazon.co.jp delivers my afternoon order in the same evening...! (two patches and station are less than 1000JPY..!)

    This is the charging receiver. Before wiring it with my circuit, I check basic specification.

    On the top of charing unit, it provides around 5V. Wonderful!

    Moreover, electrodes are isolated, means it can be inserted parallel to USB 5V! Just wiring + and - to USB 5V and GND, leading...

    Now my prototype "colour coded" watch has a wireless Qi battery charing function!

View all 6 project logs

Enjoy this project?

Share

Discussions

Similar Projects

Does this project spark your interest?

Become a member to follow this project and never miss any updates