 Brijesh Sondarva
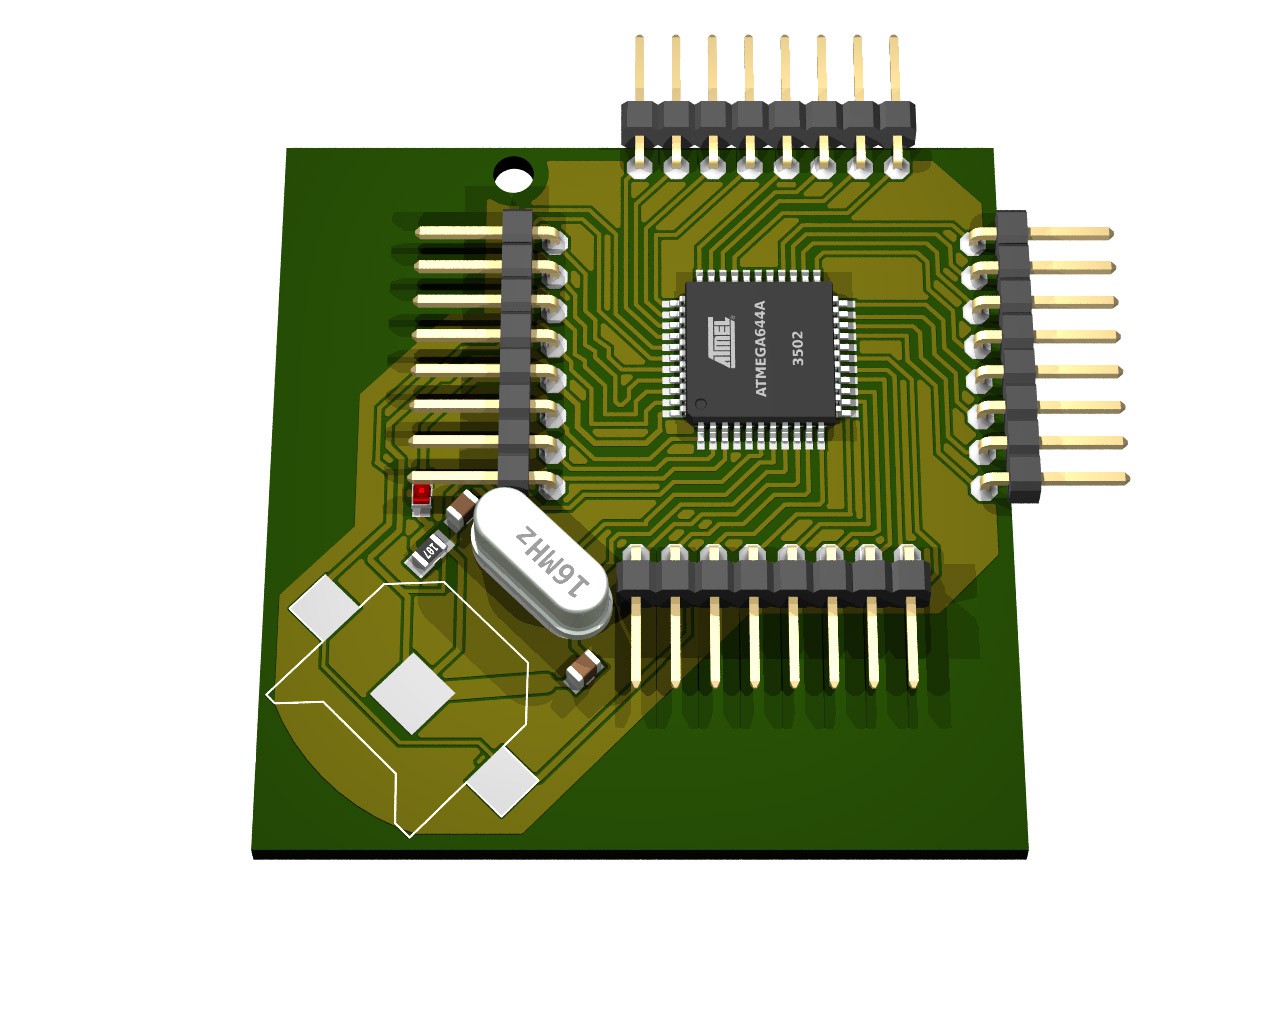
This tutorial gives you information how to use Eagle3Df and Pov-Ray for generate your 3D PCB view for EagleCad board/Pcb , in short generate your board/PCB in 3D view using POV-Ray and make some changes and edition to get your right view.
# First download EAGLECAD as usual from the www.eaglecad.com site.

# Then other two software are used for that,
@ Eagle3D_www.eaglecad.com
@ POV-Ray_www.pov-ray.com

@ POV-Ray Editor_www.pov-ray.com
# Then install all the software’s in your system_WIN.XP/VISTA/7/8.
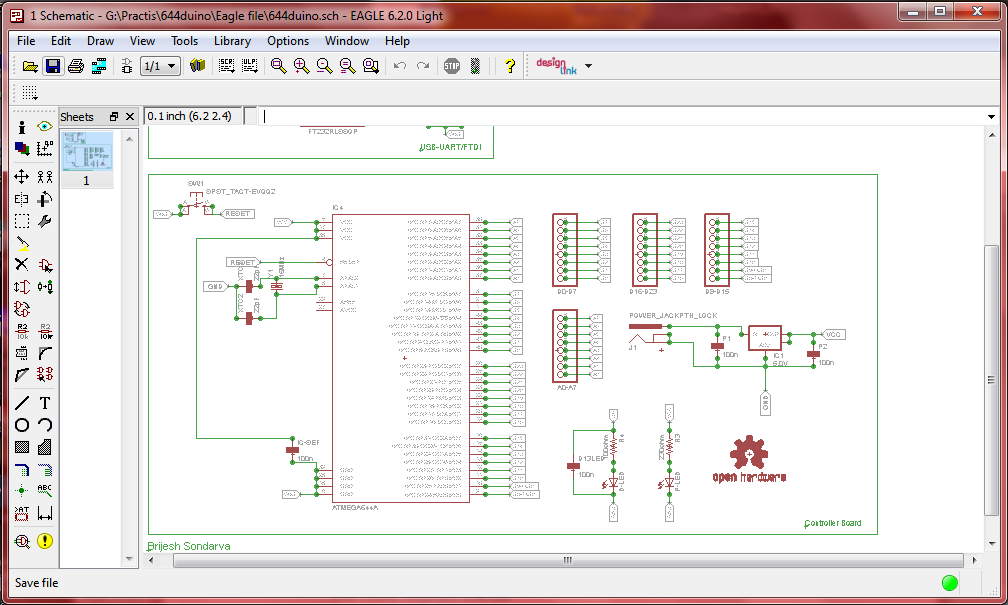
# Open EAGLECAD and complete your project schematic or your circuit design and save it
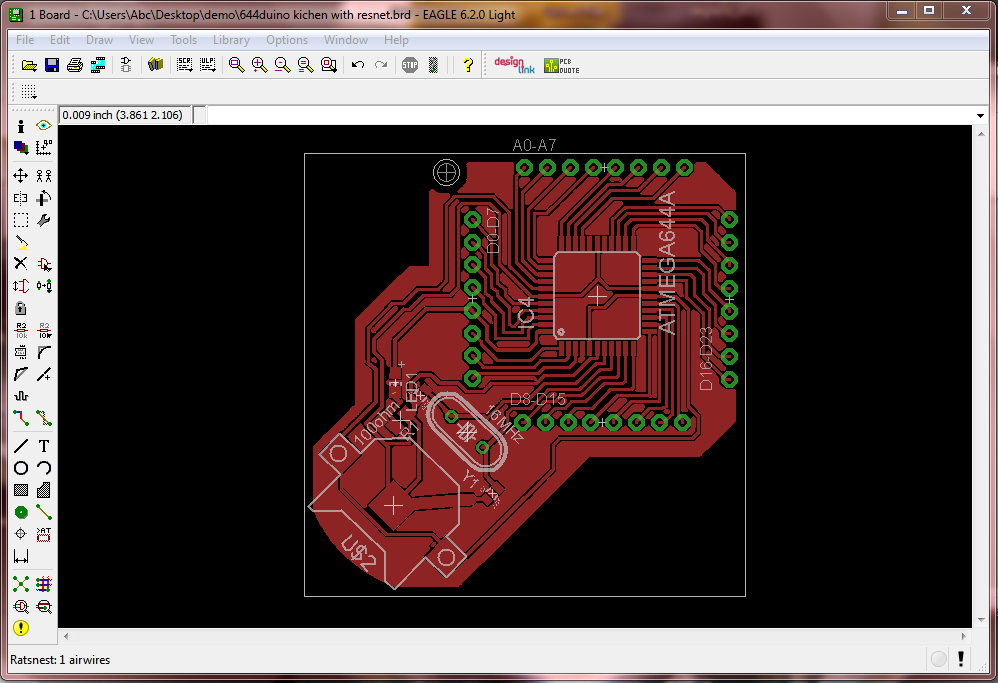
# After then complete your board work ratsnets etc. save it and forward for next stap
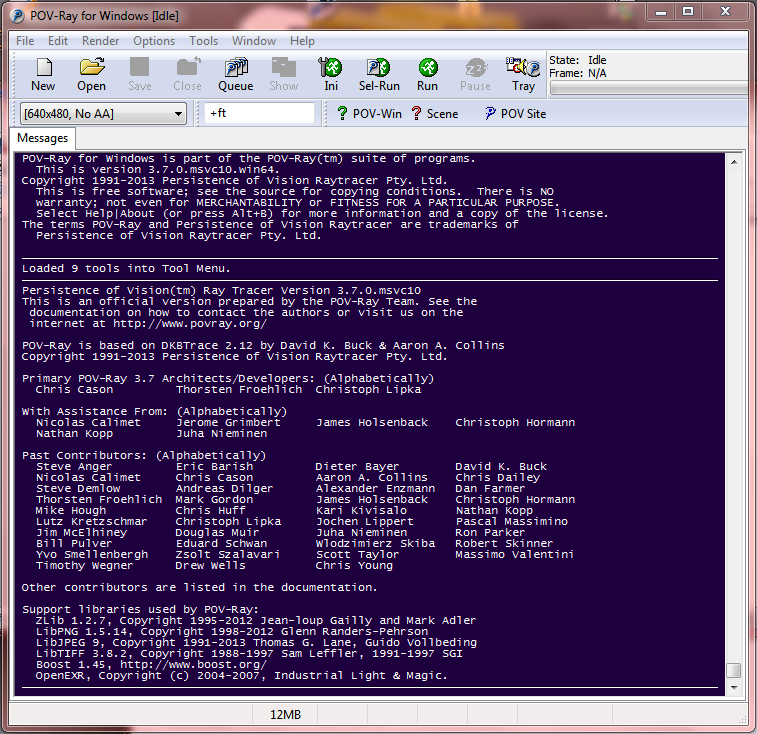
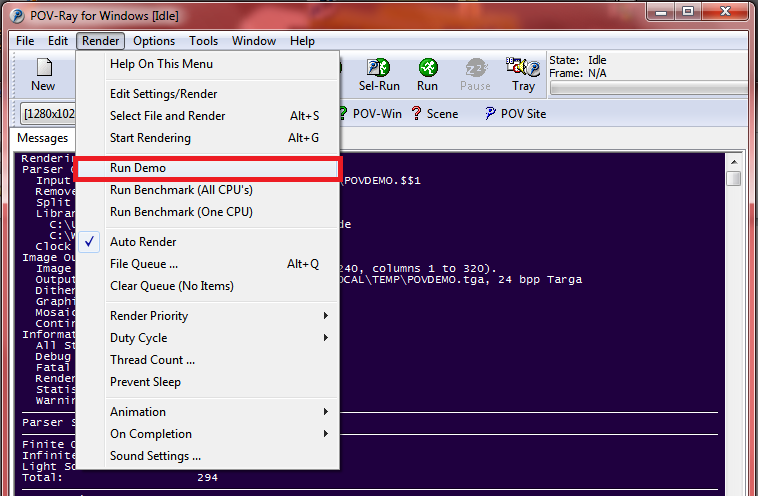
# Now make sore your POV-Ray and POV-Ray Editor successfully installed in your system one time open it and check that correctly work with demo models, open POV-Ray and follow bellow steps_
POV-Rey>Render>Run Demo(Click OK)

# After completing your board work and installation of eagle3D setup now time to get your board POV file so follow bellow steps for generate POV/3D file_
Type “run” in command lime or hit OK on ULP/RUN button

# Then Eagle ask you to which file you want to perform or run process_that ask for path for_eagle3D/POV generae.
# Give the path from your system program file from_eagle3D
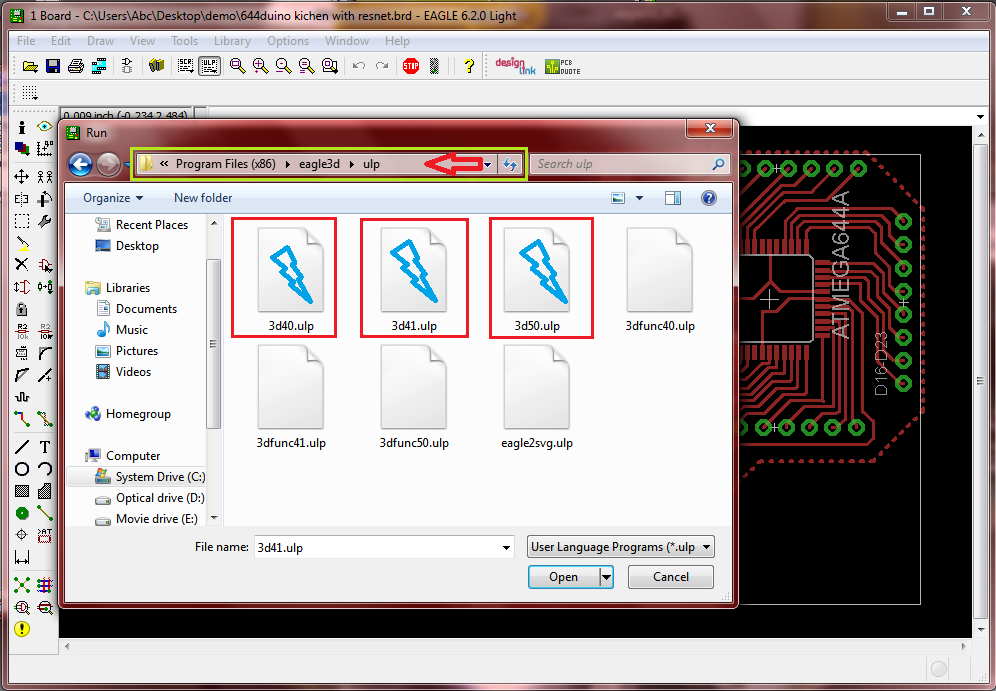
# And choose any one from 3d40.ulp/3d41.ulp/3d51.ulp and hit OK.
# Then eagle3D give you for setup manu for generate POV file make changes as per given in_Images and some changes as per your required_i.e._colors, size etc.
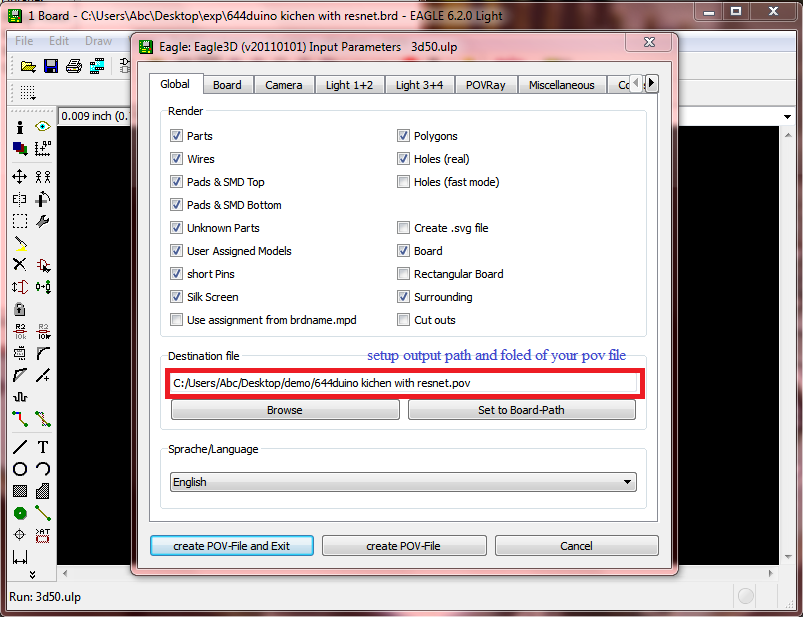
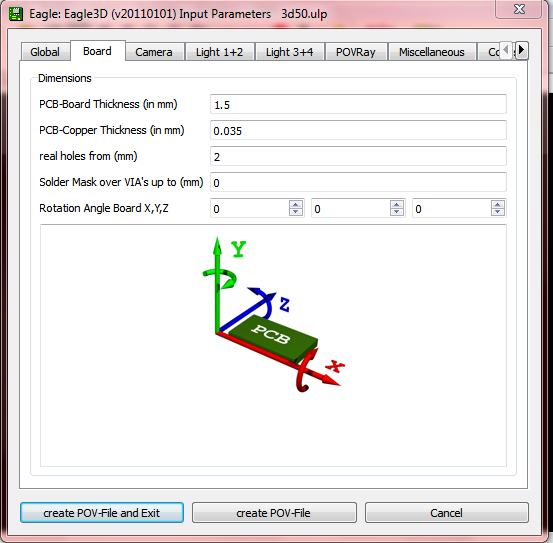
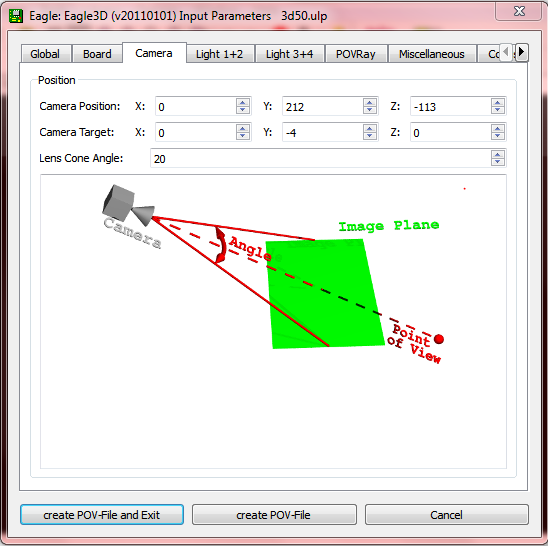
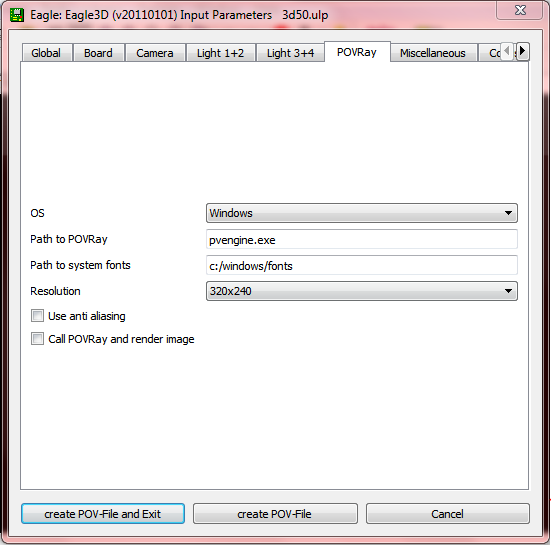
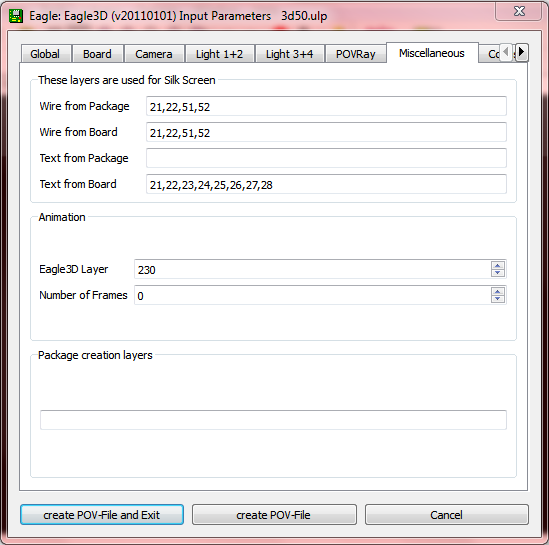

# After setting all things hit to_Create POV-file_button.
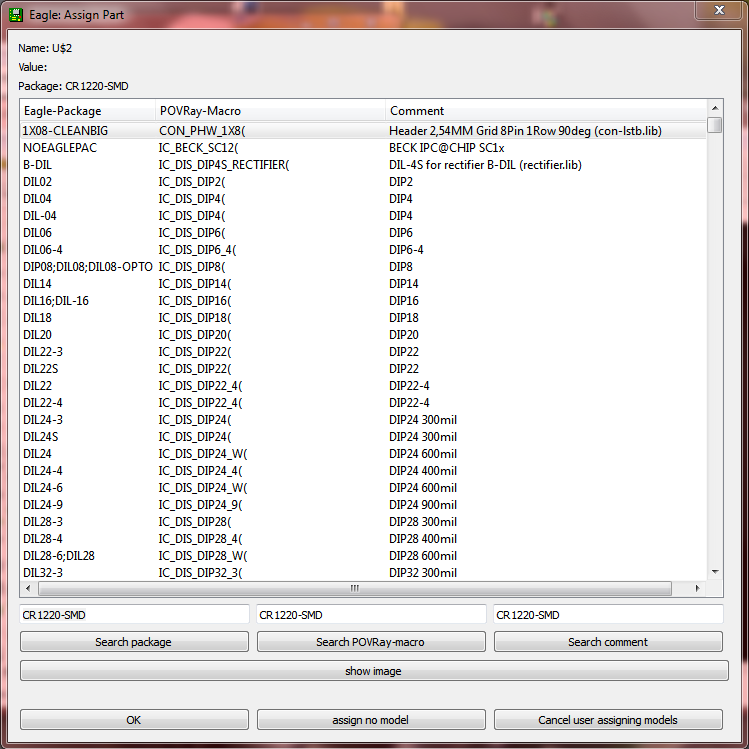
# Now Eagle3D ask you for all components and its layout /or/ for choosing right component for placing on board in 3D view so make sore your chosen component is right to as requirement_i.e._on your board having a LED and that LED is SMD component so when eagle3D ask to choose component choose currect component in SMD-LED component list, this also provide facility for search component as per package/value/POV-comment form.
# Now some process you want to do before open your generated POV files in POV-Ray. Follow the steps_:-
*-Open eagle3D from your Program files_C:\Program Files\eagle3D
*-Then open povray folder_ C:\Program Files\eagle3D\povray\
*-In the povray folder copy all the files
*-Then open Document and find POV-Ray folder_ C:\Users\Abc\Documents\POV-Ray
*-Open “include” folder from the Pov-ray folder_ C:\Users\Abc\Documents\POV-Ray\v3.7\include\
*-Now you see some “.inc” files in this folder
*-Paste all copied files in this “include” folder that we have copied from eagle3d\povray folder
# After all process then close all the programs and files and open POV-Ray software_POV-Ray.exe.

#Open POV-Ray and then open your “.pov” files as you generated from the EAGLECAD and you can see some kind of codes that’s pov code of your file.
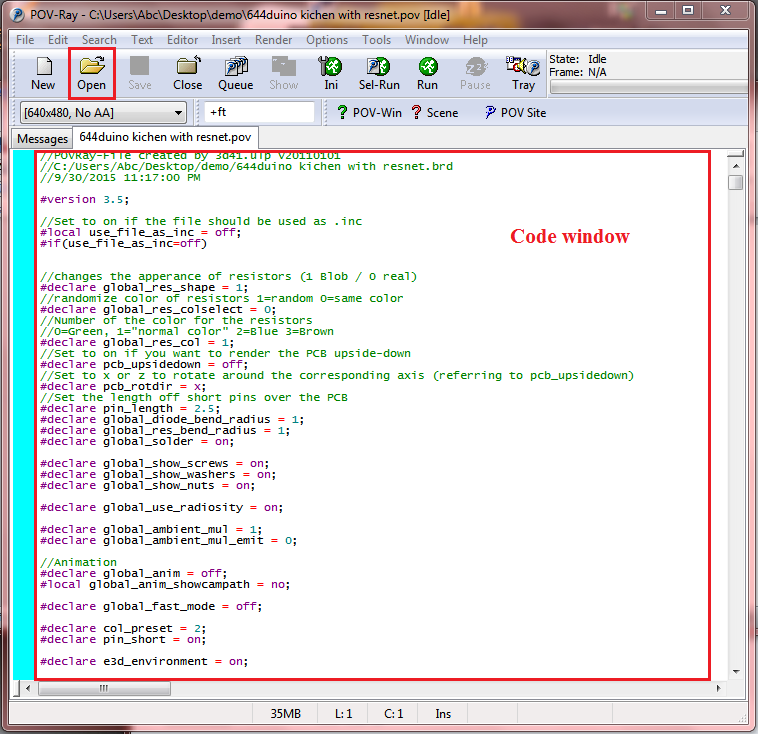
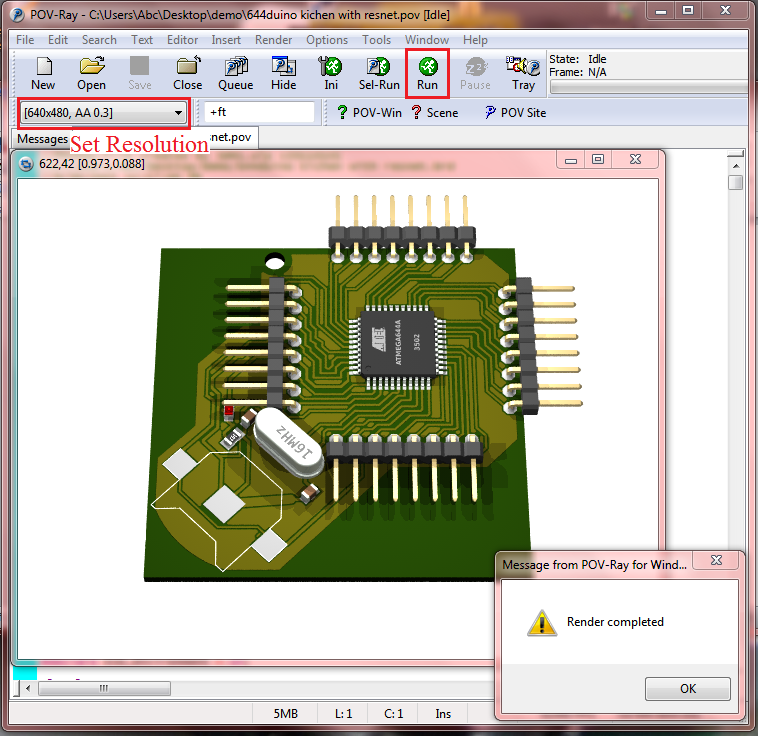
#Then set your output file Resolution and hit on RUN button.
And Finally You Got Your 3D View Board File Image
# As per requirement you should make changes in view of your image from the POV codes
@(No doubt I make changes in POV code for my board view)@
 abetusk
 Ted Yapo
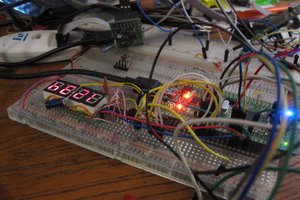
 Ethan Durrant
 Keith
Keith