Close
0%
0%

Upgrading my laptop

Upgrading a Dell laptop [Inspiron 7520] from a non-backlit keyboard to a backlit keyboard and a 768p display to 1080p (FHD) display

Similar projects worth following
Documenting the process of upgrading my Dell laptop [Core i7-3612QM, 8GB DDR3/1600MHz, 2GB graphics]. I wanted to upgrade the keyboard to a backlit model and the screen to 1080p so that it's more in tune with the times today.

Alternate configurations of the Dell laptop support mSATA SSD, wanted to add those as well but it seems that the daughterboard on my laptop does not have the mSATA slot and might need to get a new part number. EDIT: Just got a SSD and a 2nd Hard drive caddy to replace my DVD ROM drive with.

How hard can it be to upgrade components on a laptop and turn it into that higher-spec or configuration version? Upgrade the display from HD to full HD? Turn the keyboard from non-backlit to backlit?

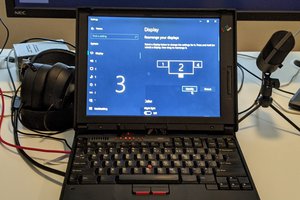
This is where I document my experience upgrading my laptop parts - I want to upgrade my machine to a 15.6" Full HD display, and a backlit keyboard. Configurable options which I couldn't exercise at the time of buying it but that doesn't mean I can't have it?

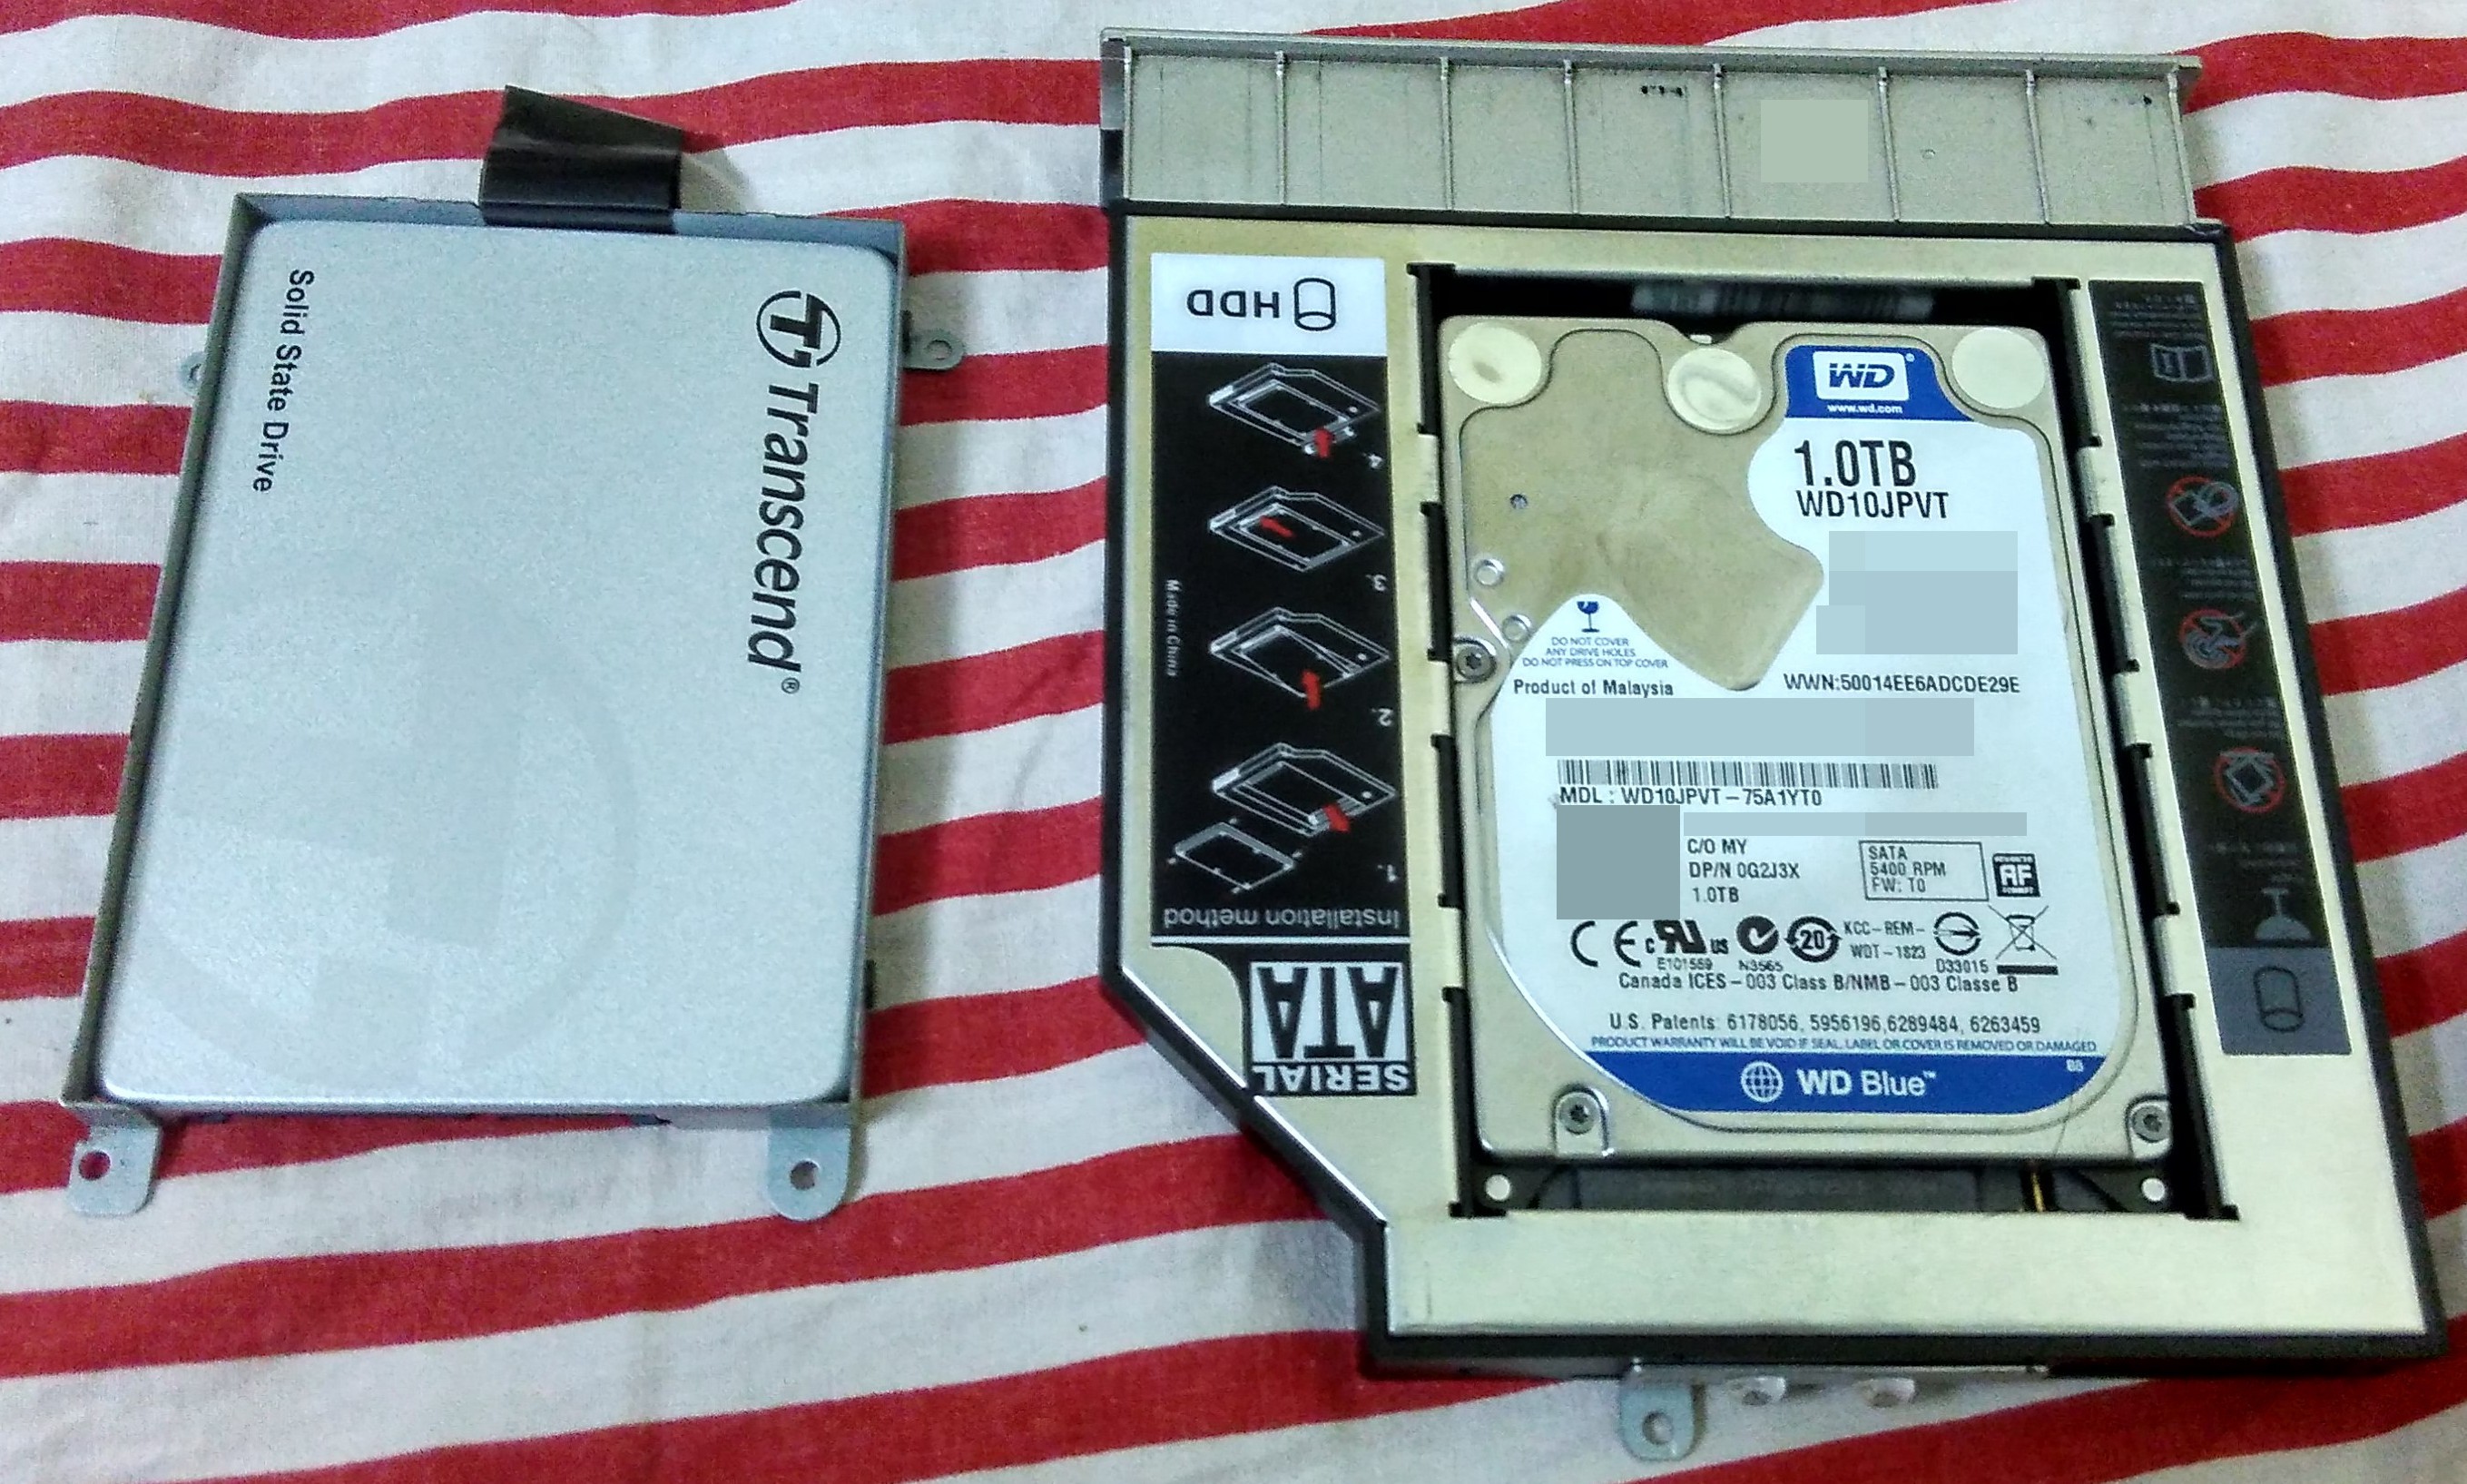
When choosing a replacement screen or part, the messages they show us while buying them - make sure you are buying the correct model! But what if I deliberately bought a higher spec model and tried to fit it in? Will the laptop accept it? Let's find out.

  • 1 × Dell 15.6" backlit keyboard (G46TH, V7JCY)
  • 1 × 15.6" 1080p LCD panel LTN156HT02-2, B156HW02 V.1, or equivalent
  • 1 × LVDS cable R4WW7 LVDS display and webcam connector
  • 1 × 256GB SSD Transcend 256GB SSD370S
  • 1 × 2nd Hard drive caddy As seen on eBay, amazon and the like

  • The Display

    Kumar, Abhishek12/12/2015 at 16:47 0 comments

    The new dual-channel LVDS cable for my laptop (Dell part #R4WW7) arrived today and so I sat down today evening to do the final piece of upgrade on my laptop - the screen!

    Because a single LVDS [FPD-Link] channel (4 twisted pairs) is insufficient to transmit a 1920x1080p60 signal, the display data is split into odd and even pixel 960x1080p60 channels, so it needs 8 twisted pairs to get a complete display on the screen. To save on cabling, the HD display cable has only a single channel, so to upgrade to a 1080p display, I would also need to get a new cable, and searching gave me the part number for that, R4WW7, which I found on AliExpress for $10.

    My new LCD had now been in the check-in baggage for 4 flights, wrapped in bubble sheets and in between t-shirts. I feared that the rough handling may have damaged something internally in the LCD (the back side where the flex PCB coming from the LCD glass is bonded to the driver board is considered sensitive), the investment would go waste and I'd have to do it all over again.

    Anyway following the service manual I replaced the screen and the cable. When I put everything back together, it worked just fine, the LCD survived after all. These displays do have an EDID ROM, so I guess the UEFI firmware just detected it and carried on as usual.

    So with this, I complete the chapter of this laptop upgrade. Spent 95$ for the display and the keyboard, and another 110$ for the SSD+caddy. The laptop now has:

    • 1920x1080 display
    • backlit keyboard
    • 1 TB HDD + 256 GB SSD

    I think this should be sufficient to hold off purchasing a new one for a couple of more years.

  • SSD install

    Kumar, Abhishek11/30/2015 at 08:48 0 comments

    My HDD Caddy arrived. It was a little different from the one mentioned in the previous one. To save costs, it seems they had switched the caddy from aluminium to injection molded plastic. It did make a difference.

    This should have been a breeze but it turned out not so much, due to two reasons:

    • The face plate was a little wobbly on the older optical drive because one of the retainer tabs broke. So I had to super glue the face bezel to the new caddy. Point of no return 1.
    • The M2.5 screws attaching an L-bracket to the drive (so that it can be secured to the laptop chassis) were too short to reach the threads. This would have not been an issue had the caddy had an all-metal chassis but the plastic came in the way and had holes bigger than 2.5mm. Bummer.
    • However, the holes on the plastic were just of the right size for a M3 screw. So with a 3mm drill bit I made the holes on the L-bracket larger and then tightened the screws in with force. Point of no return 2.

    After all this, for a test I connected another 500GB HDD I had and booted up the system. Everything looked good. As I side effect I also noticed that the HDD in the drive caddy ran cooler than my primary HDD. It was about 5-6 degrees cooler (10 deg Fahrenheit) than the hard drive in the main drive bay, with the laptop not being cooled on a pad the HDD would be so hot as if it'd go toast (> 40 degrees C).

    So the drive swap would now be a two-way swap - my existing 1 TB drive went into the caddy while the SSD would live in the main drive bay. (you can see the bracket held onto the caddy, bottom center).

    Putting the SSD where the HDD originally was:

    Looks good so far, dmesg tells me that the drive is good at 6 Gbps. awesome! Although I haven't installed anything on the SSD yet but I'm looking forward to very soon.

  • Upgrading the keyboard

    Kumar, Abhishek11/30/2015 at 08:18 0 comments

    This was too easy. No screws need to be removed to extract the keyboard, all needed is to pop two tabs with the fingernail and the keyboard lifts off the palmrest very easily.

    The original keyboard uses one FPC but the backlit keyboard uses two: One for the keyboard and the other for the backlight. I could see the connector for the backlight on the motherboard. Removed one connector and plugged two in, rebooted and boom. A backlit keyboard!

  • Finding the parts I need

    Kumar, Abhishek11/27/2015 at 19:30 0 comments

    October 2015. Step 1 of mod, find the parts. At Amazon, eBay, wherever. Since I was also going to the USA in November, so I could get it delivered locally in the US and carry it home when I return!

    Keyboard

    Searching for "Dell 7520 keyboard backlit" gave me two part numbers - G46TH and V7JCY. More searching, the V7JCY the US version while the G46TH was the international version. I went with the international version, which was ~25$ on Amazon USA.

    Display

    Searching for 15.6 Full HD on Dell gave me a lot of results. The most prominent was a Samsung LTN156HL02 panel. Then I also came across other part numbers such as LP156WF1 [LG Display], LP156WFC [LG Display], B156HW02 [AUOptronics]. The warning on the sites "please choose correct part to order" was a bit scary. What was the difference in all these panels? And how was their pinout different from the 768p display I currently have in my laptop [identified via EDID to be a AUOptronics B156XTN02]?

    I managed to retrieve the datasheet for all these LCDs. Surprisingly they have the same connector layout - 40pin I.PEX connector. The 768p panel is Single channel LVDS (4 pairs) and the 1080p panels are dual channel LVDS (8 pairs, one for odd pixels and one for even pixels). So in theory it should be possible to swap out the display for a full HD variant. Convinced that I could make it work out, I placed an order. This was $74 on US Amazon with shipping.

    SSD

    The first idea was to use a mSATA SSD as it was offered as a configuration option. But I later learnt that the USB+LAN Daughtercard part which is responsible for 2 USB ports to the right of the laptop was a different SKU with the mSATA slot not populated.

    SKU # MRDMM = no mSATA port. SKU # N7JHH = with mSATA port.

    The boards are the same for both, but the mSATA port and the SATA controller chip and some companion parts are not populated on the MRDMM part. So just soldering a mSATA connector is not enough. This board was 30$ on Aliexpress and I decided, no, it isn't worth it.

    Plan B - a 2nd hard drive caddy:

    I could slip in an SSD in this and replace my optical drive. Win. Ordered from local (India) eBay for (roughly) $10.

View all 4 project logs

Enjoy this project?

Share

Discussions

Similar Projects

Does this project spark your interest?

Become a member to follow this project and never miss any updates