-
11How to use Oasis controller software
Requirements
Oasis controller is written in Python. Right now the right Python with libraries is required to run Oasis controller. Install the right python and libraries before running the Oasis controller software.
- Python 3.6.2
- PyQT5 (pip3 install PyQt5)
- pyserial (pip3 install pyserial)
- numpy (pip3 install numpy)
It is also strongly adviced to install Arduino IDE and Teensyduino. Else the controllers (Arduino Uno and Teensy 3.2) might not connect to serial.
Oasis controller is only tested working on Windows. It should work fine on Linux, but this is not tested. With all libraries and python installed, the program can be started by running "Oasis controller.py"
Interface
Many interface designers have spent hours working. Not on this interface, but I am sure on something.
![]()
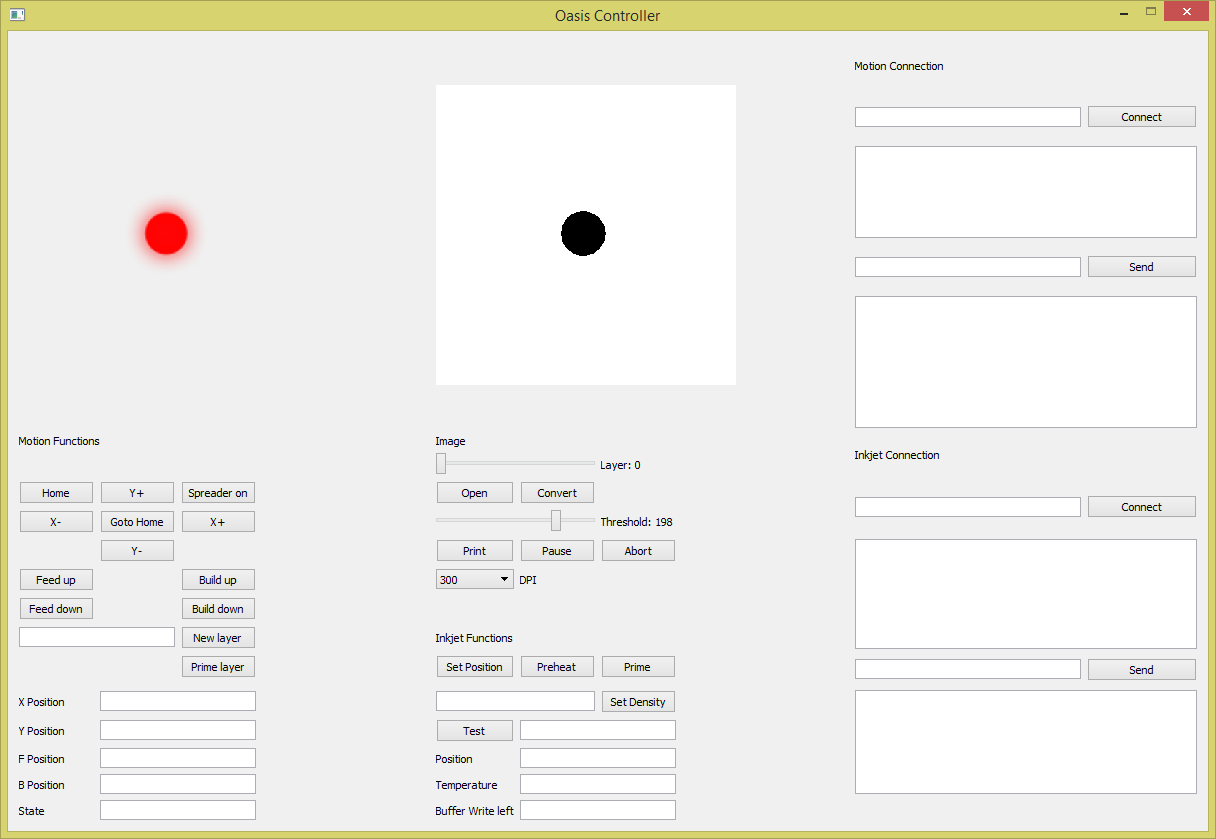
The interface is designed in 3 columns. The left most column from top to bottom holds: The input image, motion control buttons and motion feedback. The center column from top to bottom holds: The output (to be printed) image, image control functions and inkjet control buttons. The right most column from top to bottom holds: Motion serial connection and interface and inkjet serial connection and interface.
Connecting to serial
In the right column are 2 connect buttons. The top one is for motion, the bottom for inkjet. To connect to the serial on either of these devices, the right port needs to be given in the textbox left to the button. For windows this is "com$", where $ is the com port of the device. On Linux this is supposed to be "/def/ttyUSB$". Once the right port is entered, and the connect button is pushed, the software tries to connect to the device. Any device will remain mostly inactive for a few seconds for some stability issues.
In the textbox next to the 'Send' button you can directly send commands. This is mostly handy for the GRBL driver to send Gcode. The HP45 takes fancy hard to read code.
Controlling motion
Once the motion (GRBL) is connected, the motion of printer can be controlled. Before you can do anything though, the printer needs to be homed. For this, the 'Home' button is used. After homing, the printer can be jogged in all axes using 'X+', 'X-', 'Y+', 'Y-', 'Feed up', 'Feed down', 'Build up' and 'Build down'. X and Y move in steps of 10. Feed and build in steps of 1. 'Spreader on' (and off) turn the spreader on and off. Goto home moves the printer back to the home position. Lots of creativity naming these buttons.
2 buttons with some more to them. 'New layer' and "Prime layer'. Both use the textbox to the left. Both add a new layer to the print area. New layer moves the feed and build piston when depositing a new layer, Prime layer only moves feed. Prime is used to prepare the print area, where the build should not always move. The input in the textbox is in millimeters, so '0.2' adds a layer of 0.2mm.
Controlling inkjet
The inkjet buttons will work as soon as the connection is made. Set position will write the current position of motion to the HP45 controller (HP45 has separate encoder). Preheat will warm up the printhead without ejecting (much) ink. Prime will eject ink from all nozzles. Set density uses the input from the textbox. 100 is default, and is 100%. Setting this higher will mean the inkjet controller deposits more droplets of ink per inch. '120' will deposit 120% of default (or 720dots per inch). Test will return a number of working nozzles. This should be 300/300, but as a head is used more, it can become lower.
Printing an SVG file
![]()
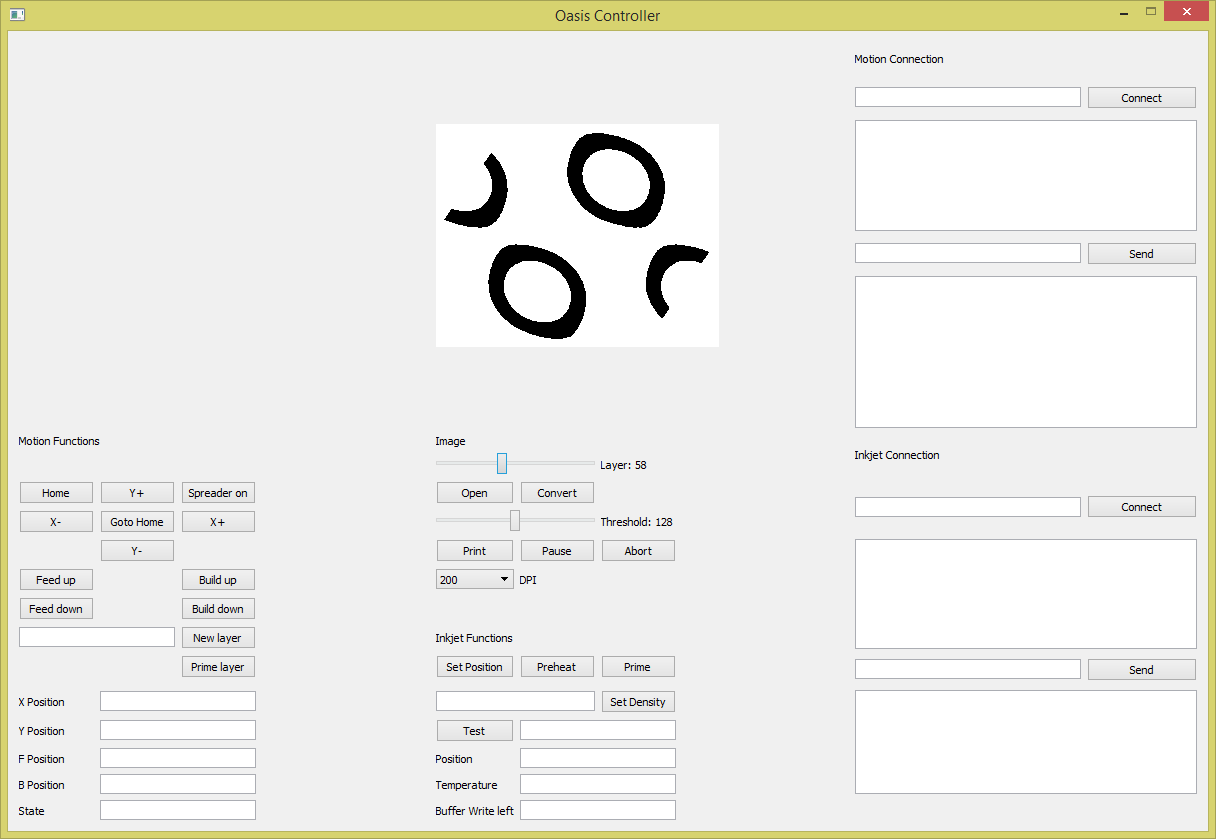
Oasis controller takes specific Slic3r SVG files as input. These SVG files have layers with layer height attached to them, making them perfect for 3D printing. How to make these files is addressed in a different instruction.
To print a Slic3r SVG, press 'Open' and load the SVG file you want to load. The file will load and the first layer will render. It is advised to lower the DPI before loading to 300 or 200. In the print this is barely visible, but in loading times it saves upto an order of magnitude. You can move the slider with 'Layer:' next to it to advance through the layers to be printed. SVG files require no additional processing. If the right density is set, printhead and motion are connected to and the printer is prepared, the print can be started. This is done using the 'print button'. The printer will home end then layer by layer start printing. 'Pause' will make the printer return to home and wait till the resume button is pressed. 'Abort' will give a popup for confirmation, and when agreed, stop the print. Both function might take a few seconds to activate.
Printing a bitmap
![]()
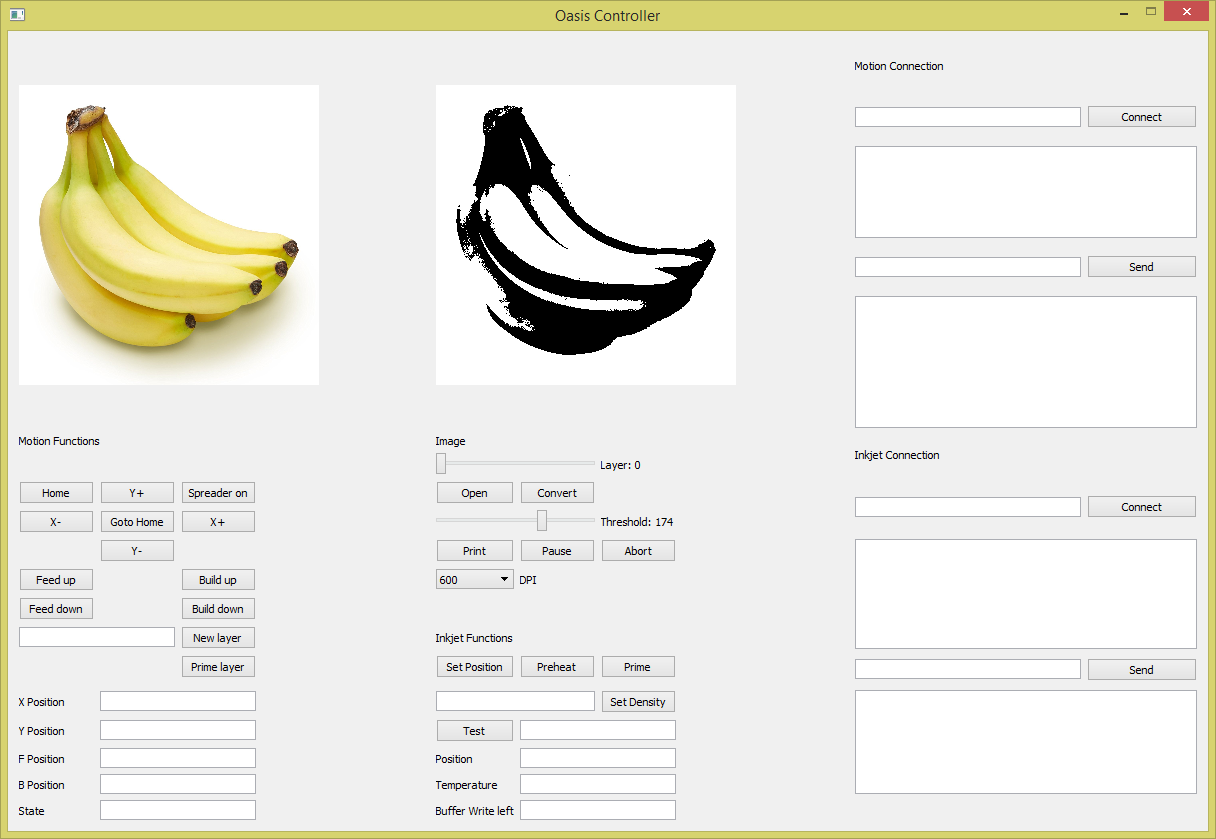
Oasis can handle 'jpg' and 'png' files. You can load these in with the 'Open' button. The image will appear in the left window. The 'Threshold' slider will determine at what greyscale value a pixel is high or low. Oasis controller itself does not dither images, but it can handle dithered images. Slide the threshold slider to a value that seems reasonable (0-255) and press 'Convert'. With this the software will calculate what pixel to print and what pixel not to. Black is printed. If the image is not satisfactory, reposition the threshold slider and try again. 'Convert' will take a while. PyQT does not like addressing individual pixels, and if there are millions of them, it will take a while. When the image seems right, the printed surface is in place and the inkjet and motion are connected, the print can be started by pressing print. The printer will then home, move roughly the center of the build area, and print the image. Pause and Abort do not work in this print mode. DPI also not works for images.
The offsets are kept in the python code, under 'Oasis controller.py'. Printing from bitmap calls 'PrintArray' and printing SVG calls 'PrintSVG'. I realize this is not ideal, but for now this will have to do.
Note that as of writing right now the HP45 driver cannot receive new lines while printing. The problem is known and a solution is under the way, but right now the software is limited to the HP45 driver buffer of around 1000 lines. If your image cannot be sent in under 1000 lines (every changed vertical row of pixels is a line, squares are literally 2 lines), the code might jam. Again, I realize this is not ideal, but for now this will have to do. The current SVG build area of 84mm can be fully printed at 300DPI.
-
12Preparing to print
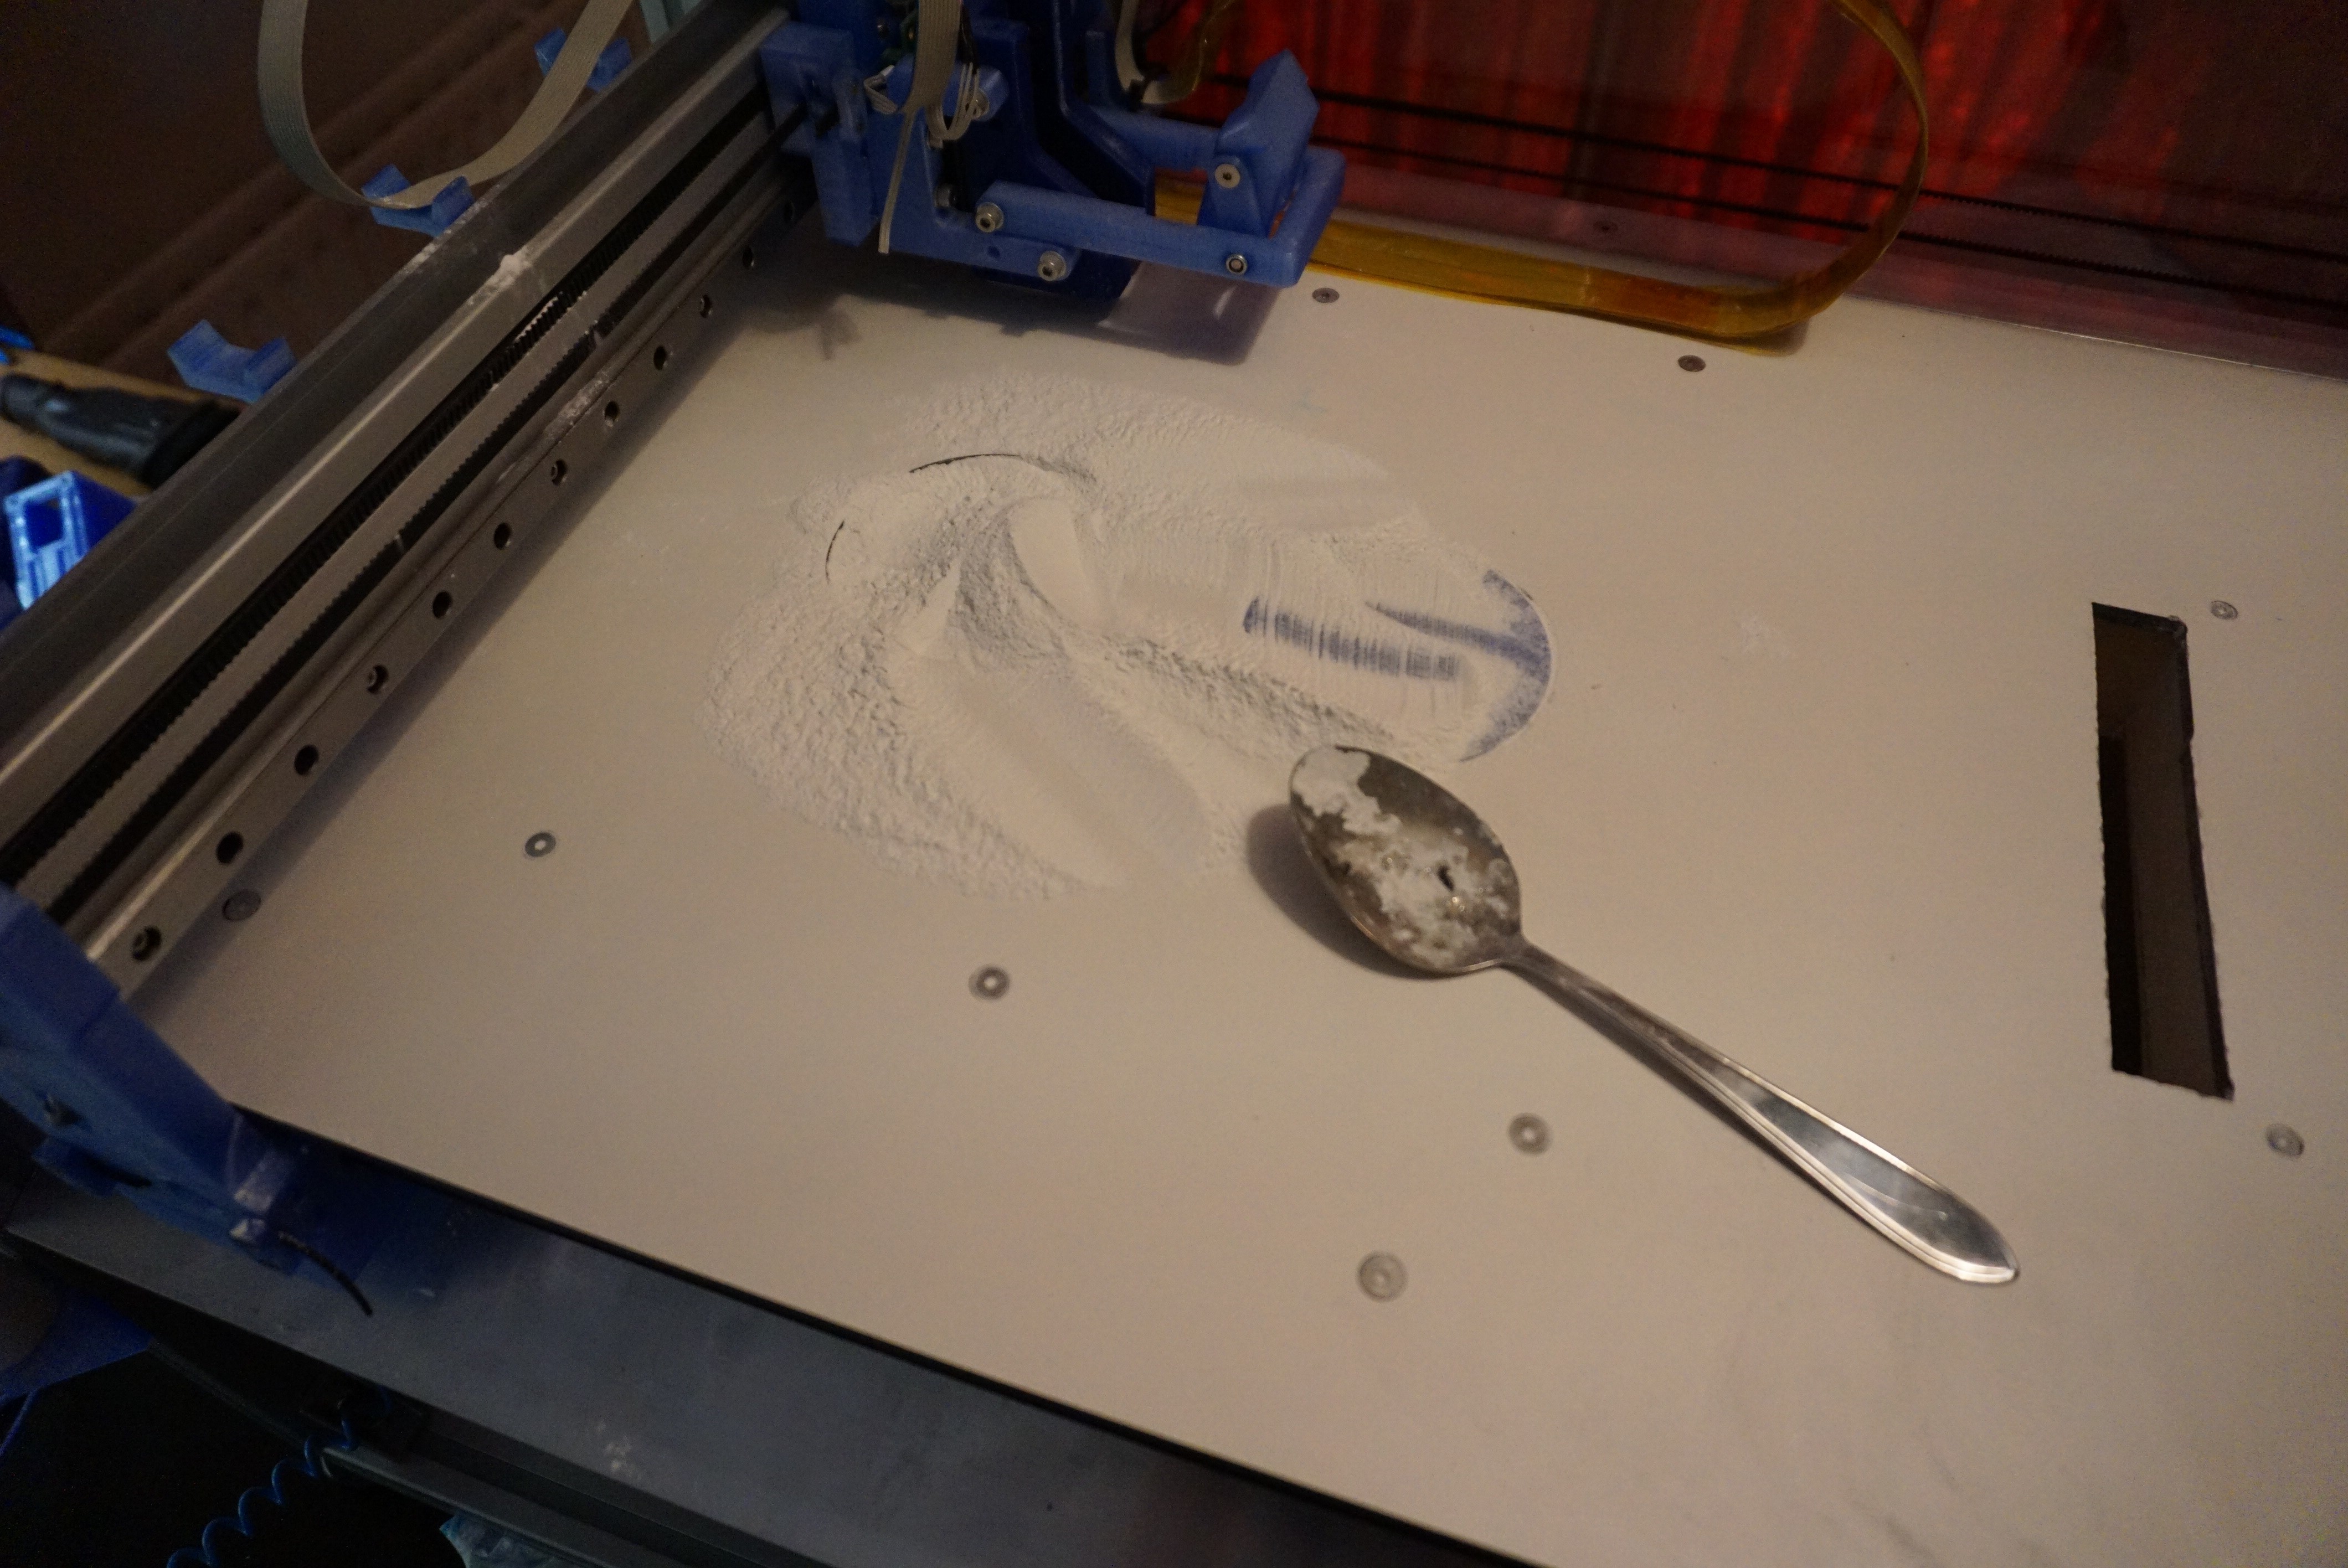
With Oasis built, wired, software running and a file prepared, it is time for the last step before printing, preparing the printer. This step mostly consists of properly filling the printer.
- Lower the feed piston by at least the amount you are going to need (based on the part) plus at least 20-30%. The feed piston feeds more than the build piston needs.
- Now fill the feed piston with powder.
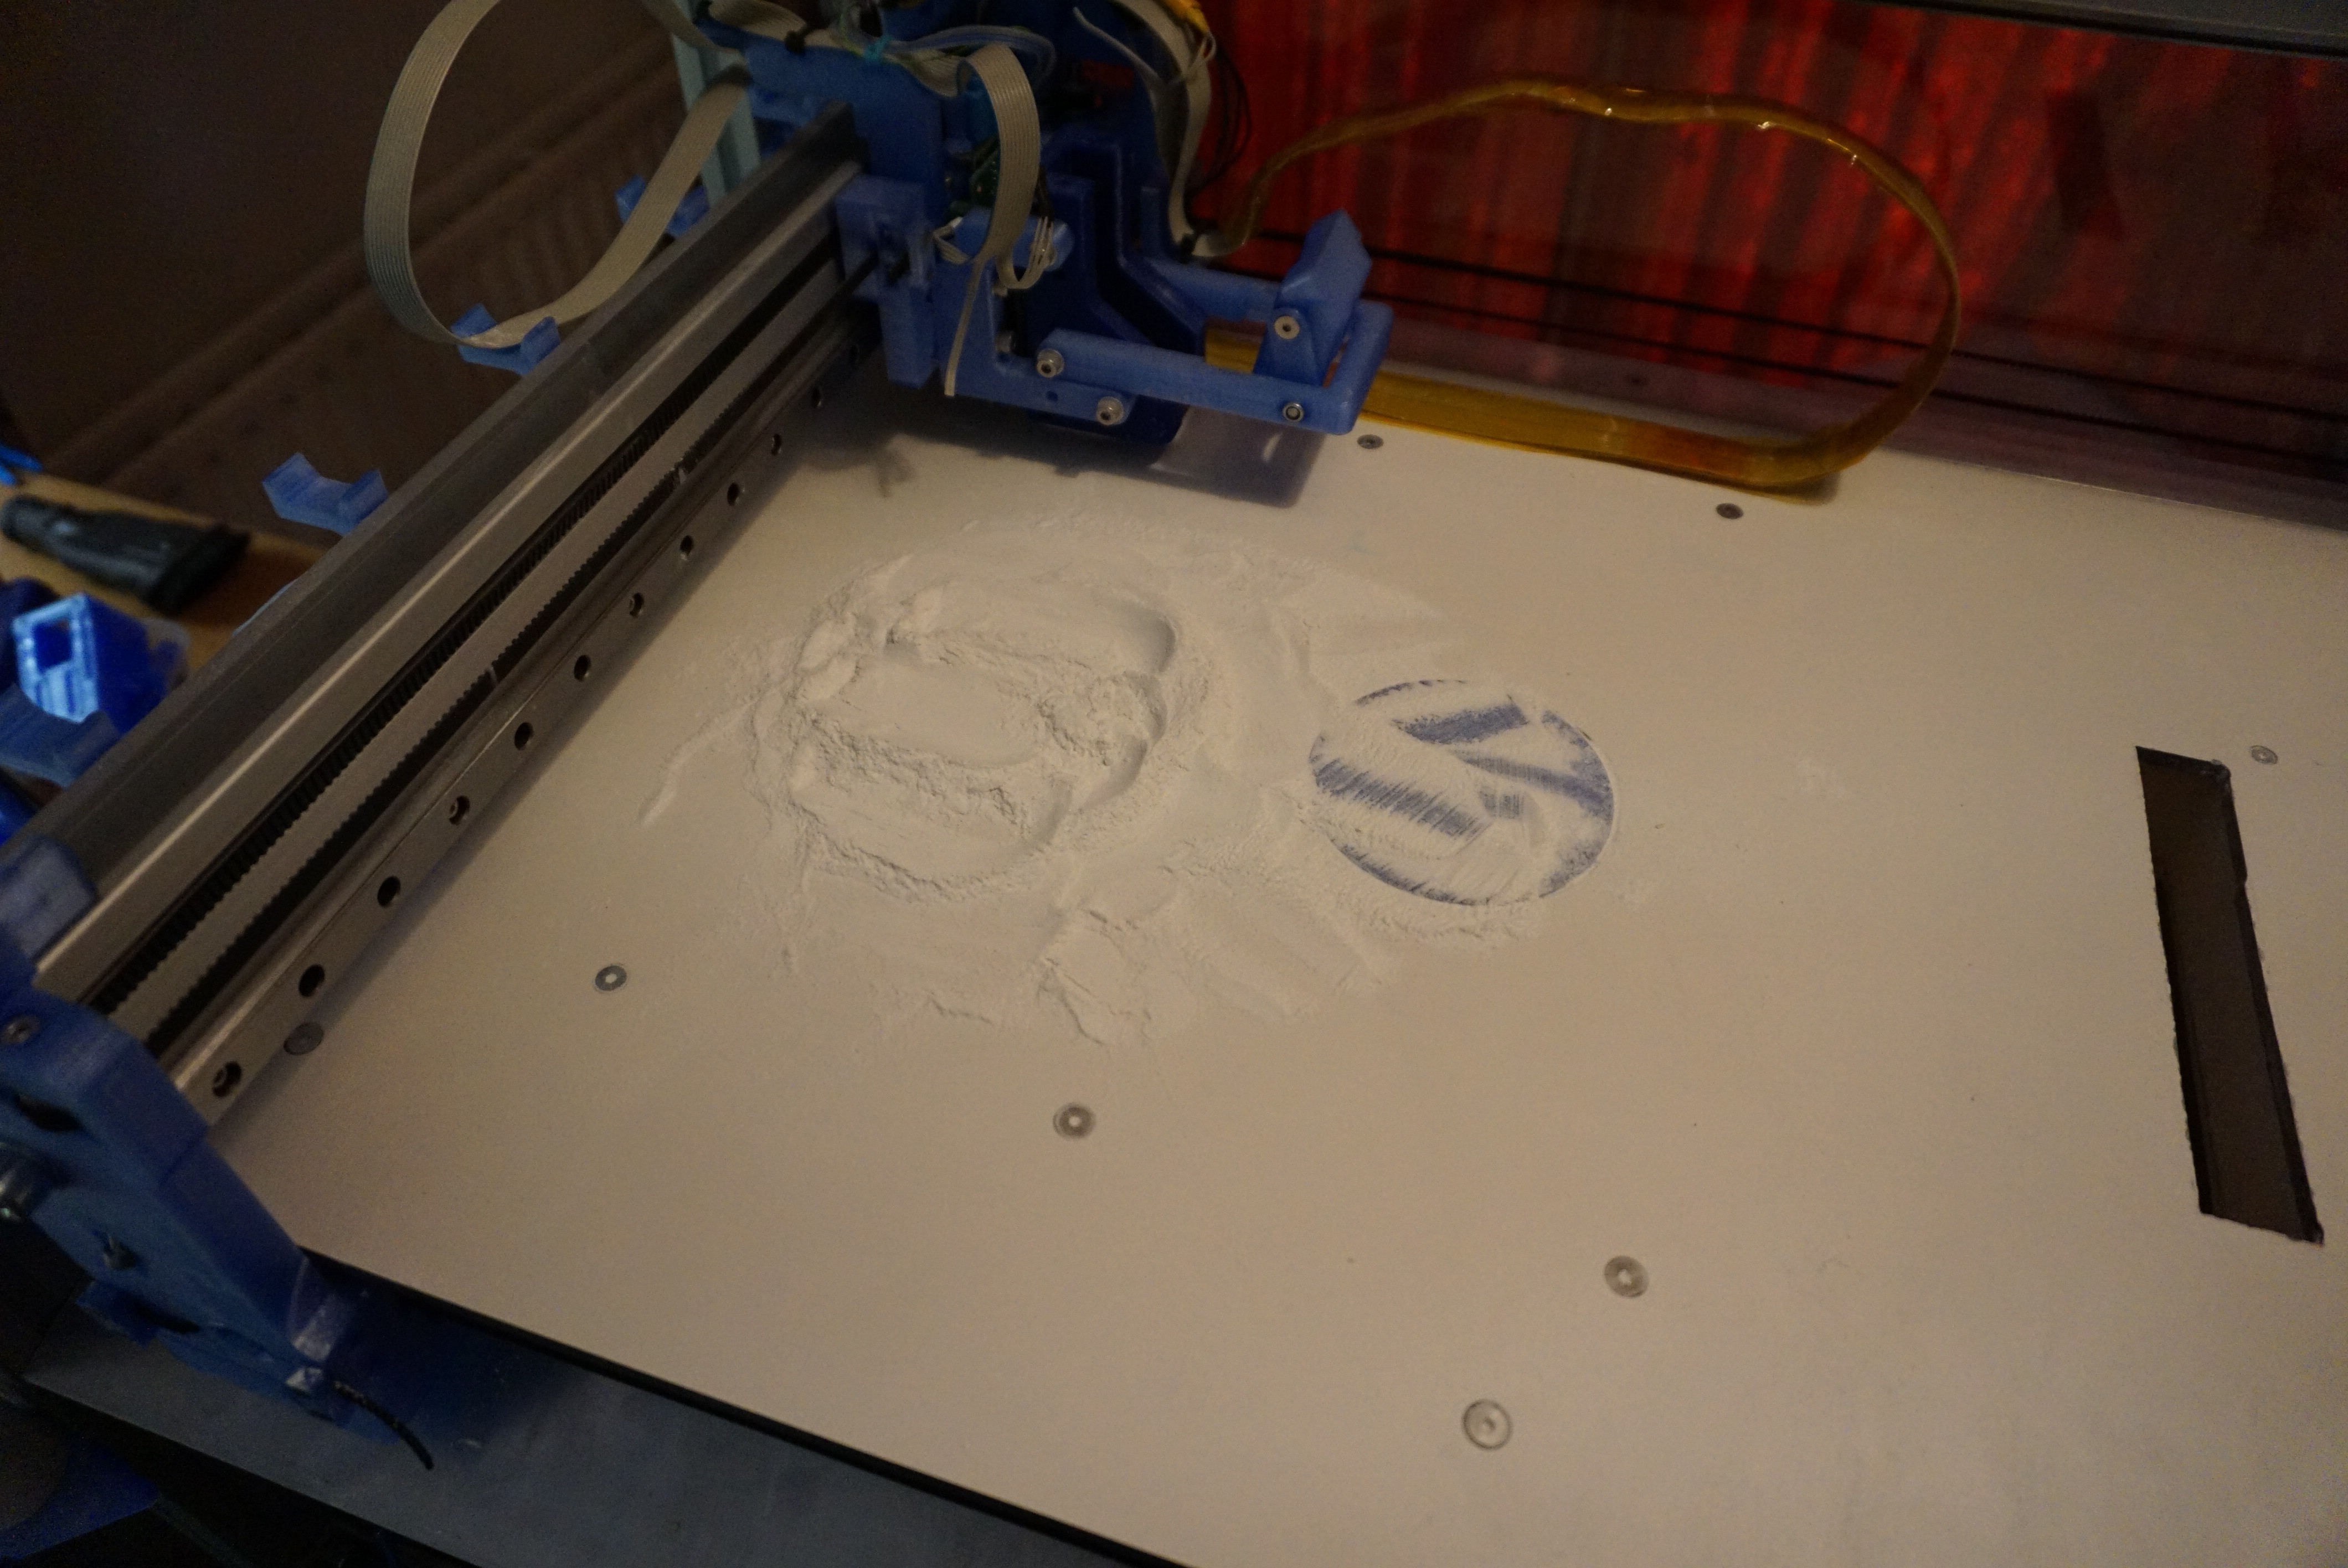
- Use something large and flat(ish) to compress the powder. This step is important for gypsum, since it shrinks significantly in this step. If you skip it, the spreader will start compressing the powder and the build piston will not get enough powder.
- Now make sure the software is connected to the motion and the printer is homed.
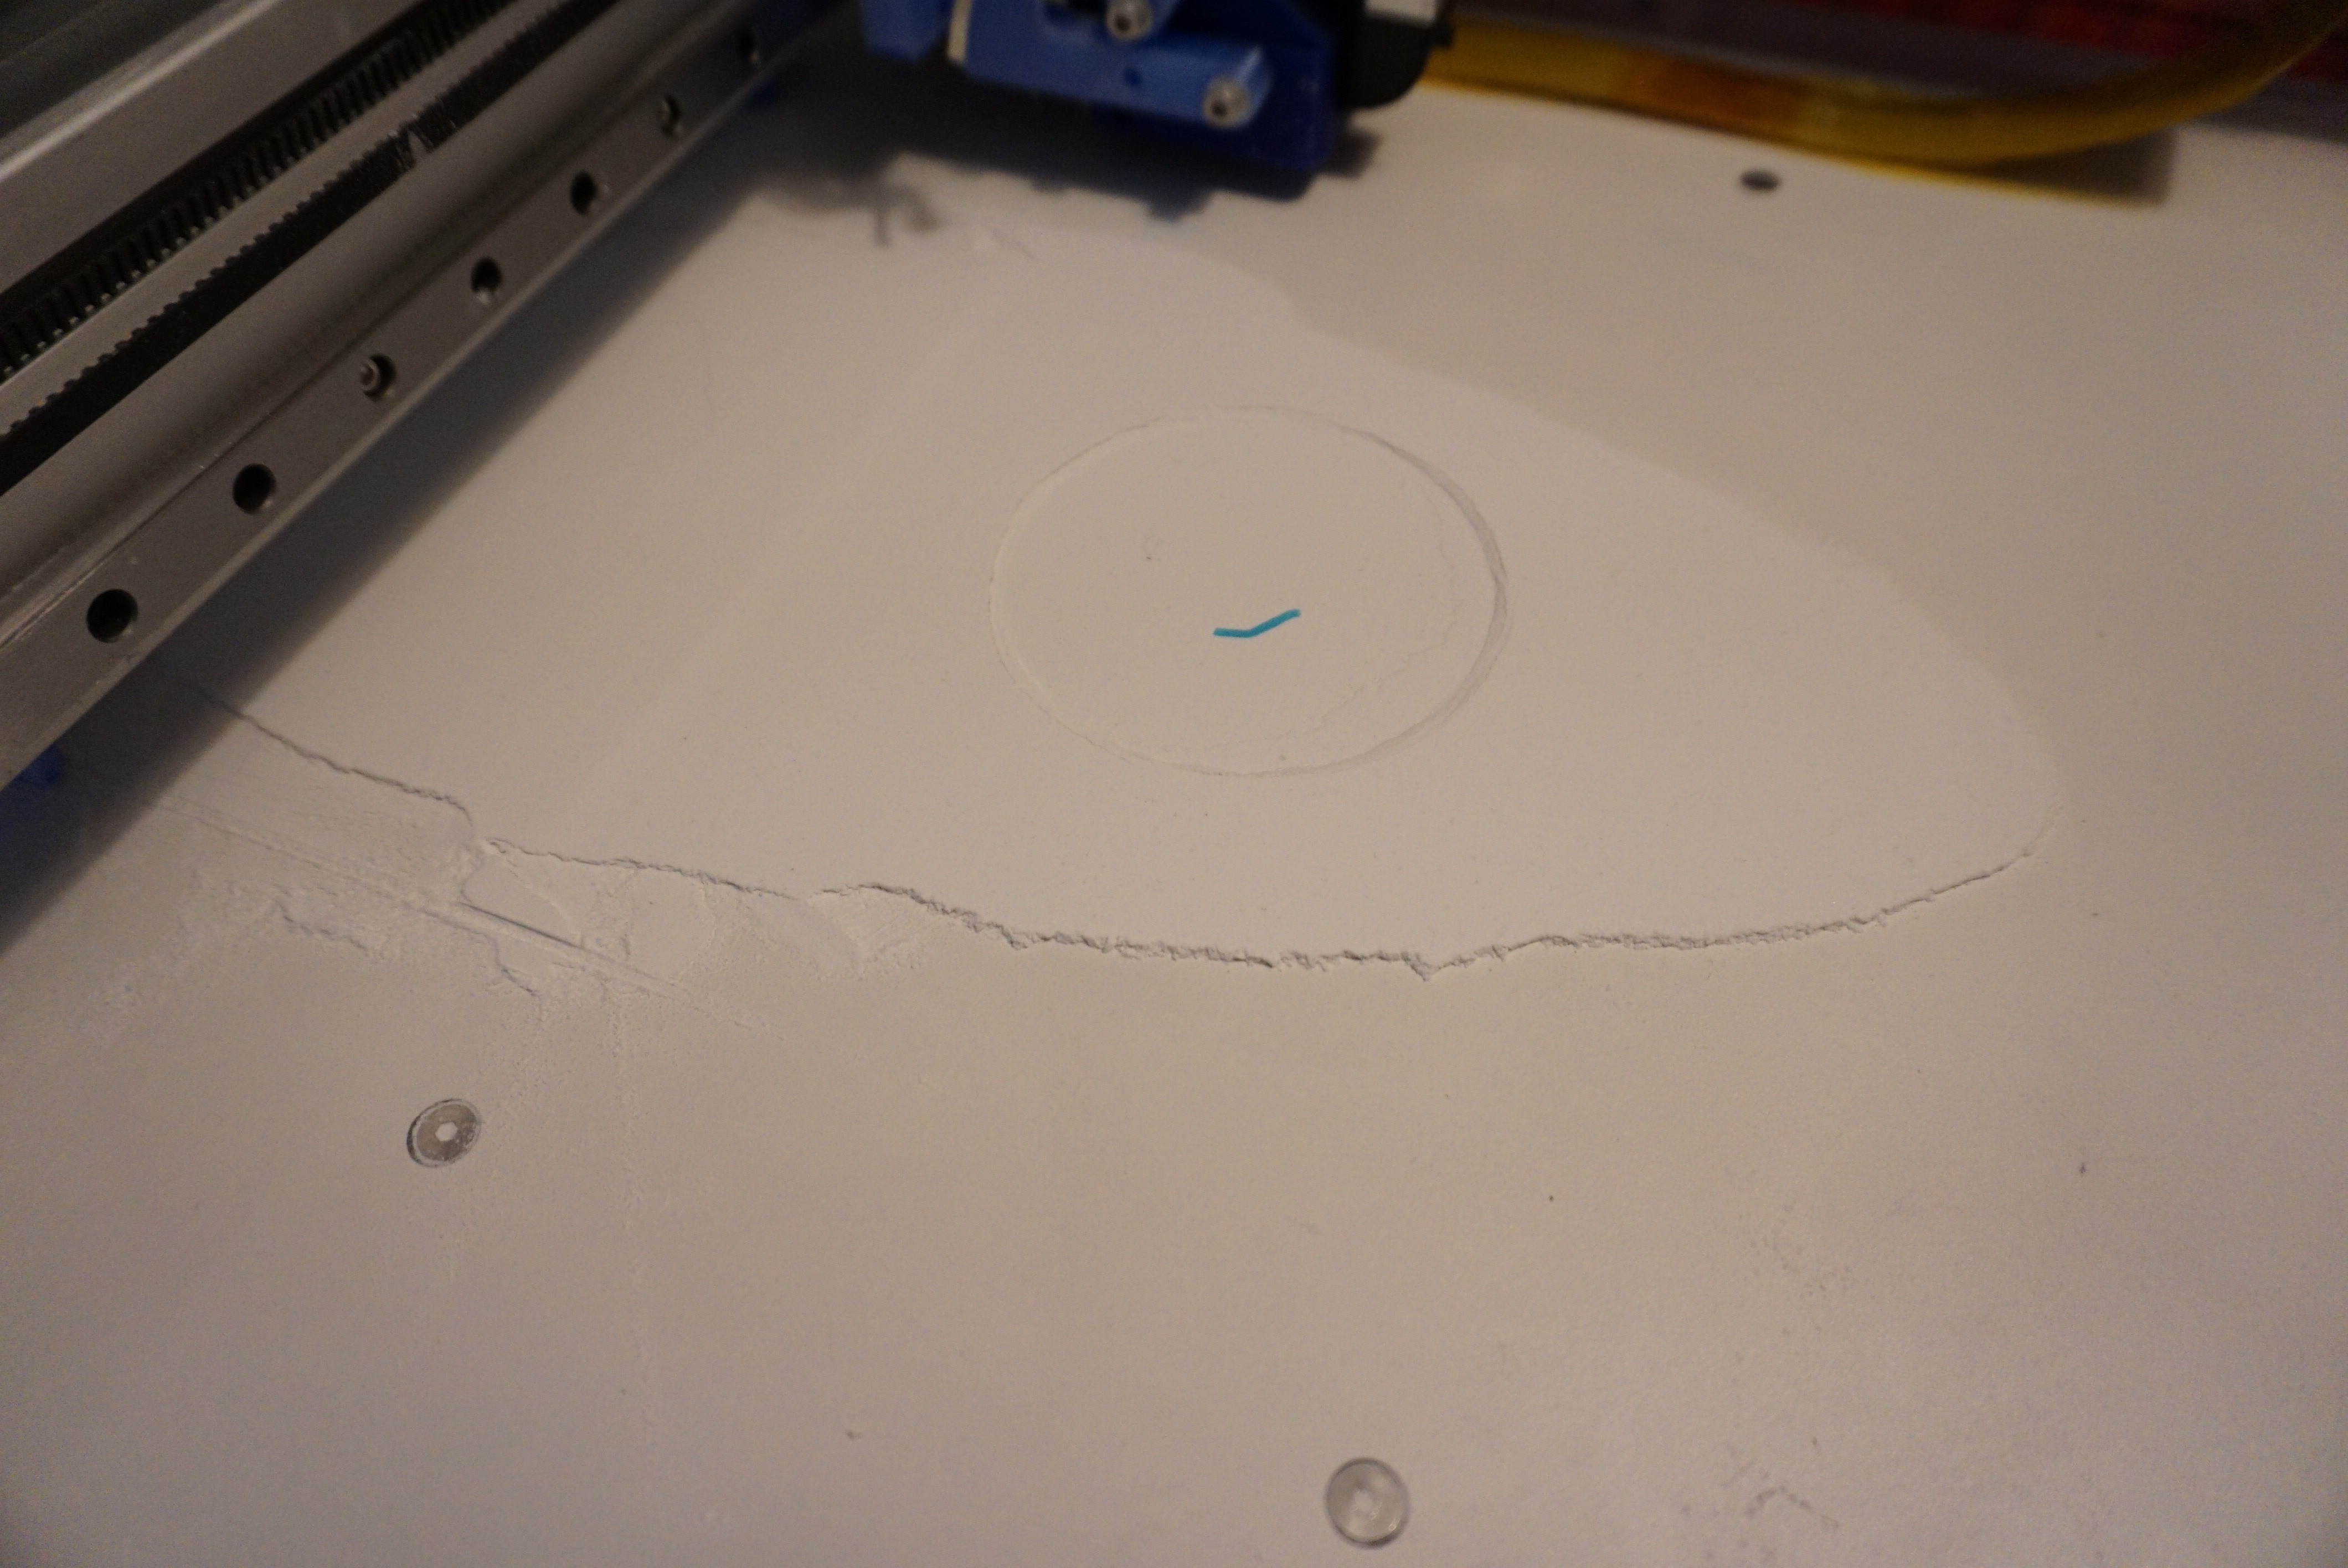
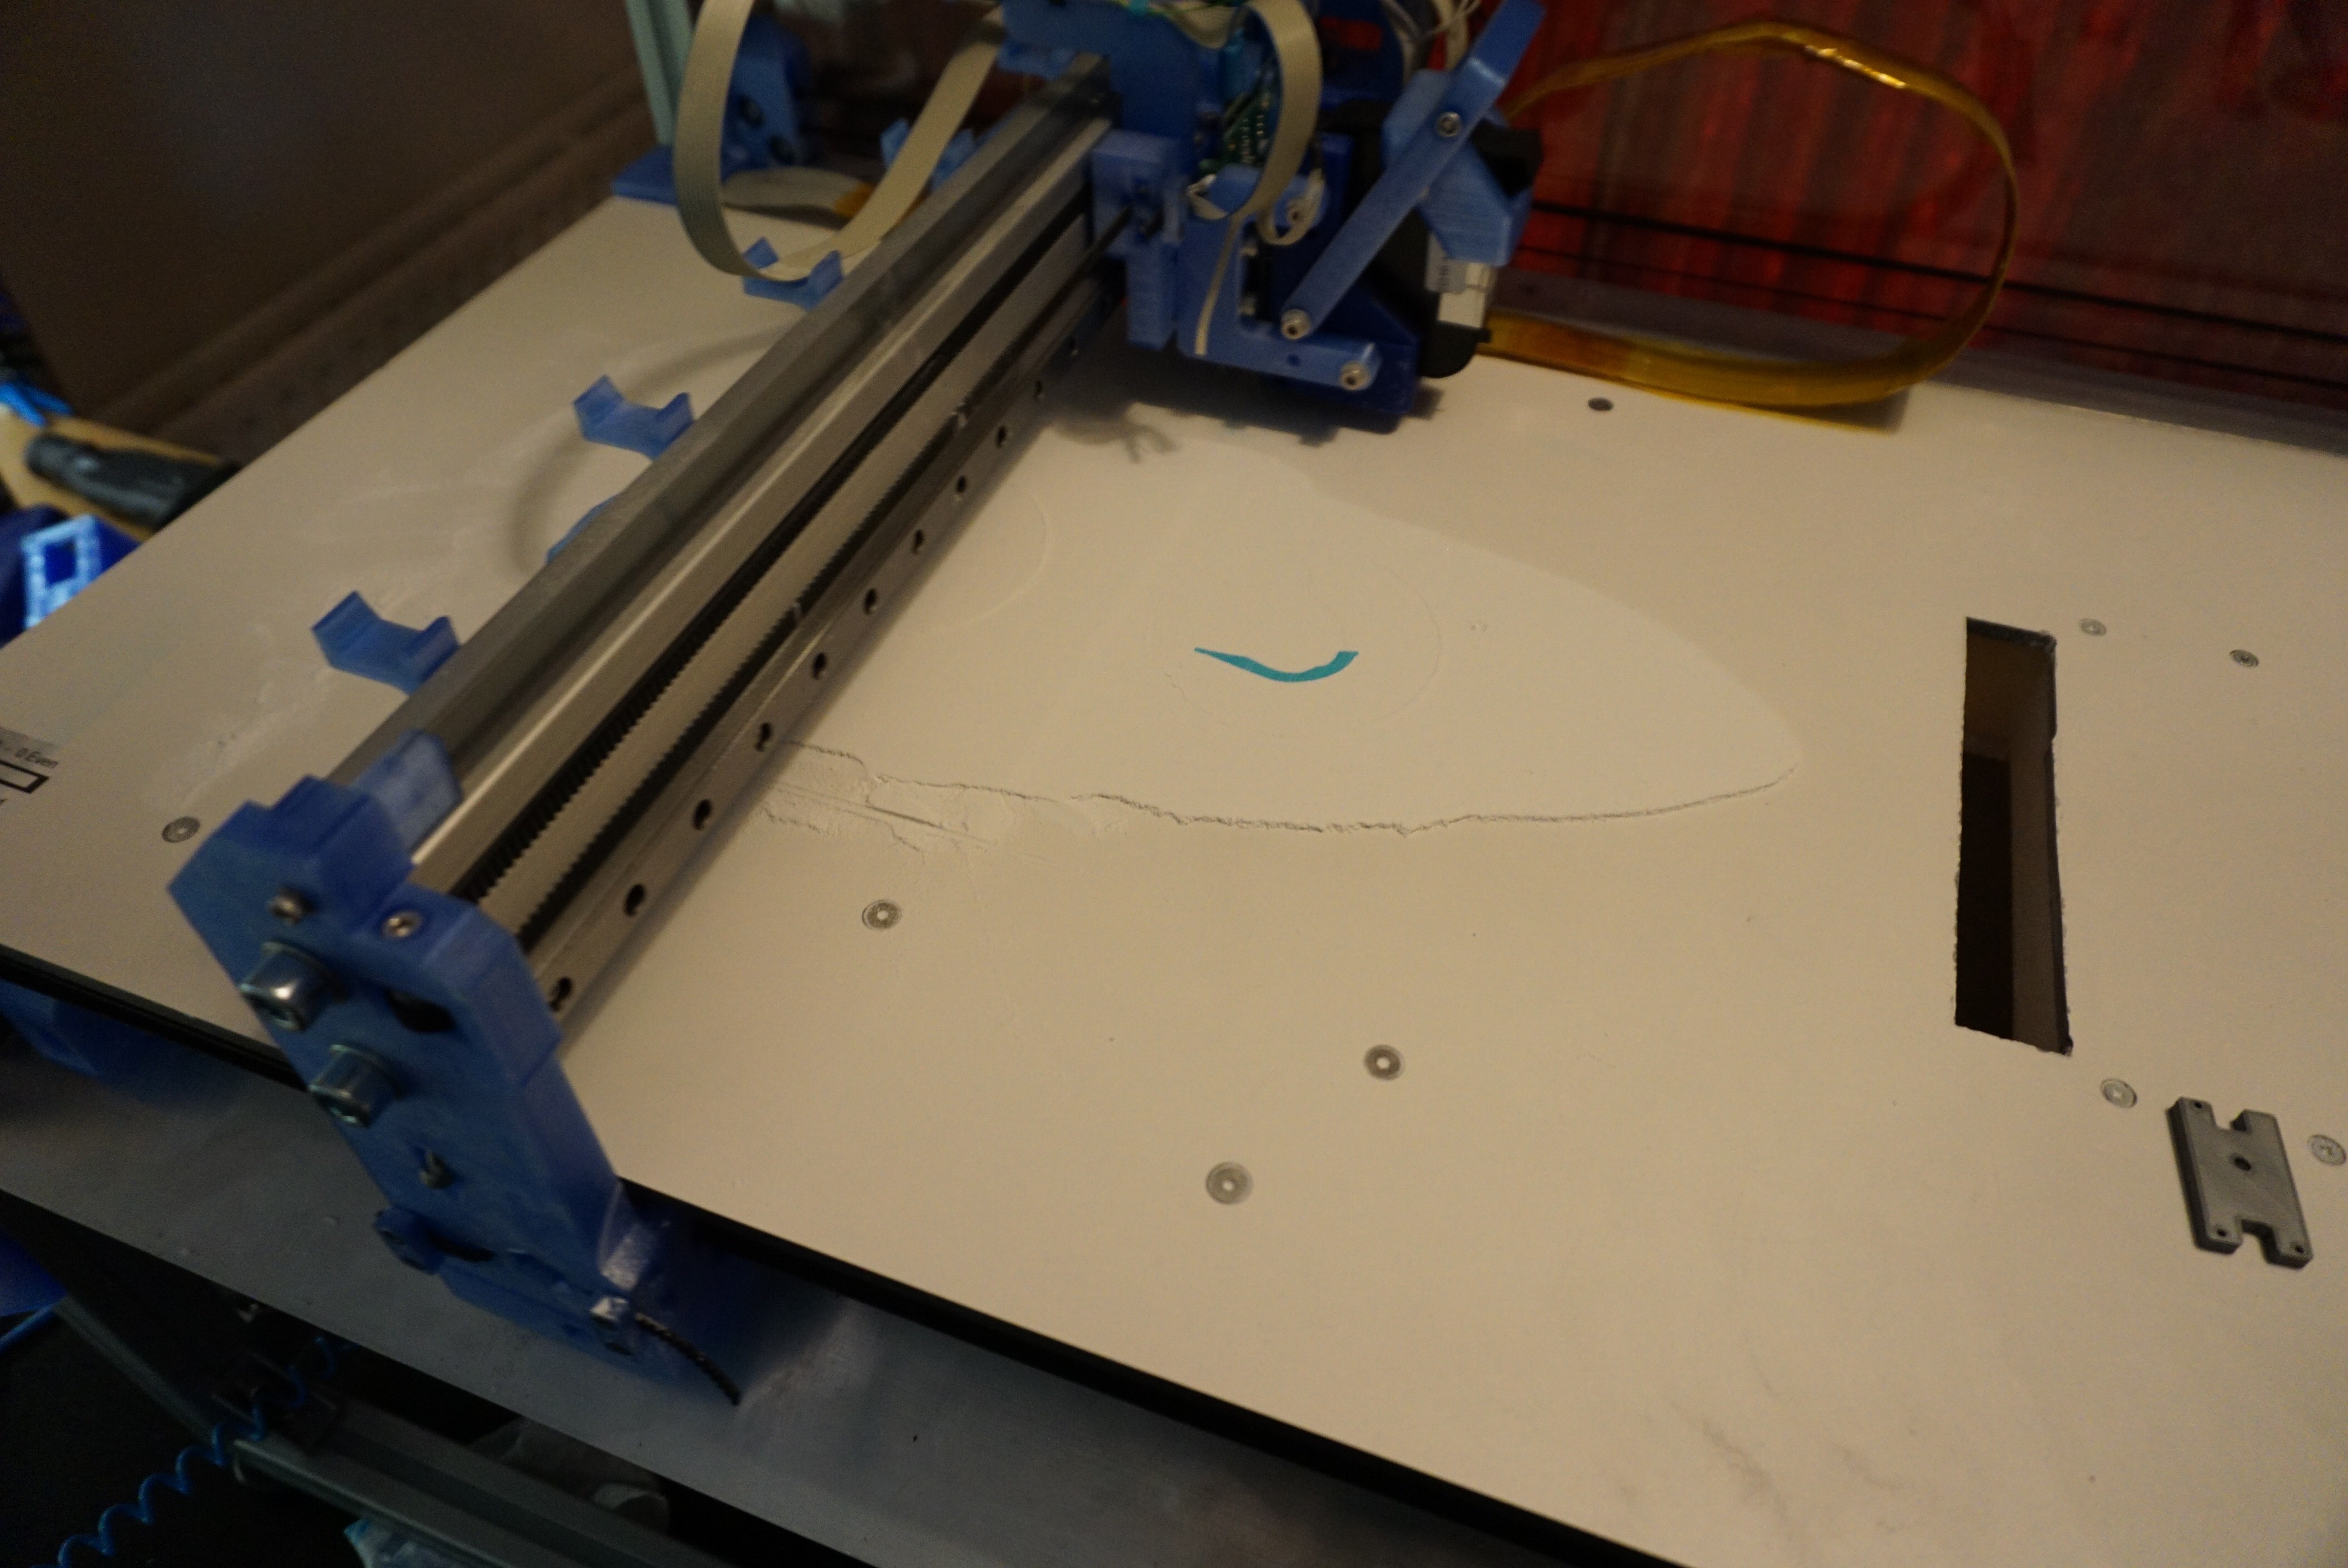
- Now input a value of 0.2-0.5 in the new layer box and press 'prime layer'. The printer should smooth out the layer.
- Redistribute any powder so the feed and build area have no holes in it. When the layer is smooth, the printer can be started.
- Clean the printhead with a damp paper towel until you see ink on the towel, then dry it with a dry paper towel. Make sure no ink sticks to the head.
One last tip. As long as Oasis is not capable of knowing where it feed piston is, use a wooden skewer to gauge how deep the piston is.
![]()
![]()
![]()
![]()
![]()
![]()
-
13Printing a part
This step does not require much, since the printer does most of the work.
Make sure the print area is prepared, the software is running and connected to both the motion driver and the printhead, and the file is loaded. There are 2 setting we are interested in before printing:
- DPI: The resolution the printer will print at. In an ideal world, this should be as high as possible, but for Oasis, right now, it needs to be a bit lower sometimes. Higher resolutions mean the loading of a new image takes longer and that the printer might not be able to send the whole line to the printhead. Rule of thumb is 1.5" (40mm) sweep size for 600DPI, 3" (80mm) for 300DPI. This might not be a problem for your print, but the software can stop if it is configured wrong.
- Density. How much binder the printer deposits in the powder, based on the printhead resolution. At 100%, the printer will deposit 600 droplets of ink, per nozzle, per inch of print area. Depending on the powder this may be either too much or too little. I right now, at layer heights of 0.2mm, print at 110-120%. The printer should deposit enough binder to bind, but not any more. Too much binder means the part stays wet after printing, making post processing difficult.
When everything is prepared and configured, hit 'print'. The printer will now home and start printing. Some things to look out for during printing.
- If you see streaks with less ink, stop the print and clean the printhead better. It means that not all nozzles can fire properly. While you can finish a decent print with this, you risk droplets of ink dangling from under the printhead. Once these hit the powder, the print is ruined.
- While Oasis is not capable of raising the spreader, it will pull back some powder during new layer movements. This is not disastrous, but is on the list of future improvements.
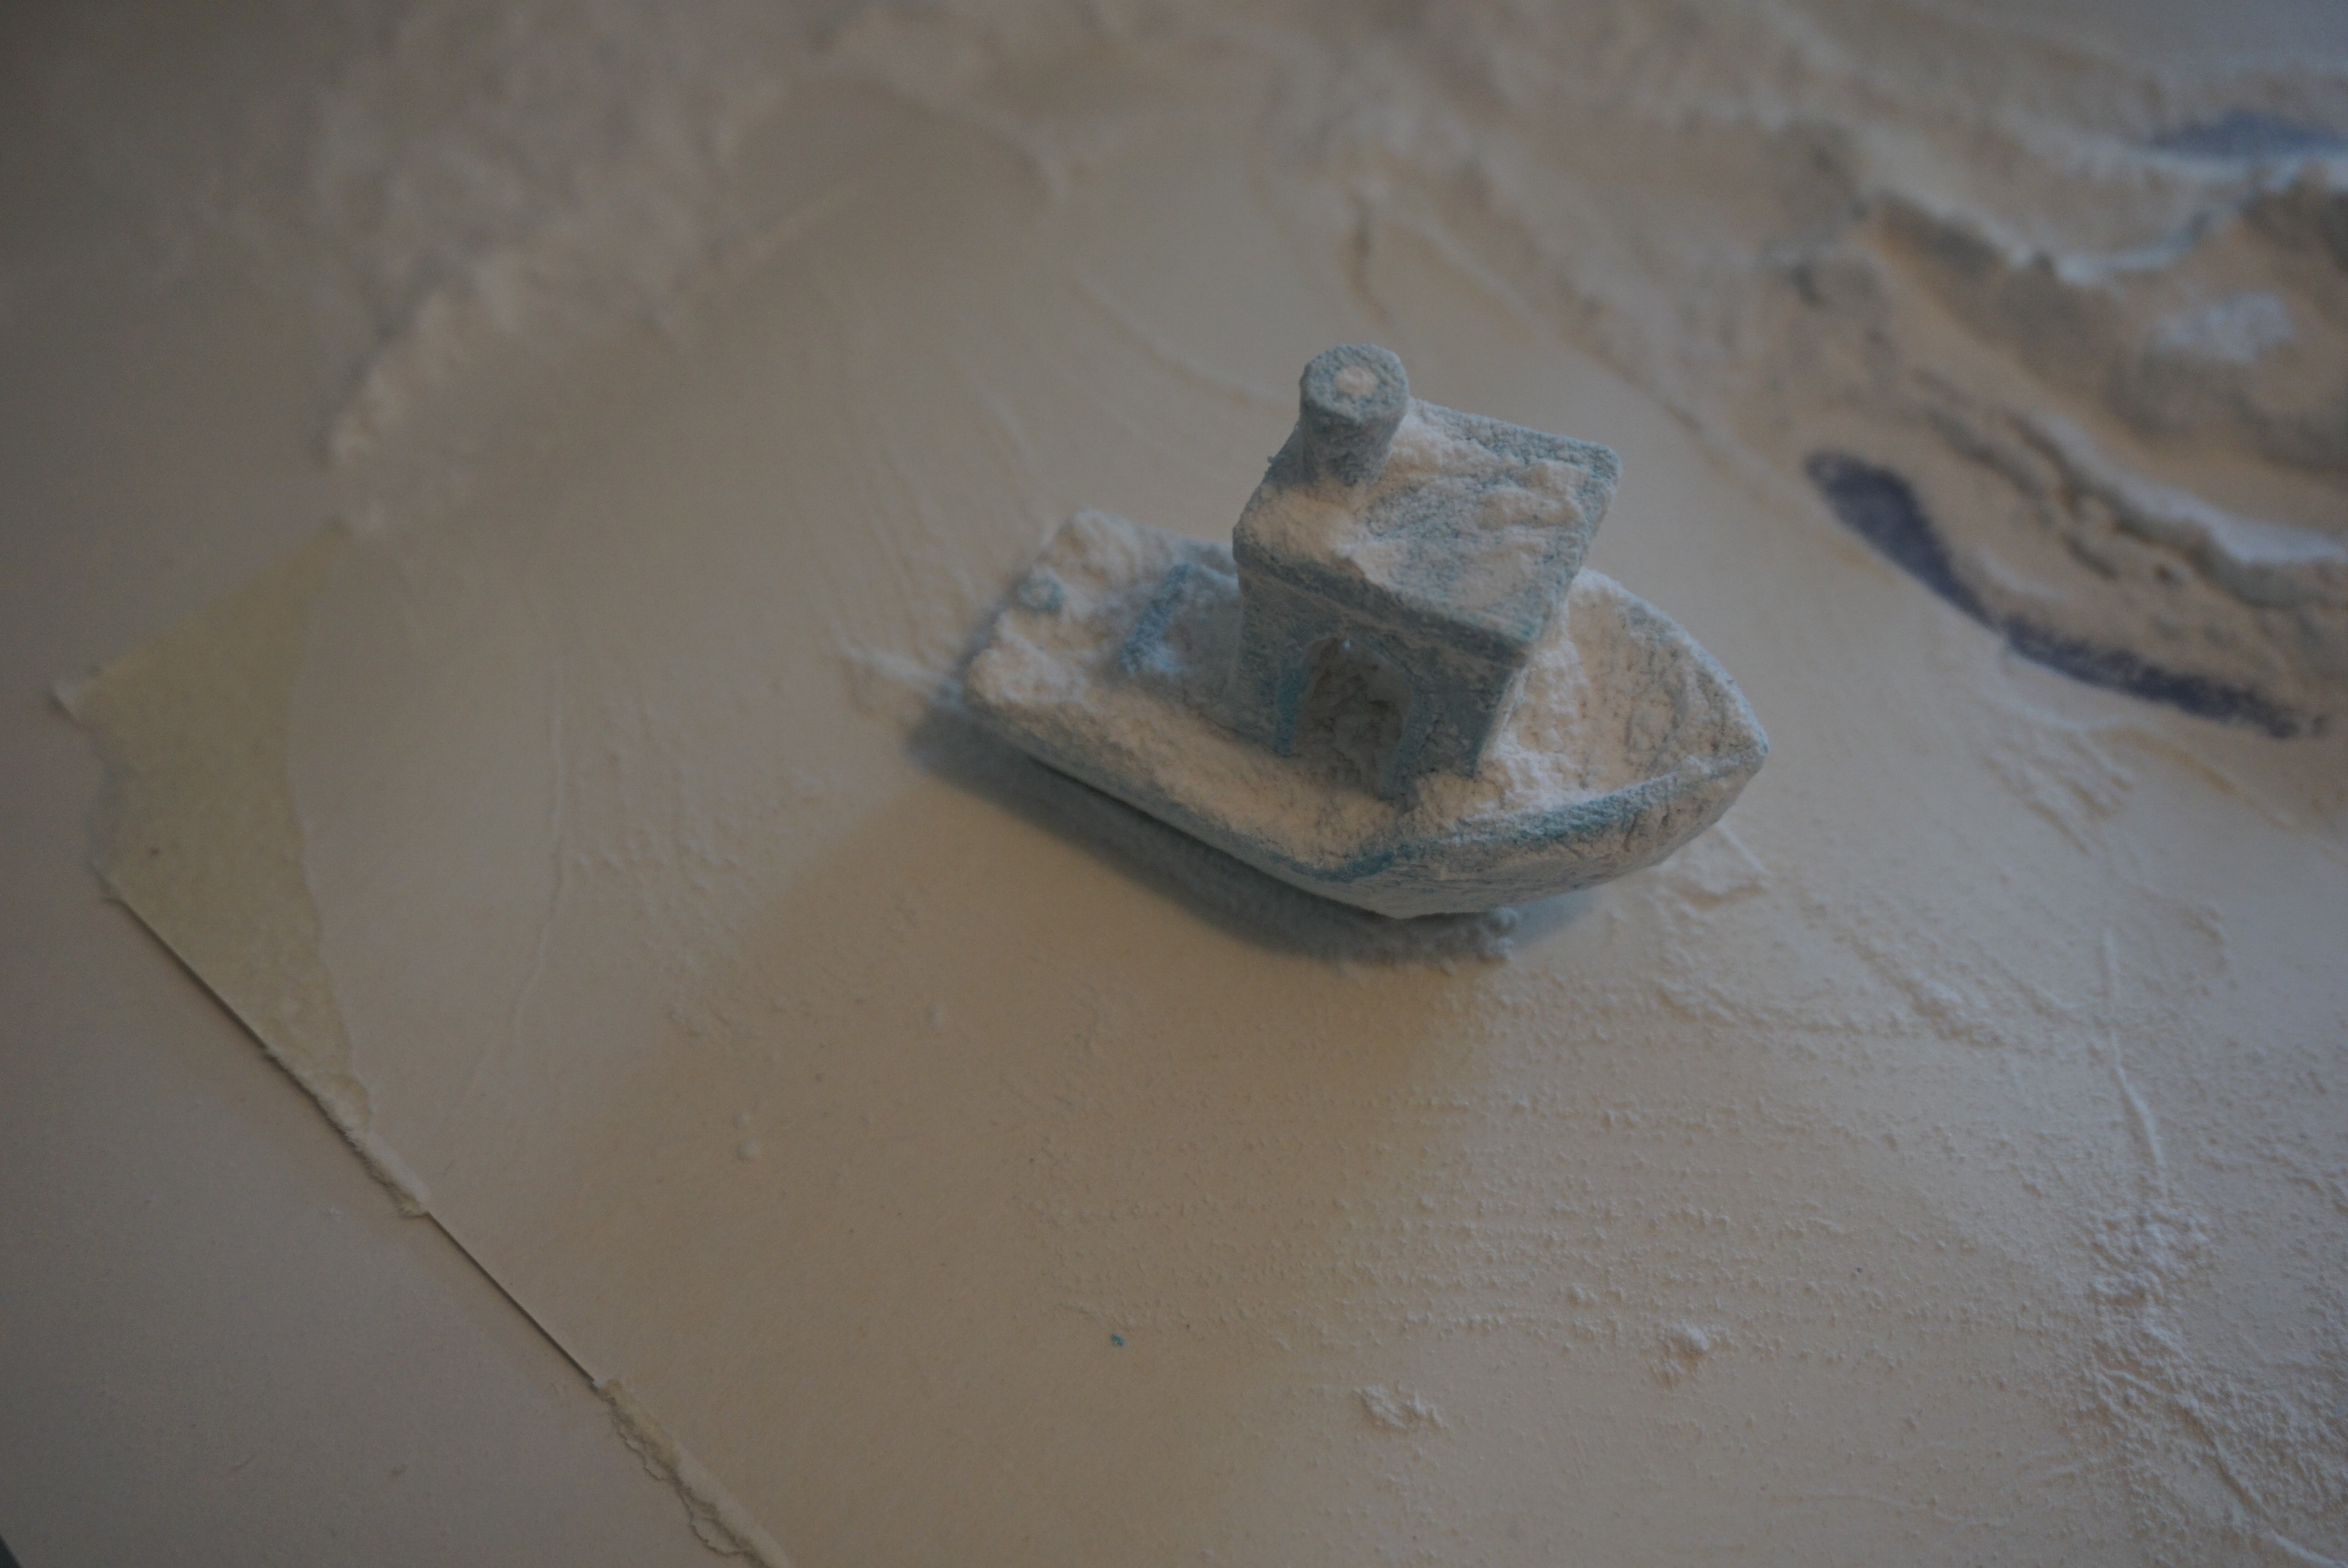
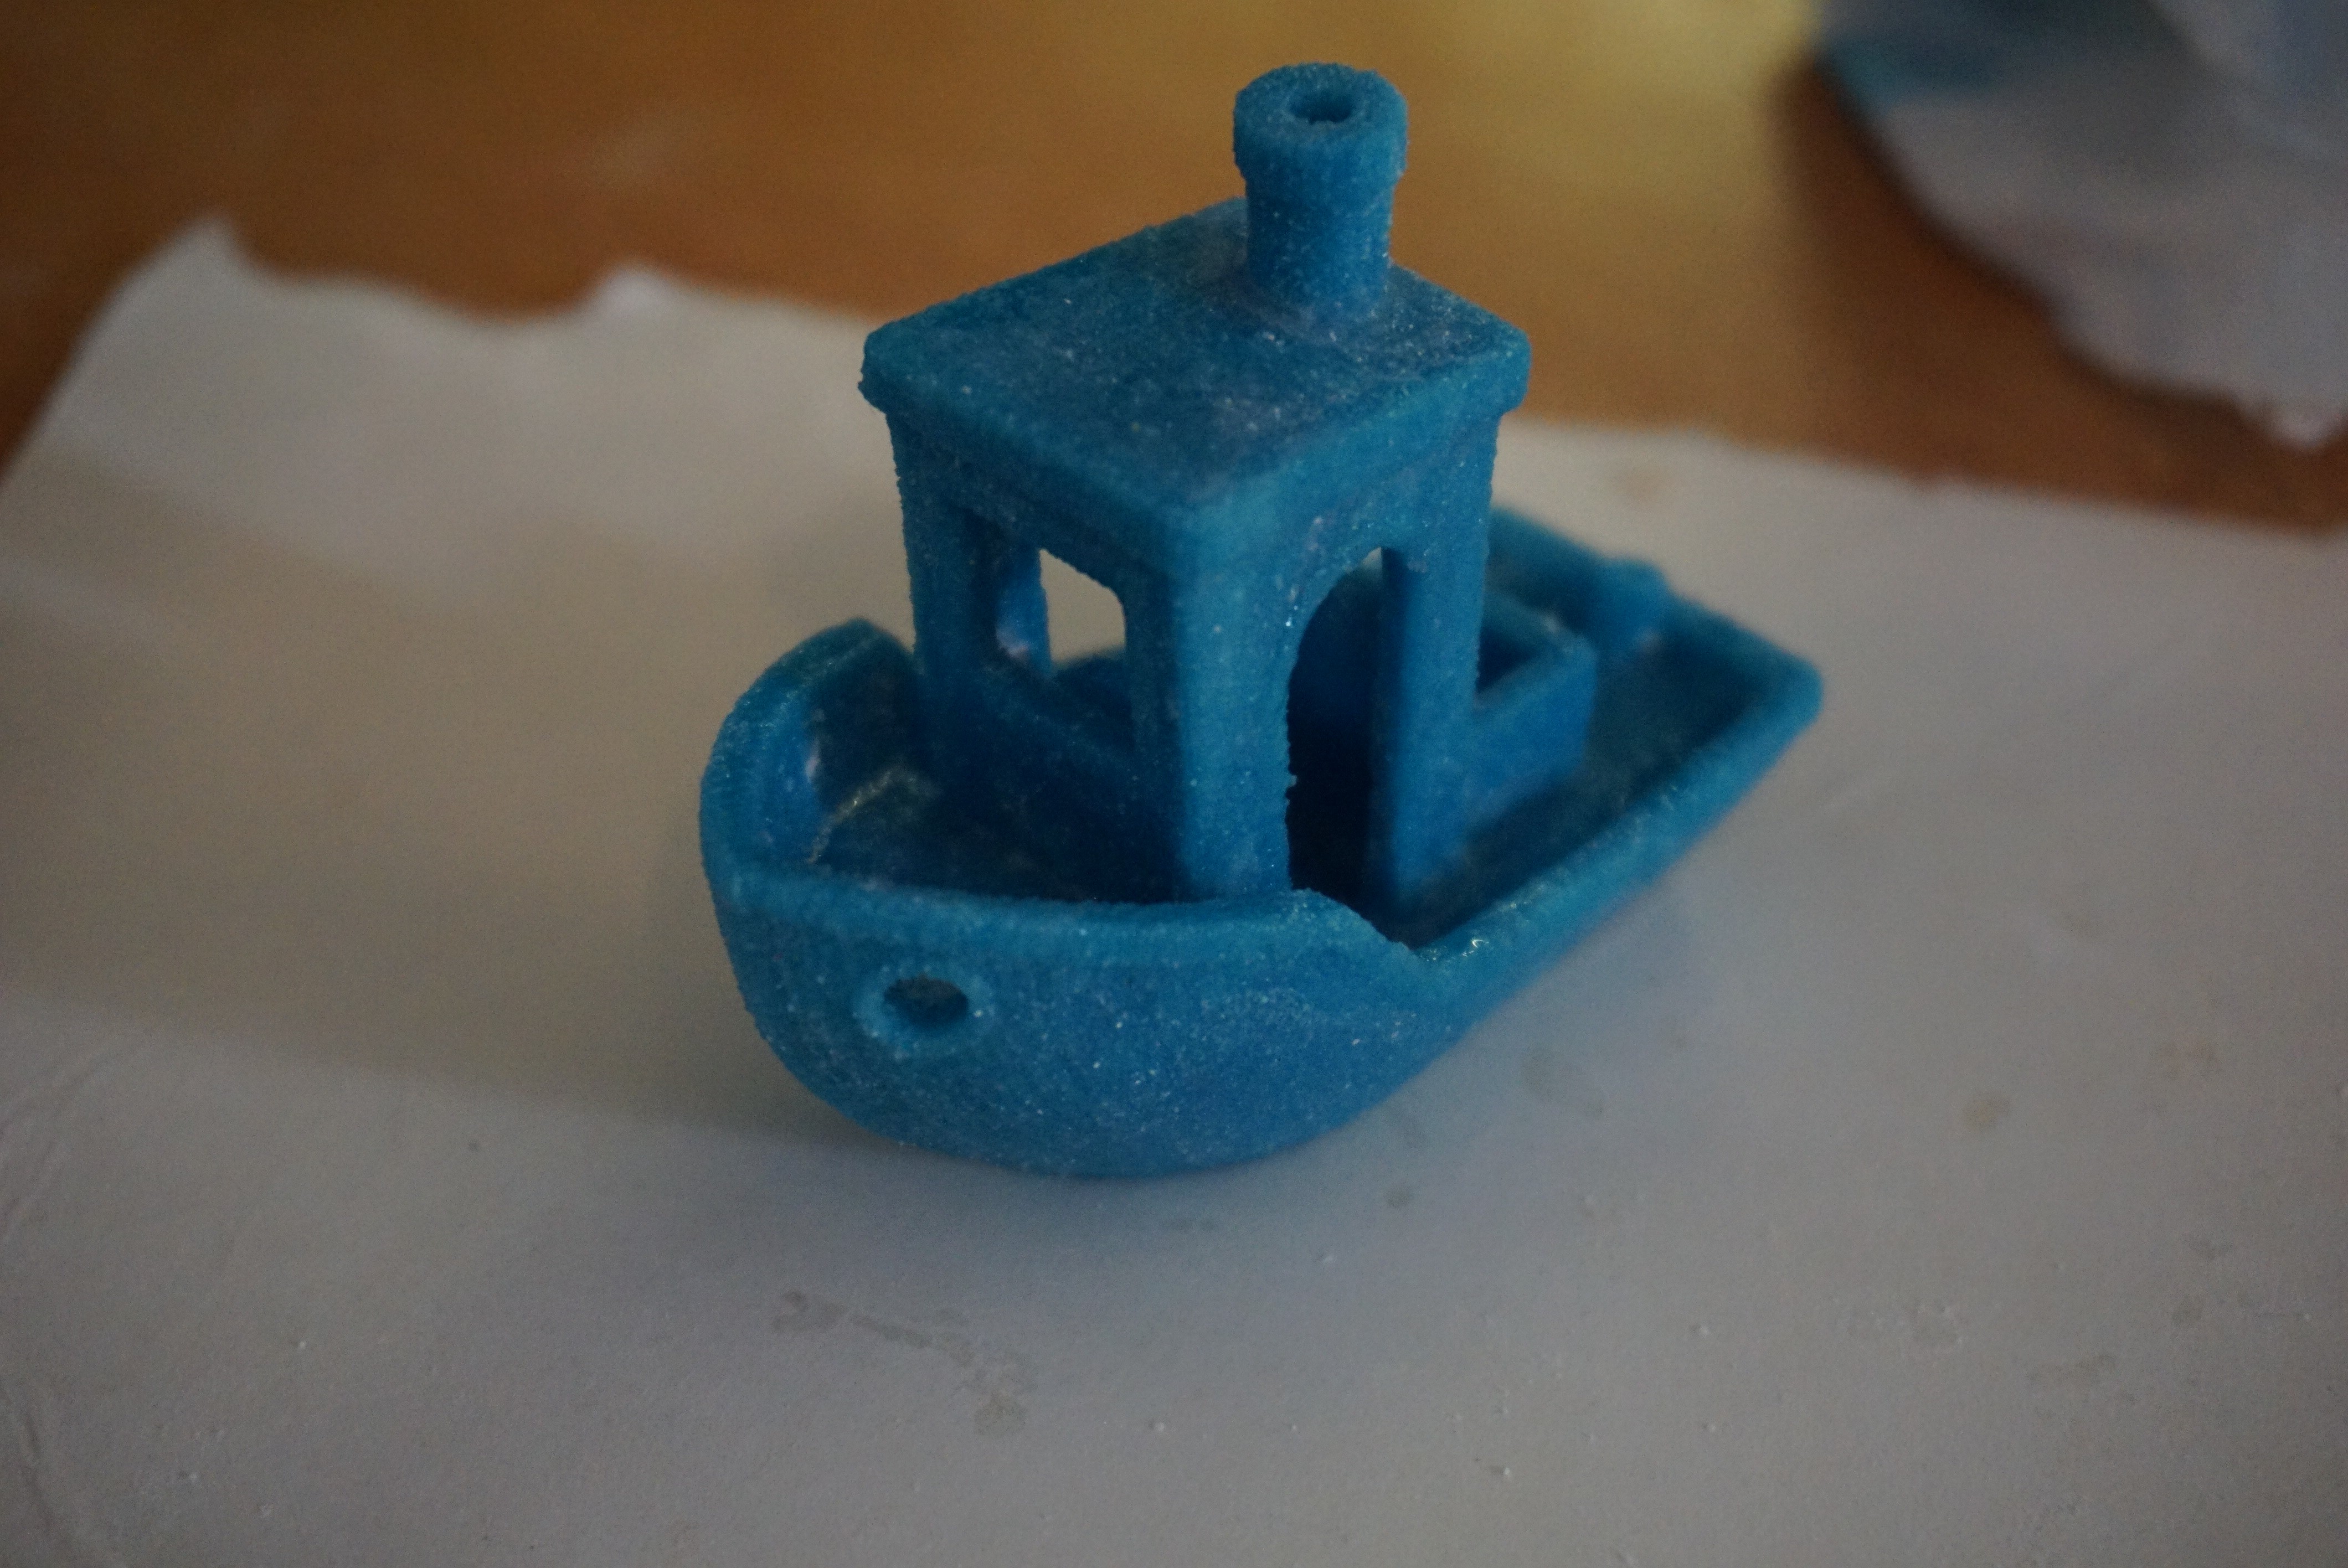
Can you guess what it is I am printing?
![]()
![]()
![]()
If you guessed inflatable bicycle, you guessed wrong. It is a Benchy, printed on its side. Oasis cares little about orientation, and this way it uses up the least Z-height, saving powder. It took around an hour to print it. About 25 minutes of that is depositing new layers (150 layers, 10 seconds each).
Official Z-corp documentation advises to let the print dry for around an hour. When I print at night, I tend to leave the print to dry overnight. I still have to figure out how long I do need to wait exactly.
-
14Finishing a print
This step is a defining feature of 3DP. Cleaning a part. Our problem:
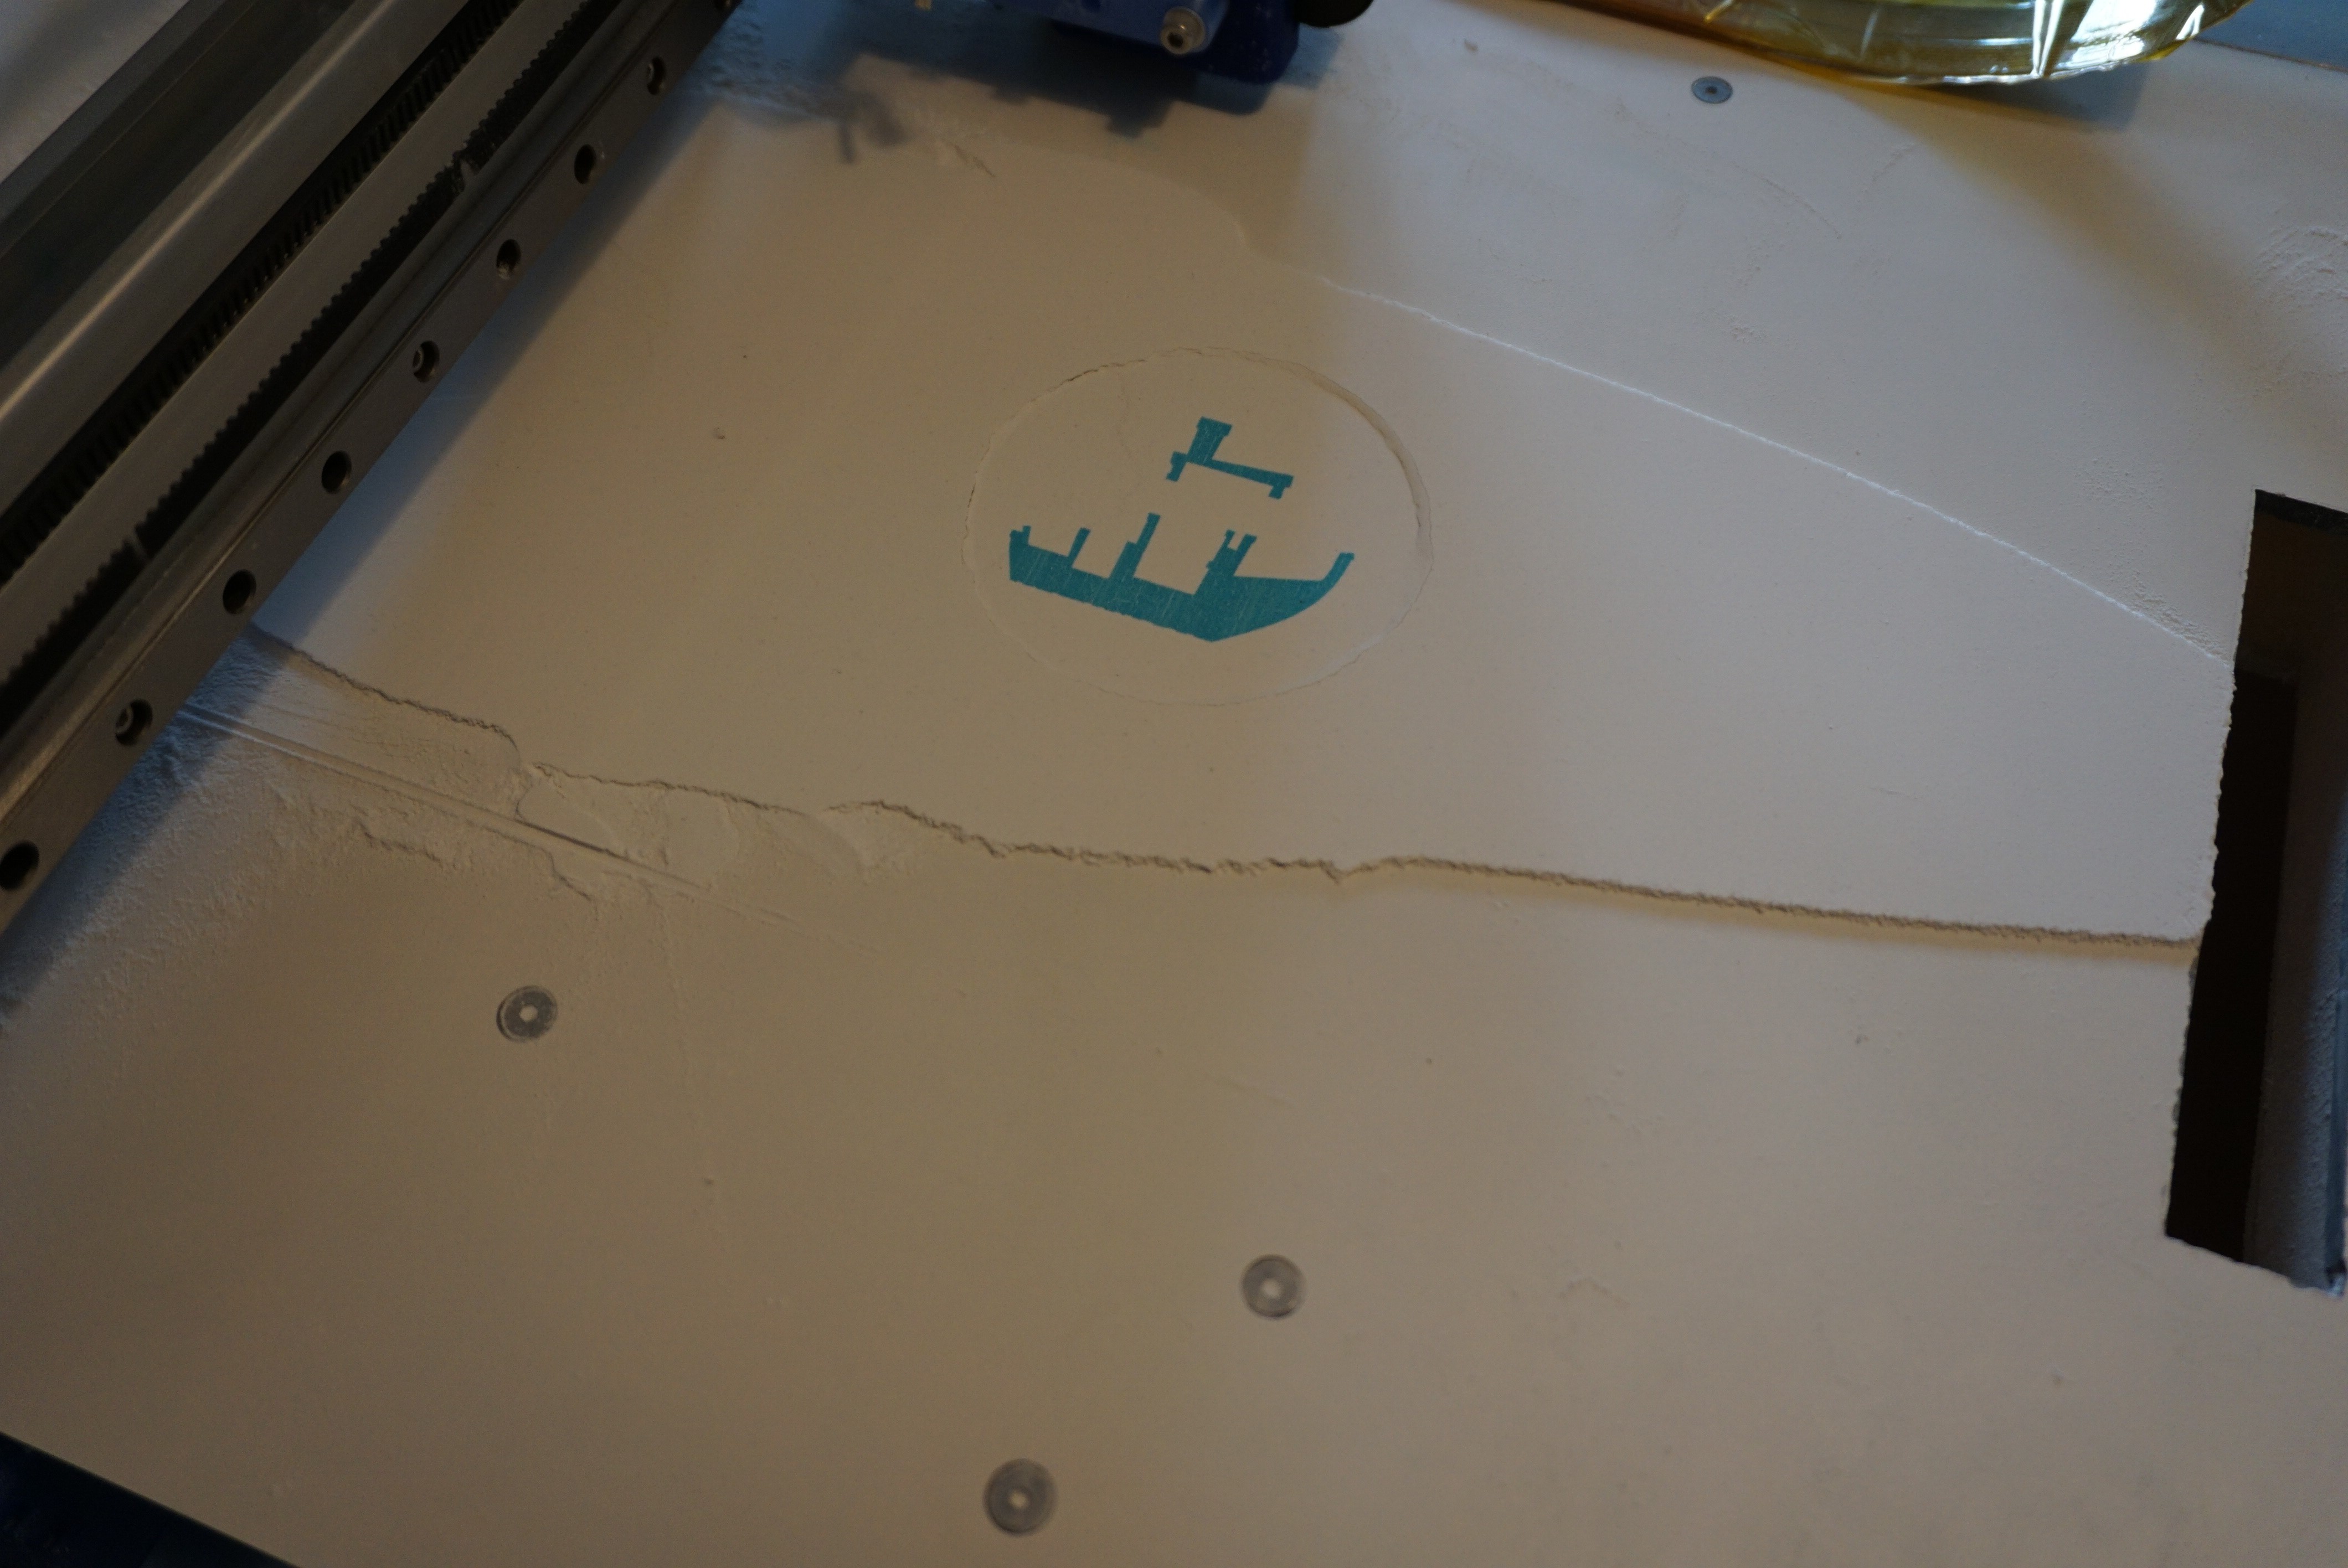
The part right now is in a block of gypsum. While the part itself is much stronger than the unbound powder, it is relatively weak. To make it stronger we have to infiltrate it, but before we can infiltrate it, it all unbound powder needs to be removed. Lets clean the Benchy printed in the previous step.
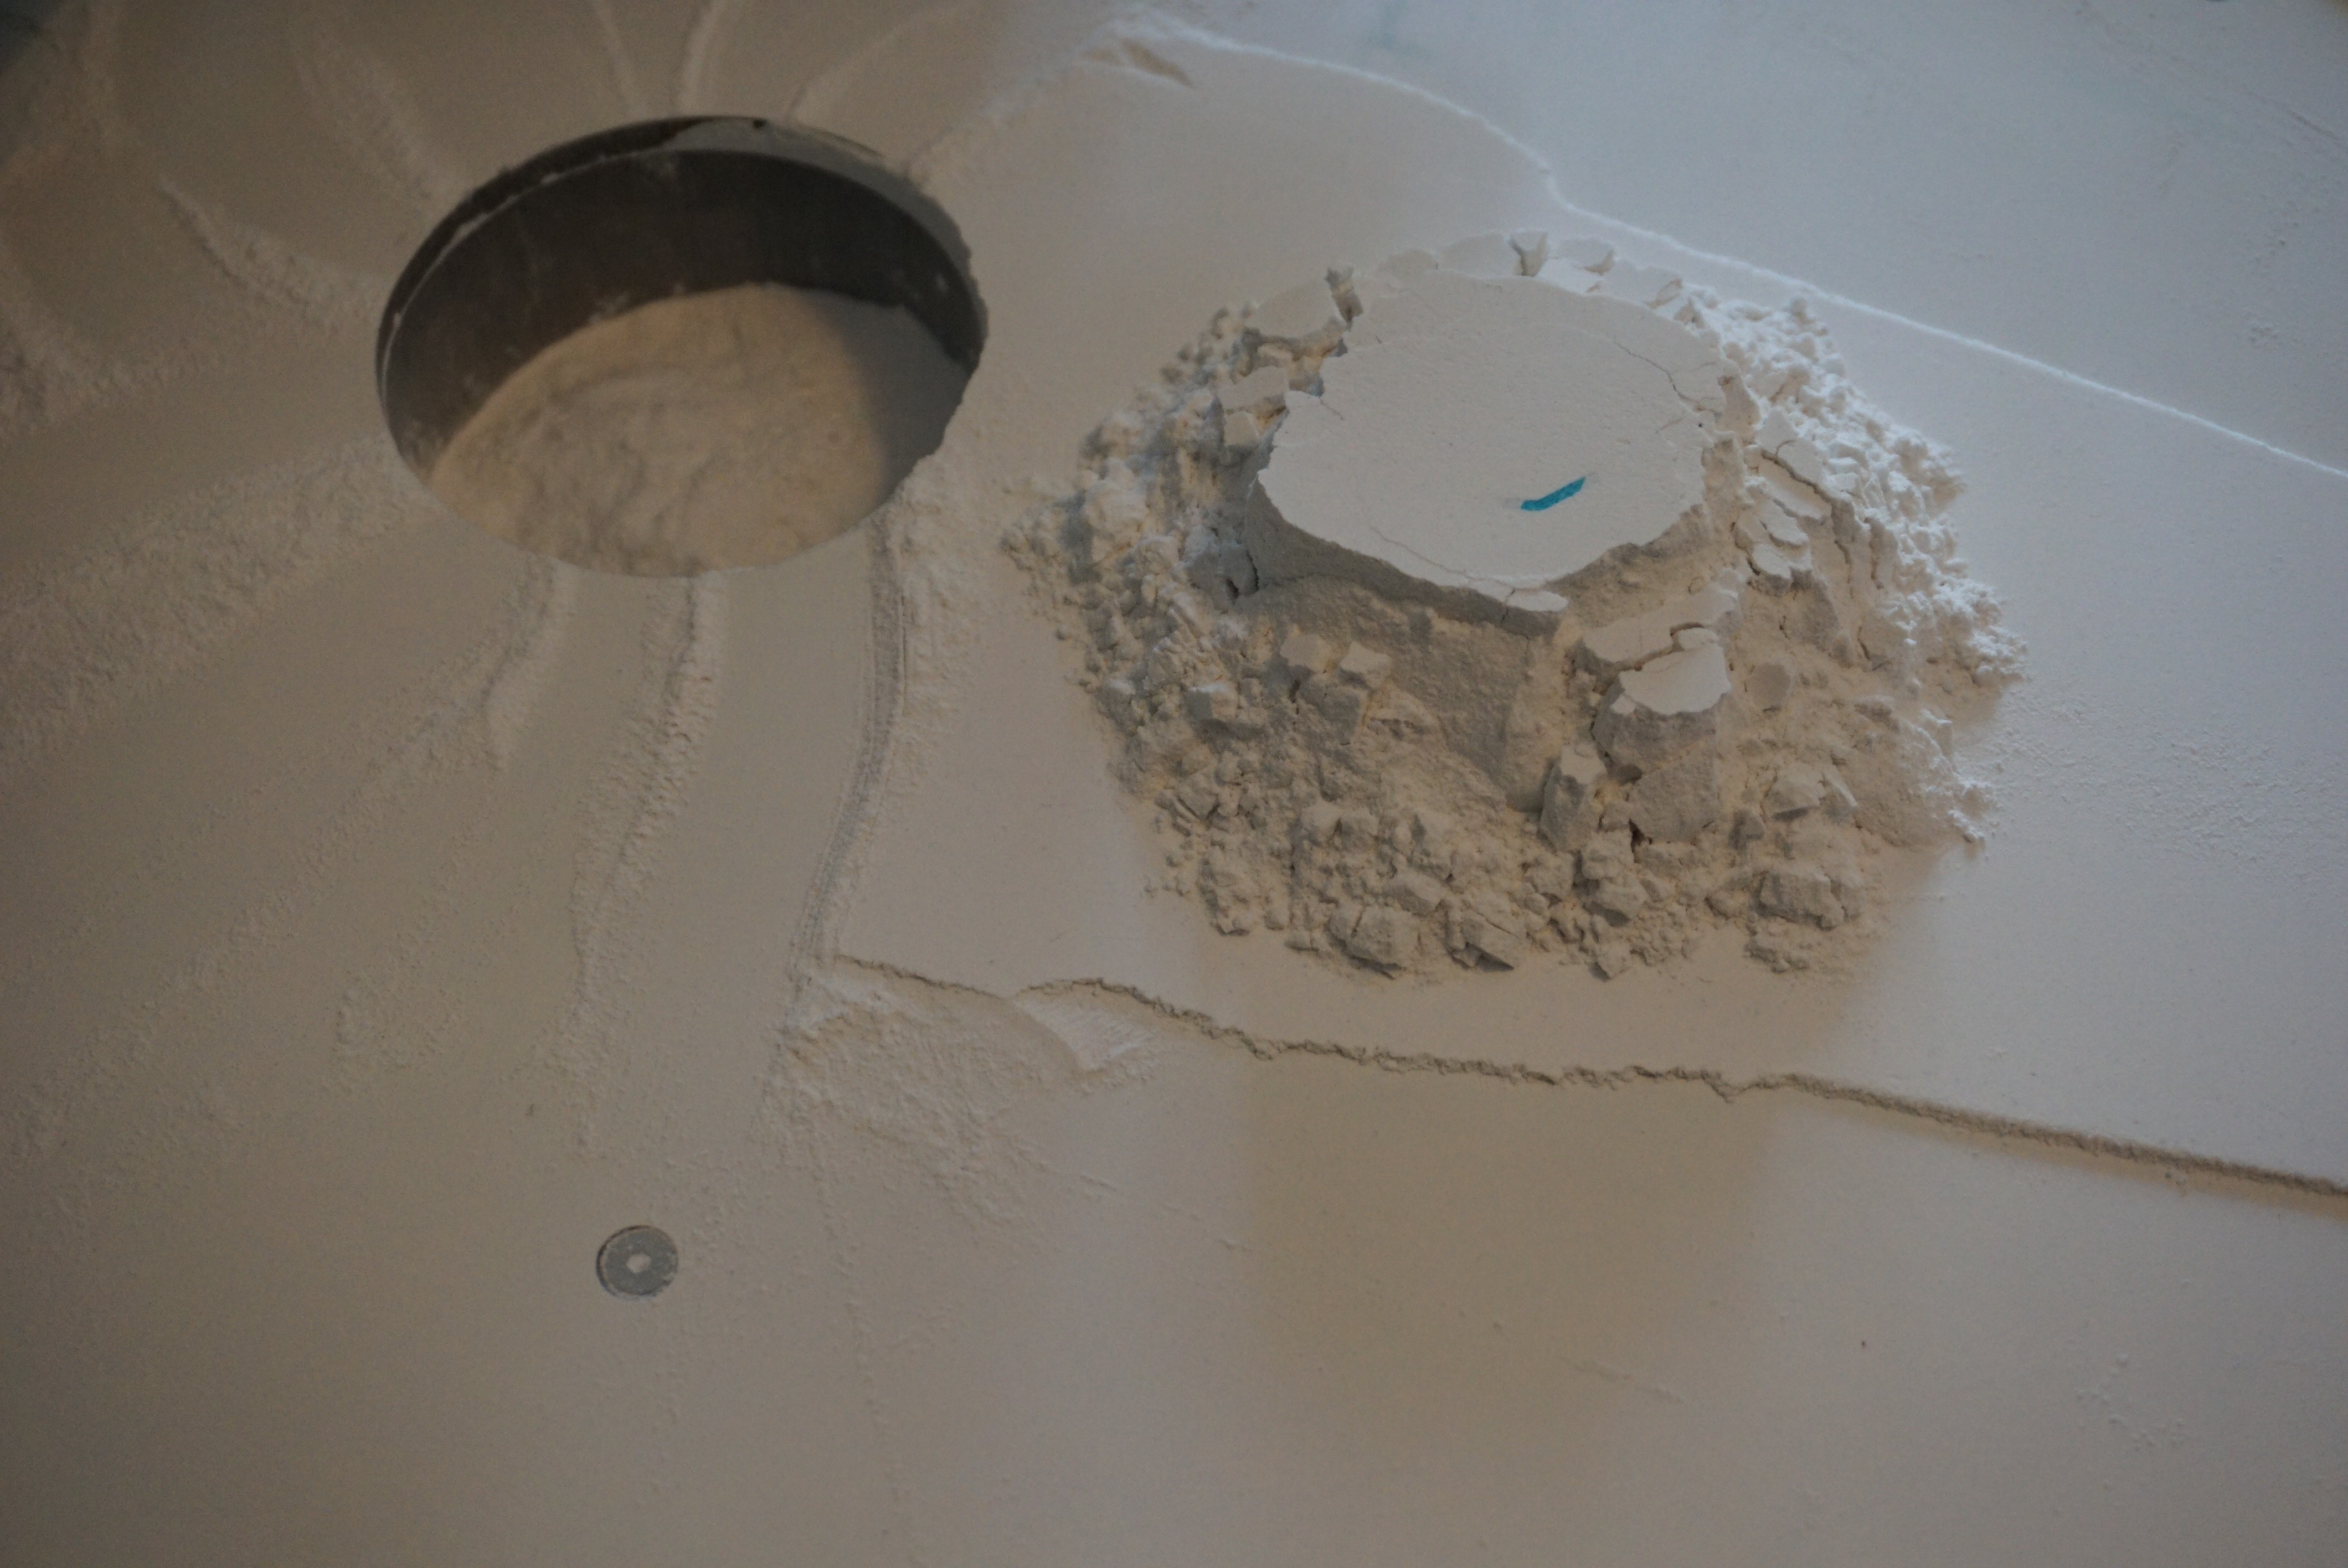
- Raise the build piston completely, and lower the feed piston so it can capture all unbound powder.
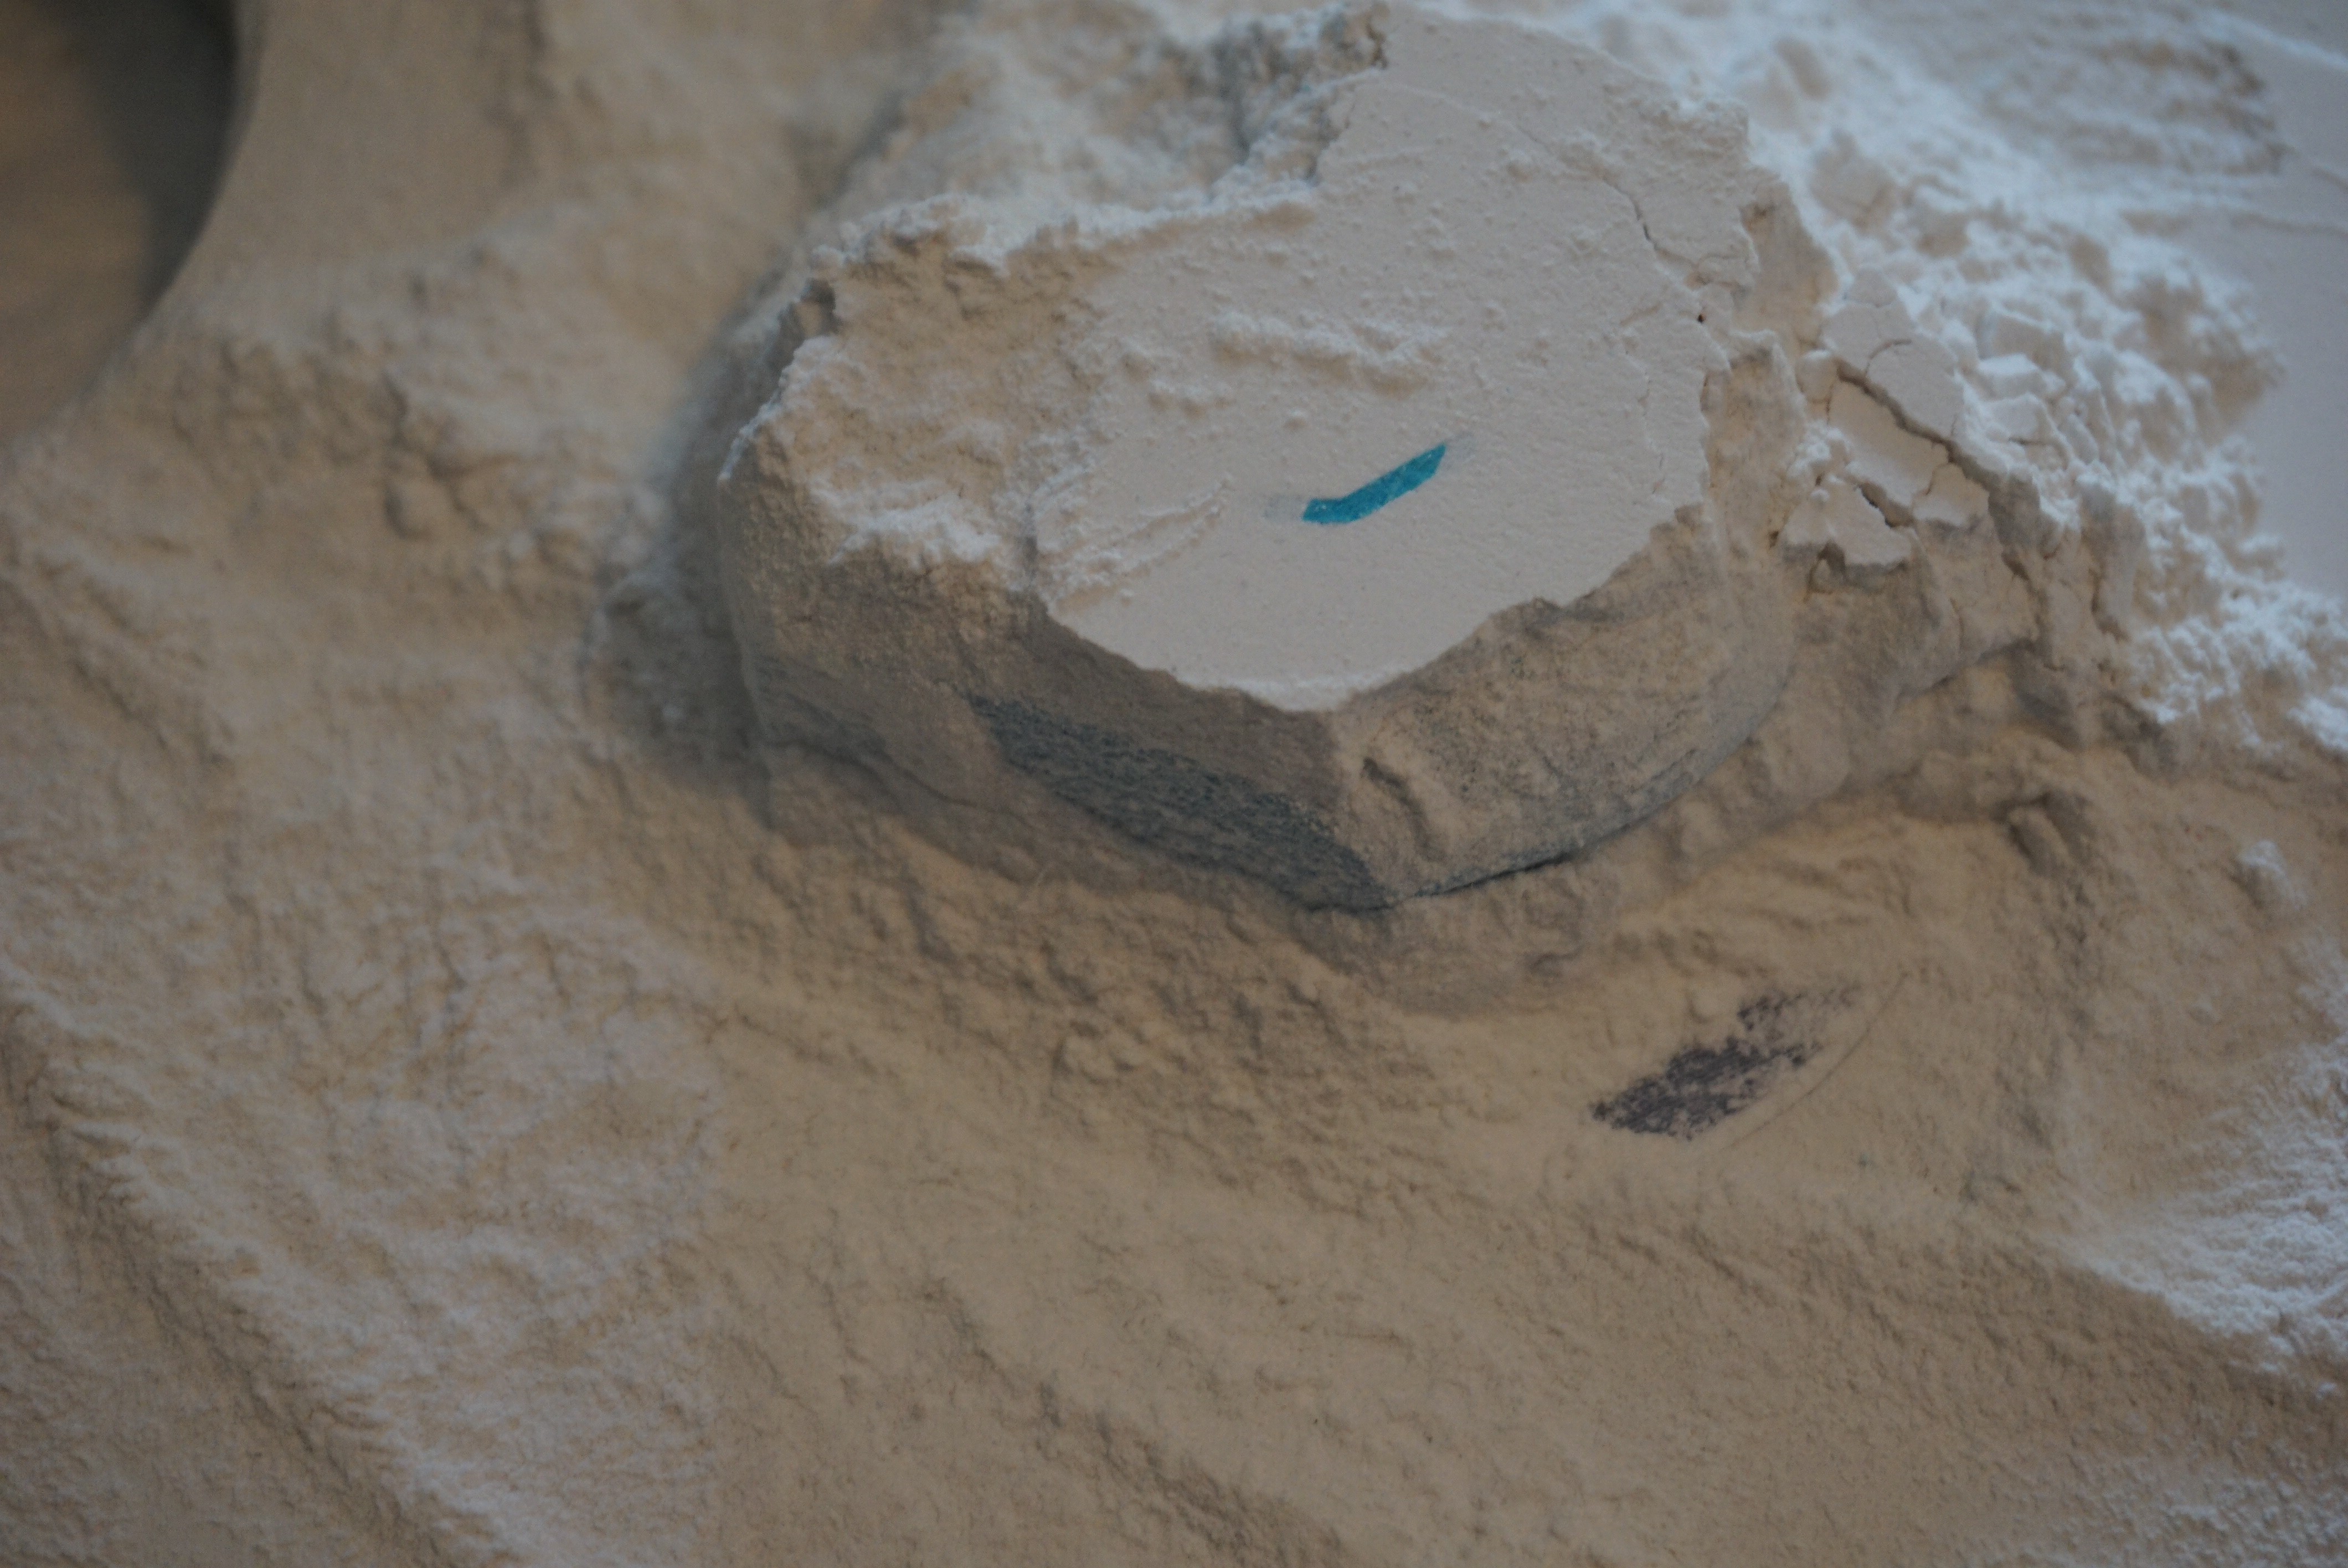
- Using a light brush, move the powder away from the print. Removing the powder from the bottom and letting the powder on the top fall down works best for me.
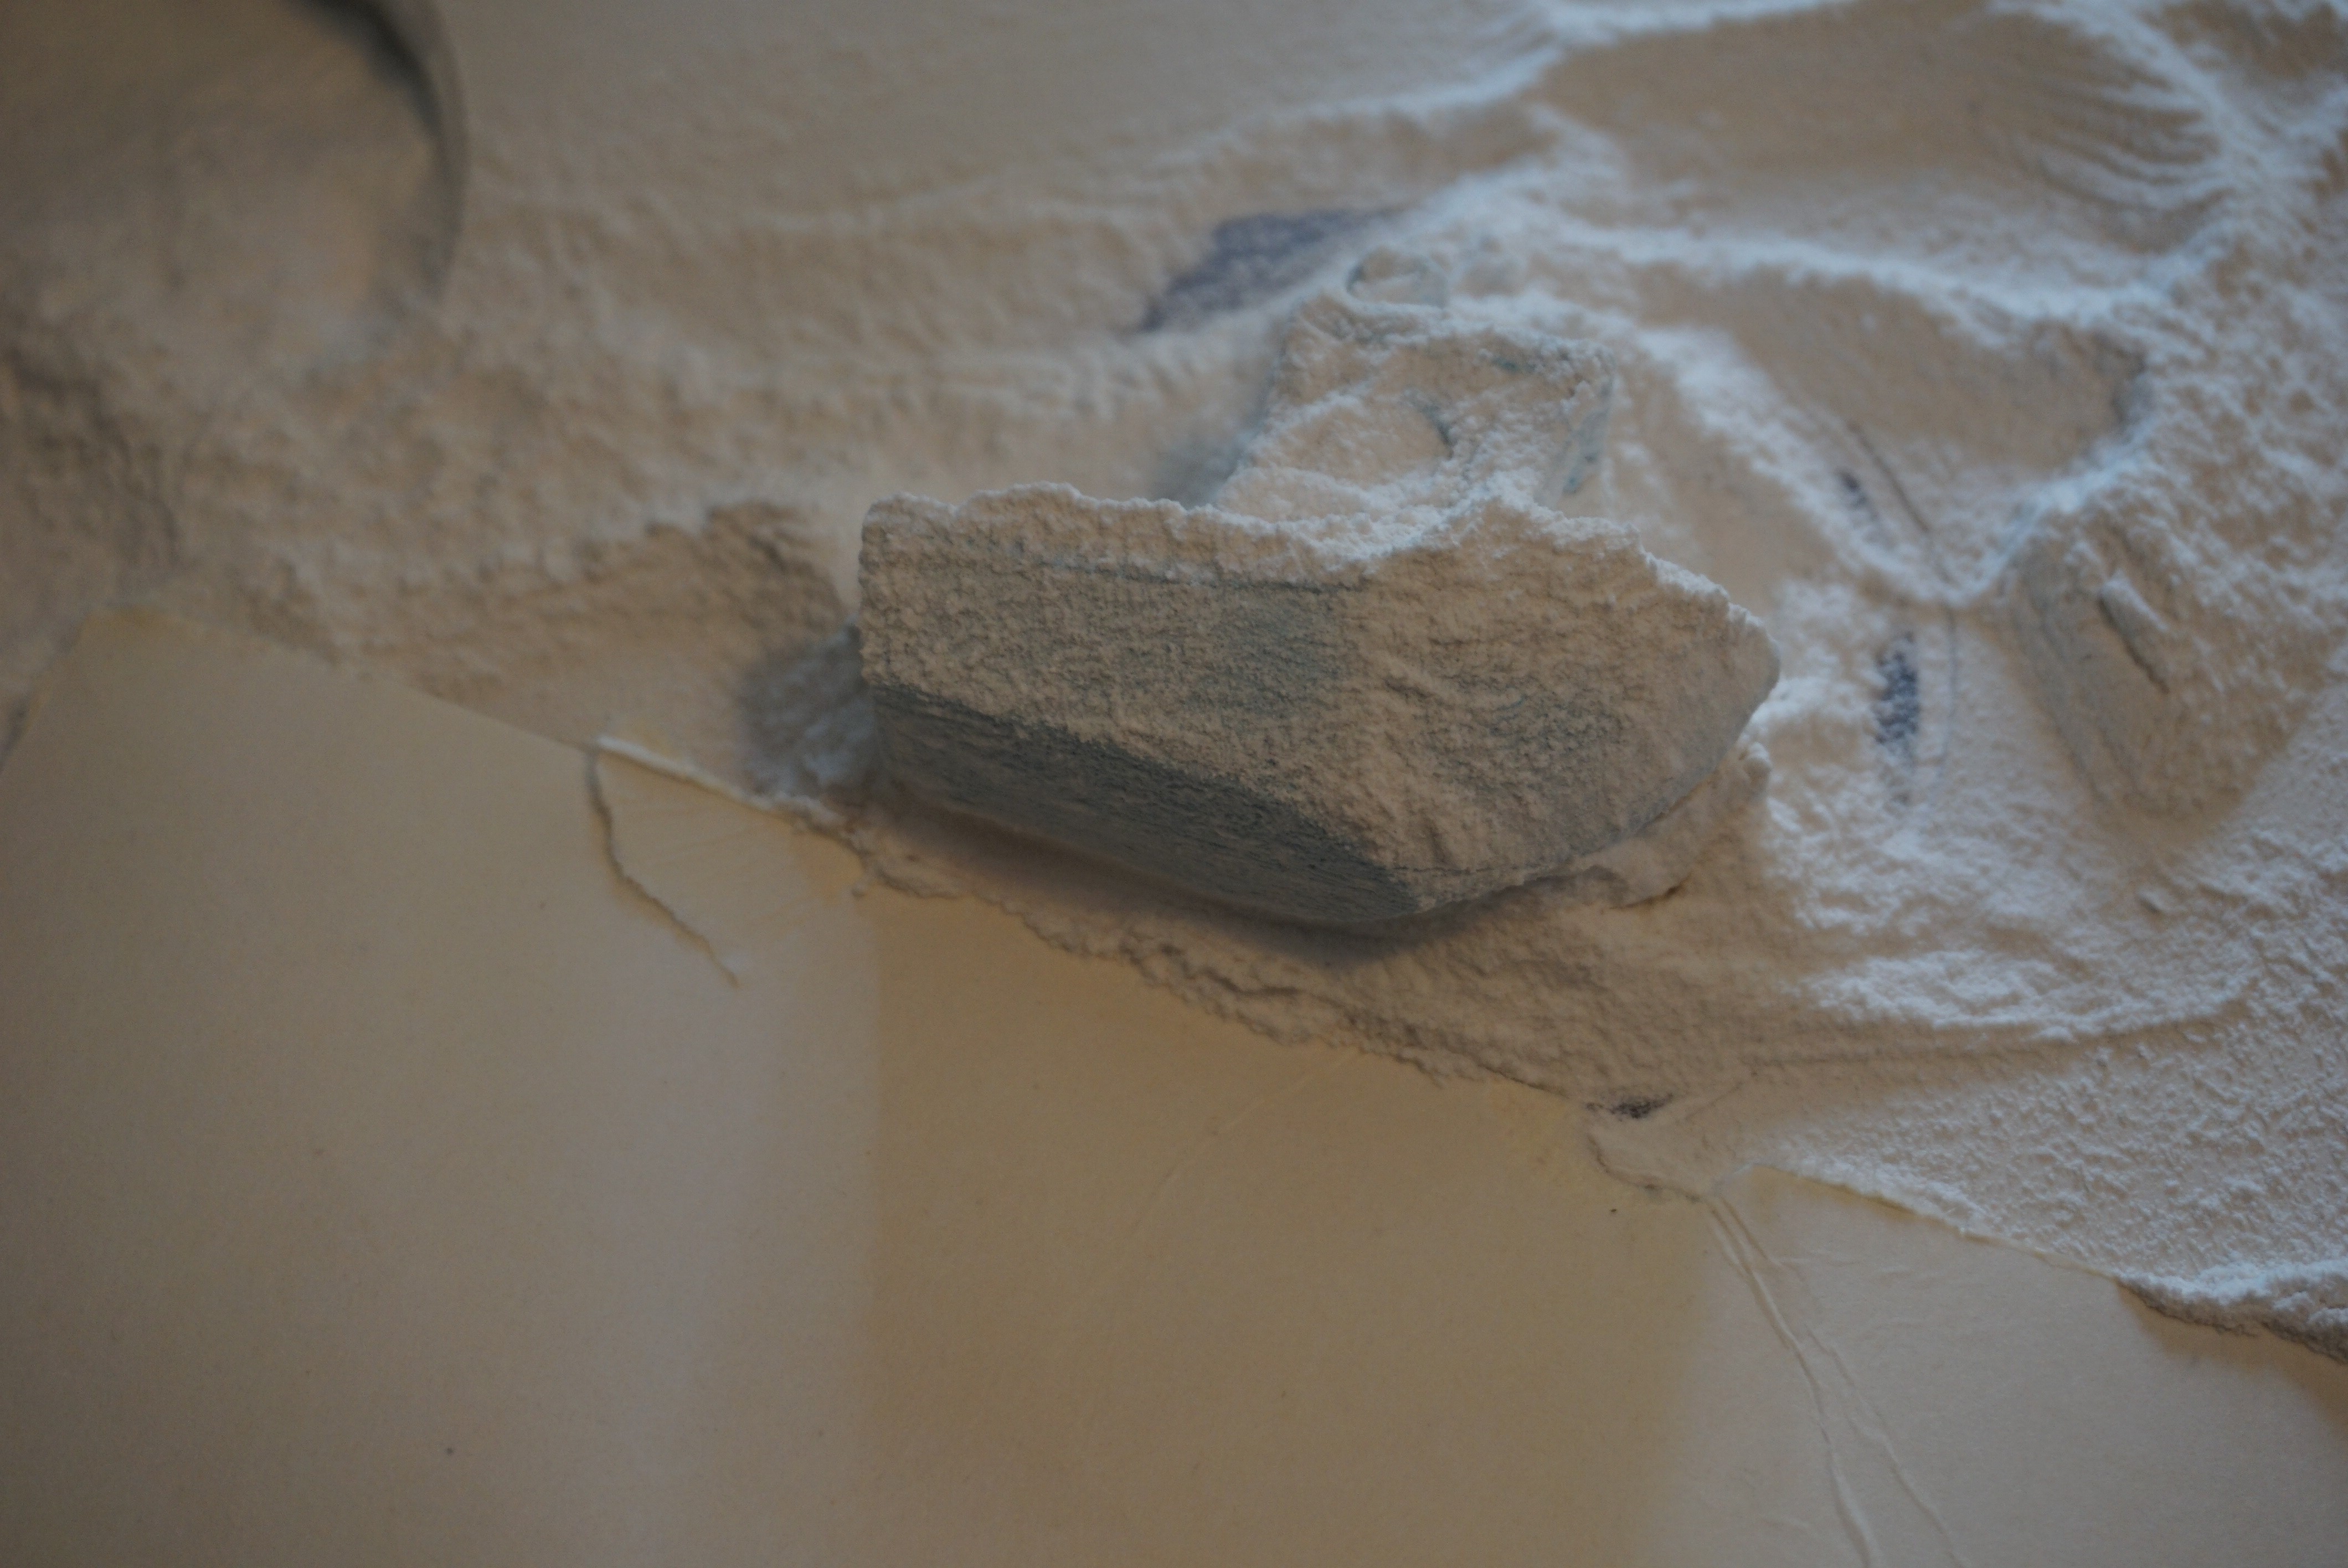
- Once enough powder is removed, transfer the print on a thin flat surface, like cardboard, so it can be transported.
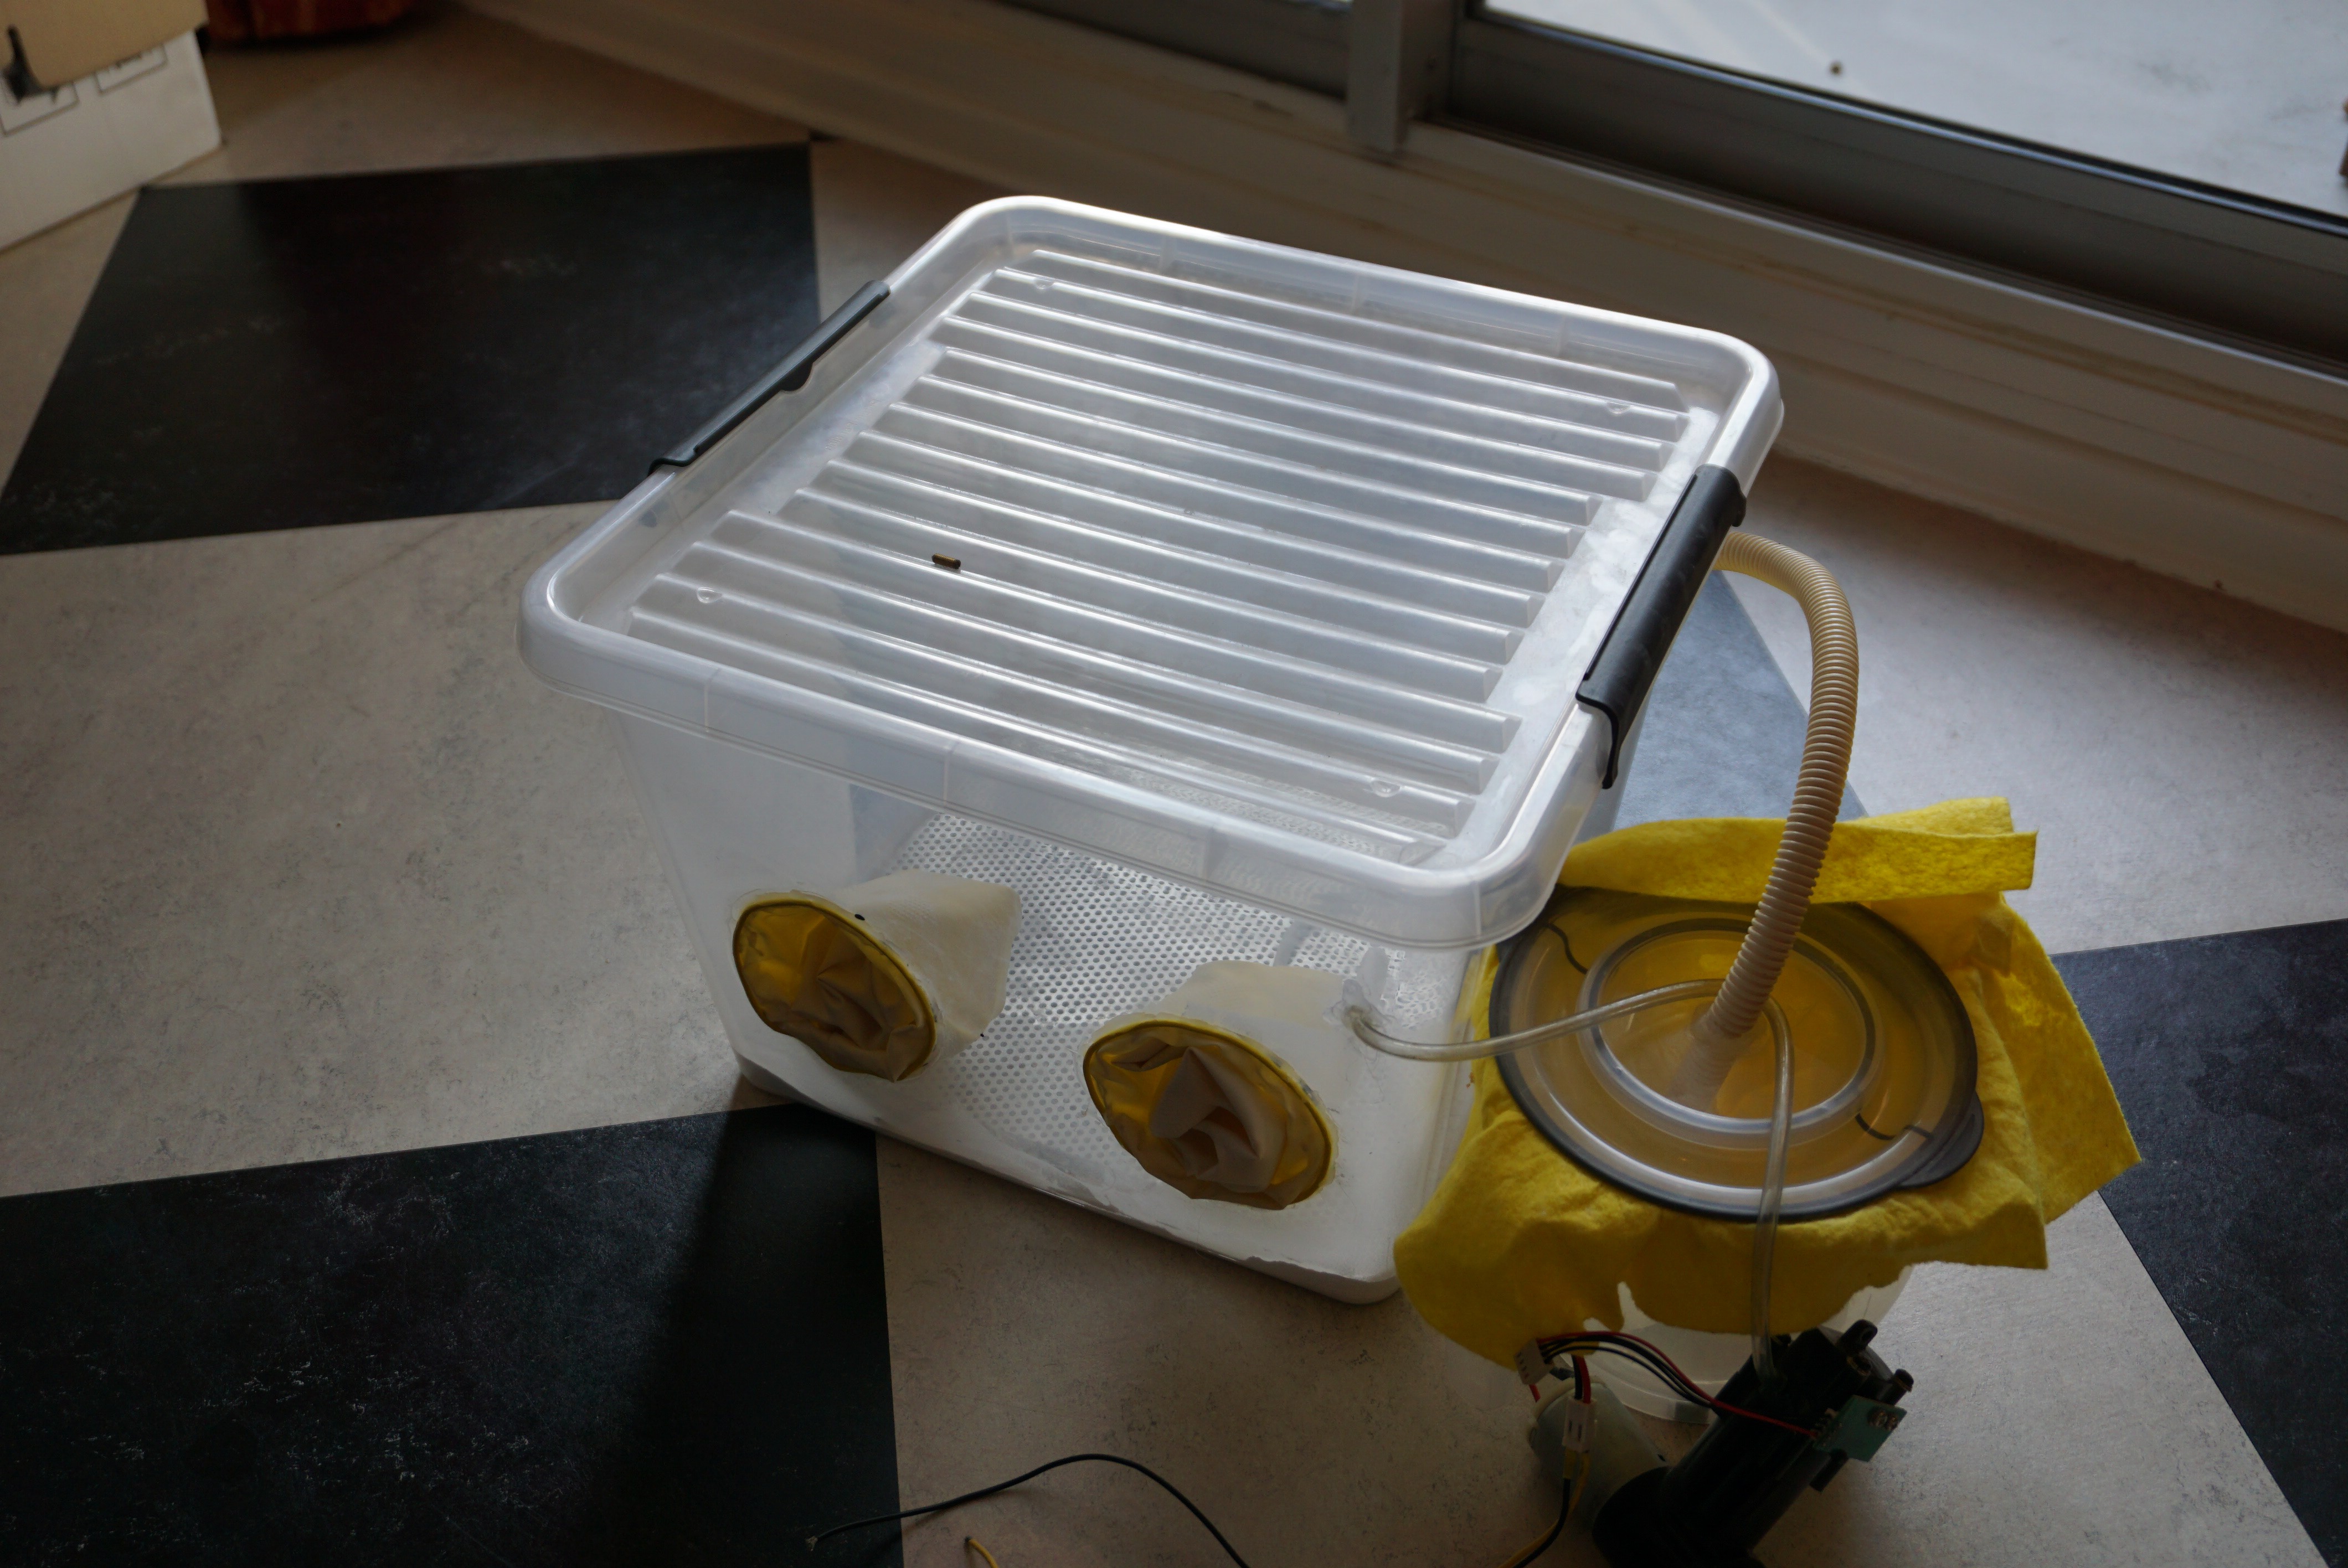
- Now it really helps if you have an additional tool. A depowdering chamber. Mine is a horrible design that I will be improving in the future, but it works. You can do it without, but then wear a breathing mask, and expect everything to be messy in a 5 meter radius.
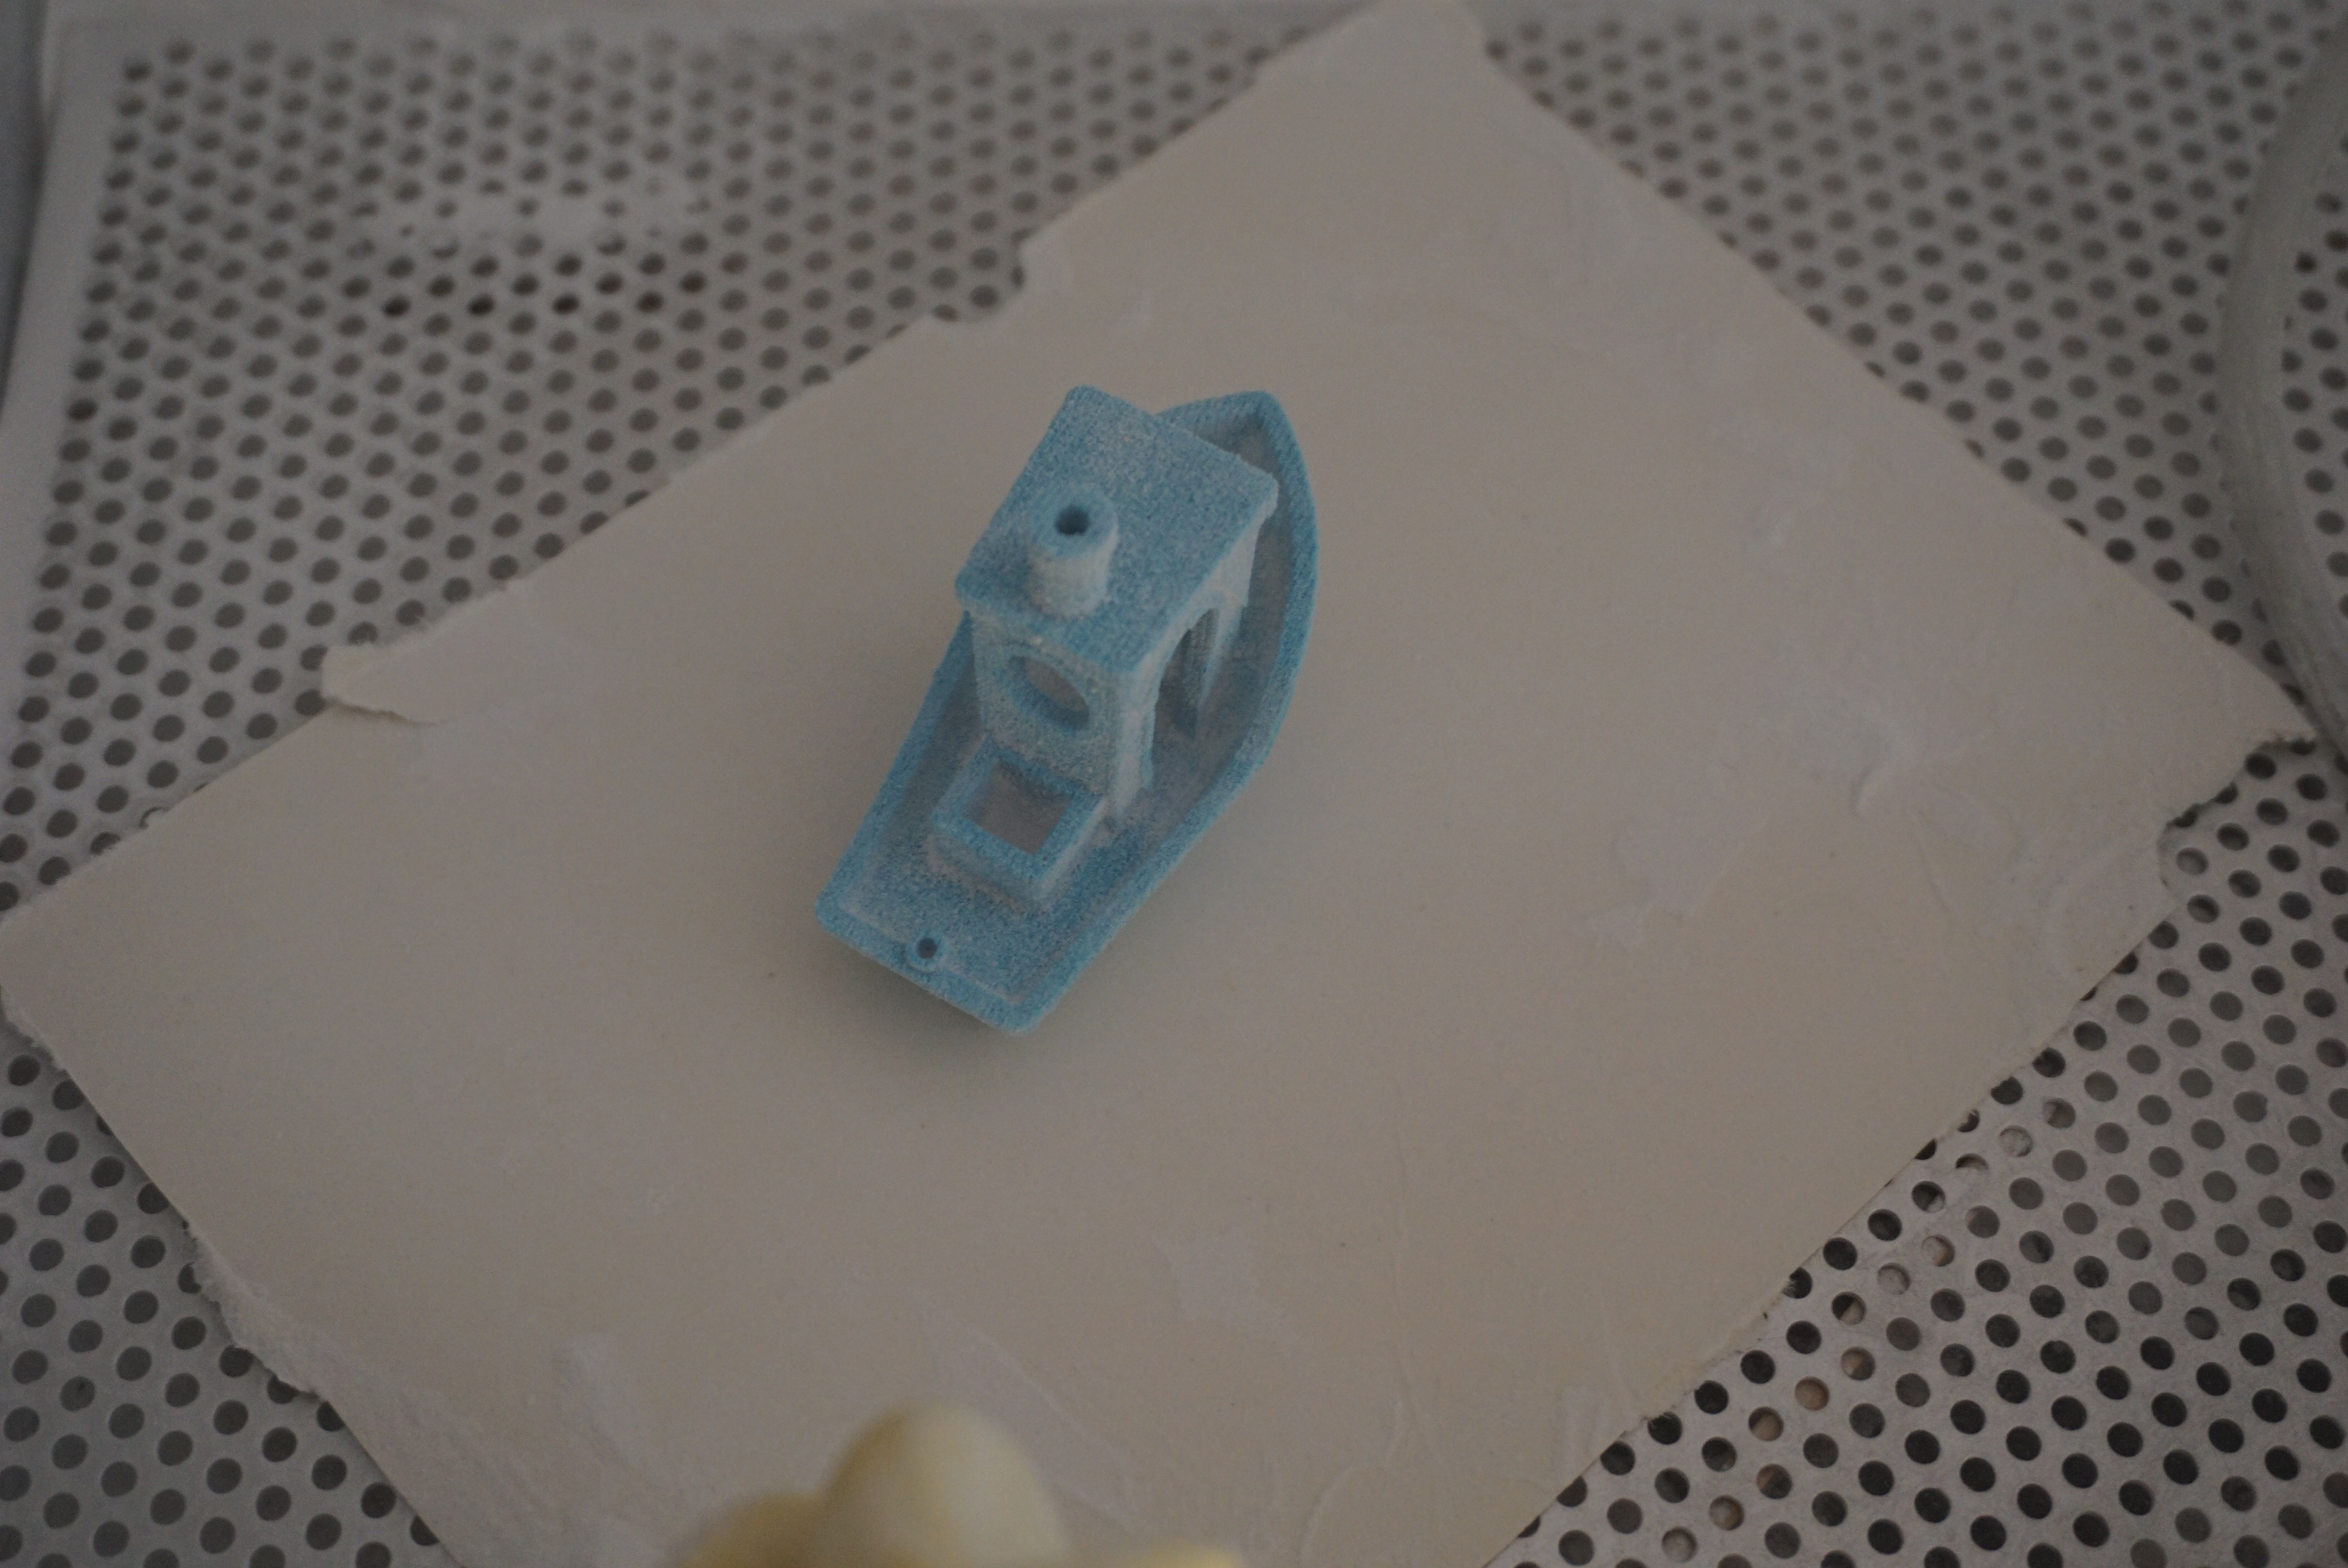
- Use compressed air to gently clean the part.
- Now, in a well ventilated area, on a surface that can get messy, infiltrate the part with CA. The best CA you can use is as fluid/thin as possible. Start with the weak parts of your print and then cover the large areas. Getting a CA bottle with a brush helps to get in the nooks of the part. CA will wick a few millimeters into the part, and then harden.
- Try not to get CA on your hands. It is difficult to get off.
- Also make sure not to glue your part to the surface. CA does not stick to PE/PP/PTFE, so those might be good surfaces to glue on.
- Wait for the part to dry completely.
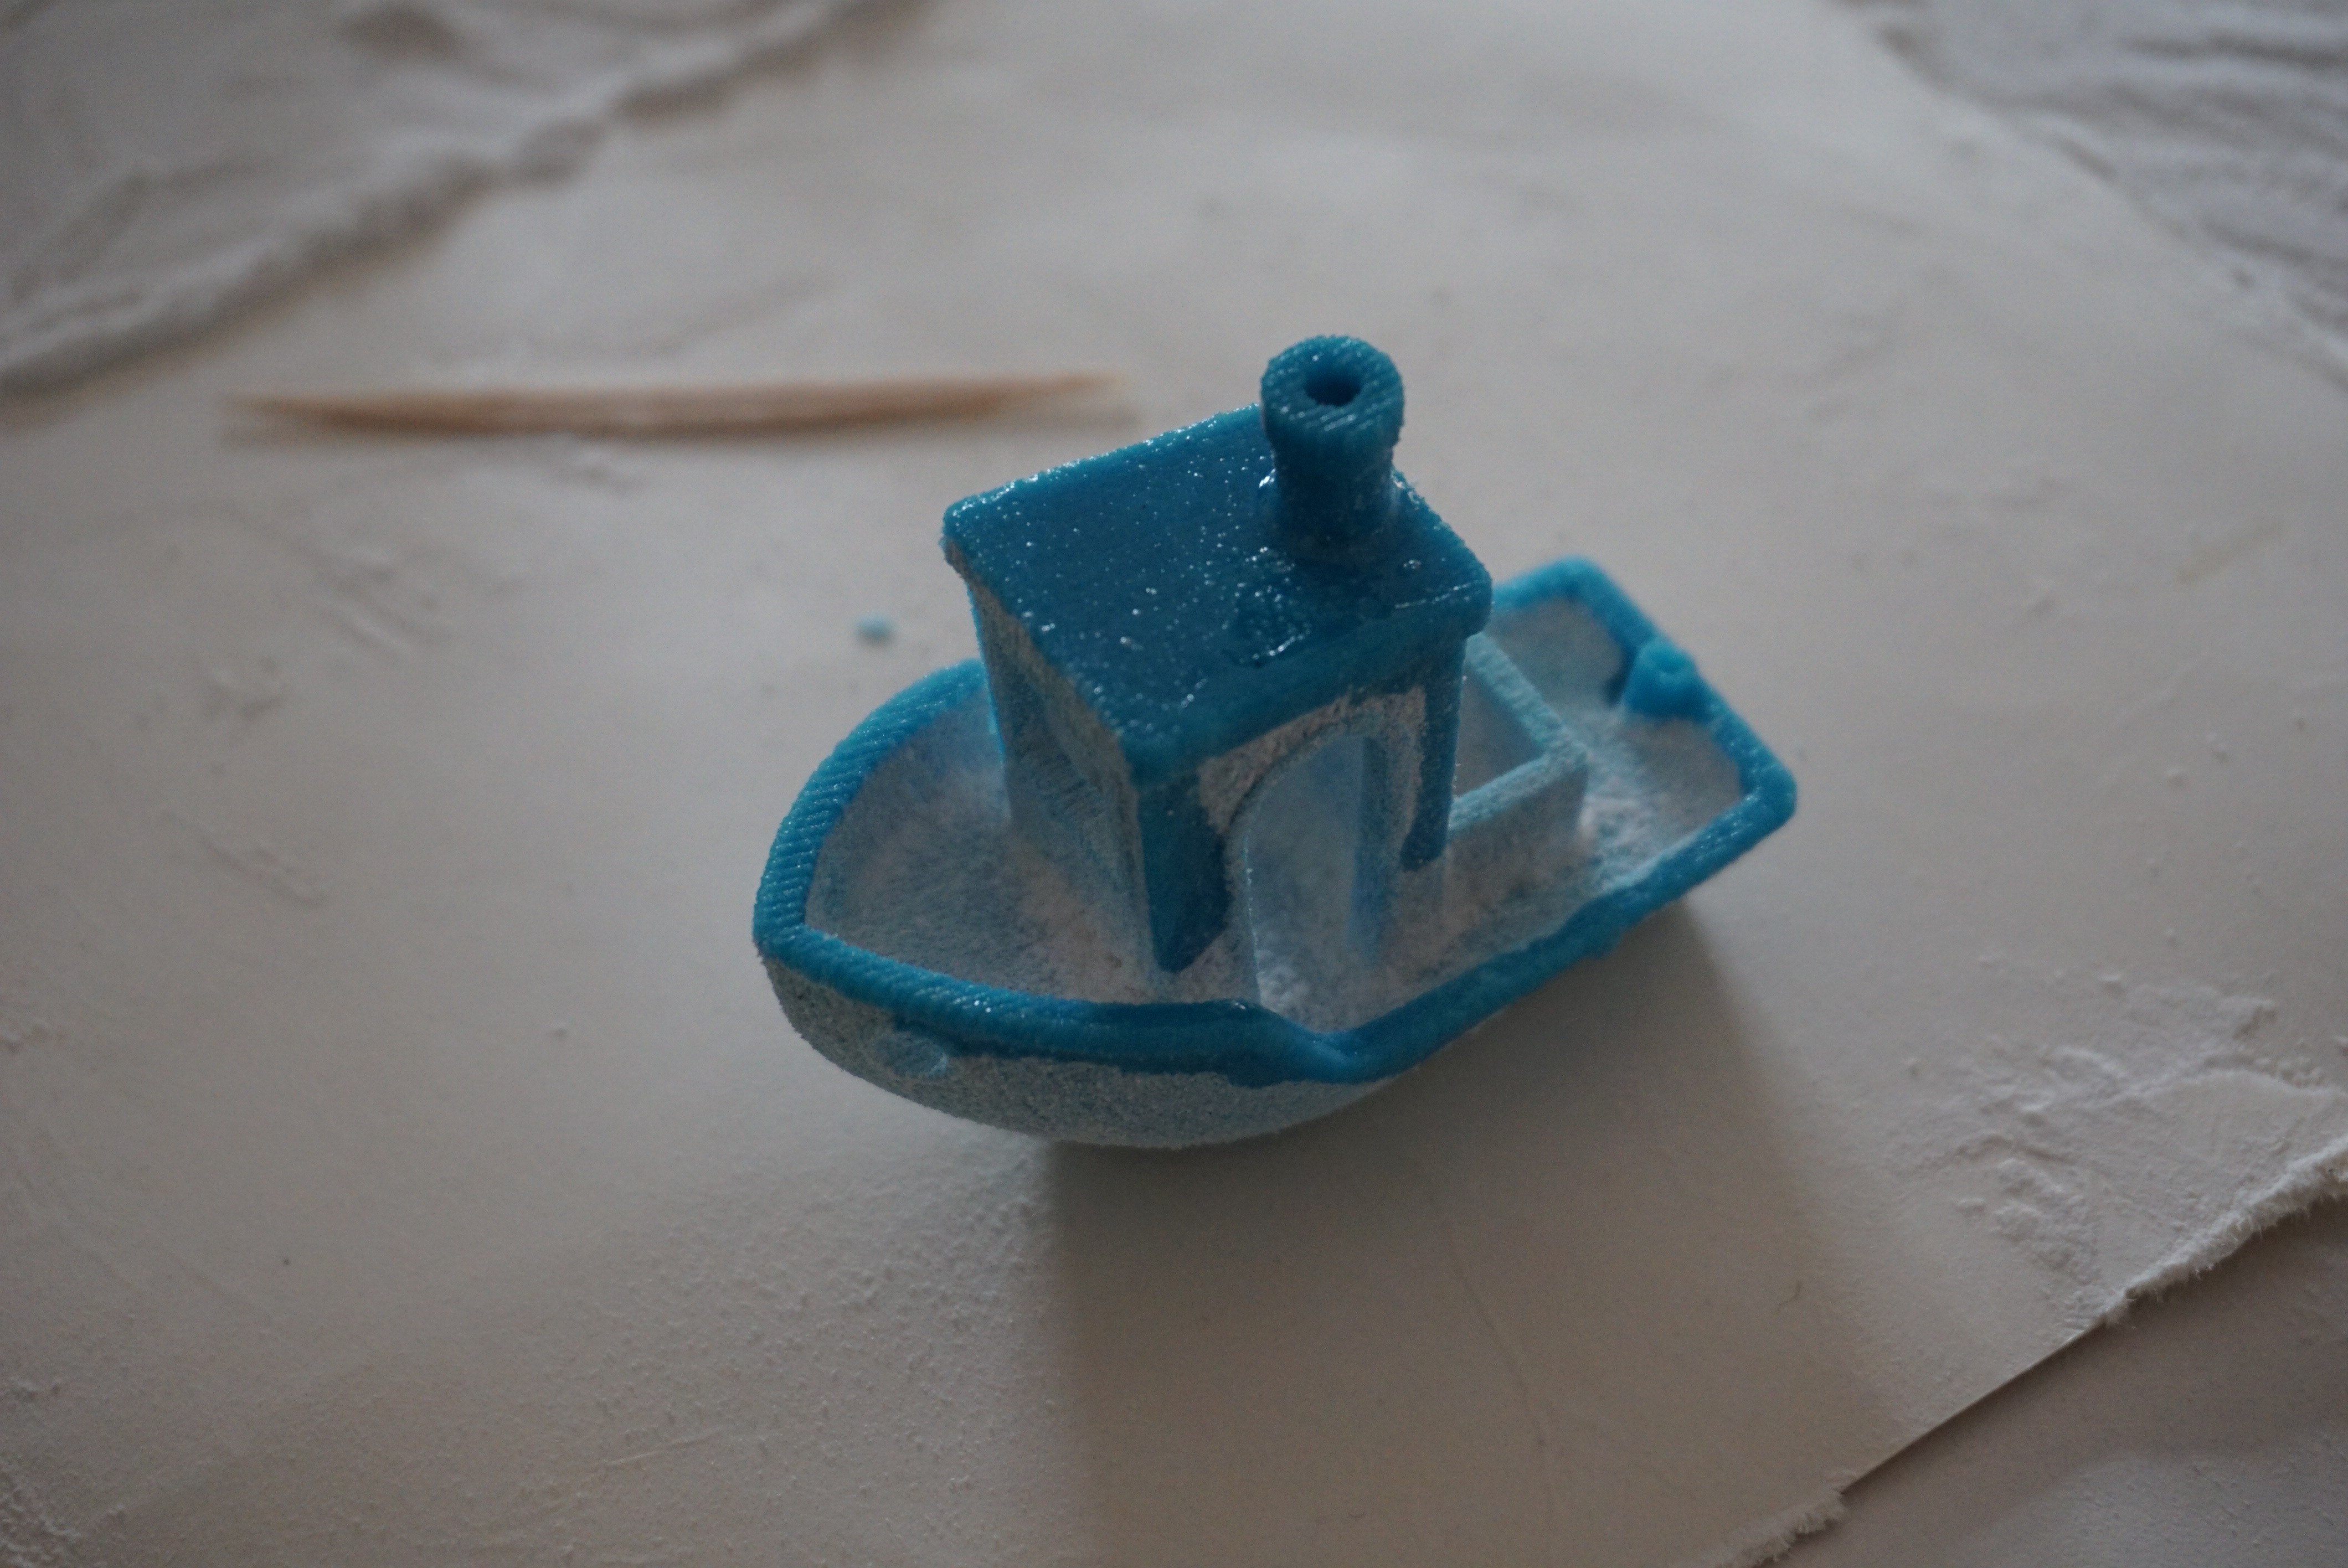
- Enjoy your part.
![]()
![]()
![]()
![]()
![]()
![]()
![]()
![]()
![]()
![]()
![]()
Now that Oasis has printed a Benchy, it is now officially a working 3D printer.
-
15What is the HP45 controller listening to
The Oasis HP45 standalone controller is a Teensy 3.2 based controller for the HP45 printhead. It communicates using the Teensy 3.2 integrated USB to serial converter. Raw serial and SPI is currently not supported. Teensyduino needs to be installed to make talking to the Teensy 3.2 possible.
The communication protocol is a custom control protocol designed to send inkjet lines with as little overhead as possible. I prefer to send in ASCII, which has 128 characters. I hate encoding that has no way of telling end of line, so I am limited to 64 characters, Base 64 (6 bits). This is what is sent over serial. From 0 to 63 the characters go: 'ABCDEFGHIJKLMNOPQRSTUVWXYZabcdefghijklmnopqrstuvwxyz0123456789+/'
The protocol has a few parts to it. An example is "SBR E4g AAAAAAAAAAAA4////////////AAAAAAAAAAAAAAAAAAAAAAAAA"
- The first block 'SBR' is the command (c). In this case send buffer raw. The command is always sent.
- The second block 'E4g' is the small value (s). It is not mandatory, but is often sent. With Teensy 3.2 being 32 bits, the small value usually has no more than 5 characters. It can have a '-' to make the value negative. CcQ is 10000, -CcQ is -10000.
- The last block 'AAAAAAAAAAAA4////////////AAAAAAAAAAAAAAAAAAAAAAAAA' is the raw value (r). It is at most 50 values at 6 bits (300 nozzles at 600 DPI). In communication to the Teensy there always has to be a small value before a raw. In responses it can send raw after command. A is 0 (000000), B is 1 (000001). AB is is nozzle 6 on. (first A is first 6 nozzles (0-5) off. Second B is first nozzle on.
This communication scheme is also used for responses. Giving the command (what it is responding to) and values.
The list of working and tested commands:
- SBR: Send inkjet to buffer raw. Takes (s) in microns of where this line is activated and takes (r) of nozzles 0-299.
- PHT: Preheats the printhead (s) pulses. Takes (s) as the number of pulses.
- PRM: Primes the printhead (ejecting ink) (s) pulses. Takes (s) as the number of pulses.
- THD: Test printhead. Takes extra values. Tests the printhead and returns a raw array of 50 characters, where 1 is working and 0 is broken.
- GTP: Get temperature. Gets the printhead temperature and returns the temperature in 0.1C (100 is 10C).
- SEP: Set encoder position. Takes (s) as the position in microns.
- GEP: Get encoder position. Gets the encoder position and returns it in microns.
- SDP: Sets DPI. Takes (s) as the DPI and sets it to the printhead. Should be 600, 300, 200 or 150.
- SDN: Set density. Takes (s) as the percentage density of inkjet, where 100 is 100%.
- BRL: Buffer get read left. Returns the number of lines left to read from the buffer.
- BWL: Buffer get write left. Returns the number of write positions left from buffer.
- BCL: Buffer clear. Clears the entire buffer.
There are more commands, but these are not all tested or implemented fully. In Serialcom.cpp there is a more complete list of commands. In the HP45_Standalone_V3.00.nn tab the commands are executed.
Oasis 3DP
A powder and inkjet 3D printer based on HP45 inkjet technology


Discussions
Become a Hackaday.io Member
Create an account to leave a comment. Already have an account? Log In.
How is the raspberry pi interfaced? Where can I get more information on this?
Are you sure? yes | no
I did some mistake and I try it without update v3.02 .. I fix it now . but I am taking
GTP:-C
after when I try to GTP
whay is the meaing of it?
Are you sure? yes | no
Solved .. that is hardware problem in controller card. Old controller card there are a mistake at Hen and Tsr.
If you swap HEN and TSR (cut the traces and add new wired) it should work.
Are you sure? yes | no