 jupdyke
The construction of a vacuum chamber is quite simple. I suspect that most people could easily design and build one with little or no instructions. However, I will document the three which I have experience with and perhaps it will be helpful to someone.
All three of these vacuum chambers are built from PVC pipe. The smallest and largest are made from a PVC pipe coupler. This is a short section of over sided PVC pipe, used to join two normal pieces of PVC pipe. The advantage of these are that they are cheap and easy to fine. Both ends are also very smooth and do not require any special machining. The middle size is made from a section of PVC pipe. It was cut to length, but the edges were not very smooth. A rough edge will make it impossible to get a tight seal. I am fortunate enough to have access to a metal lathe, so I was able to turn the ends and make them very smooth. The dark gray chambers are CPVC, which is stronger, but honestly for this application plain PVC will be fine. Any thick walled rigid cylinder with smooth edges will work.
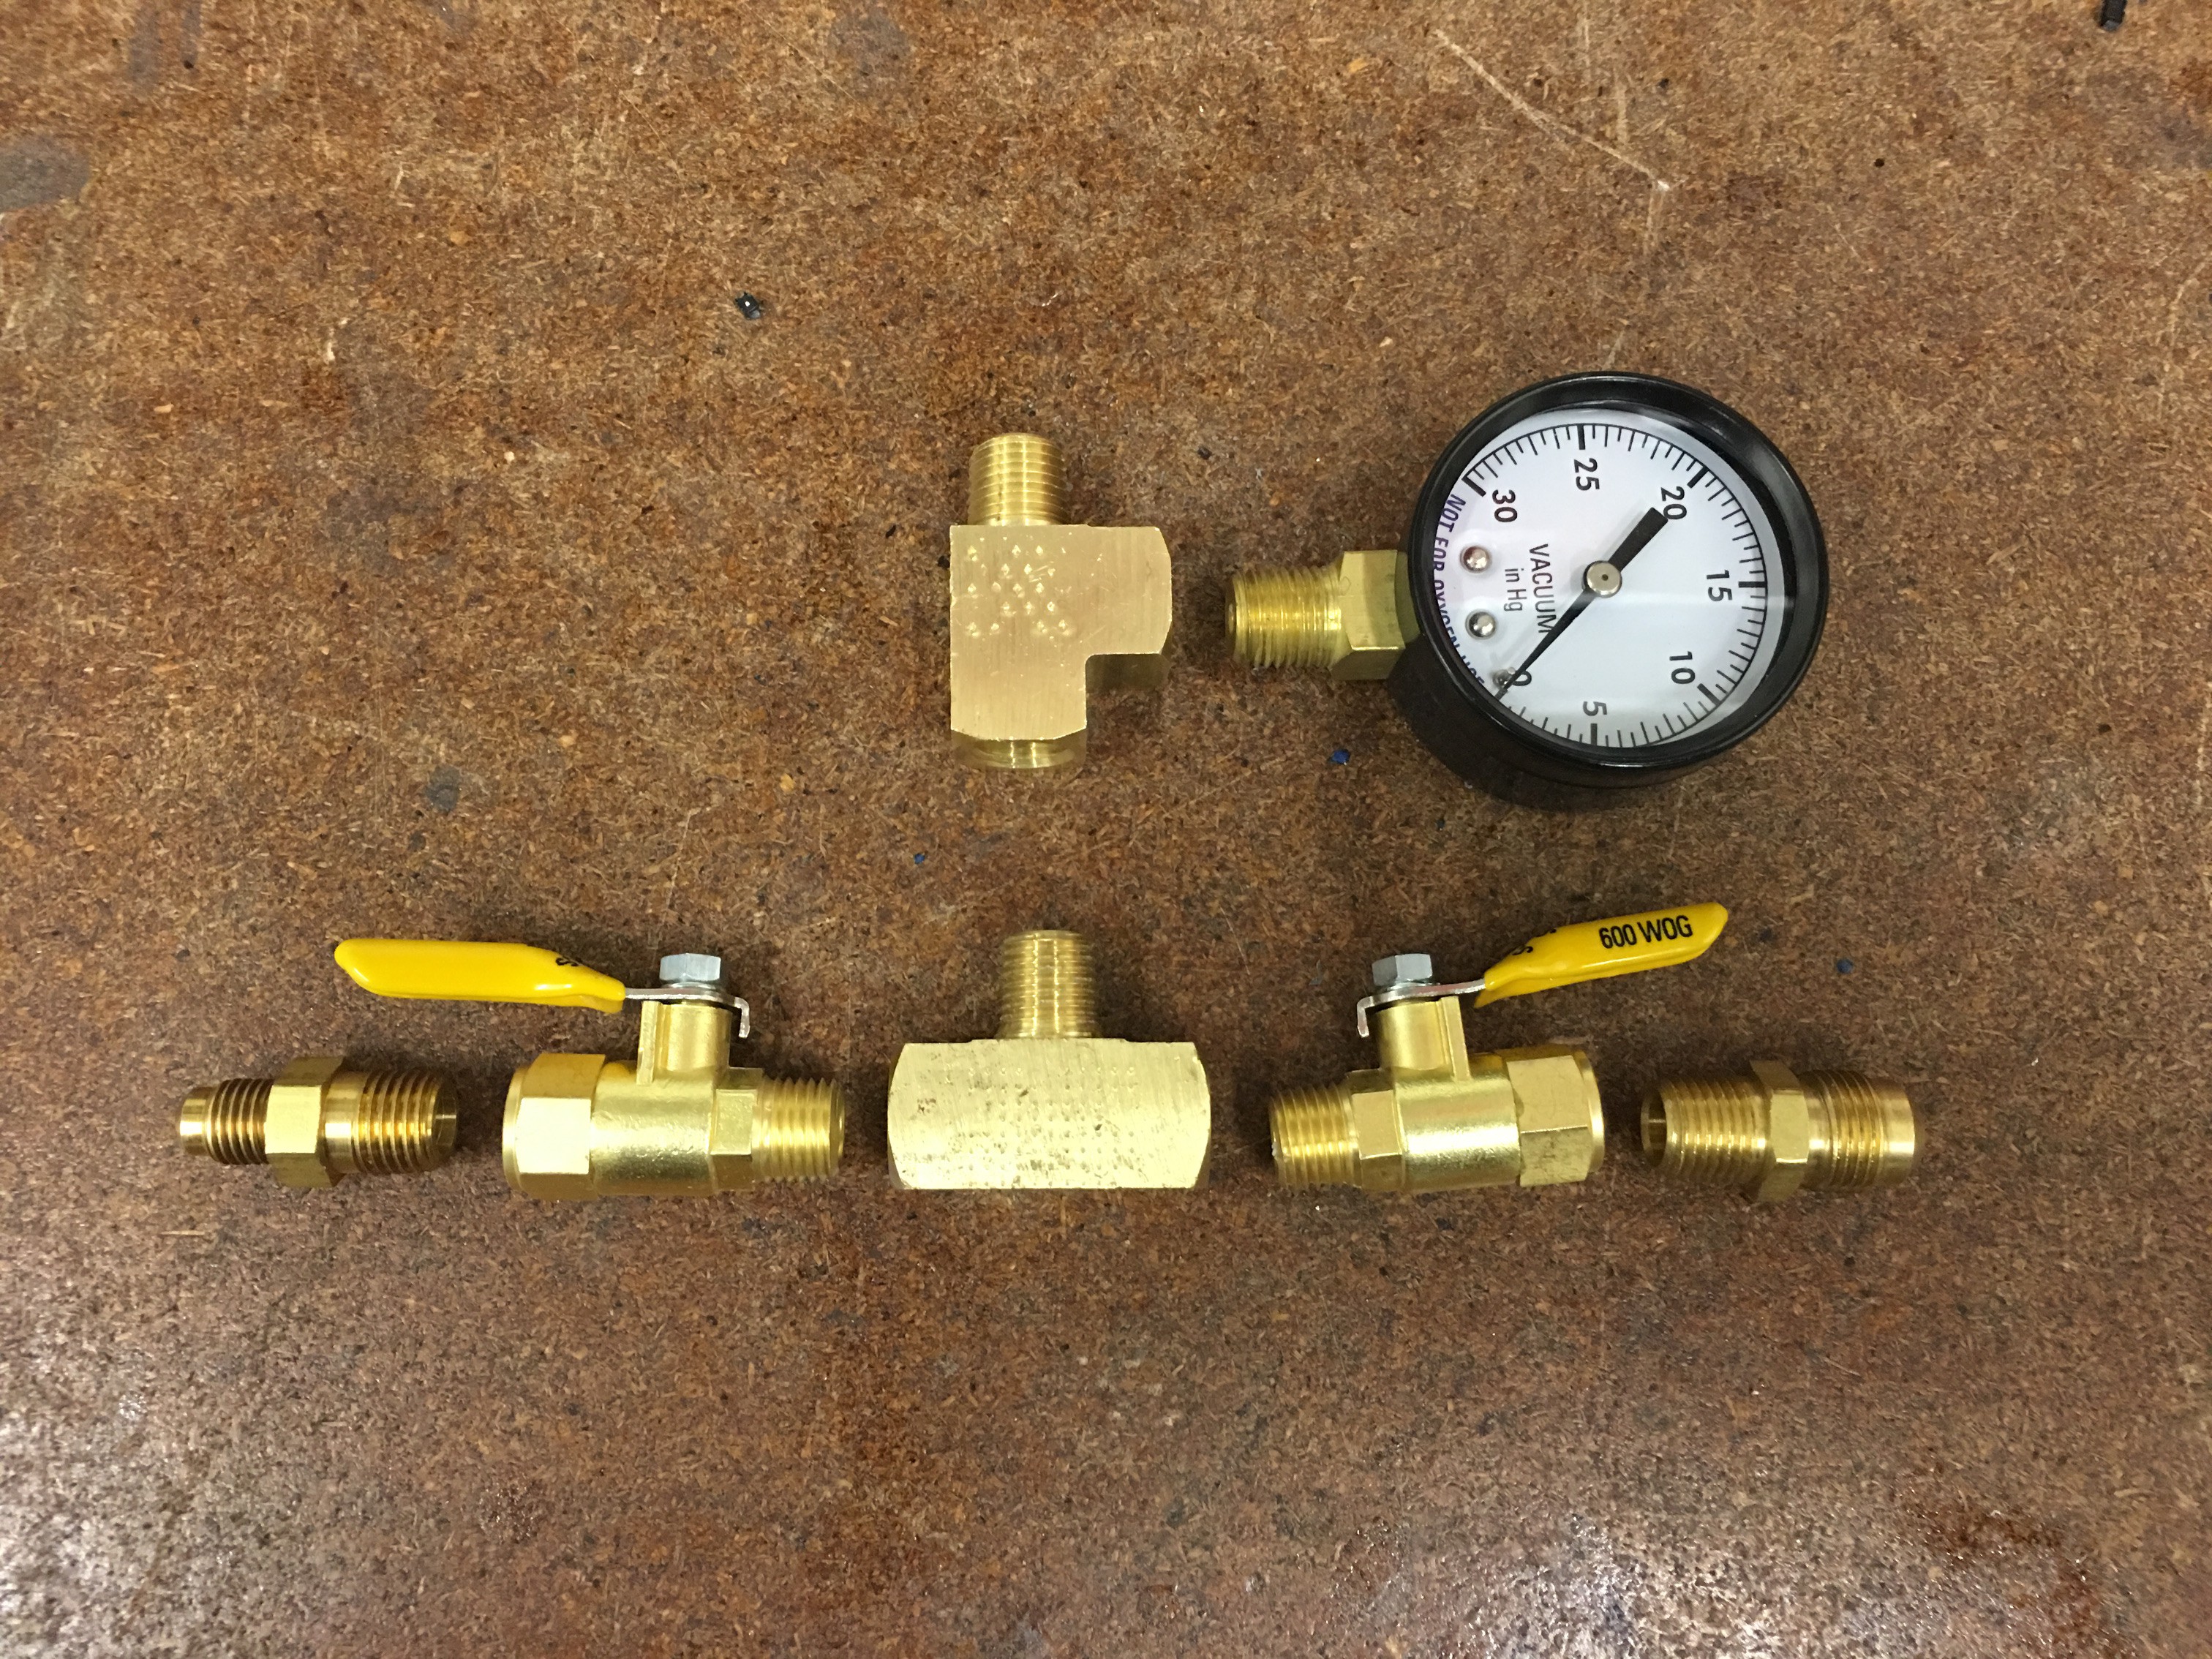
Once you have your section of PVC, the next step is to attach your fittings and gauges. There are many options you can choose from, but this is the standard method I use. One tee fitting will have the vacuum guage, and connect to a second tee fitting. The second tee fitting will have a ball valve on either side. One of these ball valves will be capable of connecting to your vacuum pump.
Depending on the vacuum pump which you are using you will need to determine which fitting will match. Many vacuum pumps come with fittings used for replacing refrigerants such as R12 or R134a. It took me a while to figure out these were called 'Flare Fittings', but once I found the name it was easy to find fittings for it. The smallest of my vacuum pumps uses a barb fitting and clear hose, my middle size pump uses a 1/4" Male Flare Fitting, and the largest pump uses a 3/8" Male Flare Fitting. So be sure you find the one that works best for you.
I build the middle size chamber last and had some spare fittings. So I chose to put a 1/4" male flare fitting on one side, and a 3/8" male flare fitting on the other side. This way I could use either pump I wanted with this chamber. I thought it was a smart idea.
The basic idea is you will hook your pump up to one side of this assembly. Open the ball valve closest to the pump, close the other ball valve and turn on the pump. This will draw the air out of the chamber and your gauge will read the vacuum. When you are finished you can open the second ball valve to let back in.
I recommend assembling all of the hardware before attaching it to your PVC pipe. It is a little easier to work with and the PCV is the weakest connection. So you don't want to stress it by trying to tighten all the fittings. Use Teflon tape, or pipe dope to get a good seal. Then drill a hole in the PVC and tap it. For my setup I used a 1/4" male pipe tap. You can get it at the hardware store. Be sure you drill the hole in your PVC pipe in a place where the gauge will not stick up above the edge of the pipe, and the ball valves can be opened without hitting anything.
Make sure you get a vacuum gauge and not a pressure gauge. 29.92 inches of mercury (in Hg) is a perfect vacuum, at sea level. But depending on where you are at it could be slightly different. The higher in altitude you live the less atmospheric pressure there is, which will change the value for a perfect vacuum. Where I live has an altitude of 1365 feet, so my max vacuum reading is about 28.86.
Next you will need a way to seal the top and bottom of the chamber For this you really just need any flat and smooth surface and some rubber mat. I used acrylic sheet. Keep in mind that the larger the pipe you use, the thicker you will want the acrylic to be. I used 1/4" thick for the 3" diameter chamber, 3/8" thick for the 6" diameter chamber, and 1/2" for the 12" diameter chamber. Place one sheet of acrylic on the table, lay the rubber mat on top of it, then place the chamber on top of that. Then place a rubber mat above your chamber and seal the top with a second sheet of acrylic. When you turn on your vacuum pump it will put the two sheet of acrylic tight on the rubber mat and seal the chamber.
I like to cut the top rubber mat into a ring shape so that I can see into the chamber. You only need the rubber around the edge of the pipe to for a seal. You can also glue this to the pvc pipe using rubber cement. It will make it a little more convenient because the rubber ring will not move between uses. However, it is not a very strong bond and can peel off so be careful. Now all you need to do is turn on the vacuum pump.
Once you reach your desired vacuum you can close the ball valve closest to the vacuum, and turn off the pump. You need this ball valve between the vacuum pump because when the pump is off it will slowly allow air into your chamber. These pumps are quite loud, so it is very nice to just close the valve and turn the pump off. A good way to check your seal is to draw a vacuum and close the ball valve. Then see how long it takes for the vacuum to fade. My chambers will hold about 28 in Hg for over 30 minutes. Which is much longer than I need.
NEVER OPEN THIS FAST! Air will rush in and can blow over whatever your are working on. In my case a mixing cup full of epoxy and make a real mess. Open it slowly so you don't get a gust of wind in your chamber.
That is all there is to building one of these.