0%
0%
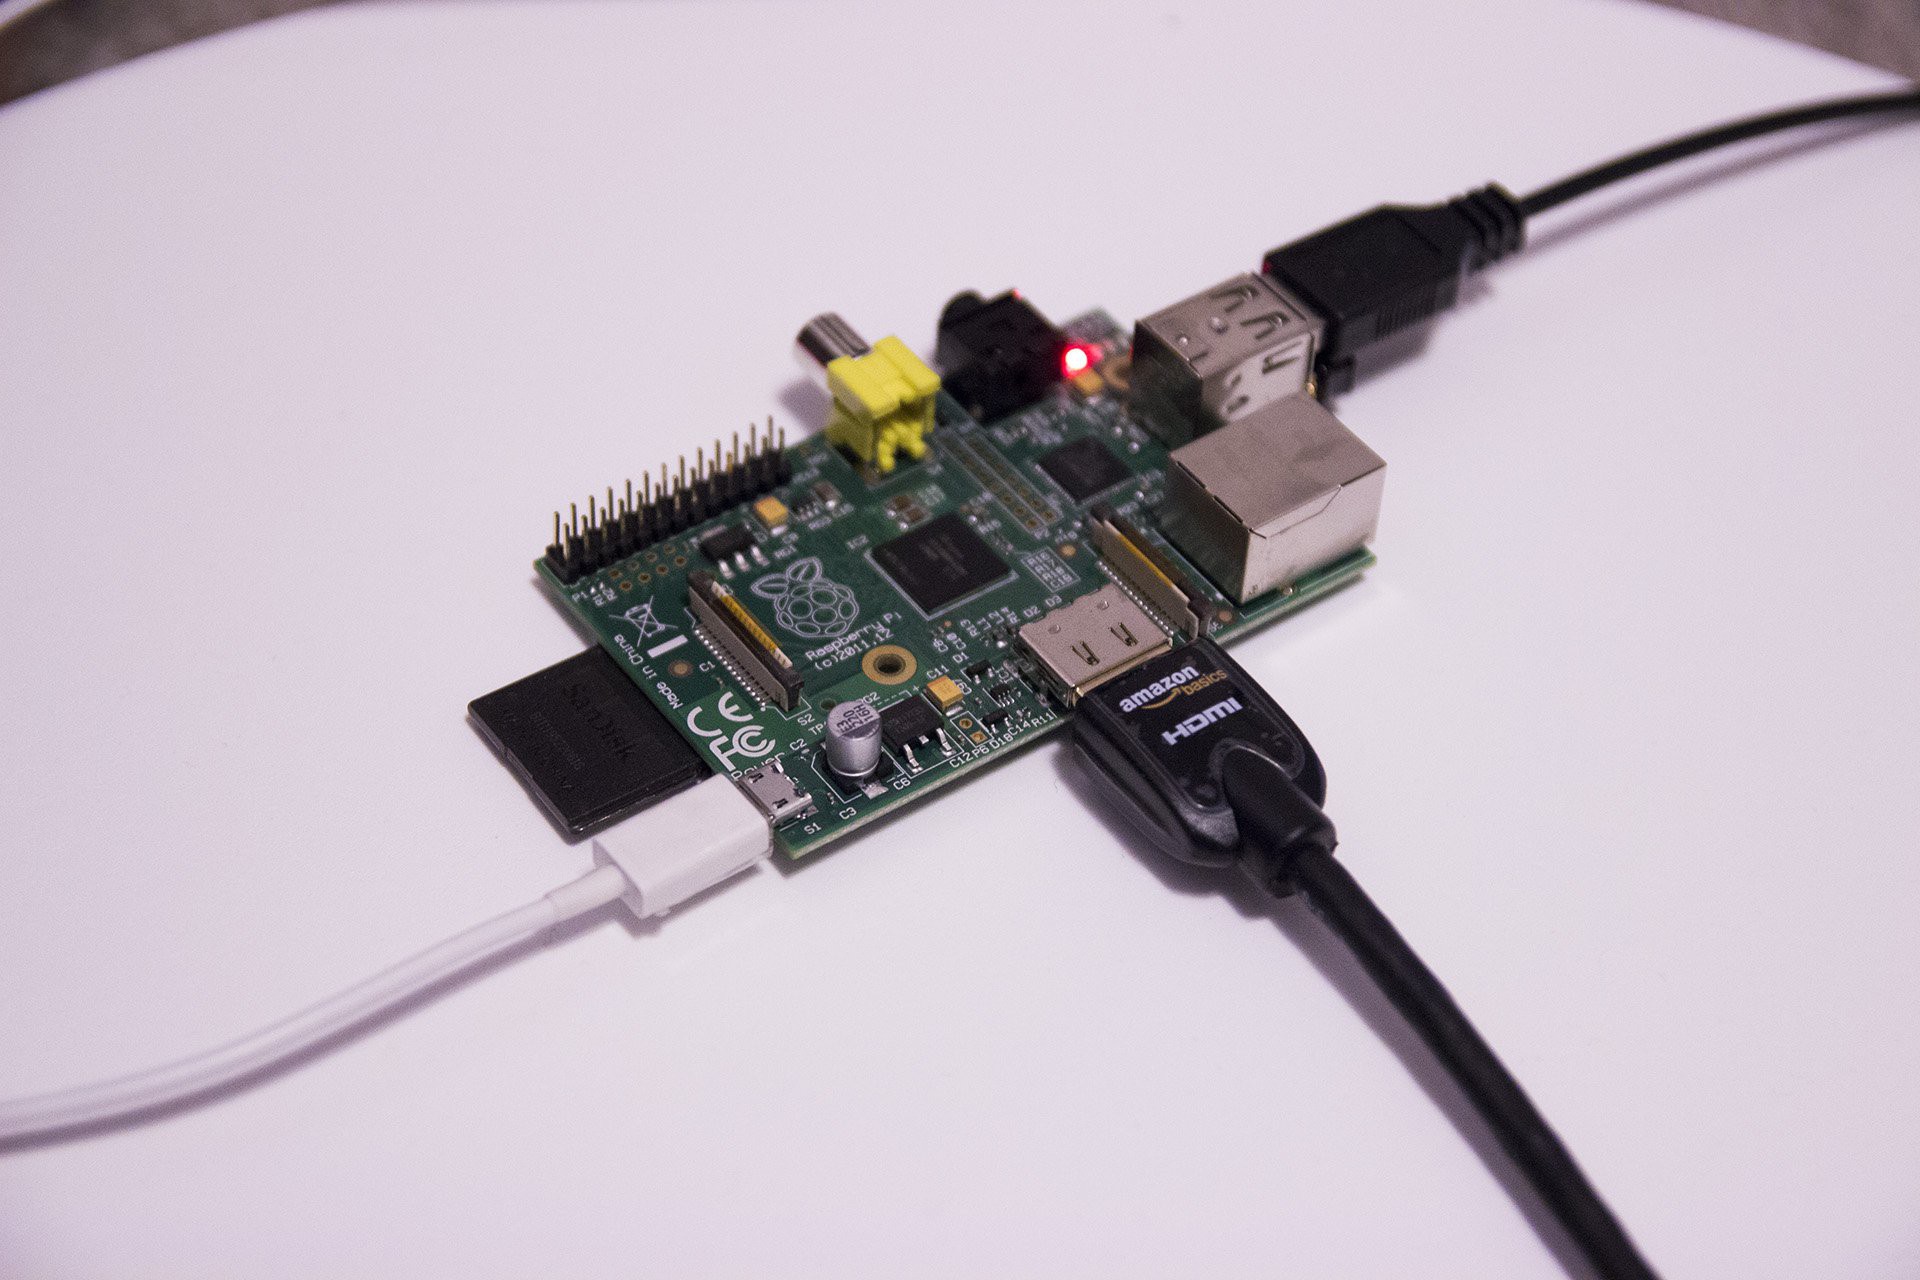
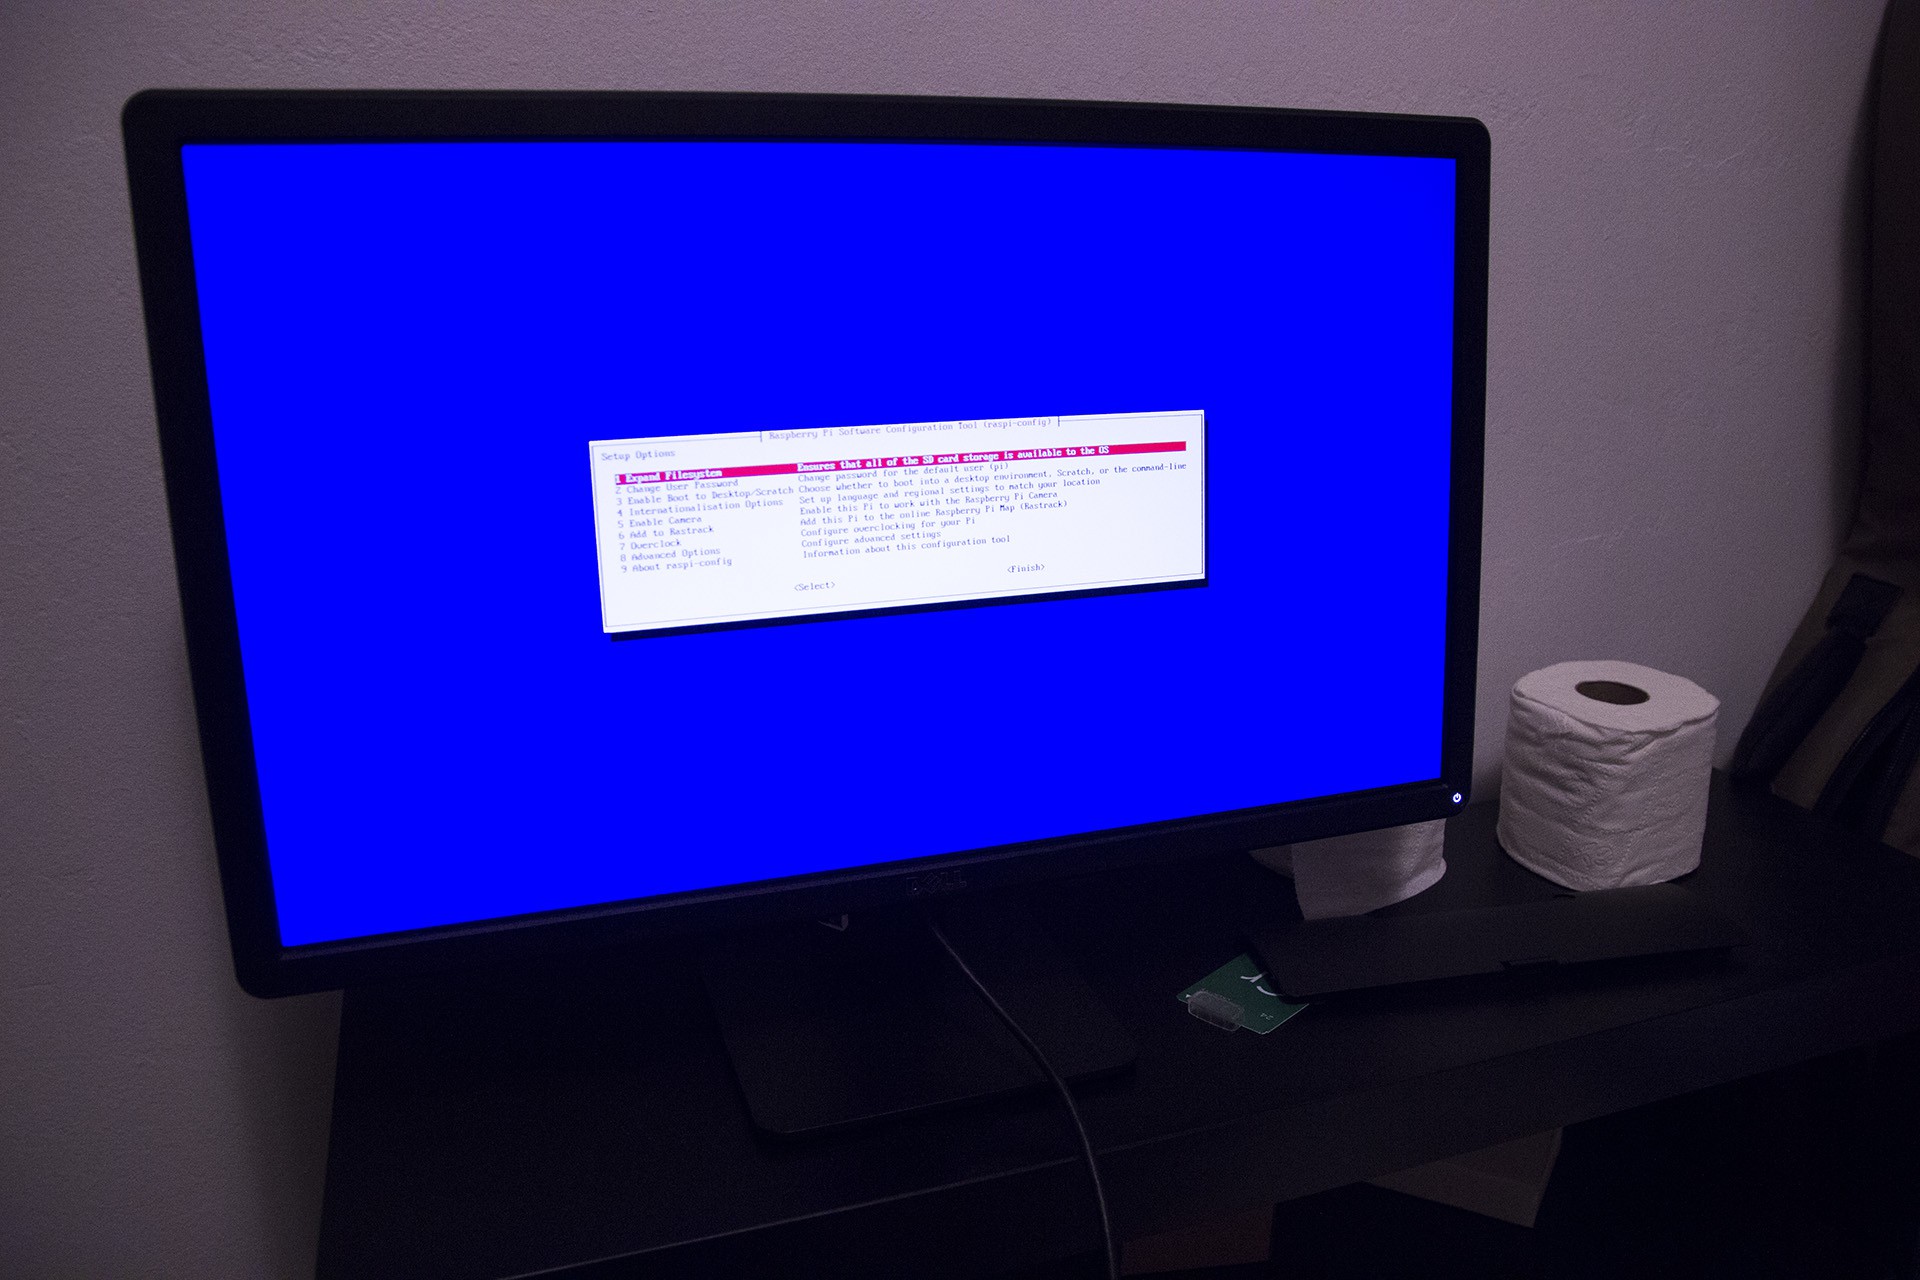
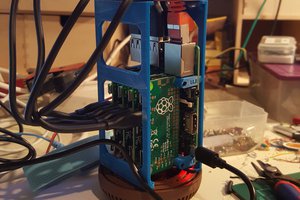
Portable Raspberry Pi Wallet
Exploring the possibility of a simple portable wallet with QR scanning capability for making easy transactions.
 sfdogecoin
Become a Hackaday.io member
Already have an account? Log in.
Just one more thing
To make the experience fit your profile, pick a username and tell us what interests you.
Pick an awesome username
hackaday.io/
Your profile's URL: hackaday.io/username. Max 25 alphanumeric characters.
Pick a few interests
Projects that share your interests
People that share your interests


 Craig Hissett
 Jacob Daniels
 davedarko
There has been a great deal of value to me in my involvement with the project. Would like to share it with the womens leather credit card holder team so they can also read it and implement something new.