 PixJuan
What is it?
Tecedi Smartzap help you to cope with those annoying TV ads by allowing you to easily play another content while they're being displayed.
The goal is to allow you to easily switch between a main video input, like your set top box, and some other content of your choice, played by a Raspberry Pi.
Why the name Tecedi?
It comes from "TEmps de CErveau DIsponible" aka "available brain time" it was an expression used by a Fench TV mogul to describe his job, he said his job was to sell Coca Cola and the other advertisers the "available brain time" of the audience.
So with Tecedi SmartZap, you can just reclaim your "available brain time" and use it for something else!
How is it going to work?
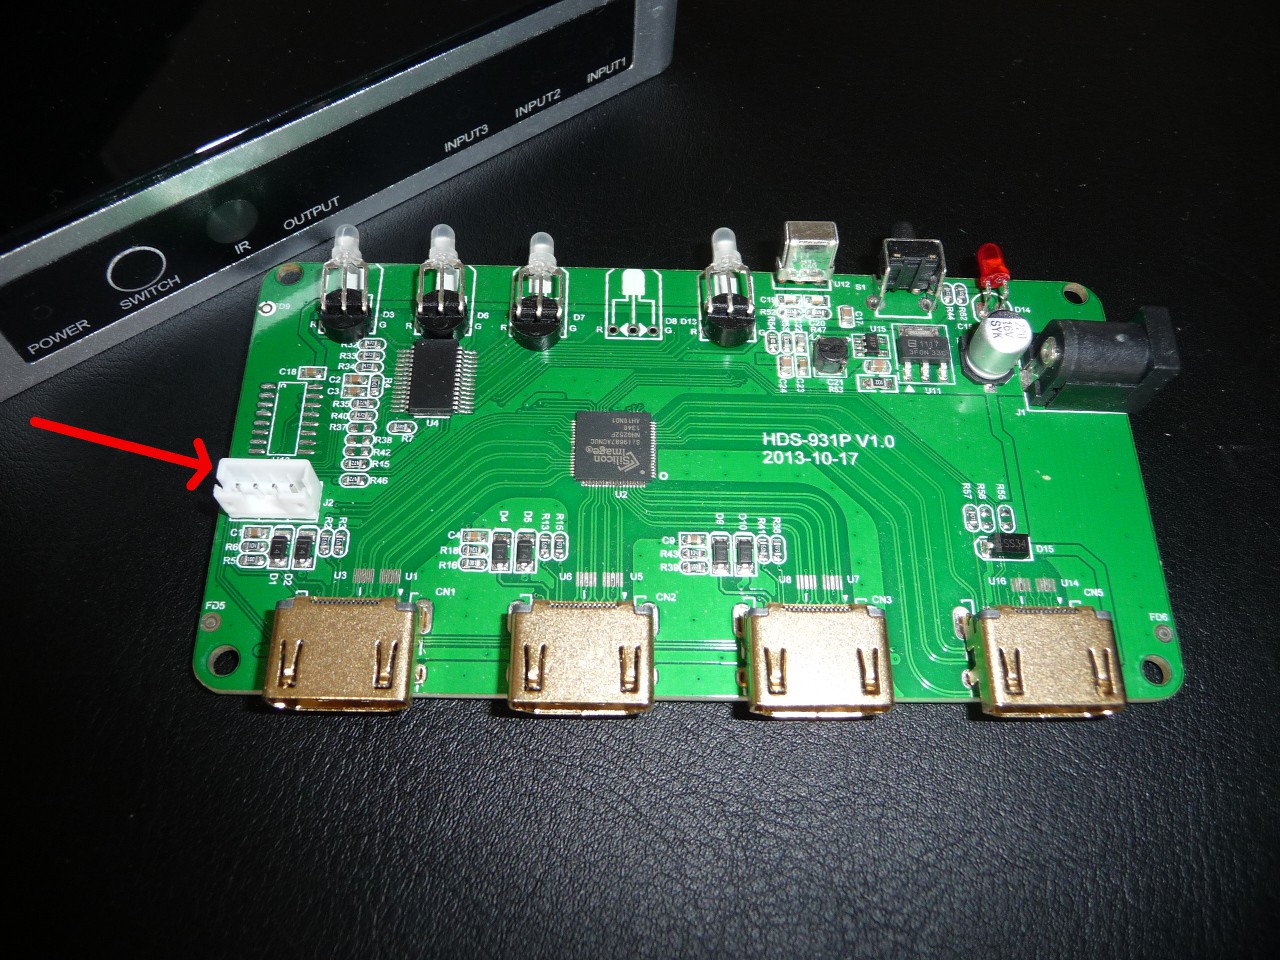
Strap the mini remote (provided with the HDMI switch) under your TV remote, as soon as the ads start to show on TV, press this mini remote, it will:
- change the HDMI switch input to the Raspberry pi,
- play a short video clip (educative, music video clip, podcast, news flash, quizz, etc.)
- when the video clip ends, the HDMI switch back to your Set Top Box input so that you can continue watching your program
This currently works, I can watch a single video clip instead of ads. As I will quickly get bored of this video clip, Tecedi Smartzap needs further improvements :
- build a database with length and approximate time of ads for a given TV channel. In France at least, ad length should be predictable based on the day of the week and the current time
- based on user habbits and probability, try to guess the channel the user is watching. once the software knows which channel the user is watching, it can guess the length of the ads and choose video clips with an appropriate length
- use Kodi to play video clips instead of omxplayer.
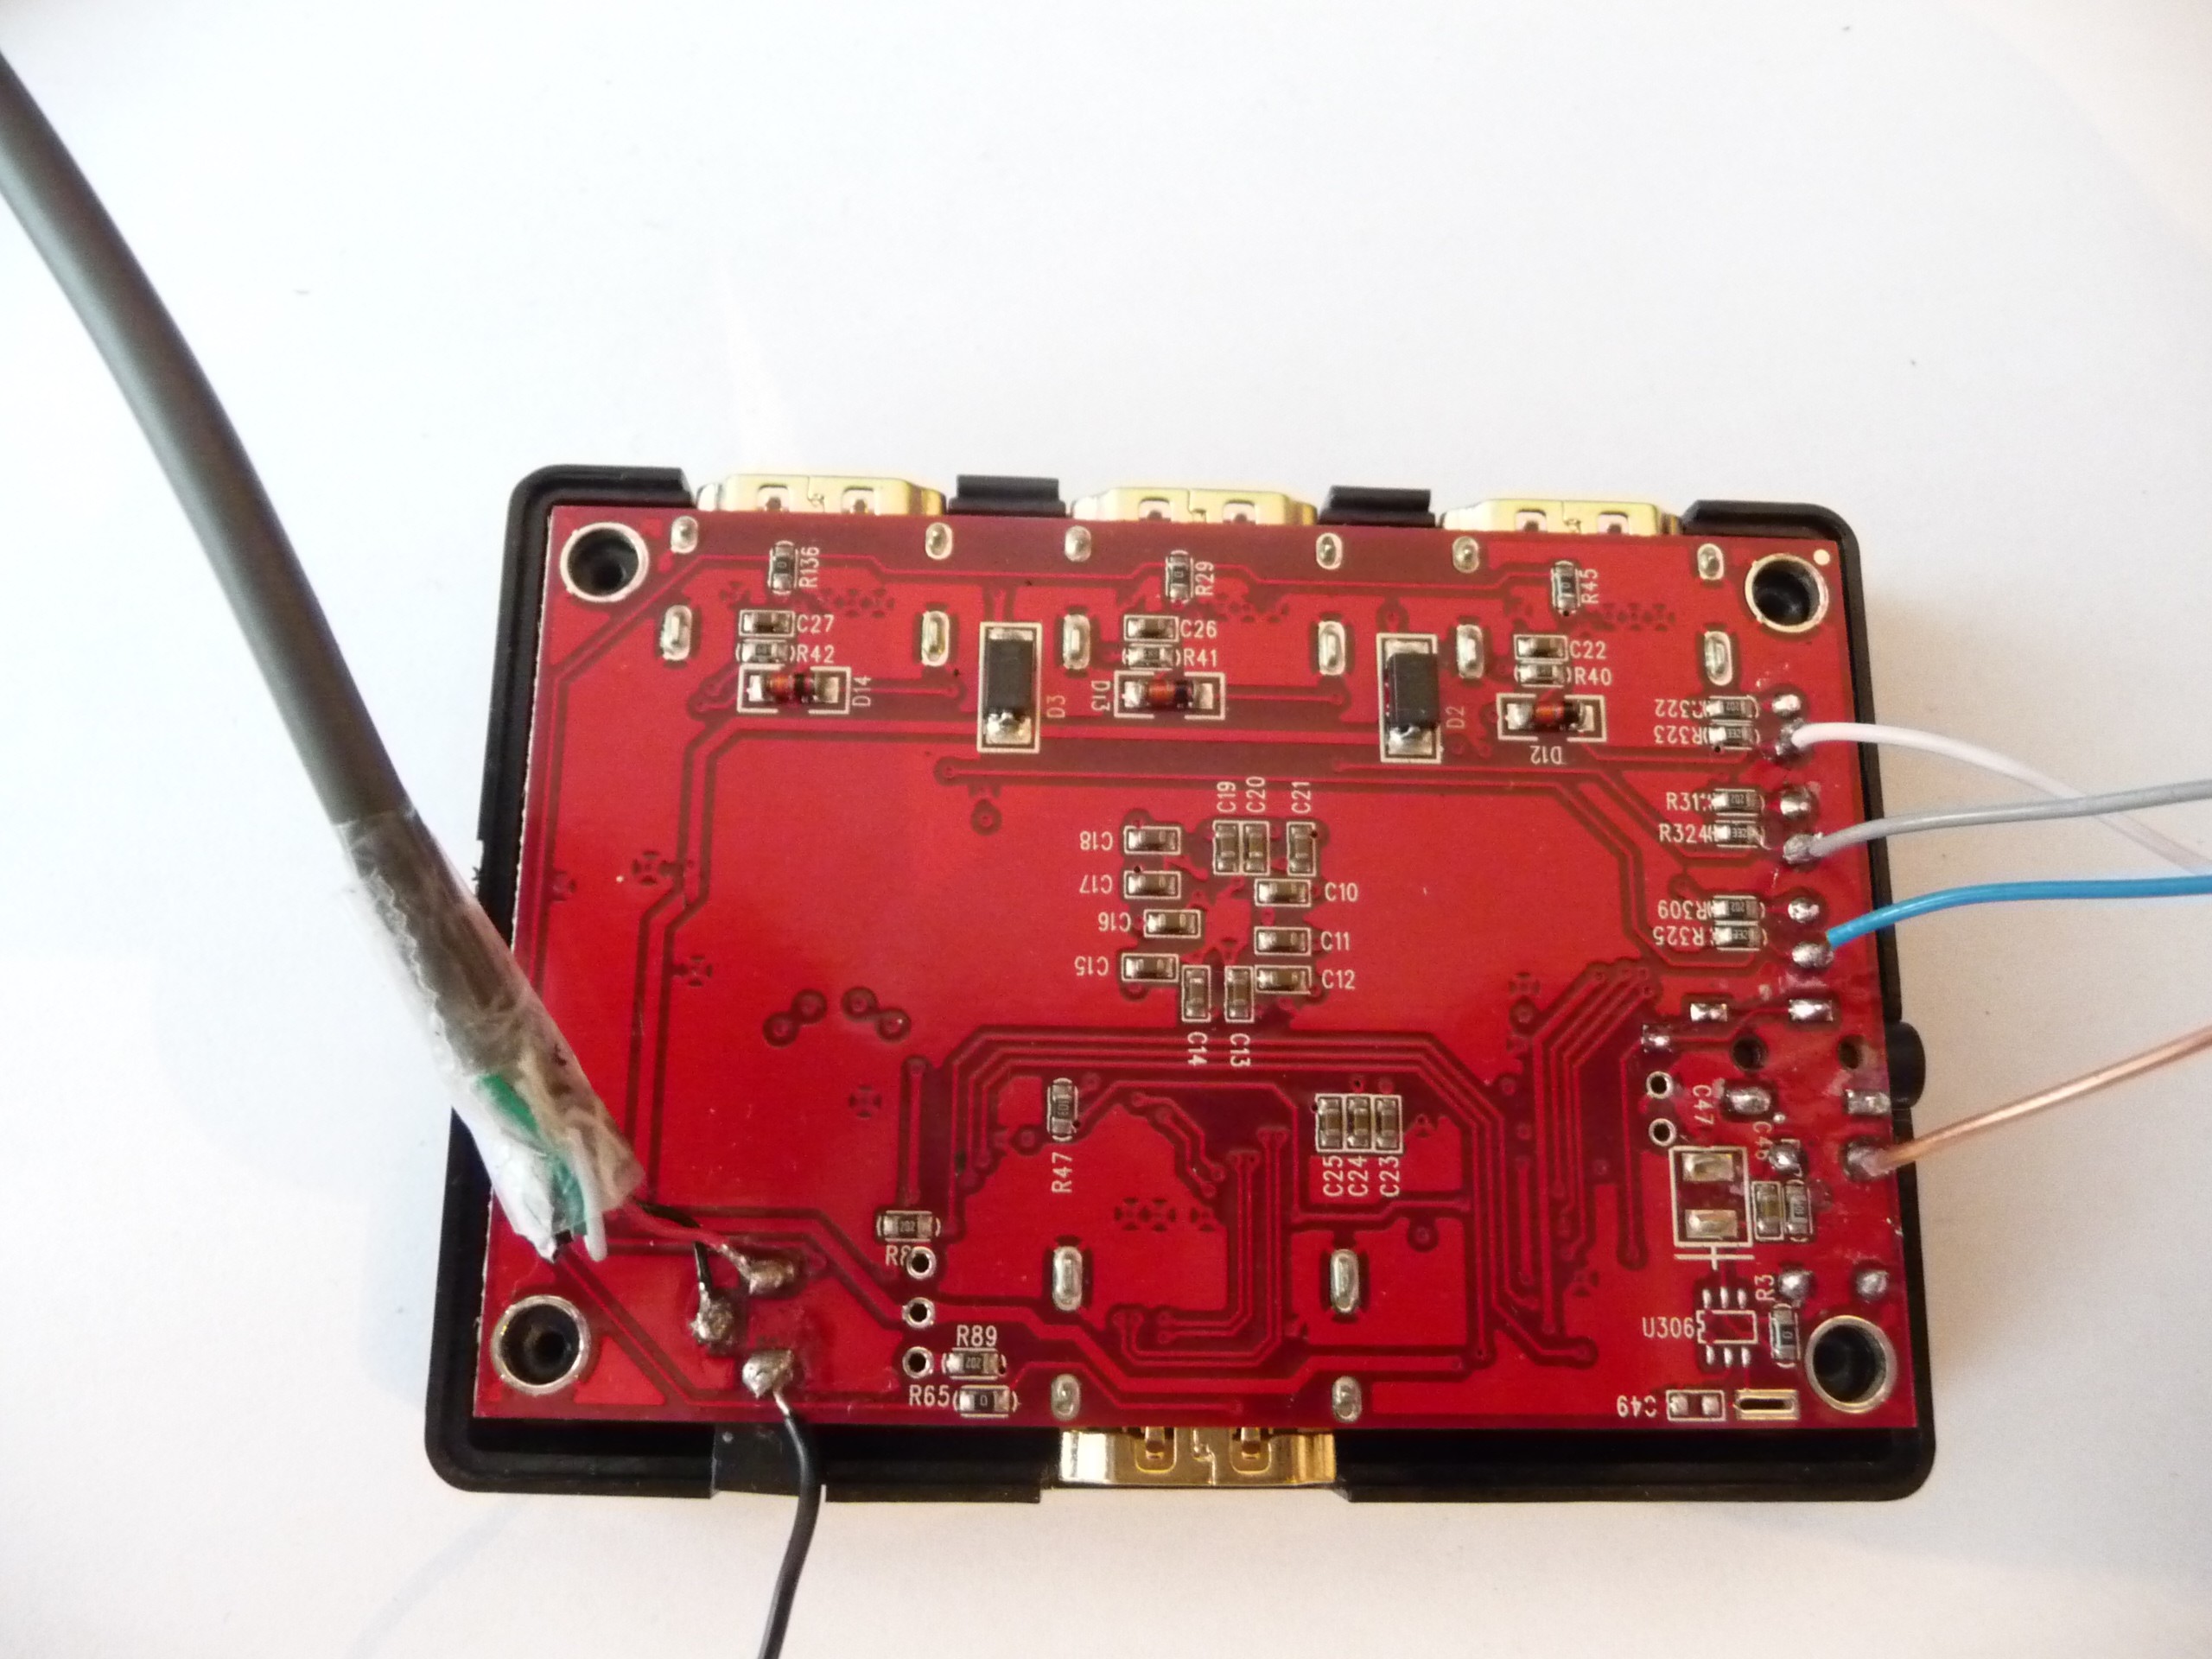
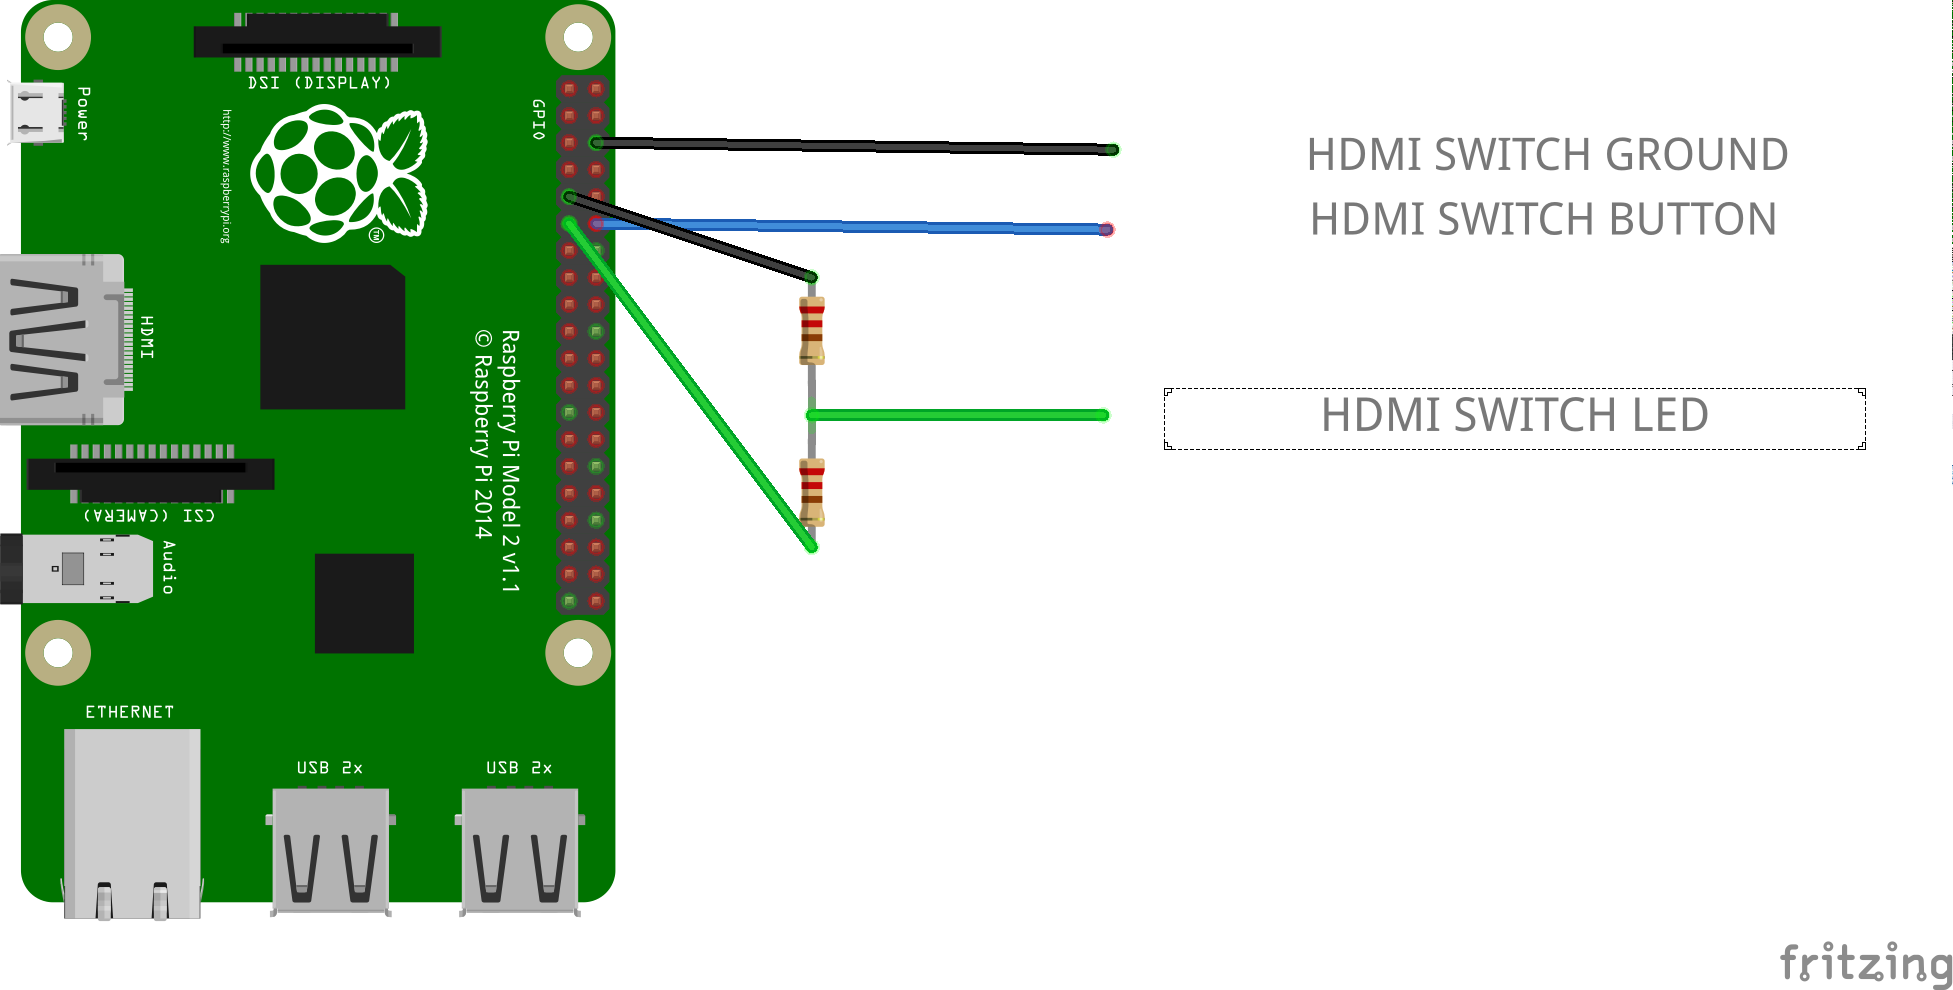
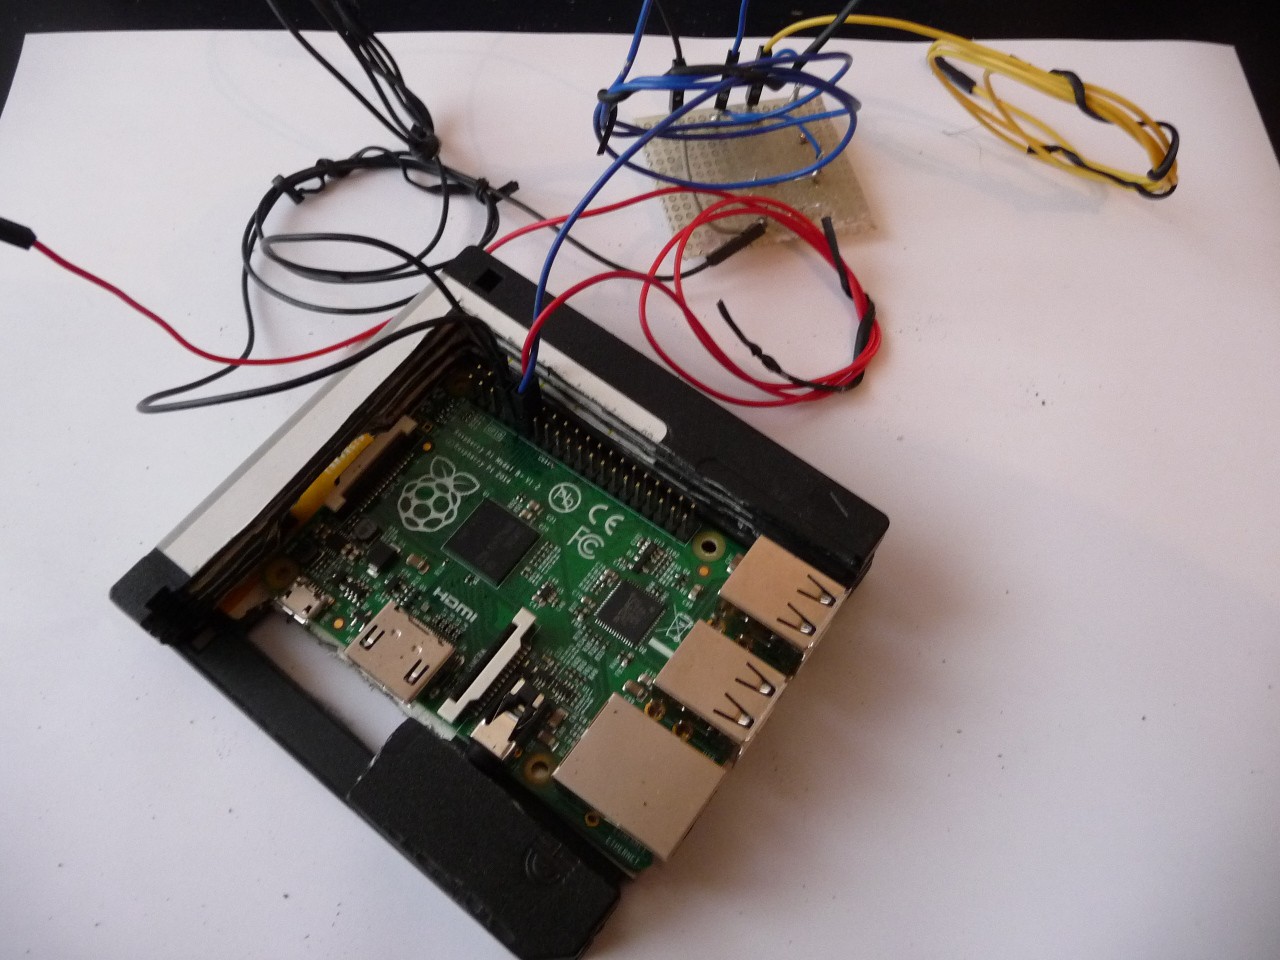
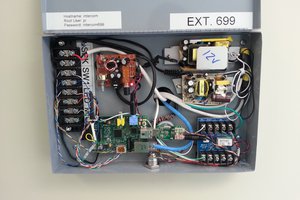
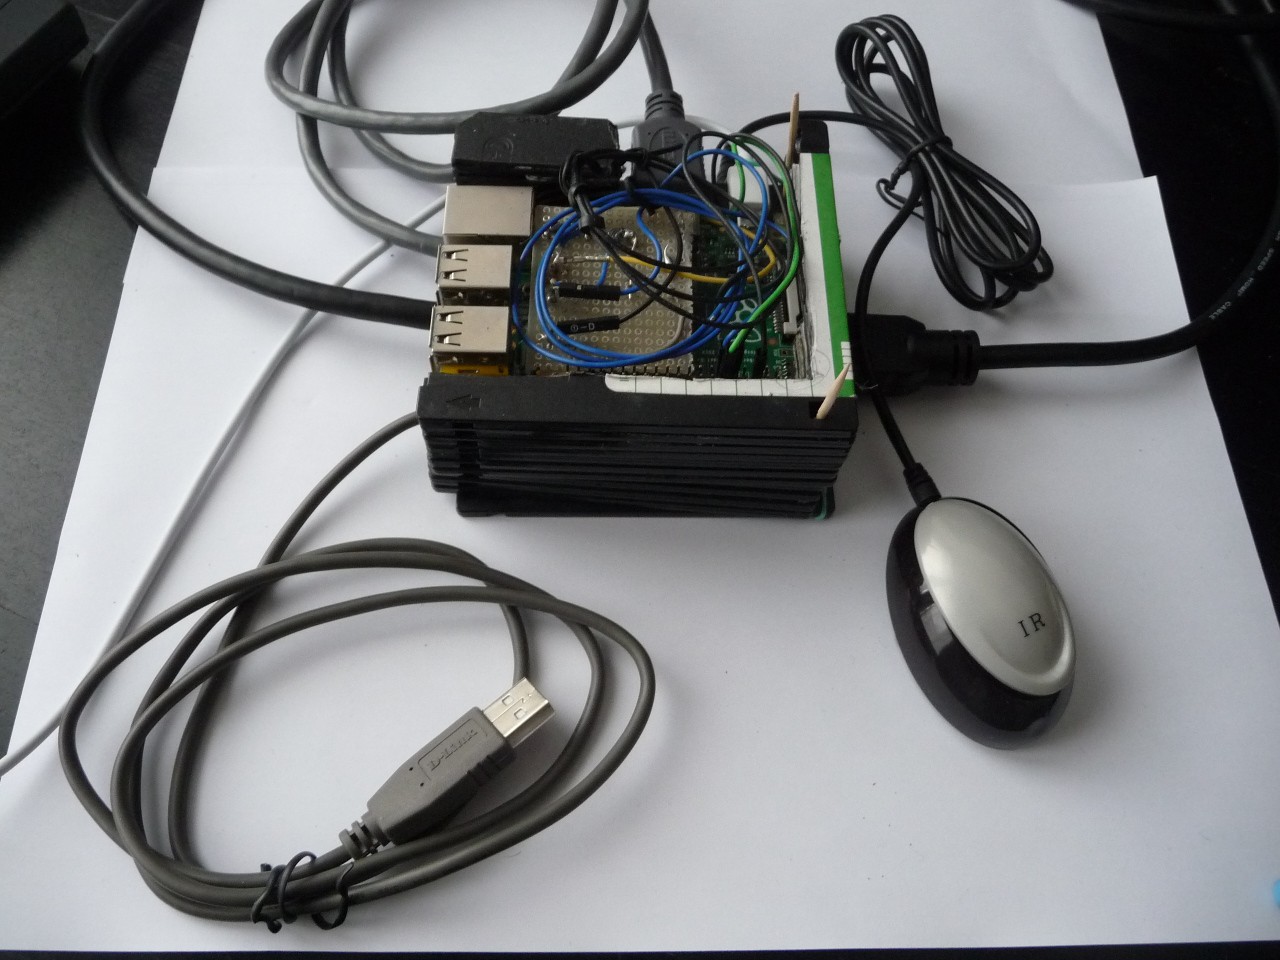 A stack with the HDMI switch, the Raspberry pi and the resistor bridge.


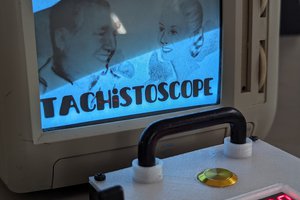
 Roni Bandini
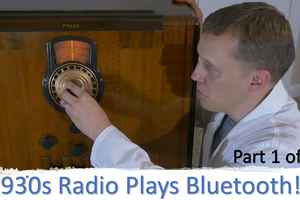
 W. Jason Altice