0%
0%
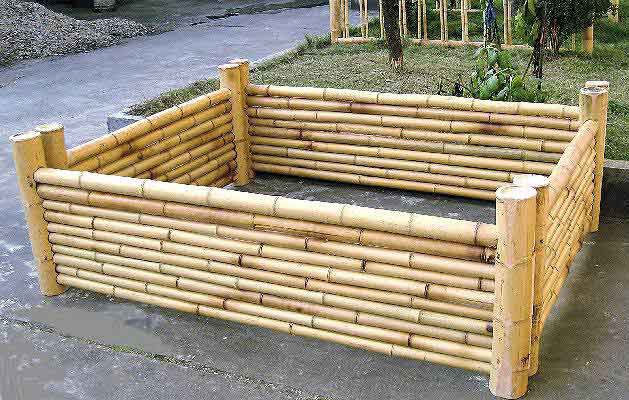
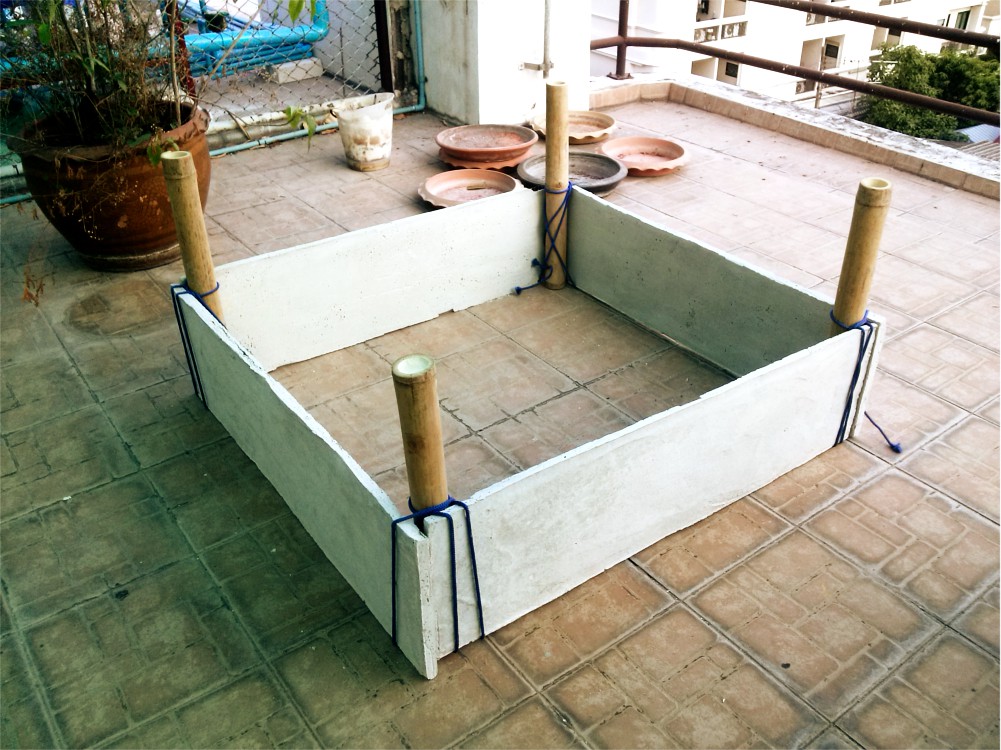
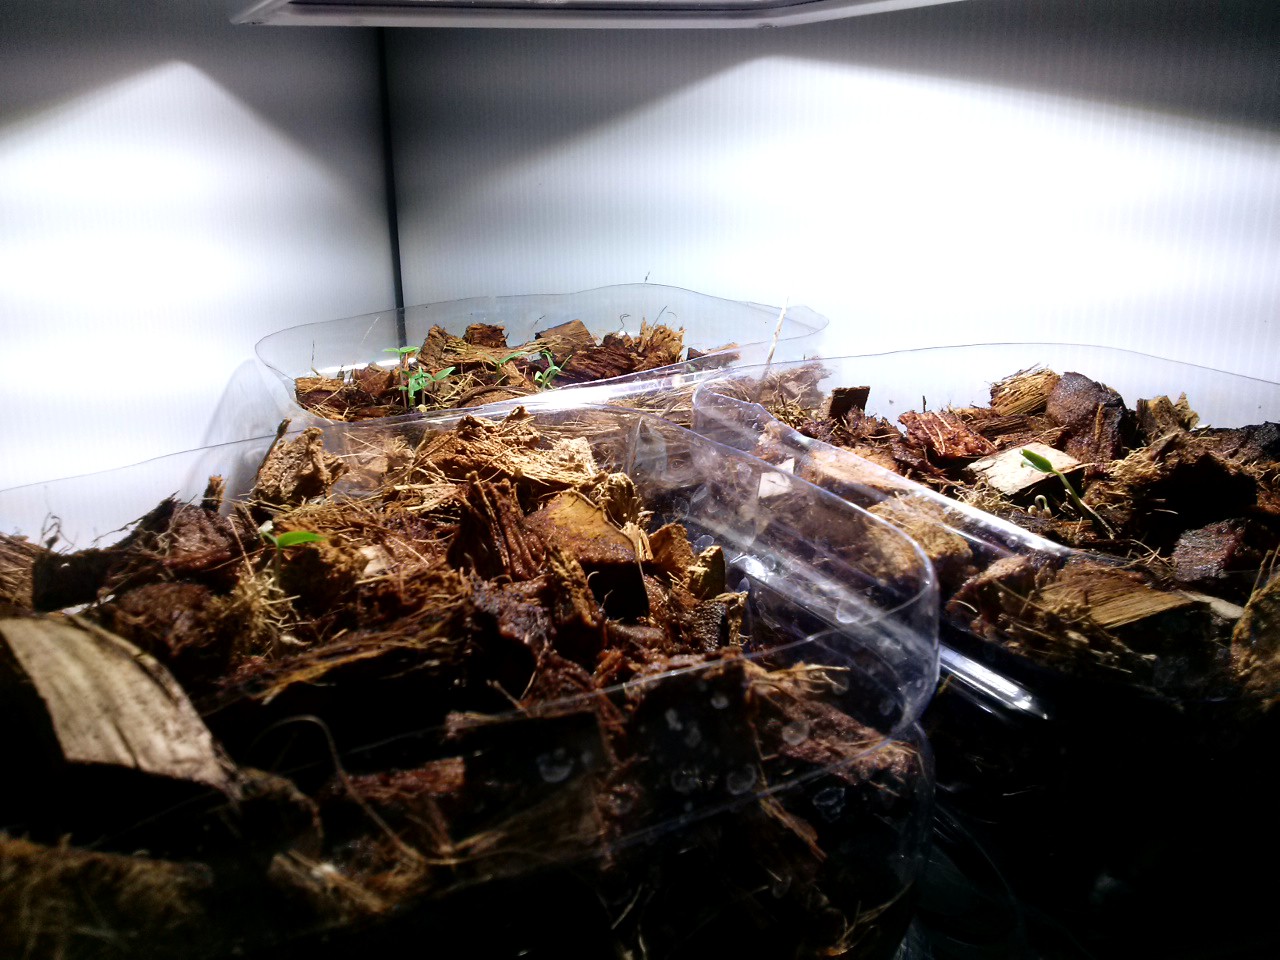
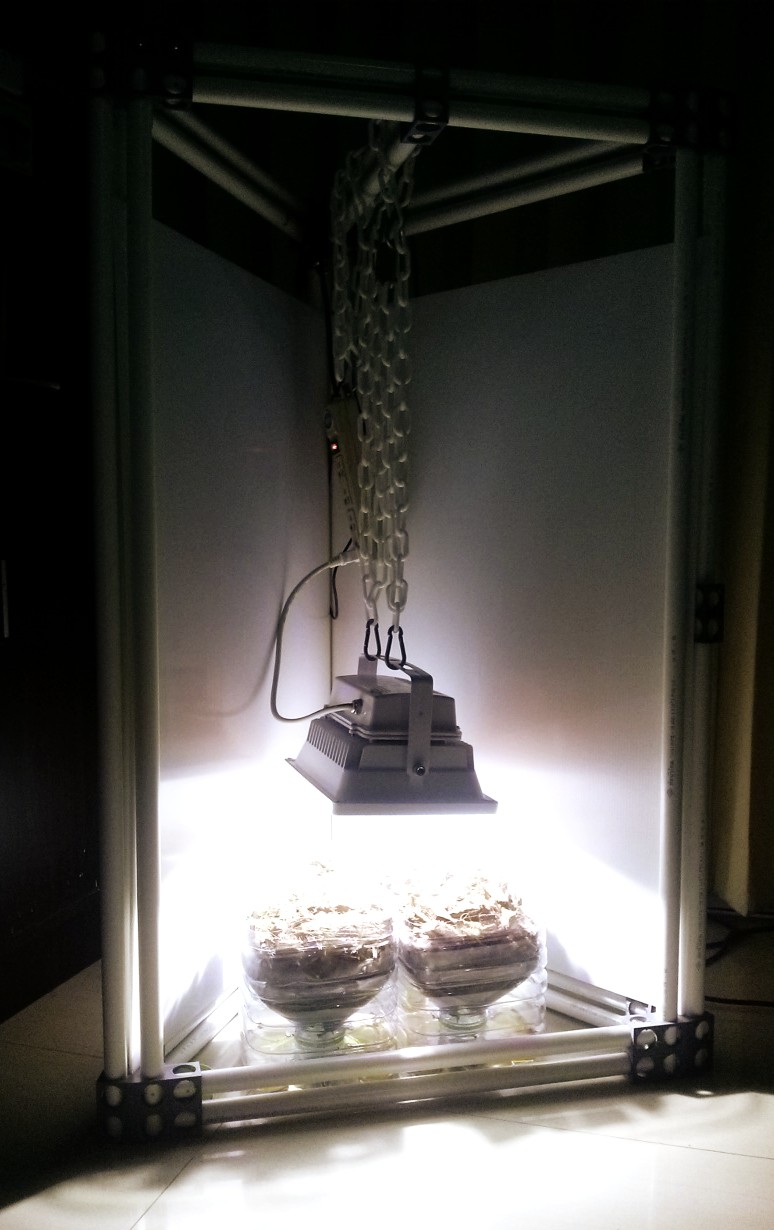
Indoor/Outdoor GrowBot
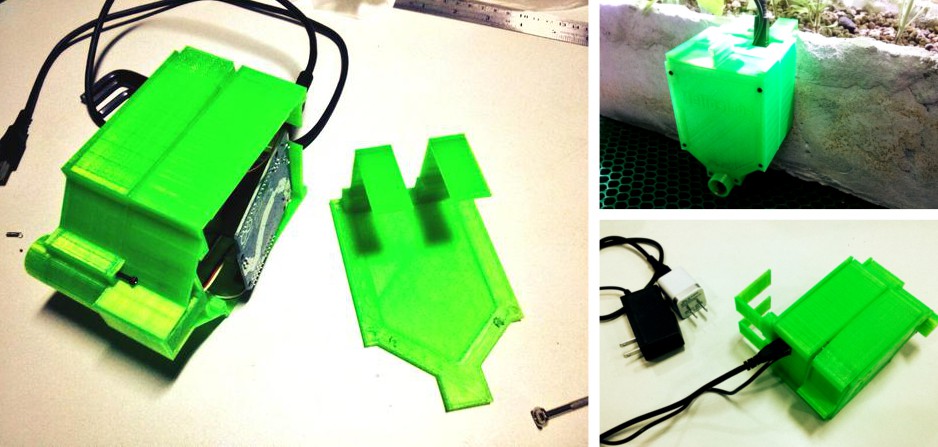
This is an opensource, modular garden system designed specifically for automation, IoT monitoring and remote control.
 ProgressTH
Become a Hackaday.io member
Already have an account? Log in.
Just one more thing
To make the experience fit your profile, pick a username and tell us what interests you.
Pick an awesome username
hackaday.io/
Your profile's URL: hackaday.io/username. Max 25 alphanumeric characters.
Pick a few interests
Projects that share your interests
People that share your interests

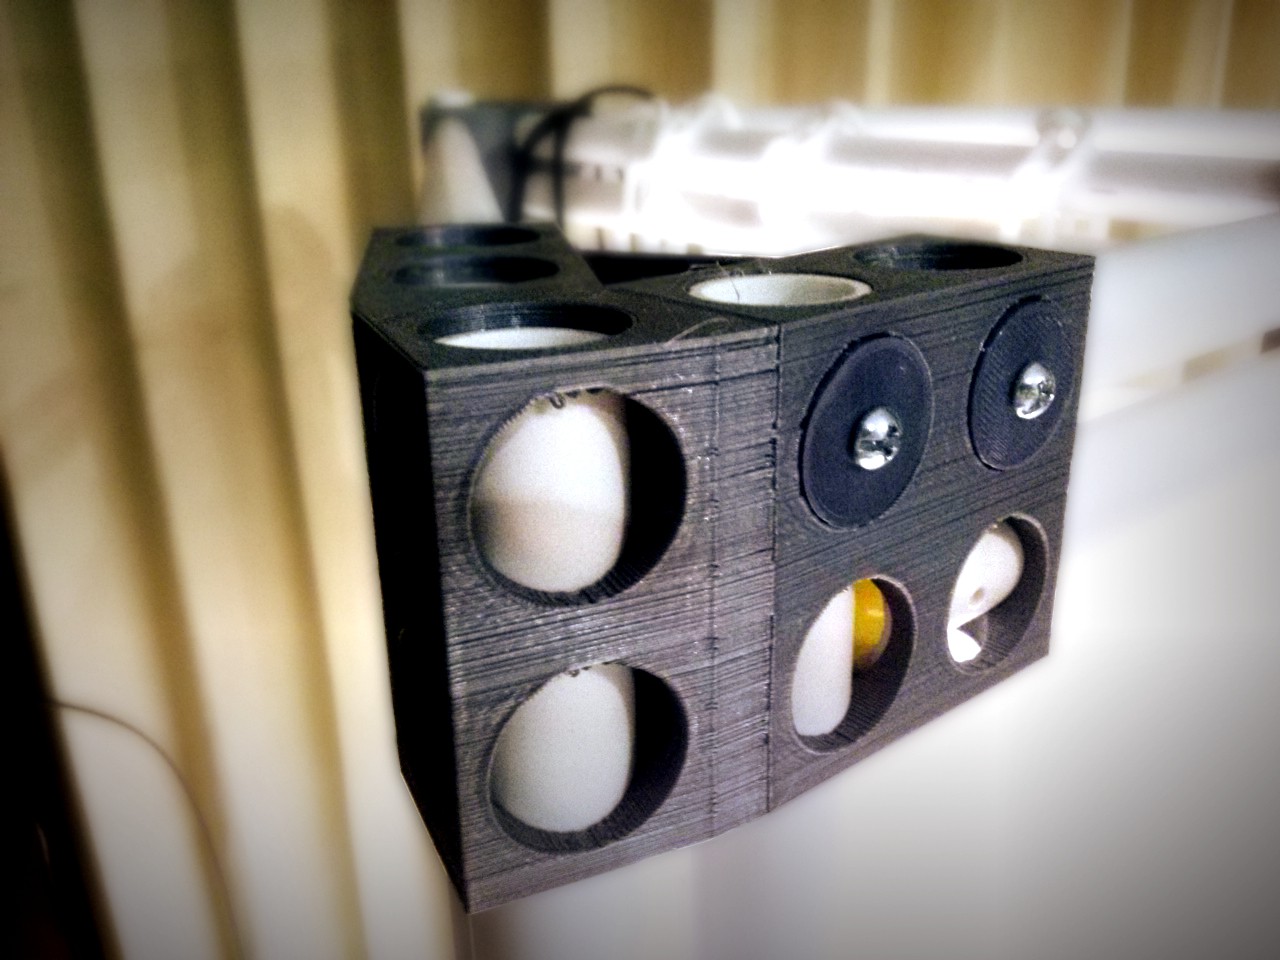
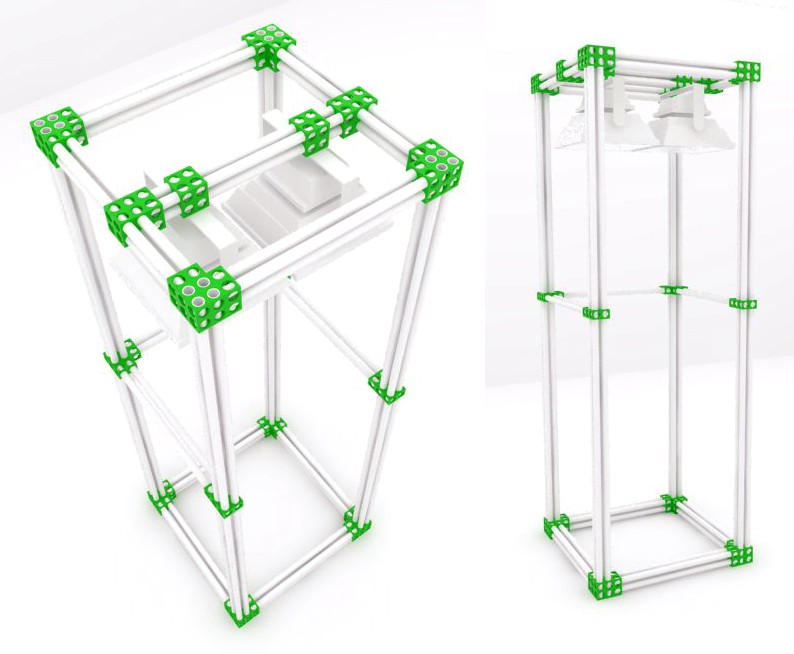 We don't have the 3D files for these connecting joints, but you can just take the STL file of the single cube and import it into your favorite 3D design software and make them there, or you can open up the SketchUp file we provided, both of which

 infinityis
 Garret
 Ryan Beltrán
<a href=" https://soilsculptor.com/"> Gardening</a>