 Michael Barton-Sweeney
Water quality monitoring is essential for maintaining a healthy ecosystem. It is important for managing fisheries, measuring bacteria and algal blooms to protect public health, and pinpointing sources of pollution. Because of climate change, it is also important to get a baseline of data for water quality, in order to identify new and subtle trends.
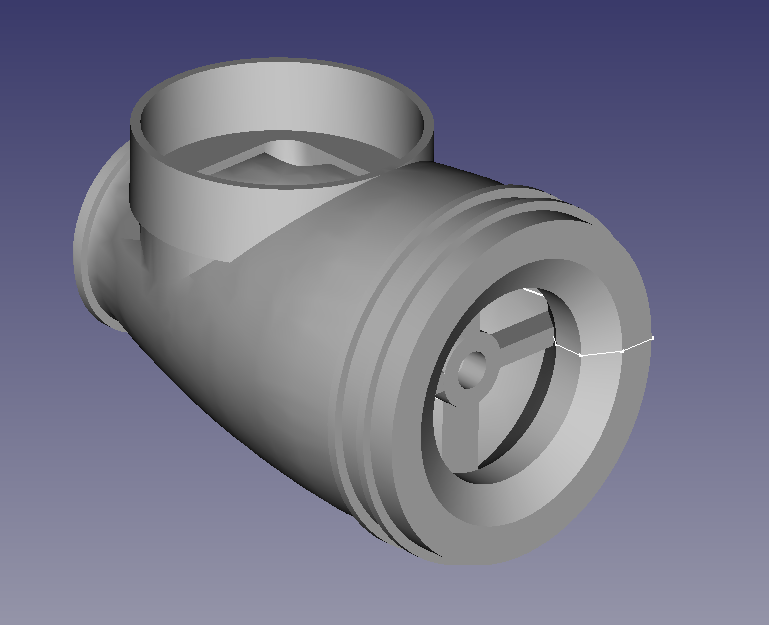
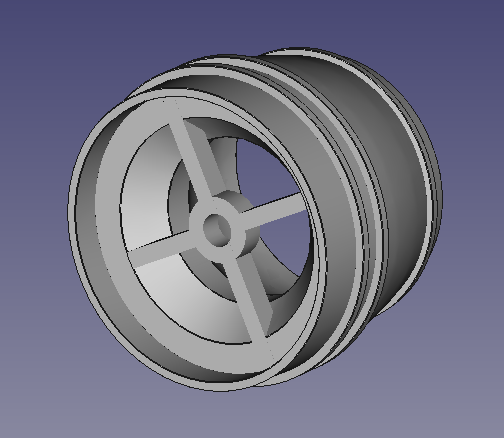
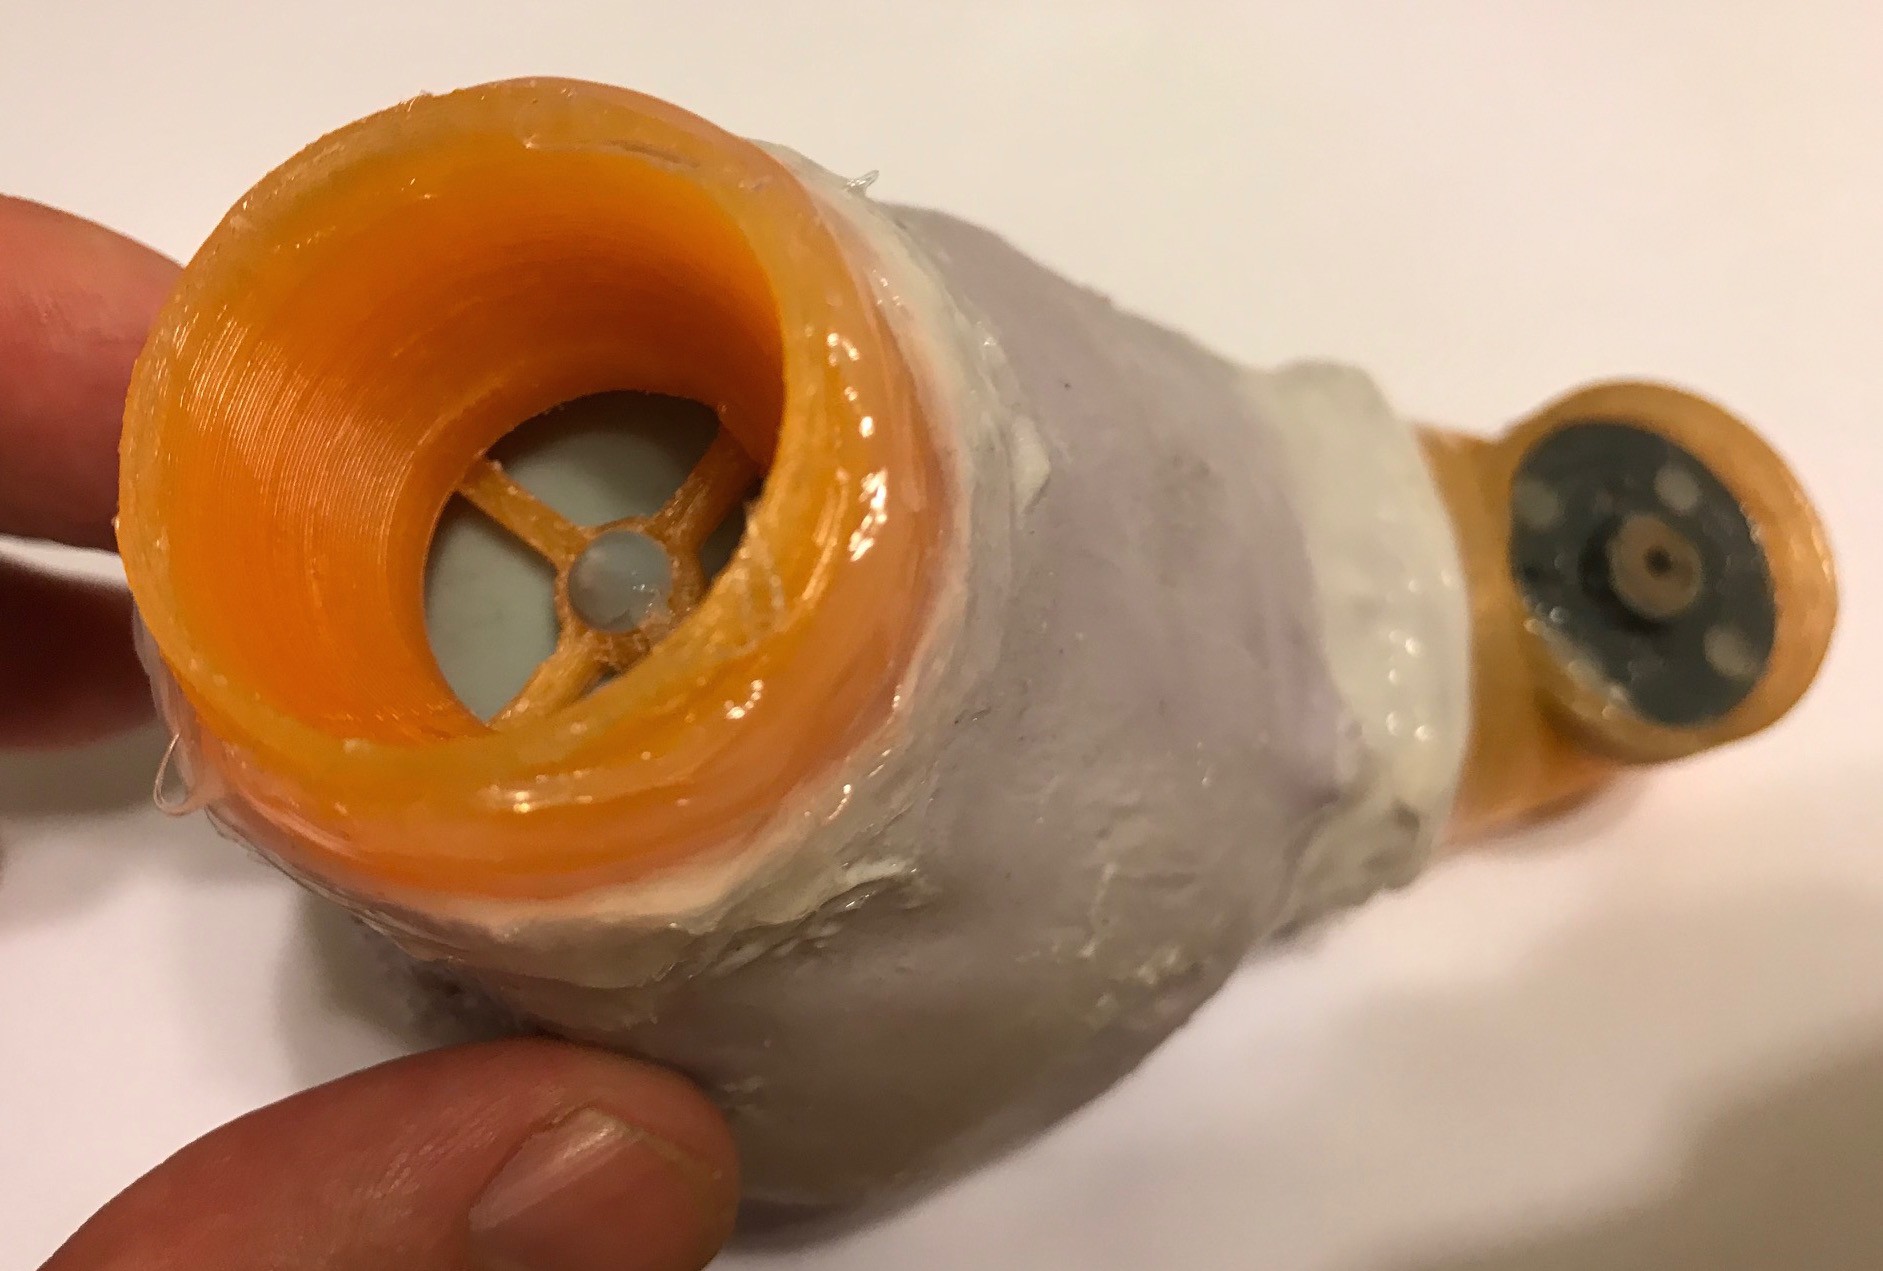
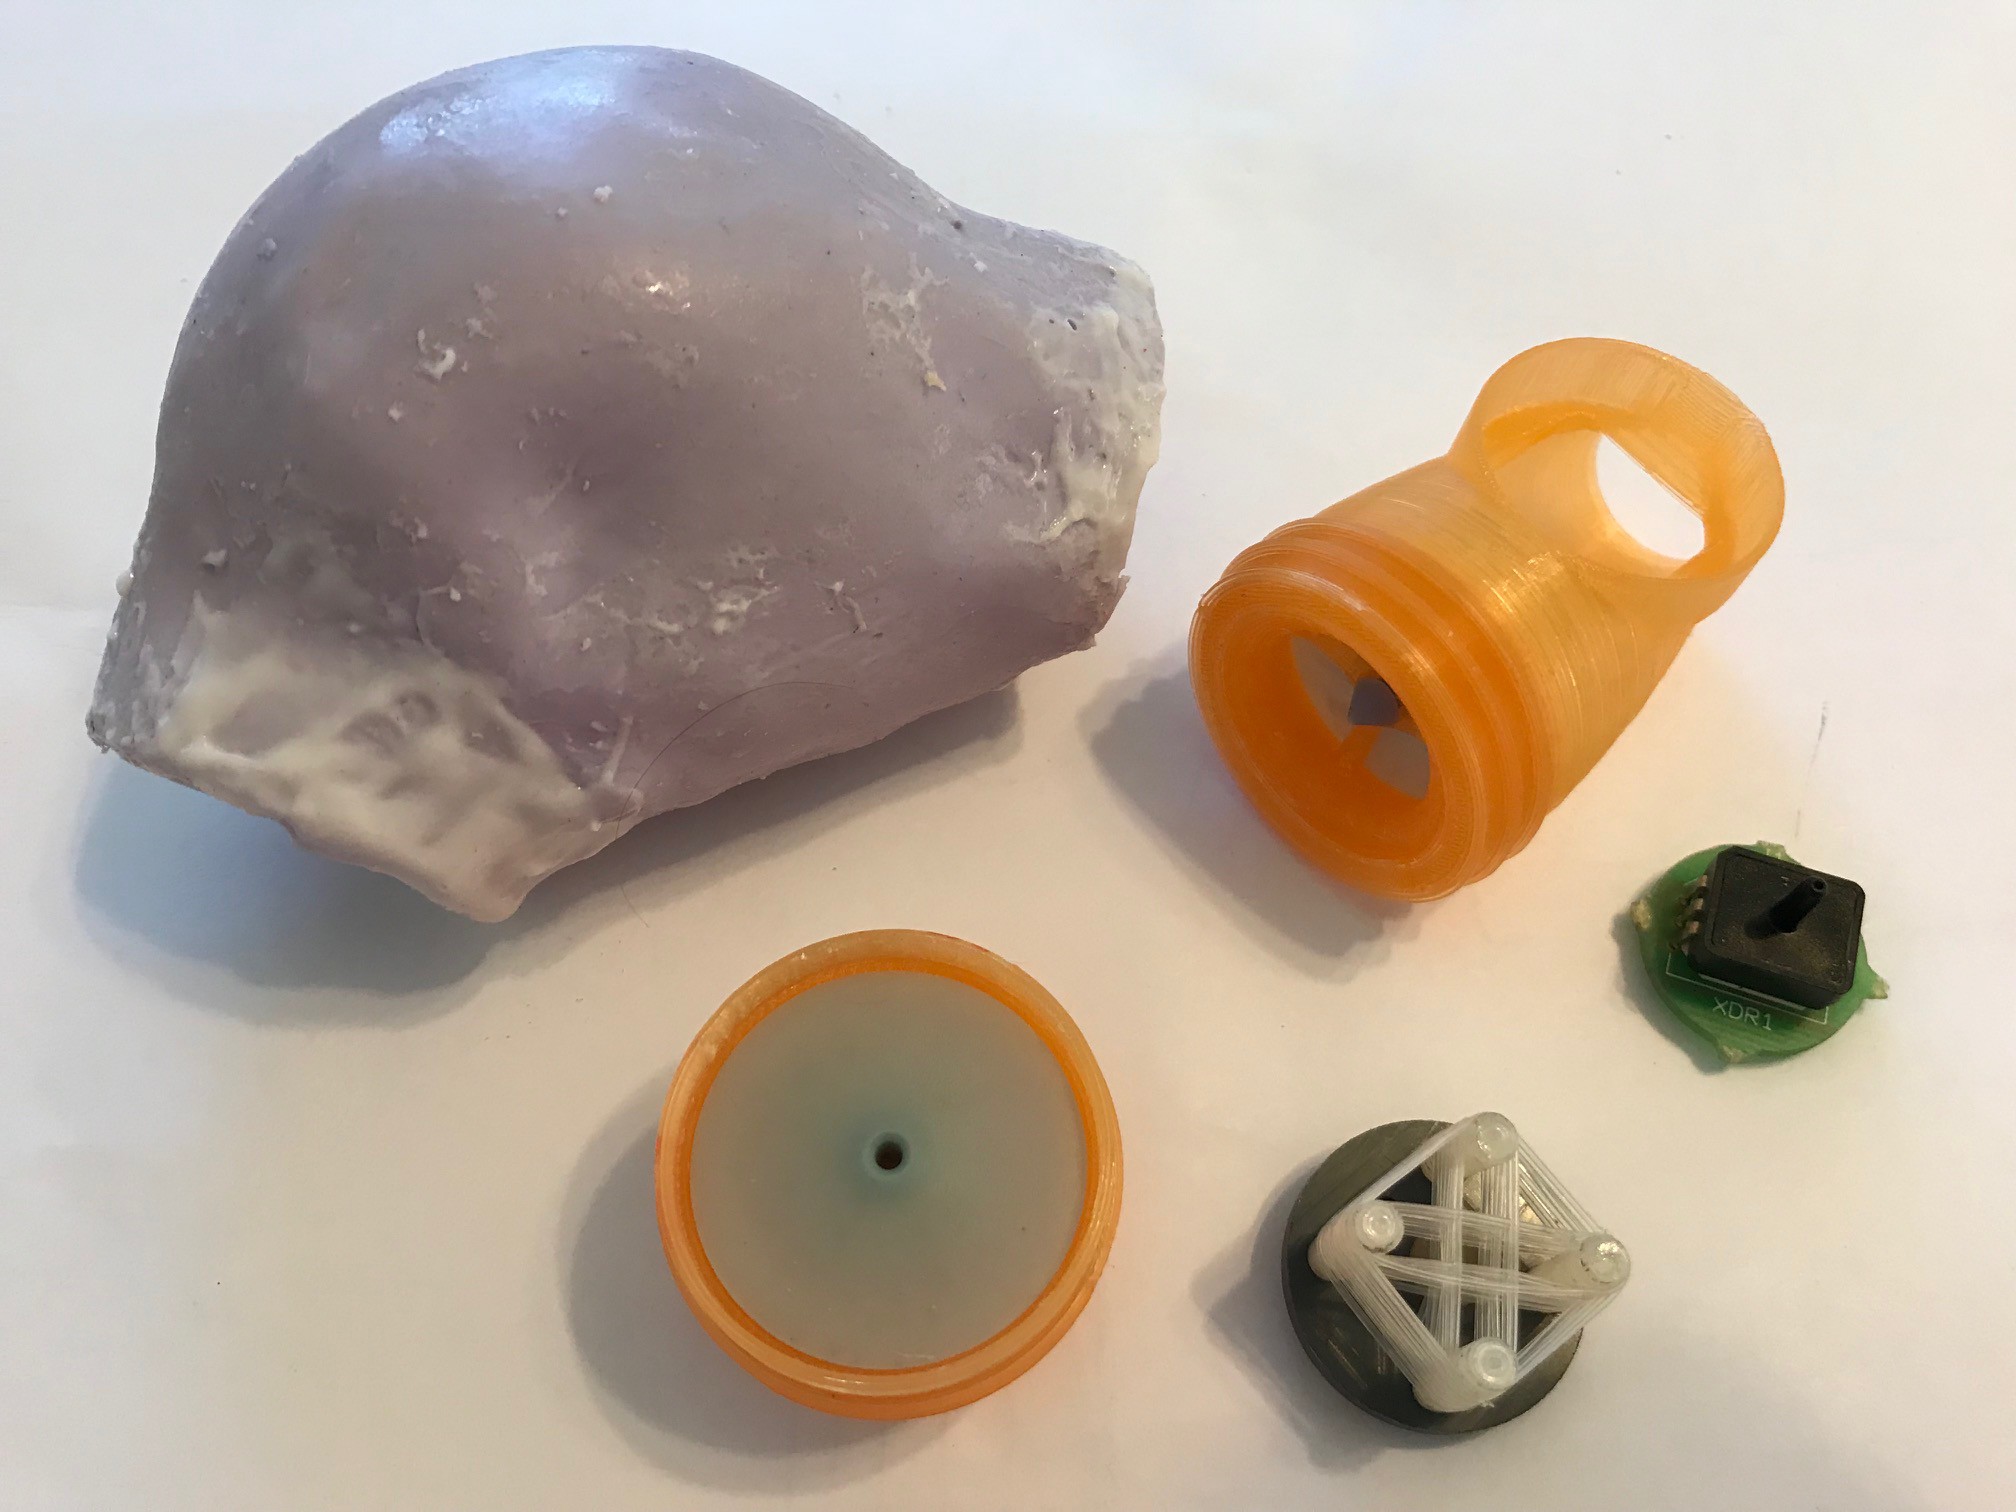
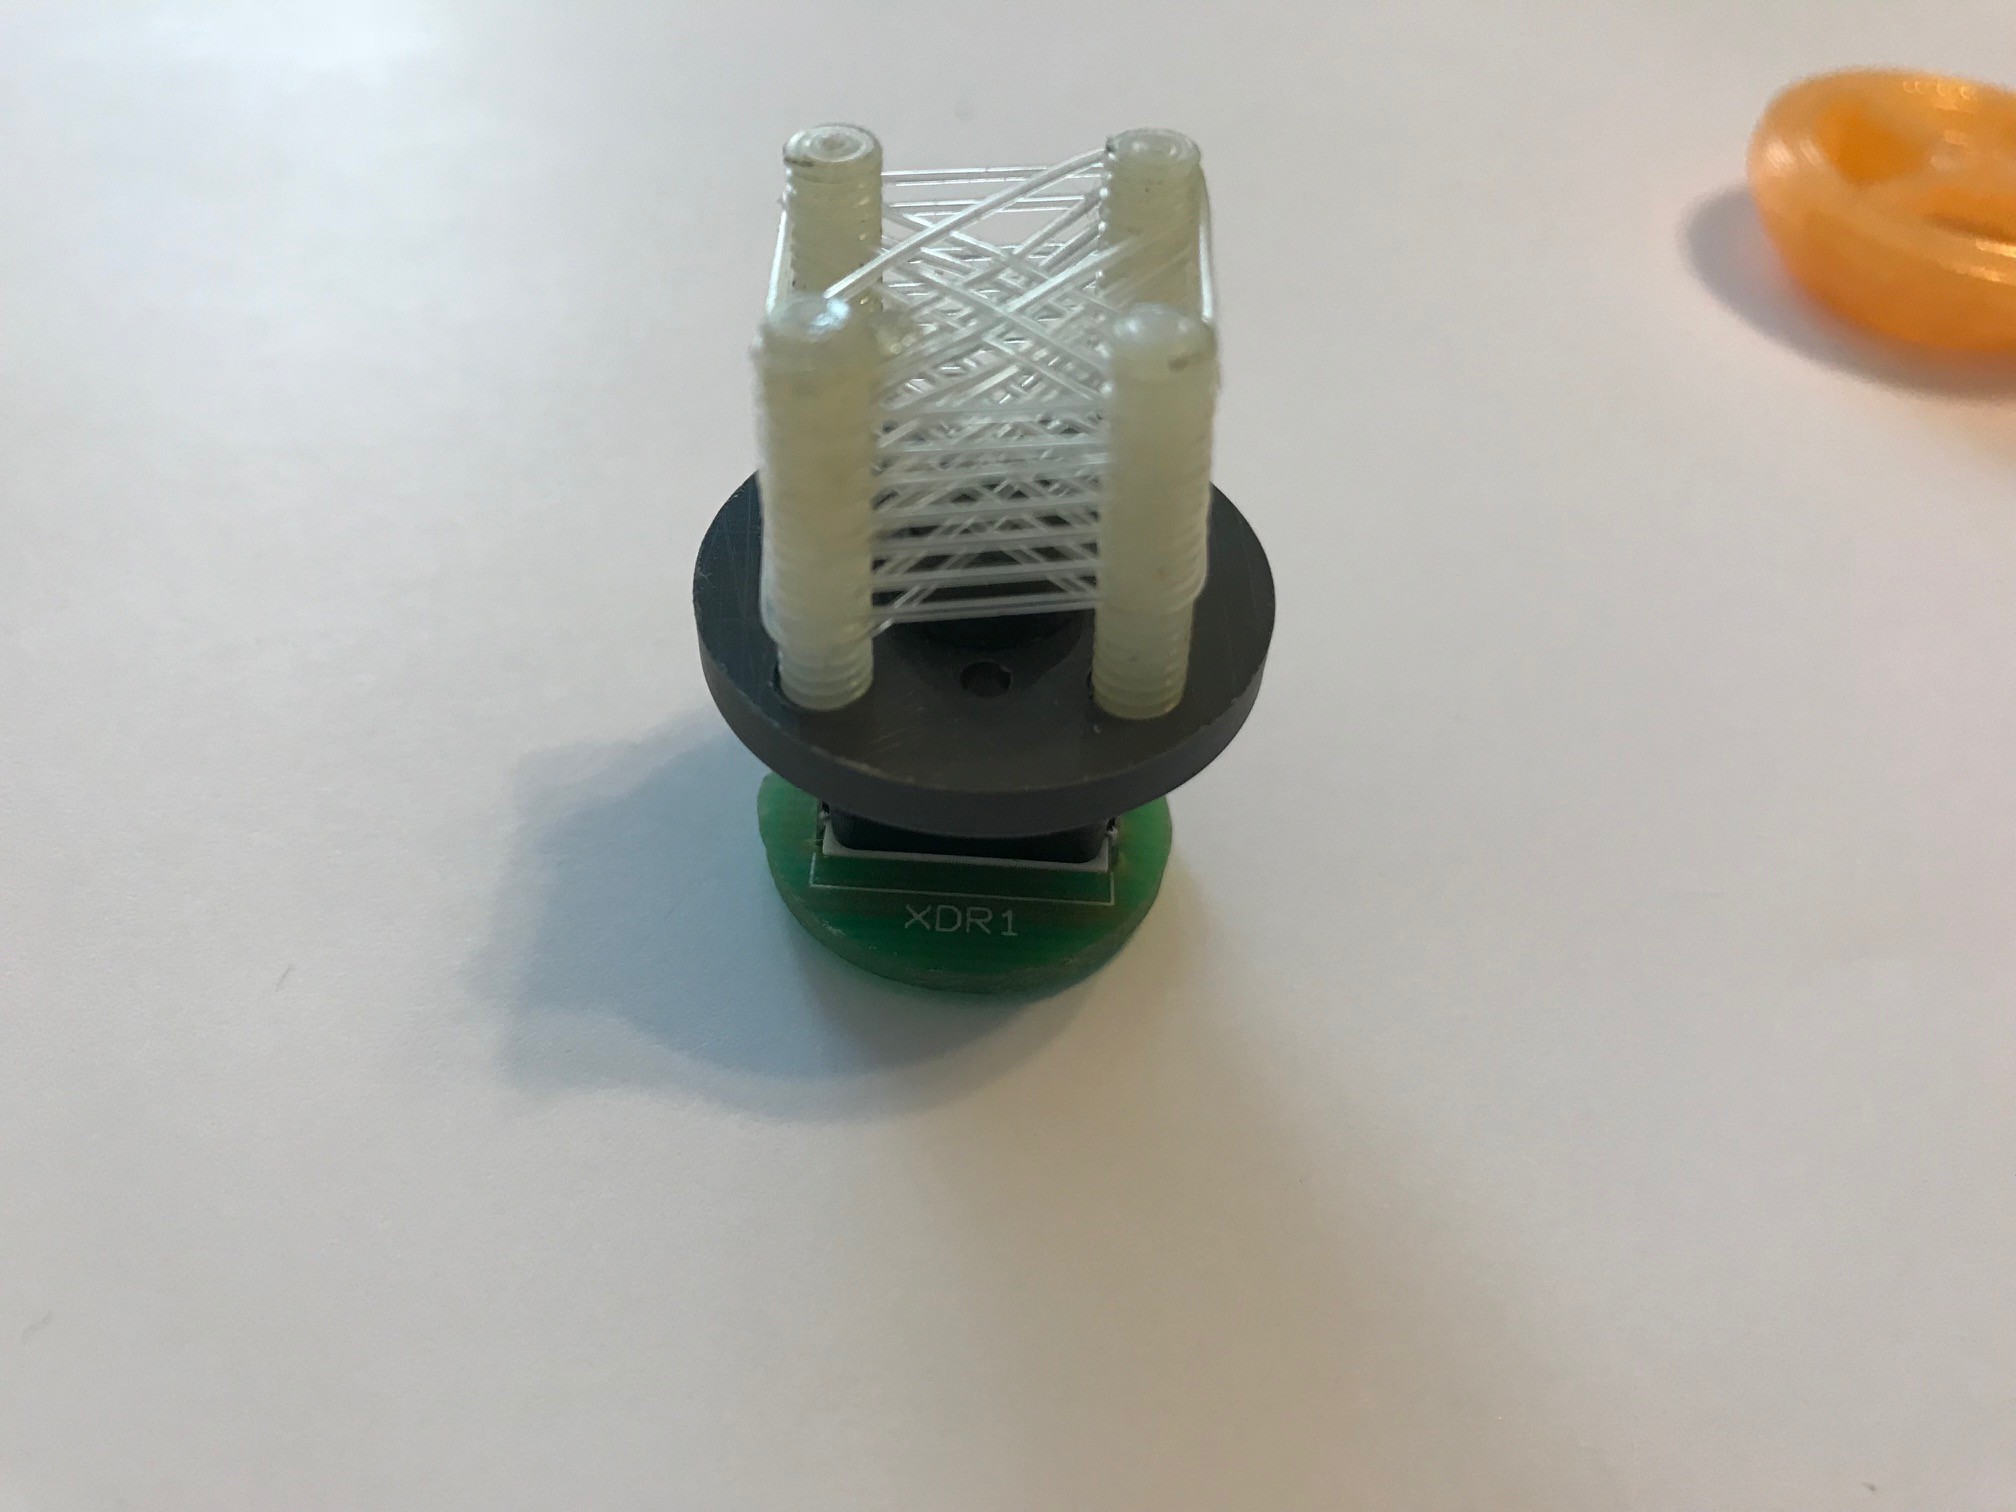
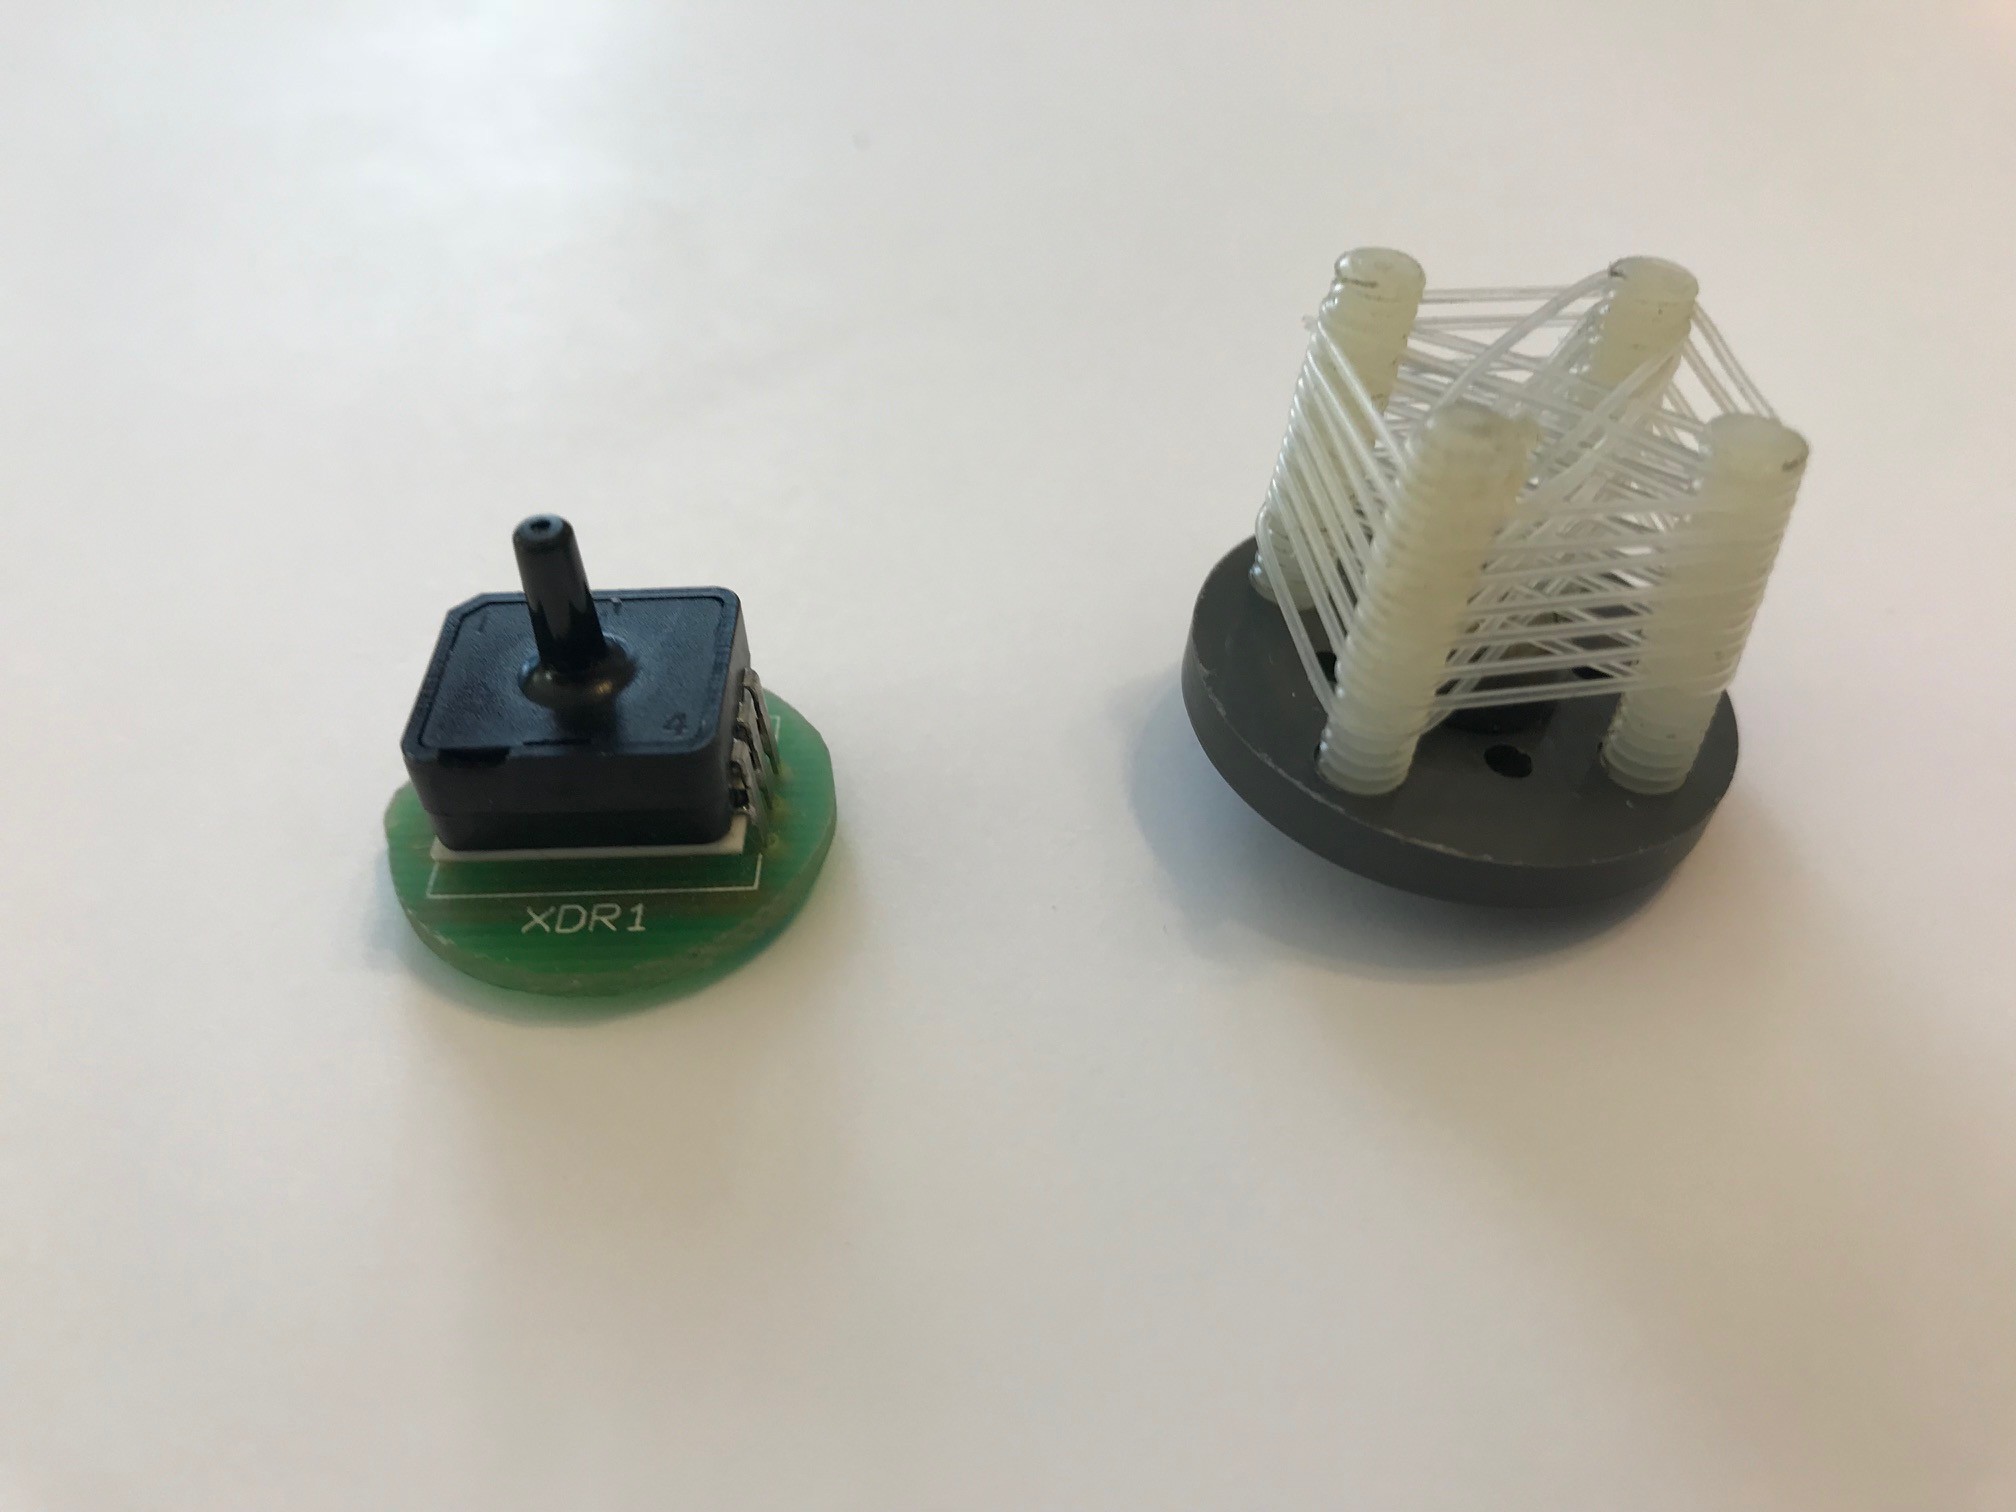
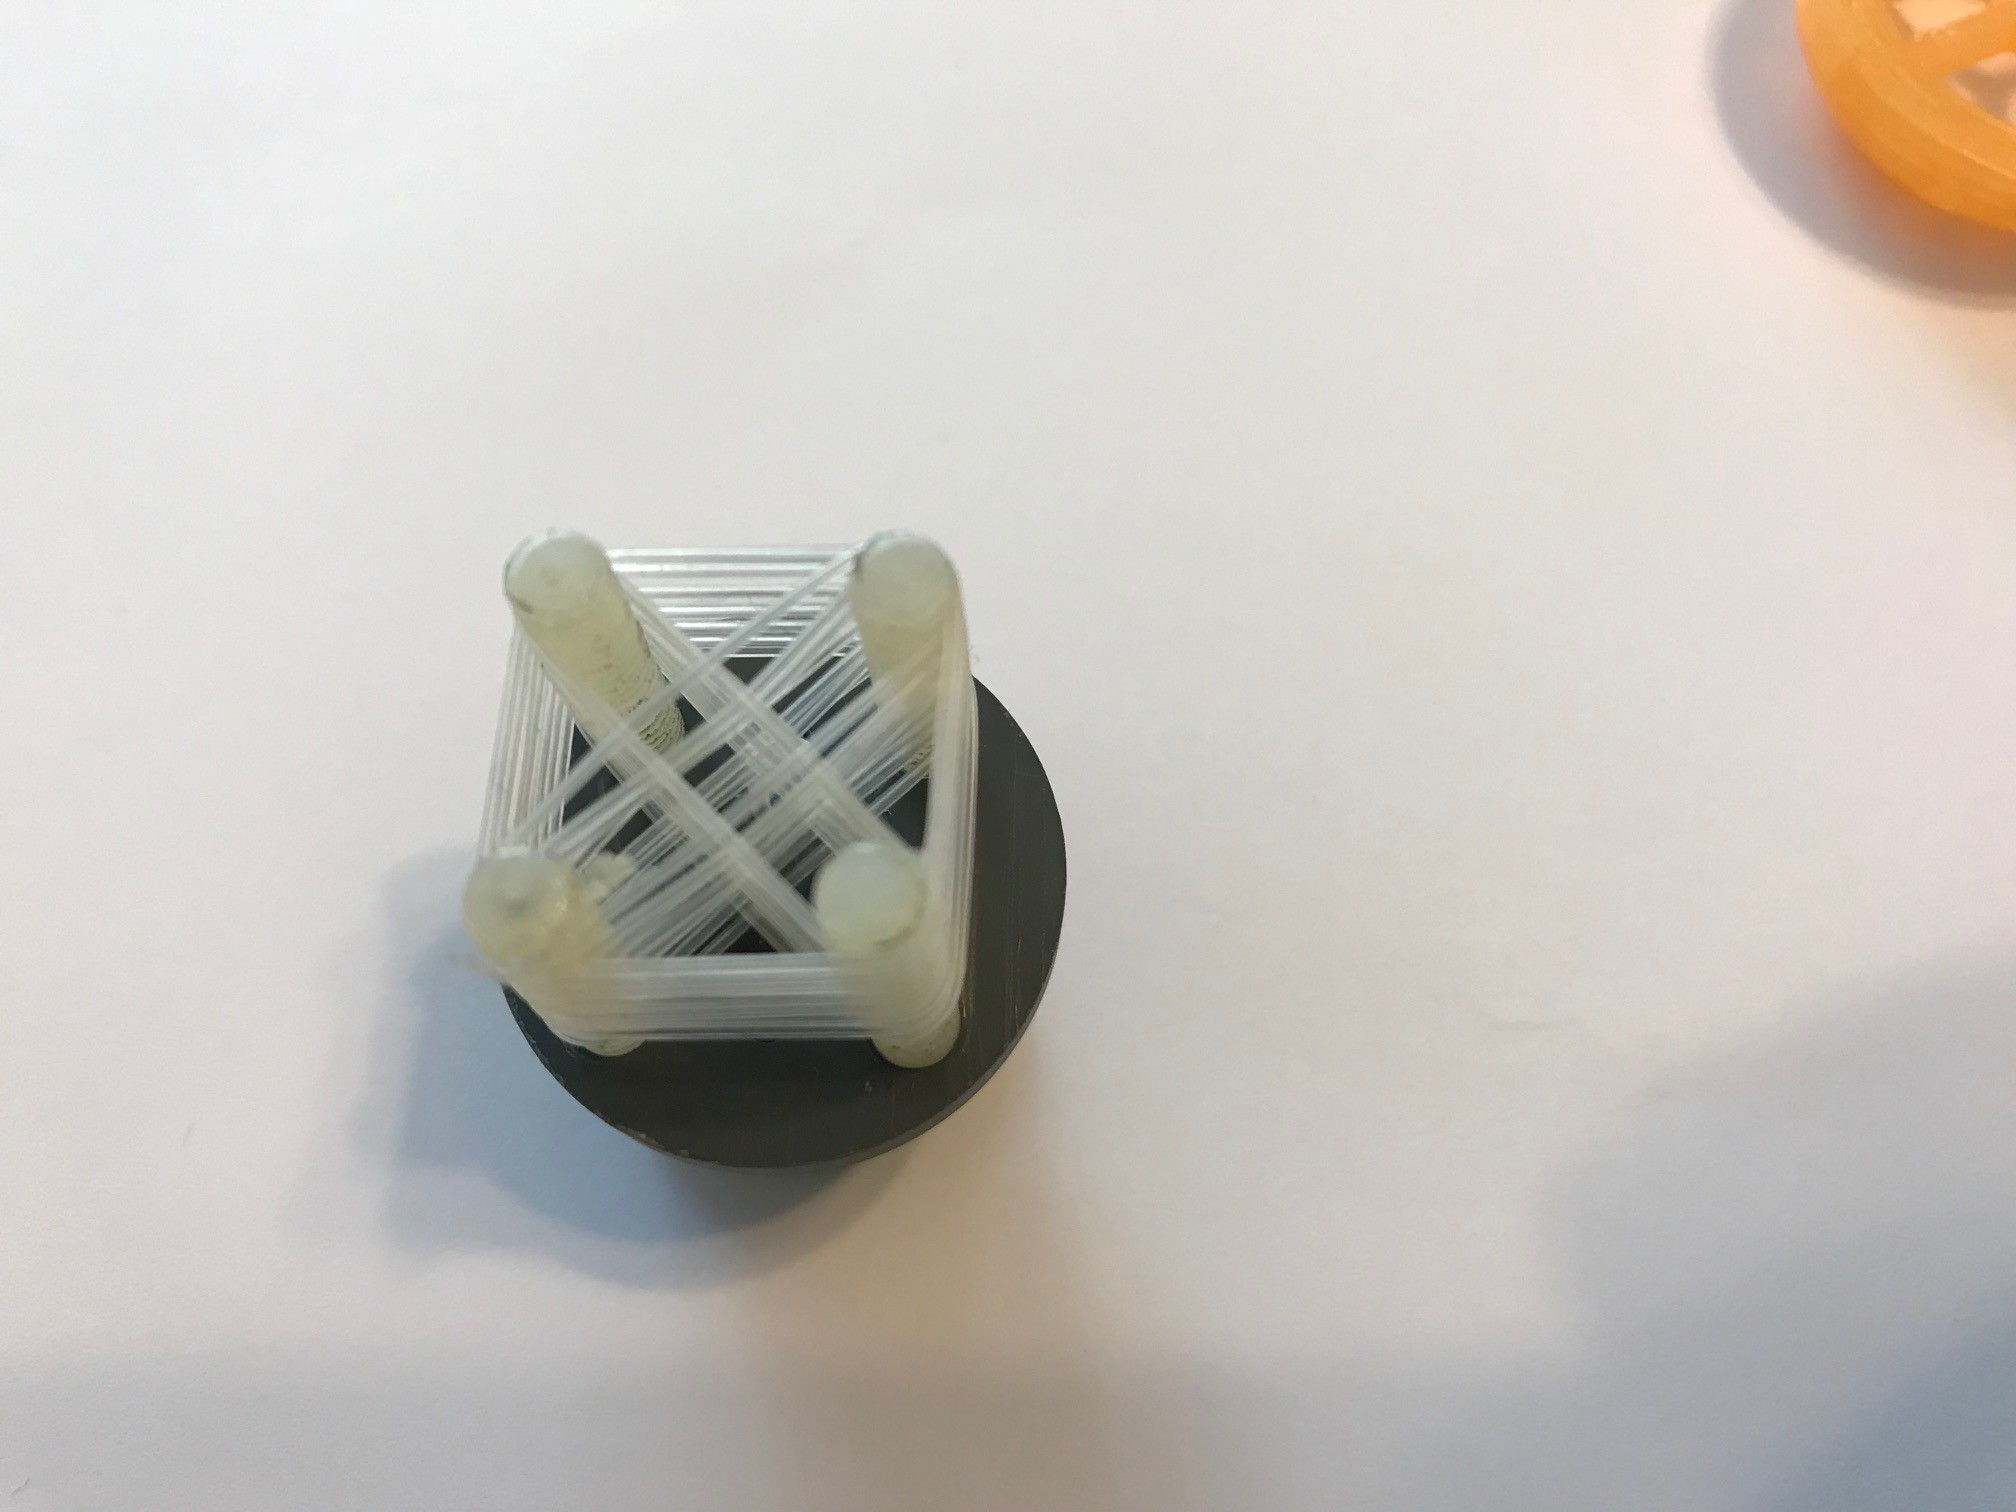
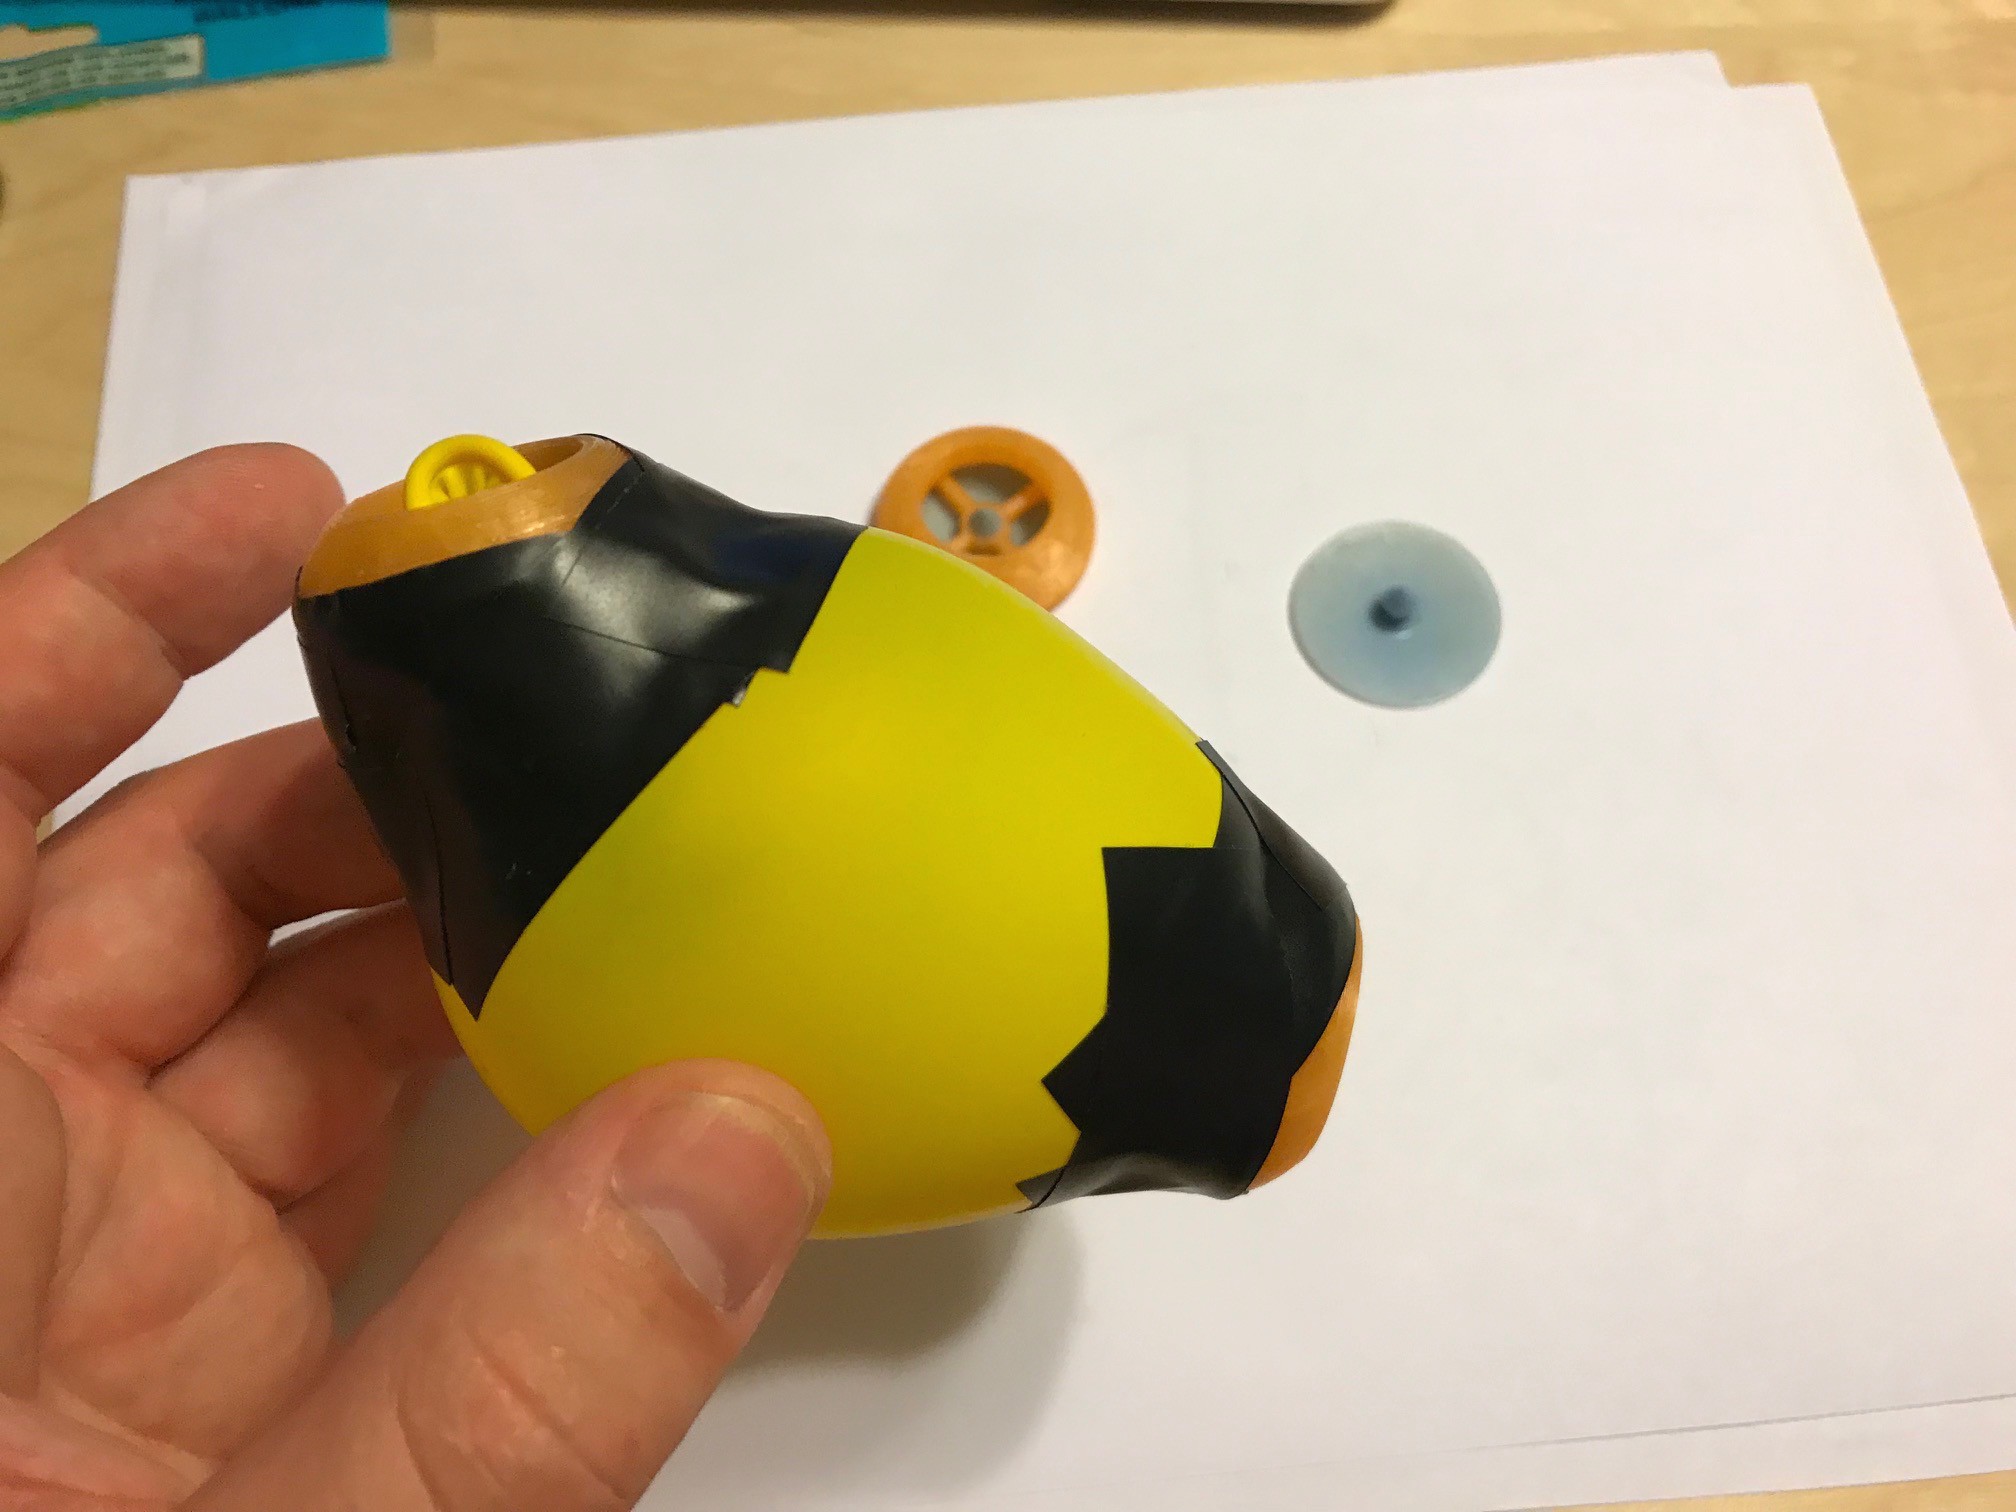
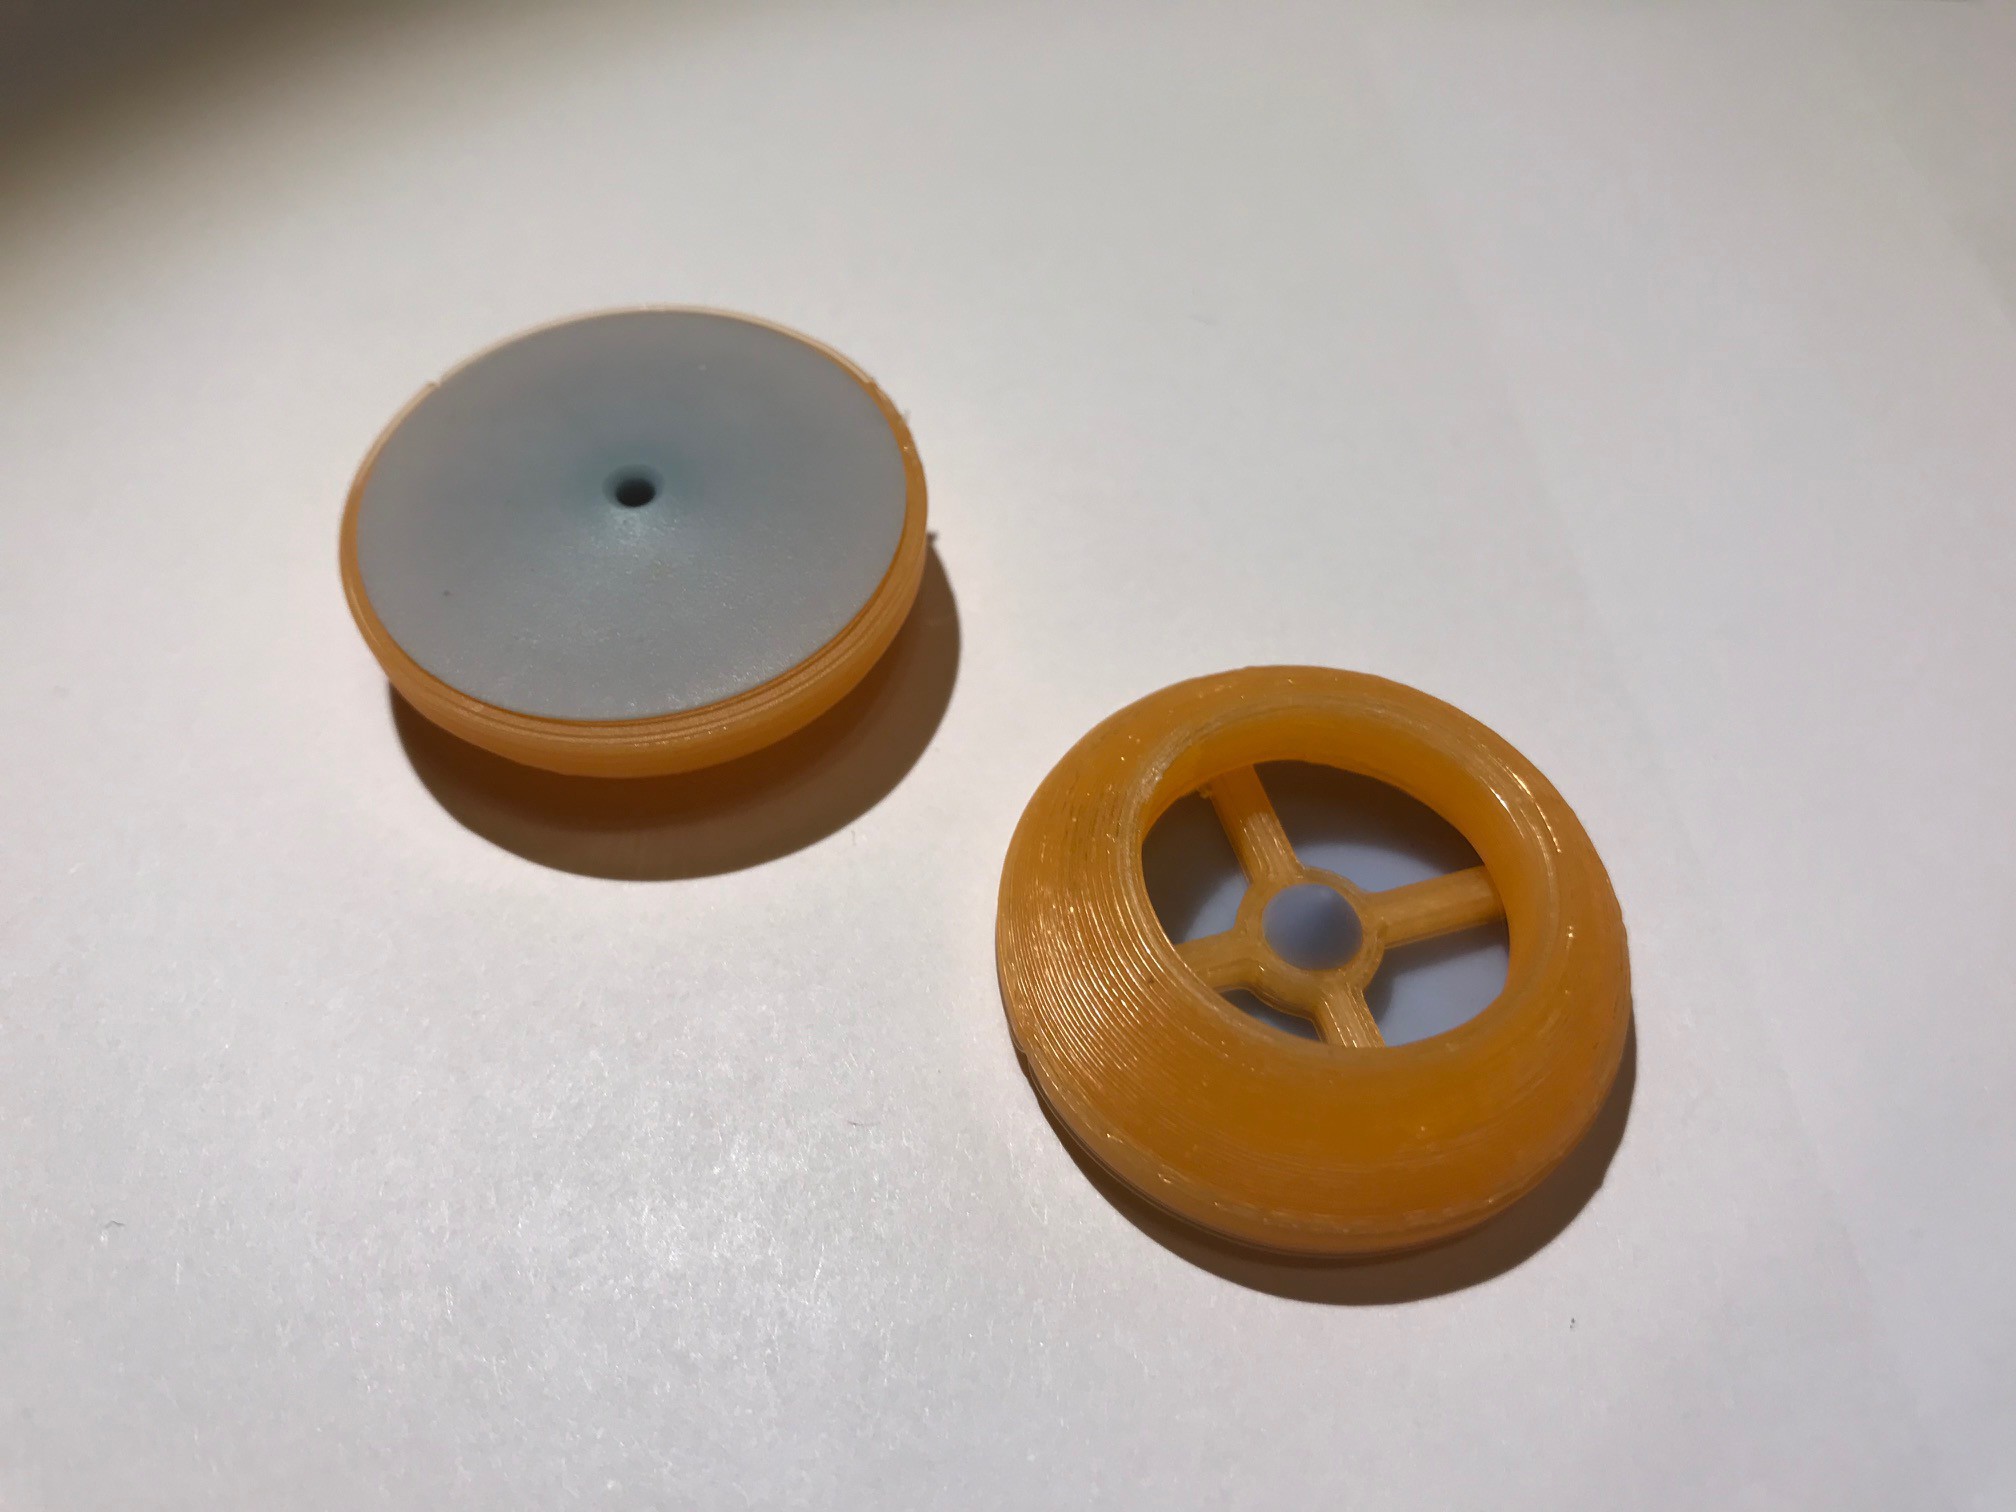
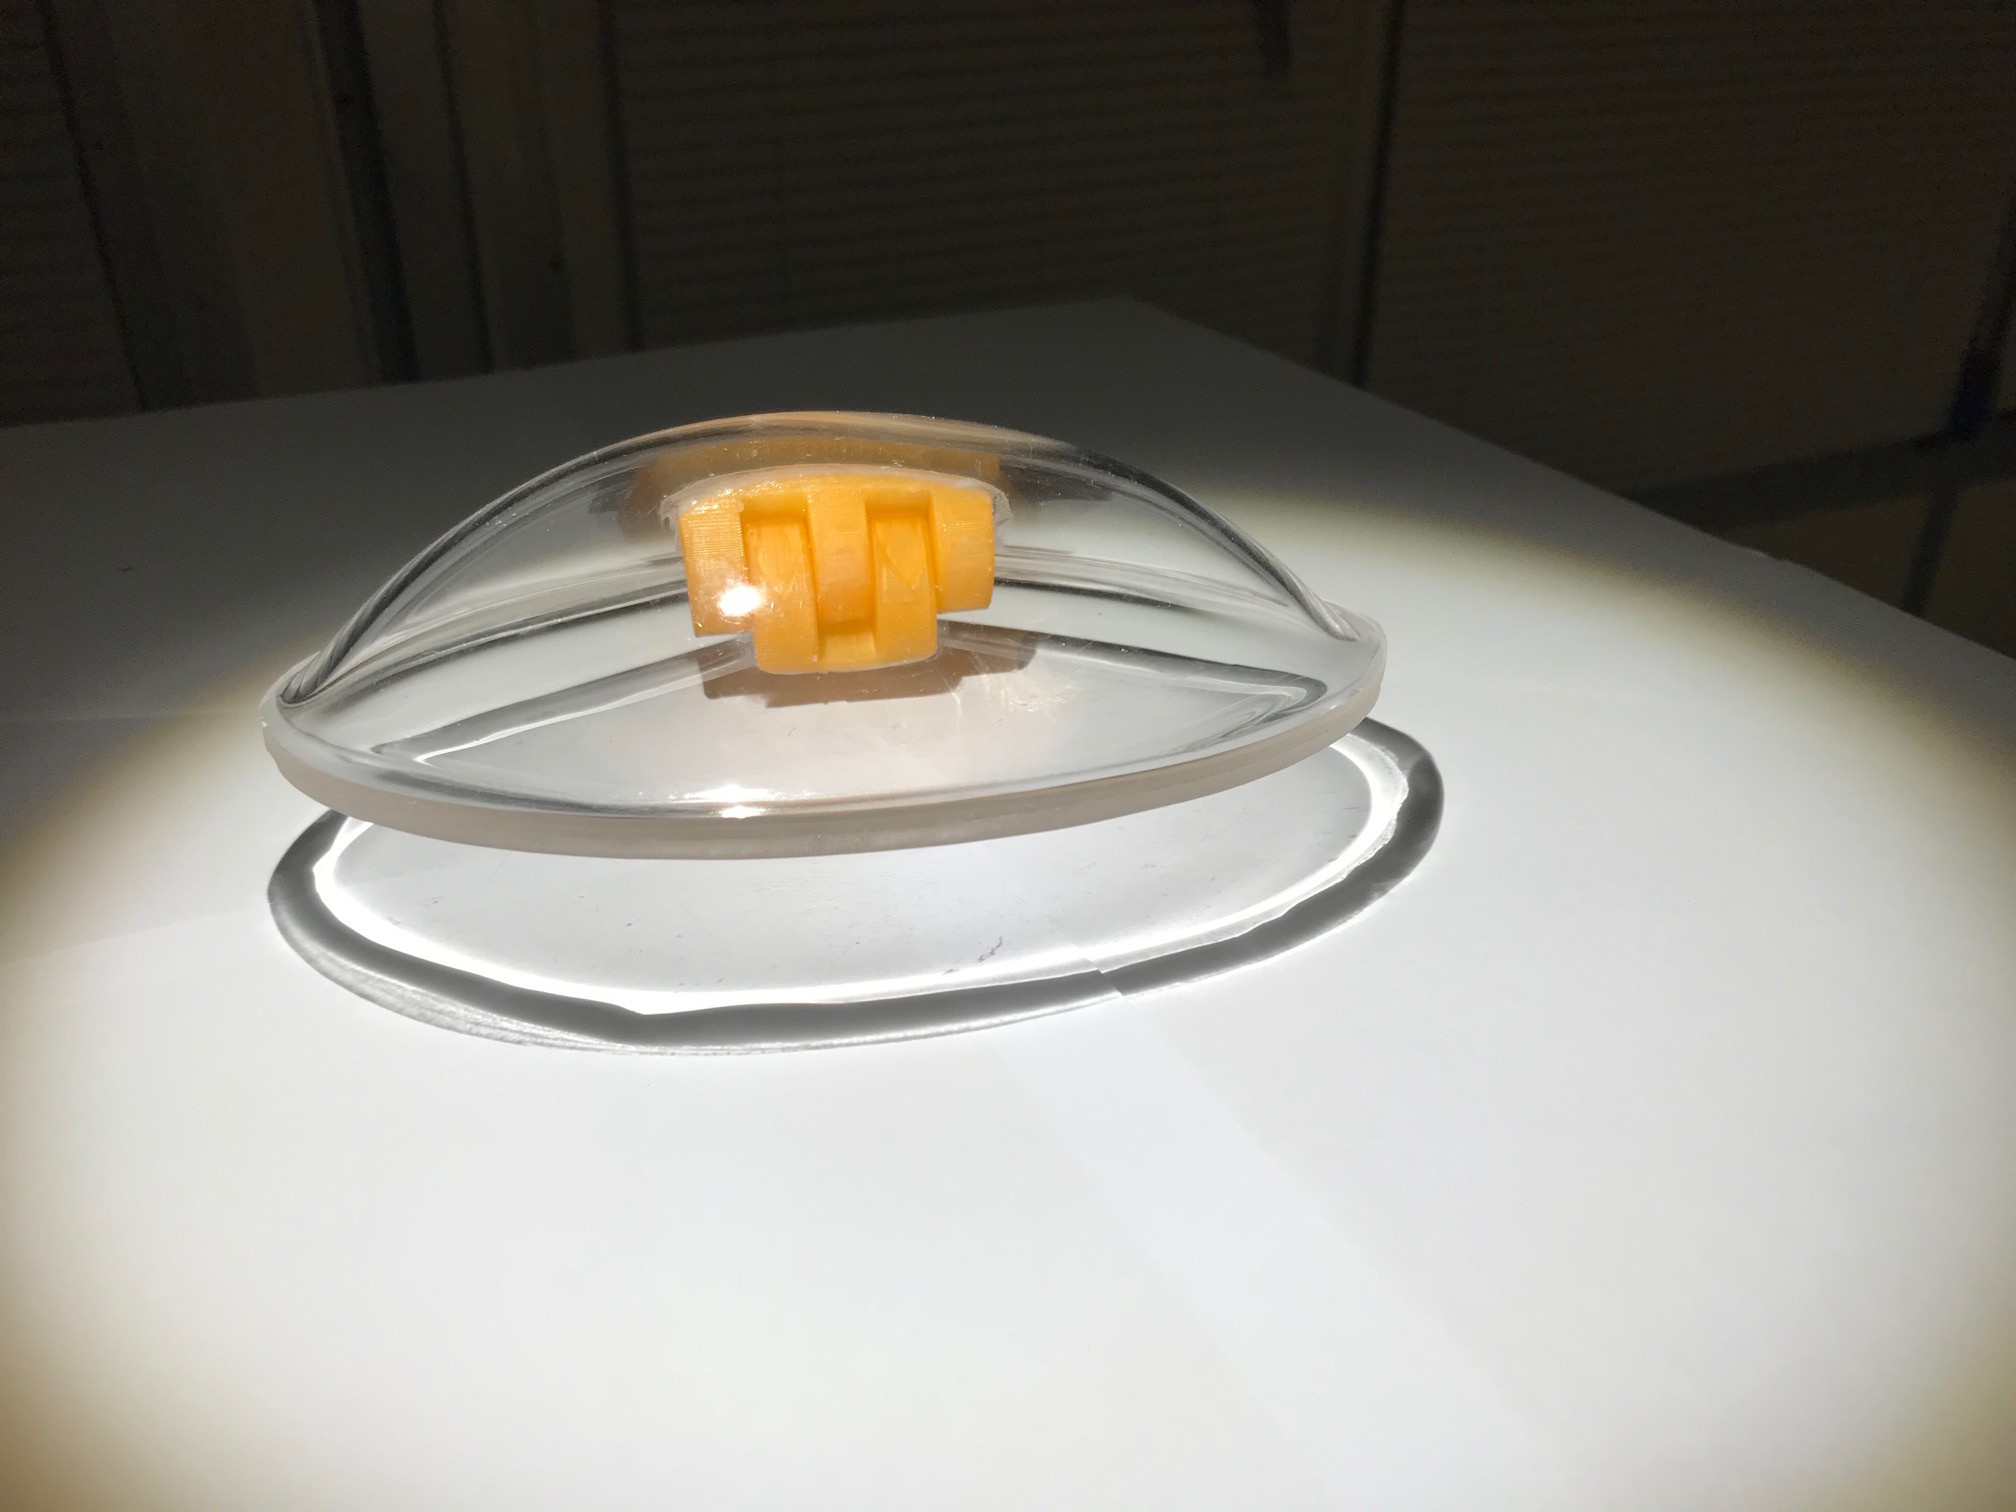
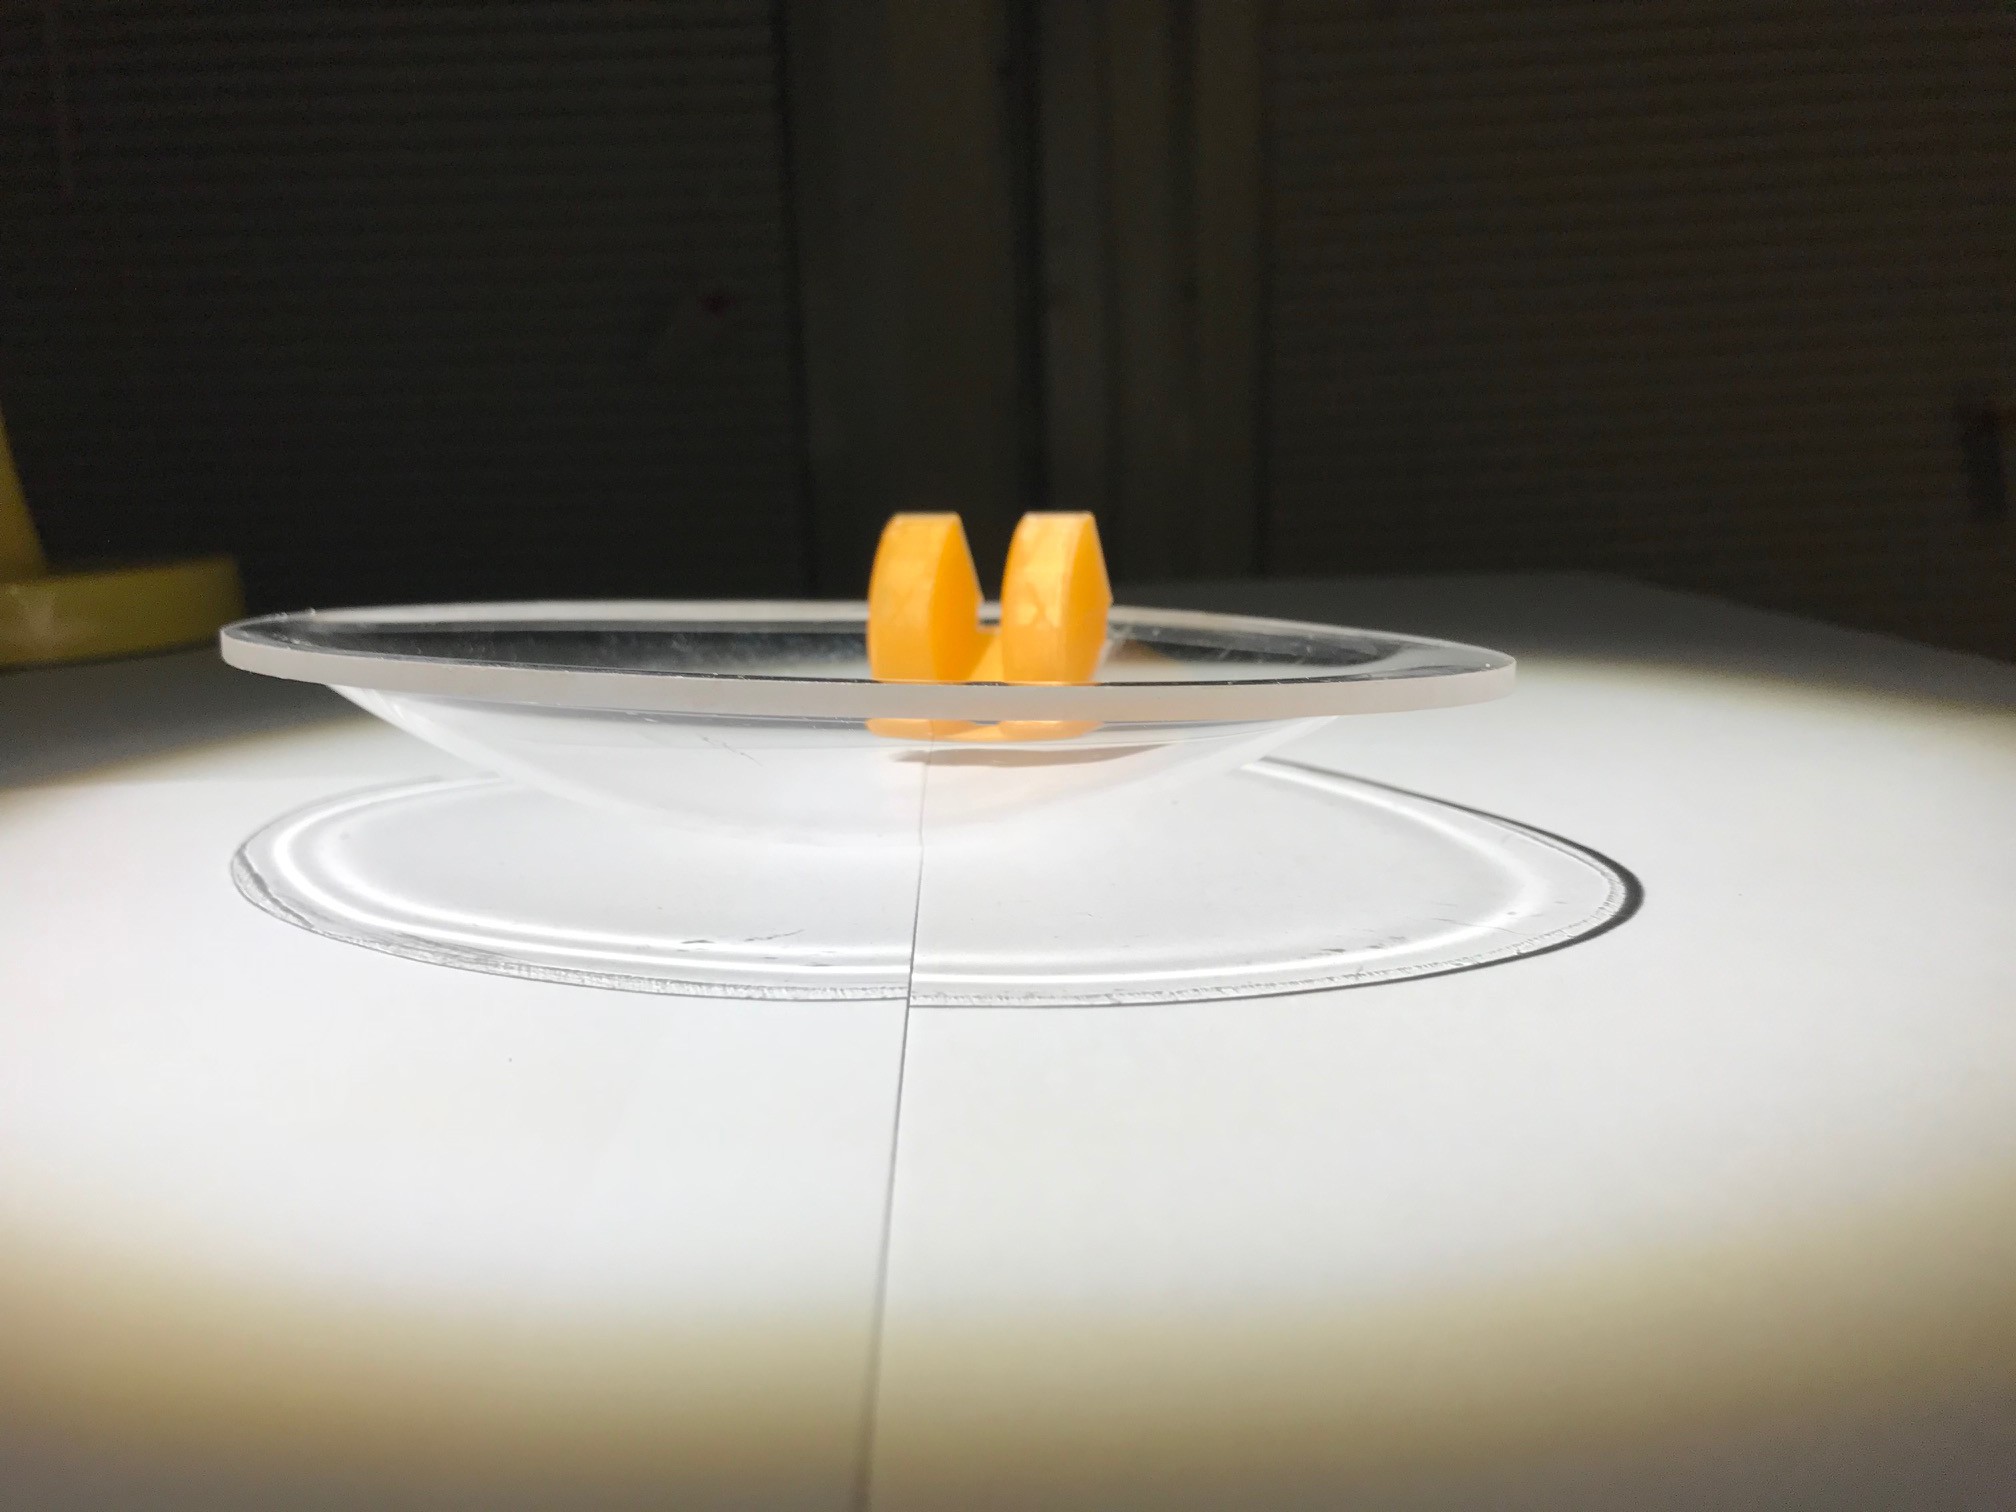
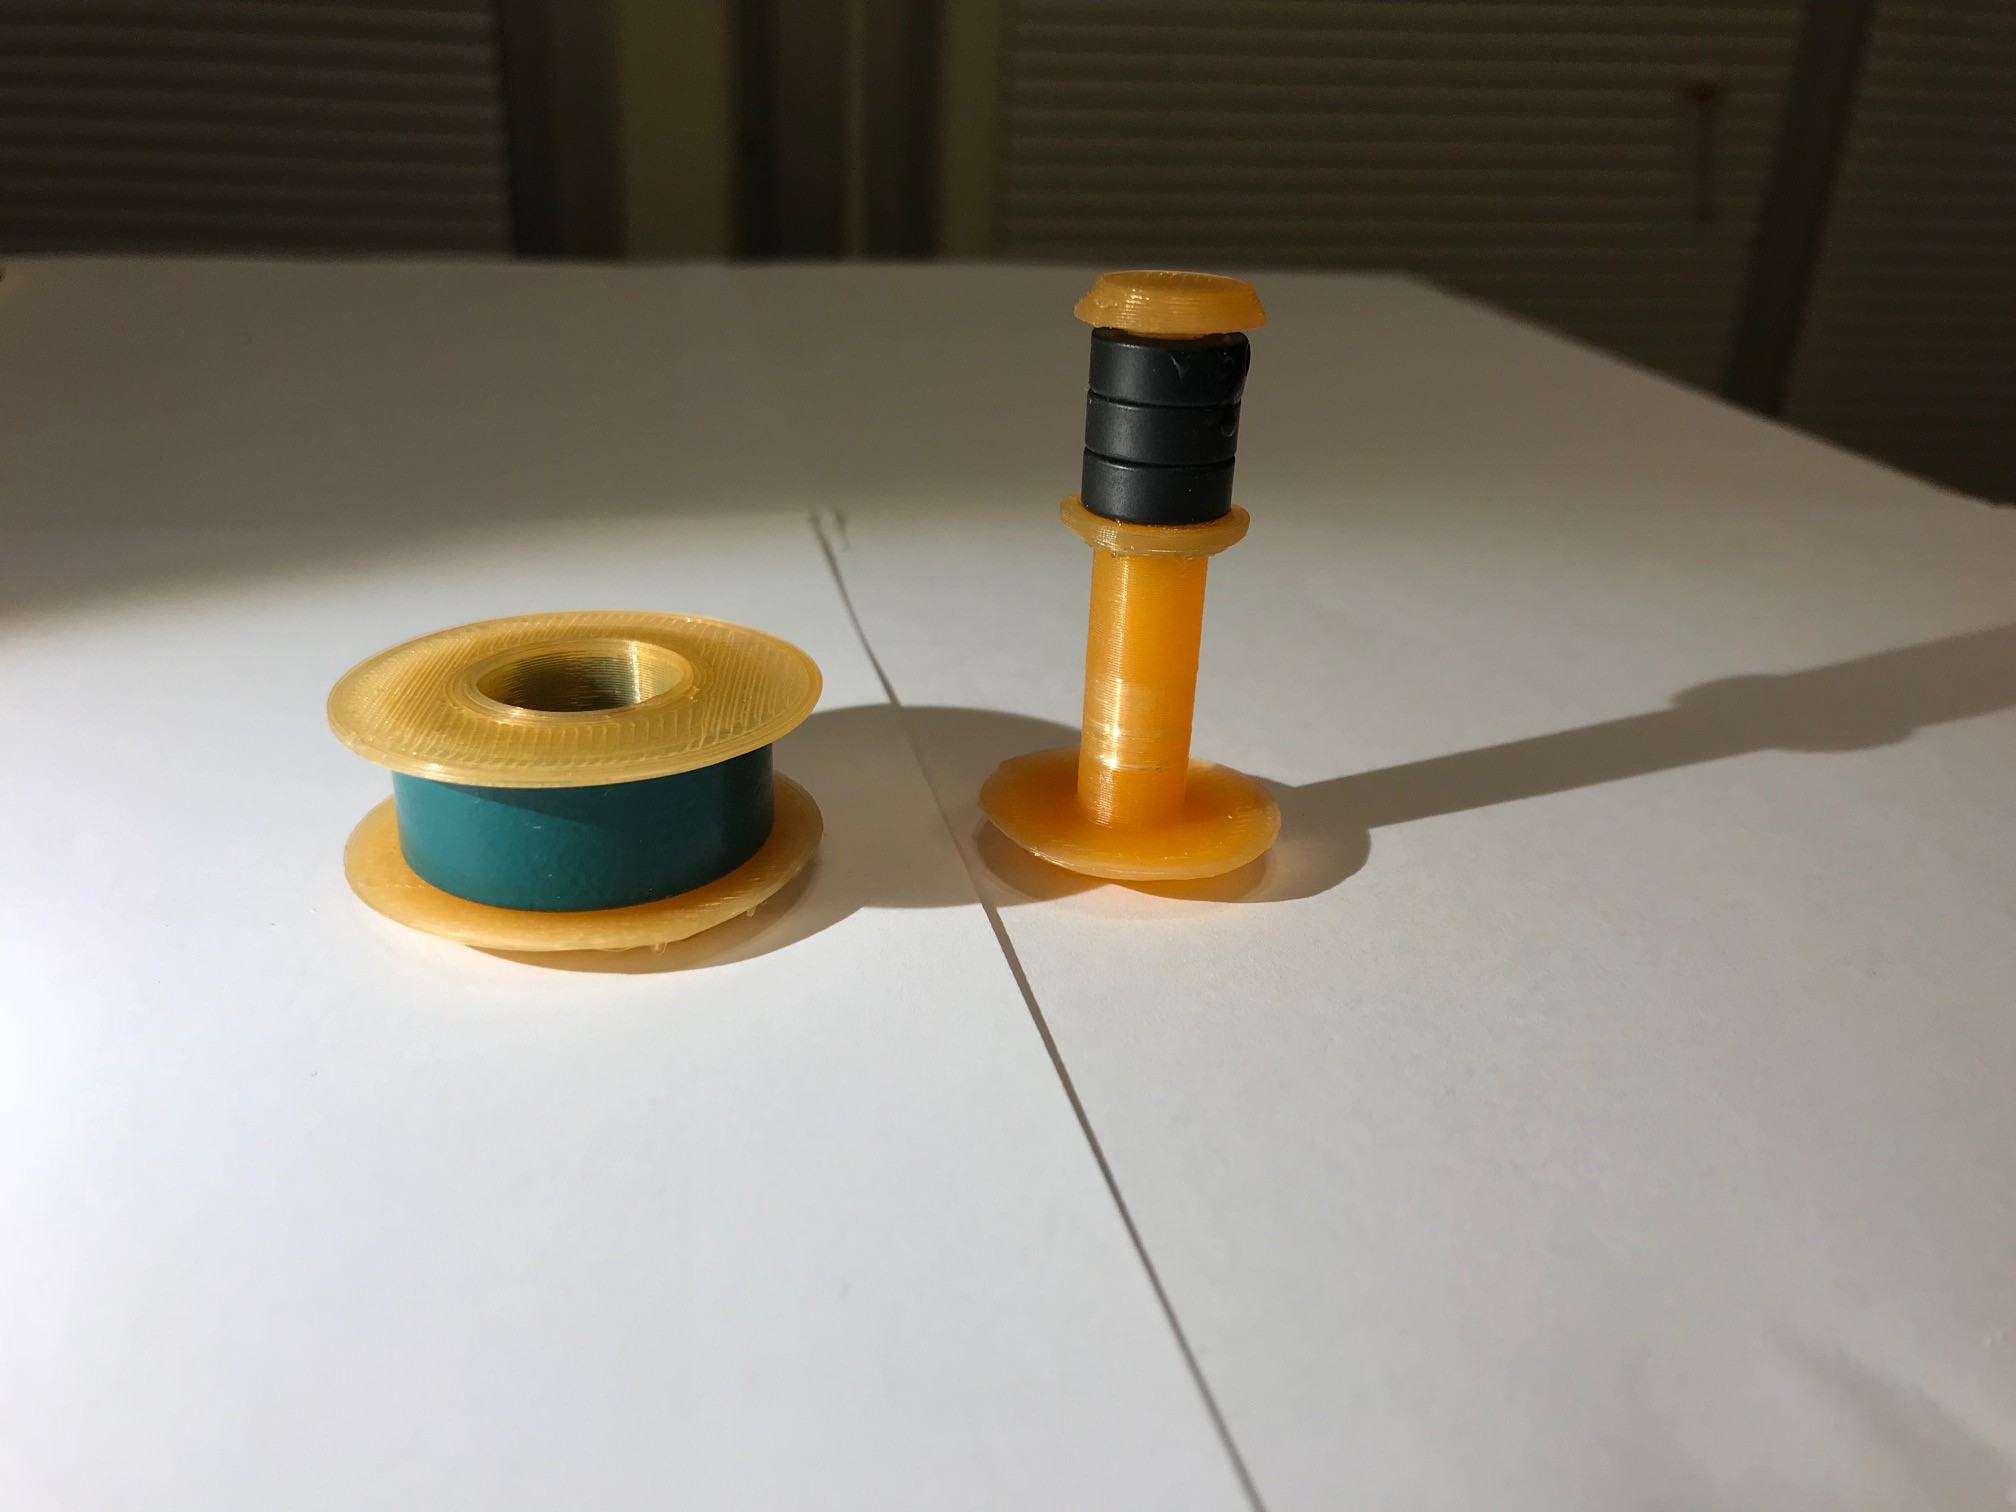
This new sensor platform is designed so that citizen scientists and NGOs can supplement the work of government and academic organizations, in order to create a comprehensive database for all bodies of water. The platform is inspired by the simplicity of bivalves as a protective container, and will be open-source and 3D printed, so that a diverse group of individuals and organizations can collaborate in its development.
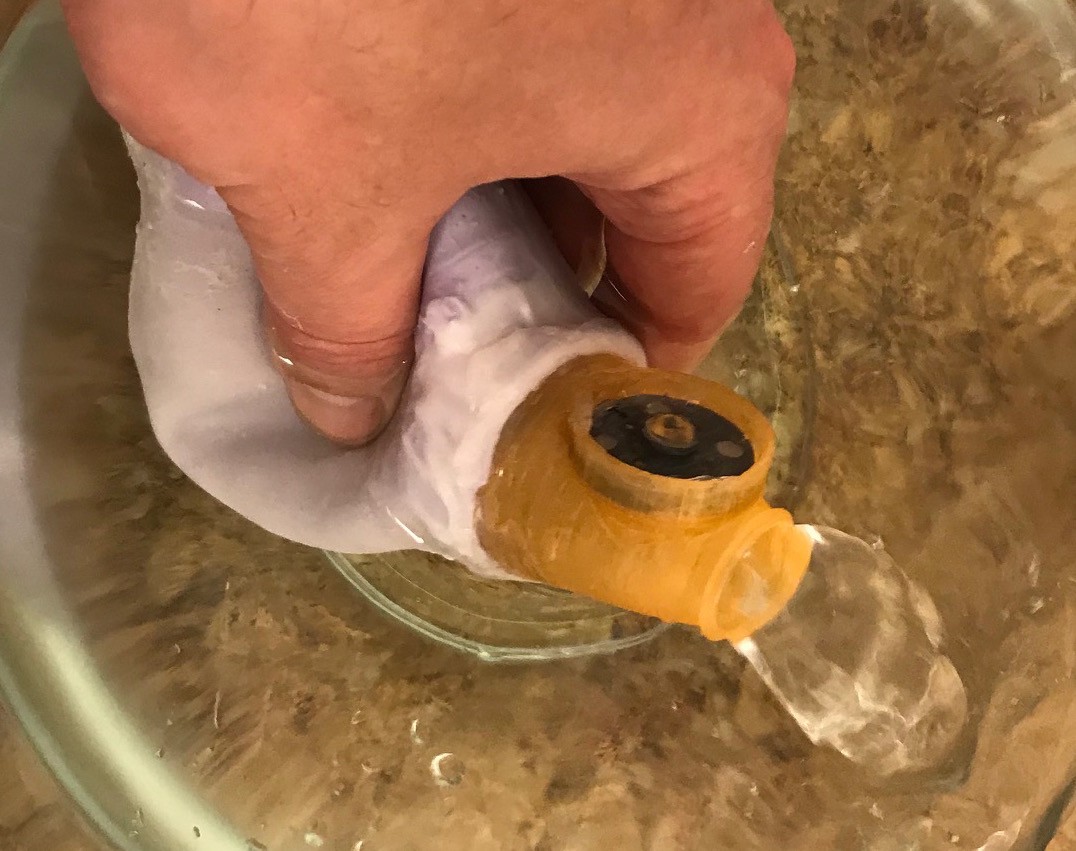
Researchers will deploy the sensor platforms (clams) in the same manner that shellfish are seeded. The clams will be spread across a body of water by boat. After they have been distributed, they will open their shells, releasing gas, and descend into the water column. As they descend, they will sample the water with their onboard sensors. Once they have reached the bottom of the water column, their bladders will fill with gas and they will ascend to the surface where they will be collected in nets. Their data will then be uploaded to create a 3D map of water quality for that body of water.
Once the clams are fully developed, future missions could have the clams deployed in the benthic zone. Instead of staying planktonic, the clams would settle out of the water column onto the sea bottom, and stay there for long periods taking measurements.


 Alex Bell
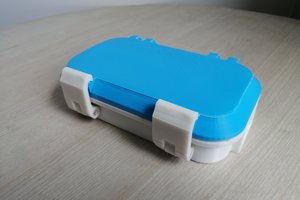
 ProgressTH
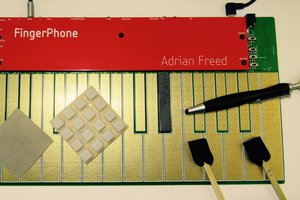
 Adrian Freed
 Evan Salazar
You did a great job sharing this open-source program. I would love to try this and modify it for my short term mortgages project.