 Arduino Enigma
Things are getting serious now. Its time to start putting everything together and getting the component placement finalized. I like to preview the boards by exporting to Gerber and importing into Oshpark
https://oshpark.com/profiles/ArduinoEnigma/
The board below is a quick export job, the vias are untented. For production jobs I like to tent the vias, as nothing gets soldered to them. Fritzing does not support that option (of course), but there is a way to achieve that result. Start by exporting the full board first, then selecting all the vias (Routing->Select All Vias) and deleting them. Then export the gerbers to another folder. Finally, copy the solder mask file from the folder containing the gerber without vias to the folder with the production board.
The logo is left out to see if somebody can identify the board.
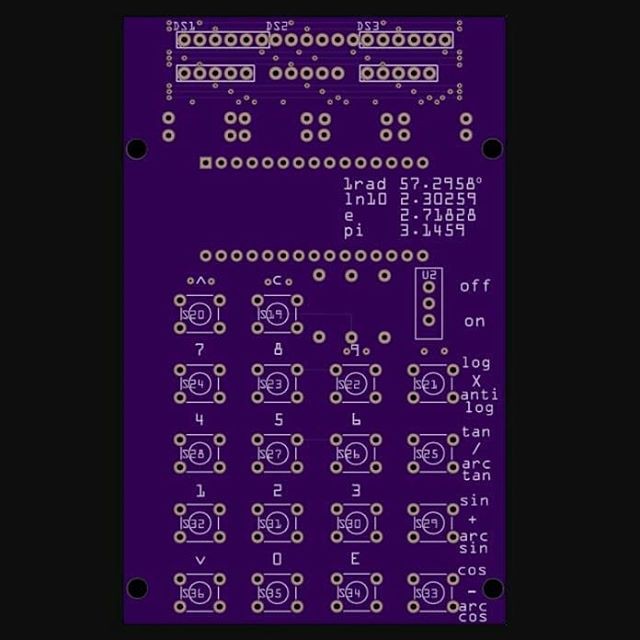
The display resistors, Arduino Nano, and keyboard row selection resistors get soldered in the back.
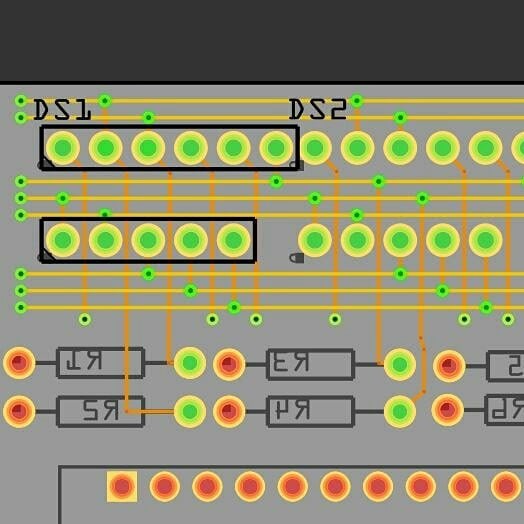
The fully routed LED displays are shown below. The horizontal bus lines tying the same segment together can be seen. The common anodes for the digit selection are routed down to individual vias.
Each segment in the display is routed to a resistor. The other side will be connected to a pin in the Arduino. Perhaps a better routing order is to start from the Arduino and lay wires towards the resistors, then we can choose where to connect the other side of the resistor to the segment, options abound.
What's remaining is to route the common anodes and the other side of the segment resistors to the Arduino Nano.
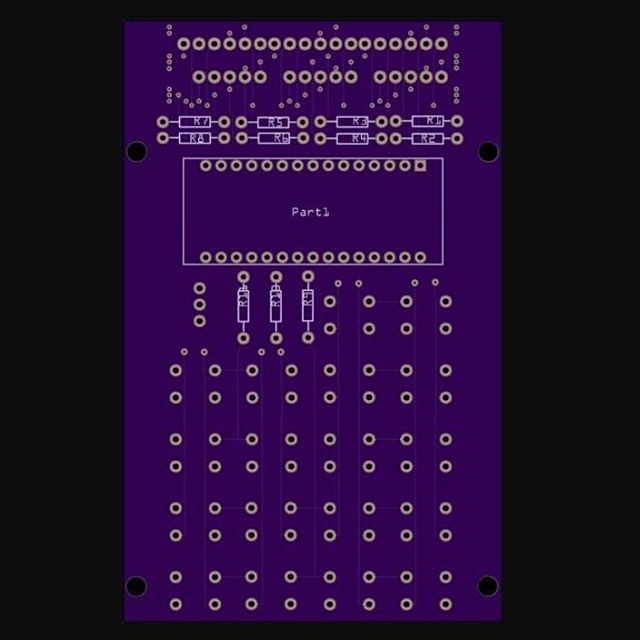
The resistors driving the selection lines are now populated. The eight return lines can be seen terminating in vias above each column of buttons. The circuit has been optimized to do most of the wiring on the bottom side of the board. Only a couple of horizontal lines are in the front. A wishlist item is to have all the traces in the back.

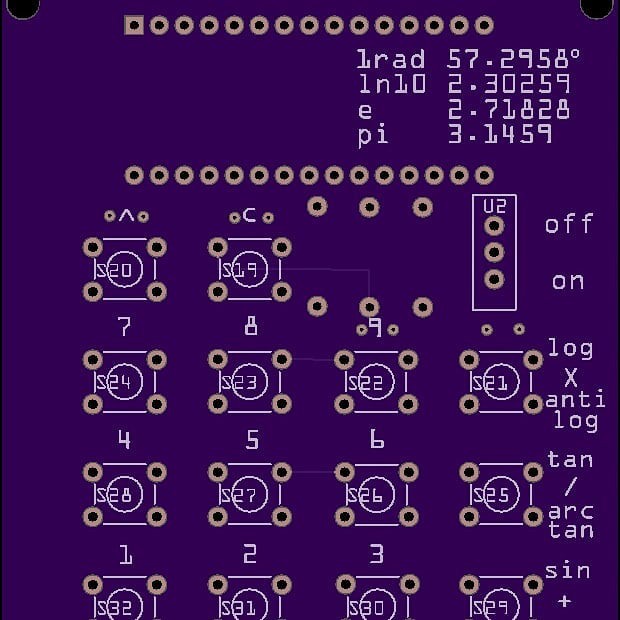
some details of the board:
time for a quick instagram post:
Discussions
Become a Hackaday.io Member
Create an account to leave a comment. Already have an account? Log In.