Kenneth Zaborny
-
Legs
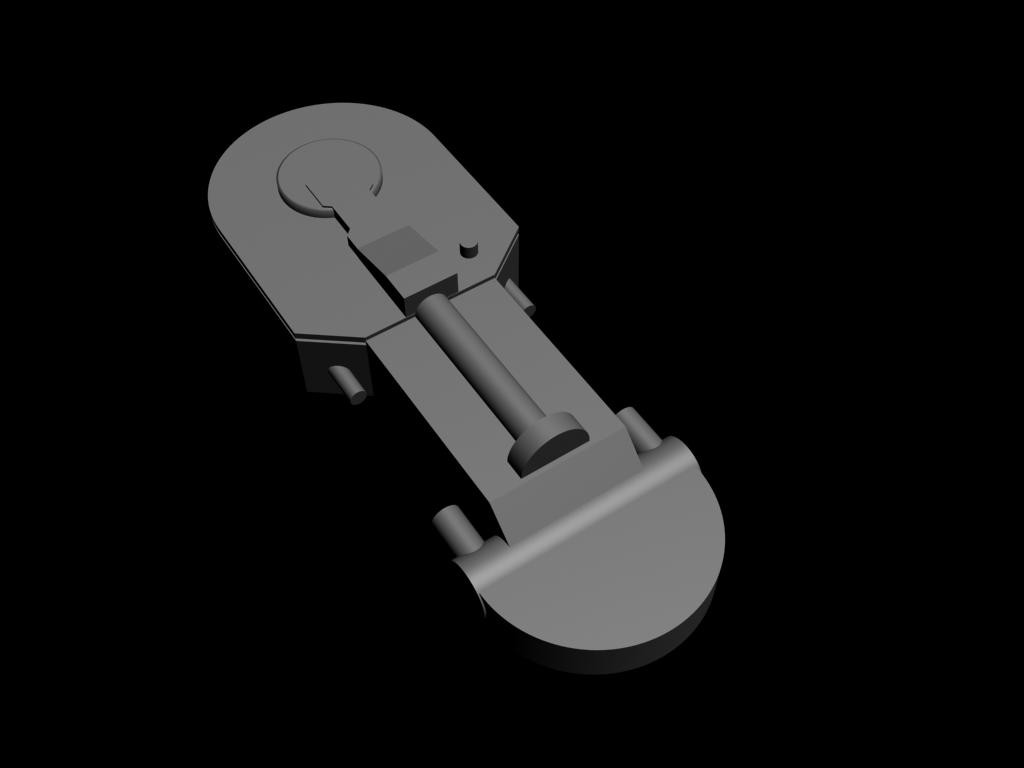
01/17/2016 at 16:32 • 0 commentsAfter a lot of trial and error I decided to 3d print the legs. The main skeleton is a piece of 1 by 1 steel tubing so the 3d print is just a detail and not a support material. This way I was able to lower the infill and save material.
![]()
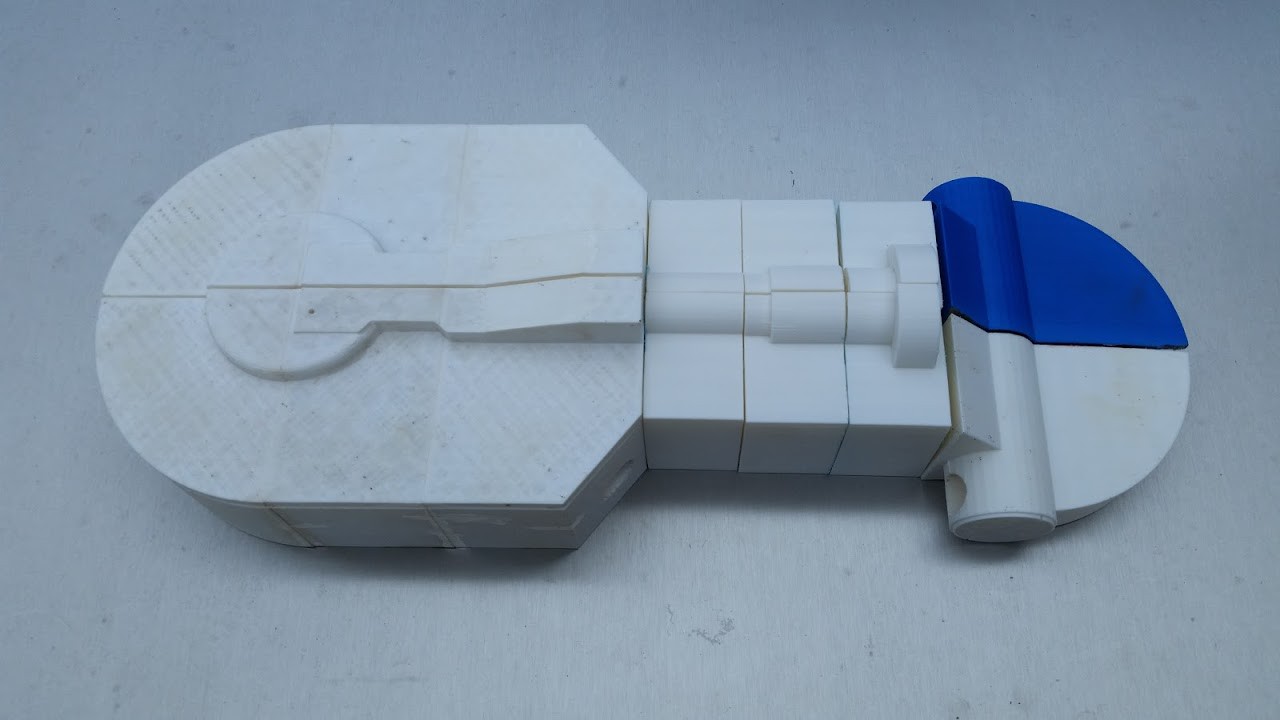
The 3d model turned into a print once I sliced it properly. My first prints had issues because the filament I was using was low quality. I ended up using them anyway with some smoothing with an ABS slurry.
![]()
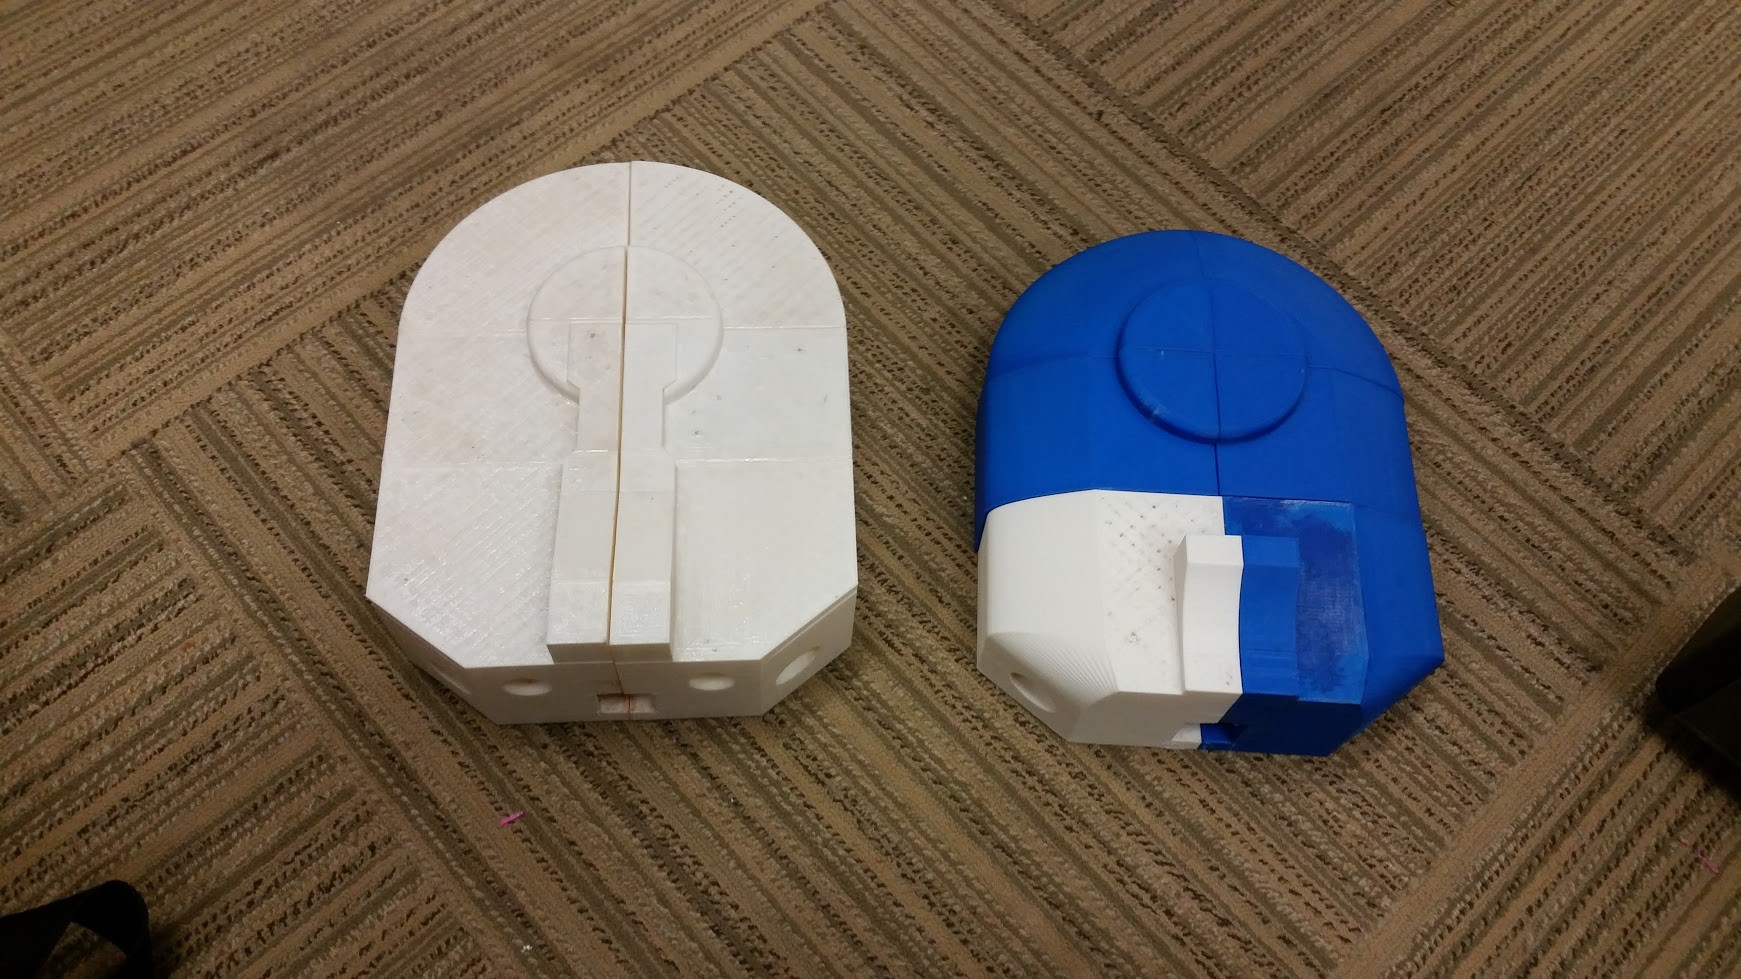
![]()
After many hours of printing I was able to assemble the pieces into two functional legs.
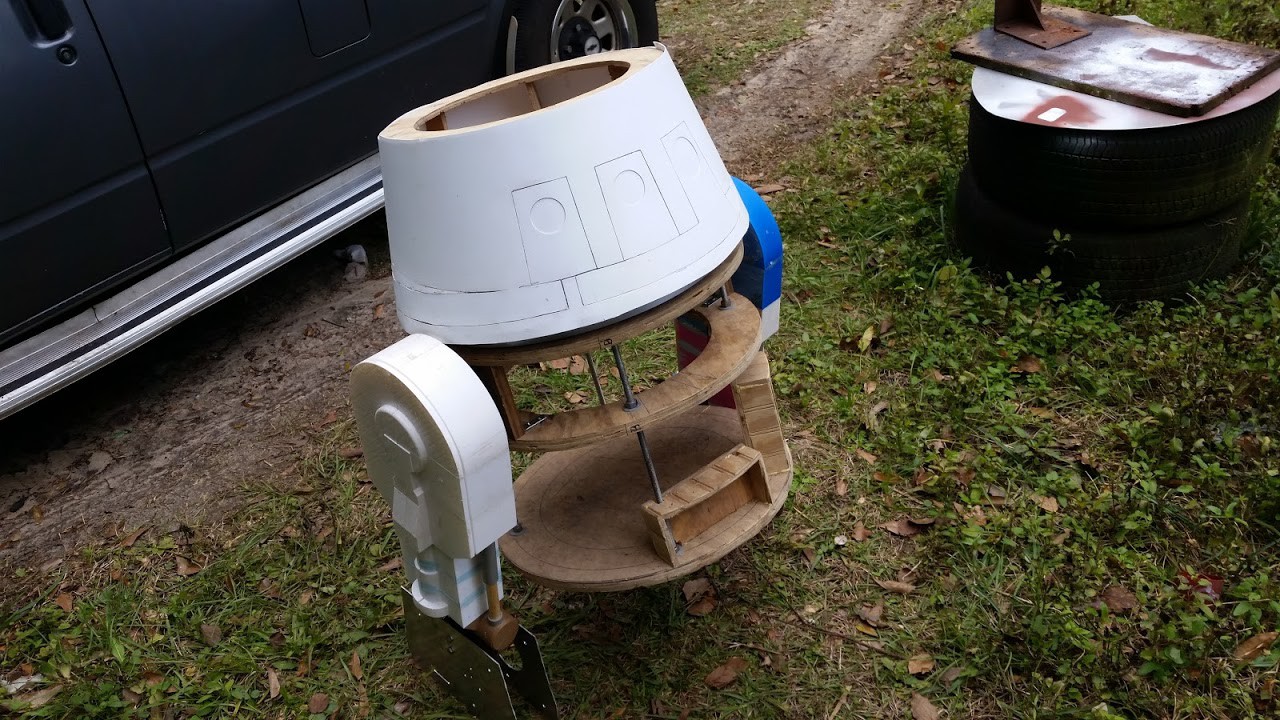
![]()
The steel supports bolt onto the main body. This enables me to disassemble Chopper to the point where I can transport him in the smallest of vehicles. He even fits in my DeLorean.
-
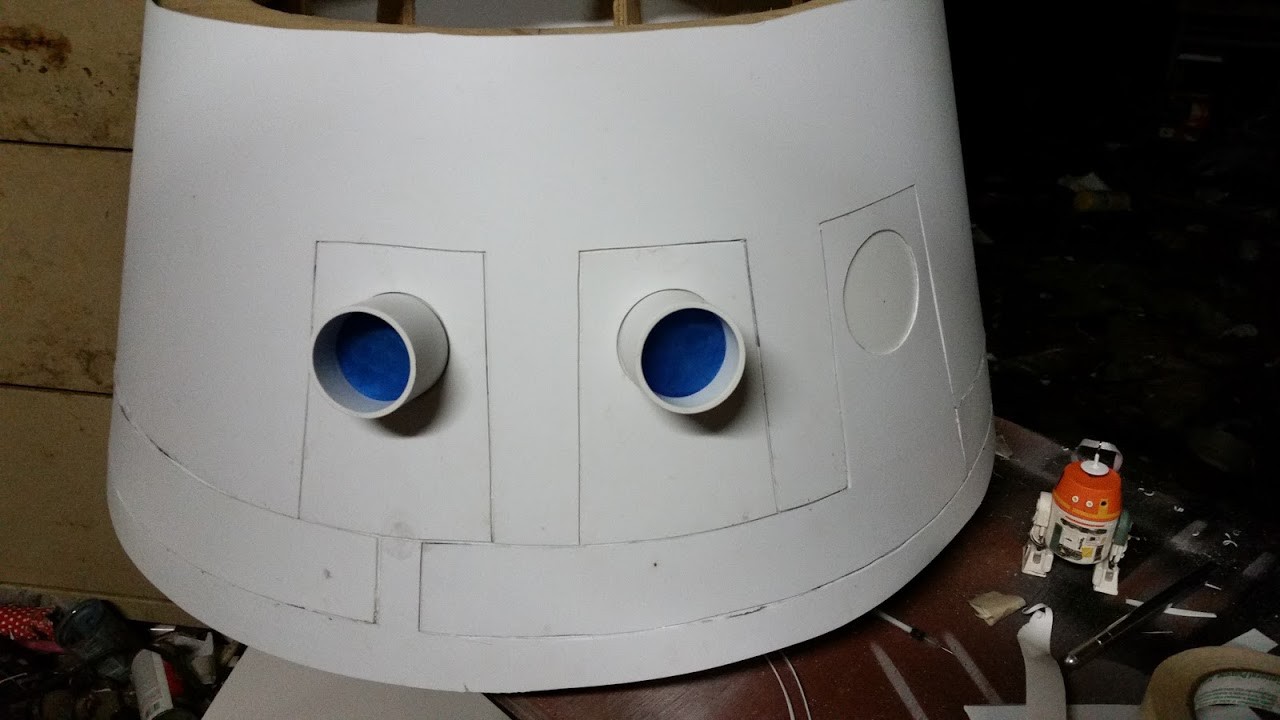
Face
01/17/2016 at 16:24 • 0 commentsChopper's face is one of his key features. The eyes are 3d printed and I'm not 100% sold on them. I believe they protrude too much. I may reprint them before I finalize his face.
![]()
The head is wrapped with 2 layers of styrene. The bottom layer is siliconed and stapled in. The top or detail layer is attached using Weld-on 3. I'm very impressed with the bonding capability of the Weld-on. The back of his head has some issues where I did not properly measure the layer before bonding it. It's what I get for working late into the night. I should be able to correct my mistakes.
-
Head
01/17/2016 at 16:18 • 0 commentsChopper's head is shaped a lot like an R6 droid but I believe it's a bit shorter and has a larger diameter. I couldn't use available templates for it.
![]()
![]()
The head spins on a VXB lazy susan from Amazon.
-
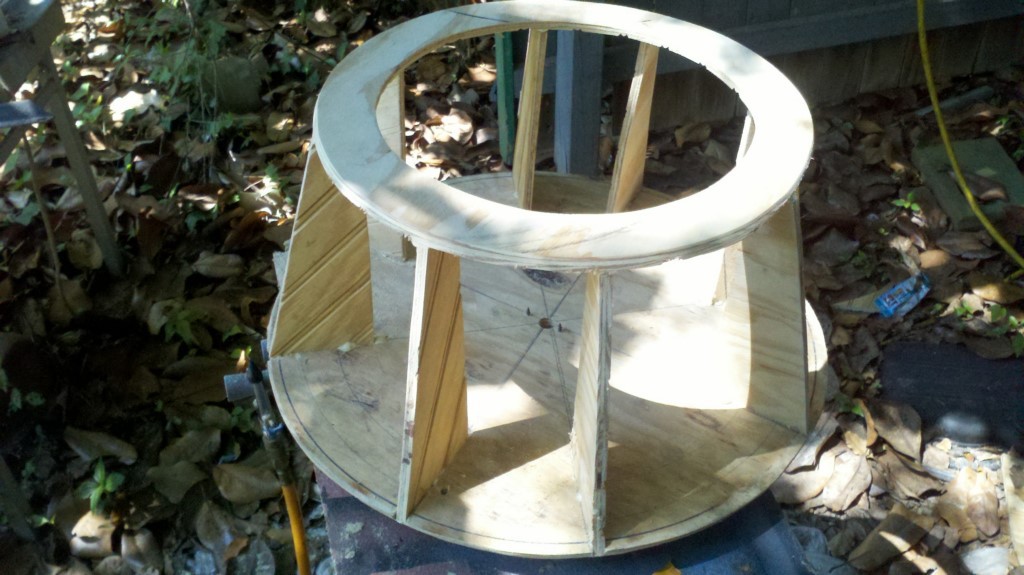
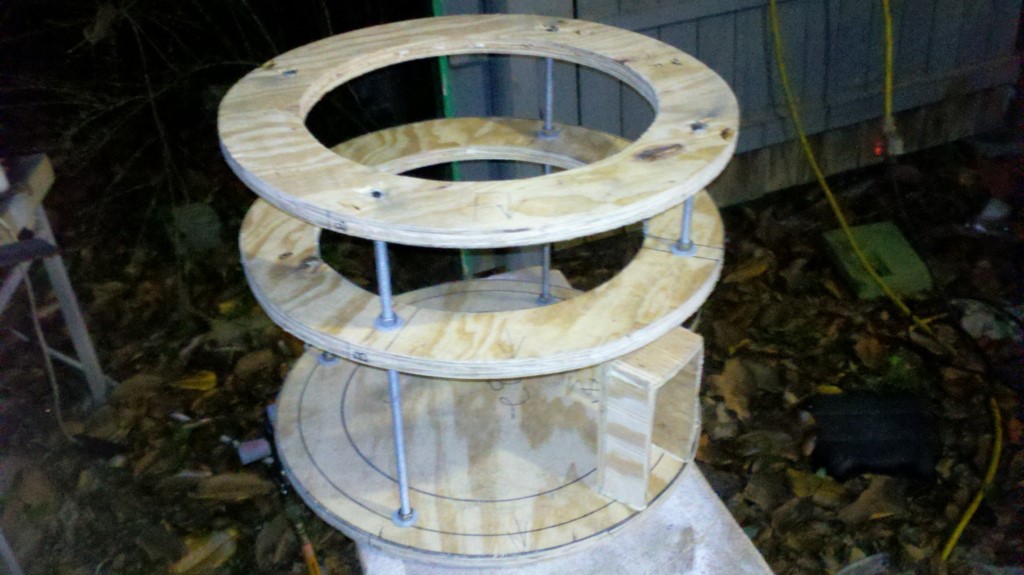
Main body
01/17/2016 at 16:15 • 0 commentsChopper started from very humble beginnings. My neighbor is a carpenter so I gathered scrap wood from his "to be burned" pile with his permission.
![]()
I used the same method another Chopper builder used to create the drum that is Chopper's body, all thread rod. The nuts are tack welded to keep them in place.
![]()
Star Wars Rebels: Chopper
Chopper is a C1-10P droid from the tv show Star Wars Rebels. He's a very grumpy droid and should be a lot of fun at conventions.