 anthony.webb
I'm not looking to try and build the cheapest machine out there, but I am out to build a highly reliable and accurate machine for the least cost possible.
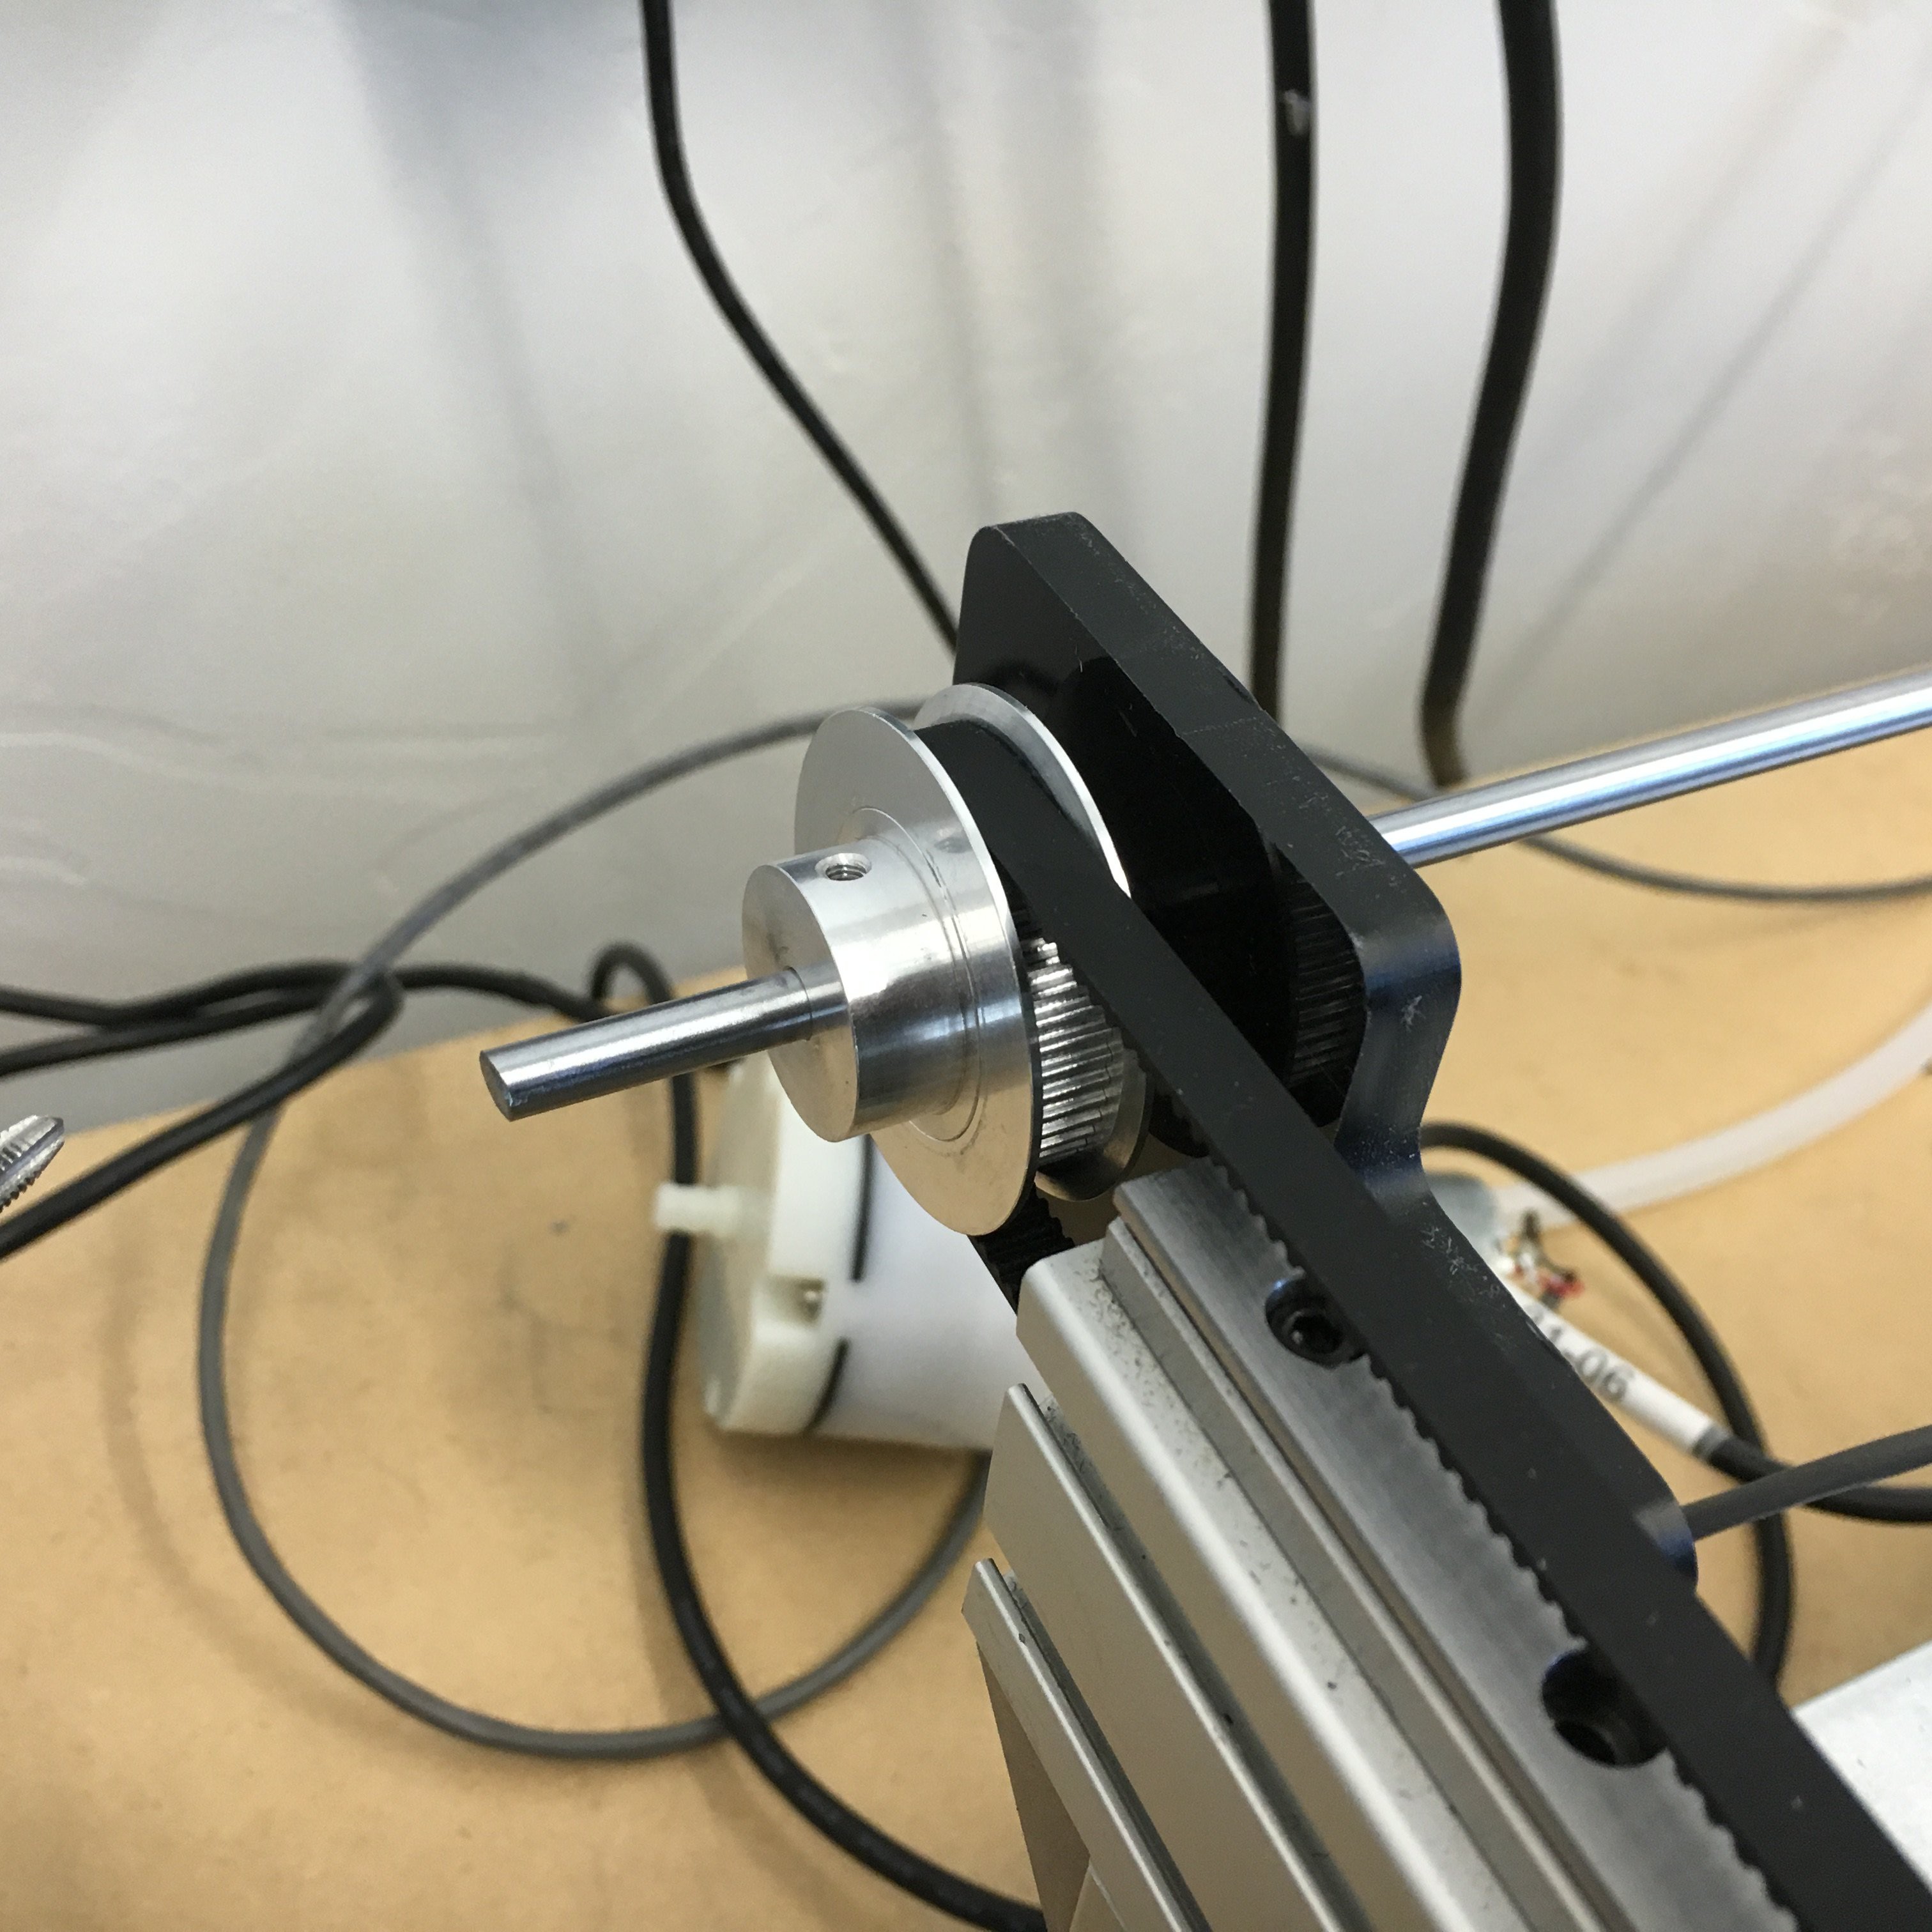
I've been through countless 3D printers, CNC machines, and other various motion projects and have a pretty good feel for what I can live with. For that reason I have chosen to go the rail/slide and belt route as opposed the other various options out there. I think I will be able to find a motion platform for this project that checks all the boxes (cost/quality/simplicity).
Whereas lots of projects have historically started with an XY CNC or 3D printer bones, we're starting from scratch, and we hope that by sharing our findings and making the design available to the community that we'll be able to collectively drive a product that will rival the myriad of expensive machines in the marketplace today.
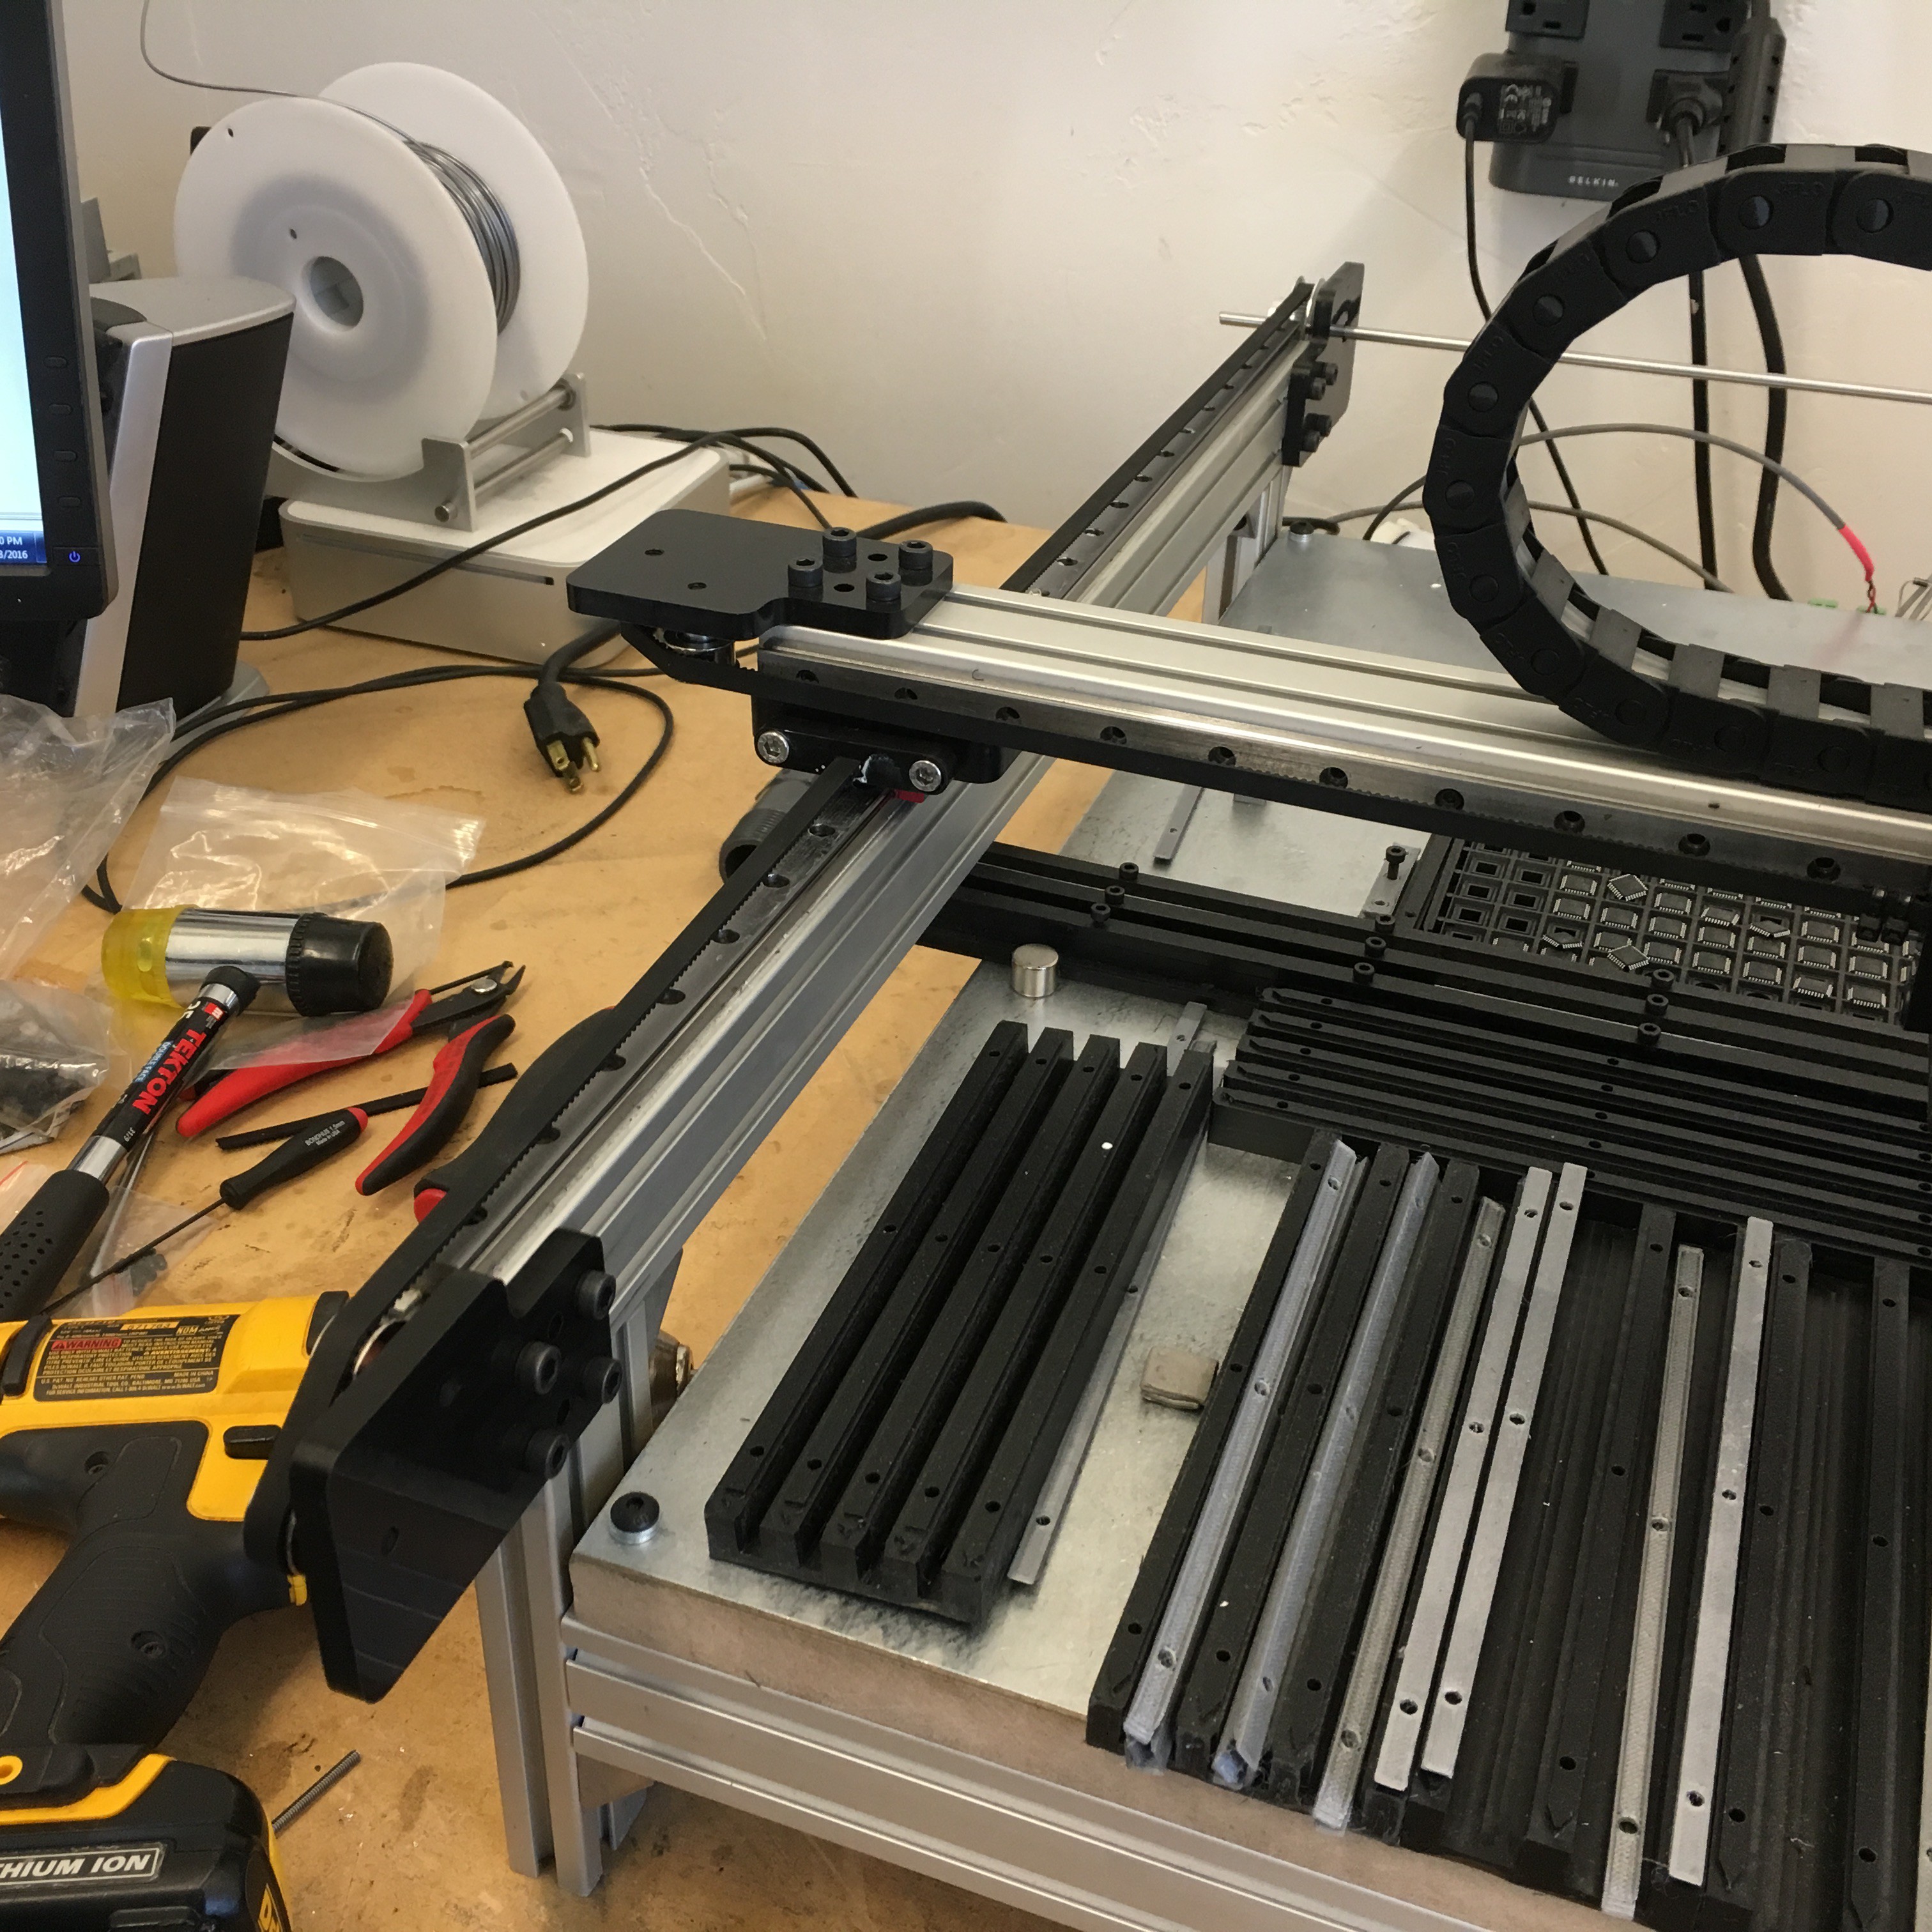
Happy to say that we've made great progress to this end over the last couple months and are officially placing parts. Lots of tweaking left to make it scream, but we're well on our way.
************************
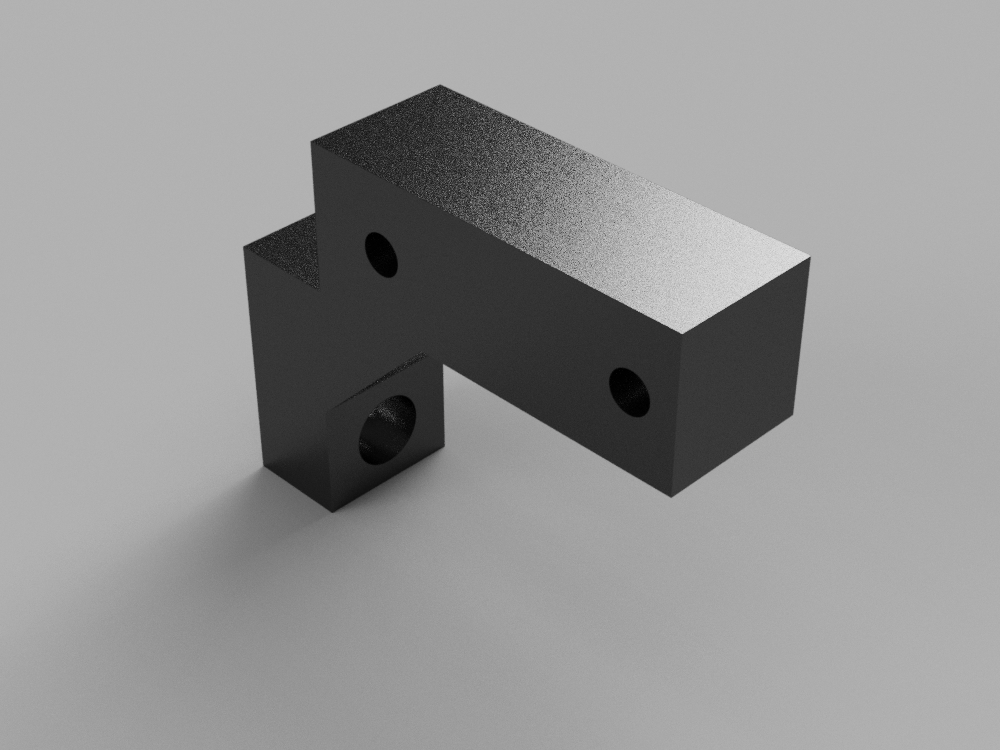
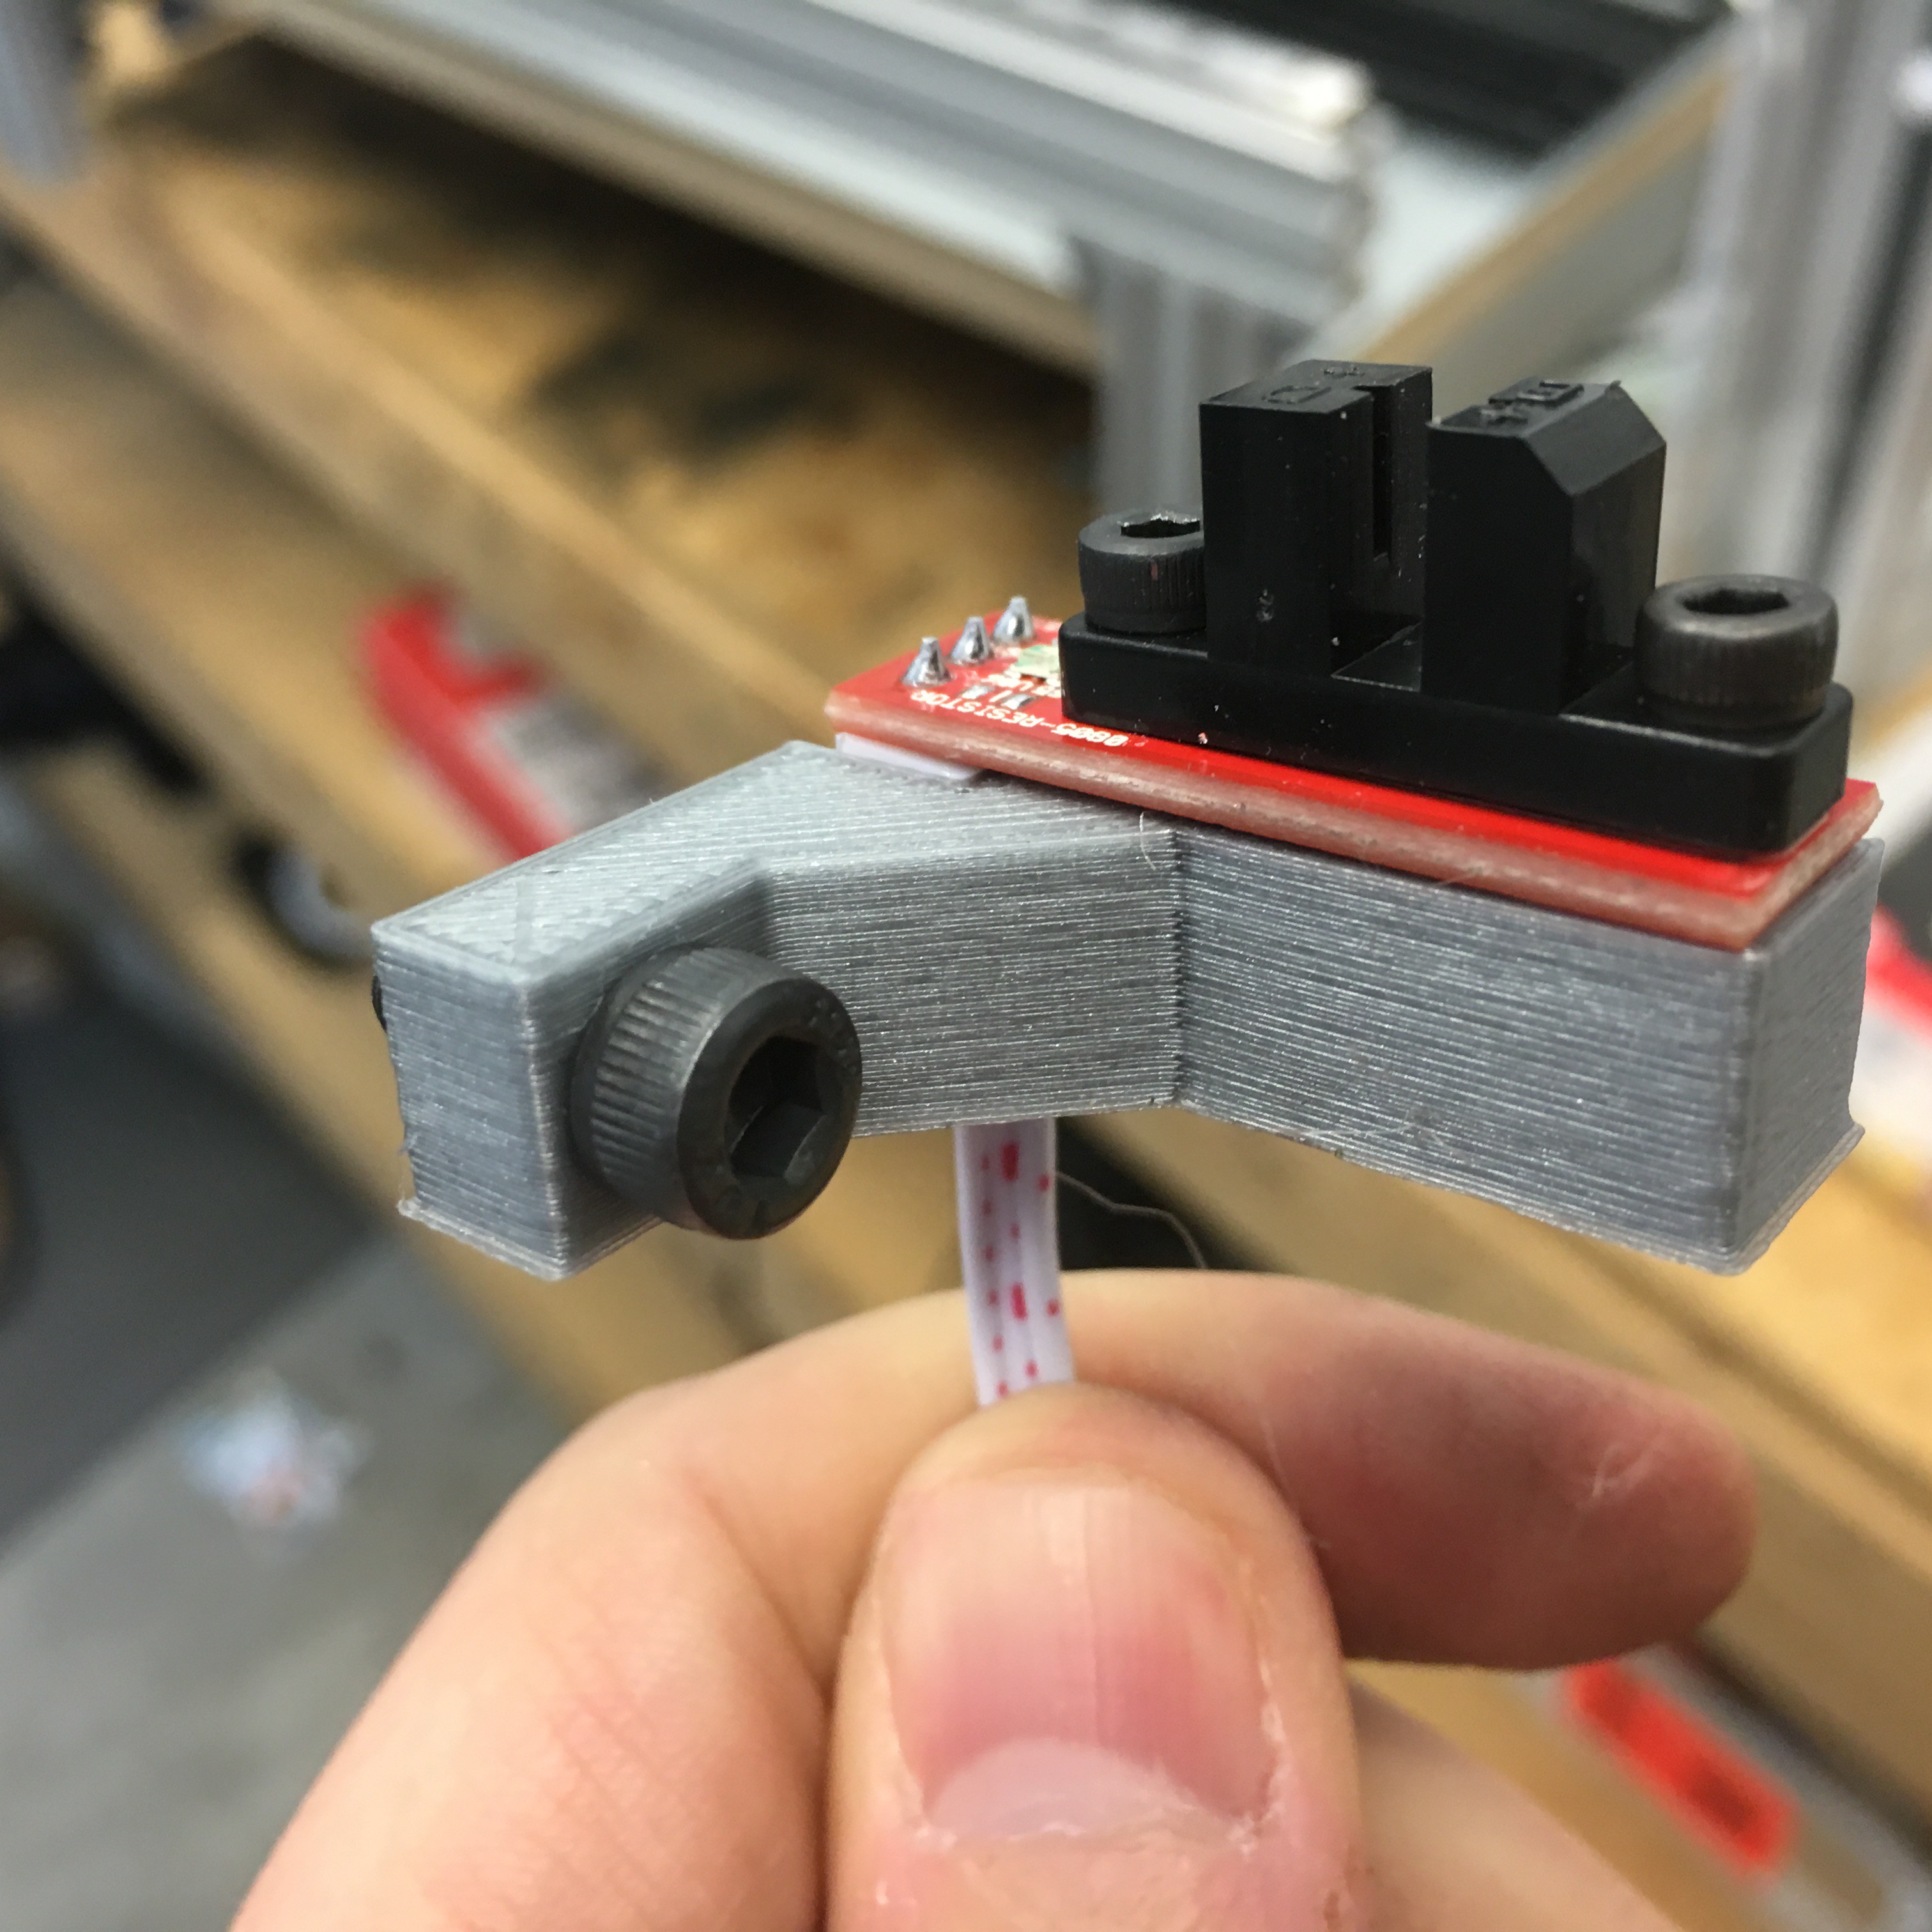
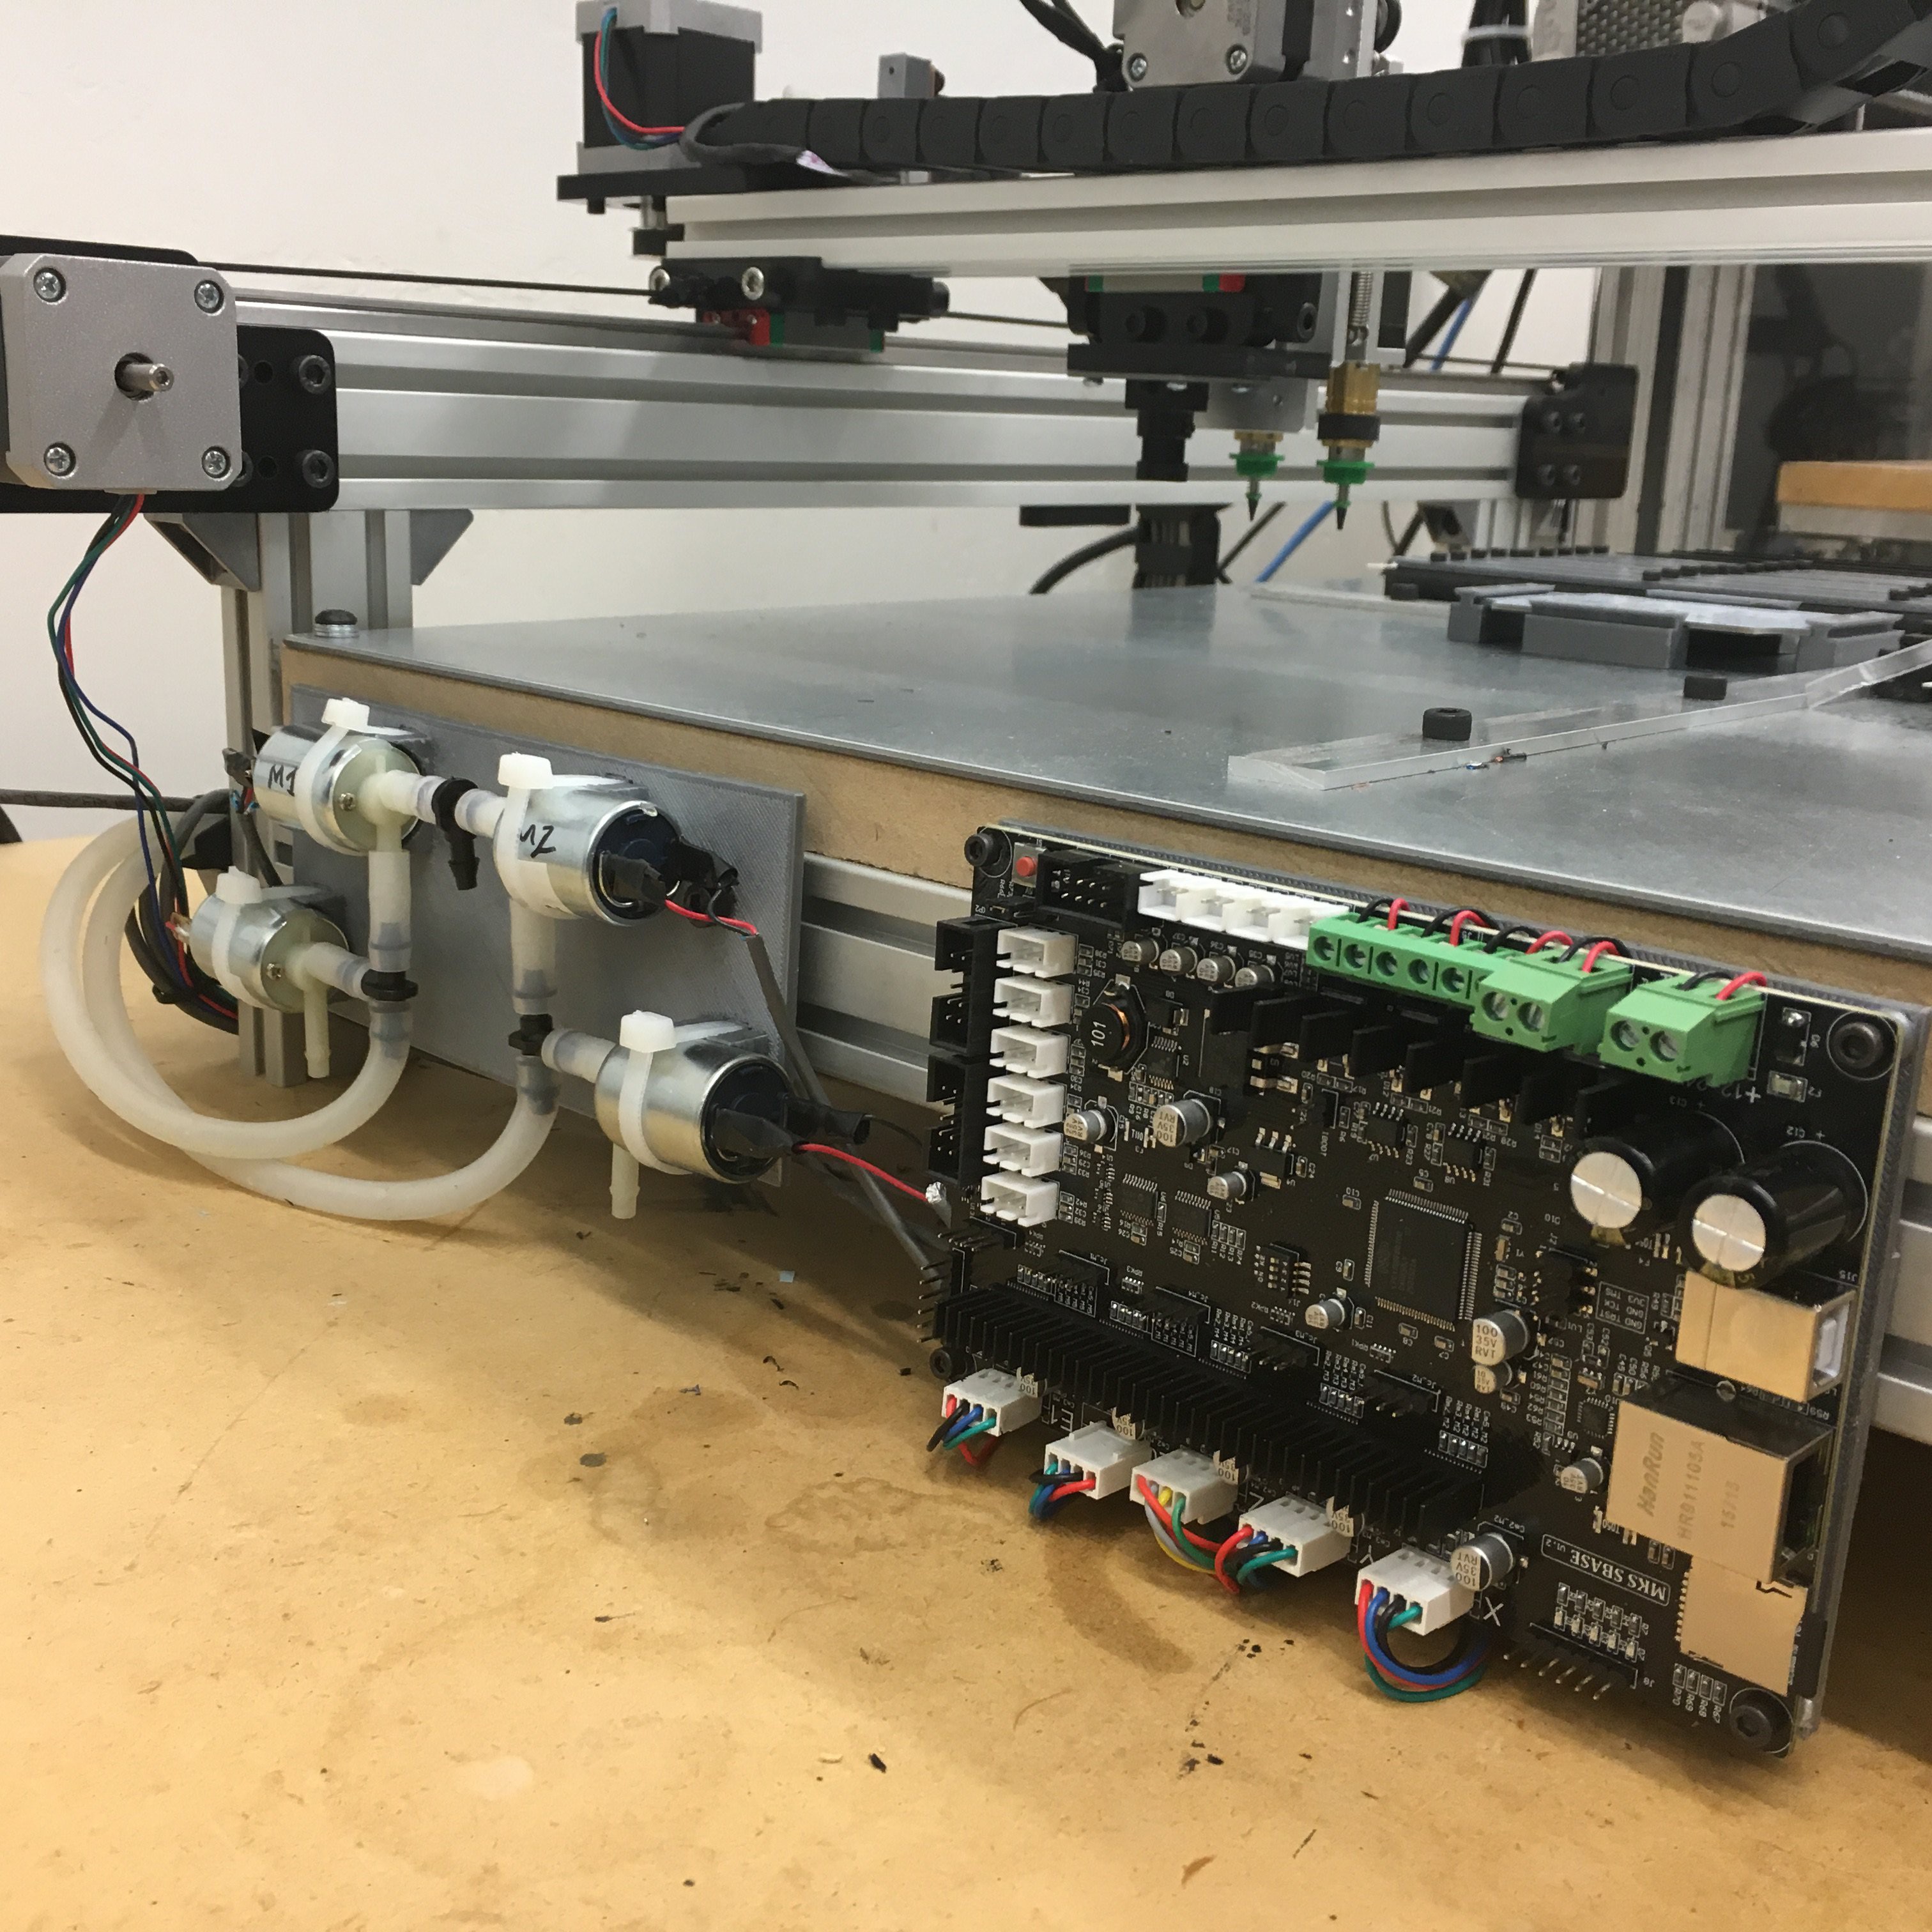
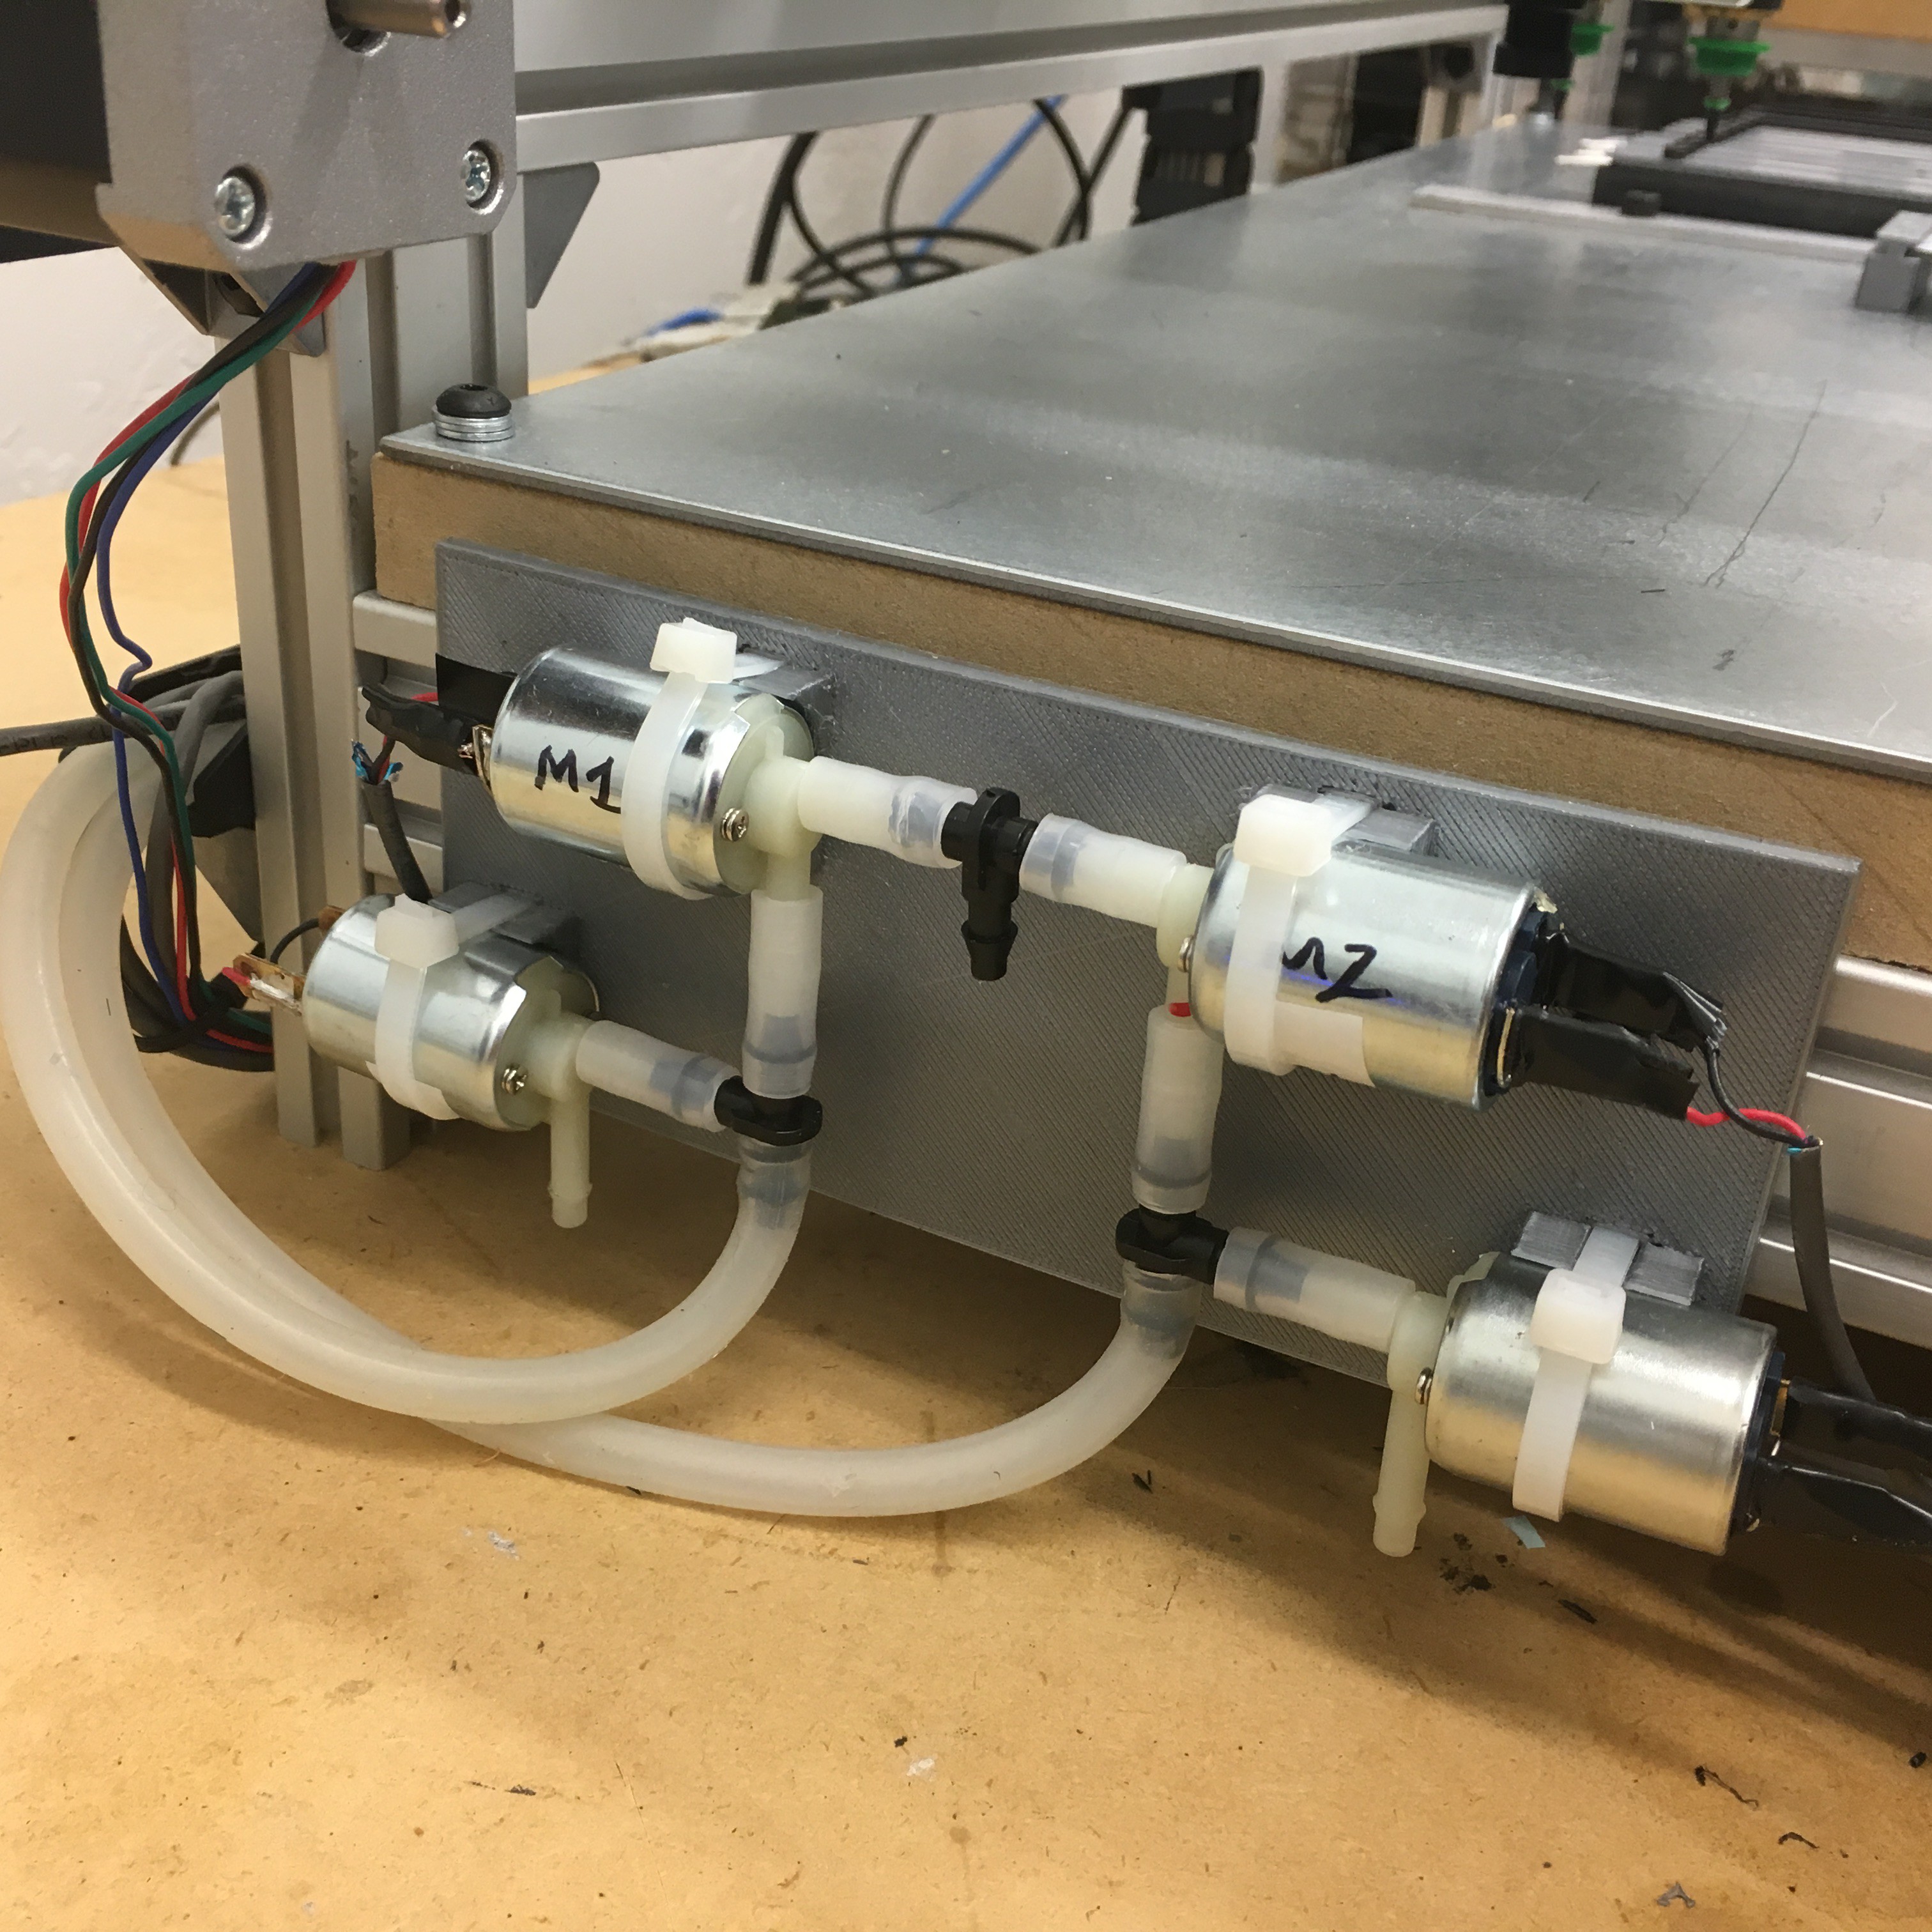
UPDATE: Eureka! We're picking and placing! (check the video below) In addition, we finally pulled together a BOM and 3D rendering to the point it is ready for you to take and build one yourself. We've tried to consolidate the pieces in order to minimize the number of unique parts on the BOM.
We have heard from several of you who either dont have a mill, dont have a 3D printer, dont have the time, or just would prefer a kit instead we are considering putting together some quick build kits. Still not sure what the kits would include, but likely would be a kit that includes all the custom brackets needed for the machine, and perhaps even a bundle of pre-cut extrusions as well. As for a FULL kit, with all the hardware and electronics, we'd be open to that if there was enough demand.
For now, we'd just like to get as many people enjoying rock solid PNP using OpenPNP, and we feel that this machine accomplishes that and more. To that end we're happy to contribute the design back to the community. We'd love your feedback, collaboration, and know that collectively we can make this thing even better.


 Douglas Miller
 Nathan Brown
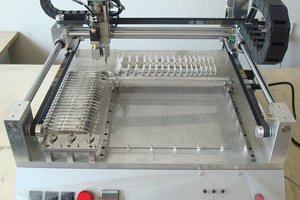
 dar.ryl
It's impressive to see your dedication to building an open-source pick and place machine using a unique approach with rails and carriages. Your emphasis on reliability, accuracy, and cost-effectiveness is admirable. The progress you've made so far, especially with the successful picking and placing shown in the video, is inspiring. Your willingness to share your findings and contribute the design to the community shows a true spirit of collaboration. Keep up the great work!