Sam P
Sam POne the surface all the user has to do to login is enter a PIN and choose which login they want to use. Behind the scenes is a little more complicated.
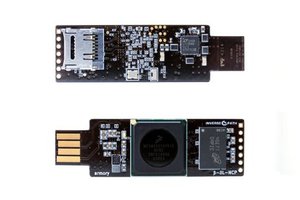
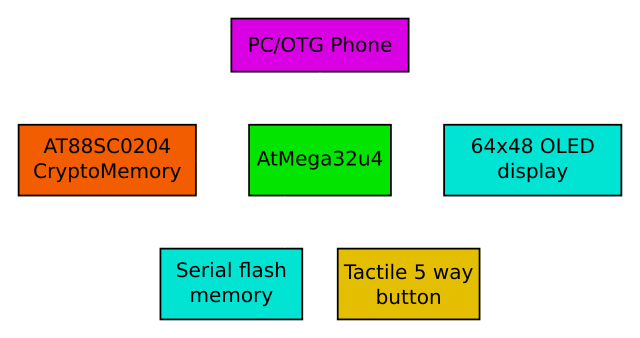
This device borrows some ideas from chip and PIN technology. Included is a secure EEPROM which will only release information when the correct password is presented. If an incorrect one is given too many times then that password becomes locked. This is ideal for preventing brute force attacks. Stored on this secure EEPROM is an encryption key. This gets transmitted to the microcontroller which can then decrypt the passwords stored in a larger, but insecure memory (this could even be an SD card to allow easy backup of passwords).
The secure memory being used is the AT88SC0204CA. Currently testing is being performed with the DIP package, but eventually the plan is to use one in a mini or micro SIM card style package which can easily be swapped in and out of the device, thus allowing a backup key in case the first one becomes locked.

 spencerkrit78
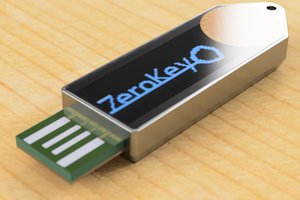
 zerokeyusb
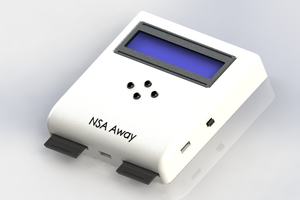
 Scott Hasse