Dylan Sri
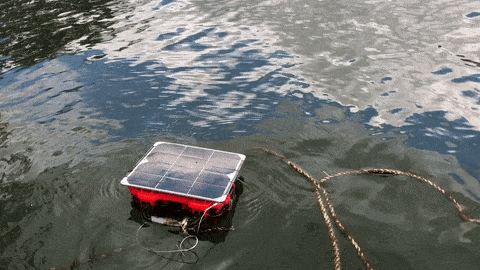
Introduction
In this post I'll recap the development of a cloud-connected, solar-powered water quality monitor that I built for Voltaic Systems from May to August of 2017. Beginning the project, I was about halfway through the Arduino Starter Kit, and that was the extent of my embedded programming experience. By the time we deployed it in New York's East River, I had a much better grasp of sensor integration, power management, and wireless communication protocols using C++.
GitHub | Original Blog Posts: Part 1 Part 2 Part 3
The Plan
Aside from demonstrating an IoT use-case of Voltaic's mini solar panels, the idea was to create a self-sustaining, off-grid device that could track water quality for the long-term and make its measurements available to the public.
Voltaic expressed they wanted to track temperature, electrical conductivity (a metric for salinity and dissolved solids), and dissolved oxygen, and periodically send these data to a public cloud database called AdafruitIO. Because power would be supplied by a solar-charged battery, the device should enter a low-power sleep mode between measurements or if cellular network connection could not be established.
Hardware Assembly


- Solar Panel | 6W, 6V (different panel is pictured)
- Battery Pack | 12,000 mAh, 44 Wh (different battery is pictured)
- Adafruit Feather 32u4 FONA
- Battery Pack | 1,200 mAh, 3.7 V output
- Antenna with uFL connector
- Submersible temperature probe
- SIM card
- Submersible EC probe + circuit | K 1.0
- Submersible DO probe + circuit
- Voltage isolator circuit
Firmware
The ATmega32u4 microcontroller on the Feather board was flashed with C++ code that obtained probe measurements and interfaced with the AdafruitIO server. Particular attention was given to implementing a reboot sequence following loss of power and entering low-power mode between readings or in the event of poor network signal. The instructions were looped through as follows:
- Connect to Adafruit’s MQTT server. If connection is unsuccessful, go to sleep and try again later.
- Obtain measurements from probes.
- Publish values to the AdafruitIO datafeed via MQTT packets.
- Disconnect from Adafruit’s MQTT server.
- Send the device to sleep.
- Wake the device from sleep.
Probe Integration
Our three probes were chosen partly because they depended on each other for accurate readings. Each DO measurement required compensation for temperature and EC, and each EC measurement needed temperature compensation. Therefore temperature was read first, and input to the EC probe's processor before reading, which was then input to the DO probe's processor along with temperature before each reading.
The EC and DO probes required calibration for accurate measurements before deployment, which supposedly would not need to be repeated for another year or so. The supplier provided calibration solutions for each probe, and a simple command issued via serial interface with each probe submerged in the appropriate solutions is all that was required. I wrote a script for interfacing with the probes directly.

Following calibration, I did some sanity checks for the probes by submerging them in water on a hot summer night and sequentially adding ice and table salt to see how their readings would respond.


Cloud Database
The device transmitted each probe's readings to a public datafeed on AdafruitIO, through the cellular network service Ting. I used an MQTT C++ library provided by Adafruit and needed to hardcode a private access key to connect with their server. Configuring the interface through which the probe data was displayed was done through a browser.

Weatherproofing and Deployment
It Eventually, the device's various components were all working harmoniously: taking accurate measurements, transmitting them to the cloud, sleeping regularly, and consuming very little power. Before depositing...
Read more »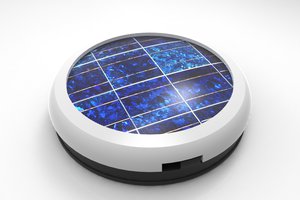
 Kyle Fredericks
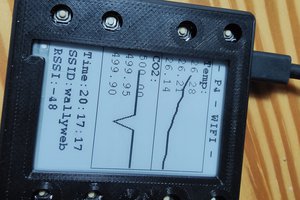
 Ulrich