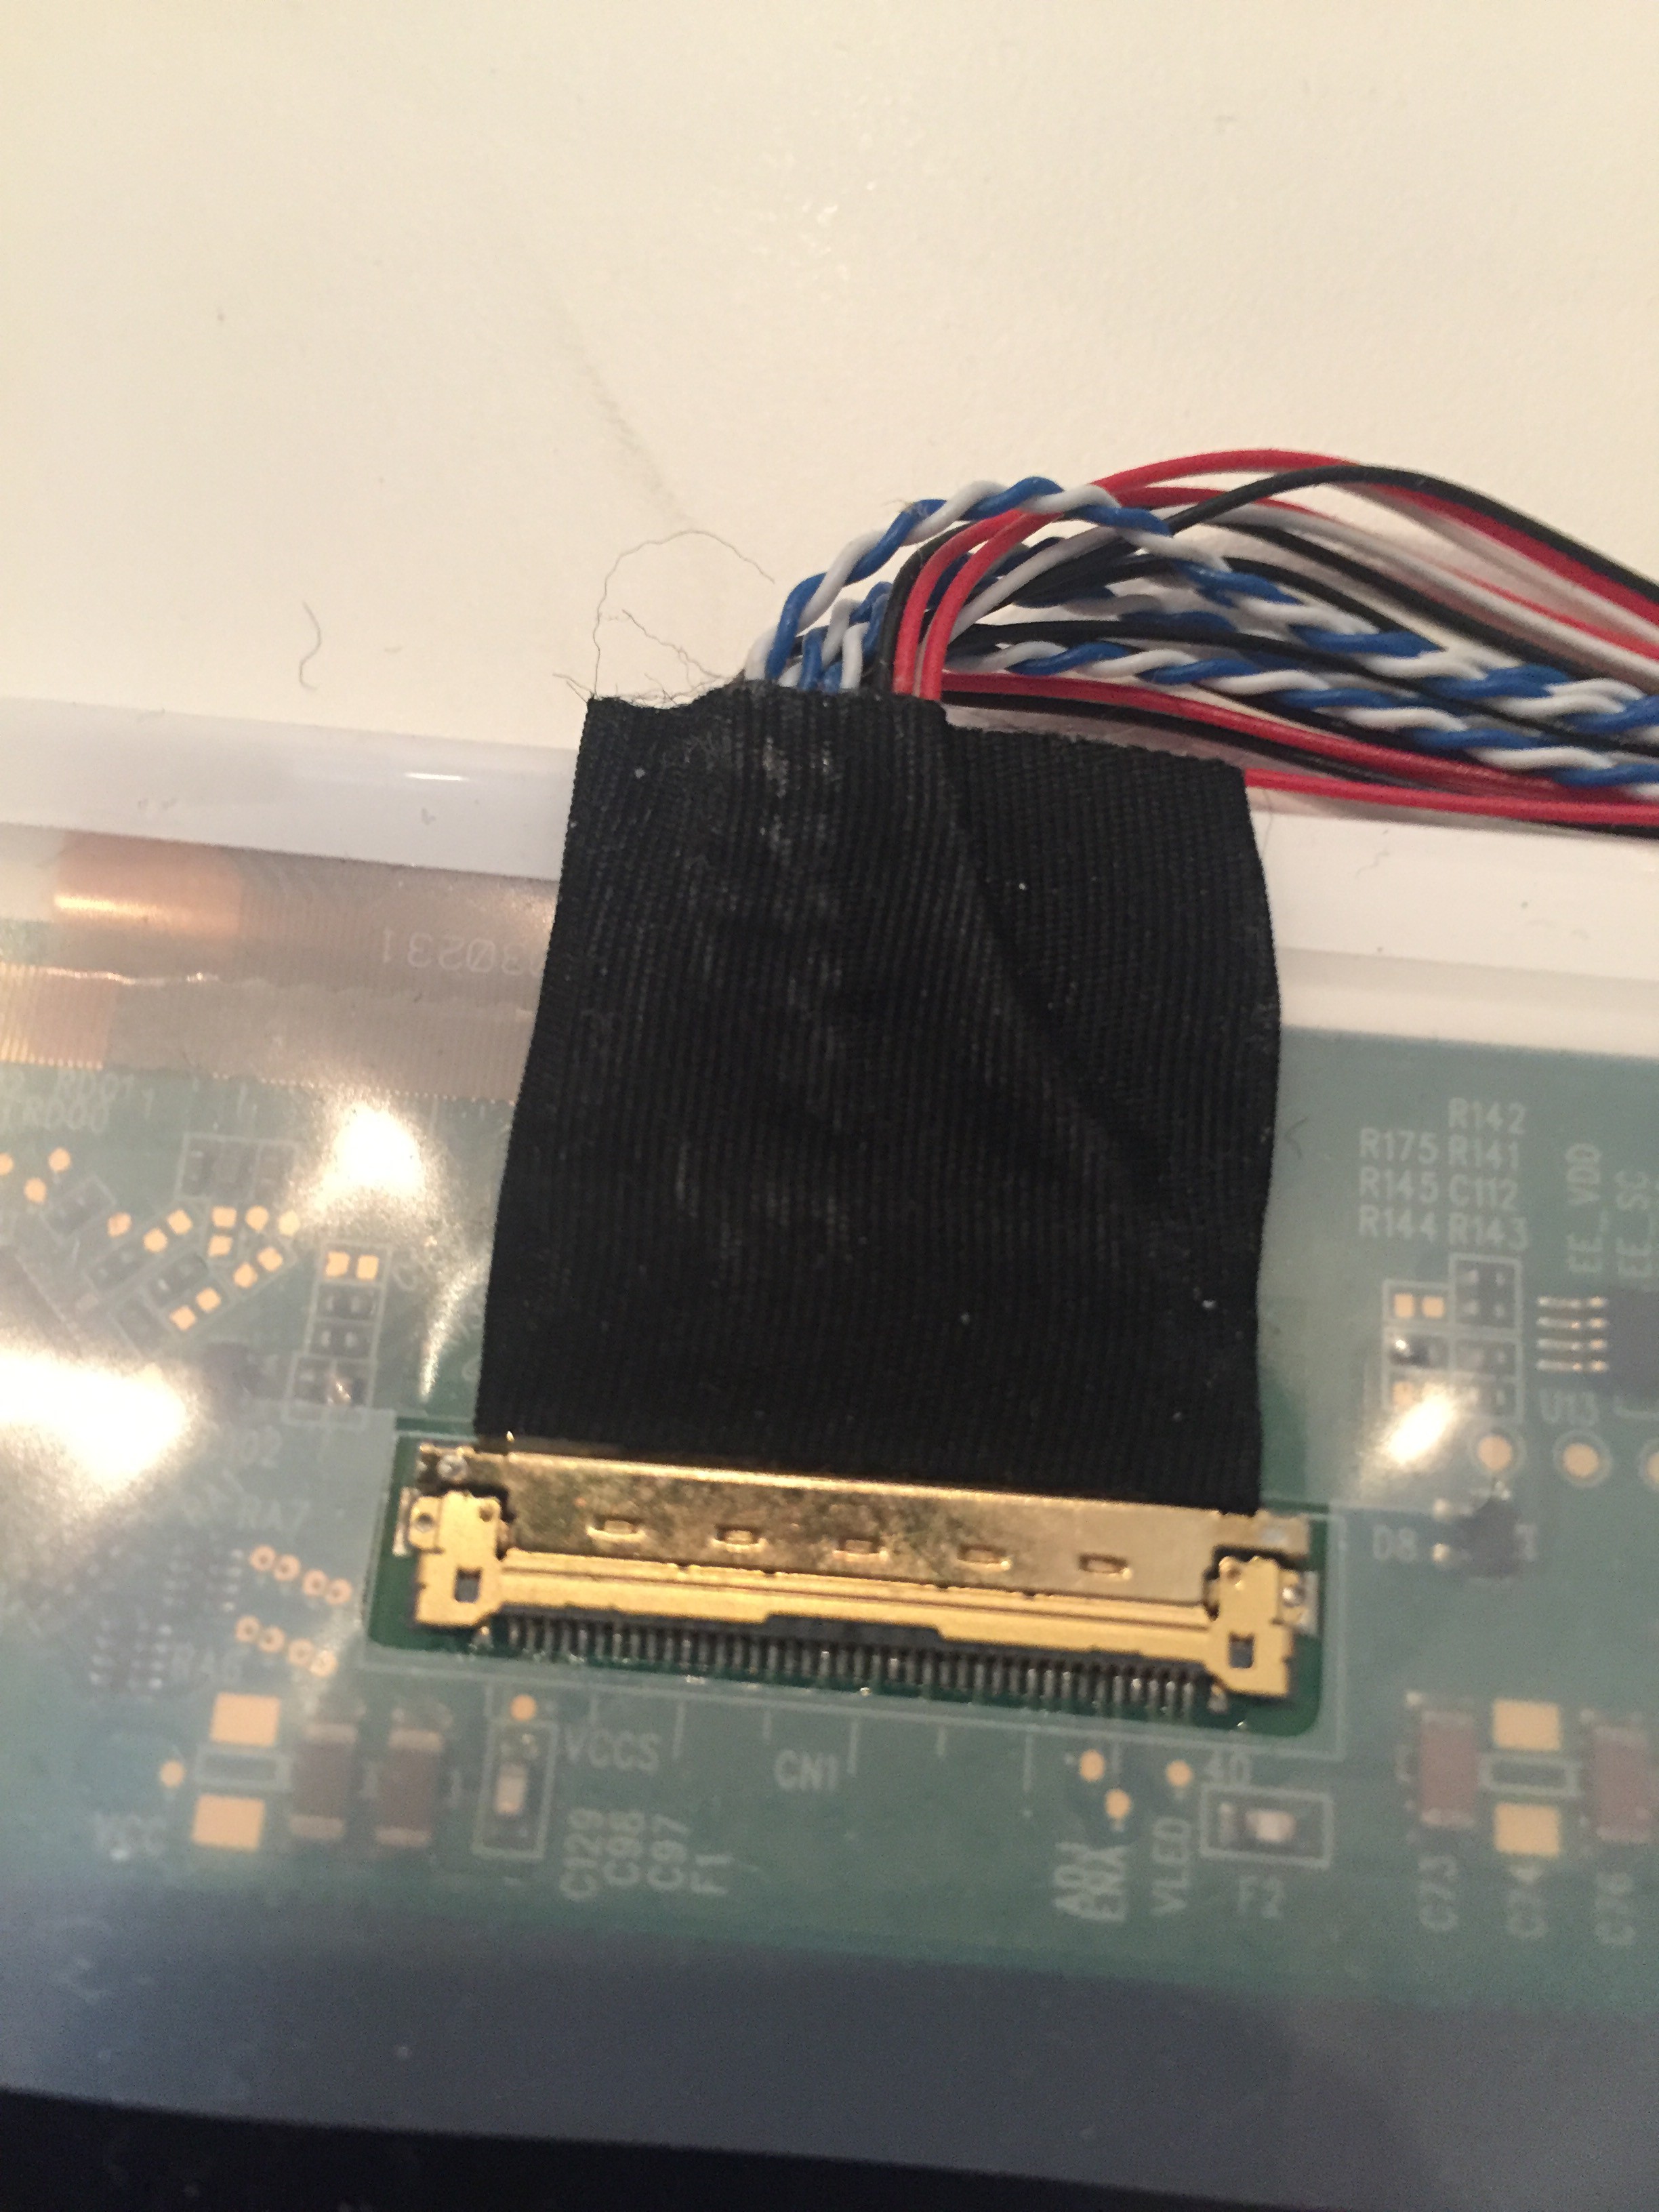
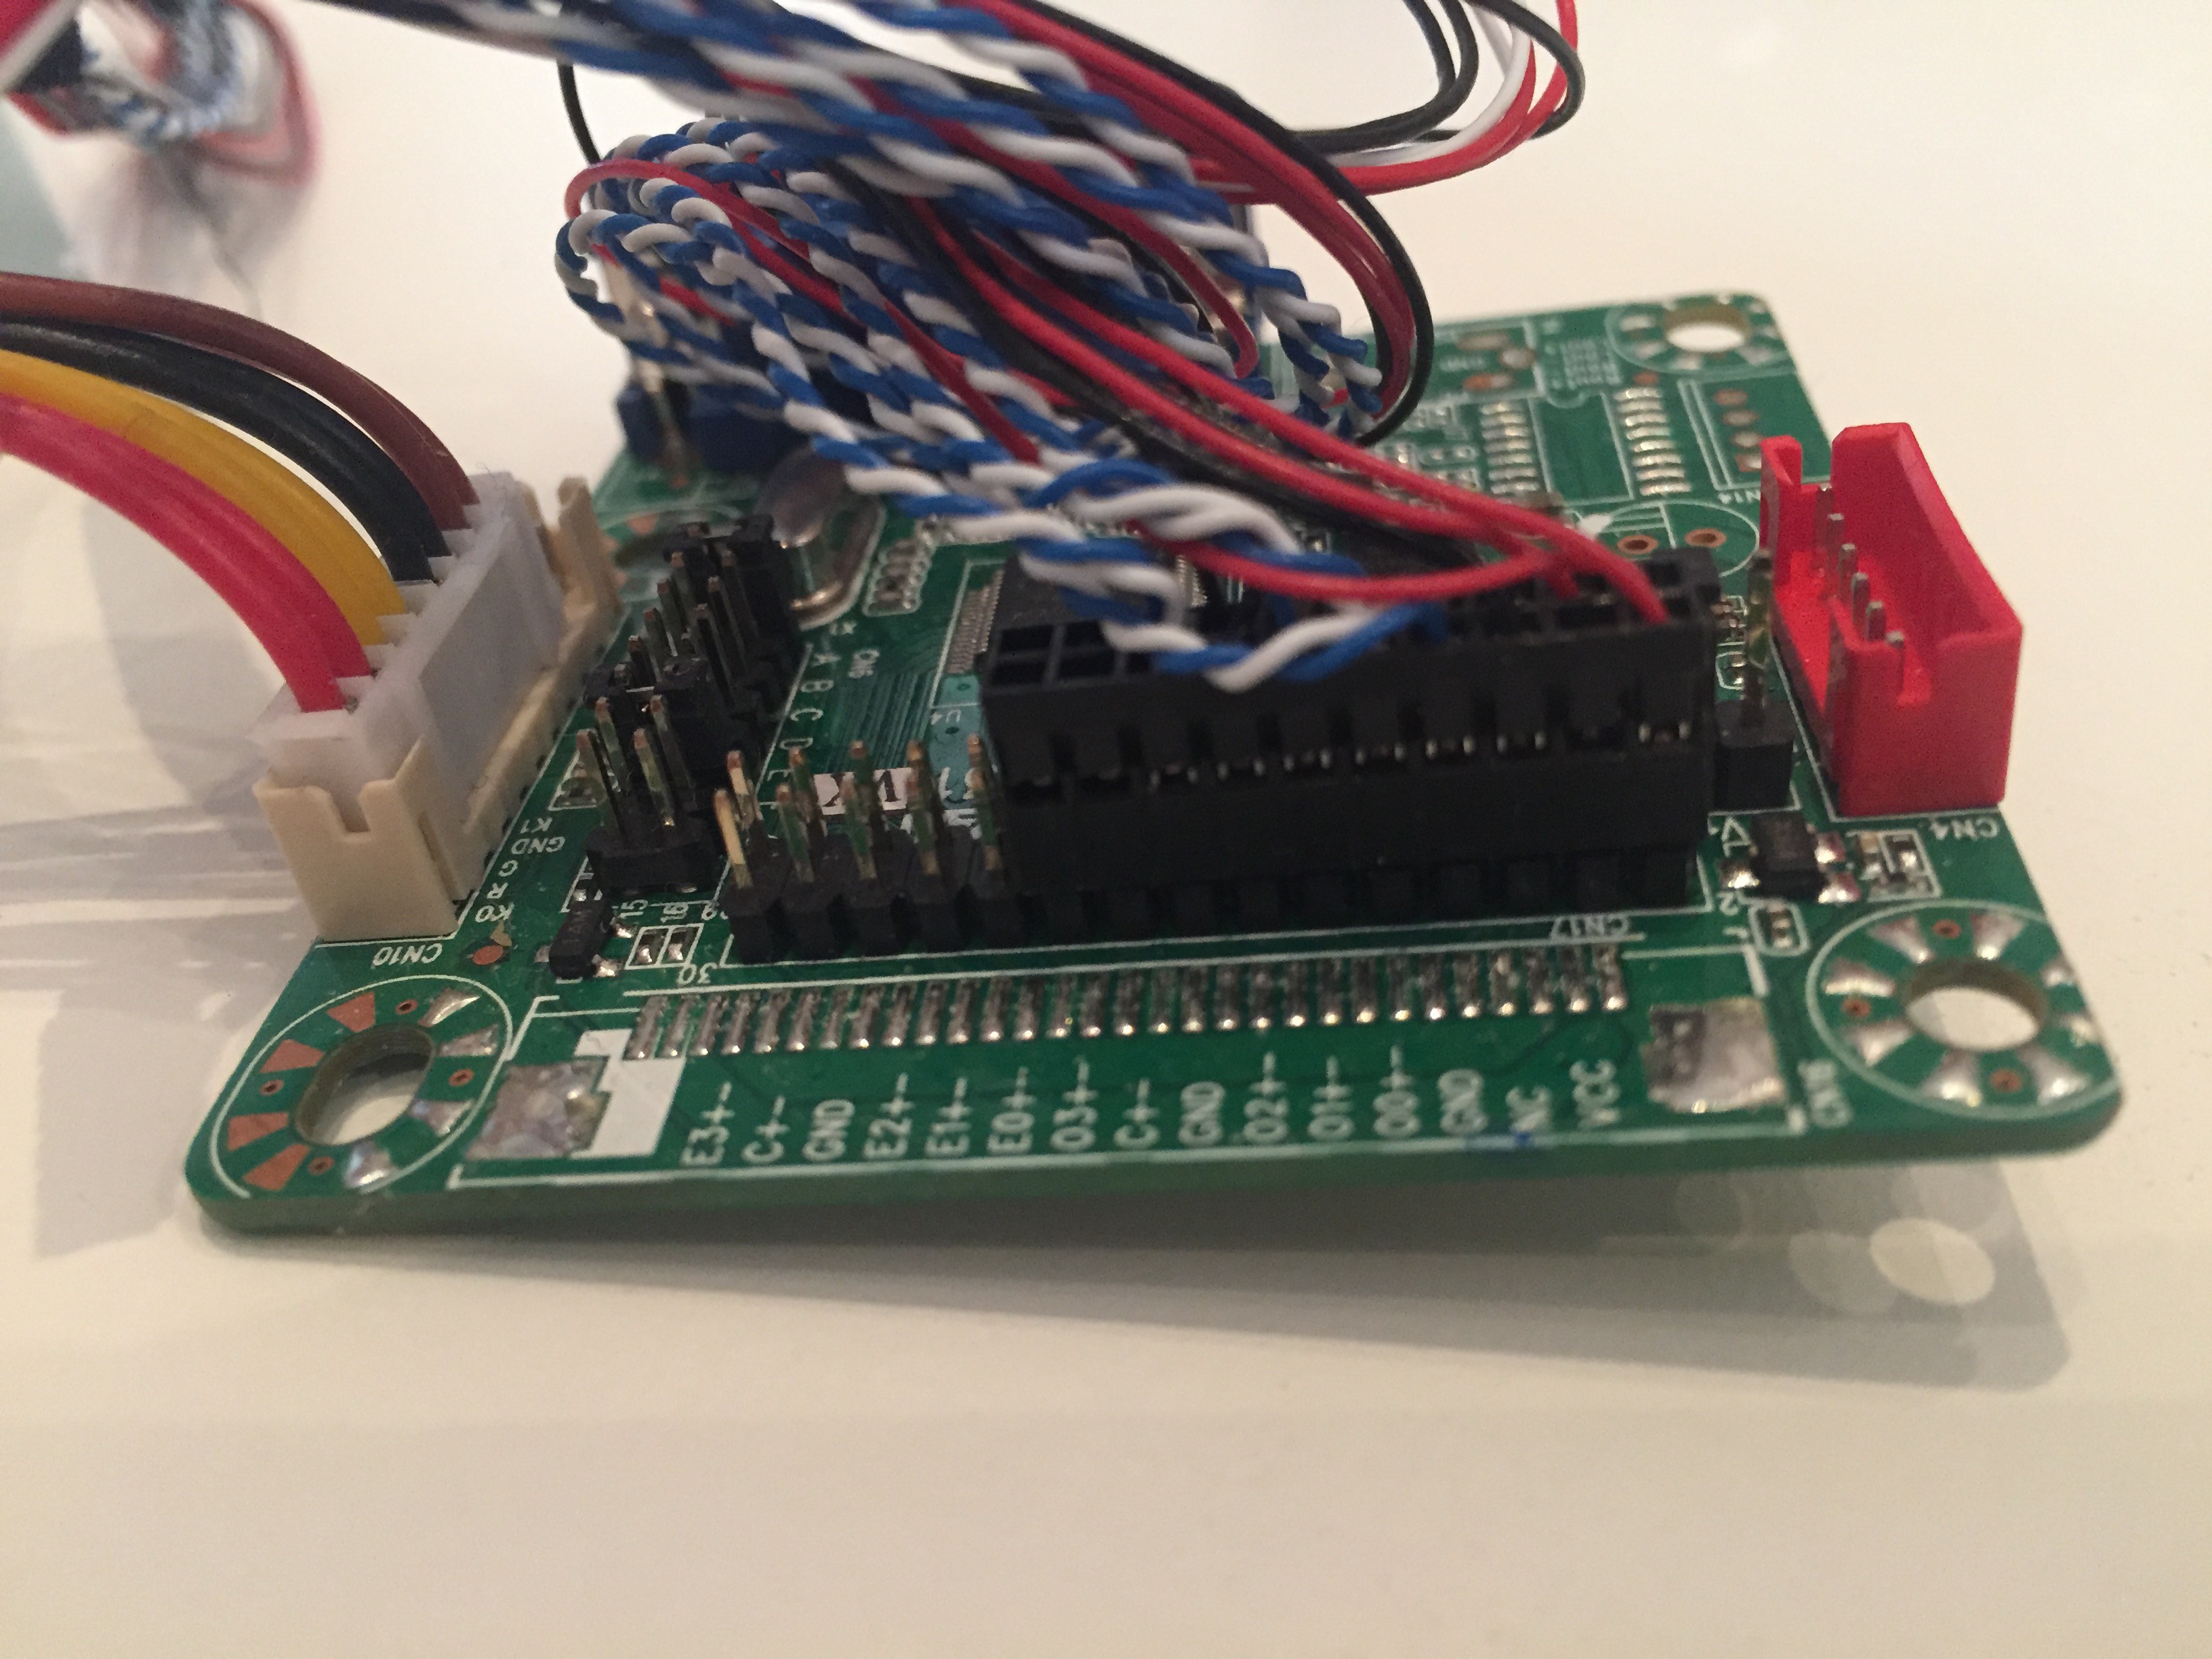
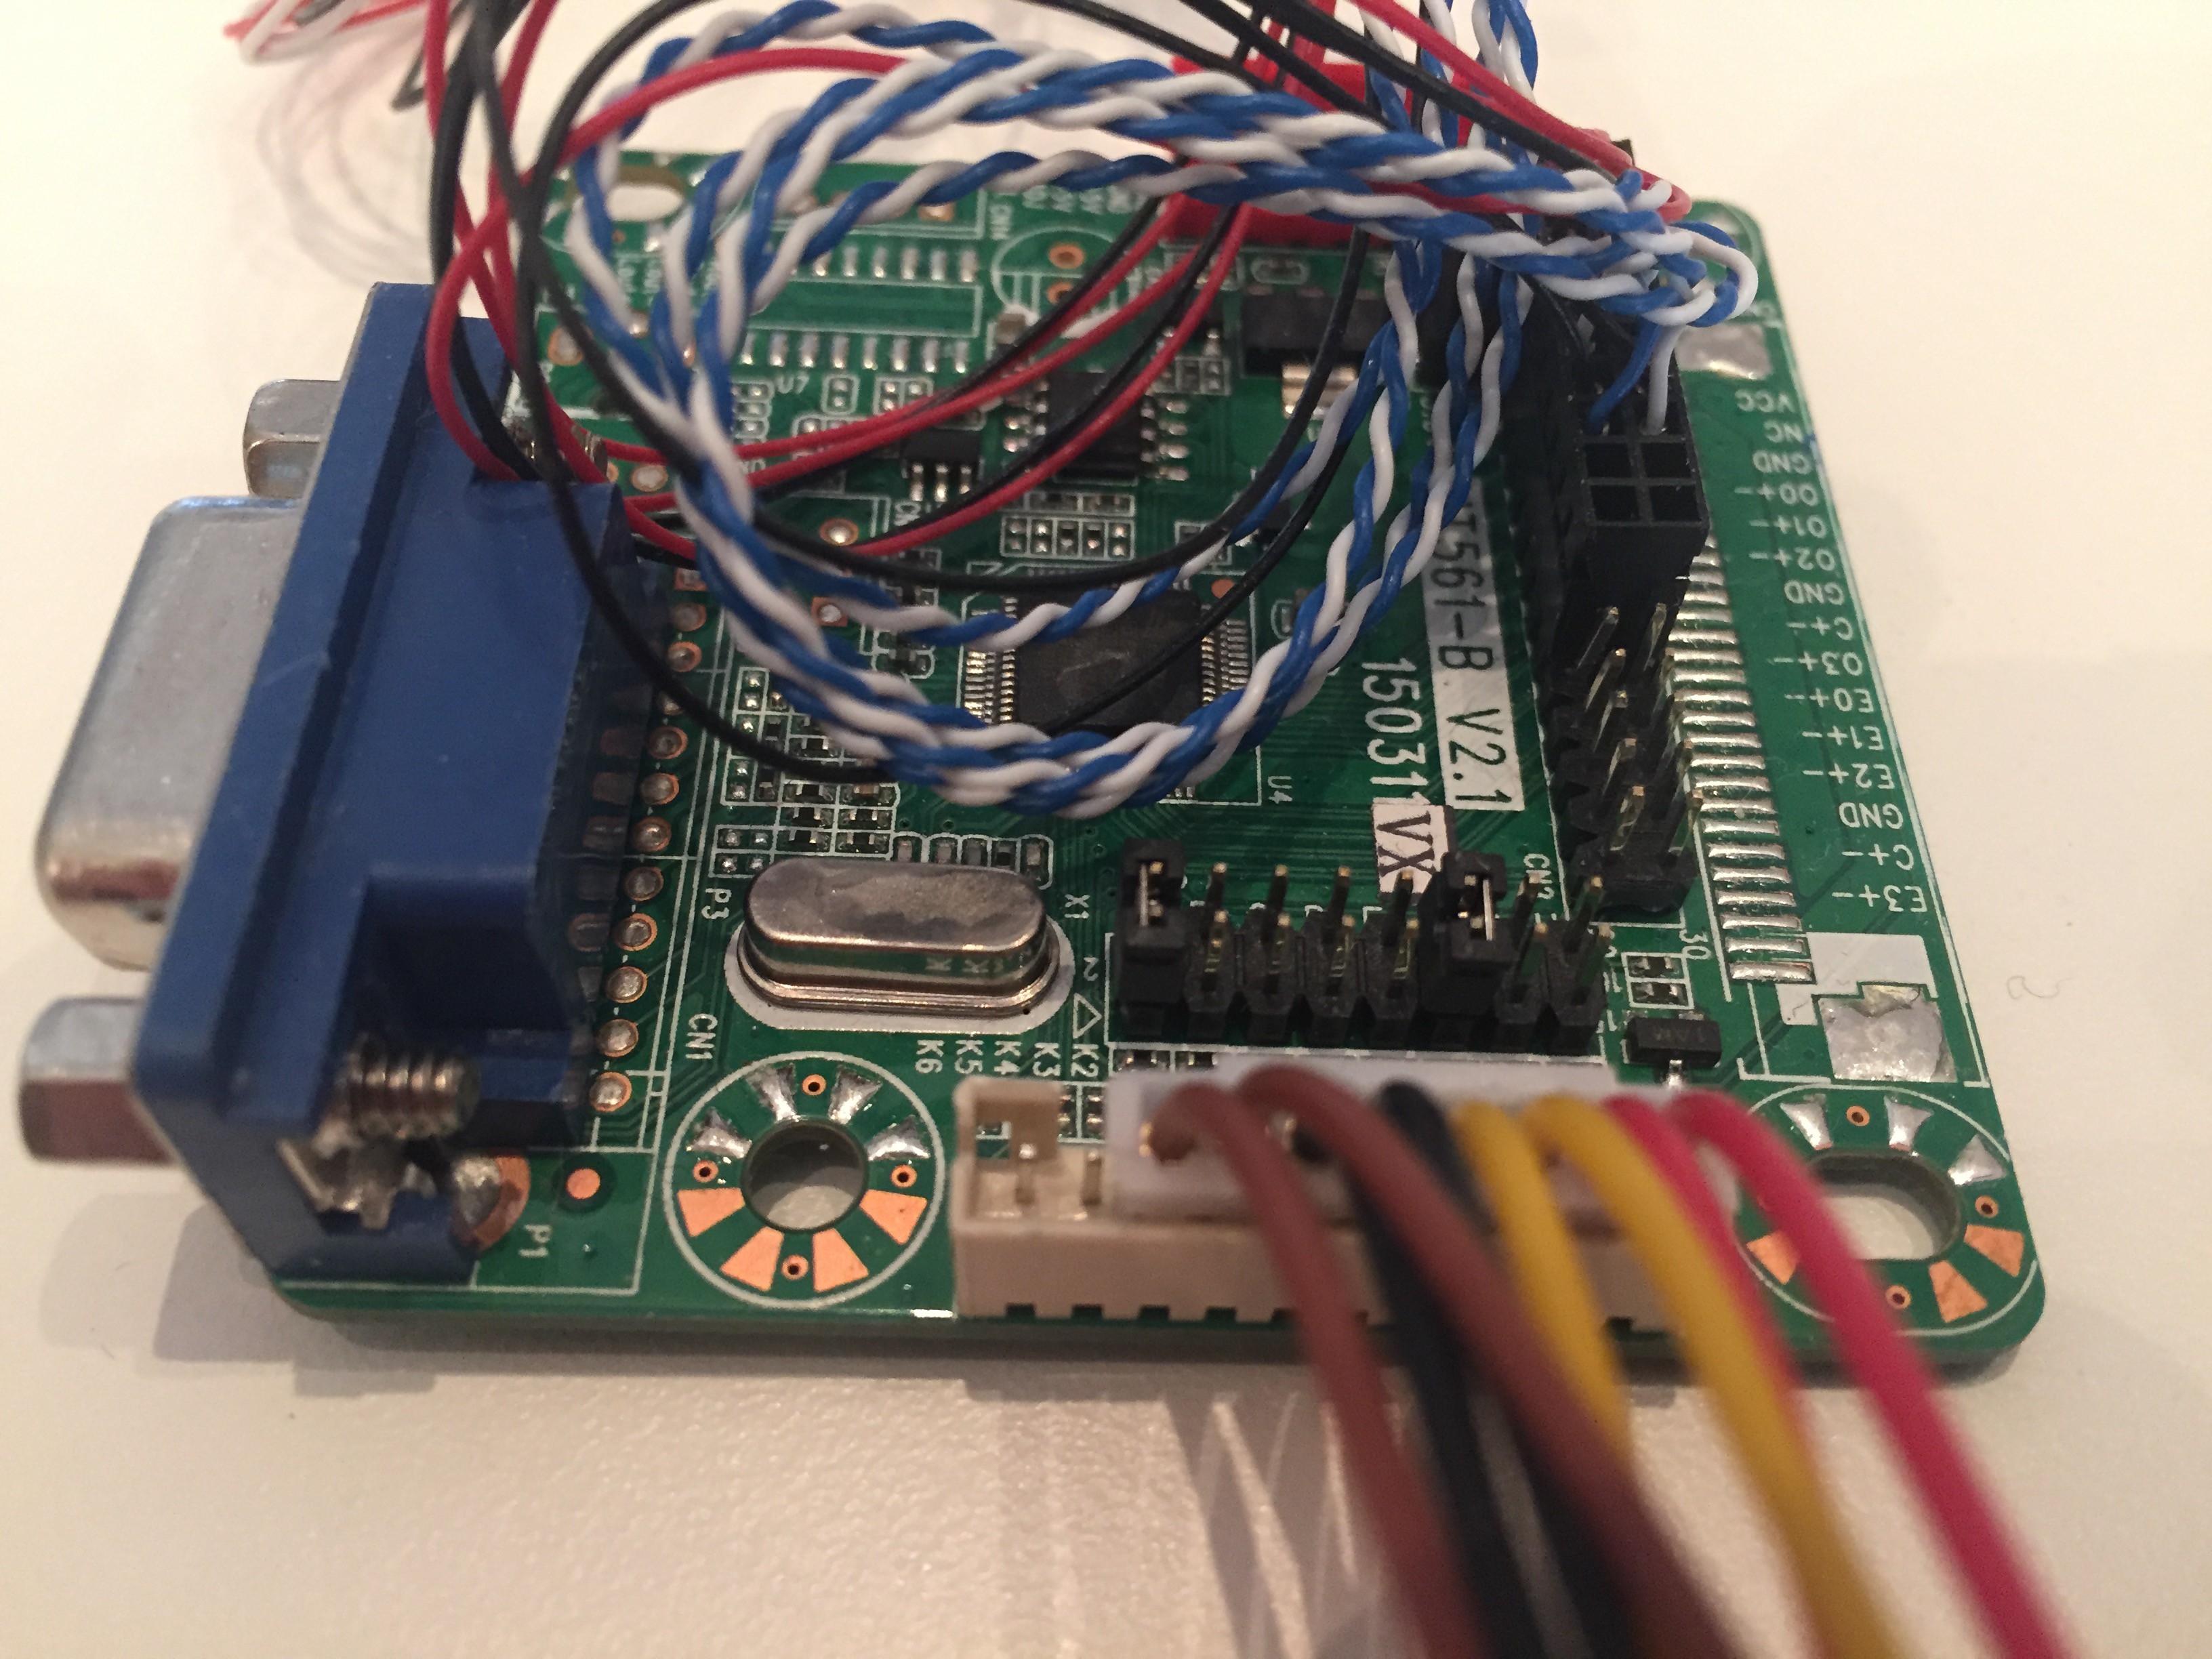
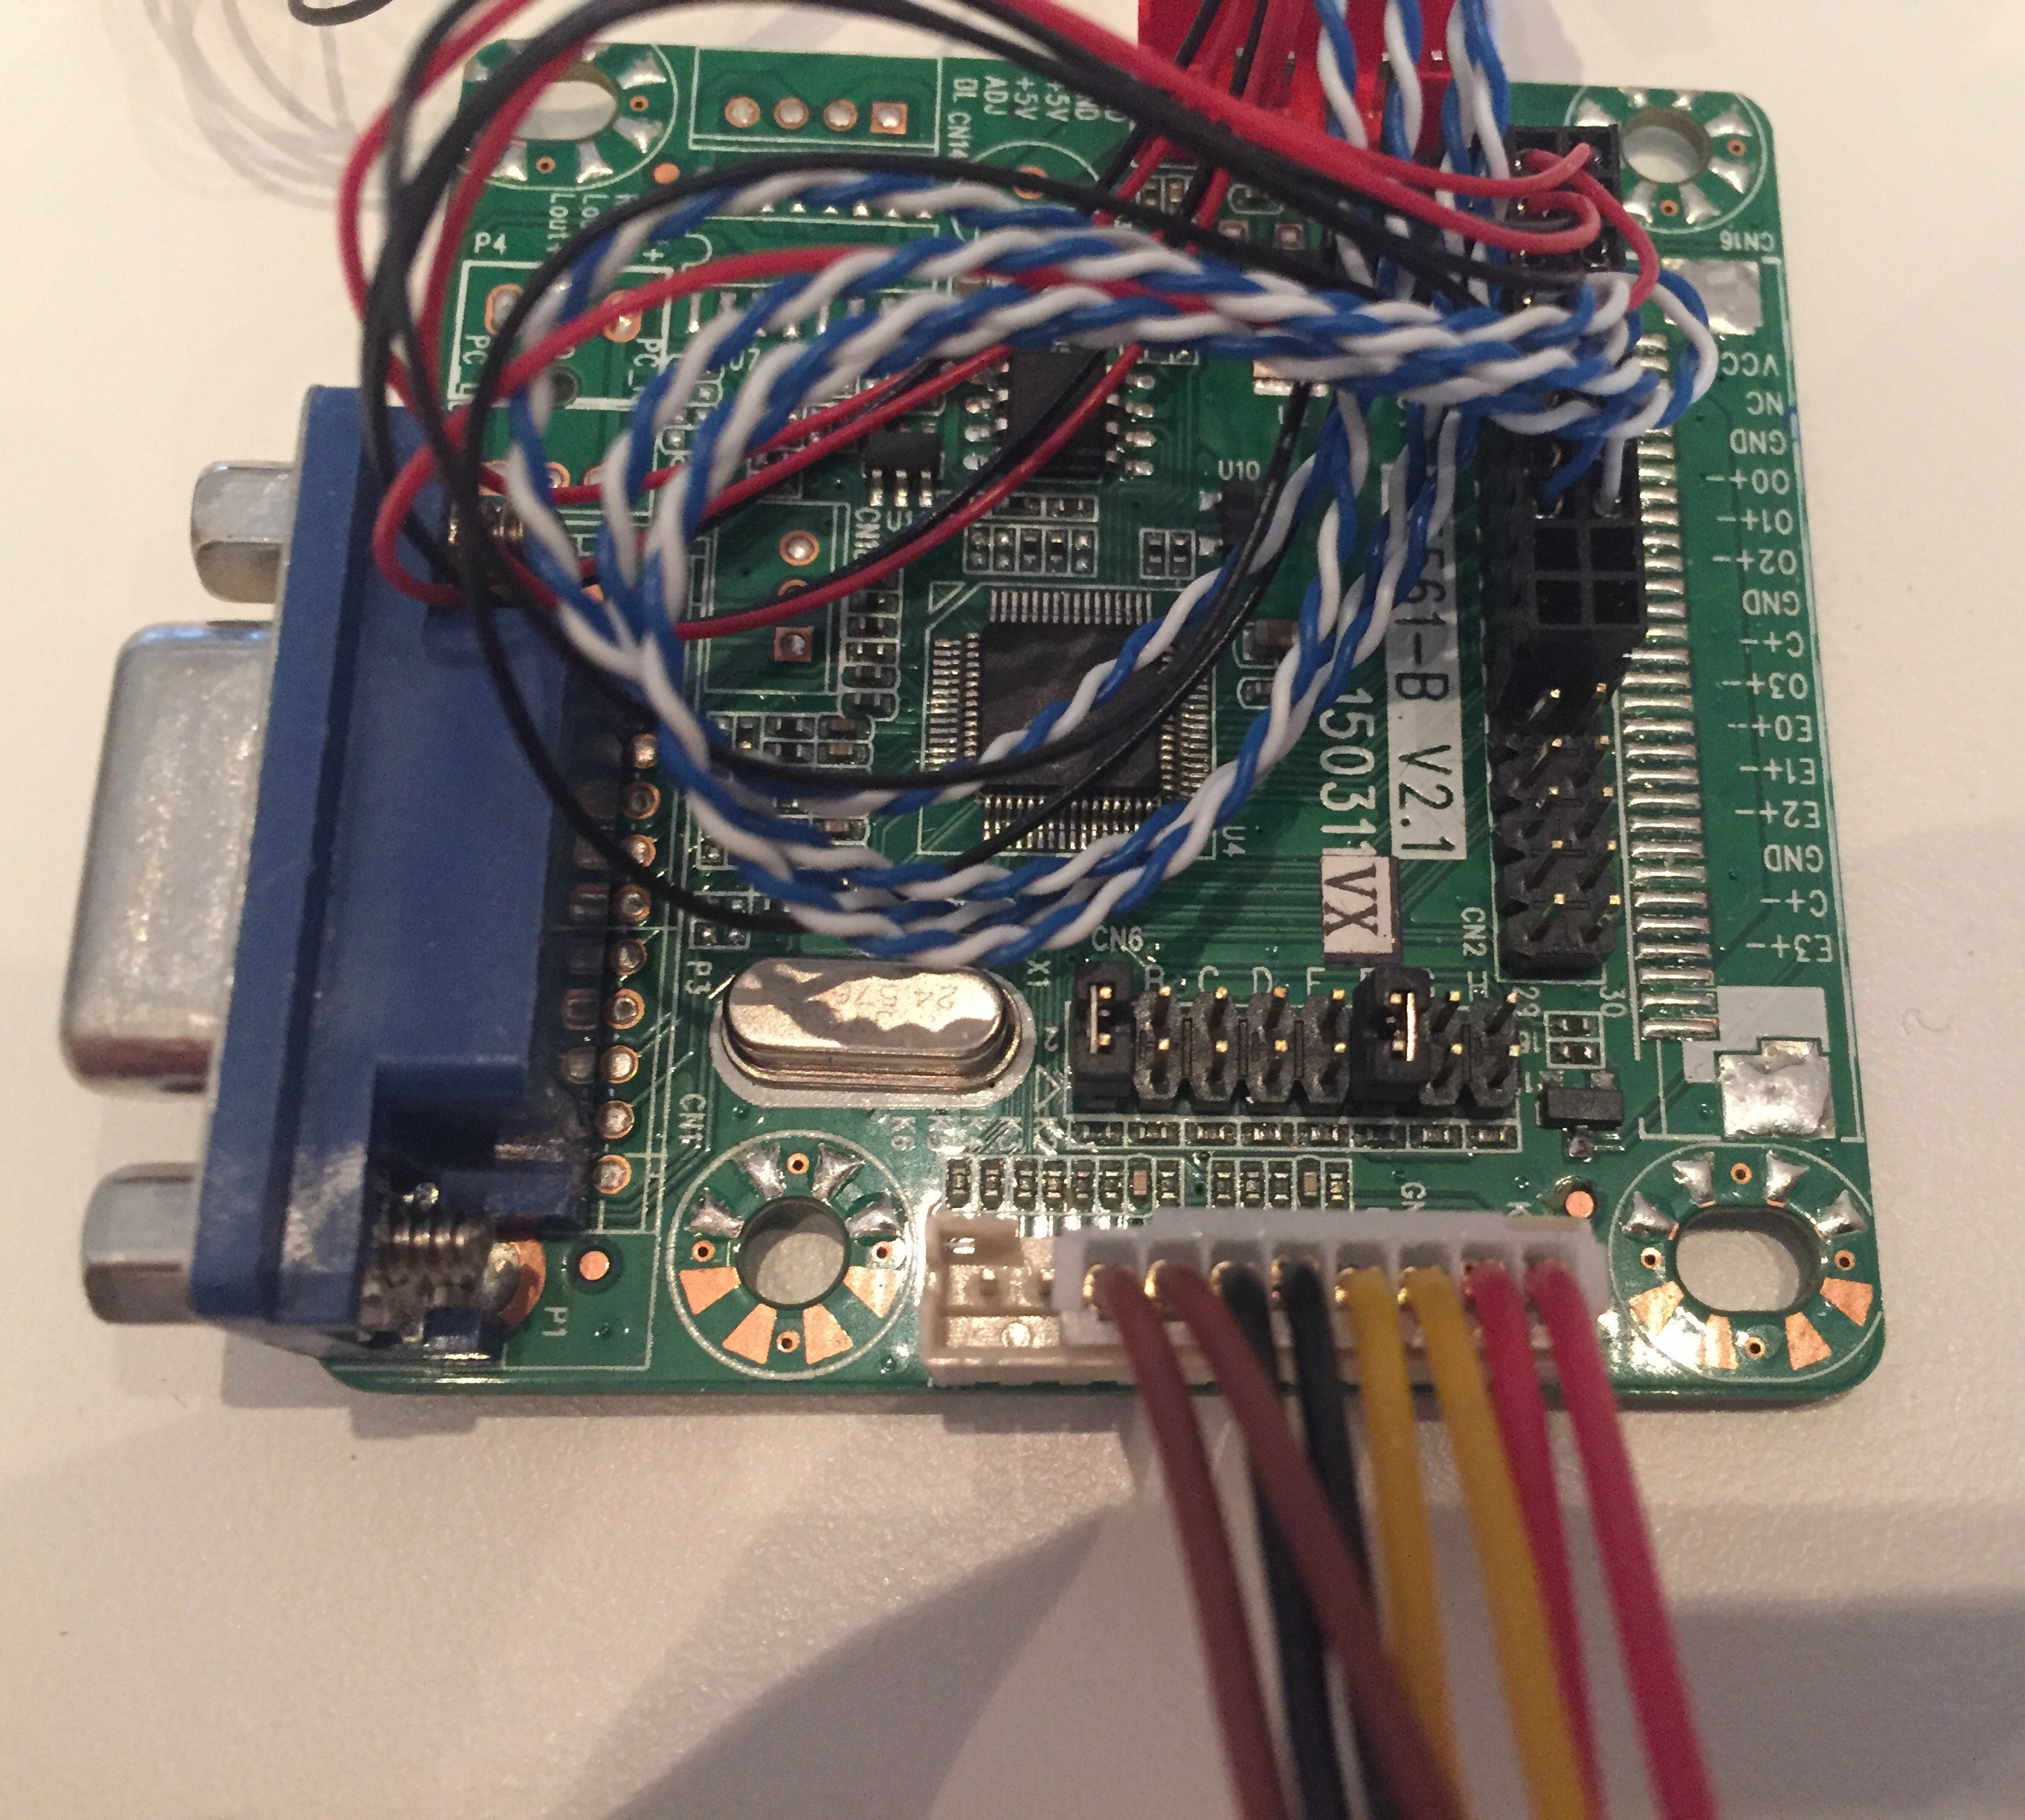
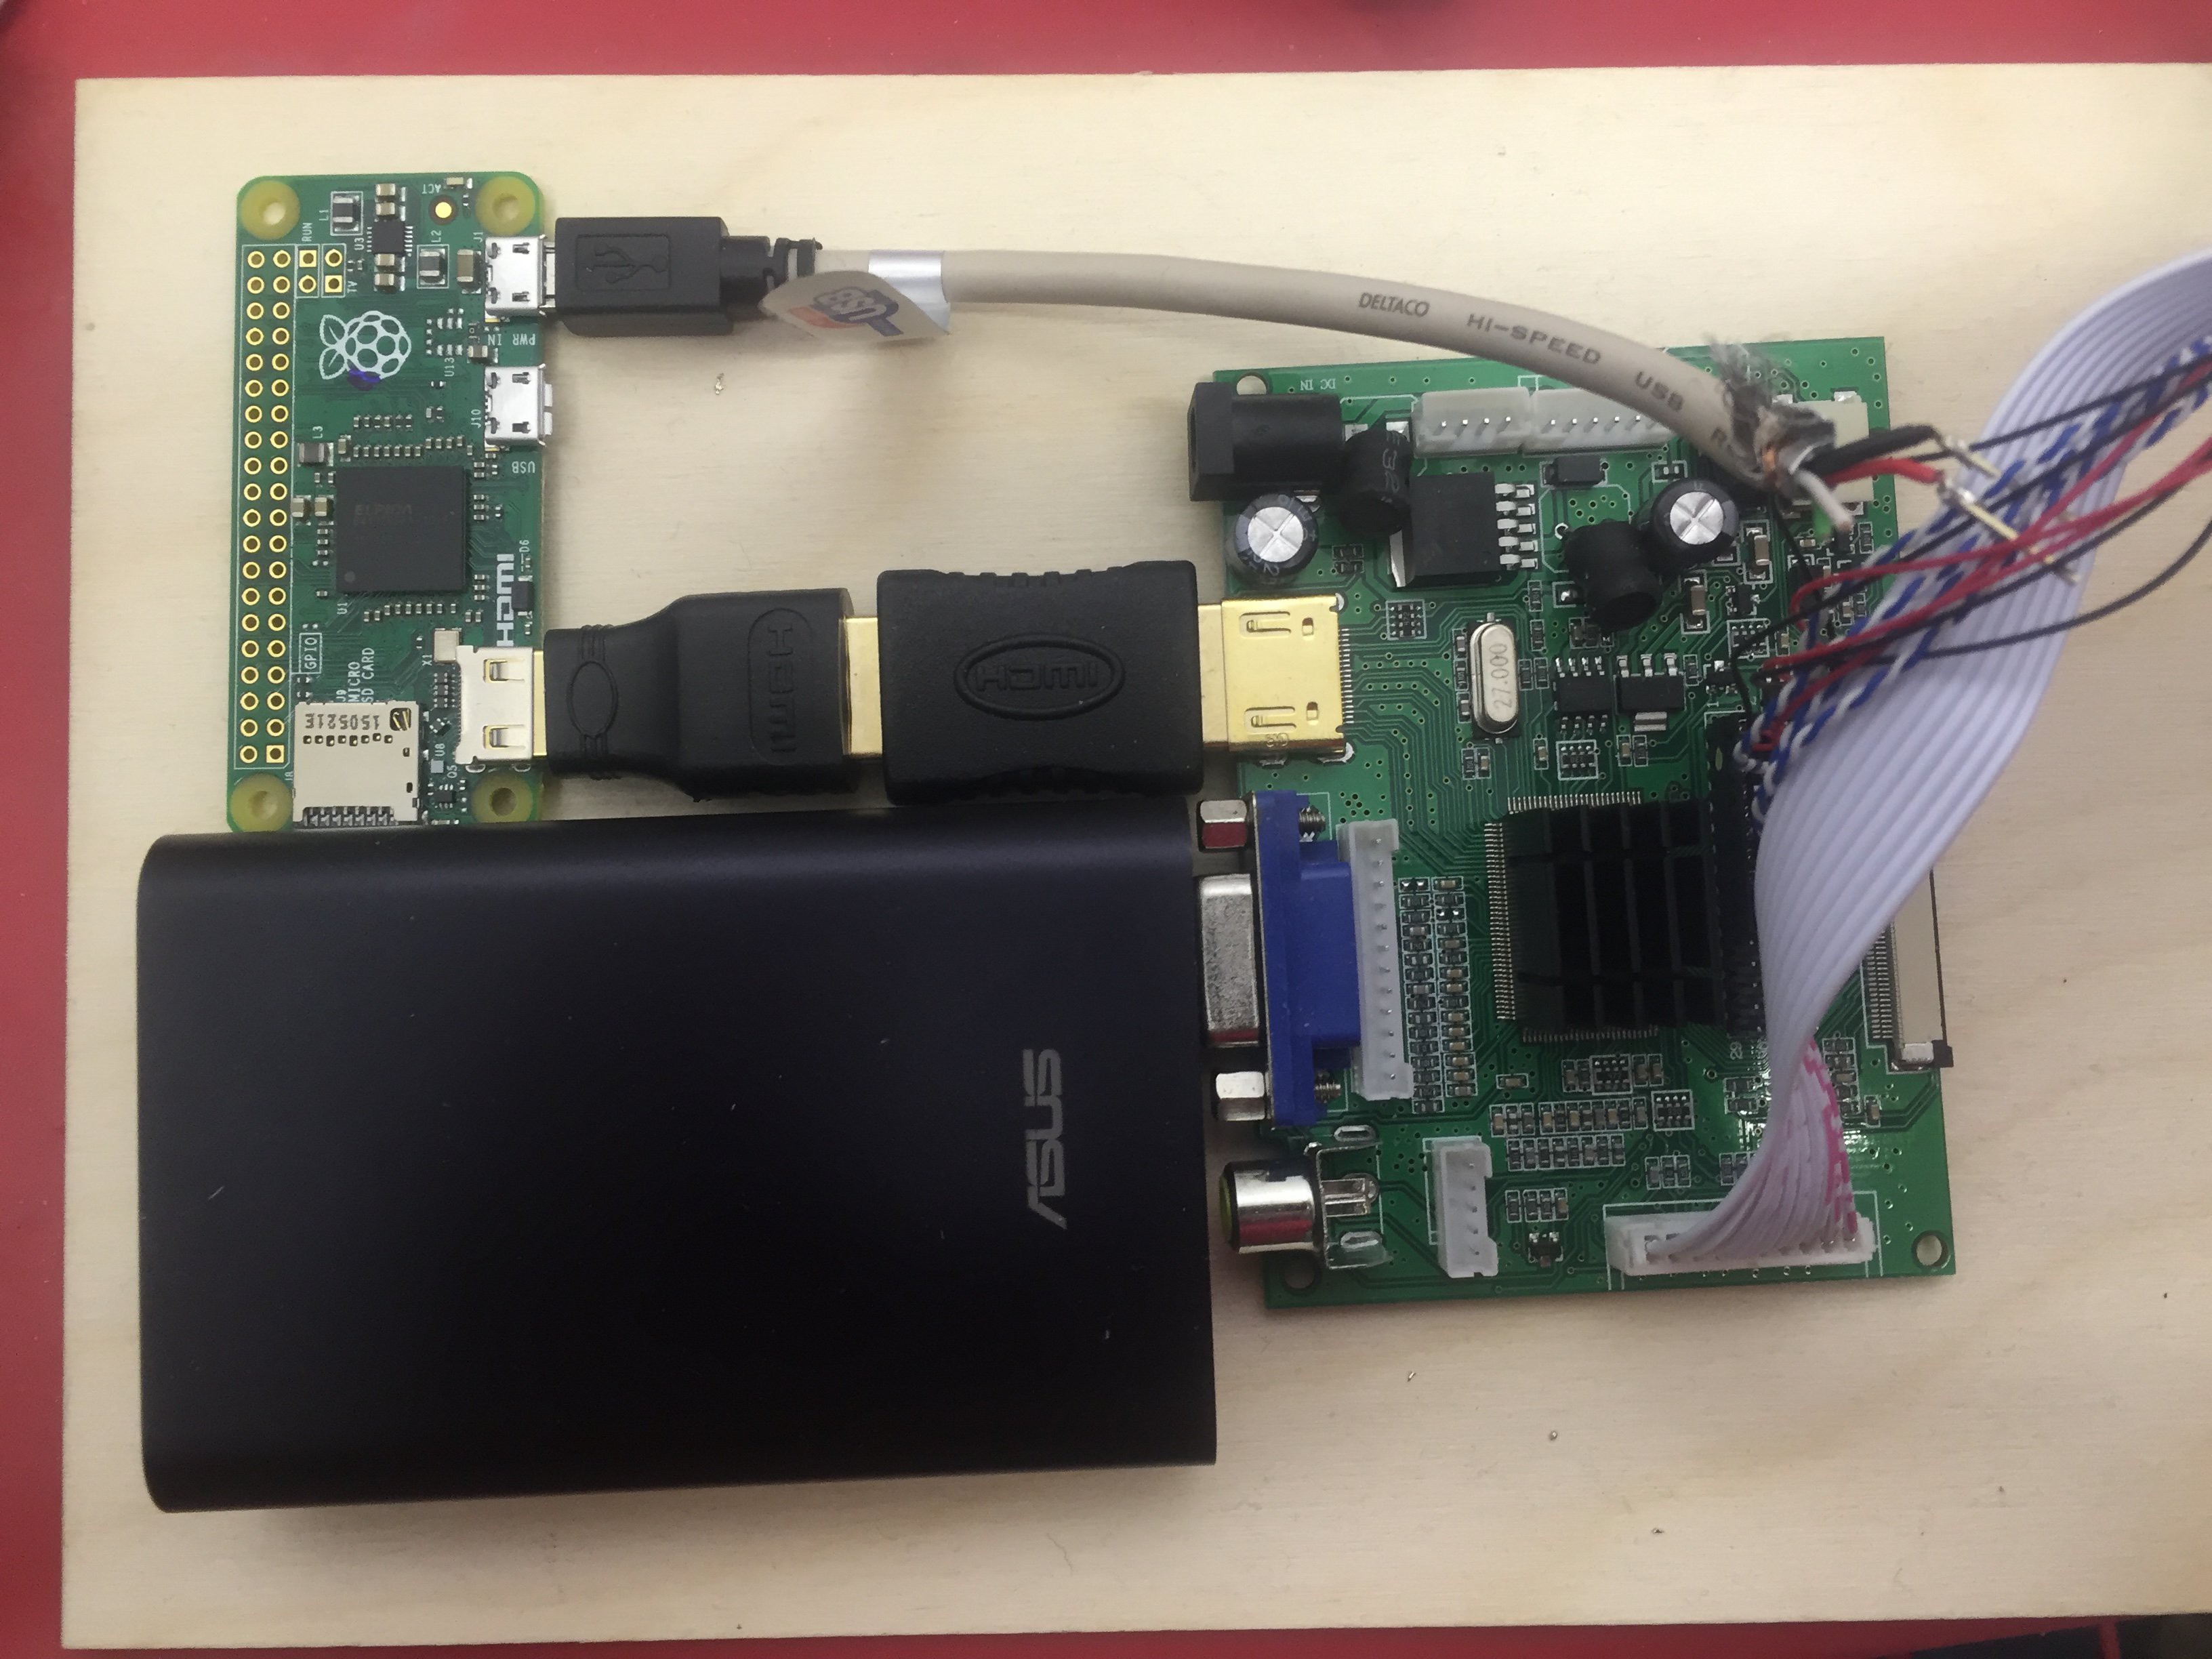
• Connecting a Pixel Qi to a

    Erland Lewin10/01/2016 at 08:28 3 comments

    dave manganelli asked about connecting the Pixel Qi display to a MT561-B VGA to LVDS board.

    Here are some photos of my connection. I believe I got the cable from the Qi with the kit of display & earlier HDMI to LVDS board that I used - I don't know how one would go about making or buying the cable.
    Here's the cable inserted into the connector on the back of the display. The connector pulls out straight (parallell to the display) out of the connector.

    Here's a picture of the display-end of the connector. The data sheet of the Qi display which you can find online will have the spacing between the pins etc:

    Here's the connection of the cable to the LVDS board:

    Here you can see the configuration jumpers on the top of the board:

    Another view of the top of the board and the headers:

    The top of the LVDS board. Sorry it's fuzzy:

    The bottom of the board:

    Here's the wiring itself. There are four twisted pairs blue/white, 5 red wires, 6 black and two white wires at a quick count:

    This was all done in a bit of a rush, I hope it's helpful!

  • Progress Report

    Erland Lewin05/05/2016 at 22:29 0 comments

    Progress Report

    It's been a while since the last log entry - I've been very busy both with work and advancing the project.

    Raspberry Pi on/Off board

    The Raspberry Pi On/Off board has been built, but it turned out that the USB plug did not have a good mechanical connection to the PCB board (I think it was designed to be molded in a plug). I can use the board anyway, but will need to solder a USB plug on a cable to the board, instead of plugging it directly into the Pi. I have not tested it thoroughly yet.

    Pixel Qi Display

    The driver board I got with the display must in some way be defective, because it draws way more current than specified. In a battery operated system, that's a big problem.

    I bought an MT561-B VGA to LVDS board on E-bay. It works really well, doesn't get hot, and uses less power than the HDMI board that came with the Pixel Qi display. However, it needs VGA as input which the Pi doesn't have.

    So, I designed a variant of Gert's VGA666 board which uses GPIO pins driven by the graphics processor with a resistor ladder DAC. My board allows any of the pixel formats, and by using the 888 RGB, but only the top 4 bits of the green color channel, I can still have two pins for the serial port to communicate with the nRF51822 bluetooth device and two extra GPIOs for sensing the power switch and something else. I've just ordered the VGA PCBs (from OSHPark, trying a new PCB manufacturing service).

    Software

    After struggling with the Linux bluetooth stack on the Raspberry Pi and a USB Bluetooth dongle, I decided to use the same nRF51822 board I use in the GPS dongle as an interface for the chart plotter. I've written software that communicates as a client to the GPS dongle software, and prints output to the serial port, which is read by the Raspberry Pi. Work remains, but I have a proof of concept that it works.

    Solar Power for the Dongle

    After realizing that the cheap, simple DC/DC buck converter I had intended to use was not sufficient for the GPS dongle, I designed my own version of Adafruit's Solar LiPo charger. I've received the PCBs (from Dirty PCBs, worked well), and have just ordered the components for it and the VGA board.

    All the above has not been pushed to the Repos, let me know if you're interested in any information. If anyone wants unpopulated PCBs for the Raspberry Pi On/Off board, I could send them some for free (I have more than I'll need).

  • Deciphering BLE Characteristics

    Erland Lewin03/21/2016 at 22:36 1 comment

    I'm trying to decipher how the output from gatttool corresponds to the information in my Location and Navigation service.

    The Location and Navigation Service has assigned number 0x1819.

    The Location and Speed Characteristic has assigned number 0x2A67.

    When I look at characteristic with handle 0x0010, gatttool says:

    [F4:8C:27:CA:16:7E][LE]> char-desc 0x0010 0x0010
    
    handle: 0x0010, uuid: 00002a67-0000-1000-8000-00805f9b34fb
    

    However, trying to read the characteristic fails:

    [F4:8C:27:CA:16:7E][LE]> char-read-hnd 0x0010
    
    Error: Characteristic value/descriptor read failed: Attribute can't be read
    

    However, I can read the characteristic before and after:

    [F4:8C:27:CA:16:7E][LE]> char-read-hnd 0x0011
    
    Characteristic value/descriptor: 00 00
    
    [F4:8C:27:CA:16:7E][LE]> char-read-hnd 0x000f
    
    Characteristic value/descriptor: 10 10 00 67 2a
    

    But writing to 0x0011 got me notifications!

    [F4:8C:27:CA:16:7E][LE]> char-write-req 0x0011 0100
    
    Characteristic value was written successfully
    
    Notification handle = 0x0010 value: 84 00 91 75 da f9 87 1c d6 23
    
    Notification handle = 0x0010 value: 58 10 46 05 00 79 31 df 07 07 08 0c 2b 21
    
    Notification handle = 0x0010 value: 84 00 91 75 da f9 87 1c d6 23
    
    Notification handle = 0x0010 value: 58 10 46 05 00 f1 31 df 07 07 08 0c 2b 21
    
    ...

    Victory!

    Reverse engineering this data shows that the compass values are in bytes 15 and 16 (0-indexed, LSB first). There are two bytes between longitude and elevation that I don't know what they are (58 10).

  • Getting a BLE USB dongle to work on Raspbian

    Erland Lewin03/21/2016 at 18:18 2 comments

    I bought a small USB Bluetooth dongle (Asus USB-BT400) for the Raspberry Pi Zero. I thought I'd try it out instead of the nRF51822 Core board.

    I'll follow the instructions here to install the Bluetooth software. I downloaded Bluez version 5.38 which appears to be the latest.

    However, while building it, I found a web page that said I could:

    sudo apt-get install bluetooth blueman bluez

    I'll try to use those while I build the latest Bluez version. Unfortunately it seems to pull in a bunch of xwindows stuff that I don't need. Maybe I should have skipped blueman?

    I found this page, which told me to try:

    sudo su -
    modprobe -v btusb
    echo "0b05 17cb" >> /sys/bus/usb/drivers/btusb/new_id

    but 'hcitool -scan' still doesn't return anything.

    In the system log, I found:

    bluetooth hci0: Direct firmware load for brcm/BCM20702A1-0b05-17cb.hcd failed with error -2

    I found a page about how to get the file via the Windows driver; I'll look for a simpler way.

    I found a comment here, that I could do:

    sudo apt-get install firmware-linux-nonfree

    I removed and re-inserted the dongle, but now got some kernel errors like:

    kernel: [ 3910.964136] Transfer to device 5 endpoint 0x1 frame 666 failed - FIQ reported NYET. Data may have been lost.

    Added "dwc_otg.fiq_fsm_mask=0xF" to /boot/cmdline.txt following a comment here. Rebooted.

    I can now do 'sudo hcitool -lescan' and see my Wireless Navigation Sensor!

    Can you believe people say Linux is hard to use?

    Update

    And I thought the above was sufficient for things to start working, but no.

    After hours of searching, I changed /etc/bluetooth/main.conf and added:

    EnableLE = true           // Enable Low Energy support. Default is false.
    
    AttributeServer = true    // Enable the GATT attribute server. Default is false.


    This was critical, and hard to Google. Now I could also connect to my device:

    pi@raspberrypi:/etc/init.d $ sudo hcitool lescan
    LE Scan ...
    
    F4:8C:27:CA:16:7E Wireless_LNS
    
    F4:8C:27:CA:16:7E (unknown)
    
    pi@raspberrypi:/etc/init.d $ sudo gatttool -b F4:8C:27:CA:16:7E -I -t random
    
    [F4:8C:27:CA:16:7E][LE]> sec-level low
    [F4:8C:27:CA:16:7E][LE]> connect
    
    Attempting to connect to F4:8C:27:CA:16:7E
    
    Connection successful
    
    [F4:8C:27:CA:16:7E][LE]> primary
    
    attr handle: 0x0001, end grp handle: 0x0007 uuid: 00001800-0000-1000-8000-00805f9b34fb
    
    ...

  • Wireless Navigation Dongle Spun Off

    Erland Lewin03/20/2016 at 20:34 0 comments

    I made a separate Hackaday.io project for the wireless navigation sensor.

    It will really be a stand-alone device, that could be used in other situations.

  • Steps forwards and backwards

    Erland Lewin03/20/2016 at 19:50 0 comments

    While waiting for my PCBs, I started looking at assembling the main chart plotter.

    I could fit the main components into a nice format, see the photo below:

    At the top left is the Pi Zero, to the right is the video board. They're connected by two HDMI adapters, one Mini-HDMI to female HDMI, and another HDMI male-male adapter. The black Asus box is the battery powerbank. In total the components would fit underneath the display without sticking out.

    I had some problems running the video through the two HDMI adapters, but the reason was that I had turned up the config_hdmi_boost parameter in /boot/config.txt, and when I removed that directive, it worked again.

    As I connected the power bank to supply both the Pi Zero and the video system with power, I had a good opportunity to measure the current that the video system draws. Unfortunately, it turns out that it uses about 1.5-1.6 amps at 5 volts with the backlight on, whereas the Adafruit documentation says that it should draw 775 mA at 5V. This is a double problem - it drastically shortens battery life, and the IC on the video board gets very hot (it was almost 100 °C before I added the small heat sink), and I'll need to get rid of that heat somehow. I suspect the video board is defective, and I'm writing to Makersify that I bought it from to see if they can help. I hope I can get a replacement.

  • Tilt Compensated Compass Working, Solar Charging

    Erland Lewin03/18/2016 at 22:58 0 comments

    I now have the NRF51822 board talking to the compass board - reading the magnetometer and accellerometer values, and then calculating the tilt-compensated heading in a fixed point algorithm, and I think sending it over the Bluetooth Location and Navigation service.

    I think I will spin off yet another sub-project for the navigation dongle, and make a special GitHub repo for it, and upload the code there.

    I'm still pondering how to do the solar charging. Adafruit has a really nice board (the USB / DC / Solar Lithium Ion/Polymer charger - v2), but at $17,50 it's a bit expensive, so I'm considering my options.

    Perhaps one way would be to have the process or monitor the solar cell voltage, and through a transistor add load to decrease the output current if the solar cell voltage falls under 6 volts. I think I'd still want a 4.2V LDO to ensure that I don't feed too high a voltage to the battery.

    On the other hand, if I need to start soldering a circuit, perhaps I might as well build one for the Microchip MCP73871 IC that Adafruit uses; the chip itself is only $1,79.

    I'm waiting for my PCBs, which have been ordered. I have ordered all my components, so I'm ready to start assembling them when they arrive.

    Talking to the GPS is another next step.

  • Getting a Development Environment up for the nRF51822 chips, Solar power

    Erland Lewin03/11/2016 at 22:47 0 comments

    I spent the whole day today getting a gcc / makefile based environment to work on Mac OS X wth the latest Nordic tools for the Bluetooth processors I'll be using in the GPS dongle and the main device.

    I made a page here on Hackaday documenting my results. I hope I'll save someone else some time.

    I also quickly tested my solar cell and DC/DC converter. It turns out that the LM2596 buck converter (with adjustable voltage and current limiting) has a minimum input voltage of 7V, and my solar cell has a nominal voltage of 6V. When I turned down the voltage on the DC/DC input, the current limiting stopped working, but the voltage limit still worked.

    I tested different loads on the solar cell, and best power in the spring sun was around 123 ohm load, 6.5 V, 53 mA (345 mW).

    I realized that since the solar cell won't be able to give more current than the LiPo battery can swallow, I don't need current limiting from my DC/DC converter.

    I read an interesting design note about AdaFruit's solar LiPo charger. It pointed out the importance of keeping the solar cell at a good operating point (drawing too much current decreases the power output significantly), and also that the optimal voltage doesn't change much under different illumination, so trying to keep the solar cell at a constant voltage of around 6-6.5 volts is sufficient to get good efficiency. I now have a vague idea of modifying the LM2596 buck converter current limited to get input from the input voltage instead of the current, and decreasing the output voltage if the input voltage goes below 6V. But that's for another day, now my focus is on the Bluetoooth software.

    I also discovered that there is a BLE profile called "Navigation and Location". It would be nice if I can make my GPS/Compass dongle compatible with that profile.

  • New PCB files pushed to GitHub, the Zero and next steps

    Erland Lewin03/10/2016 at 20:15 0 comments

    I've now pushed the latest revisions of the RPi Bake-off and NRF51822 Core Protoboard PCBs. These are the versions that I just ordered from Seeed Studios. I paid for faster shipping; we'll see how long it takes... I manually made a panel of three RPi Bake-off boards and one reed switch breakout PCB, we'll see if Seeed accepts it. Earlier they had vague rules against it.

    I also received the Raspberry Pi Zero prize (thanks Judges, Hackaday and Adafruit!!). I know they're only supposed to be $5 each, but as they are 'unobtanium' right now, it feels much more valuable. It's amazing how small the Zero is compared to the regular Pi.

    I've received the various adapters I need to program the nRF51822 Core BLE chip, I hope to get started on that tomorrow, to start building a prototype of the Wireless GPS Dongle. Setting up the development environment might be tricky, so we'll see how far I get.

  • Found Schematic for GY-511 Compass and Accellerometer module

    Erland Lewin03/10/2016 at 08:34 0 comments

    After a lot of jumping through hoops, I finally found the schematic for the GY-511 magnetometer and accellerometer module. I wanted to see what voltages I could run it at.

    Many sellers have links to a Dropbox file that is blocked.

    I found some links to the Chinese site Baidu which I ran via Google Translate. But they seemed to require a registered user to download.

    Registering at Baidu appeared to require a mainland China phone number. But then I found a site that said that you can register from abroad using this link:

    https://passport.baidu.com/v2/?reg&u=http://pan.baidu.com®Type=1&tpl=netdisk&overseas=1

    And sure enough, I got the SMS code to my Swedish phone embedded in an SMS full of Chinese characters, and was able to register. The second file I tried to download actually had the schematic:

    It looks like I could power it through the 3.3V output with a voltage that the LSM303DLHC chip accepts (down to 2.16 V). It draw so little current, that I should be able to power it from an I/O pin on the nRF51822, to turn it on and off.