 JackRC
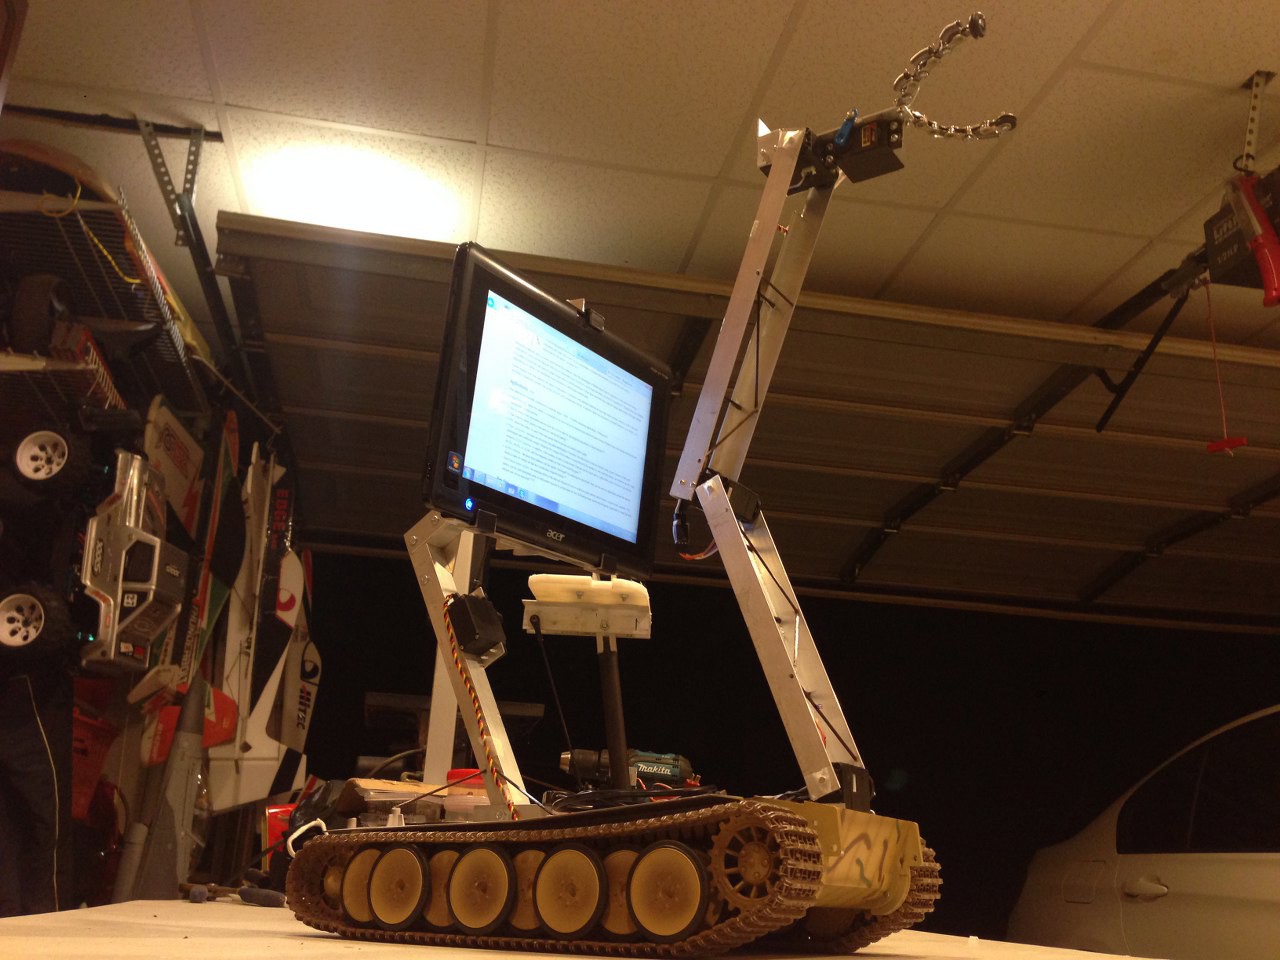
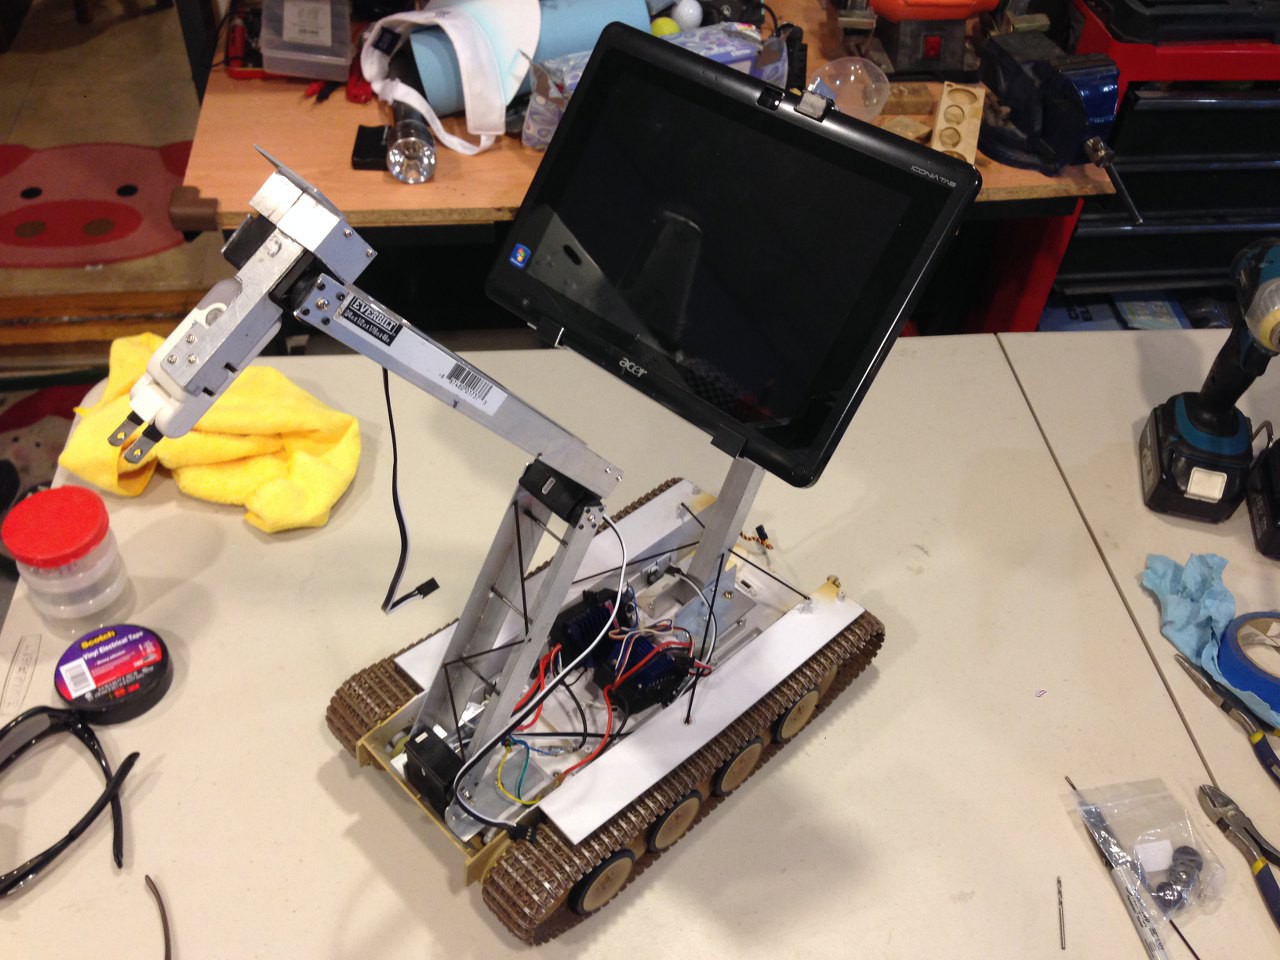
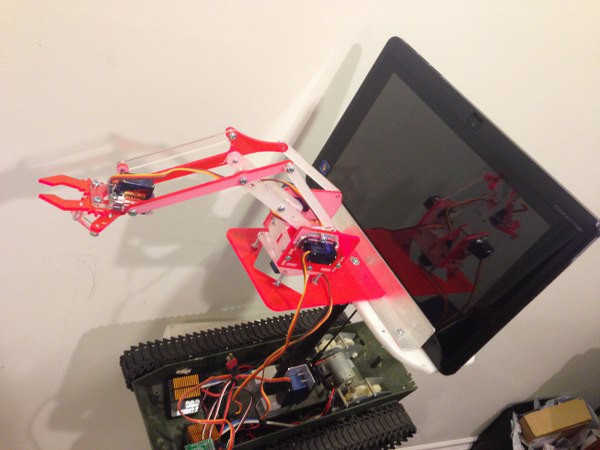
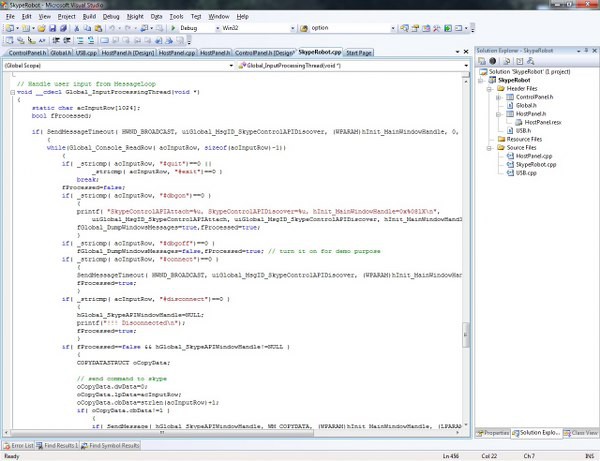
What I am trying to accomplish is to remote control the robot with Skype Desktop API. But why Skype? The reason is easy, Skype is fast and has a huge user based, most importantly Skype provide this Skype API for developer to write code to interact with all the included features. Too bad Skype was acquired by Microsoft before they were able to release the API for iOS, otherwise this build will be based on iOS device for sure...
0%
0%
Become a Hackaday.io member
Already have an account? Log in.
Just one more thing
To make the experience fit your profile, pick a username and tell us what interests you.
Pick an awesome username
hackaday.io/
Your profile's URL: hackaday.io/username. Max 25 alphanumeric characters.
Pick a few interests
Projects that share your interests
People that share your interests


 dannyvandenheuvel
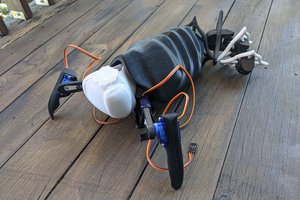
 meatqueen
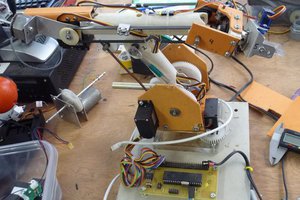
 Rue Mohr
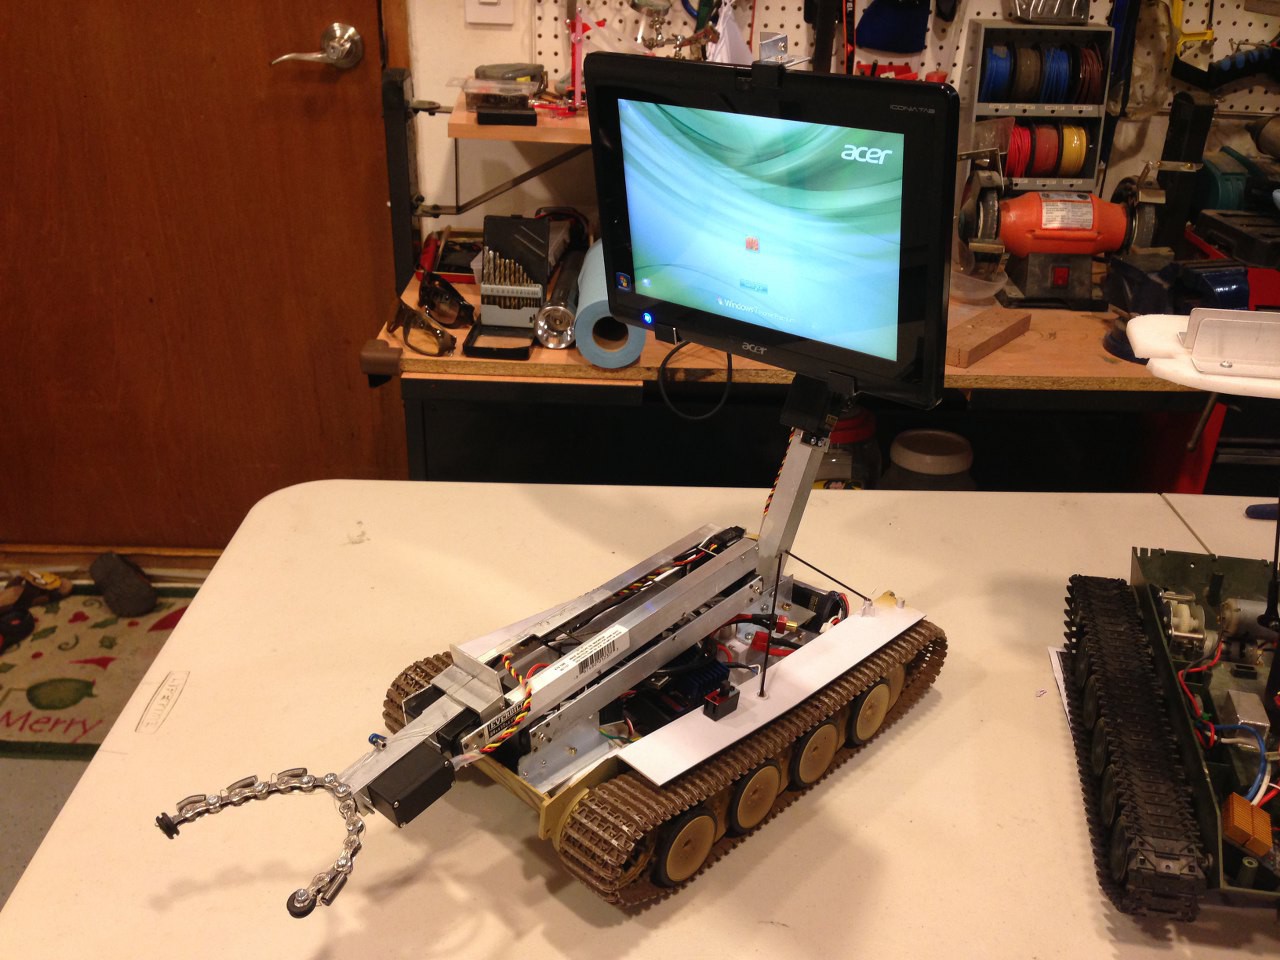
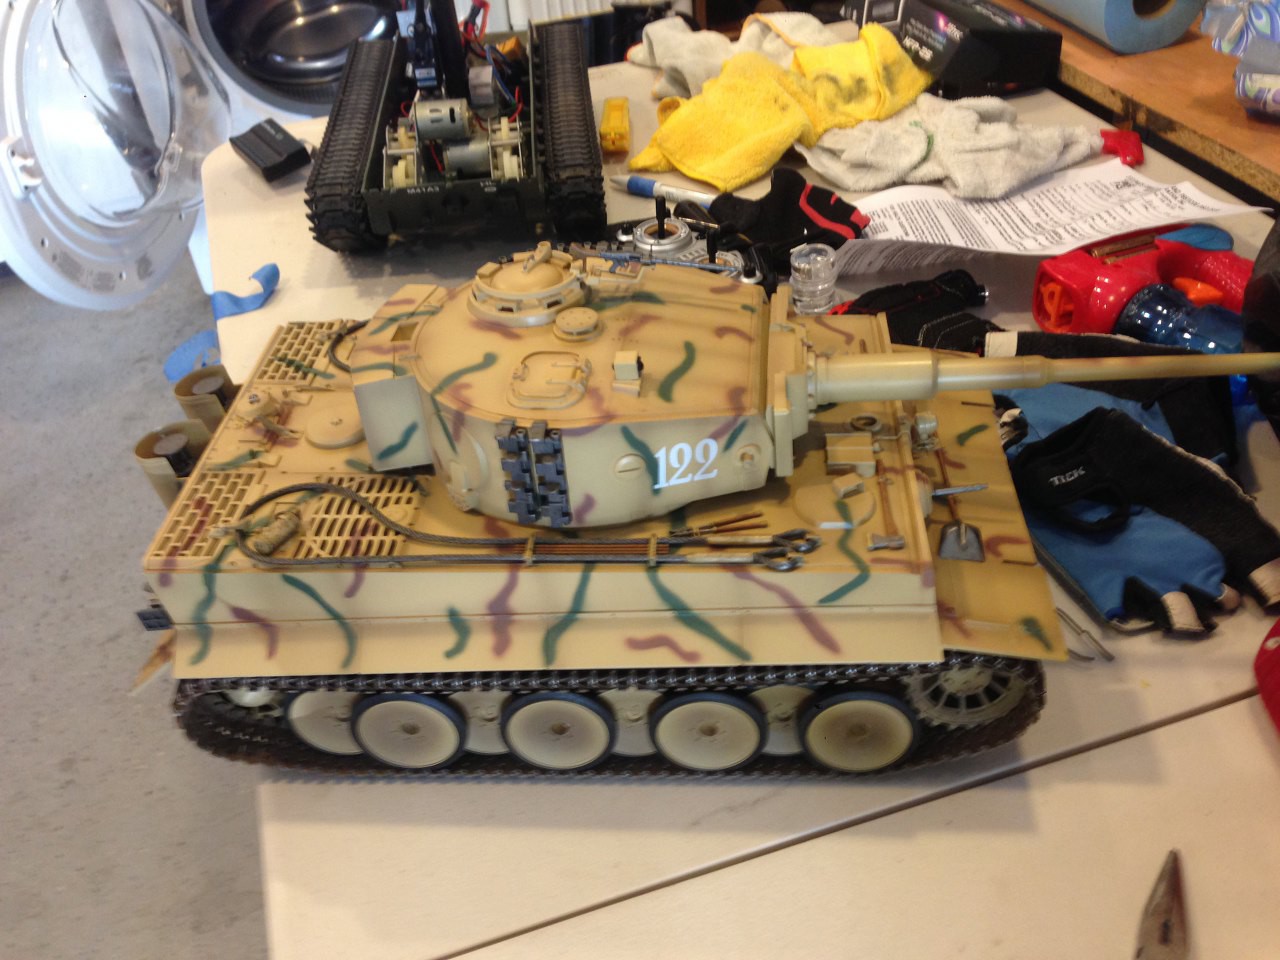
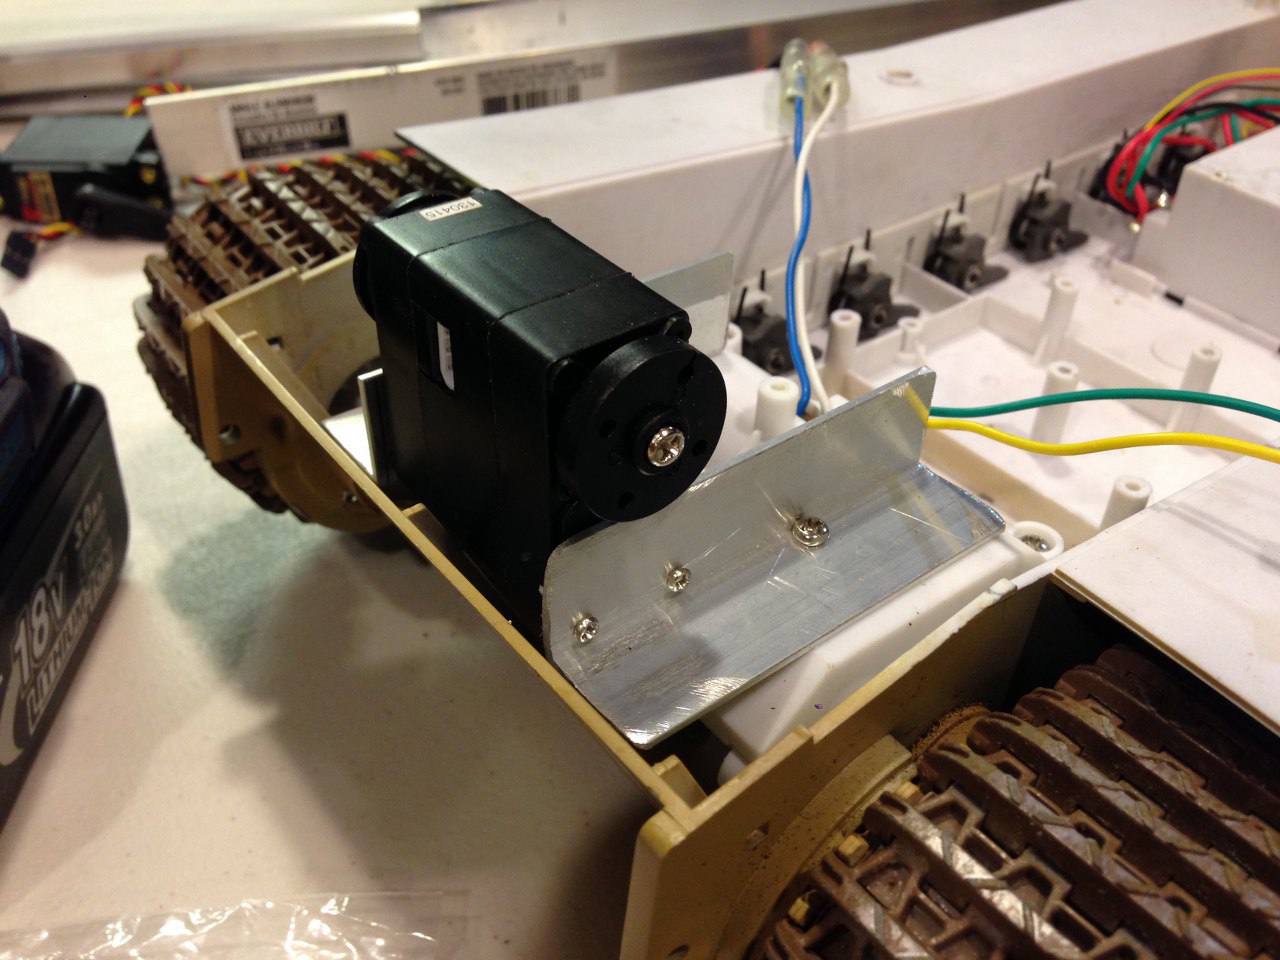
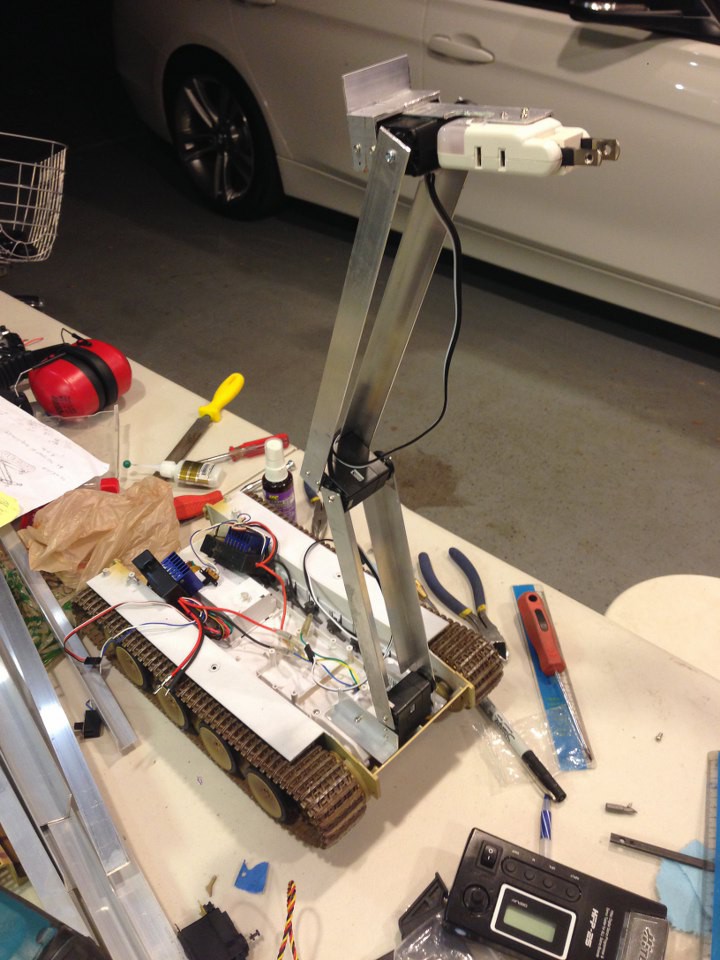
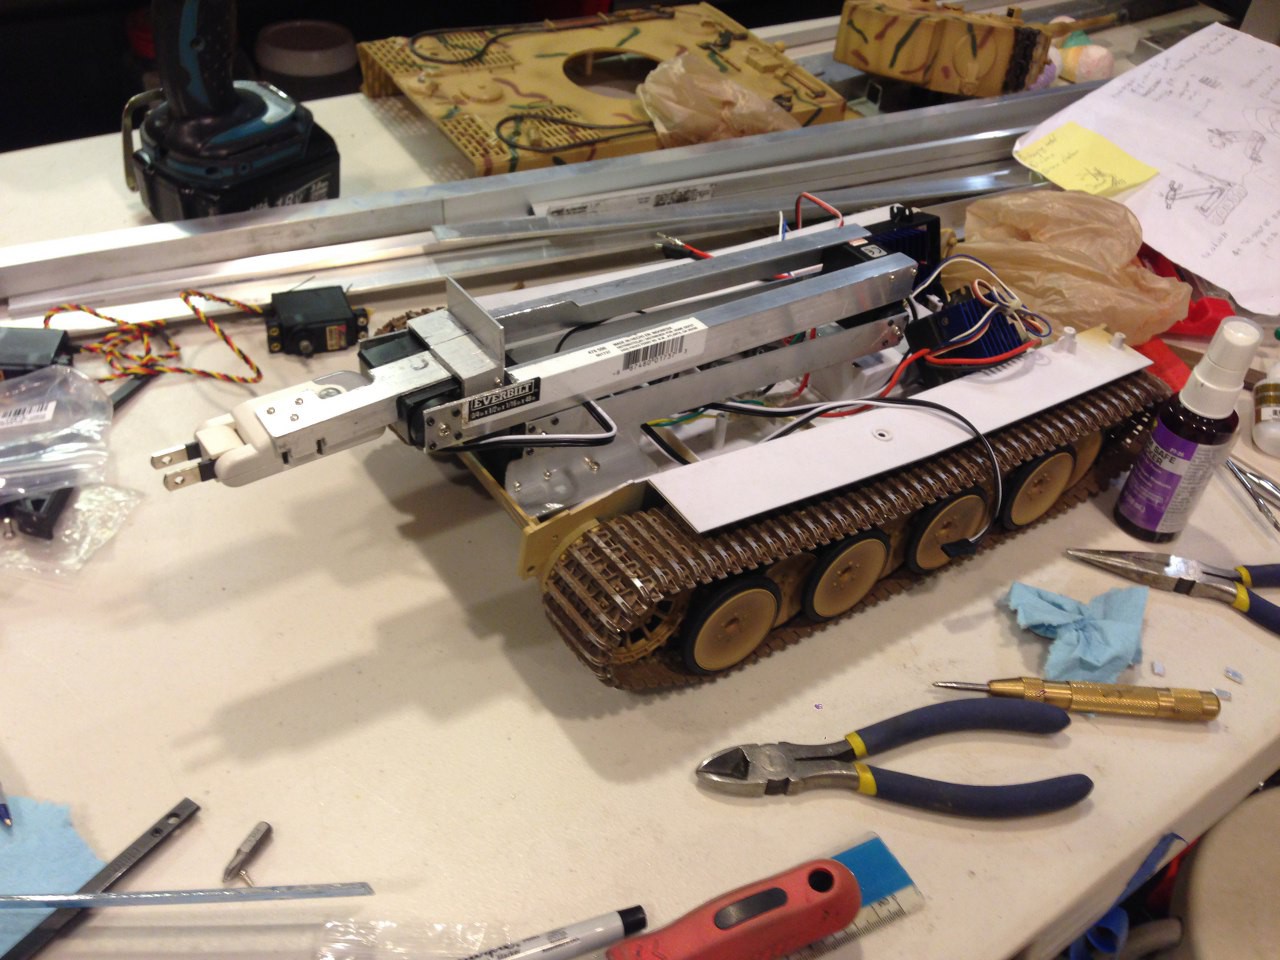
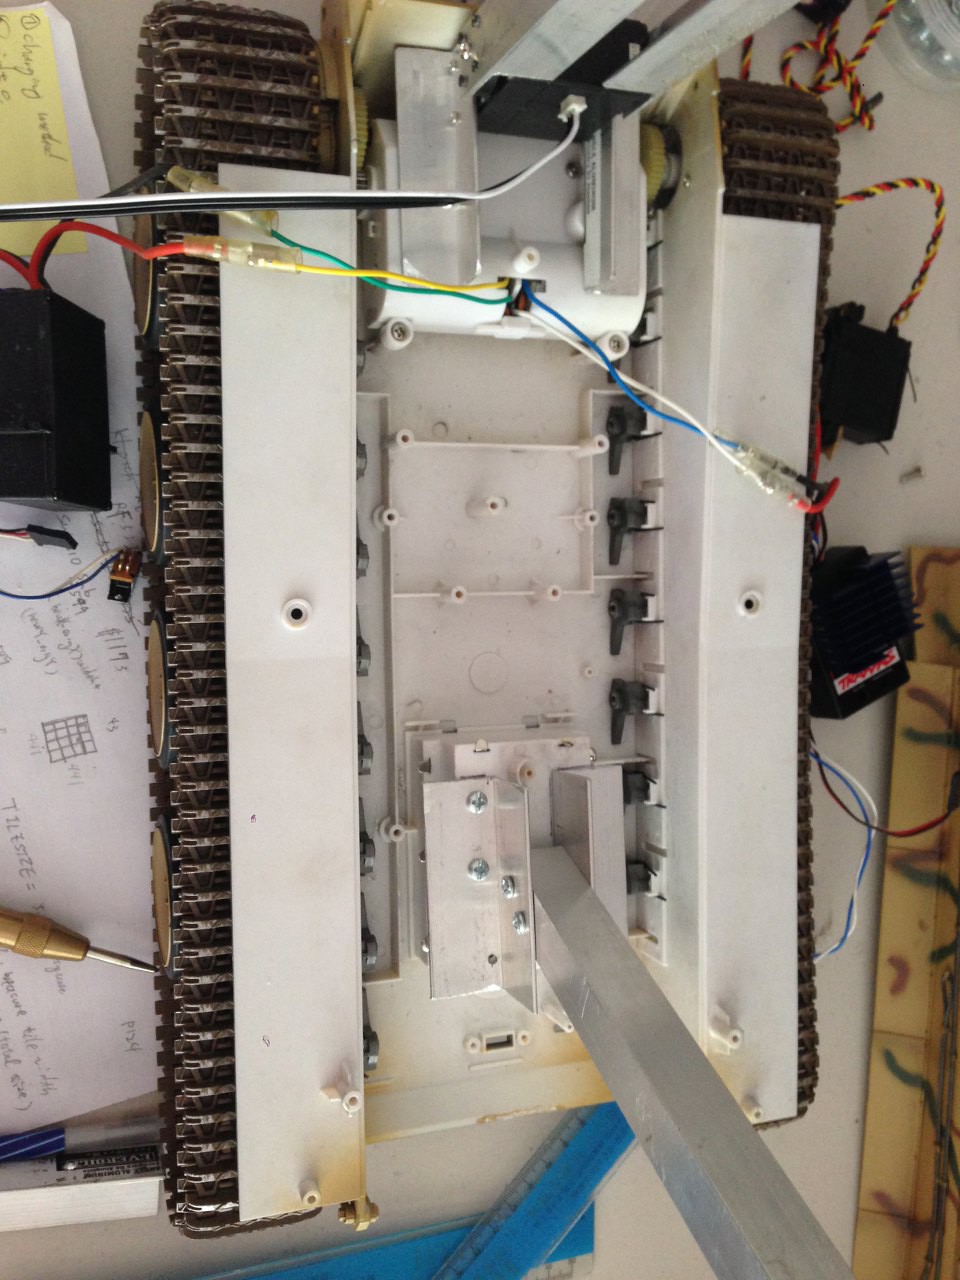
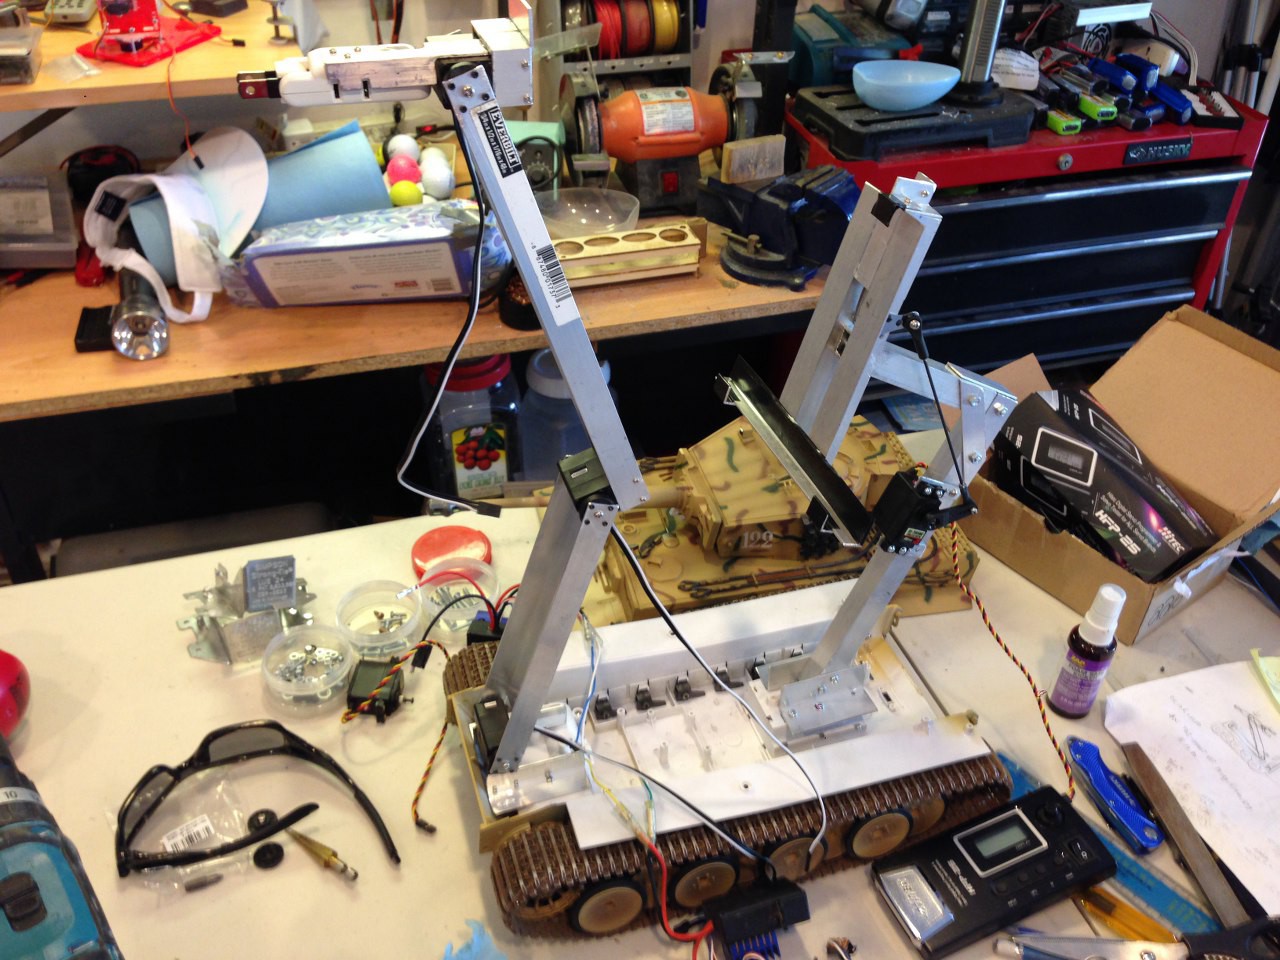
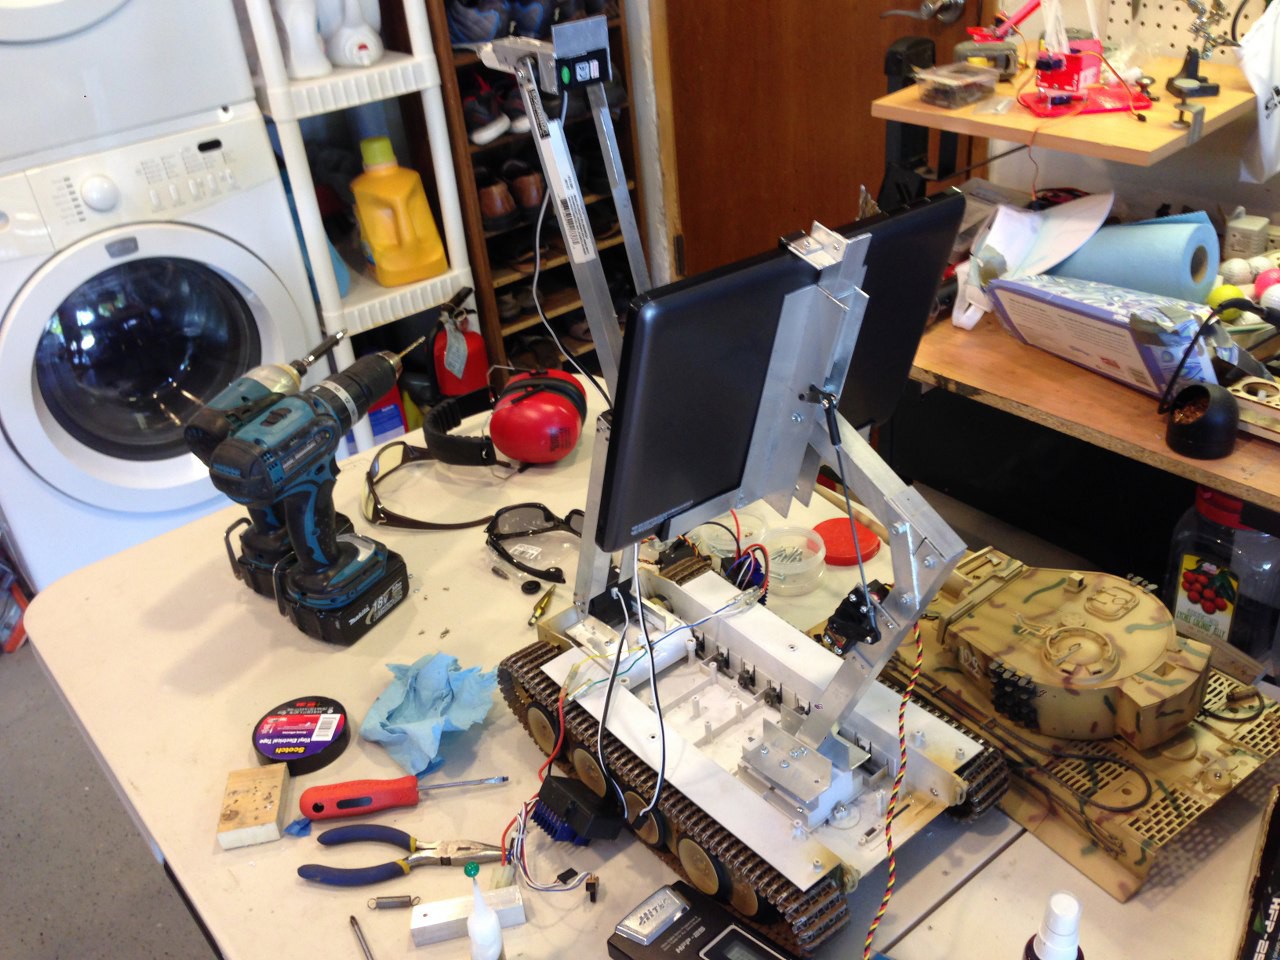
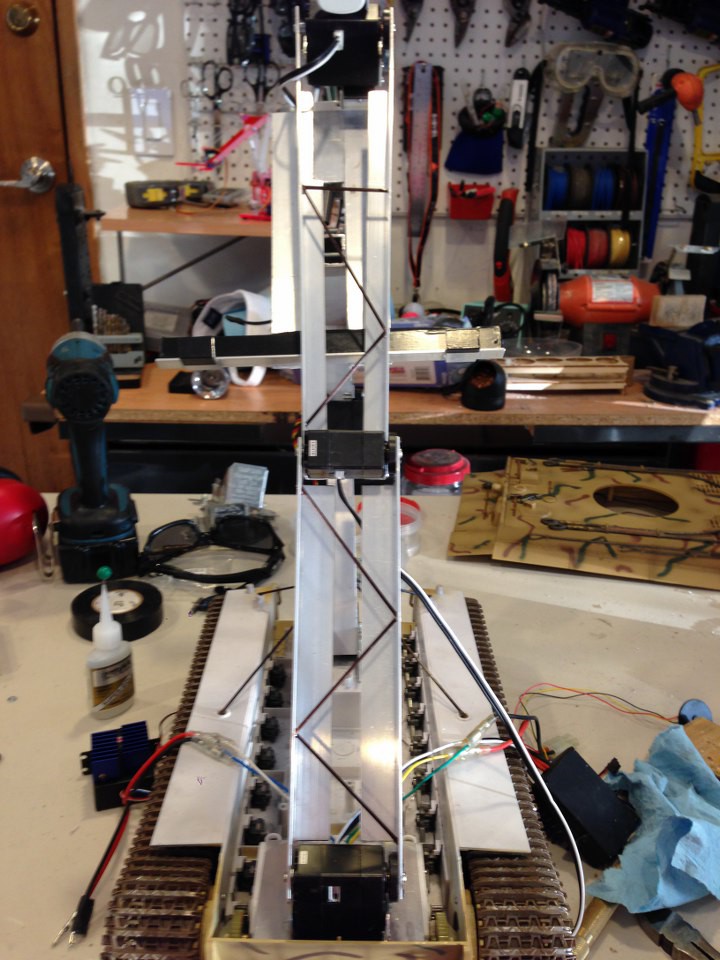
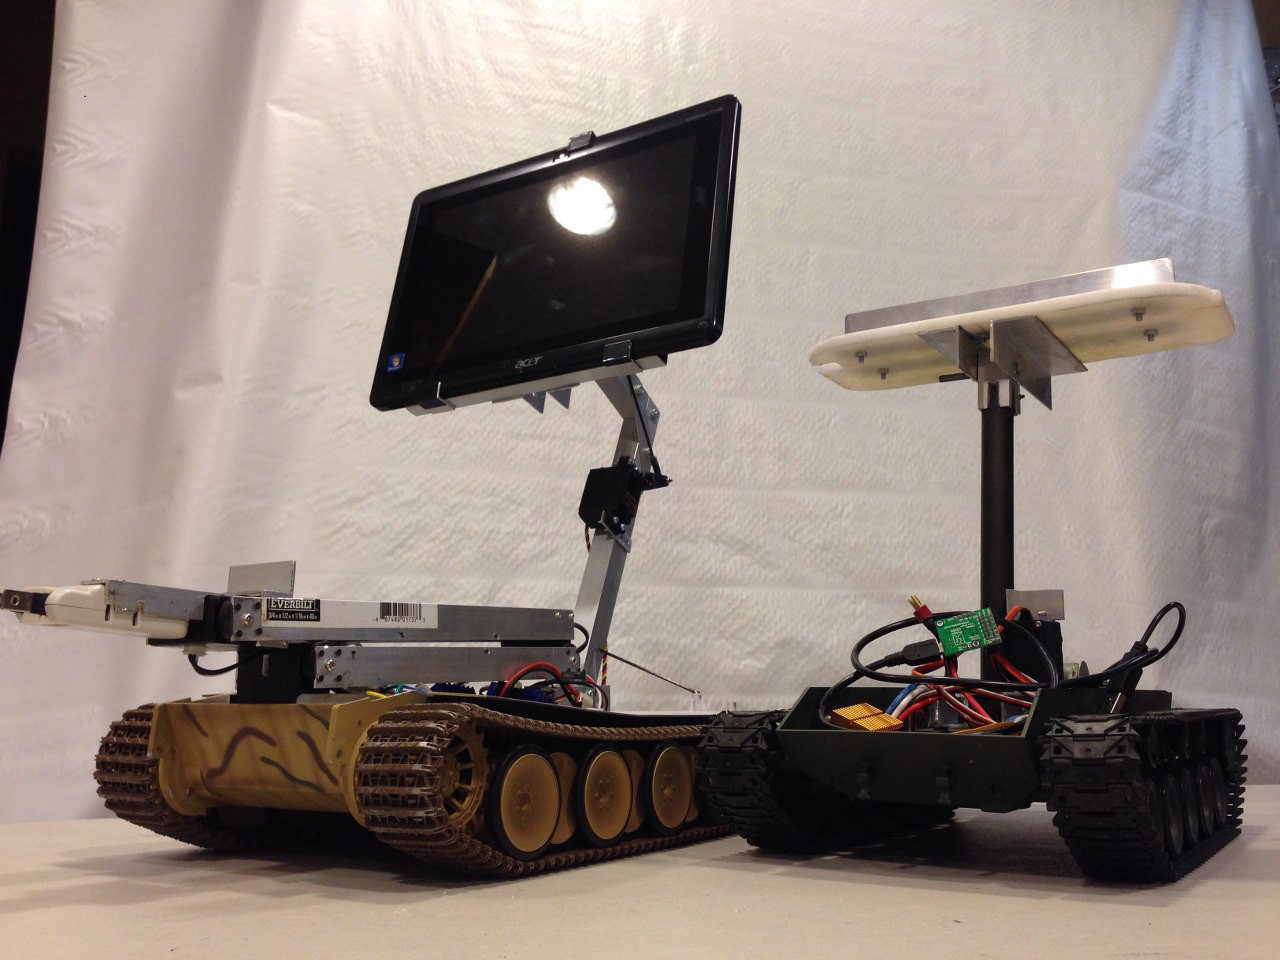
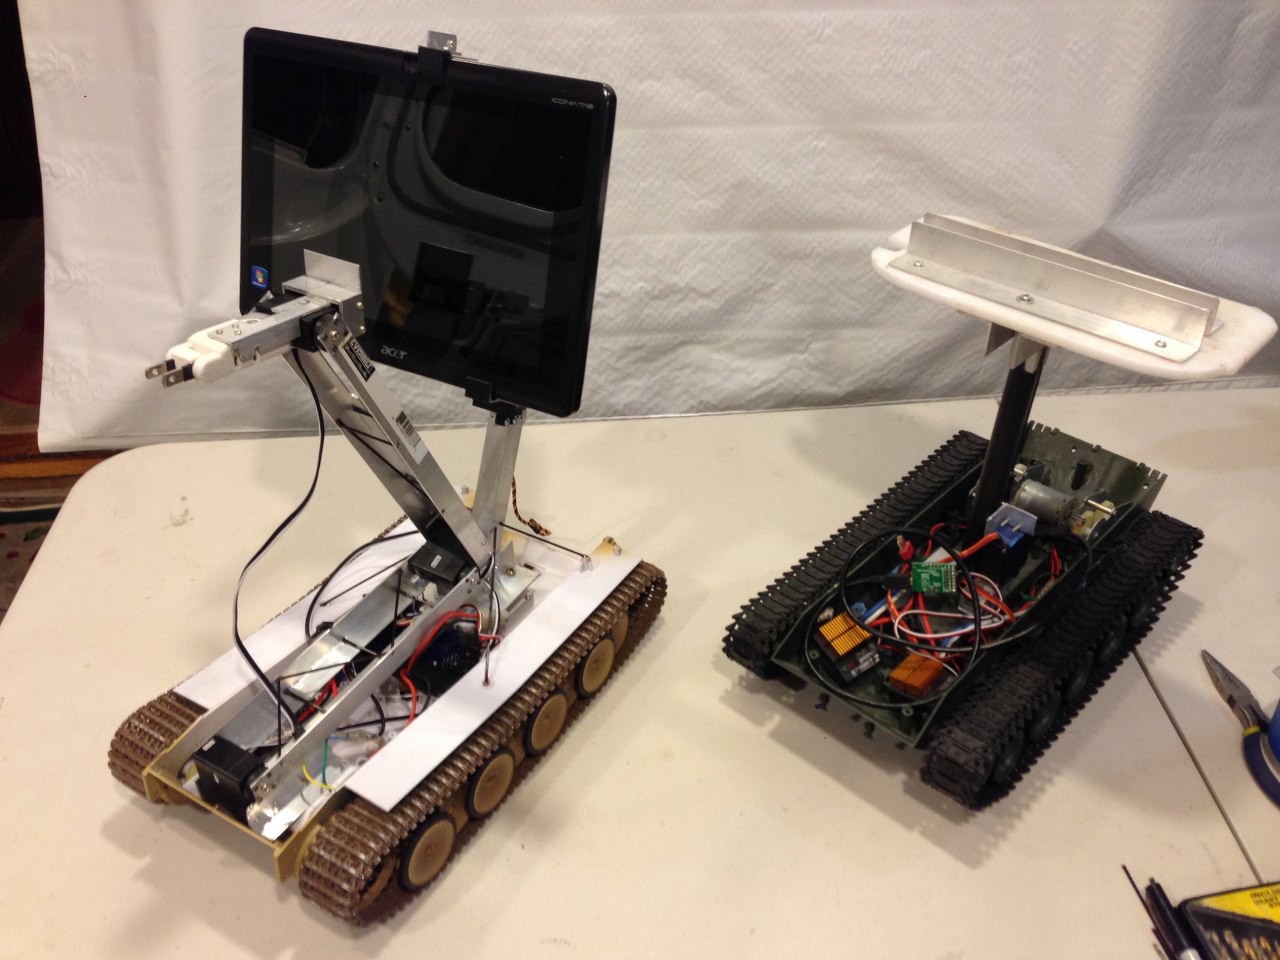
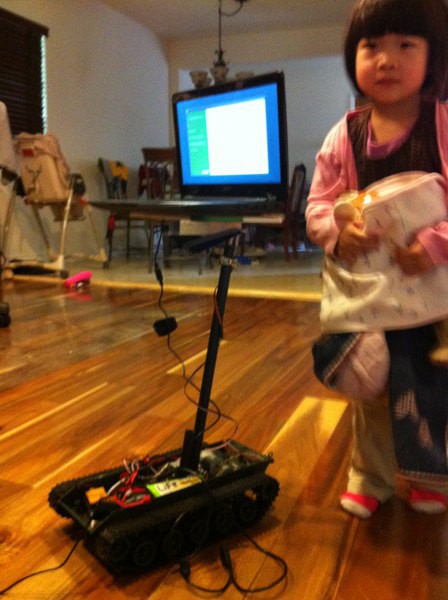
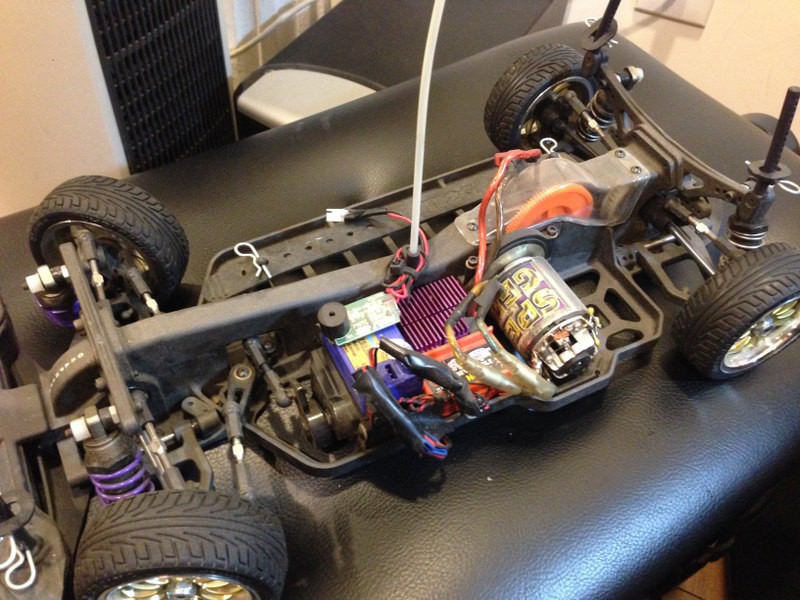
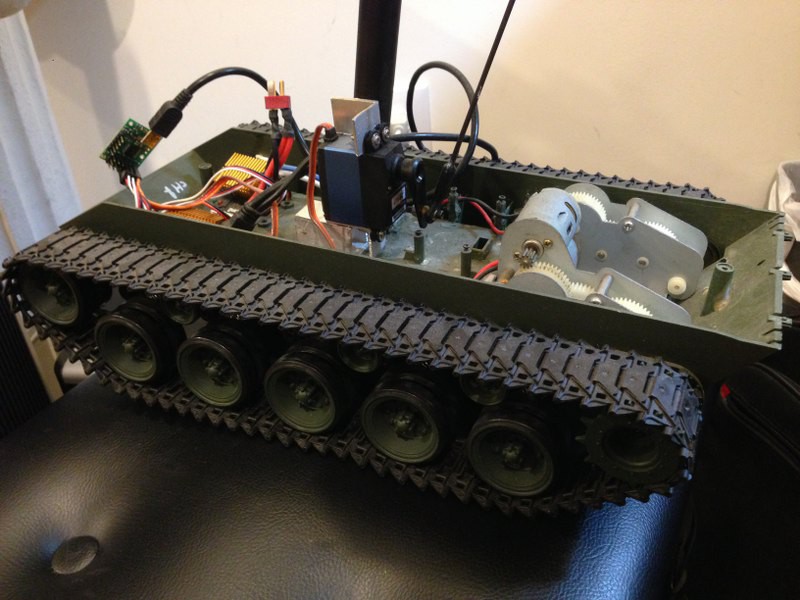
This particular tank I got is a 1/16 battle tank from bananahobby.com for 99 bucks, you will find interesting that most RC tank platform are pretty much the same, just different brand name and color. I will certainly update my build doc to reflect this. Thank you!
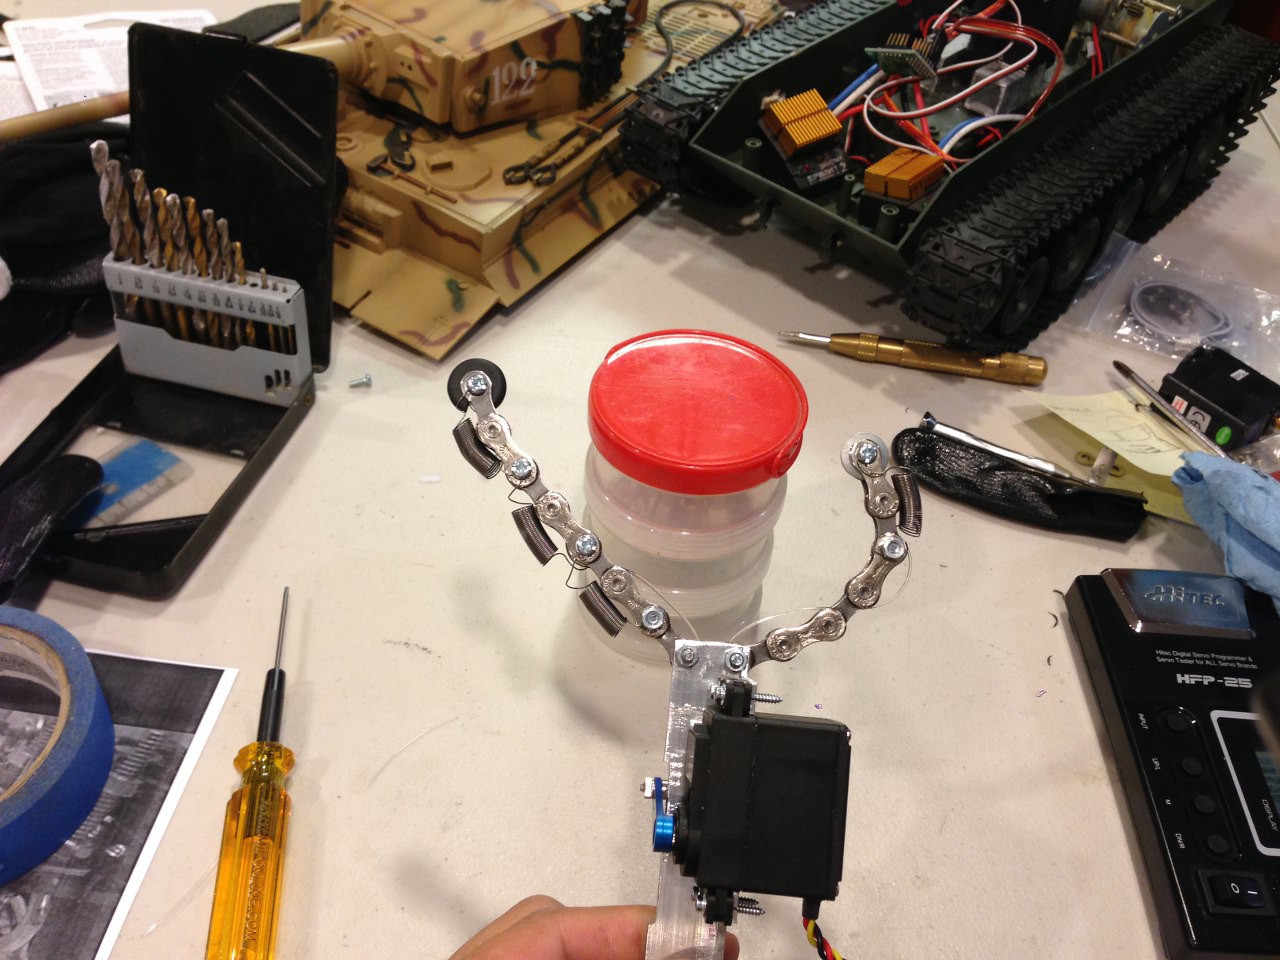
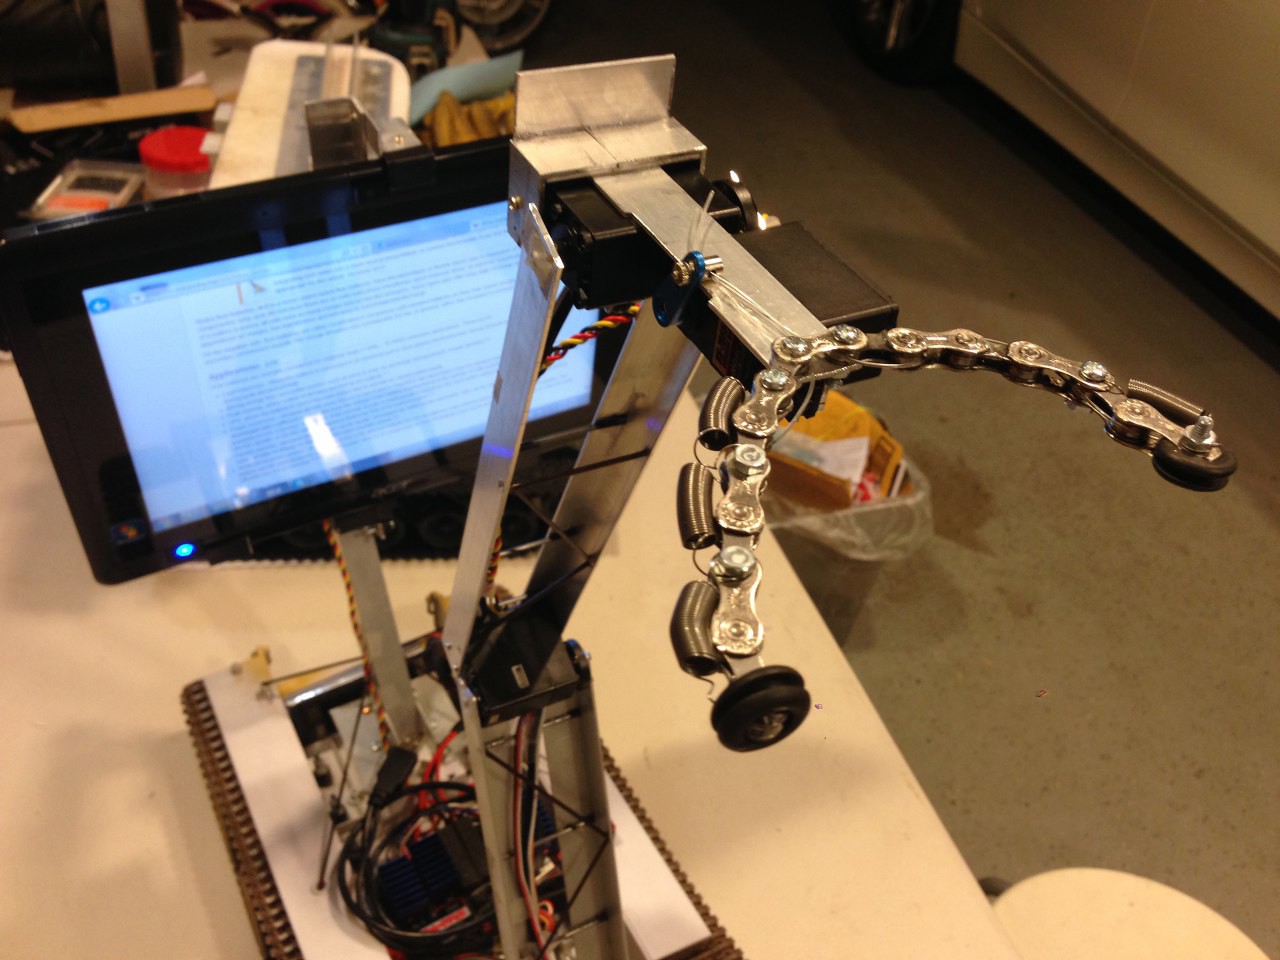
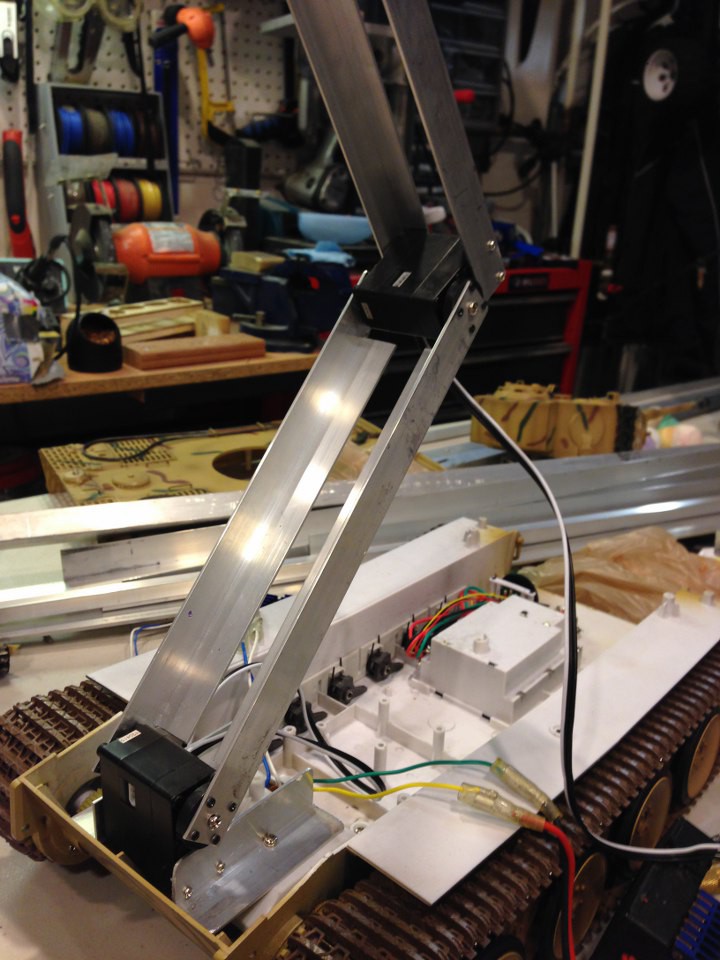
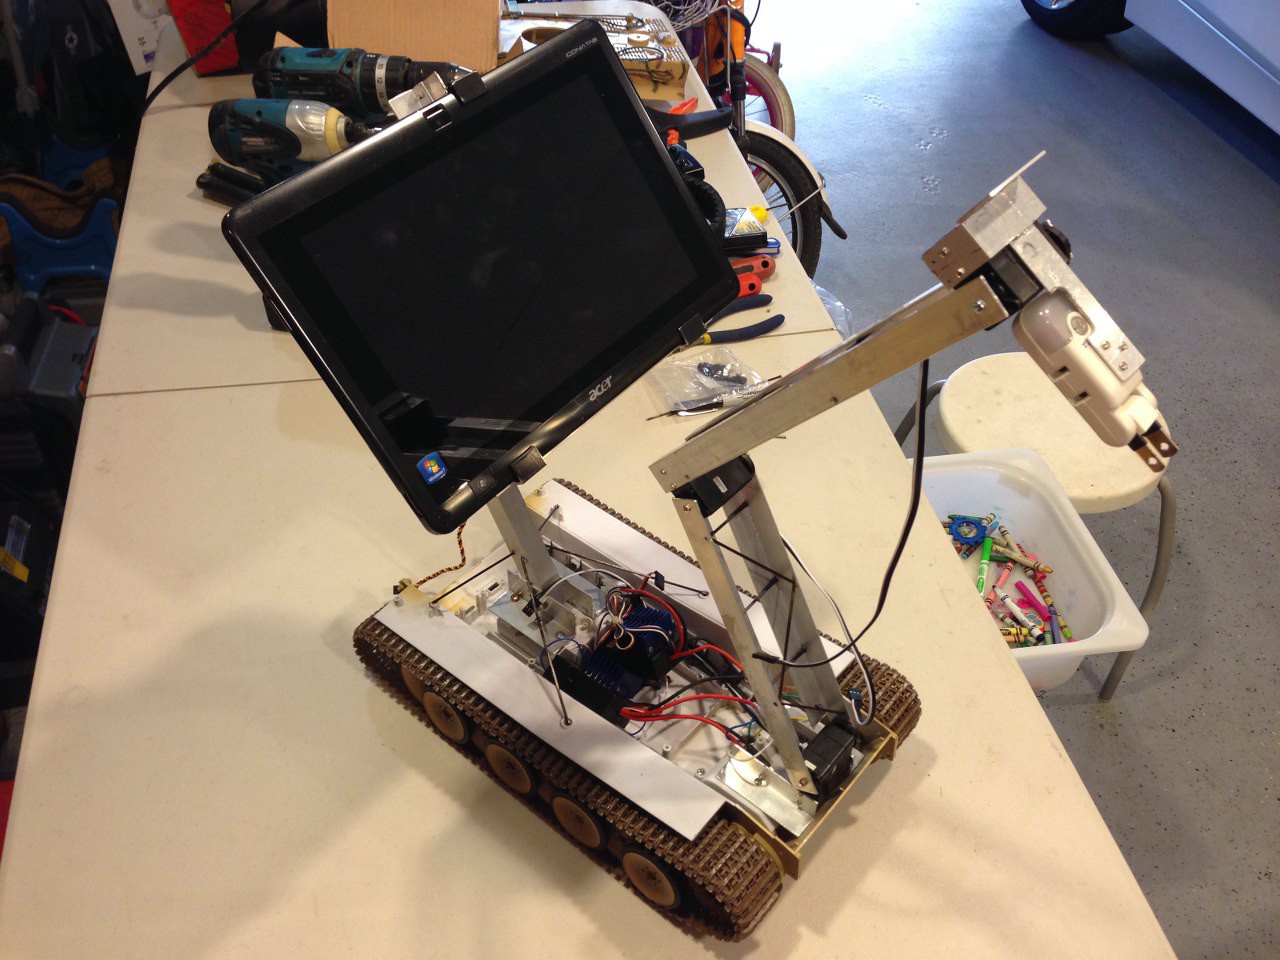
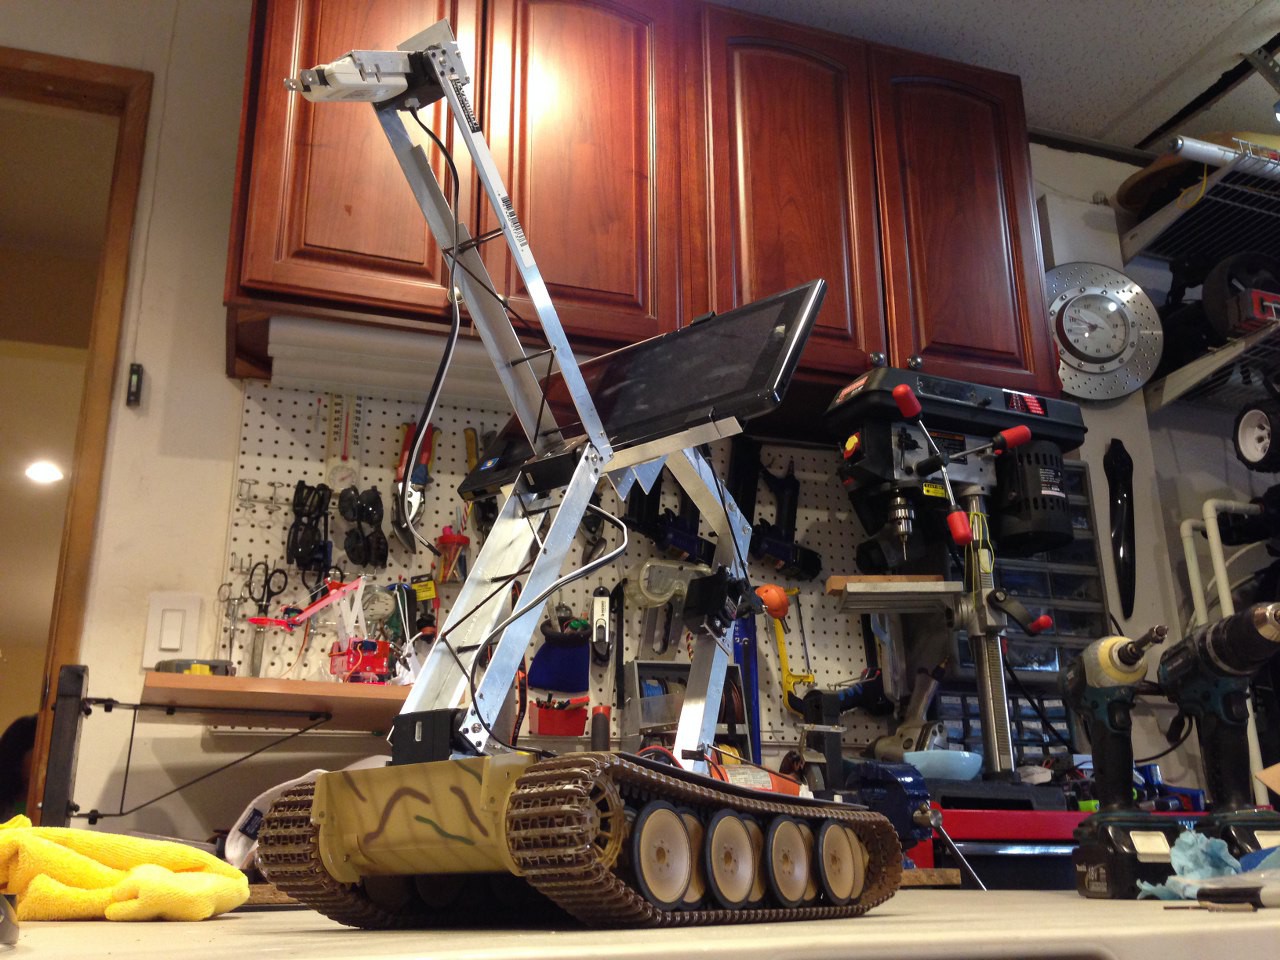
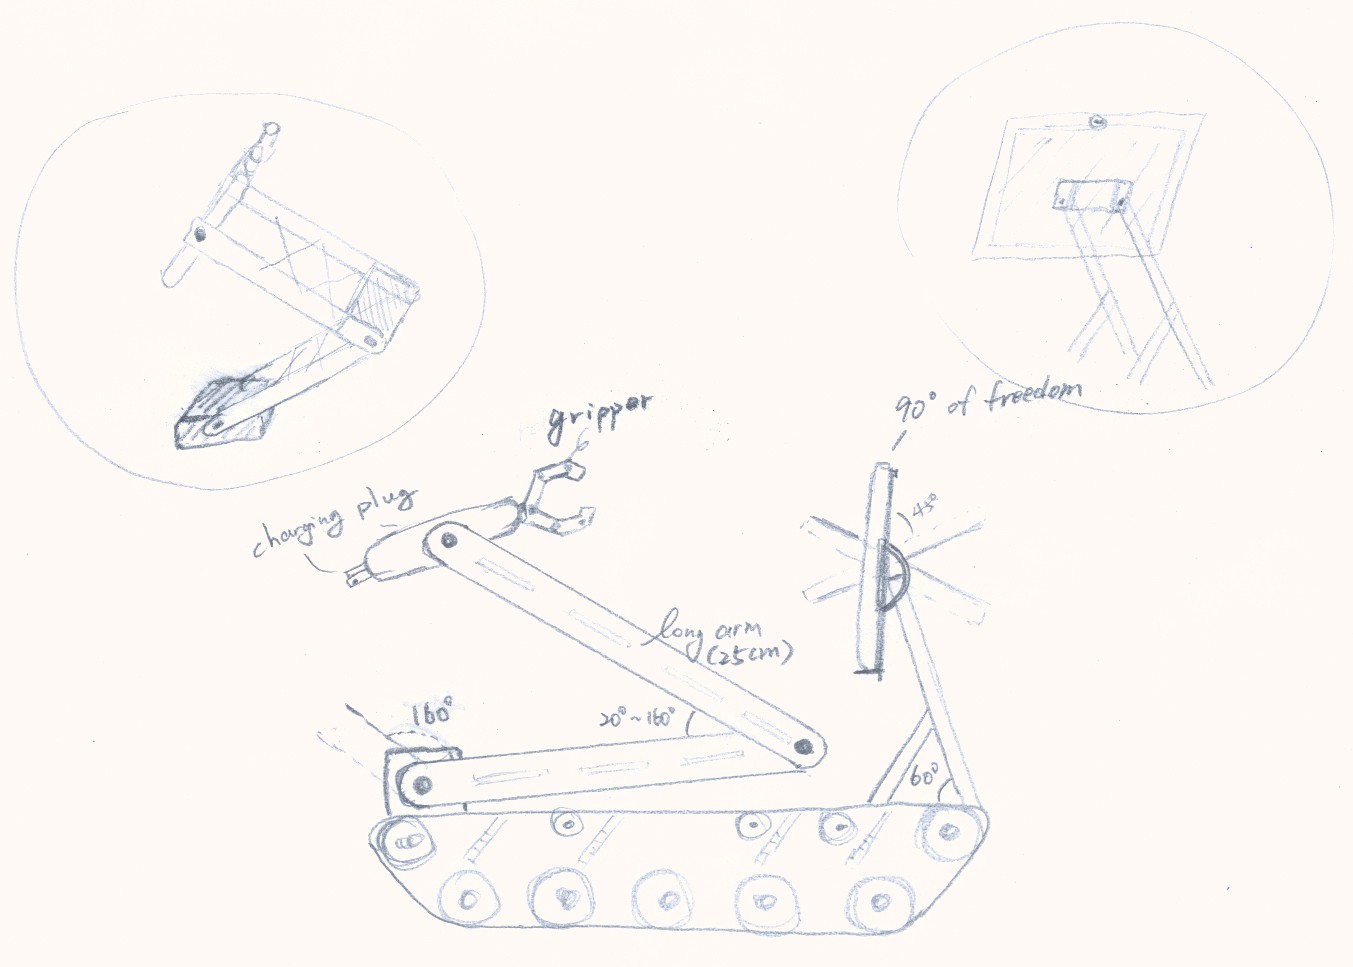
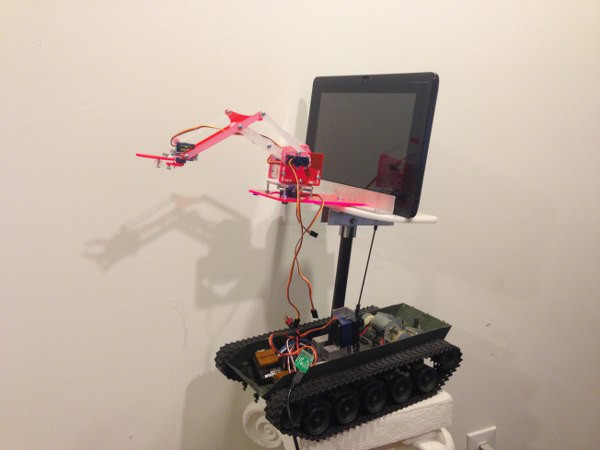
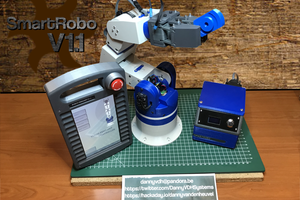
I am also working on my second generation Skype robot which includes many upgrade like battery charging mechanism and functional mid-range robotic arm. I will update log as the build goes on.