 T. B. Trzepacz
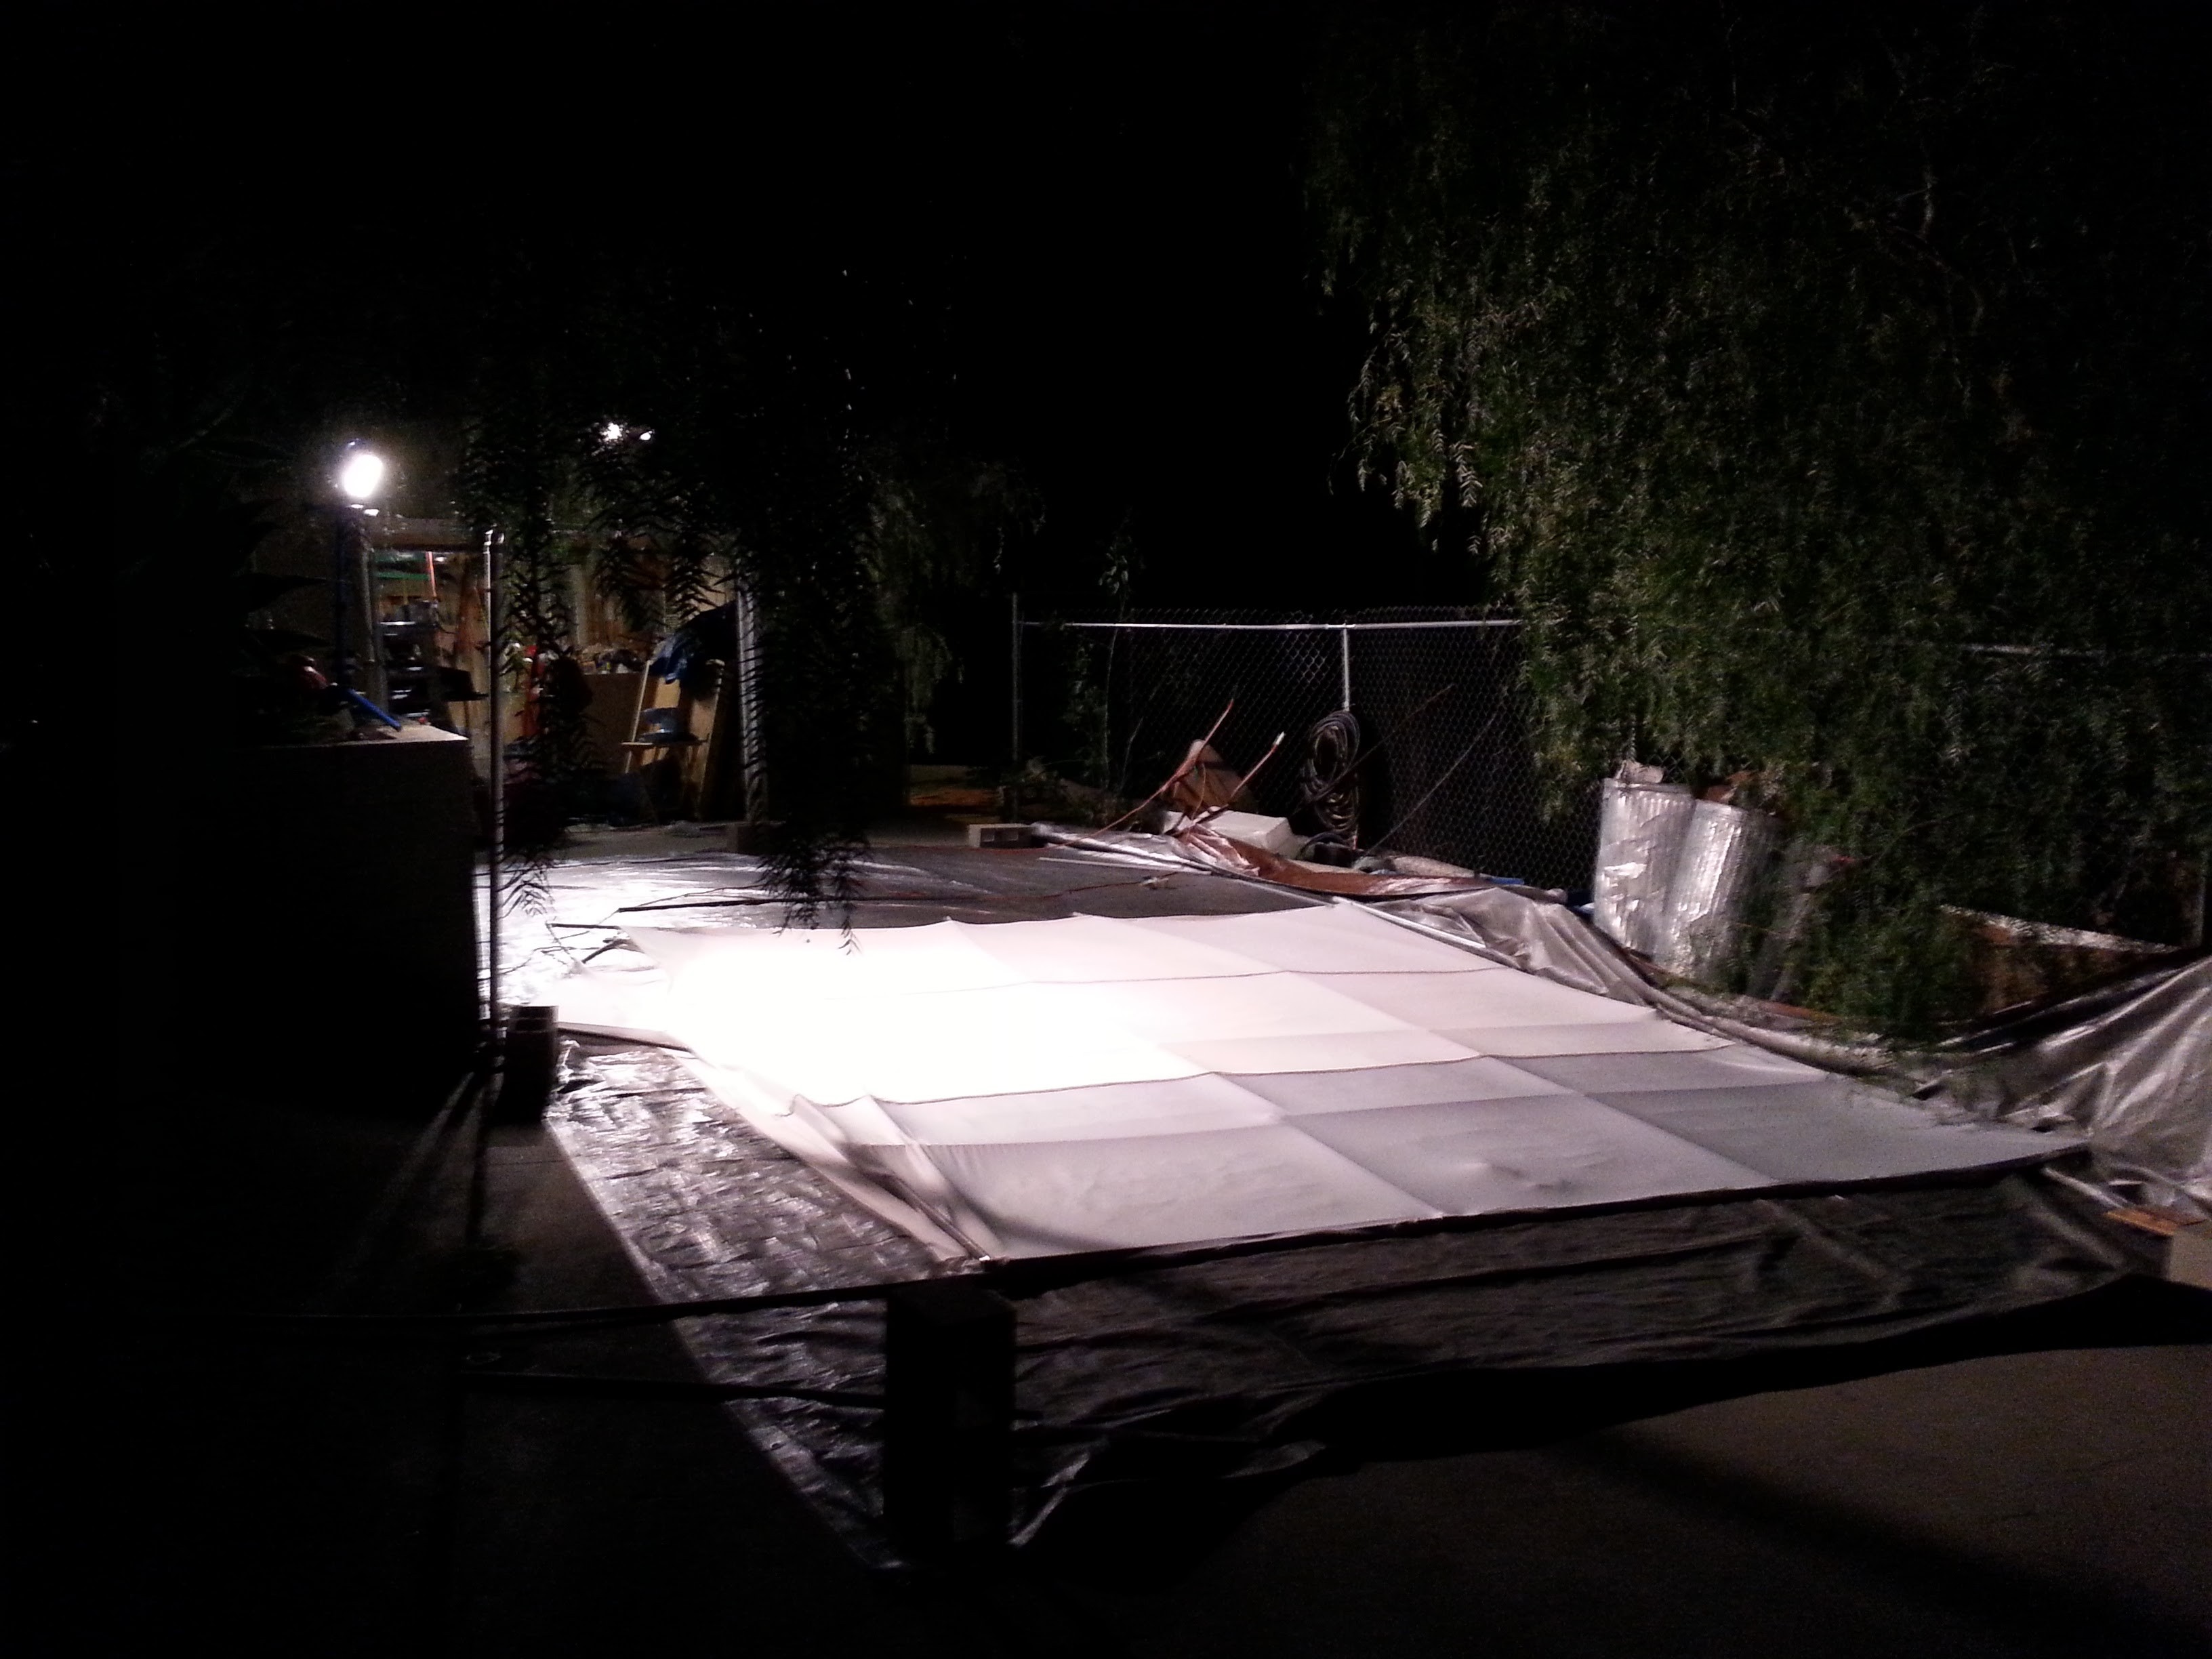
So, I have to actually sew this cloth into a dome shape at some point, but measuring it is hard to do when it is so bloody big! So I used my giant tarp and set up a huge area in my driveway for it.
So the first task was to sew an extra panel above the door to make up for my mistaken dimensions there.
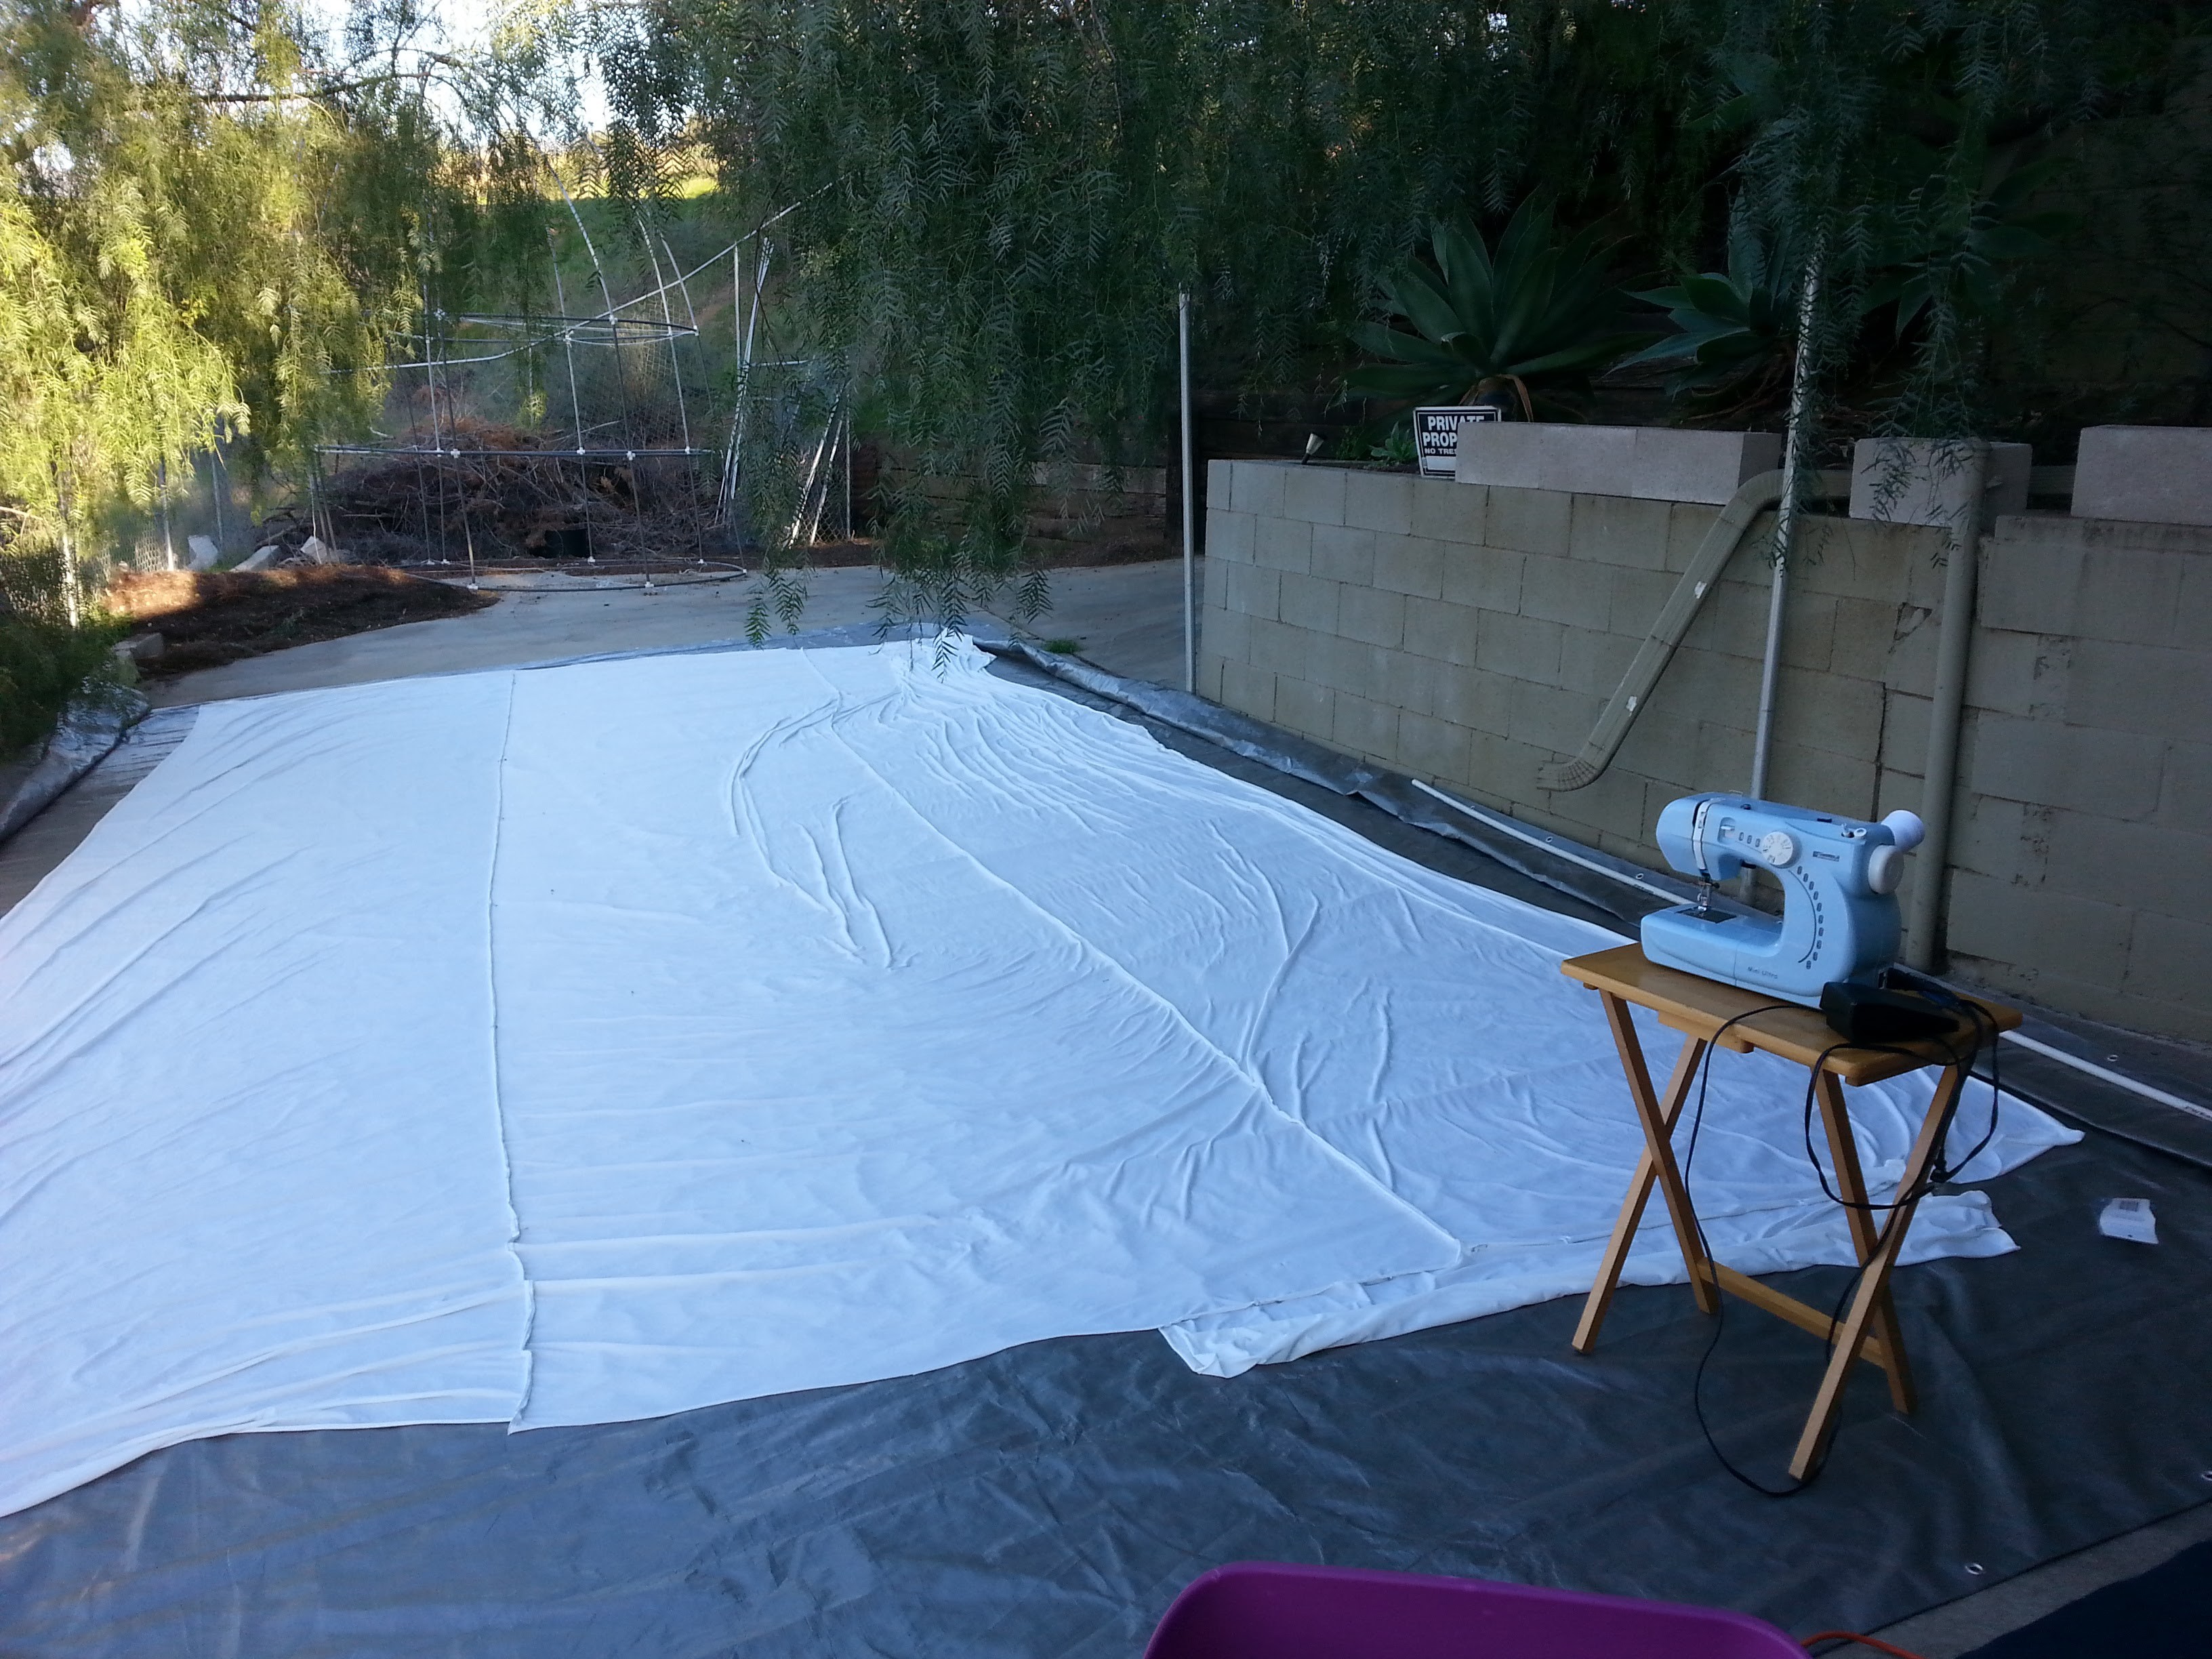
This made for a very large tube of spandex material.
That was followed by a lot of confusion as to how to properly mark and pin the cloth to get the correct dome shape.
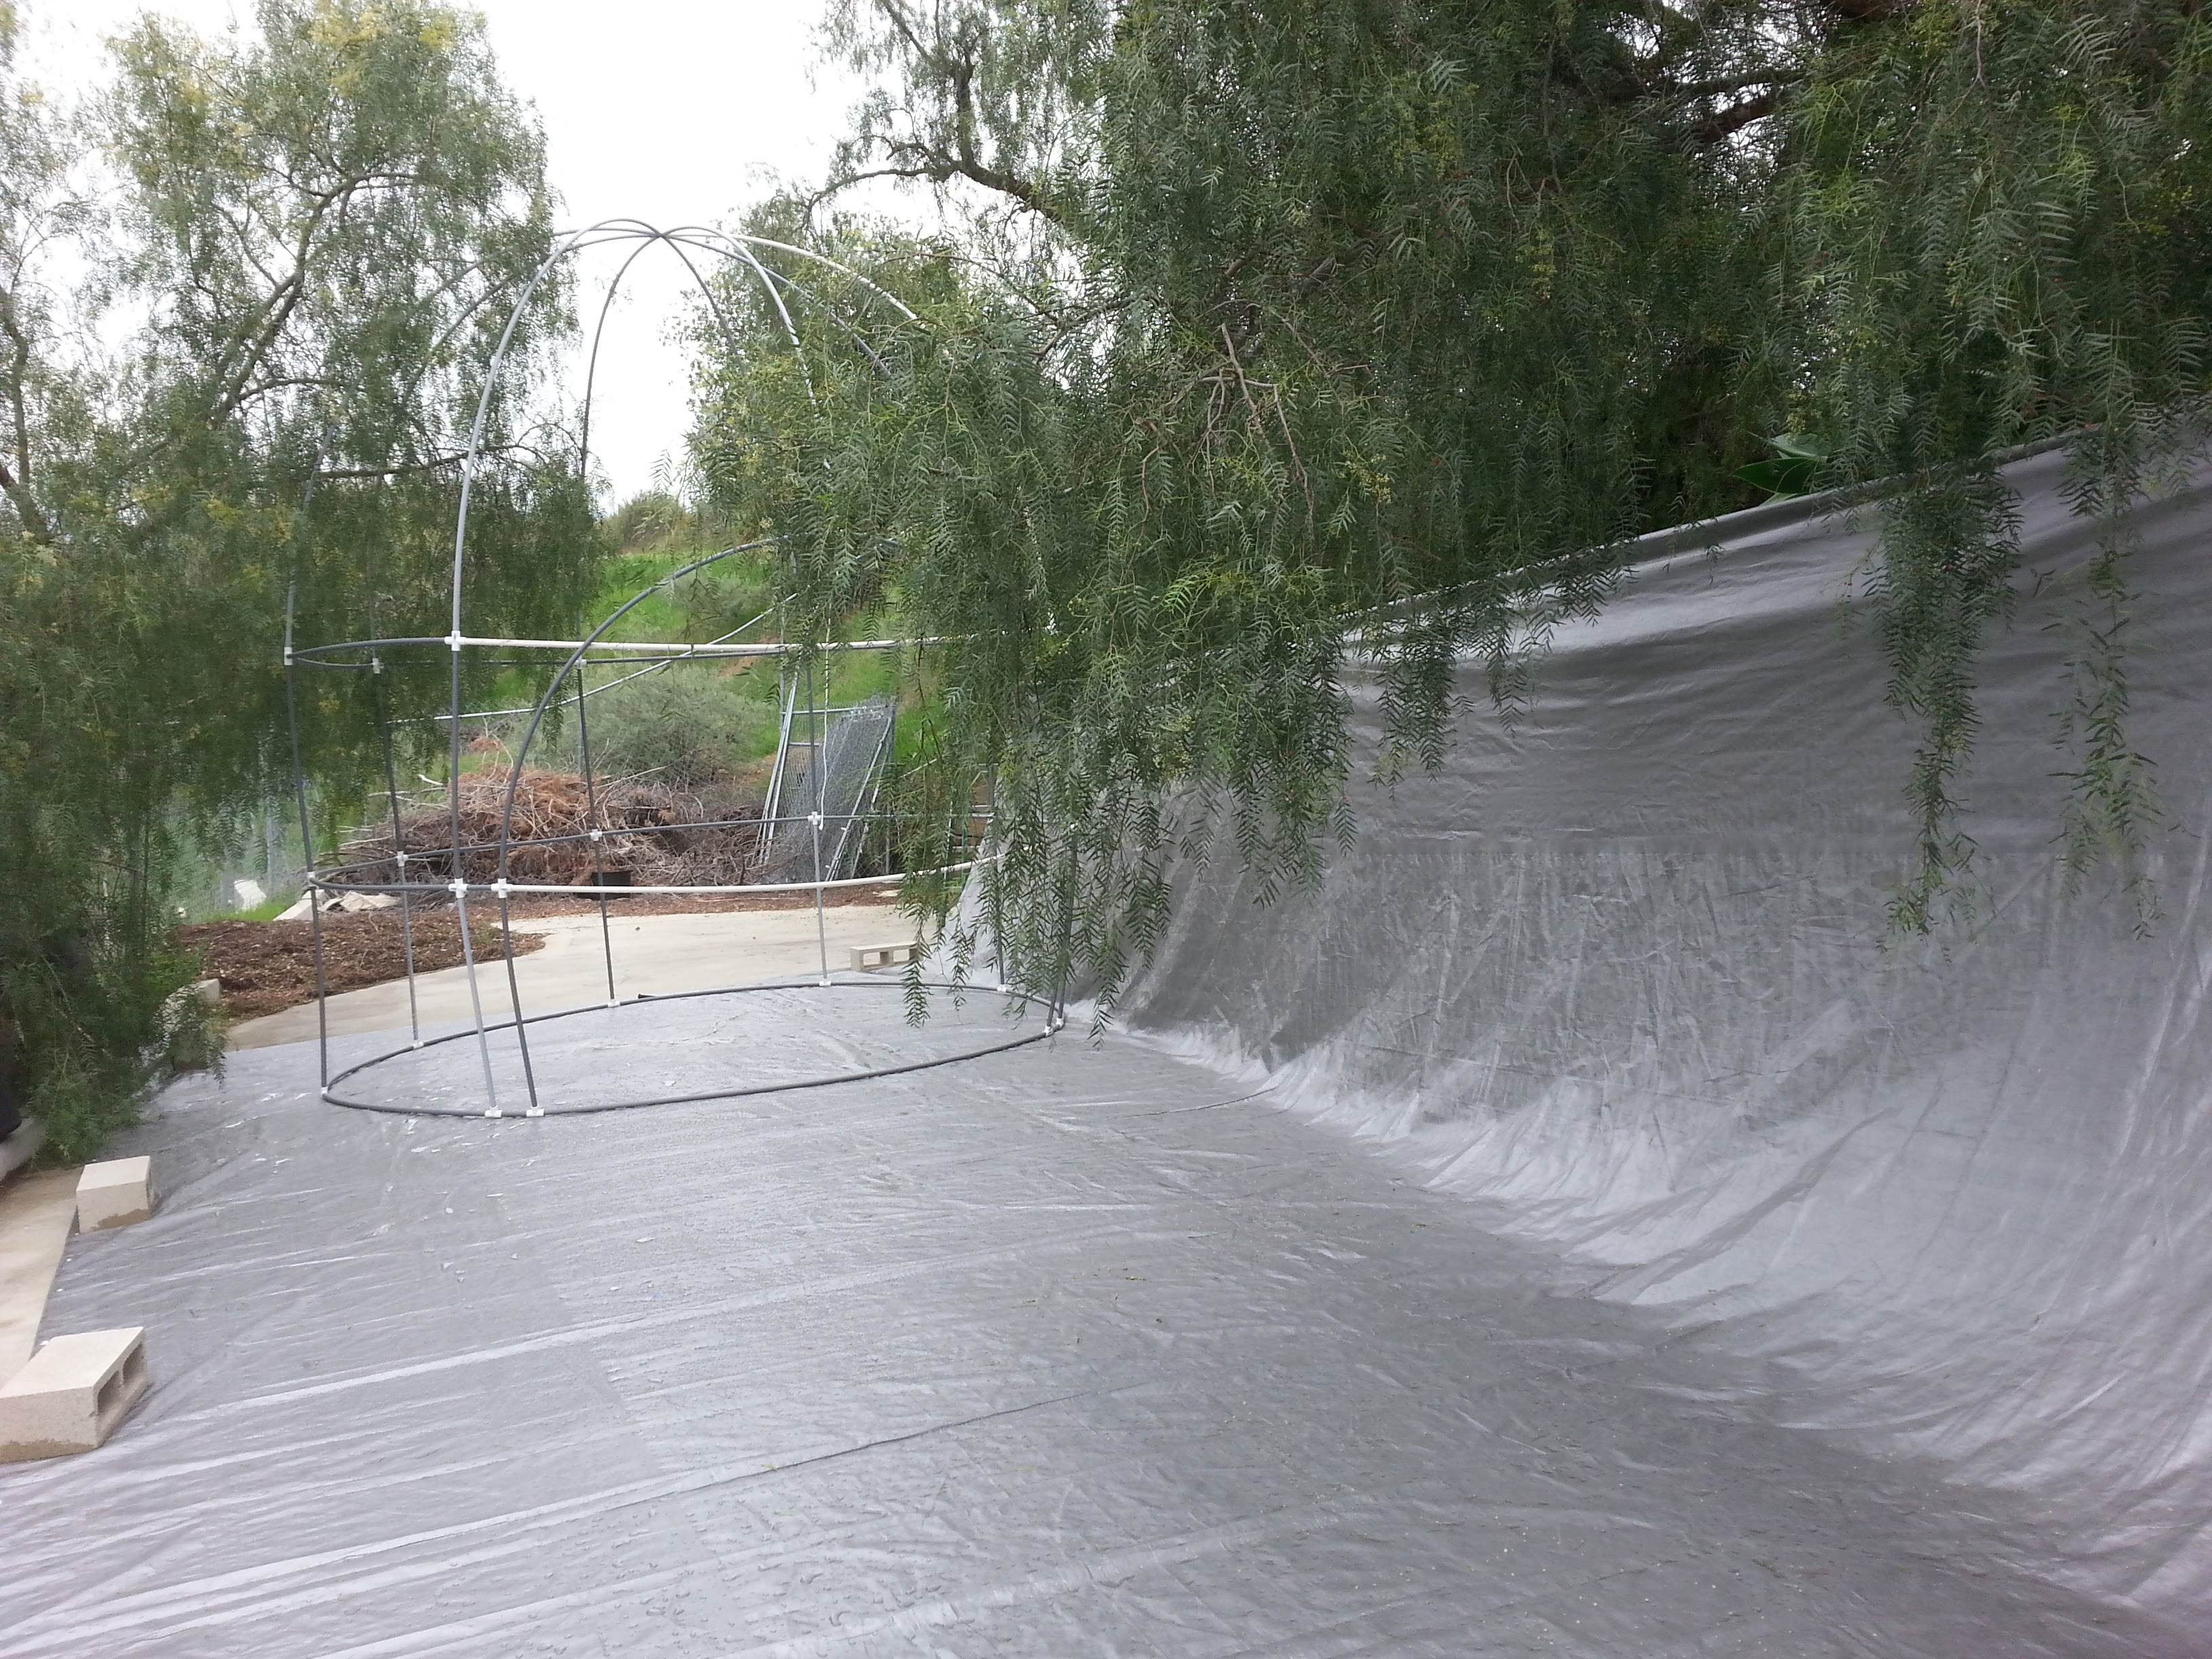
What I finally did was to build half of the dome structure flat on the ground, and put the cloth around it.
Then I attached the 8 way joint to every two of the top parts and traced their outline on the fabric.
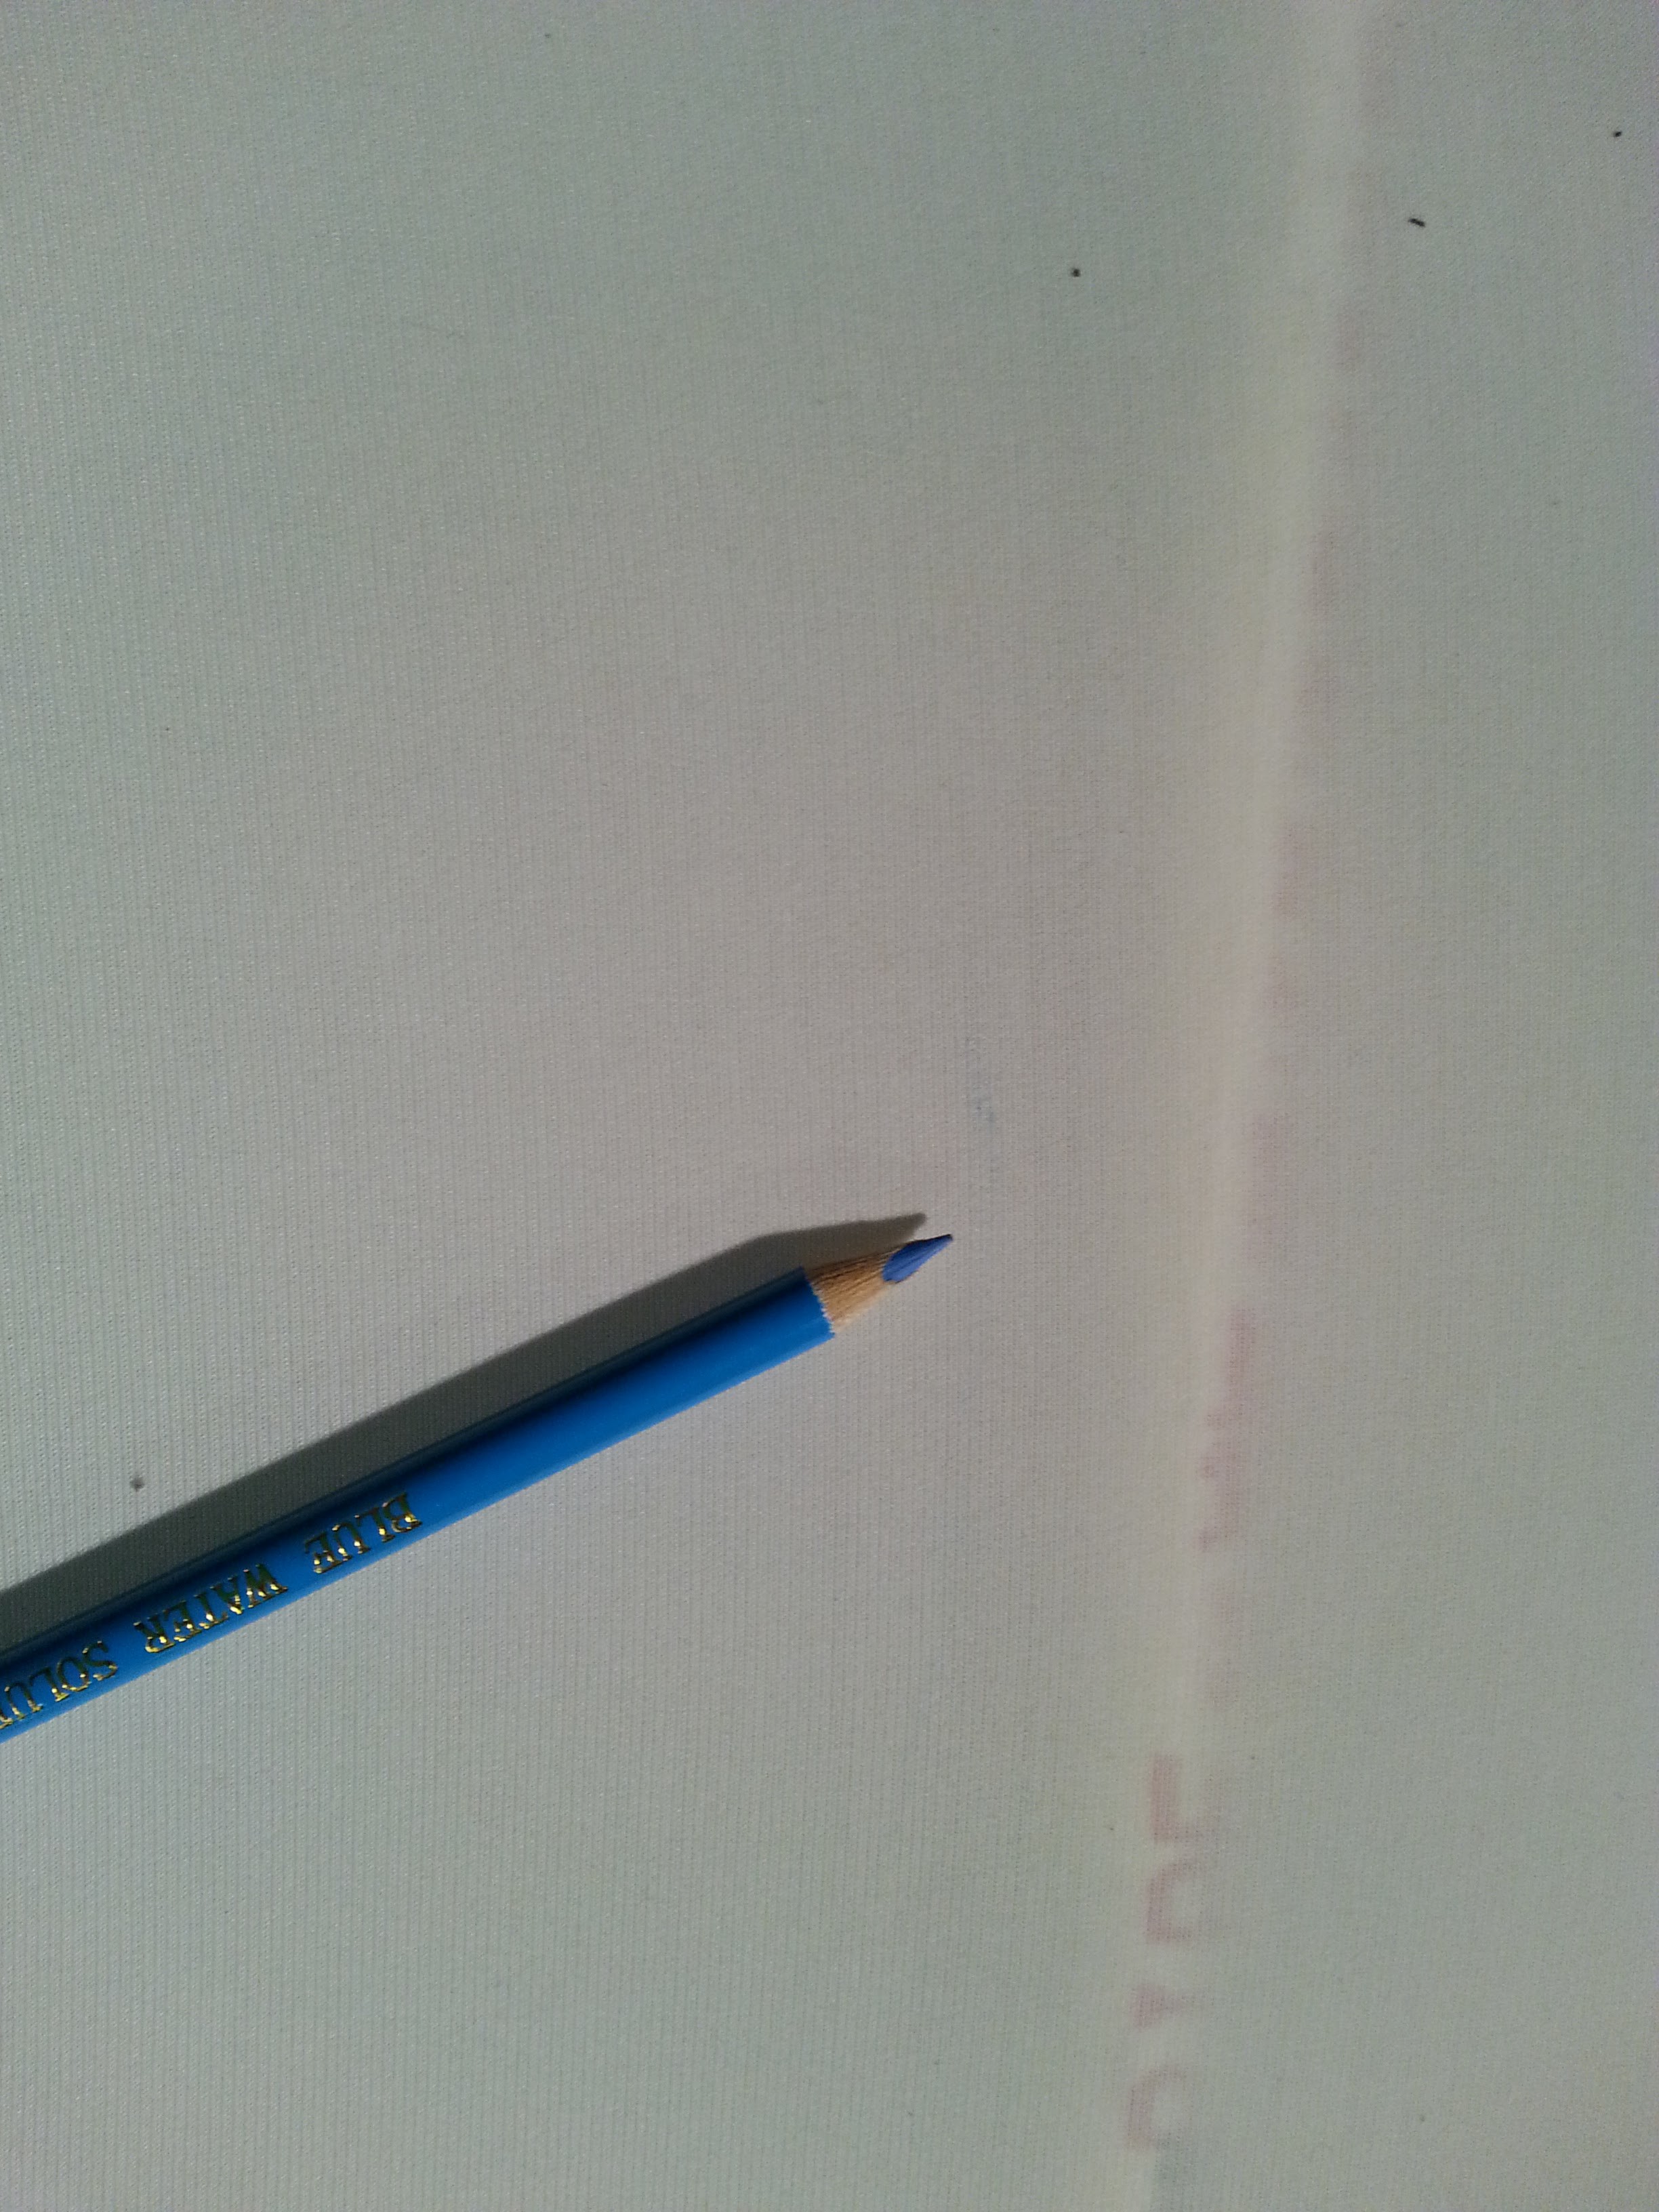
First I tried an expensive blue pencil I bought at the fabric store. It wasn't very effective.
So I went back to my old standby: bar soap. It was super effective!

So, I traced outlines of every peak to give a good estimate of where the fabric I cut out should be.

But I just pin it together with safety pins so that I can test it without making irreversible changes to the cloth.
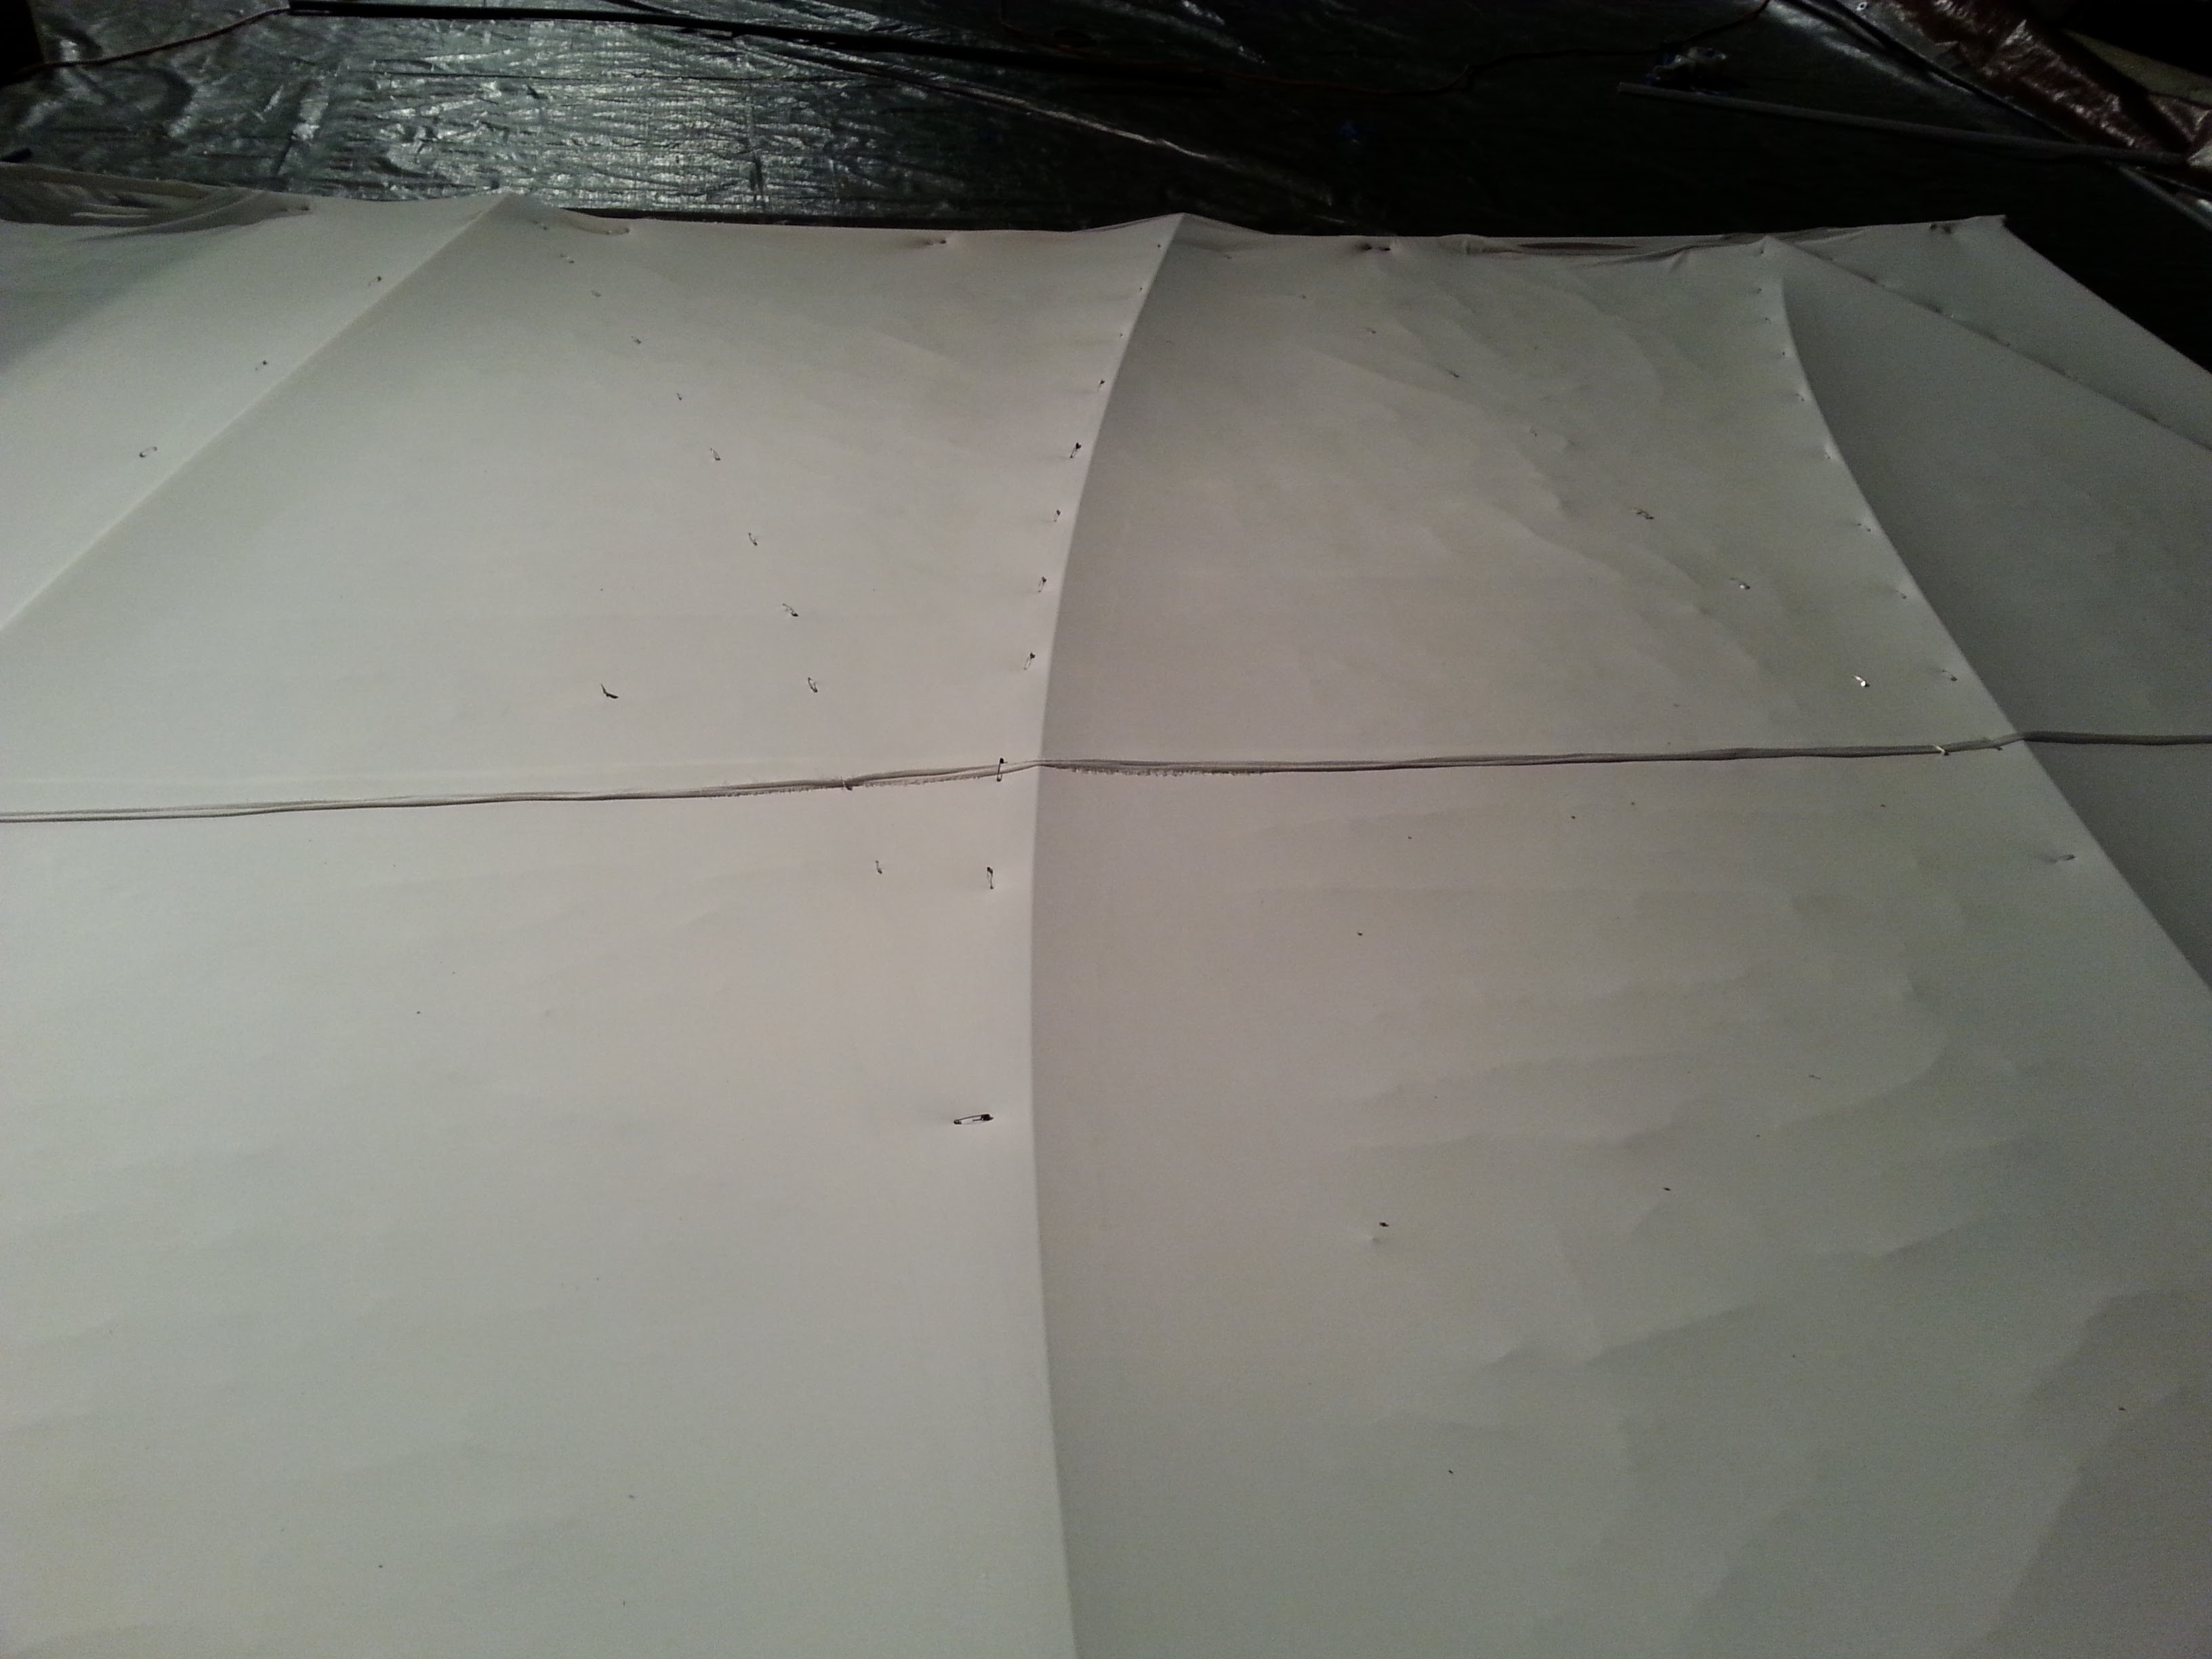
These pins just mark the area. I need to redo them so each side of the area is pinned together. This is a time consuming pain in the ass. You have to lay the fabric flat on the ground and fold over the two sections that you need to pin. You line it up as best as you can and then put the new pins in.
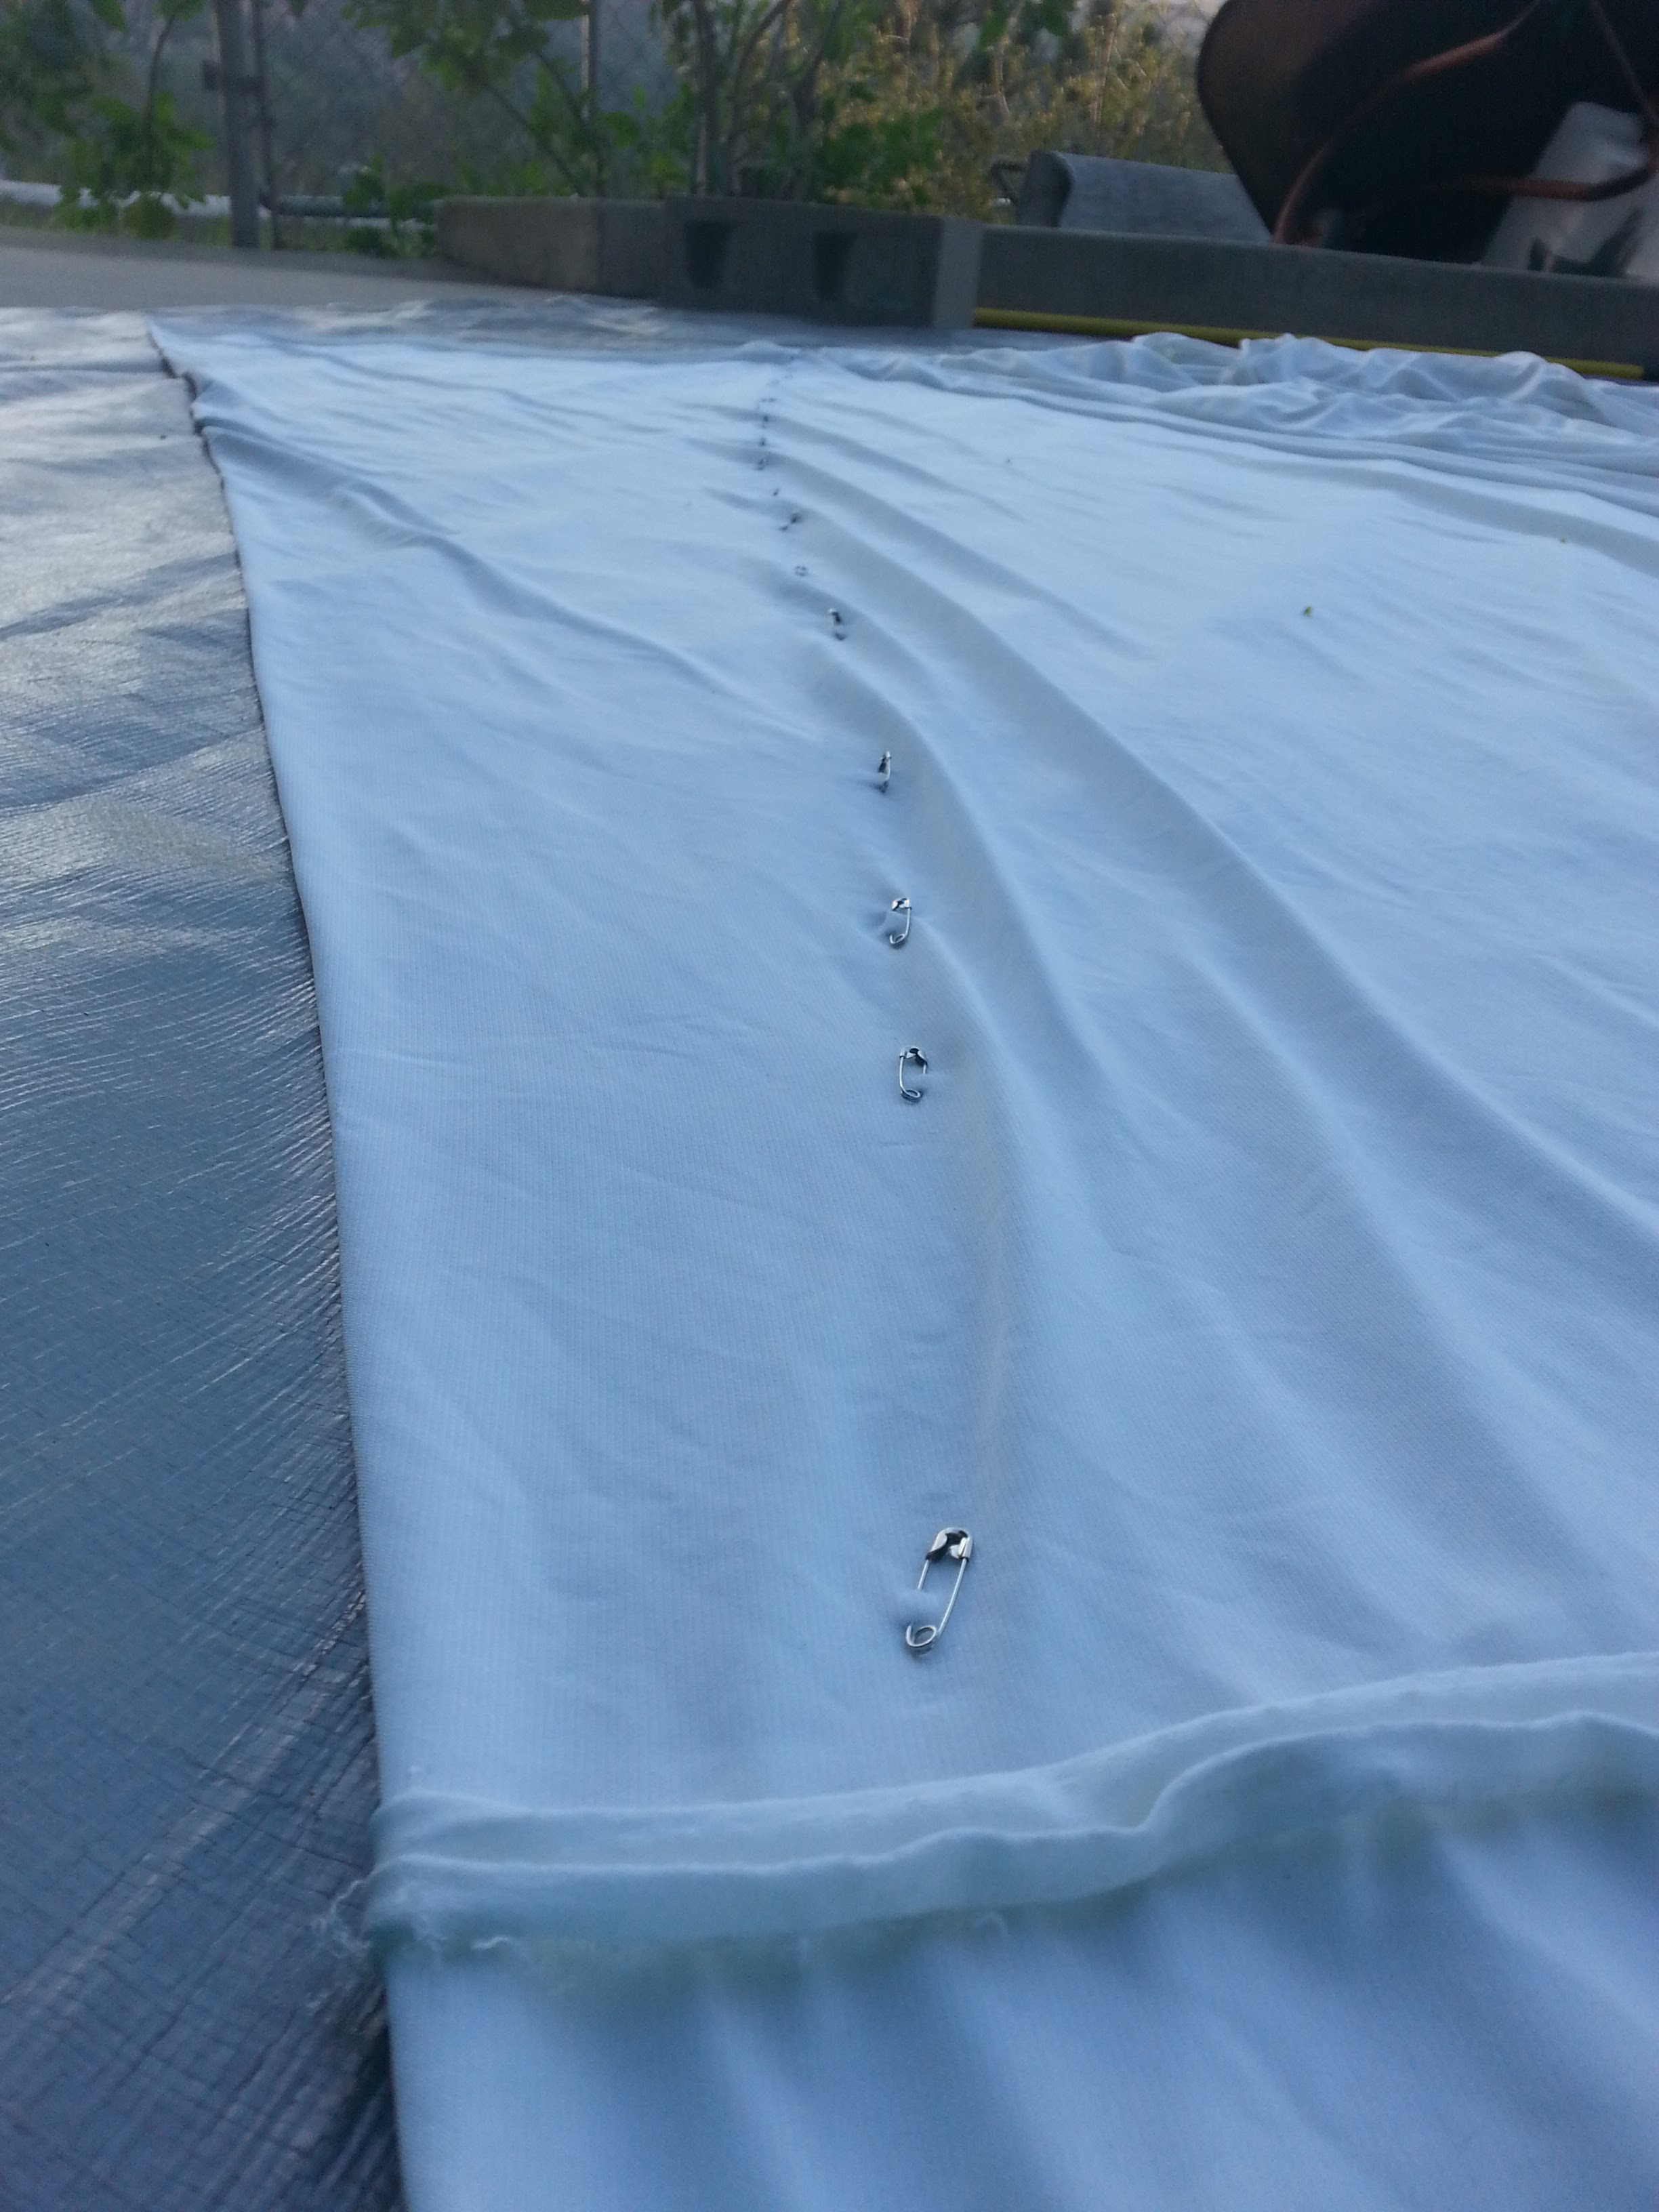
Then you have to remove the extra pins from both sides. As you do this, the fabric you have already pinned is kinda scrunched up and difficult to deal with.
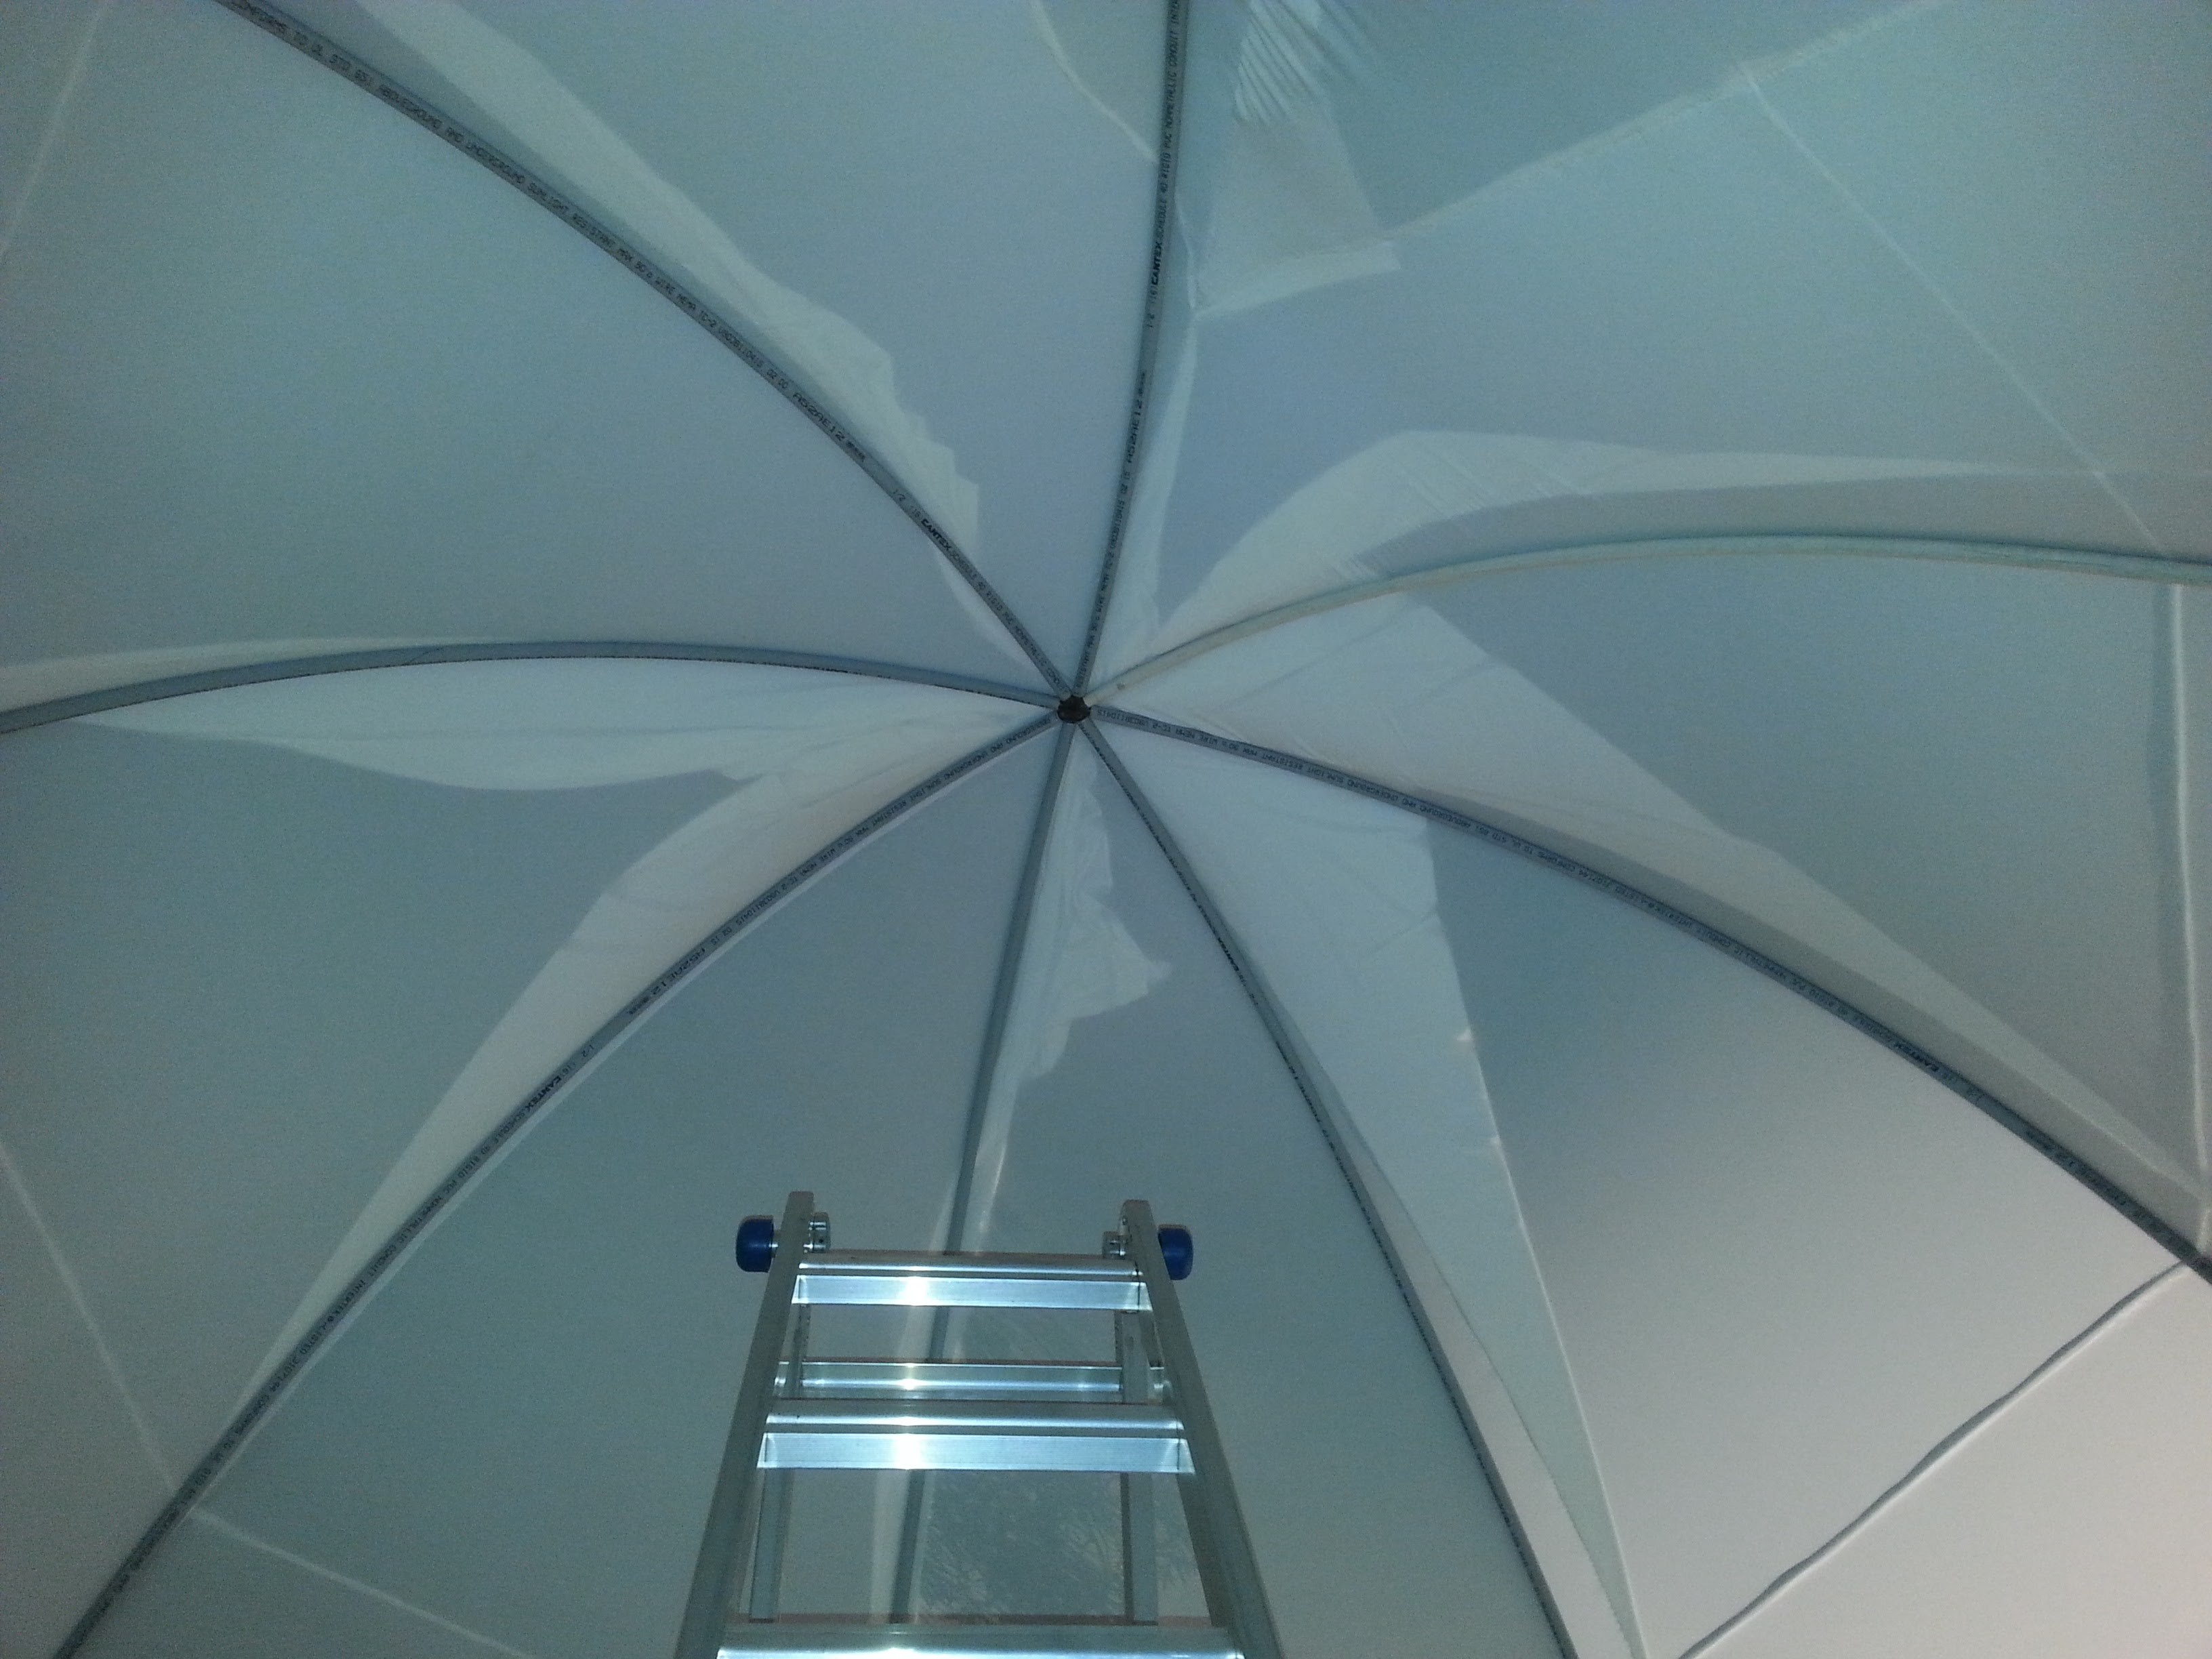
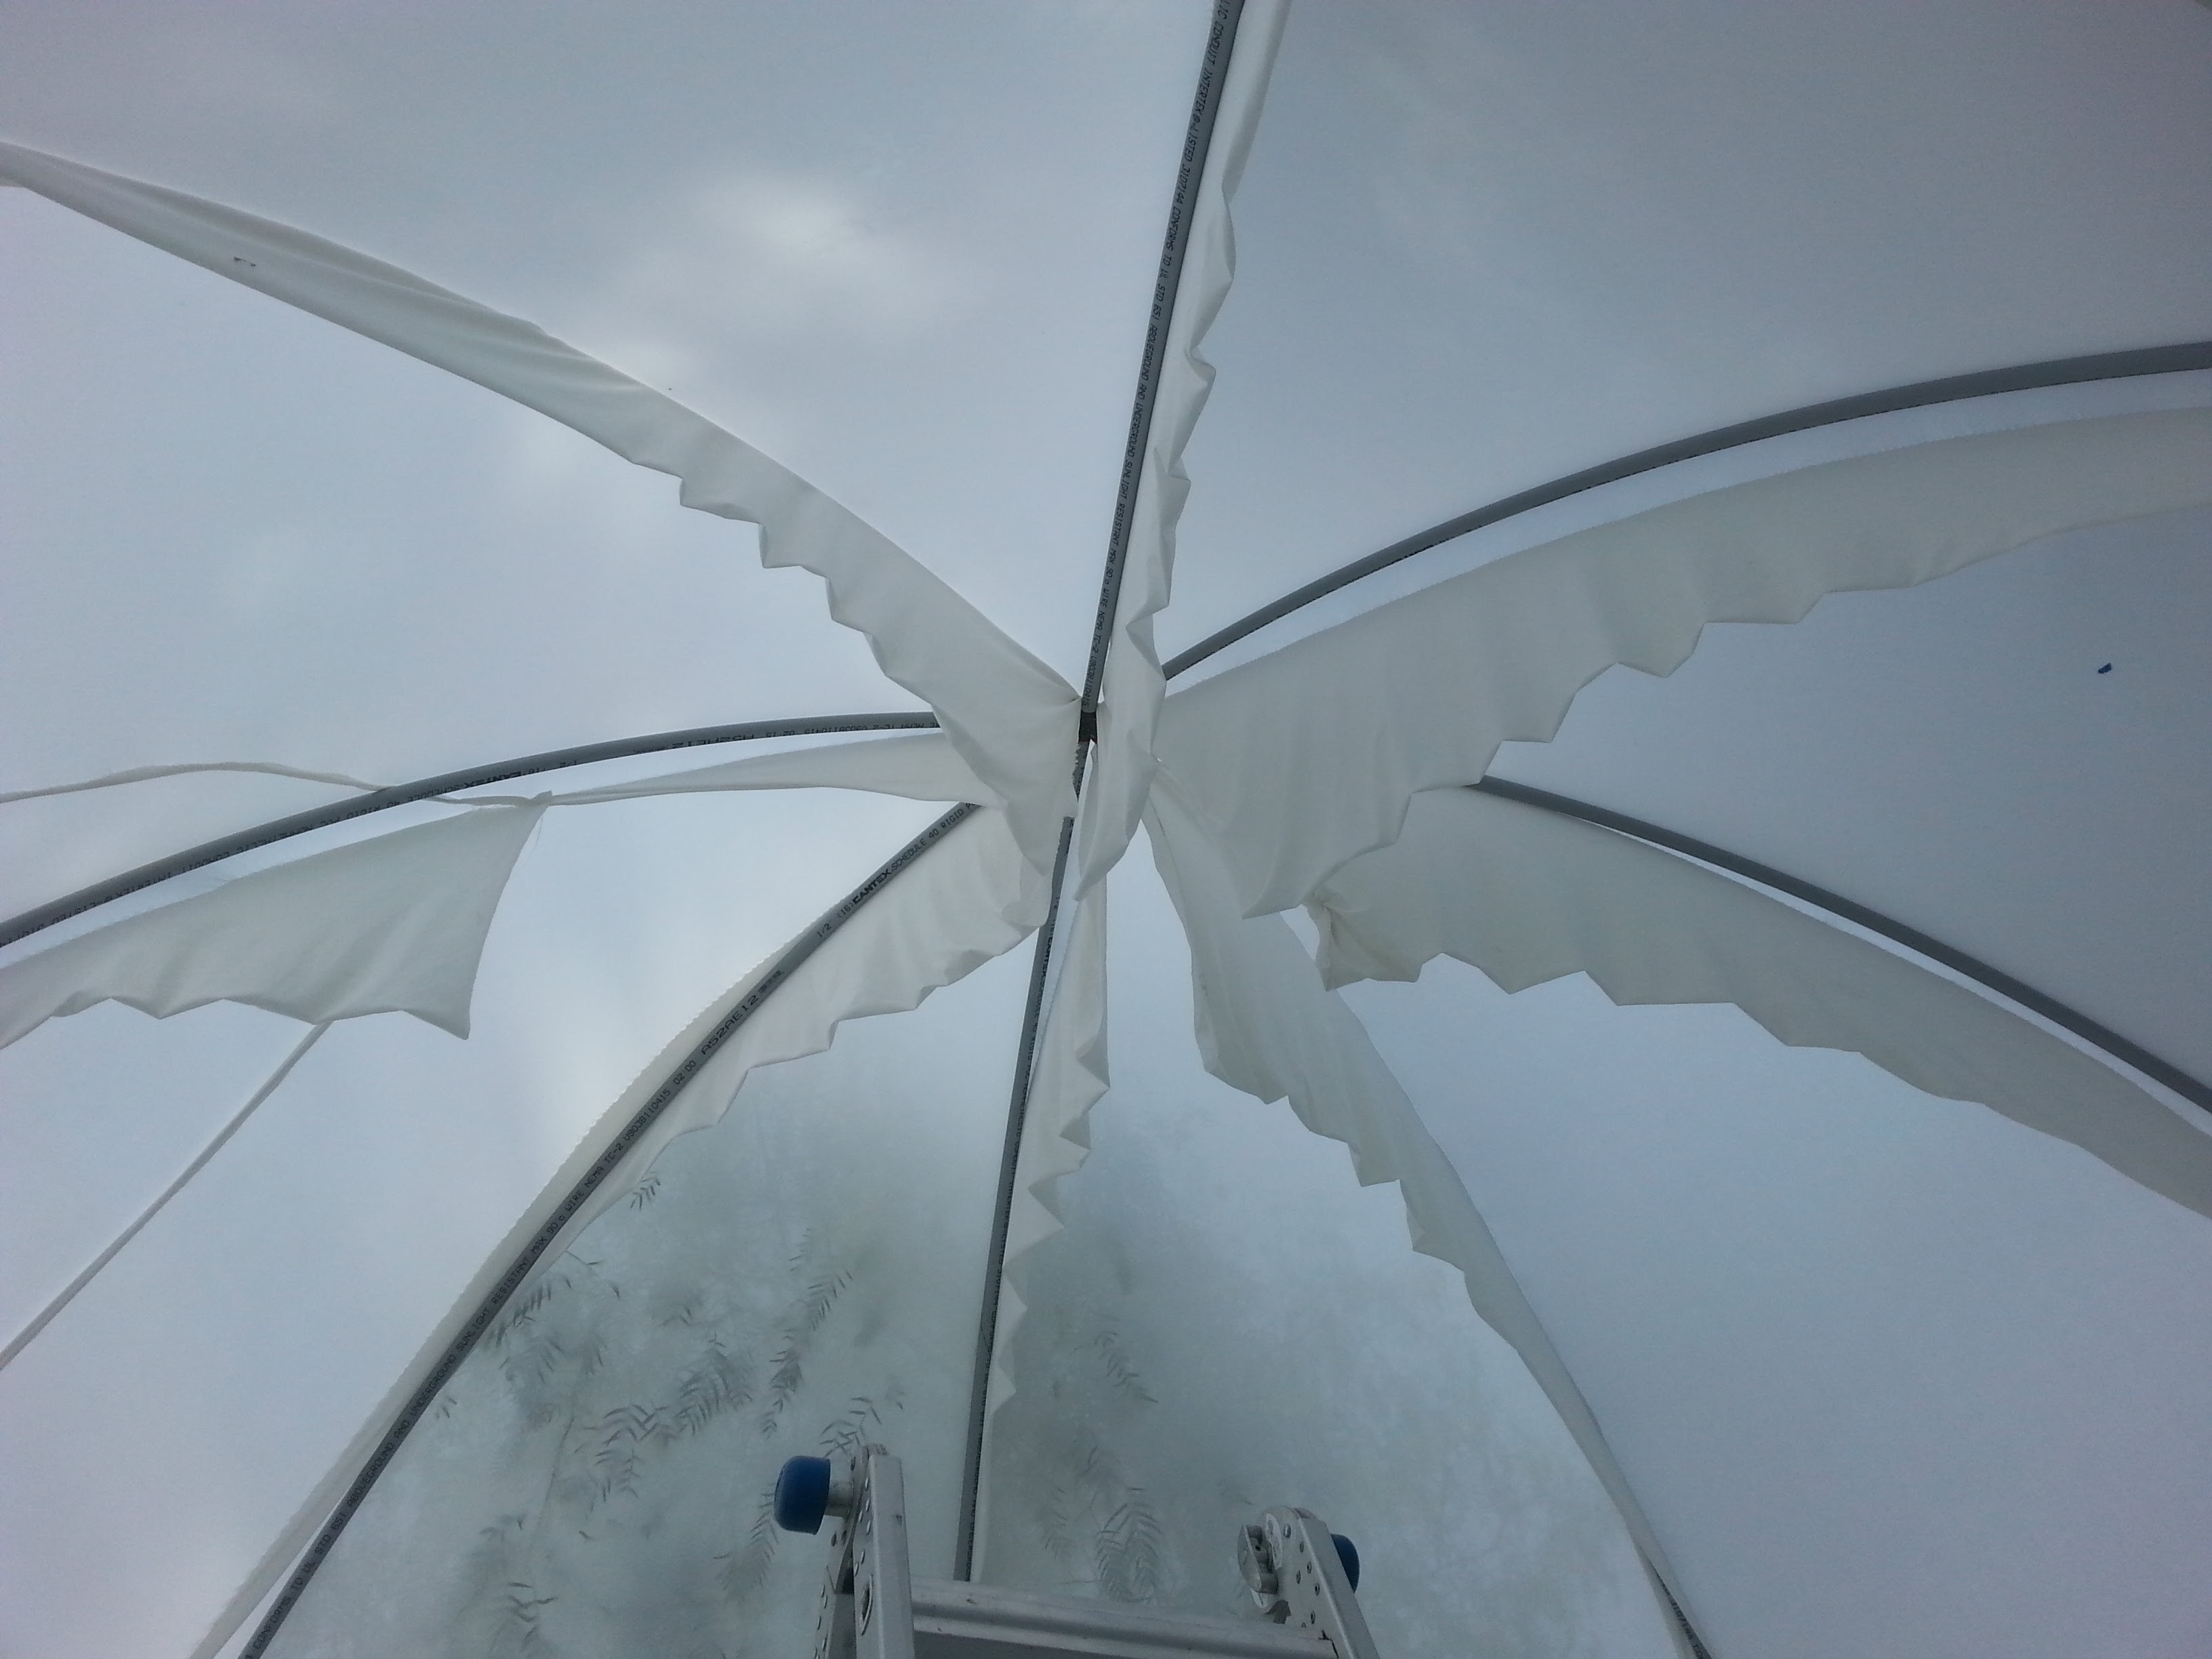
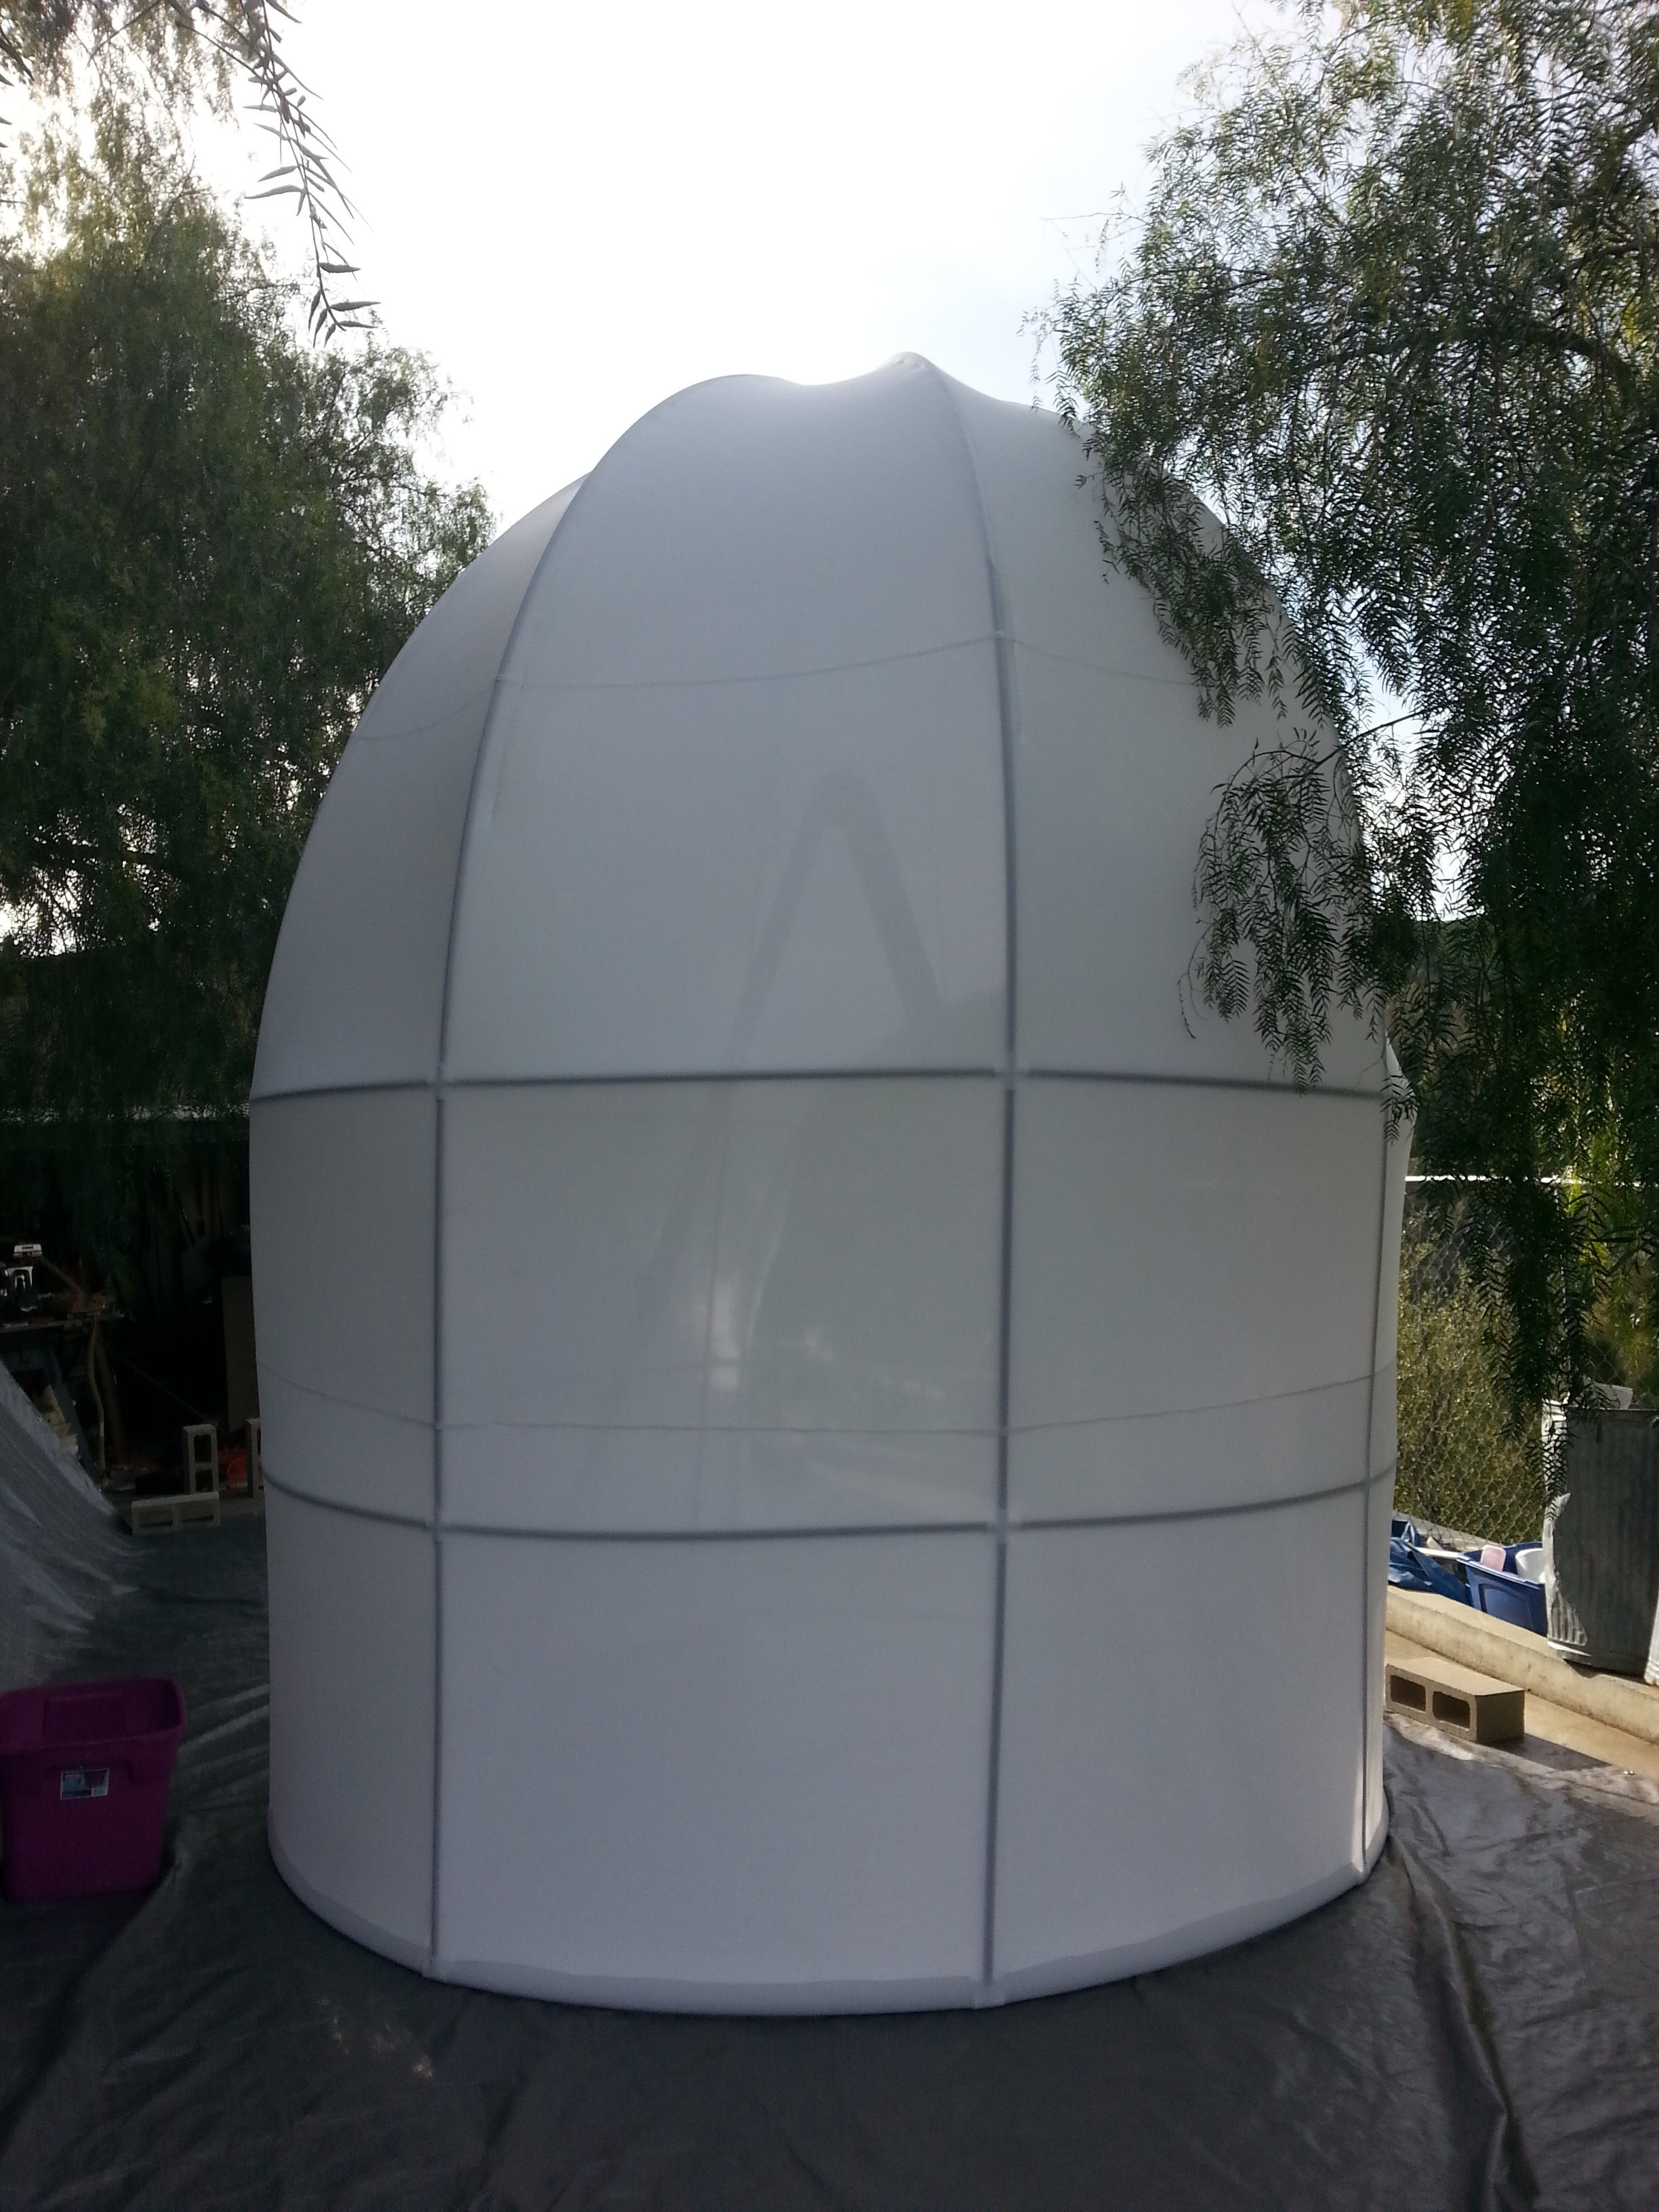
OMG! It's a dome!


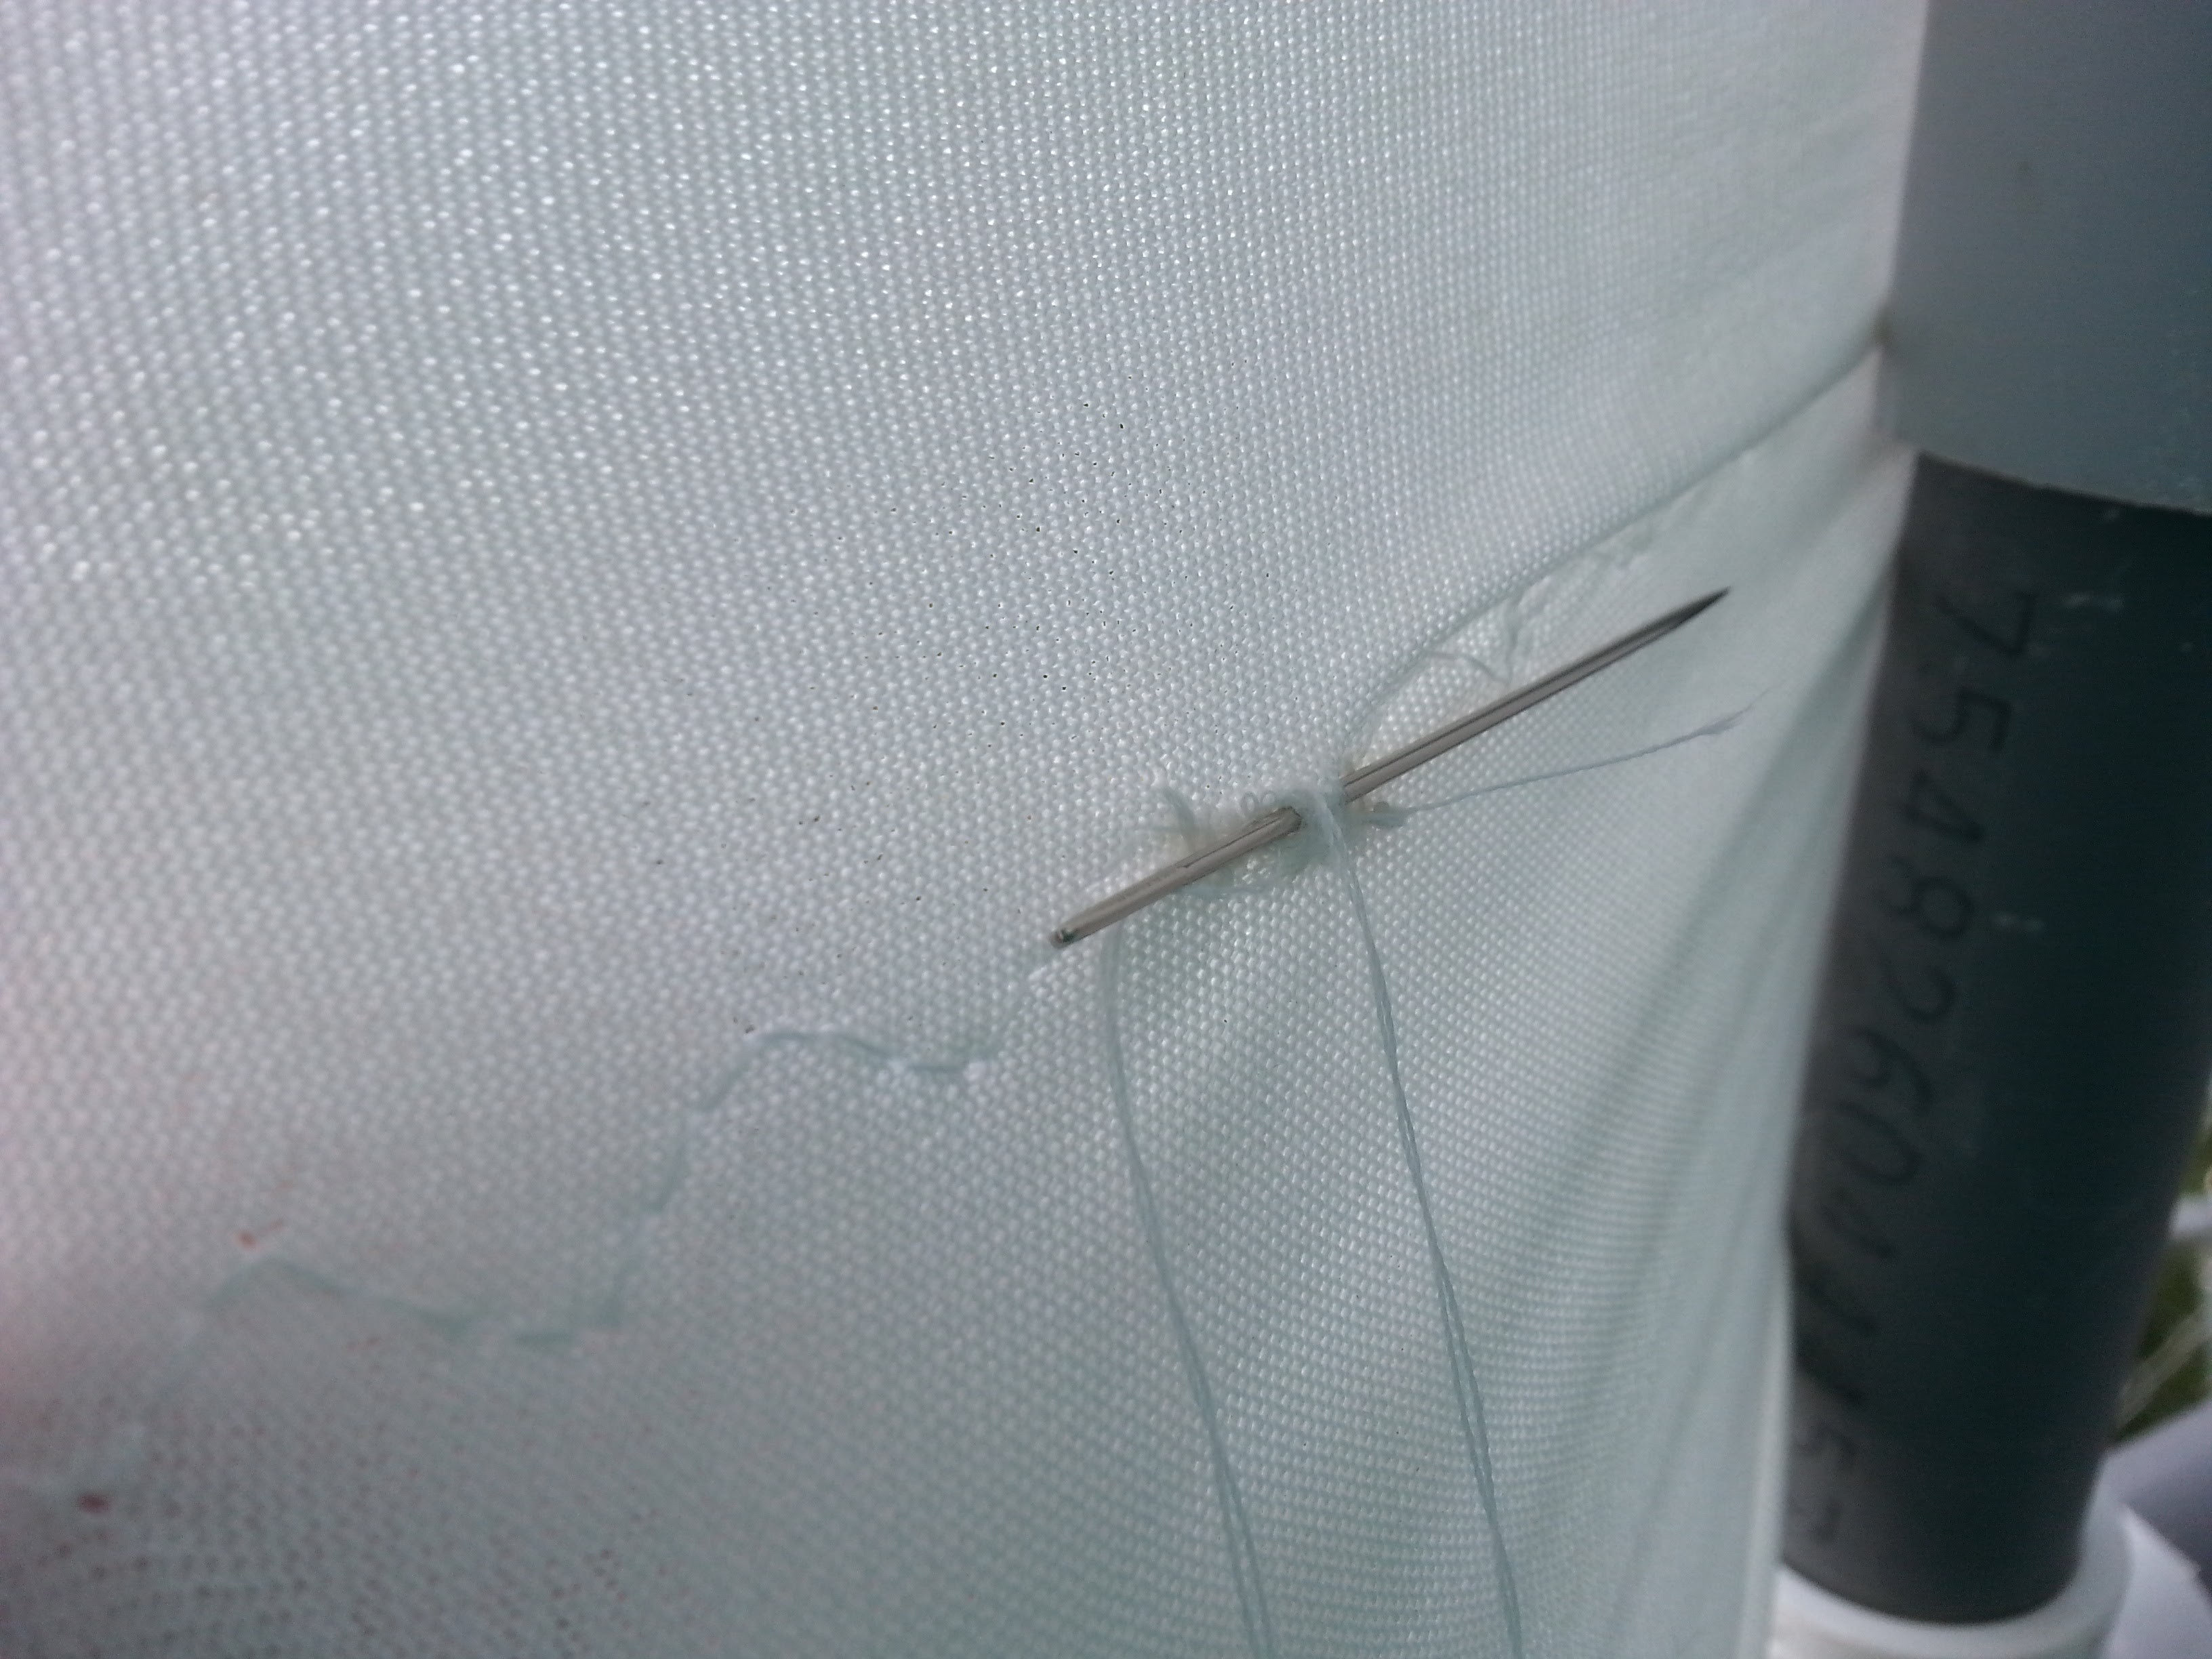
So then there was a lot of sewing along the pin lines.

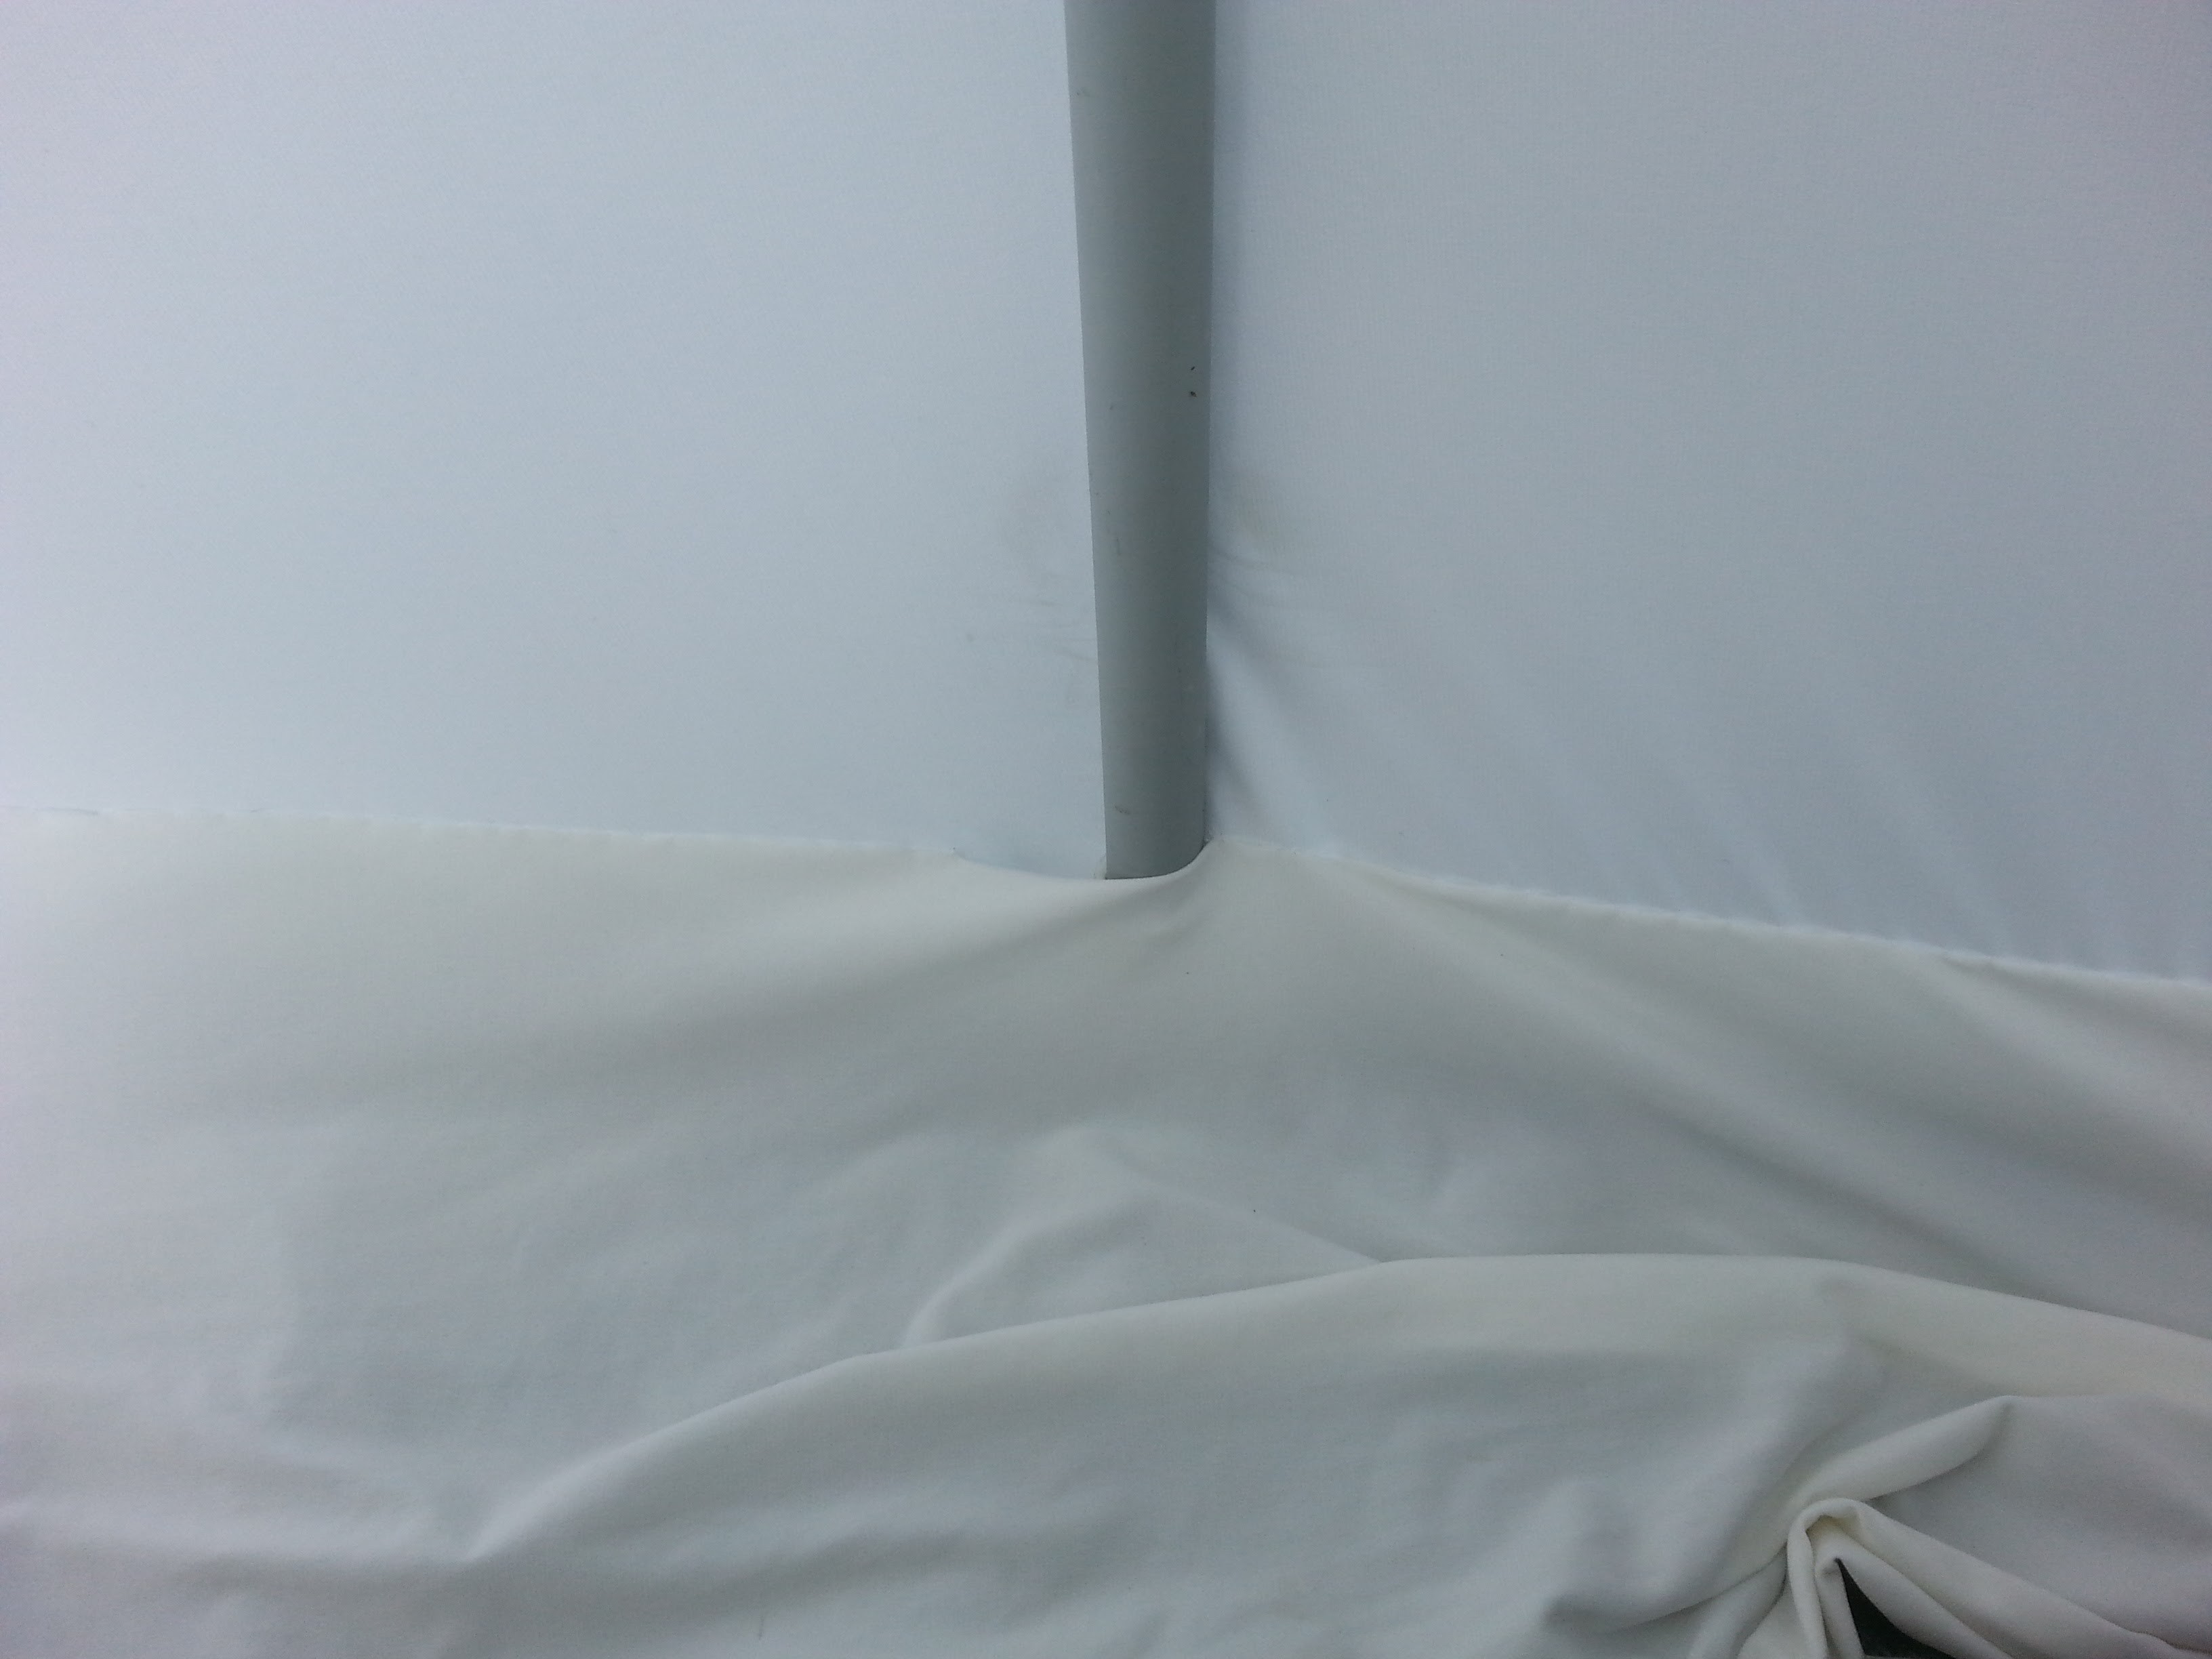
After sewing the door, I realized that I didn't leave a hole for the center tube.
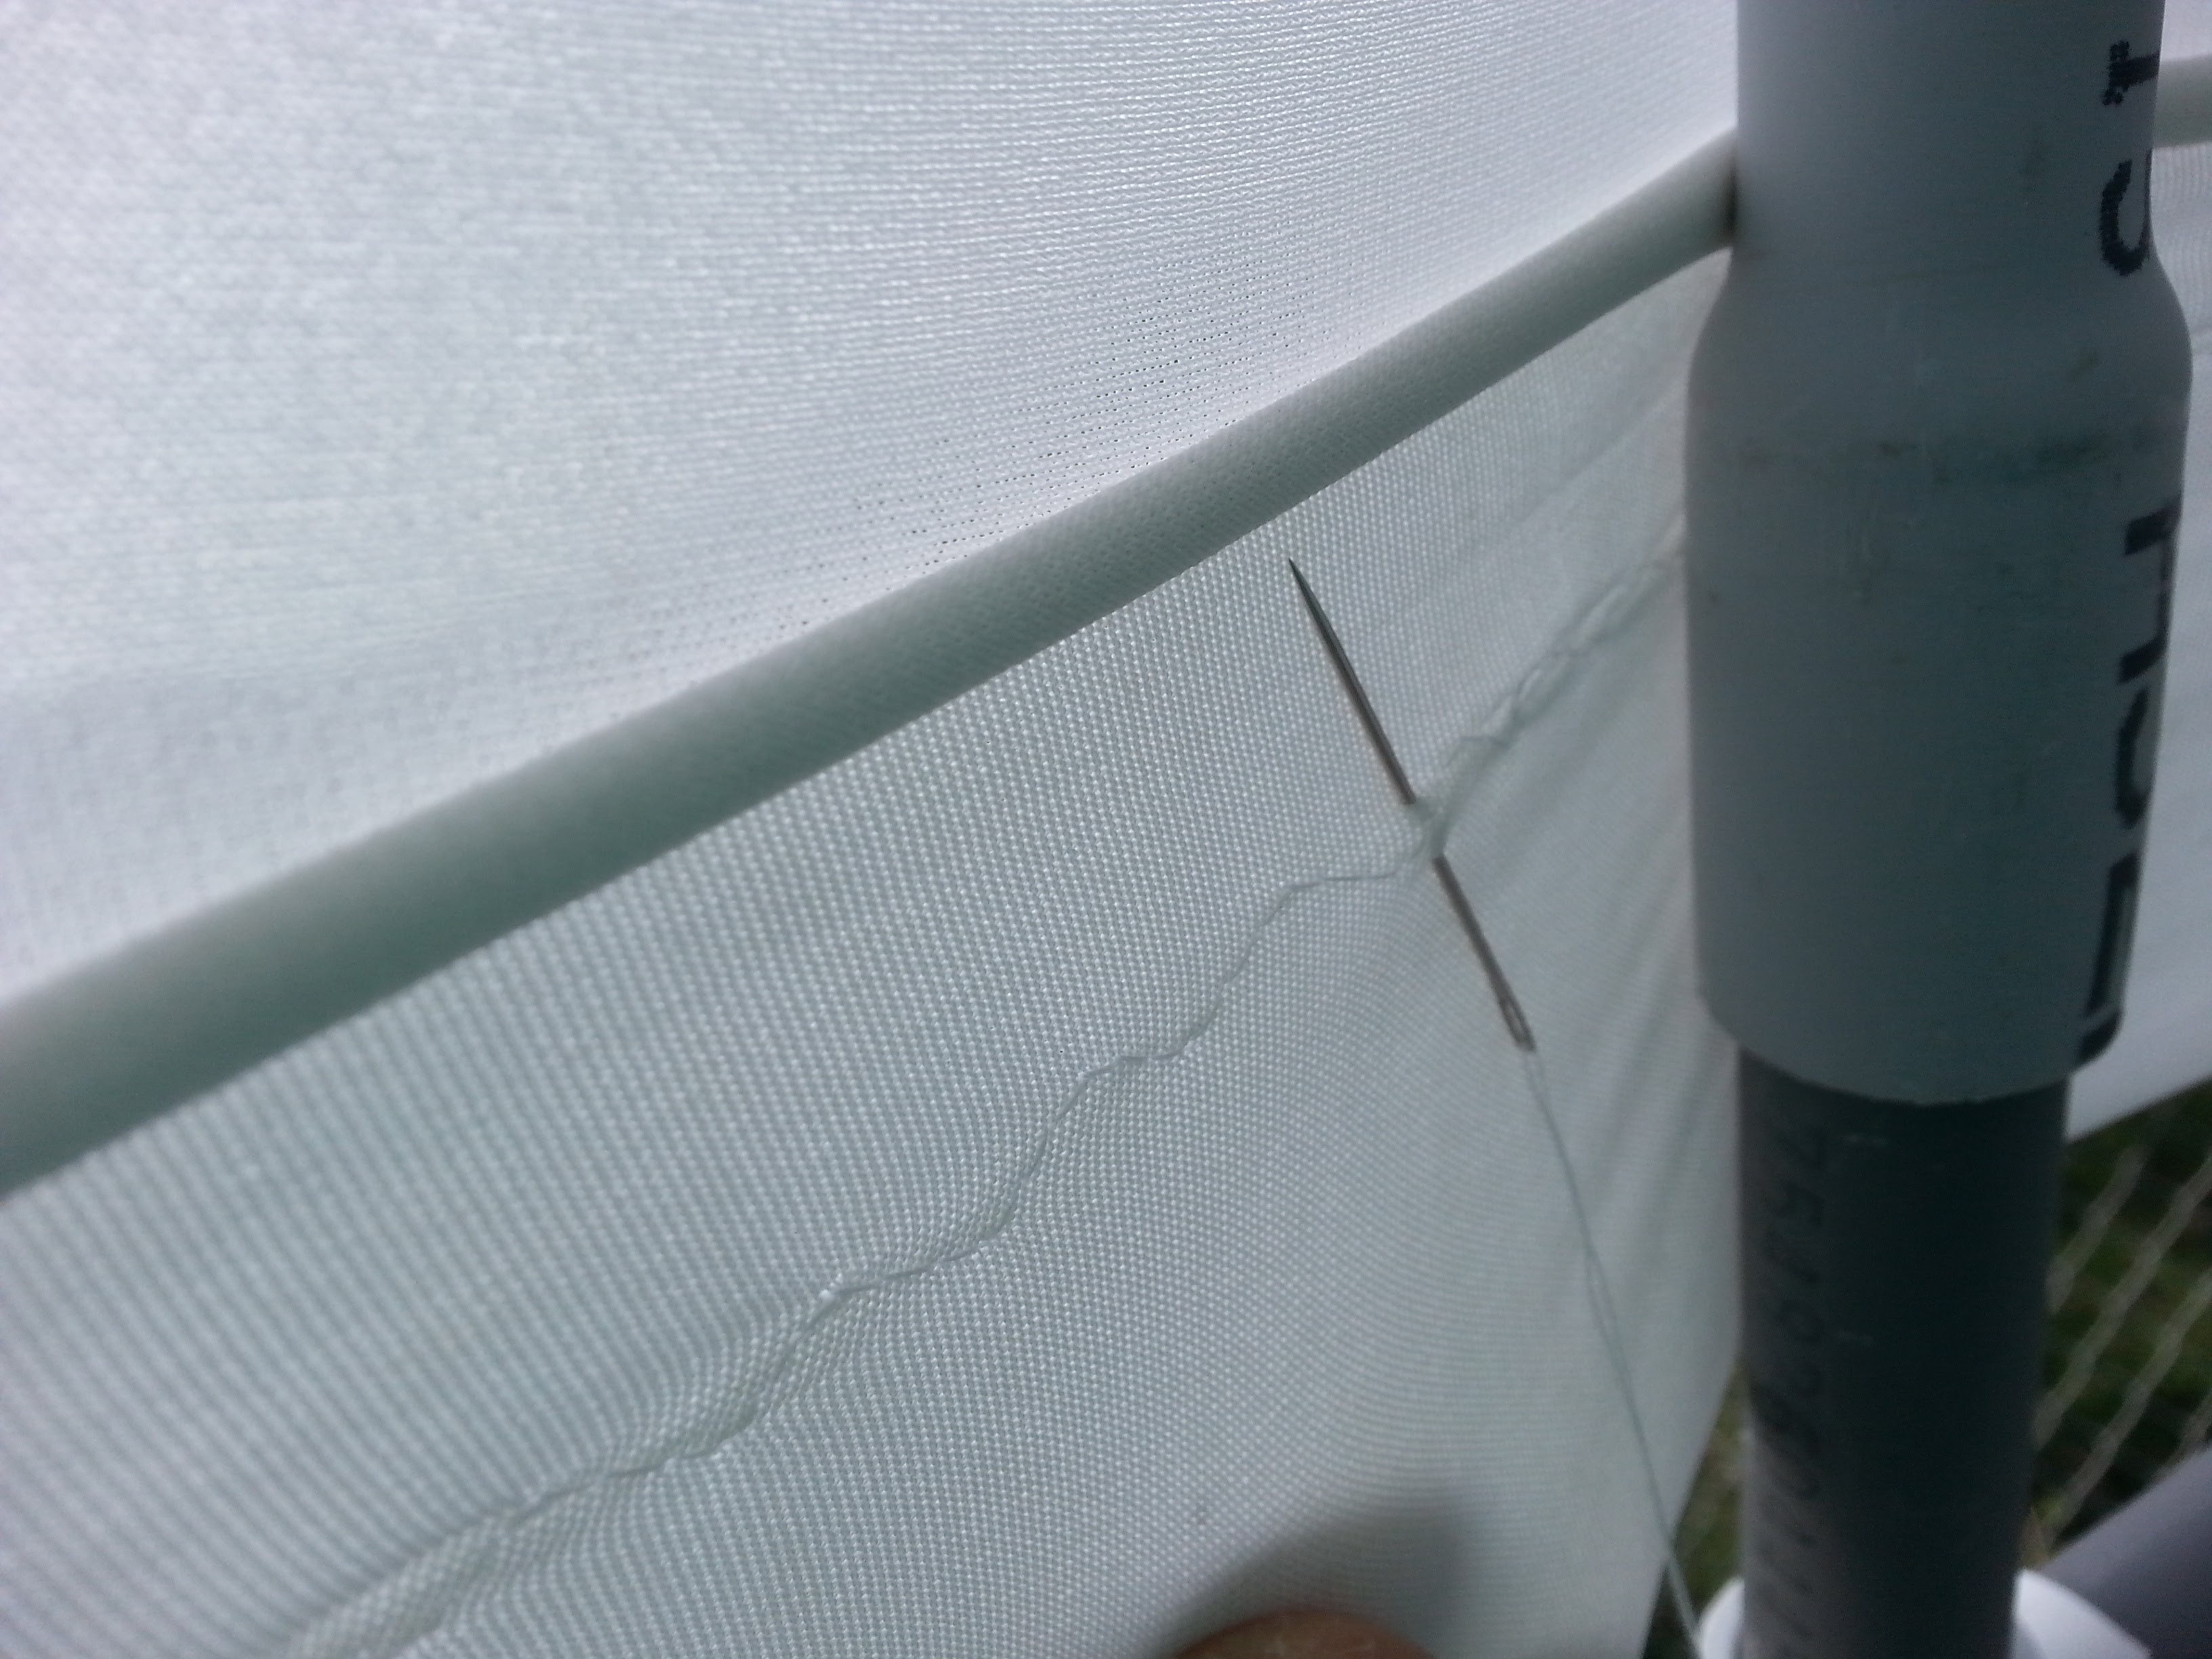
So I sew on each side of the stitch to make sure it won't come apart when I remove the center stitches.

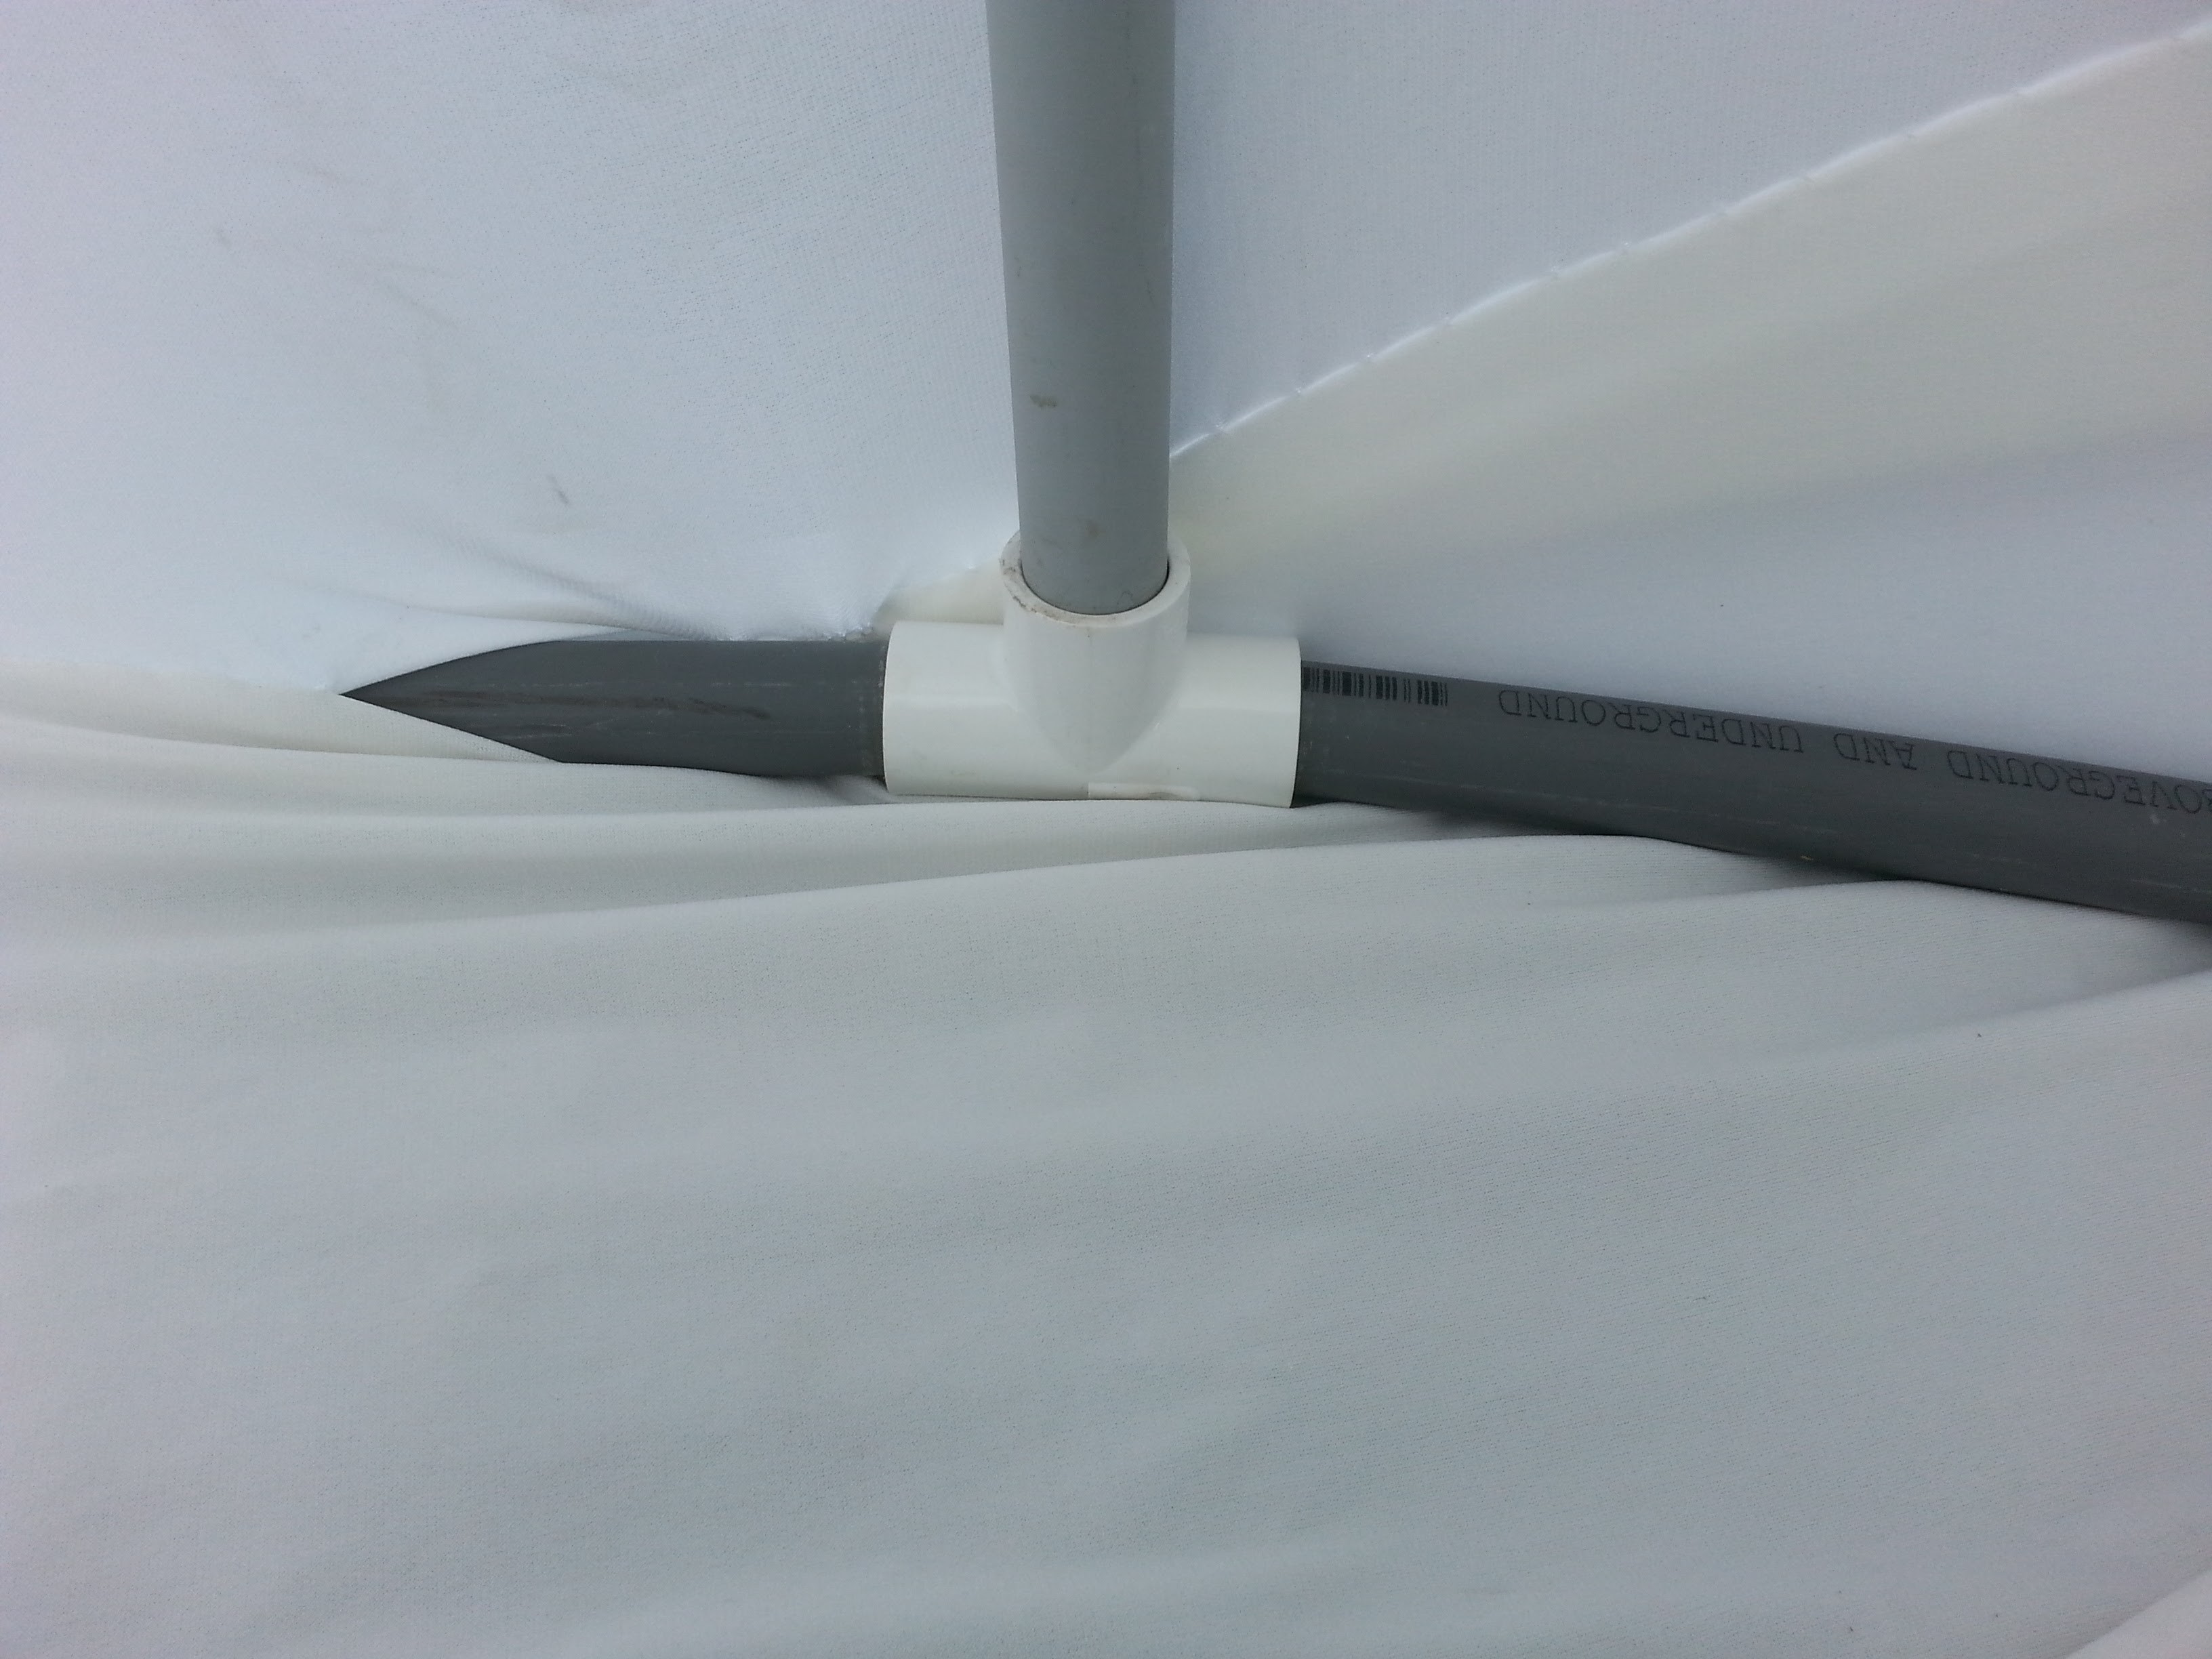
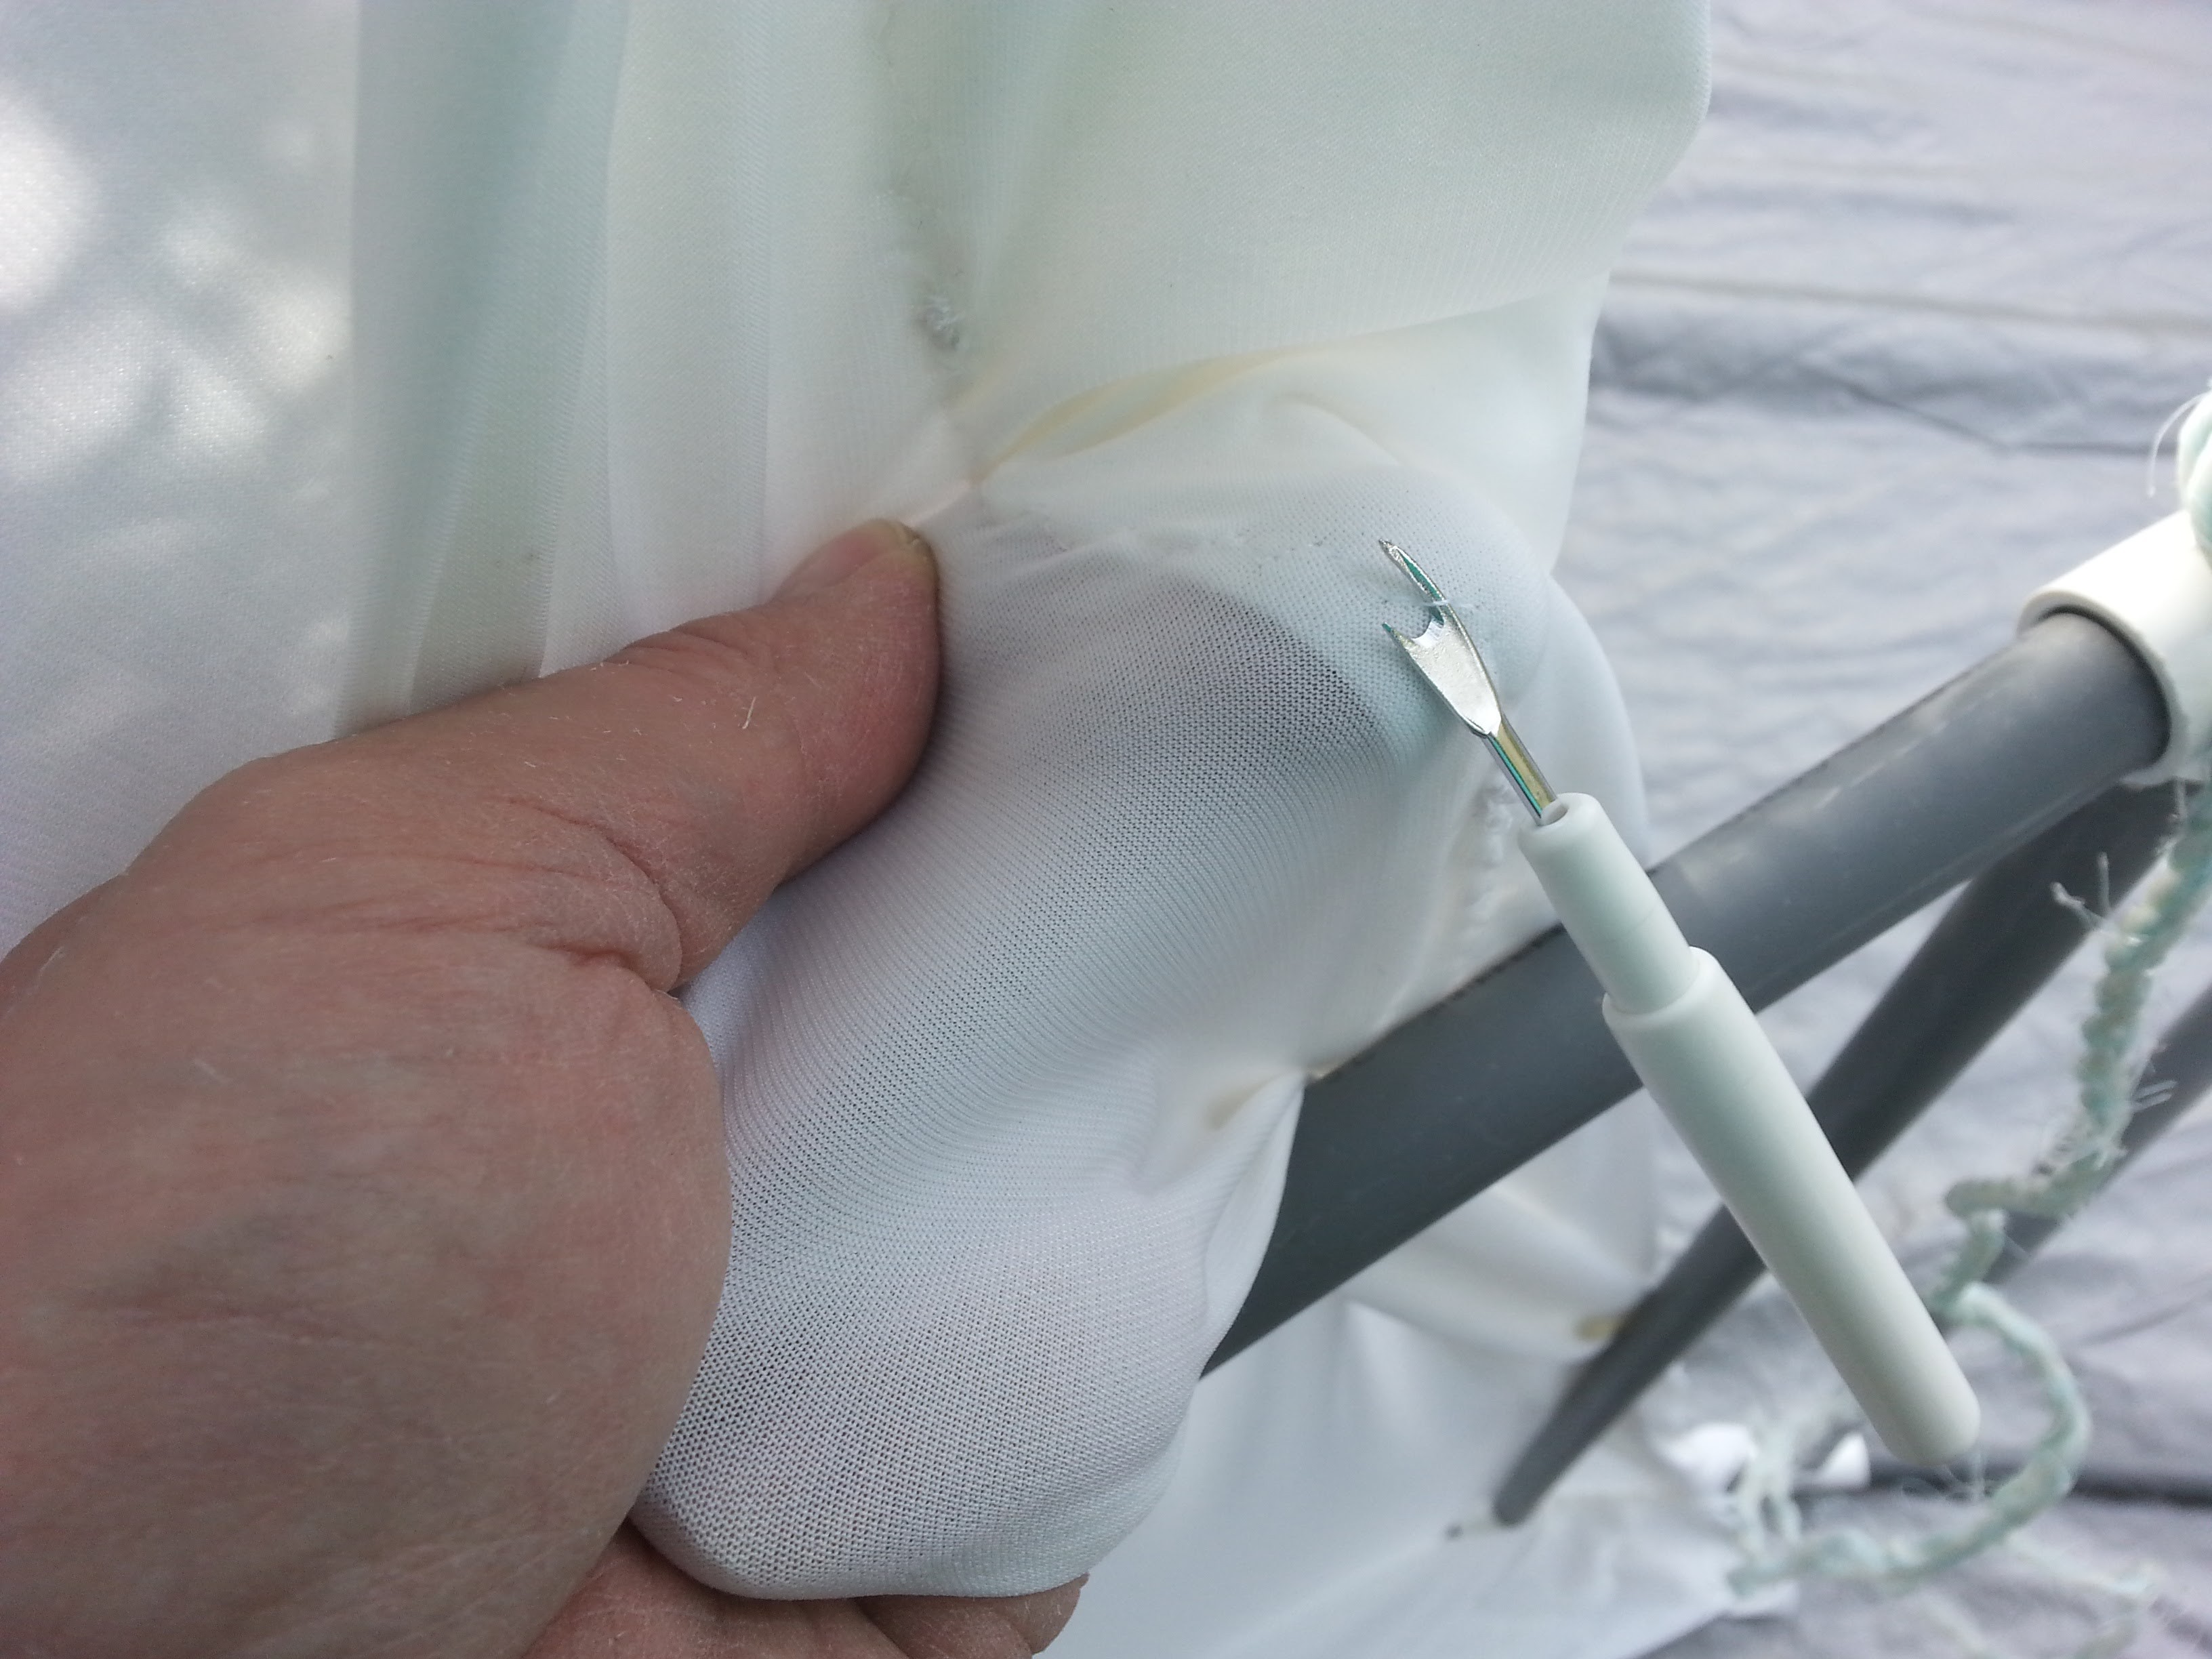
Then I rip out the stitches where the pipe needs to go.
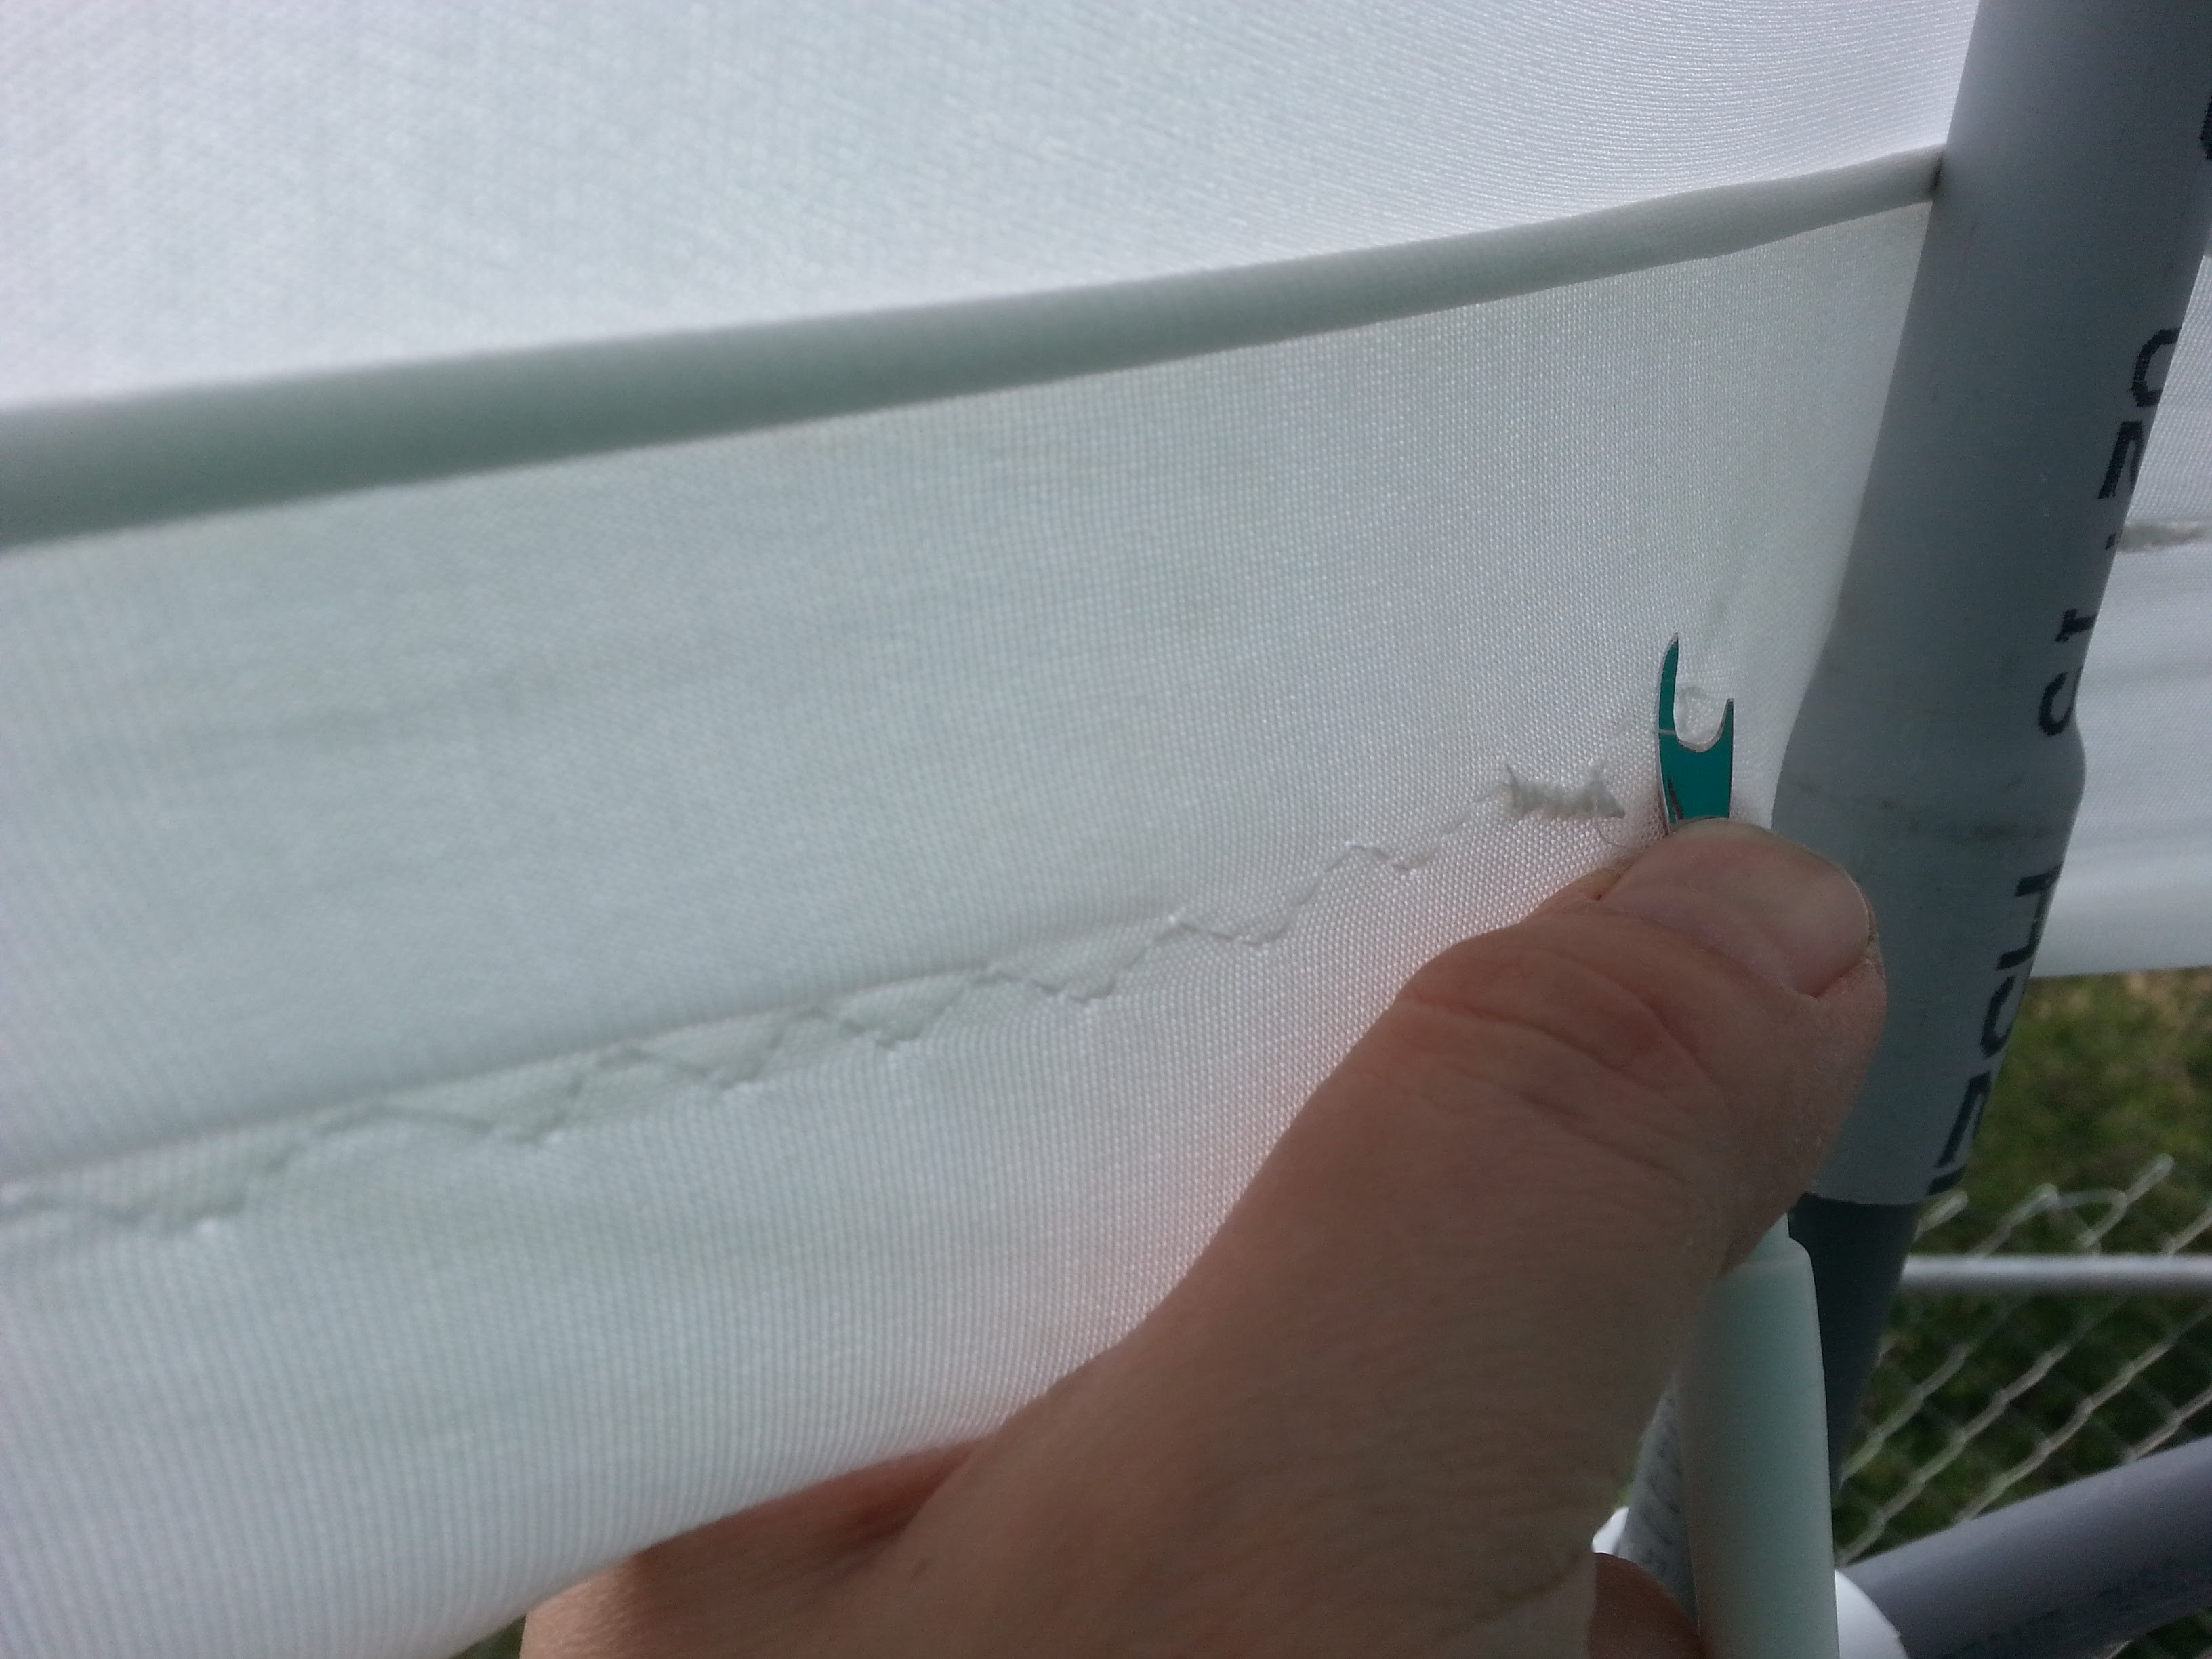
I had the same problem when I added the extra spacers to the side of the doorway, too.
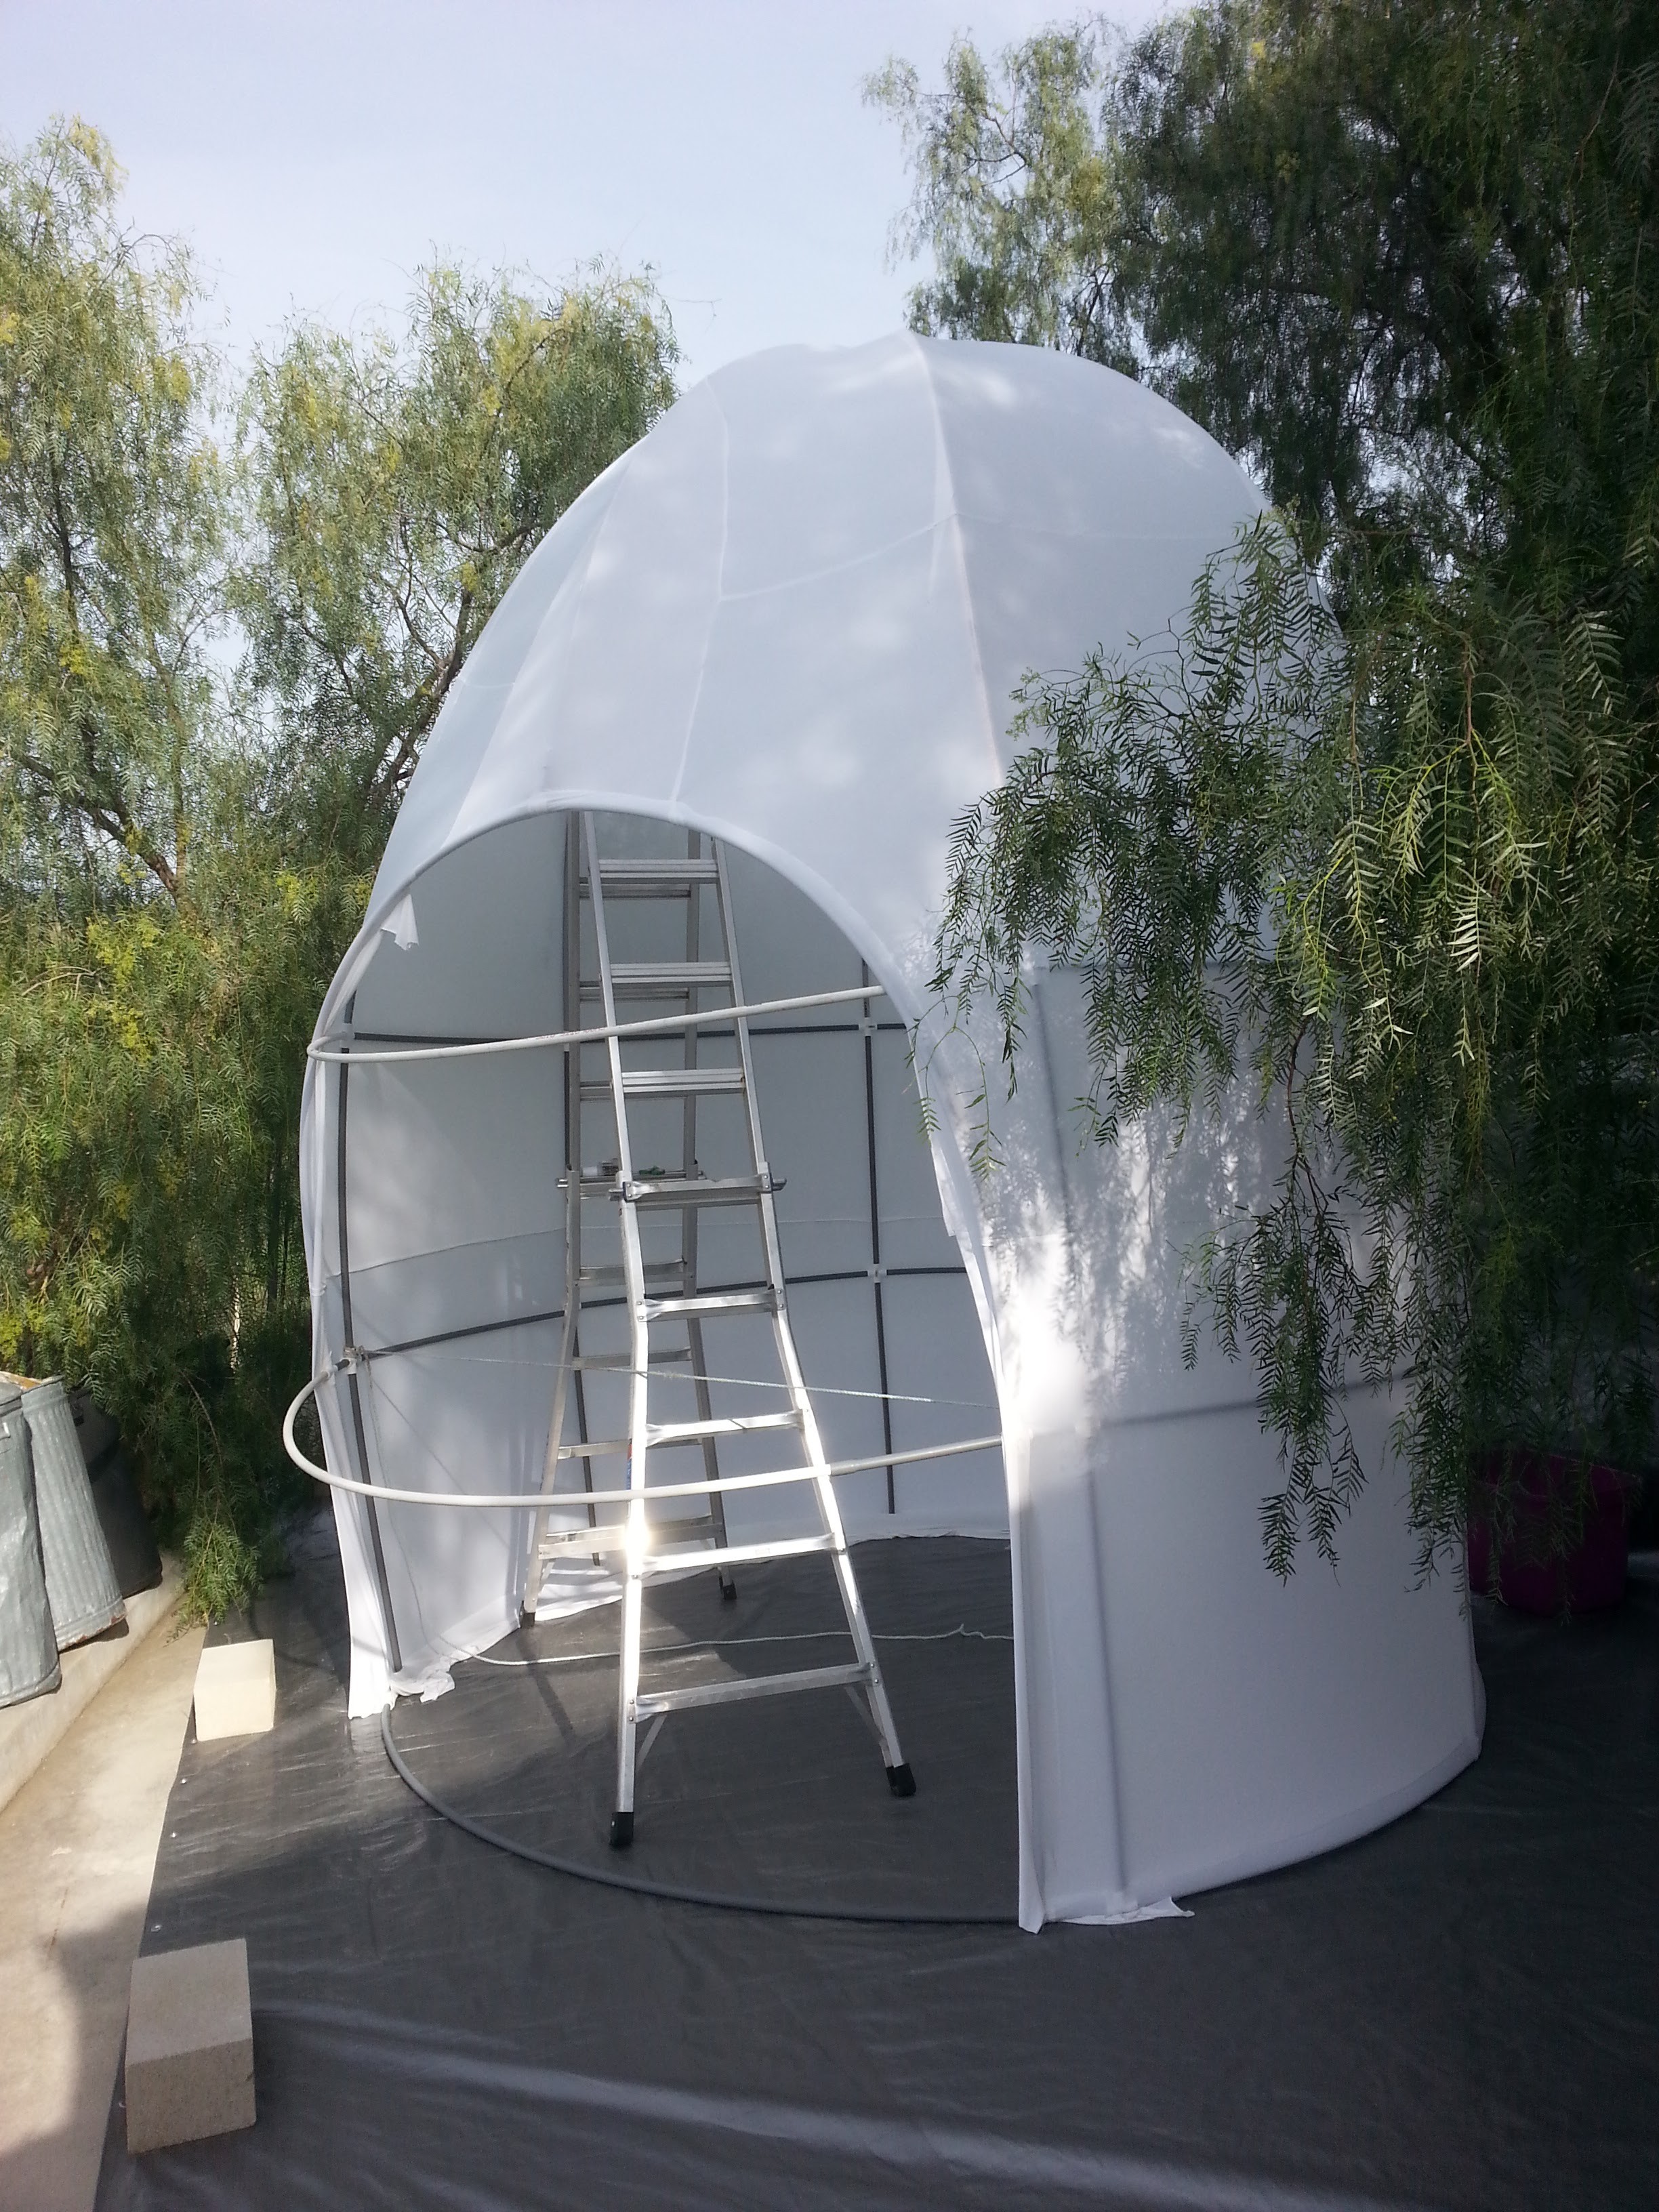
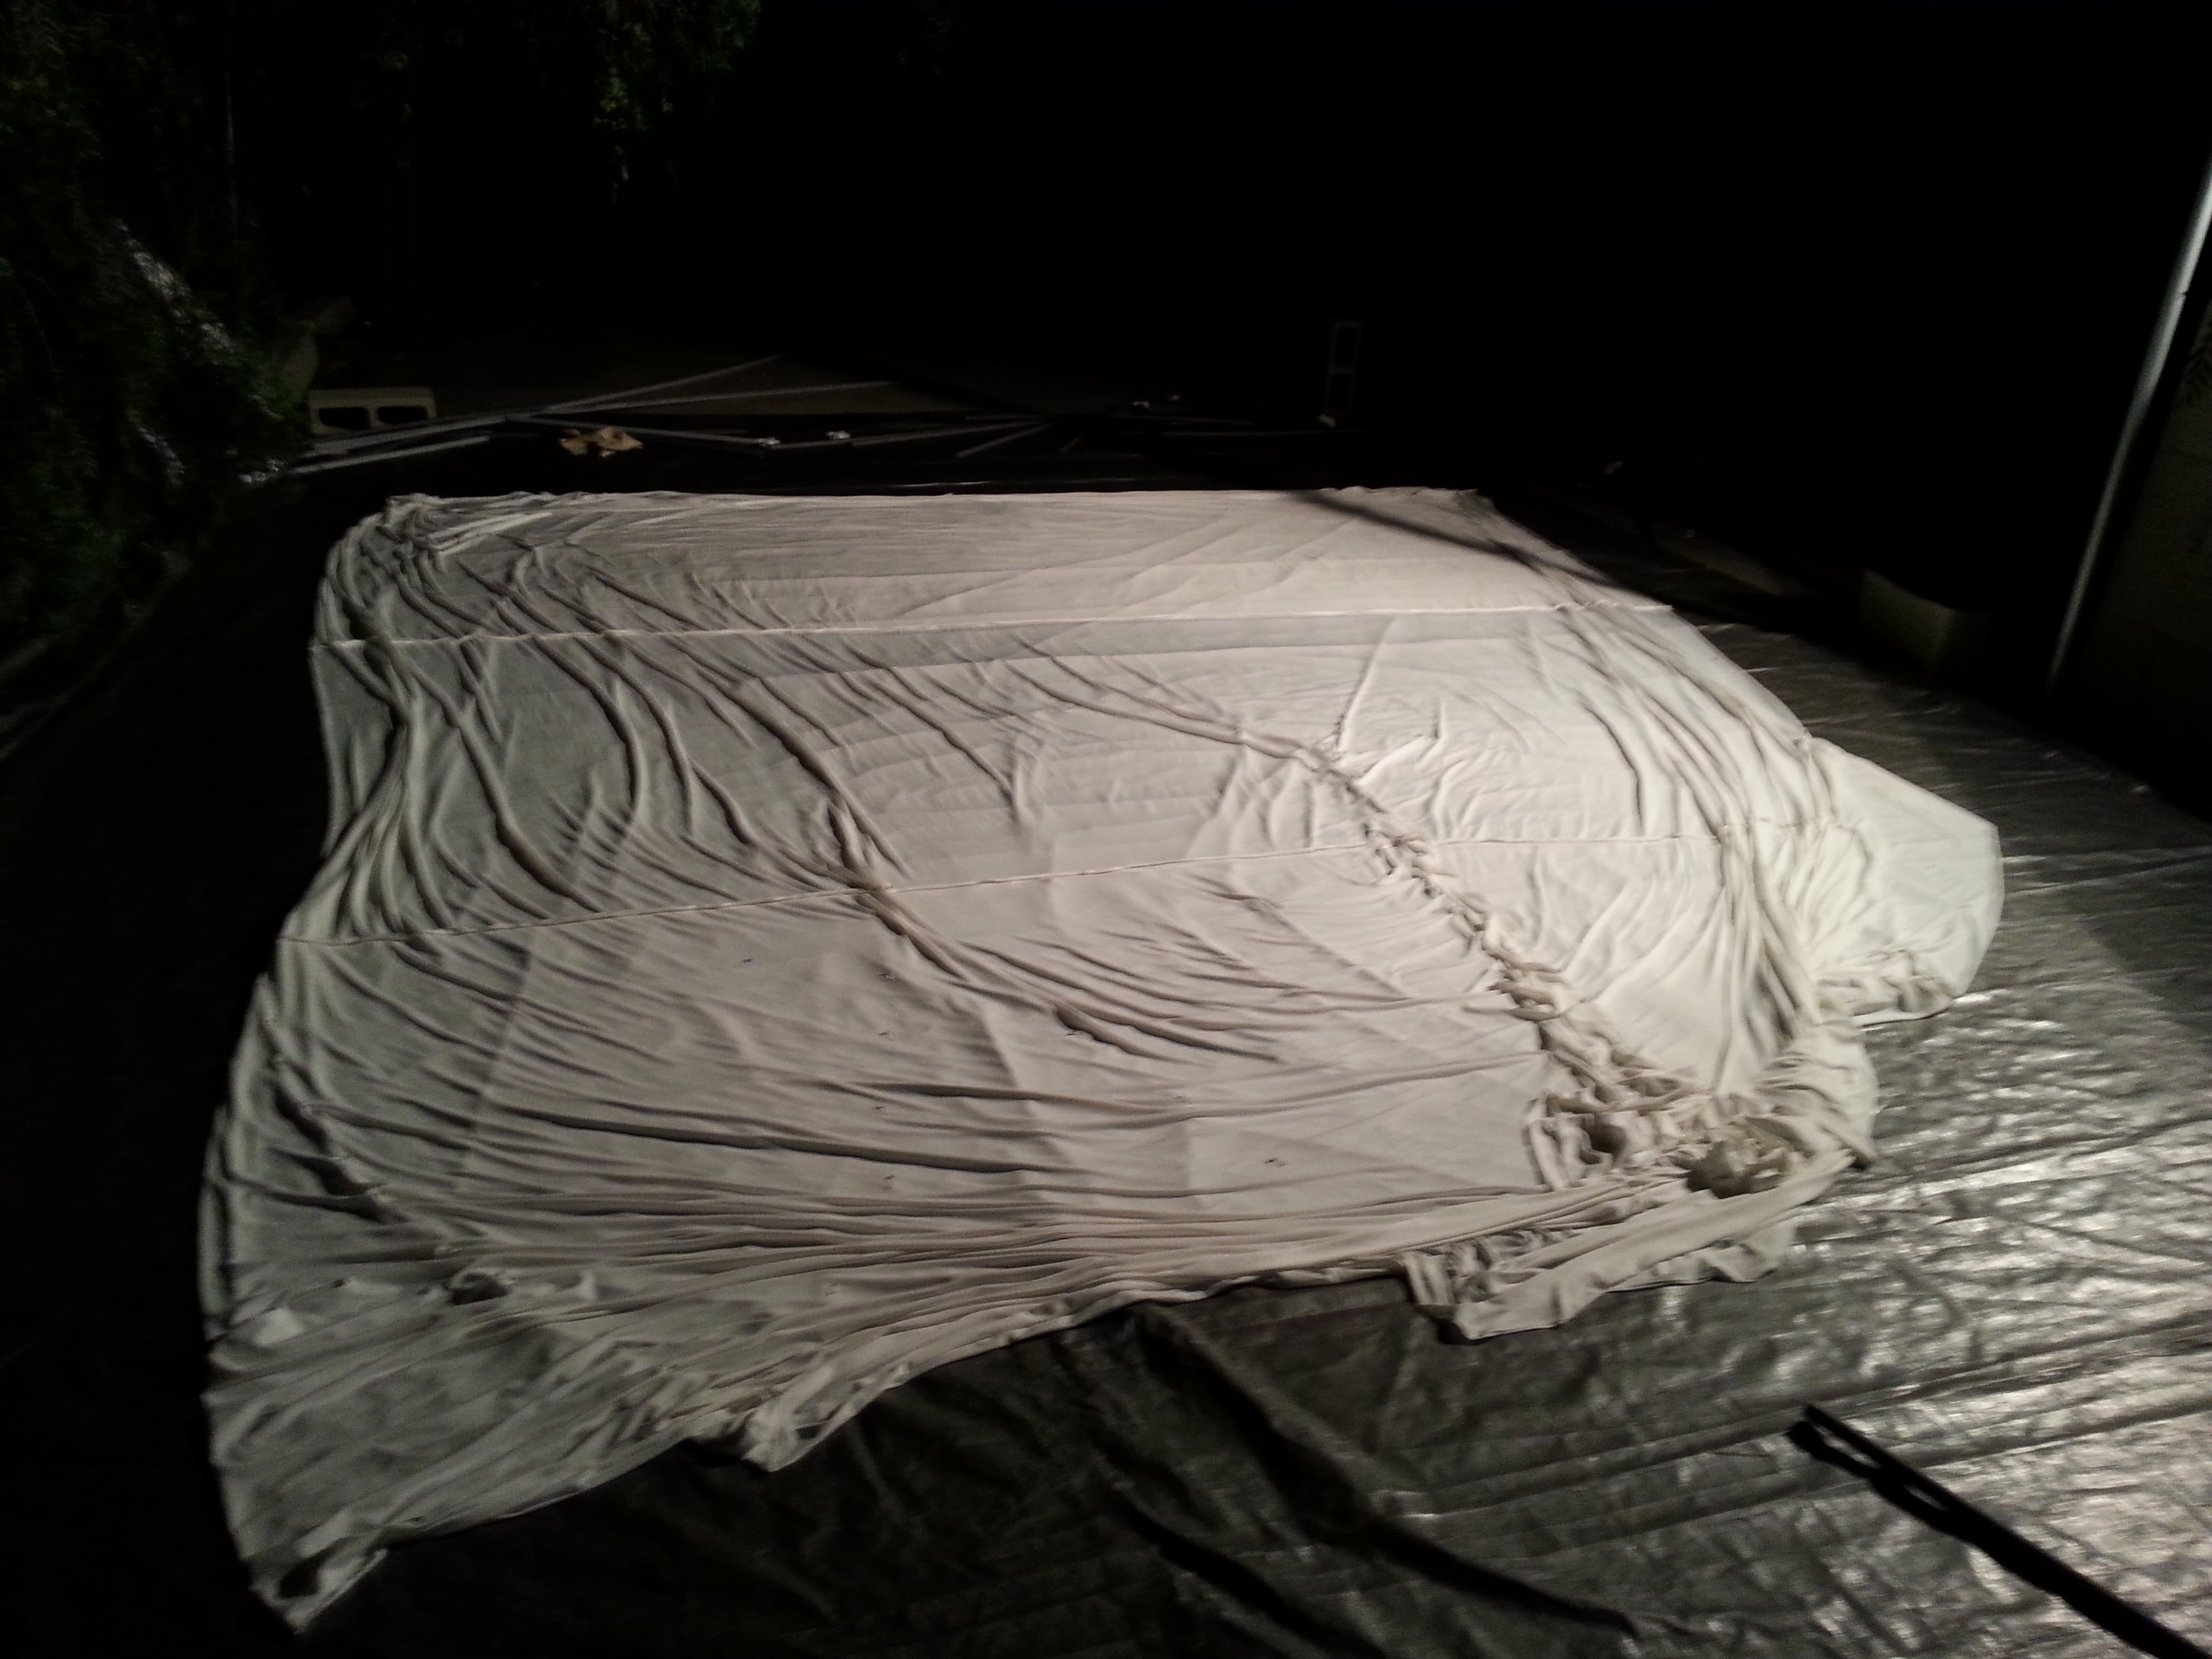
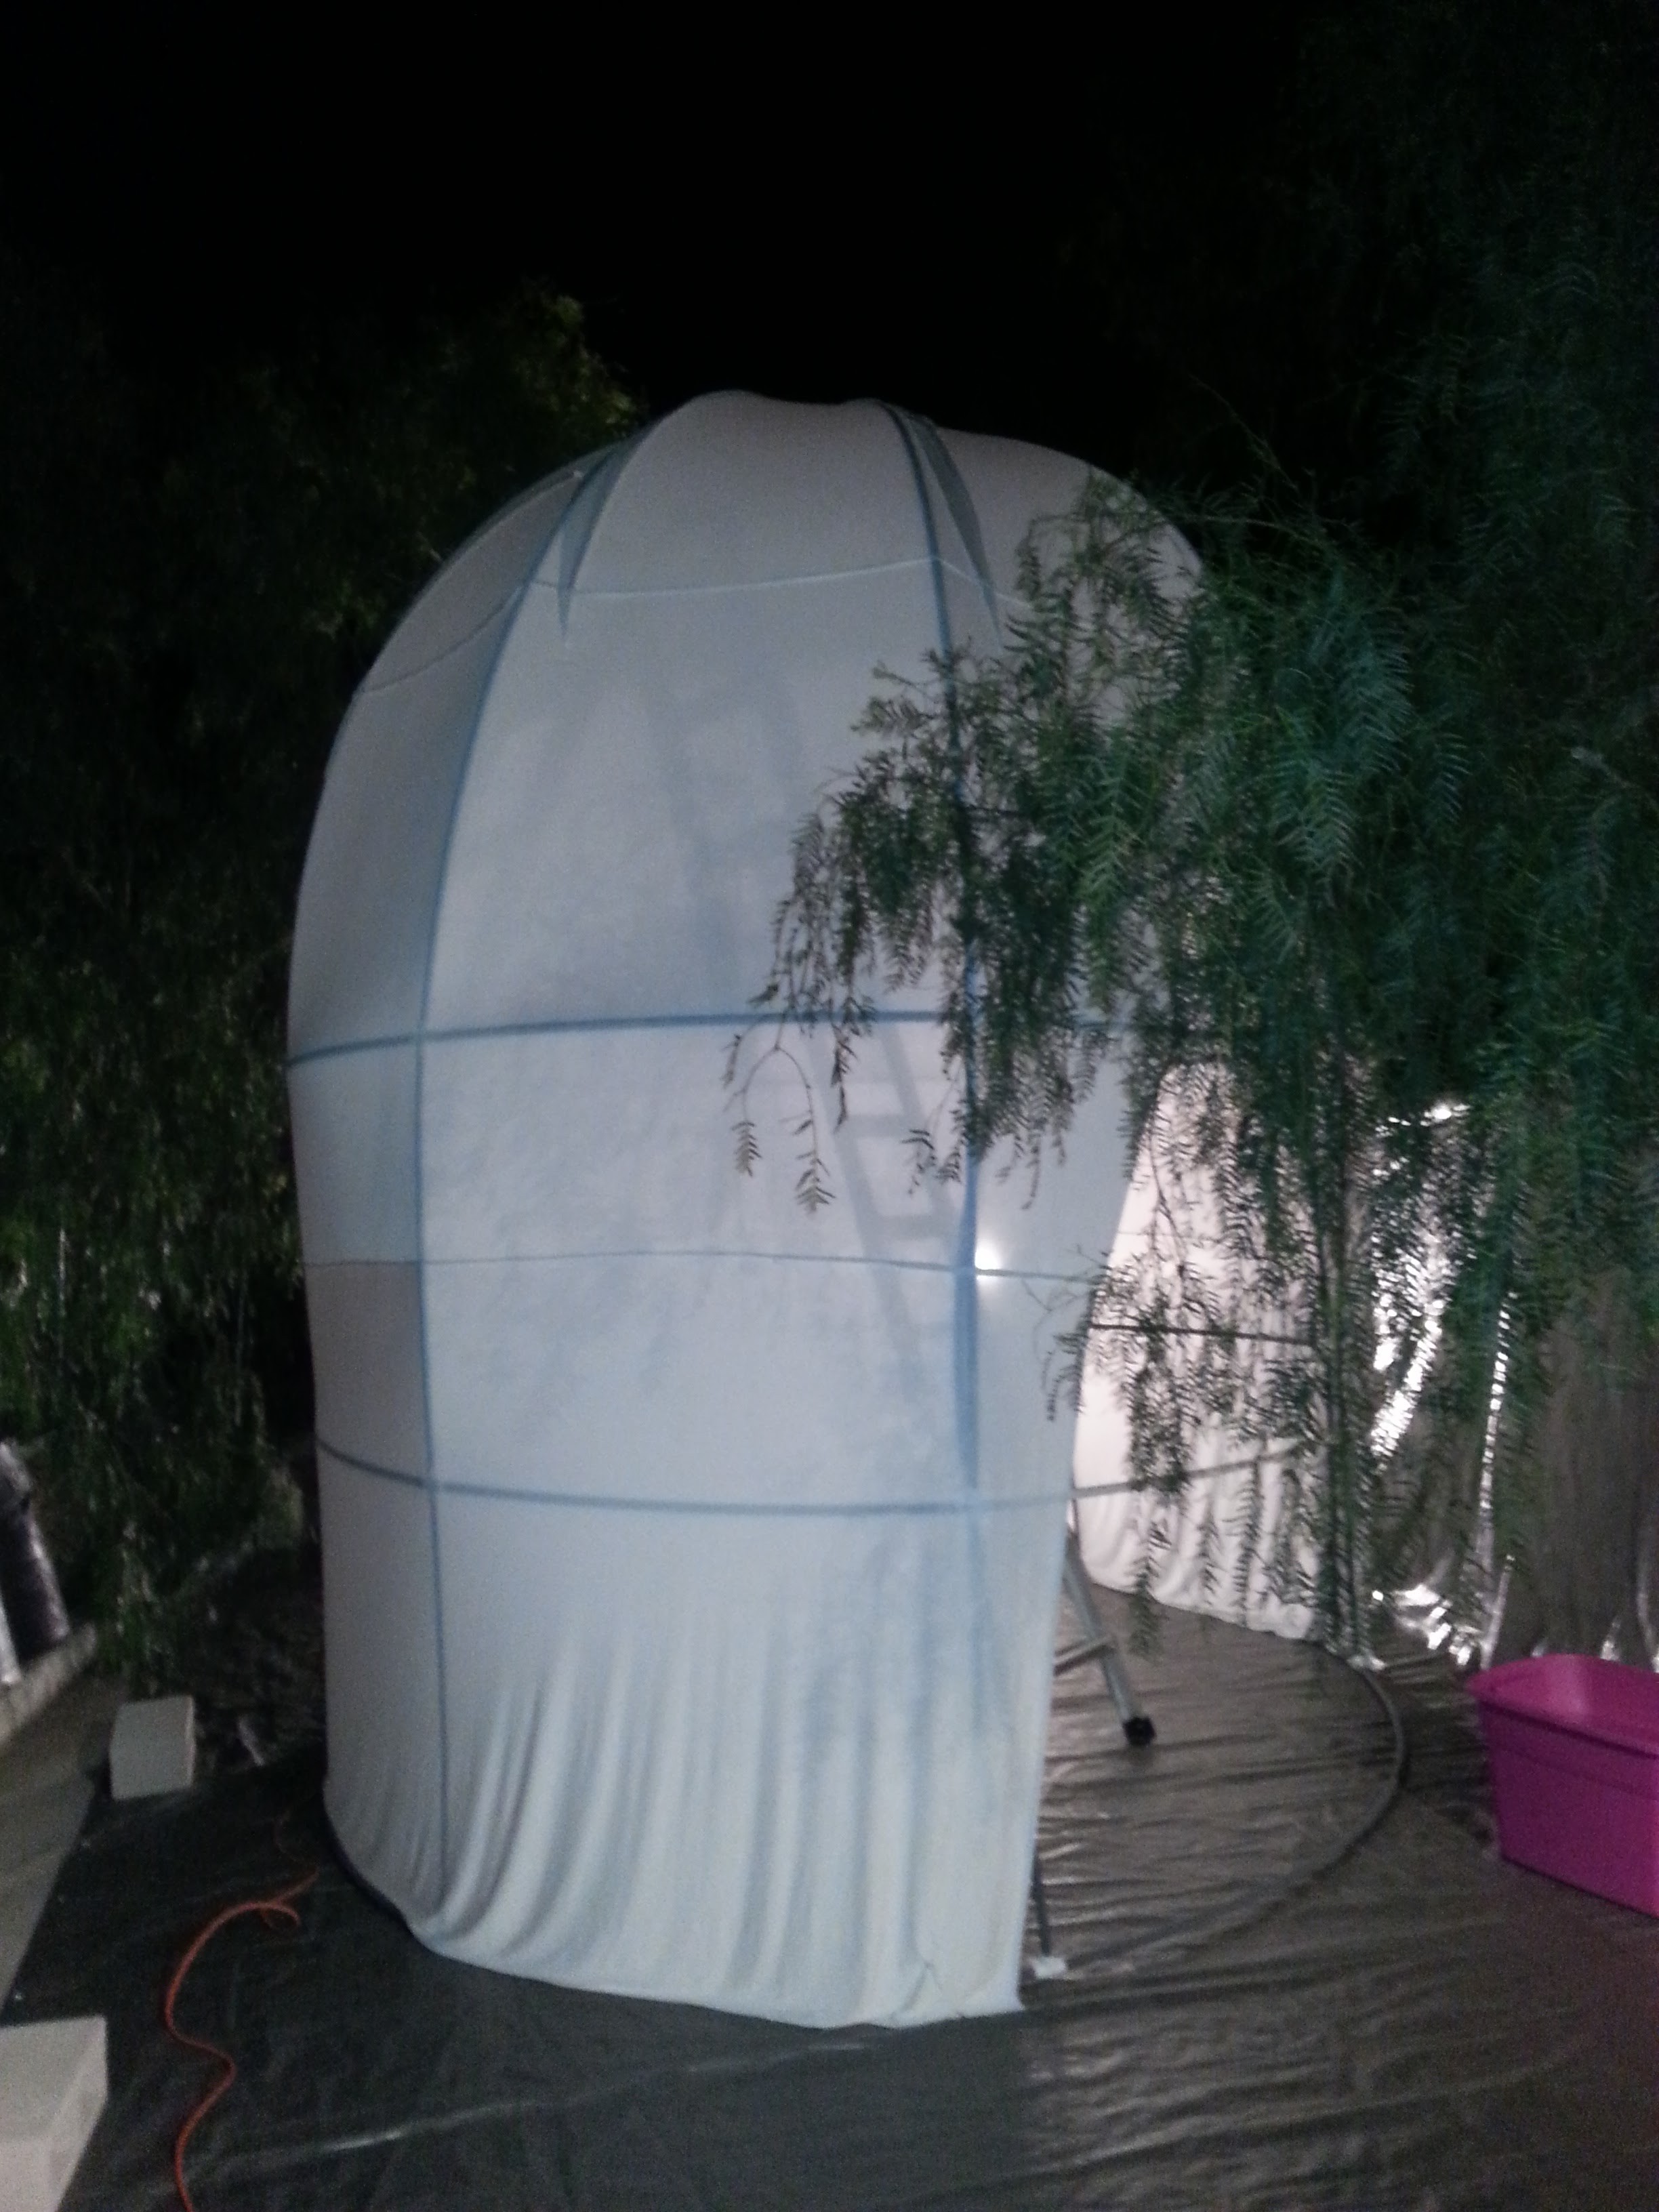
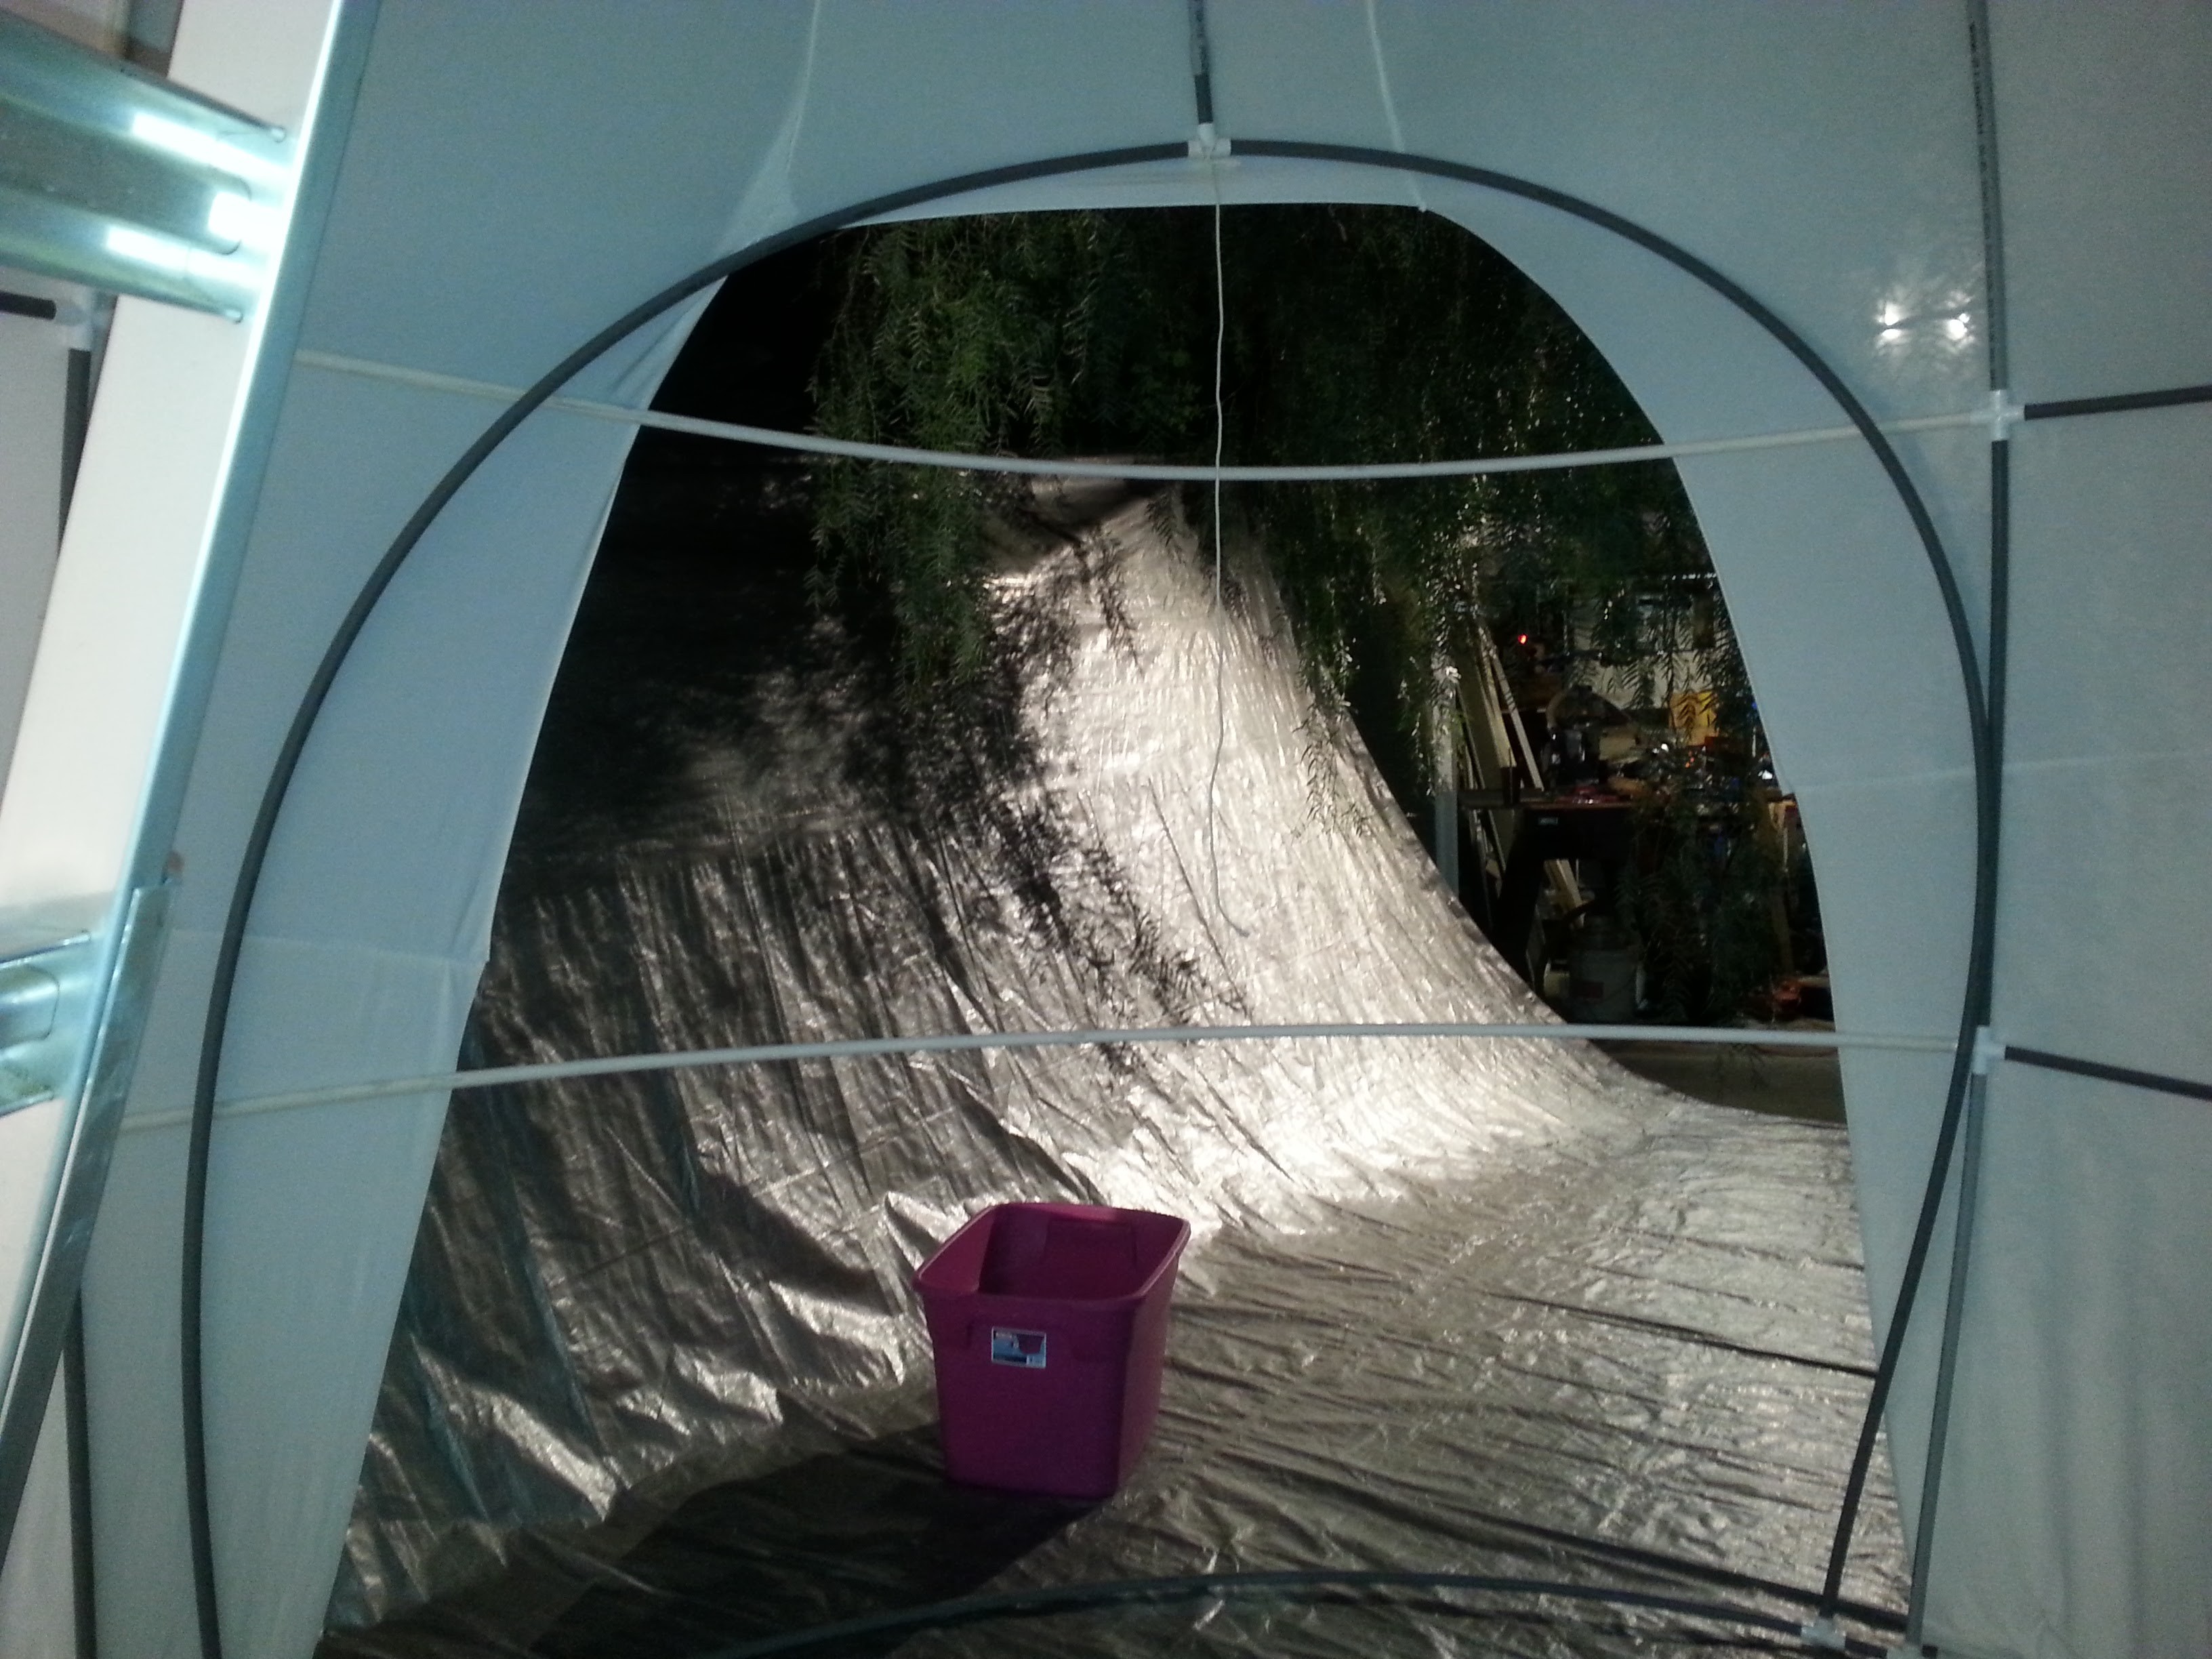
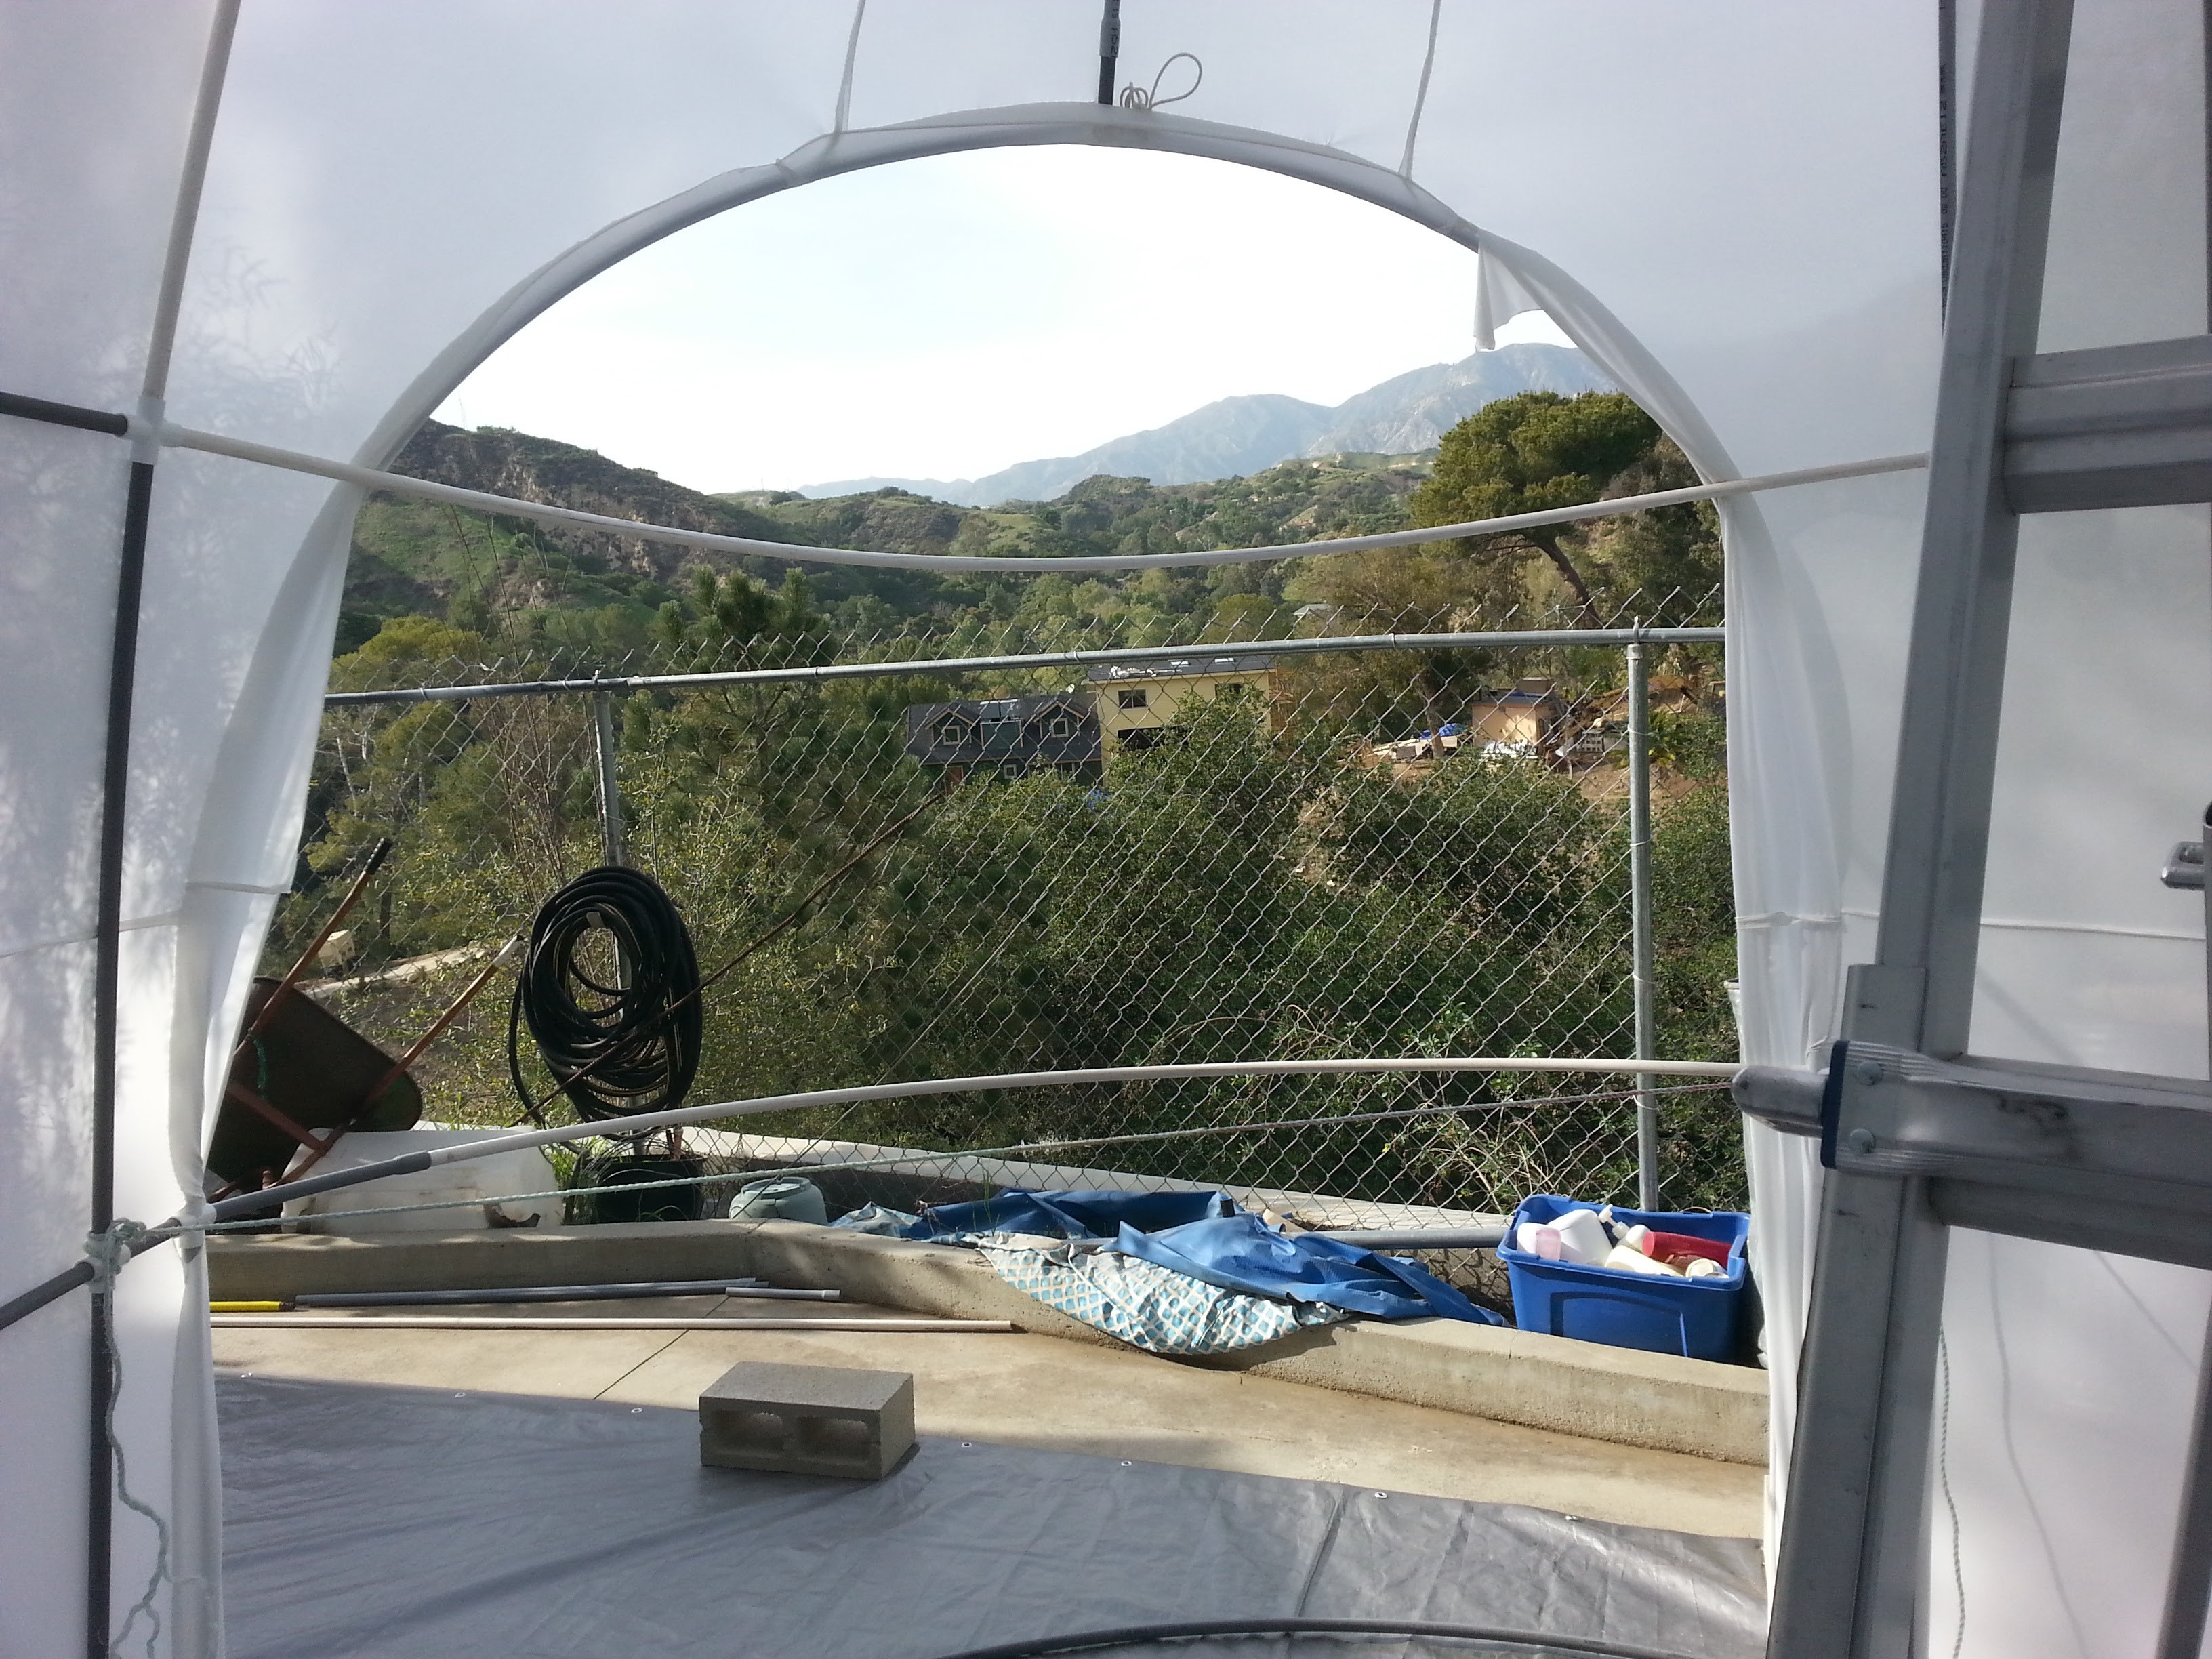
Finally, It is completely together. But there is still a lot of excess material hanging off.
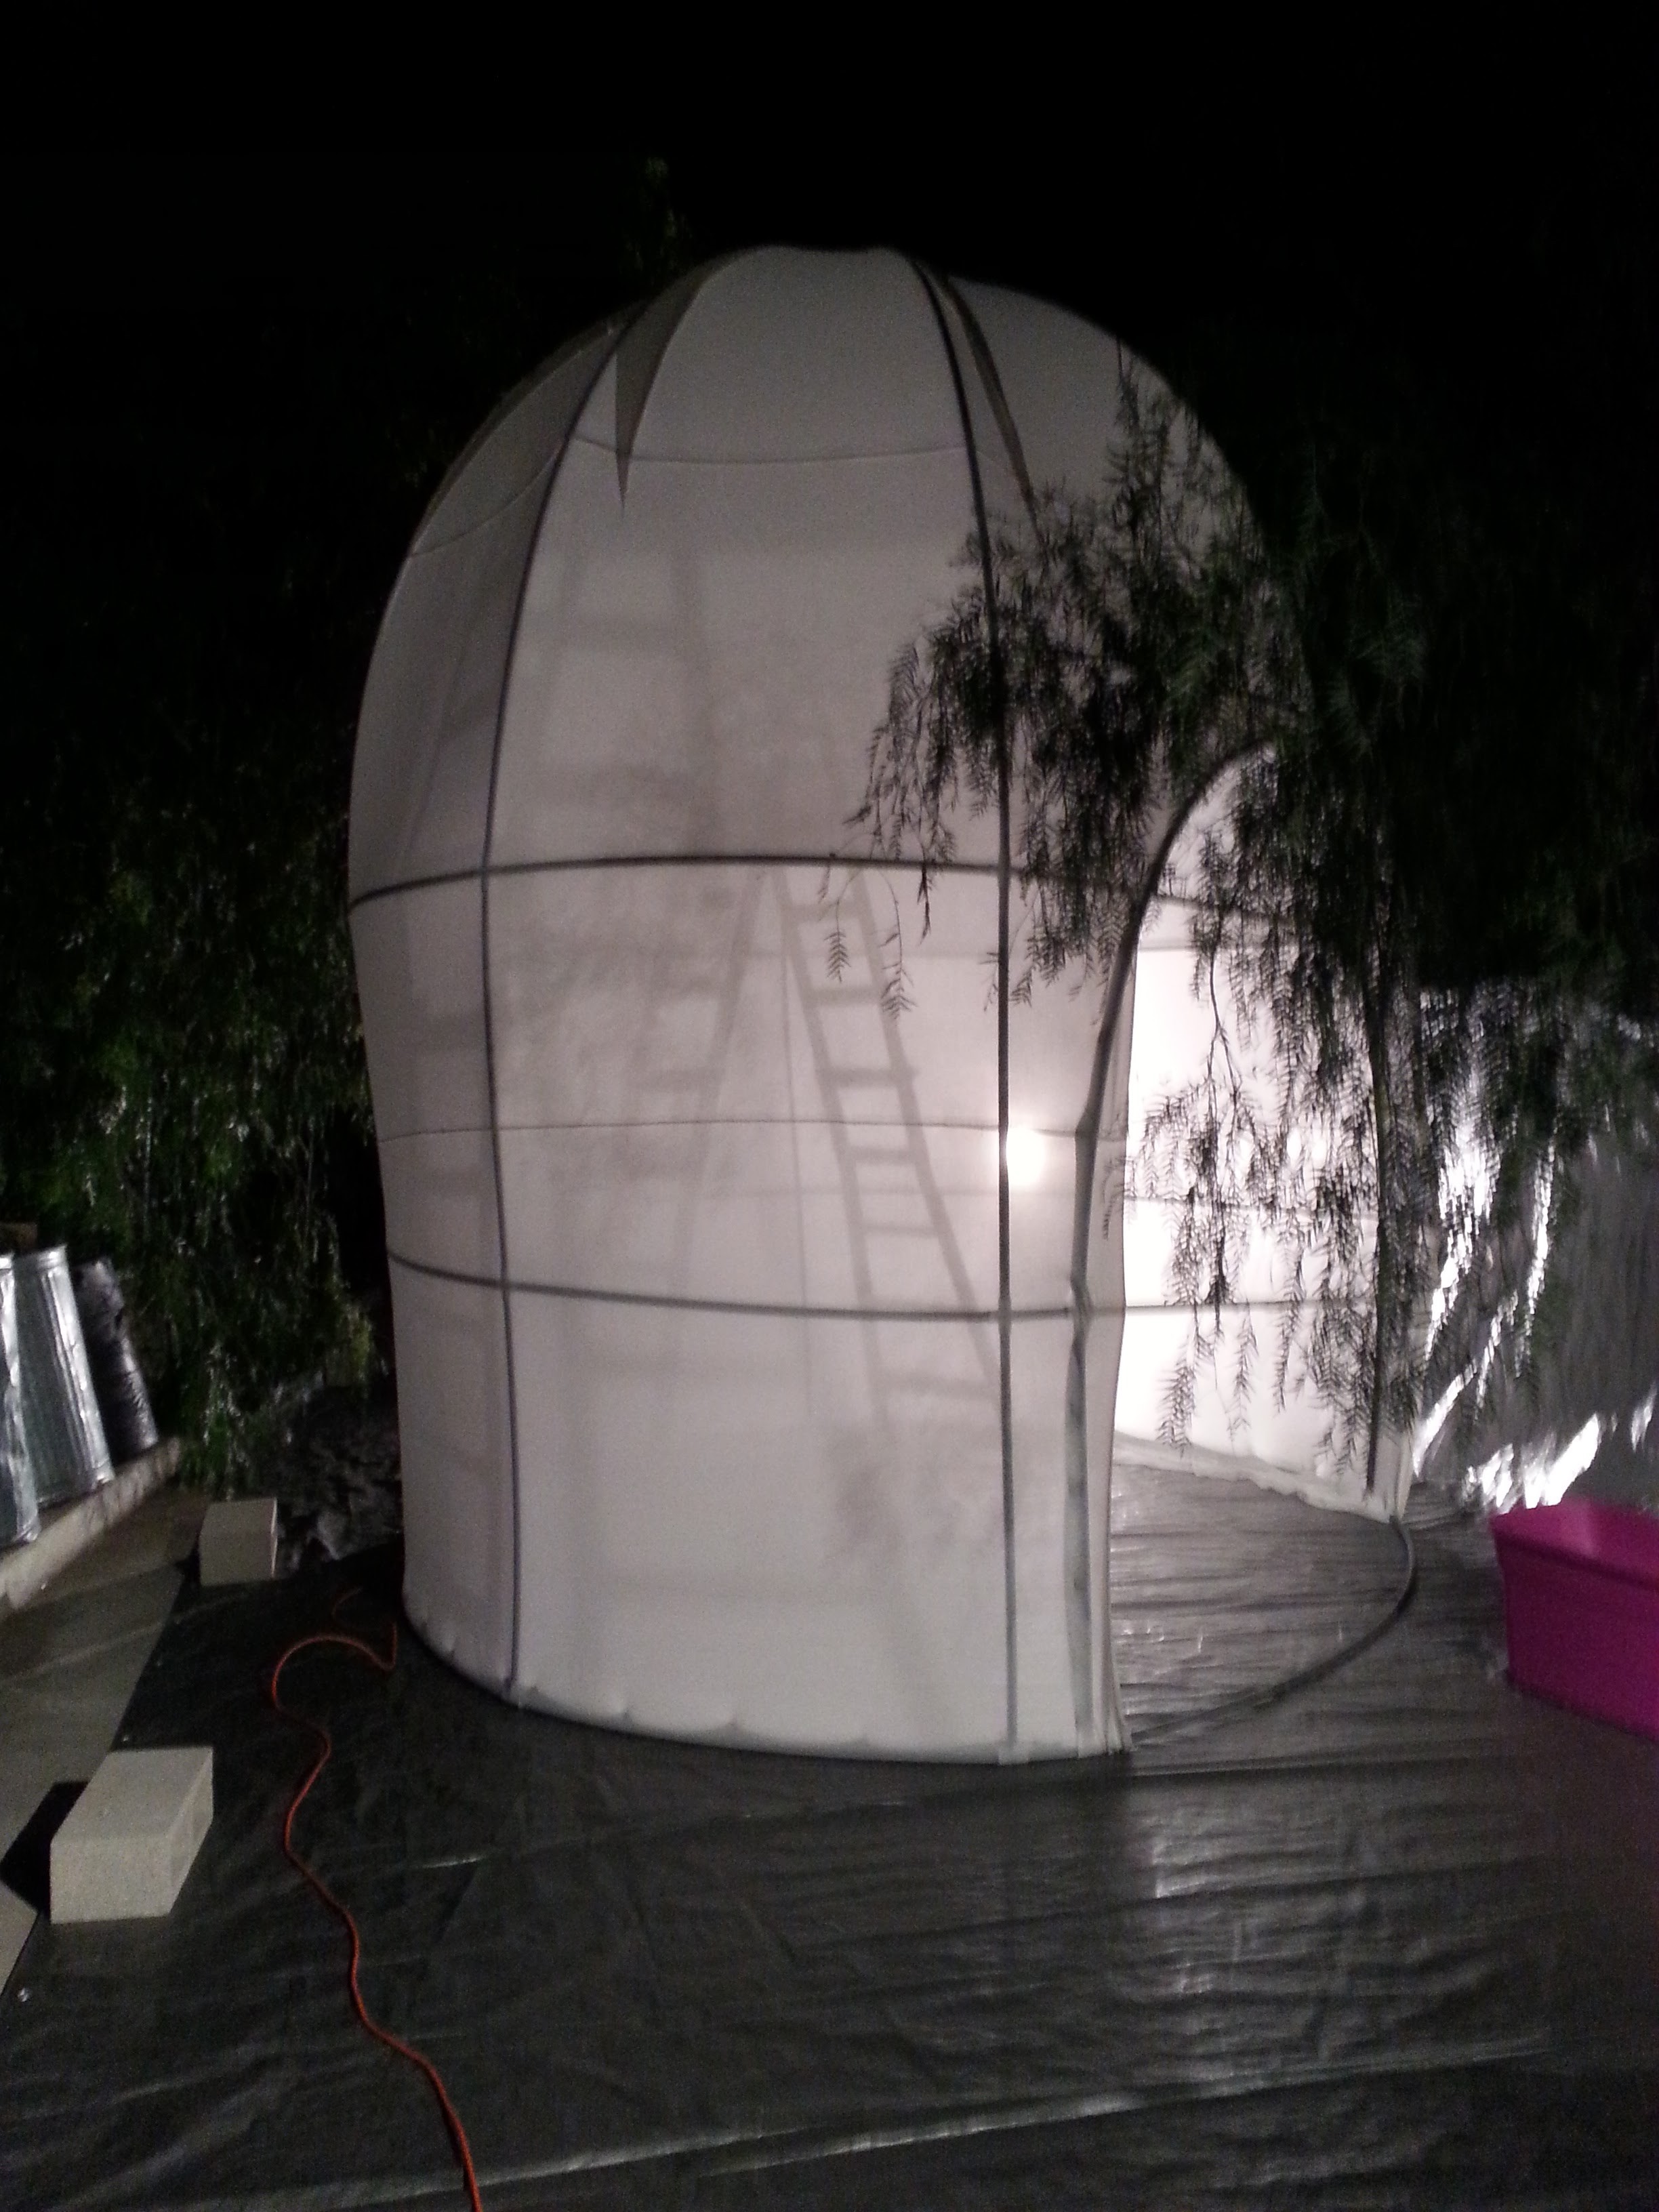
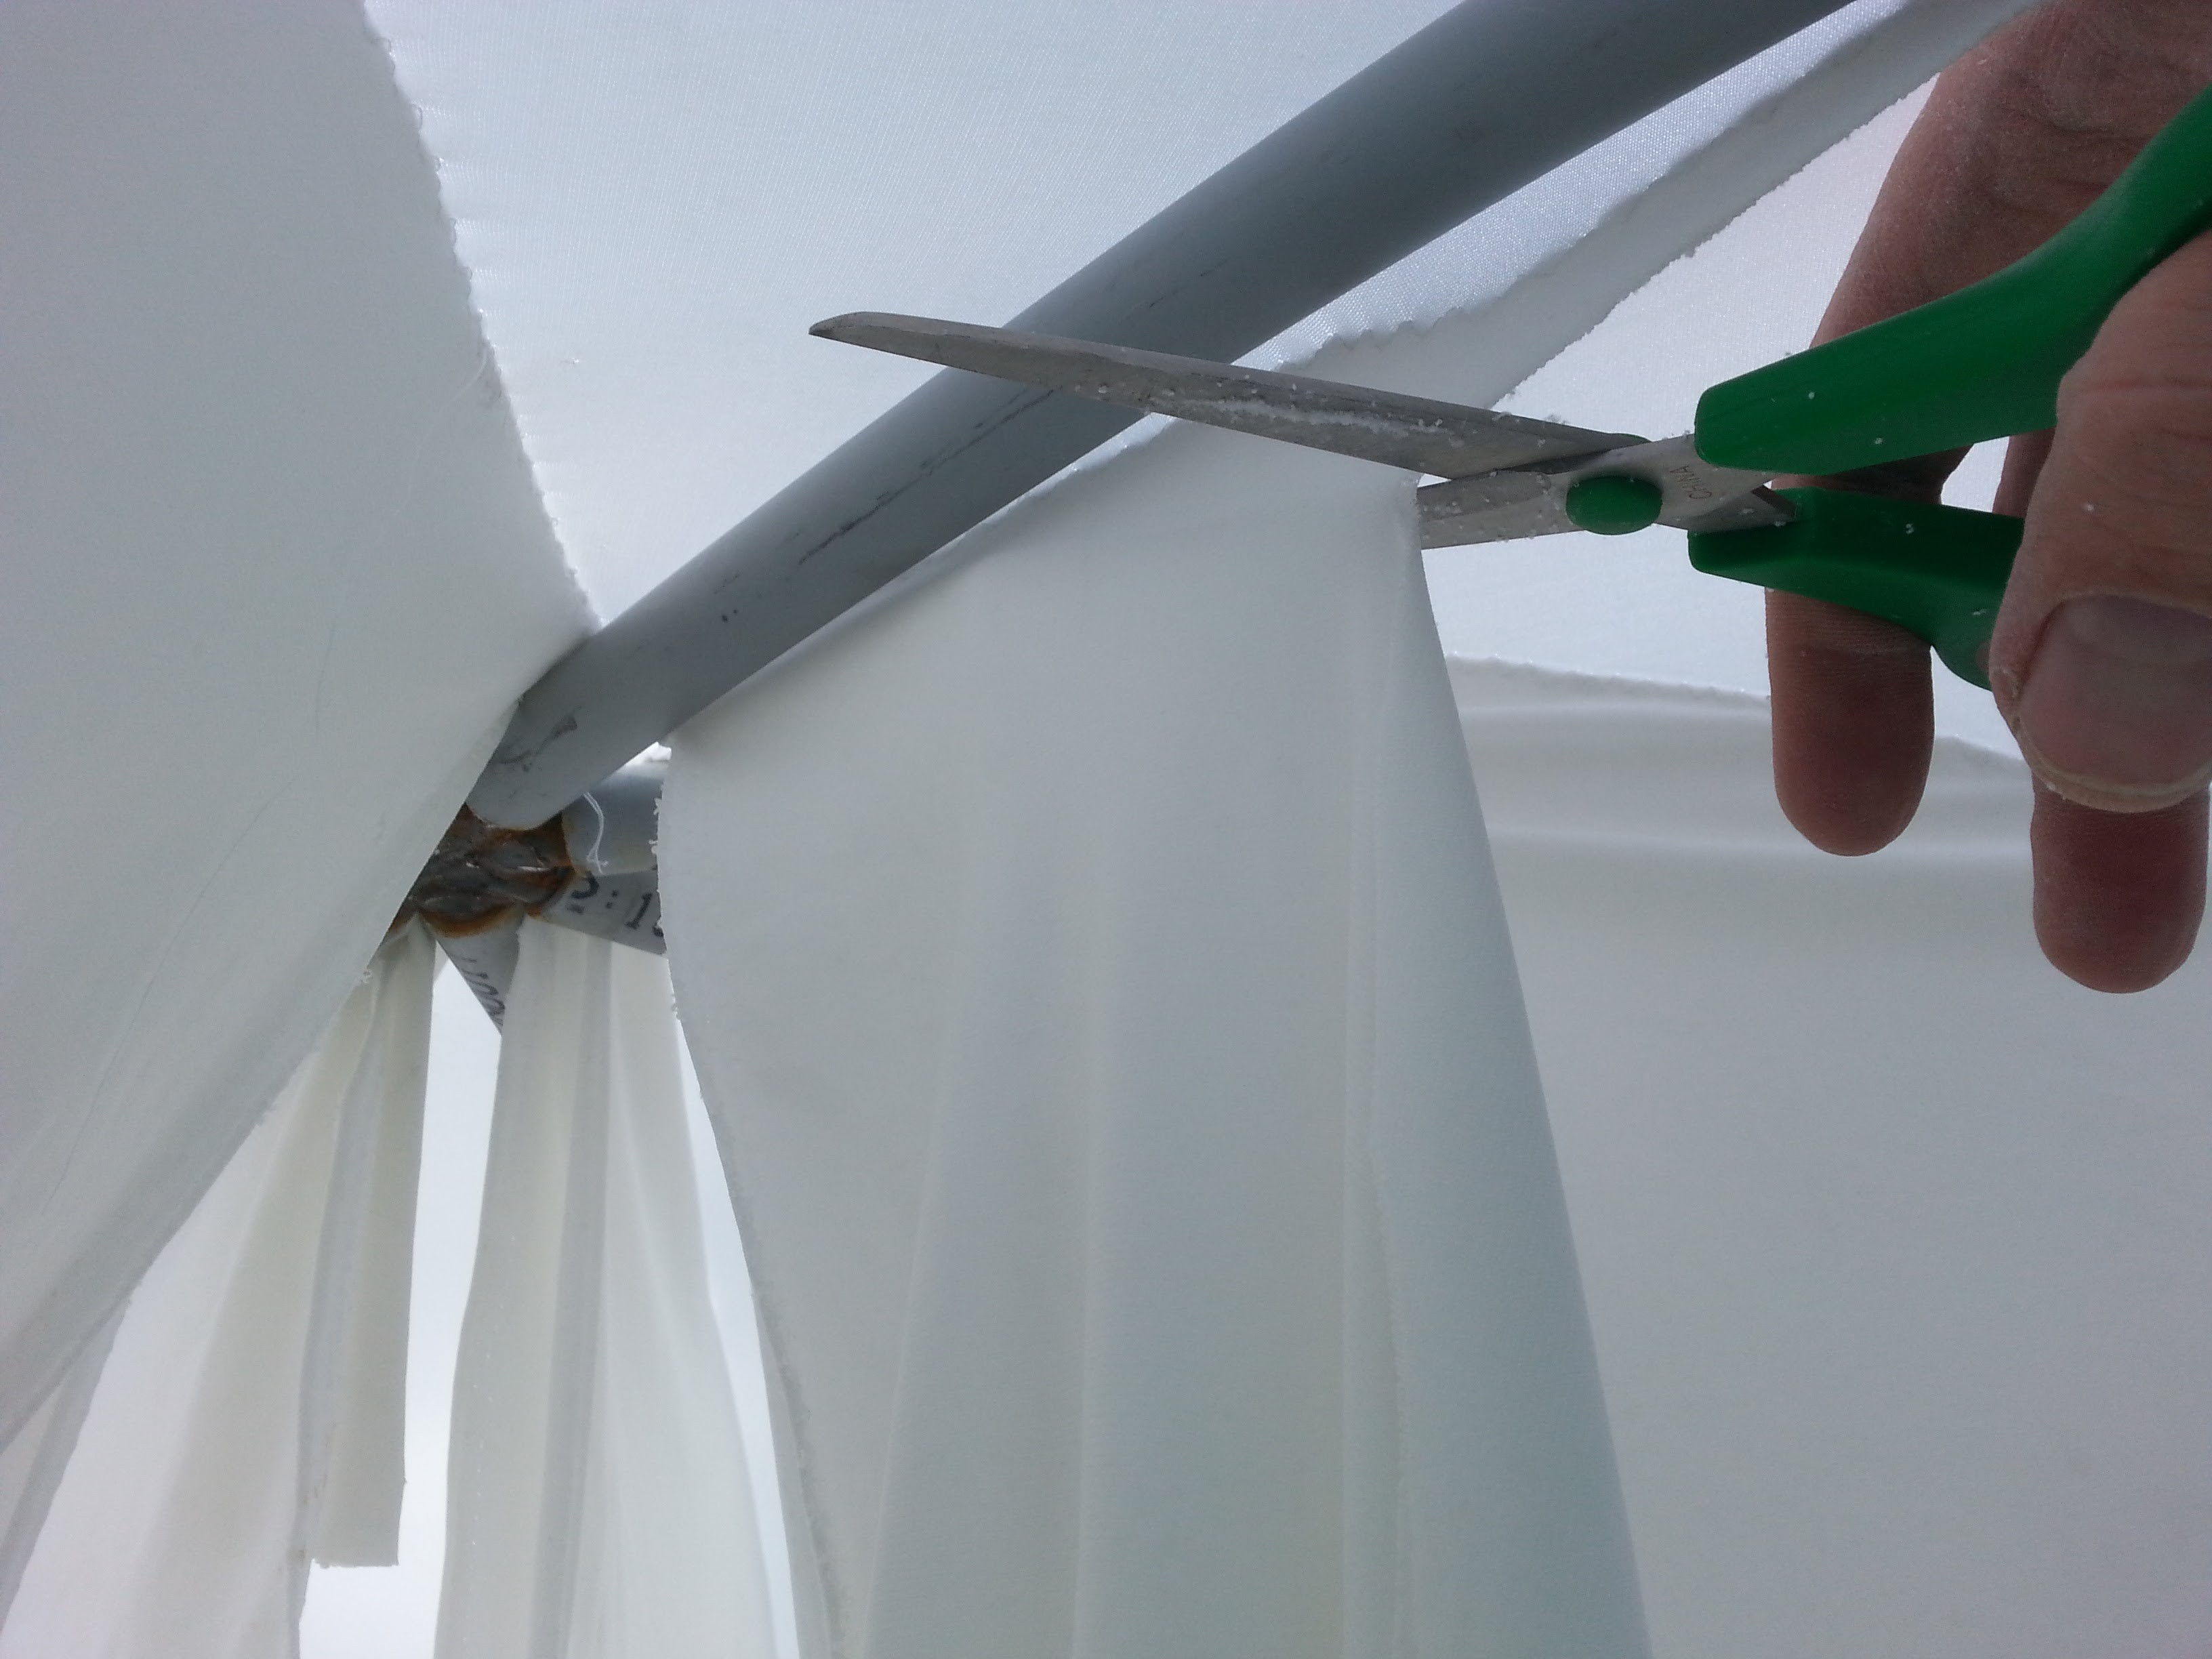
So it is time to cut.
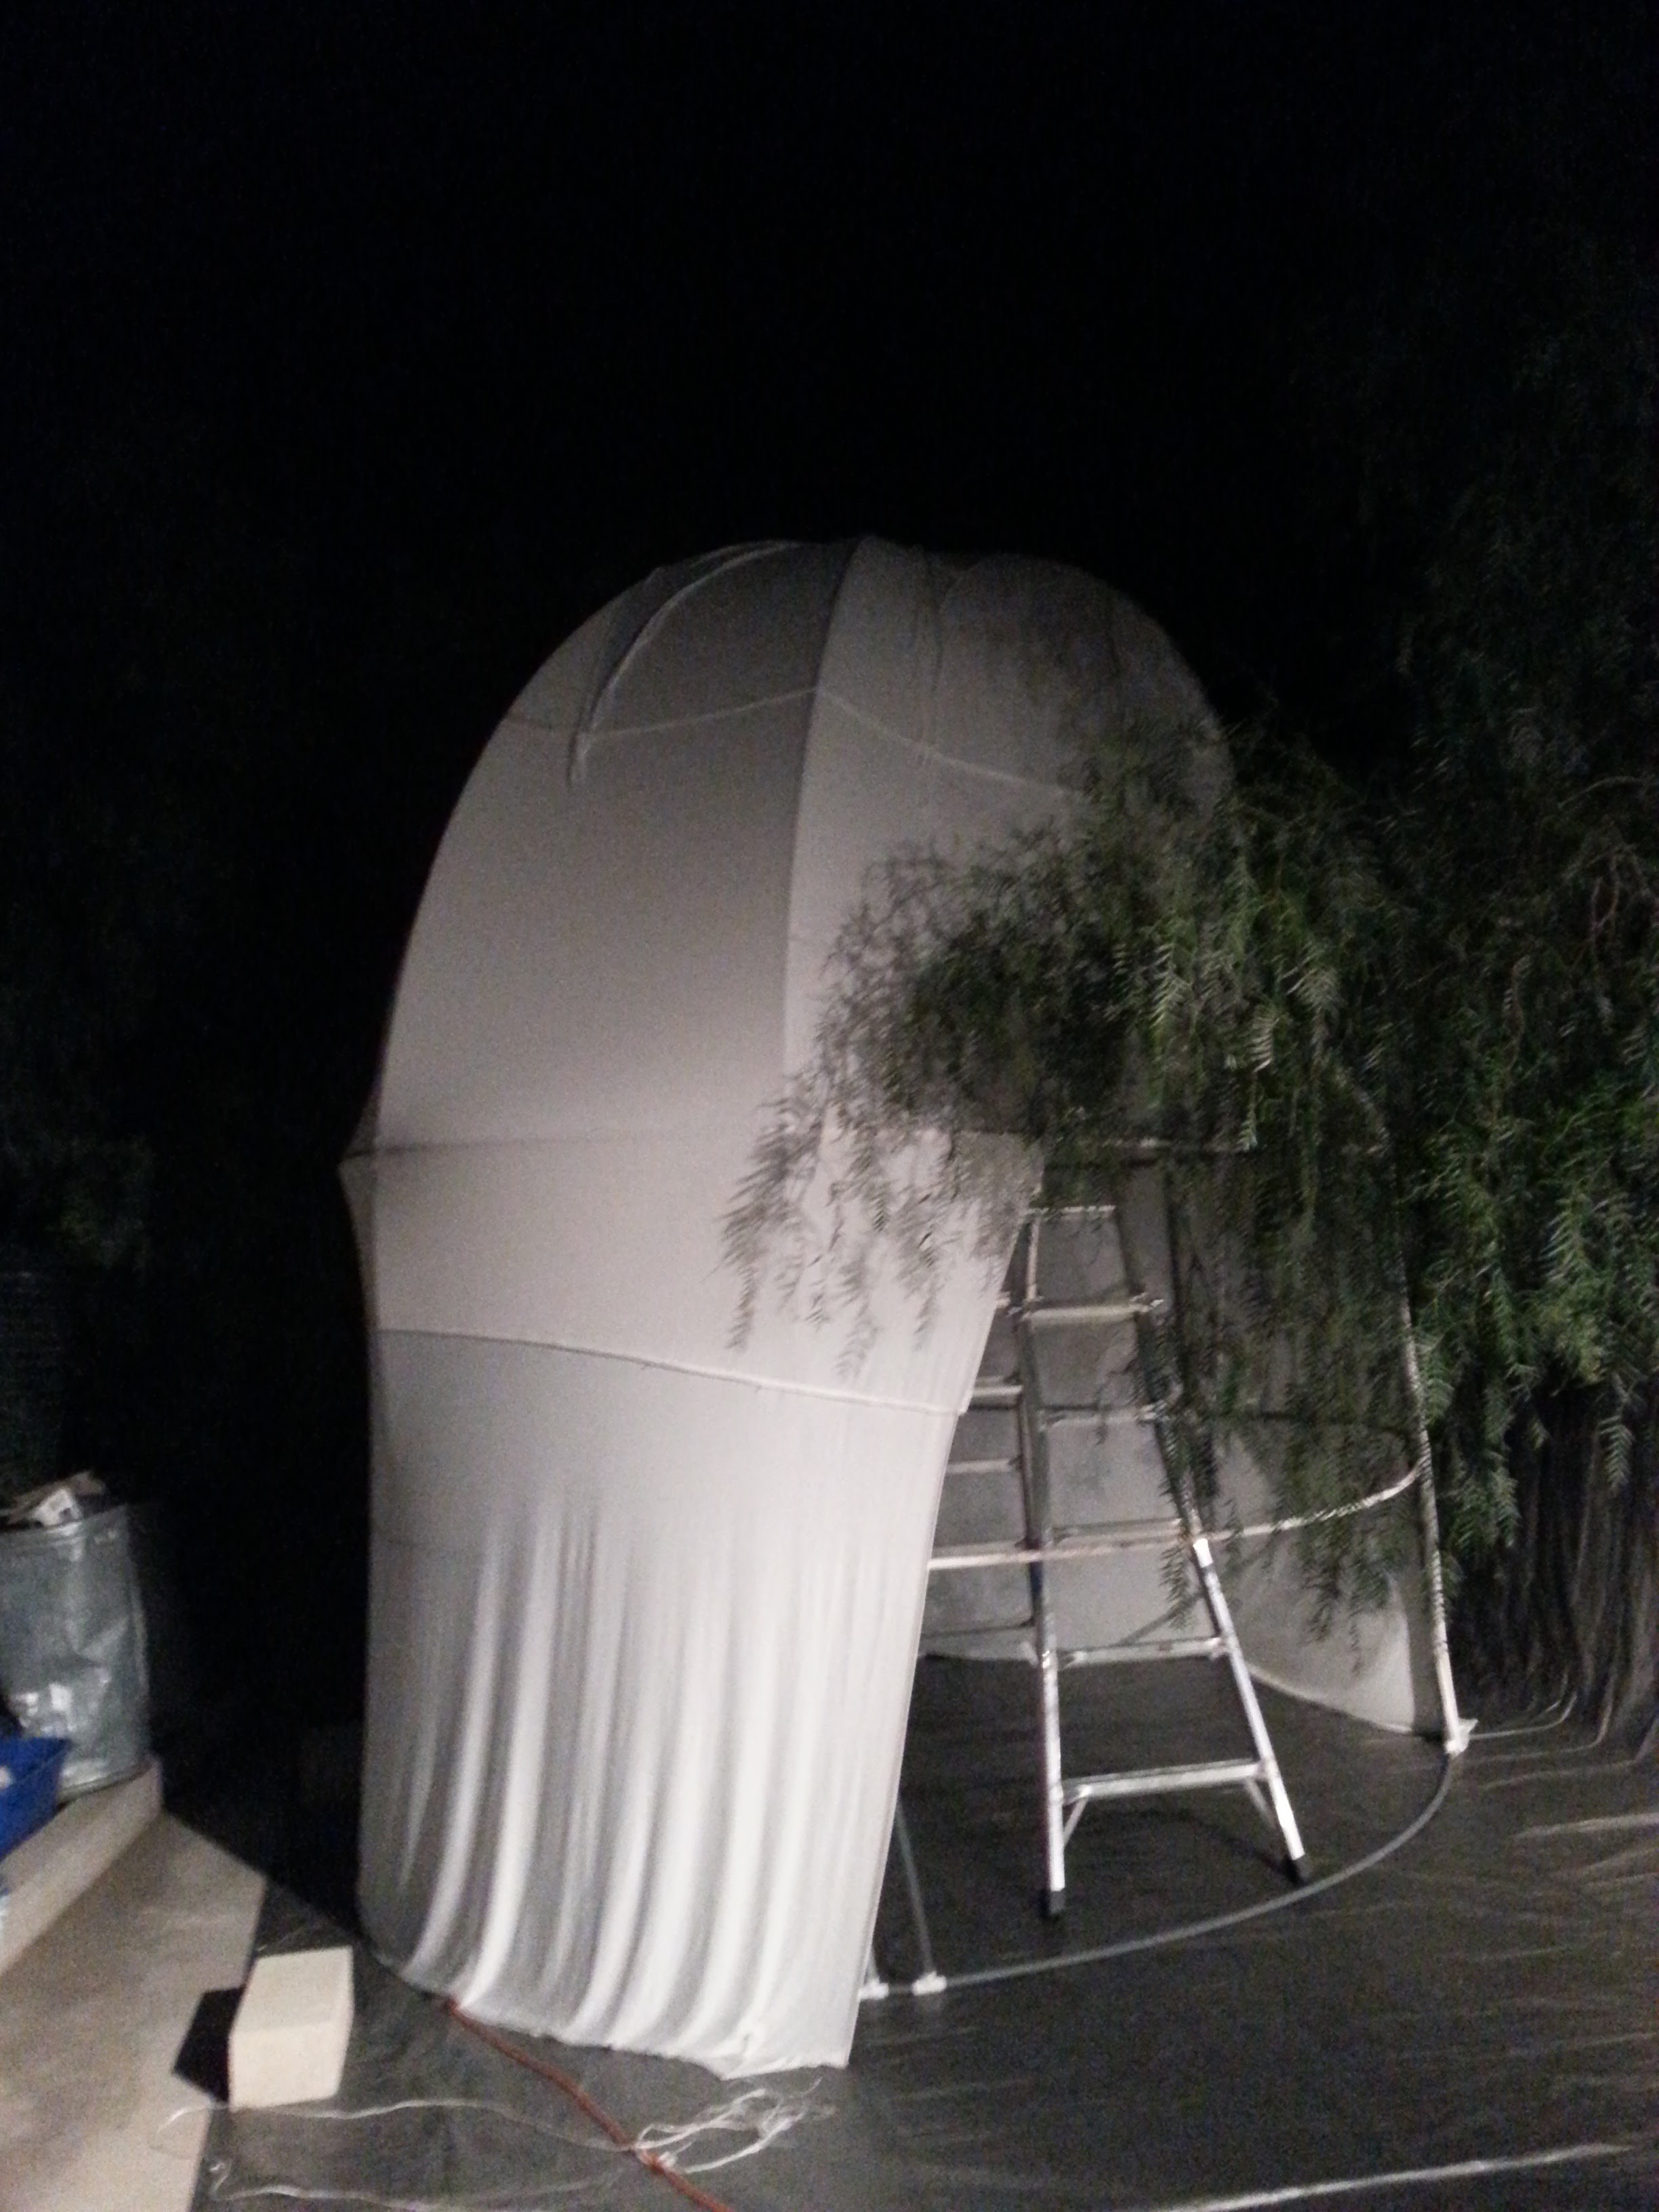
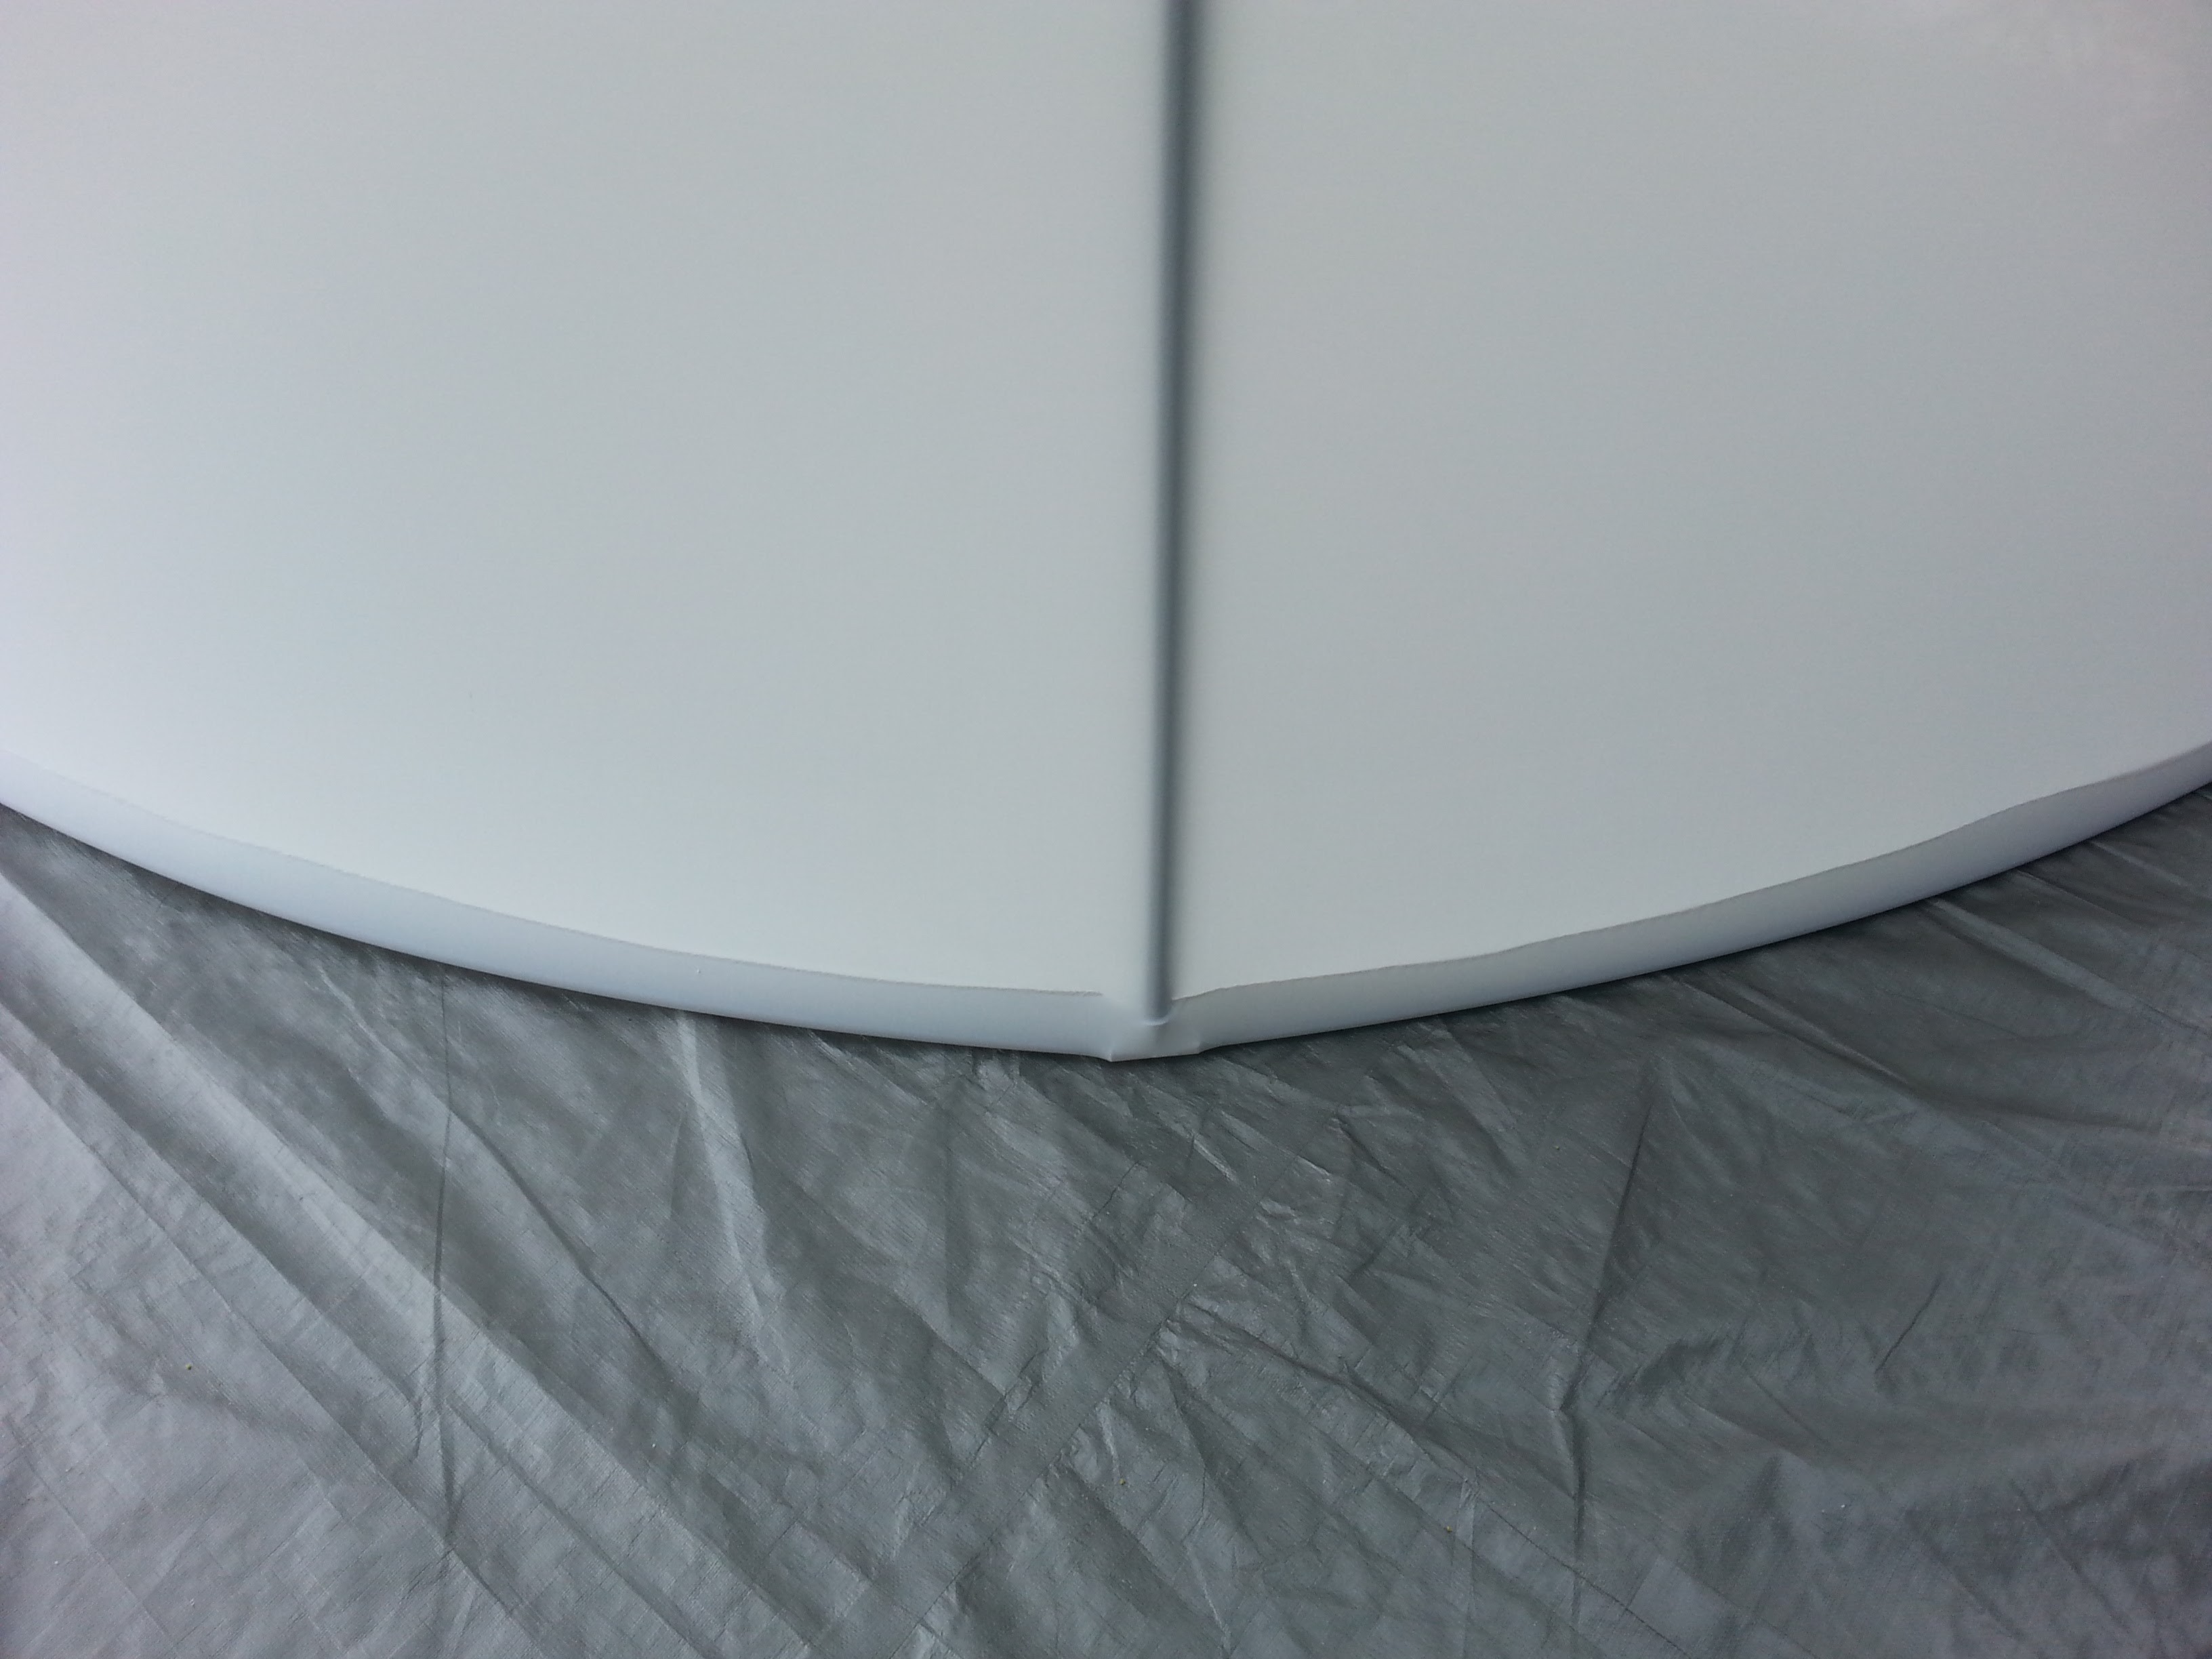
The edges look so clean!
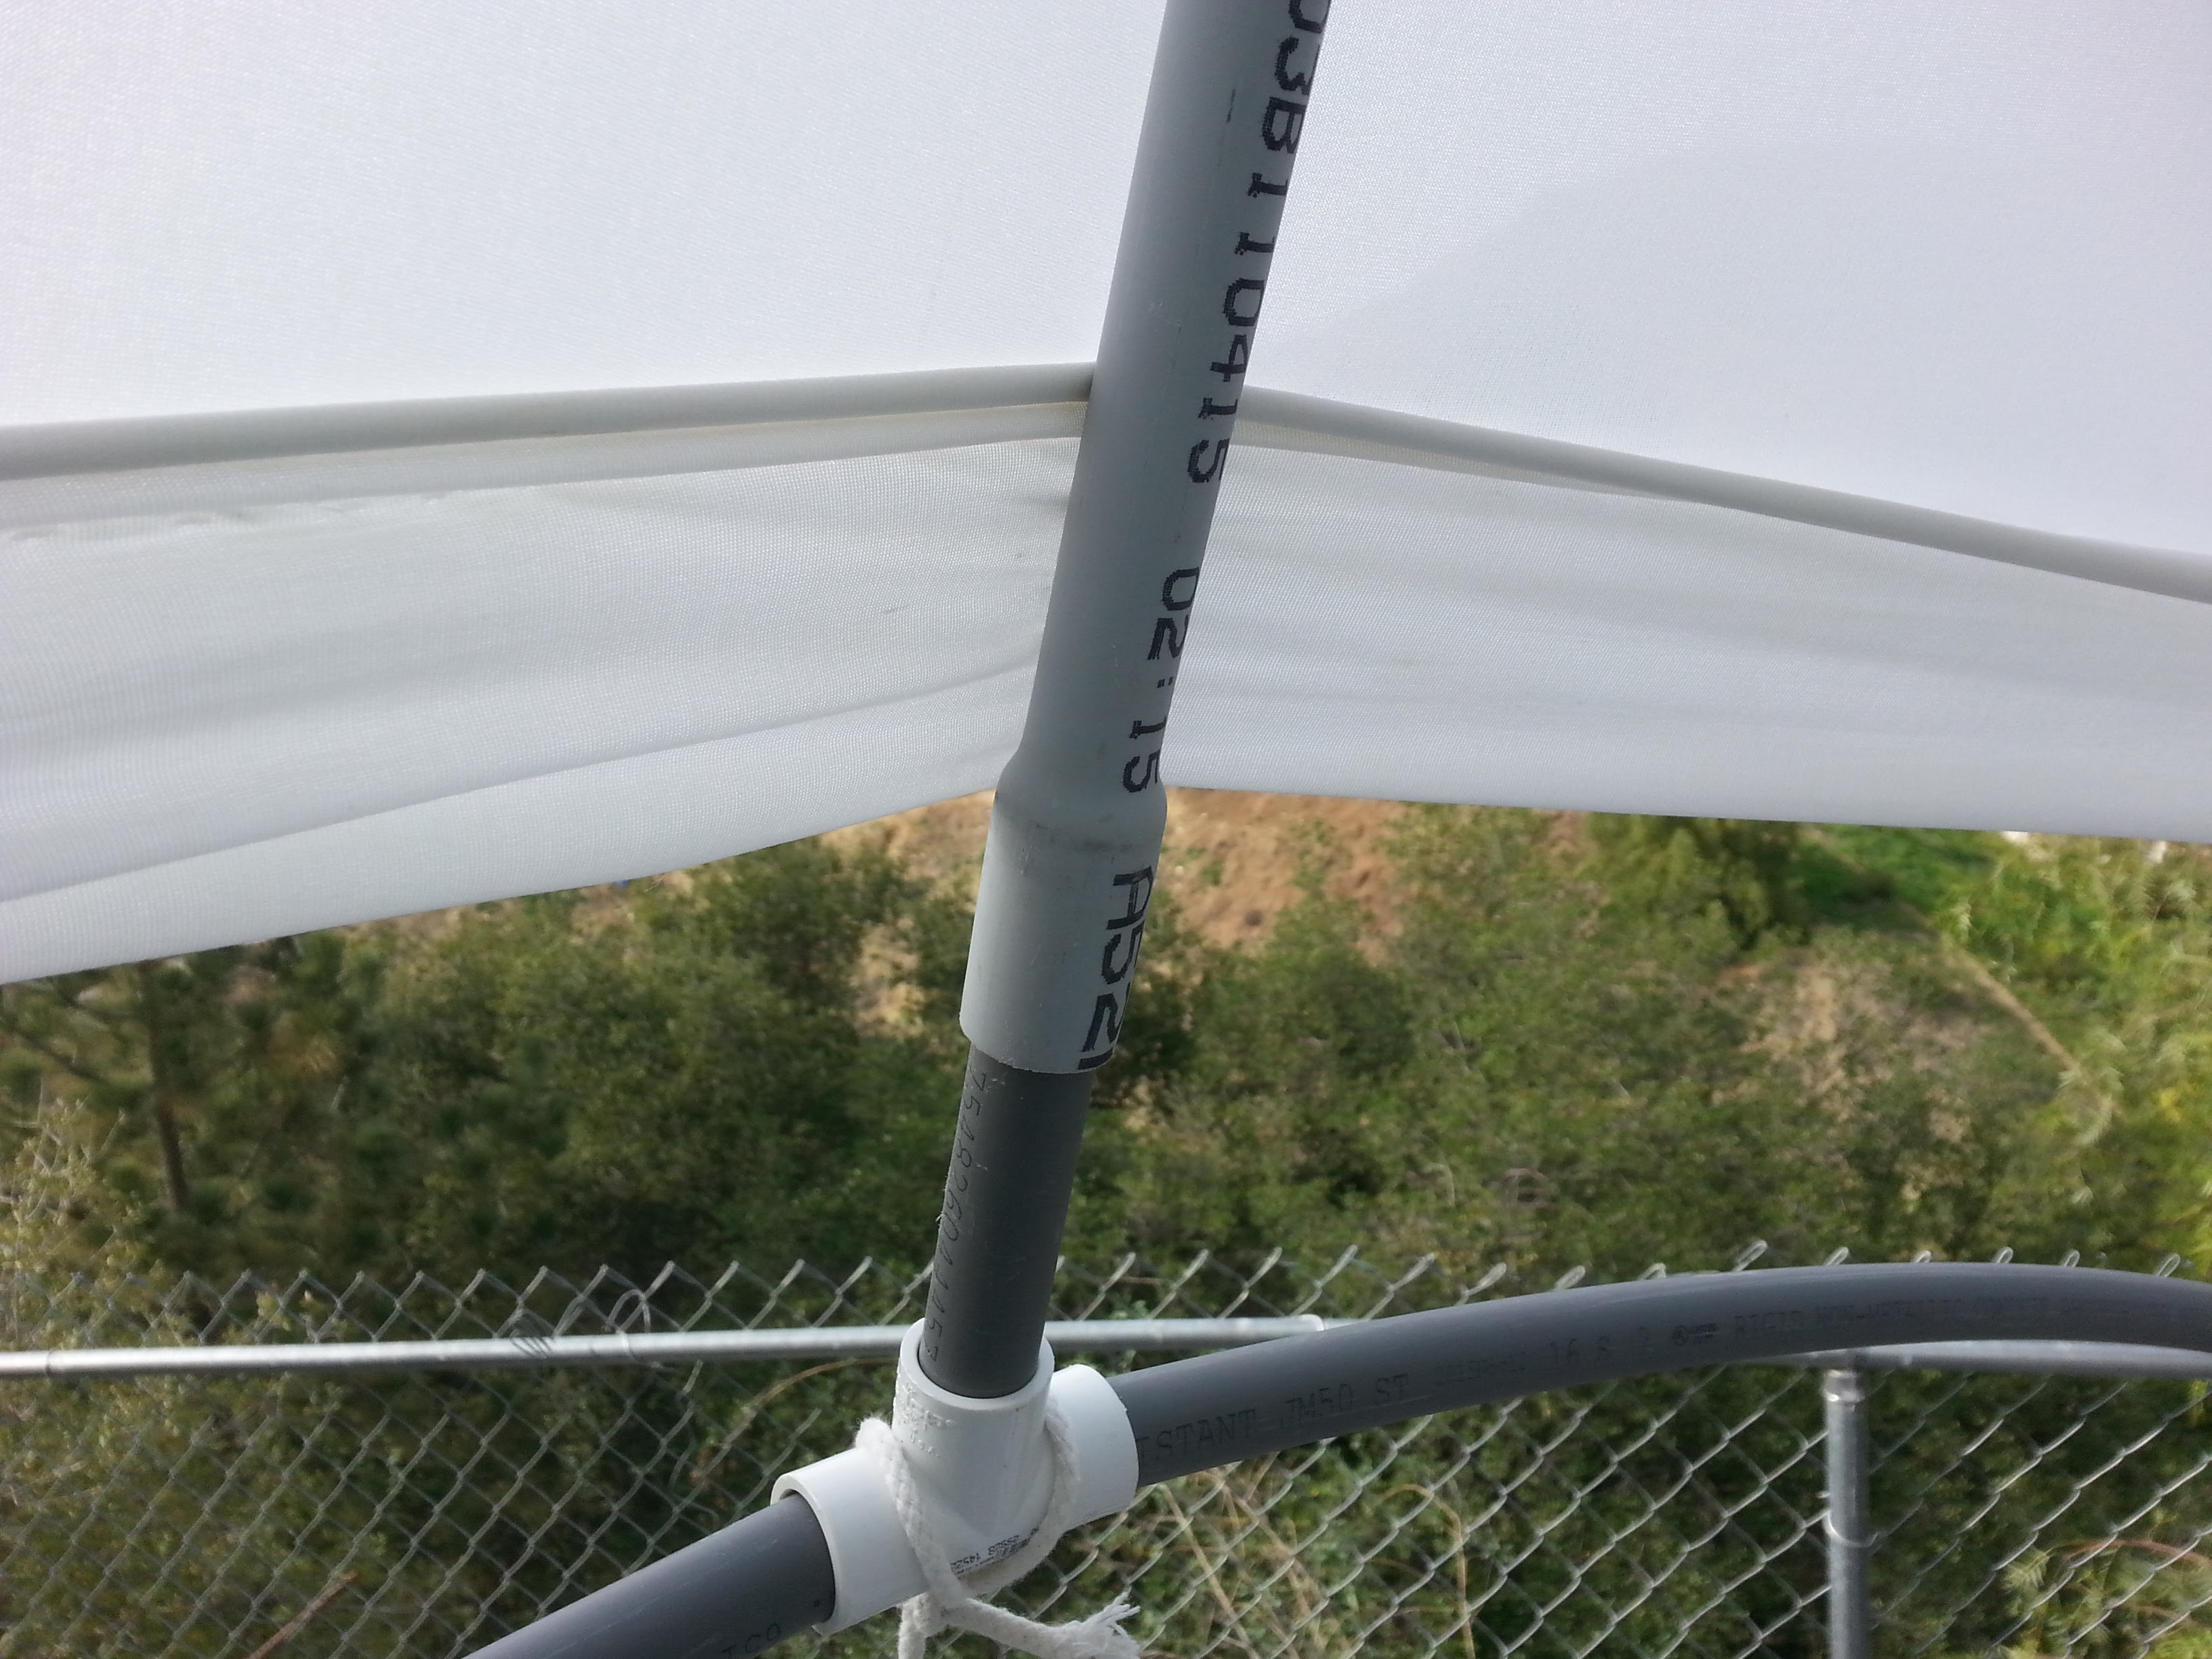
So, we now have a serviceable dome!
It still needs flame retardant. It could probably use another layer of bracing near the top. The rest of the PVC joints should probably be replaced with metal joints, and I have no way to mount the projectors. My work is never done!
Discussions
Become a Hackaday.io Member
Create an account to leave a comment. Already have an account? Log In.