 Vladimir Savchenko
The goal of this project is to lower the bar to IOT Development as much as possible and allow a wider group of people to feel the joy of "physical" computing.
Recently i've been asked in my company to deliver a training on IOT Development. I announced that I'll explain how people would learn how to join the IOT Stream using a simple 4$ device (for myself I meant, buying few NodeMCUs or Wemos.cc's, and letting the people connect some stuff ona breadboard). 200 out of 500 people enrolled. This surprised me quite a lot. Apparently everybody wants be part of IOT (whatever that means for any of them).
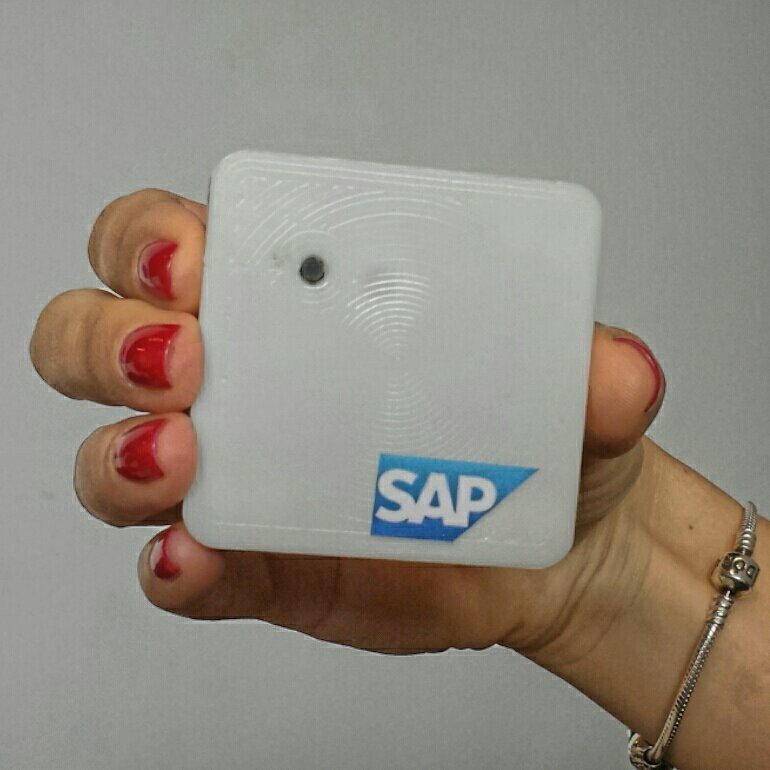
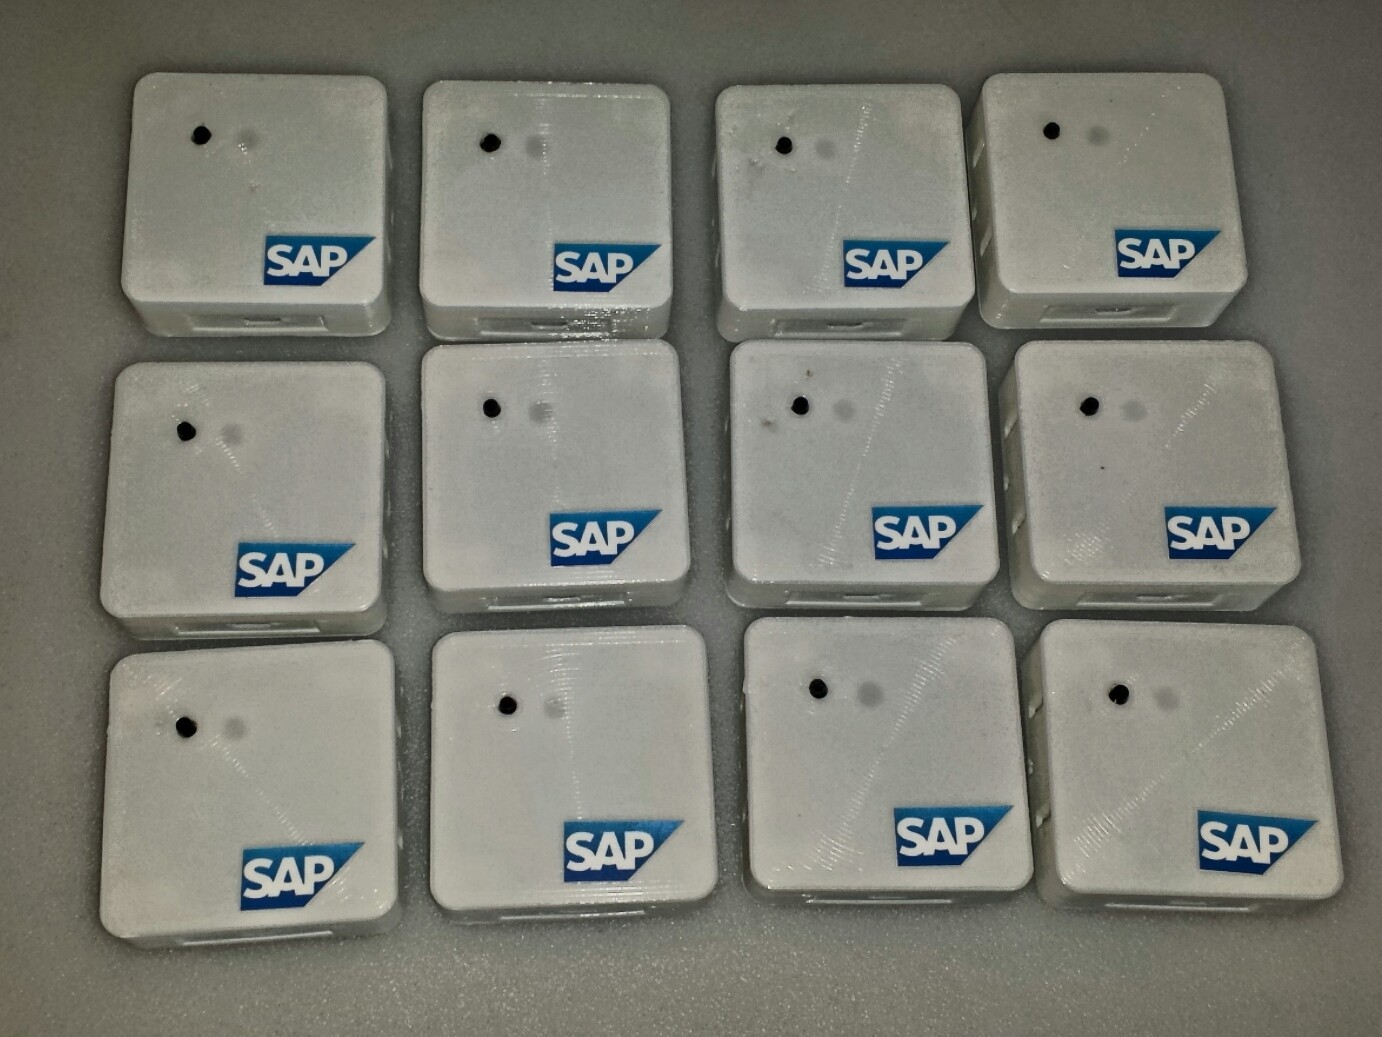
Yet, after doing some talks to align expectations - it turned out that a handful of those people know about Soldering, what is Voltage, etc.. So i needed a device / kit that would allow them to jump across this burden and start coding. Browsing the current offerings, I realized that there is a gap in the marker - and that is - having a Simple, Integrated and Cheap gadget that would let you do something very basic. E.g. play with a Button, have some Light, measure Temperature (my notion of Basic of course) and do that for <10$. It should not allow too much other stuff (As there are already better alternatives). But it should have good documentation, examples and be as open as possible - that is integrate with various existing cloud IOT services.
What we currently have is:
- 4$ - NodeMCU, Wemos.CC - nice boards, that are cheap, yet require some additional knowledge in electronics to do some stuff more
- 20+$ - The Wio Link from seedstudio, Riots Kickstarter, and some others. They are quite versatile yet at 20+$, i really see them as a next level gadget, for the ones that see they have interest in IOT
- 50-100-200$ - E2E Integrated Systems, where everything is very simple and one could integrate a vast variety of sensors and devices, mostly w/o coding at all. I see this rather as devices for Consumers, that want to use the technology and not so much extend it.
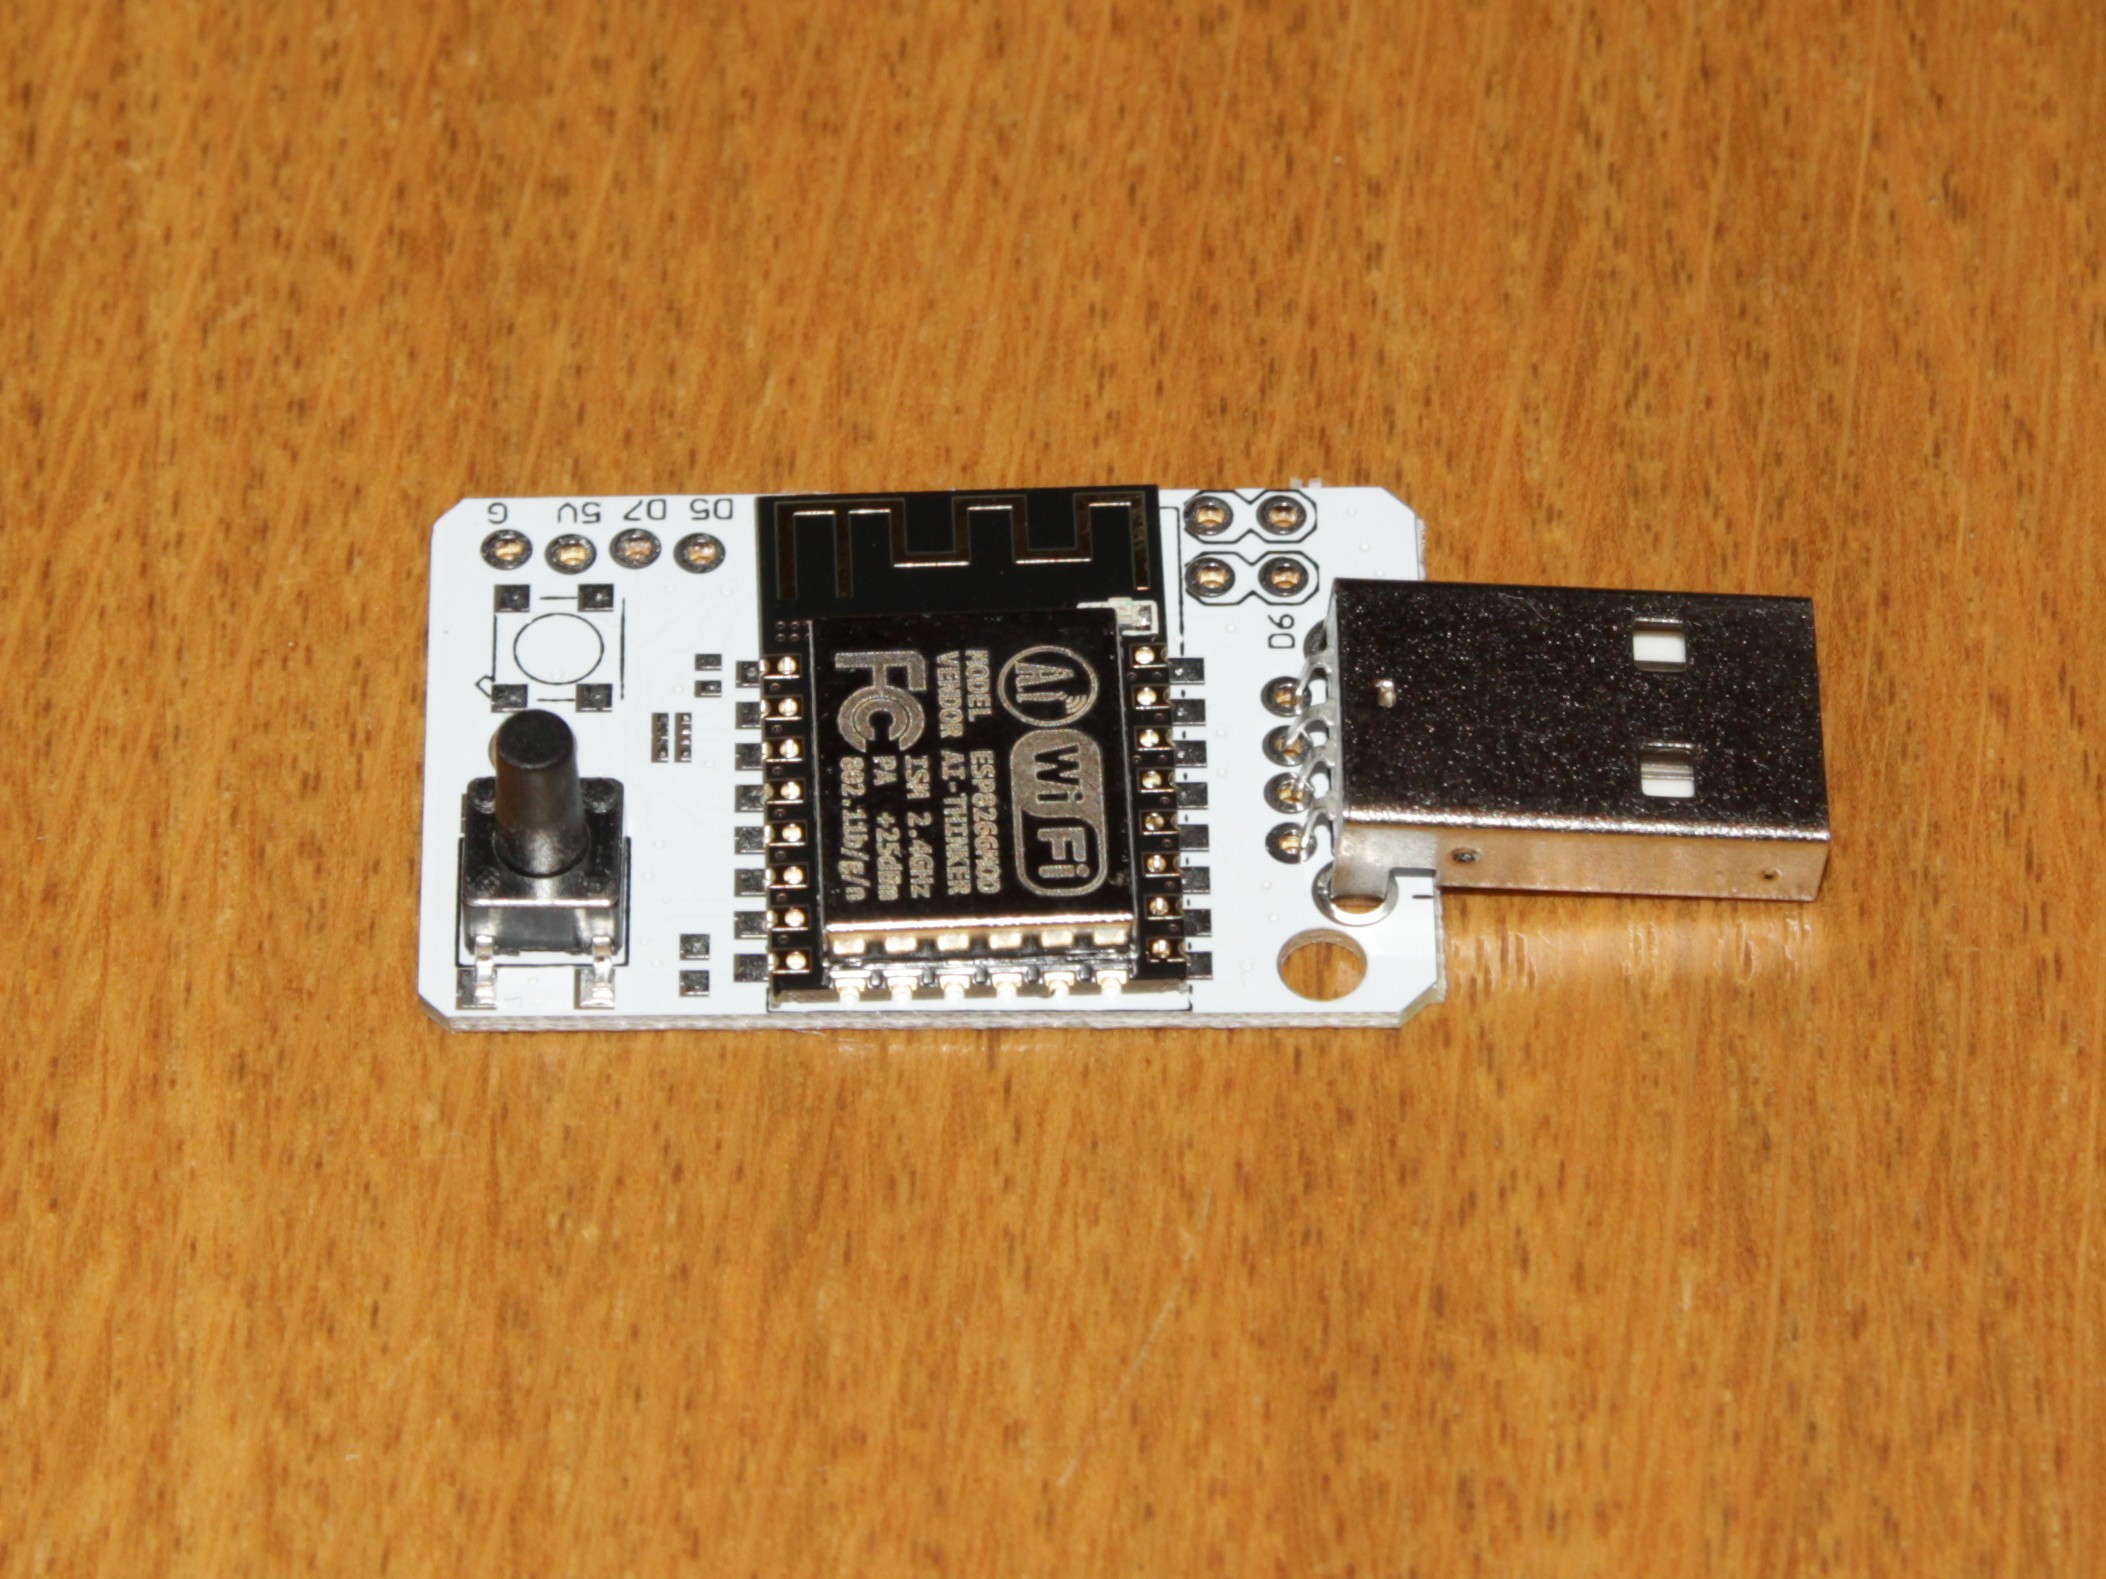
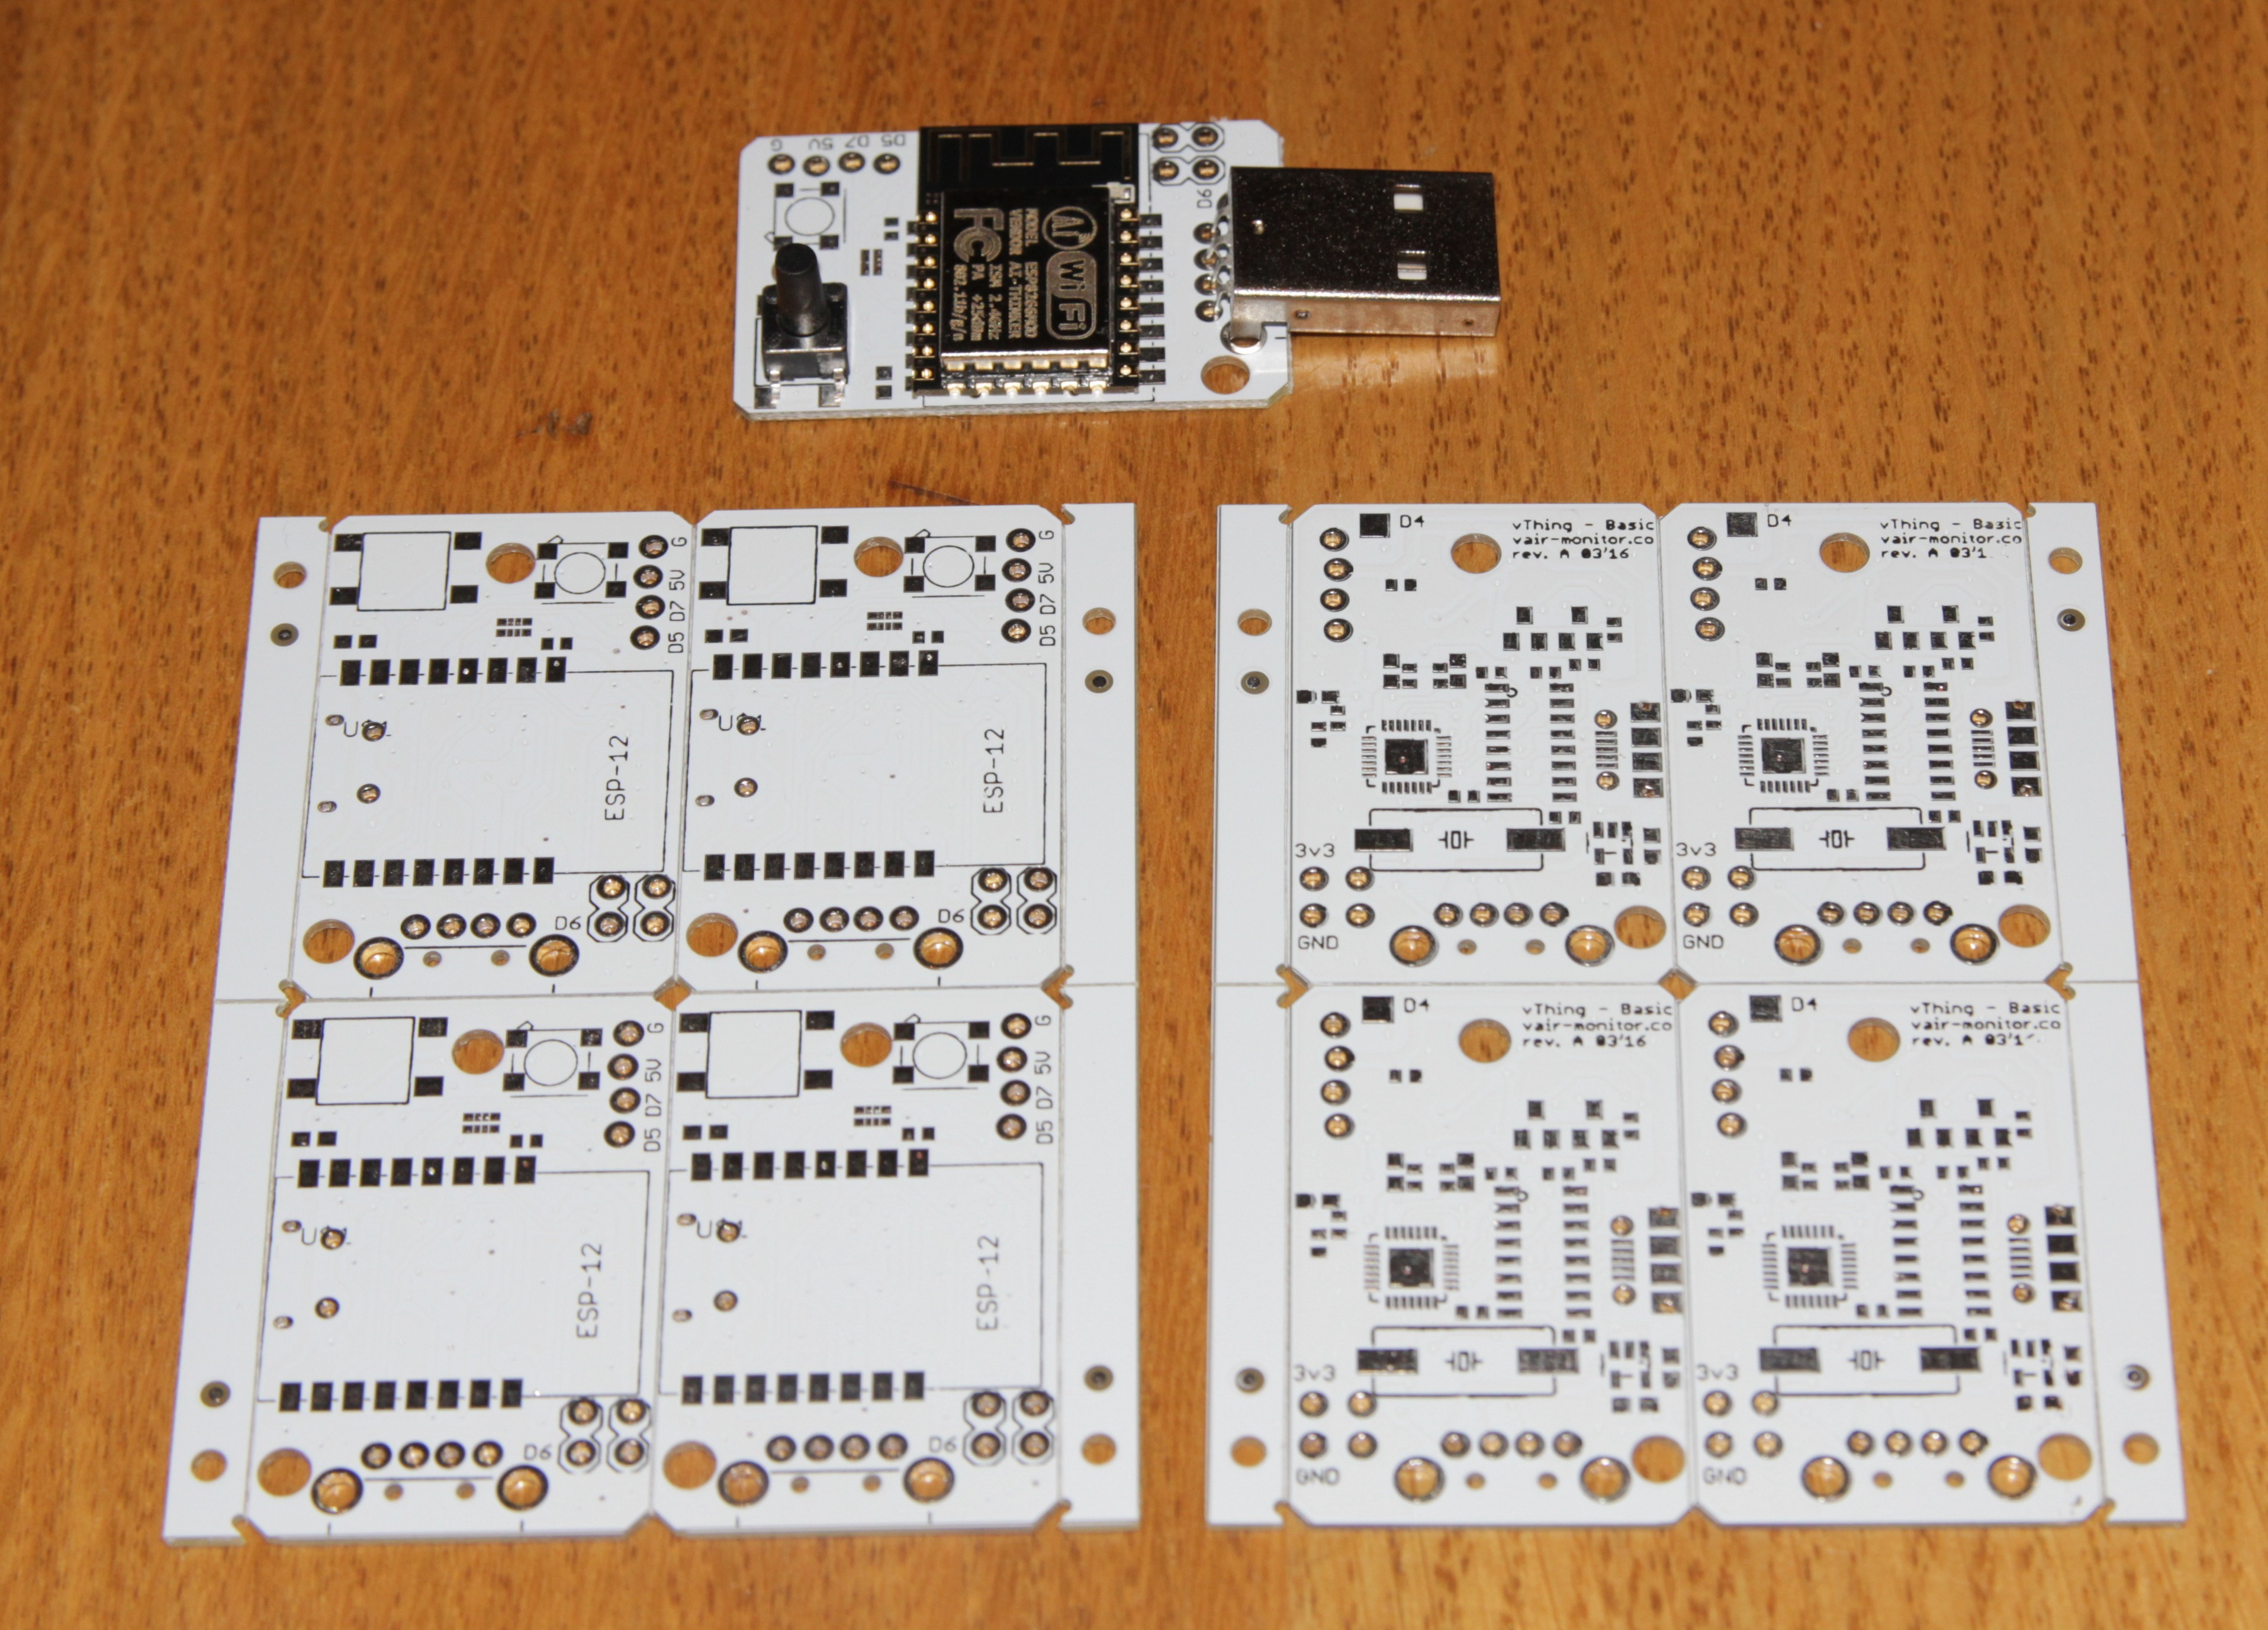
So looking at a BOM for creating a simplistic device:
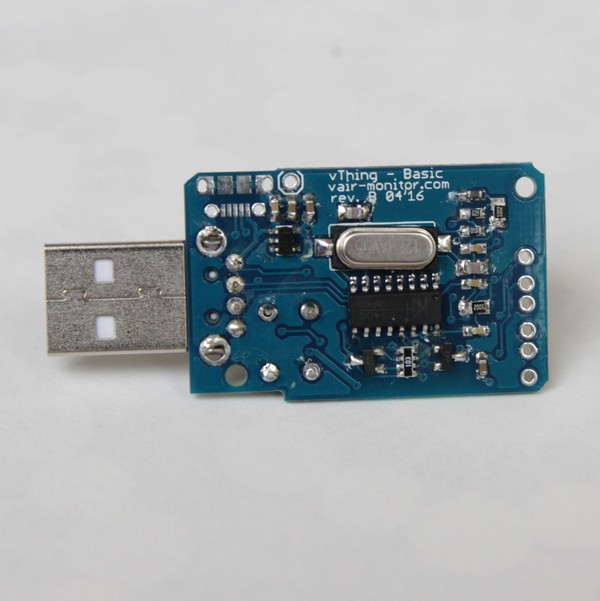
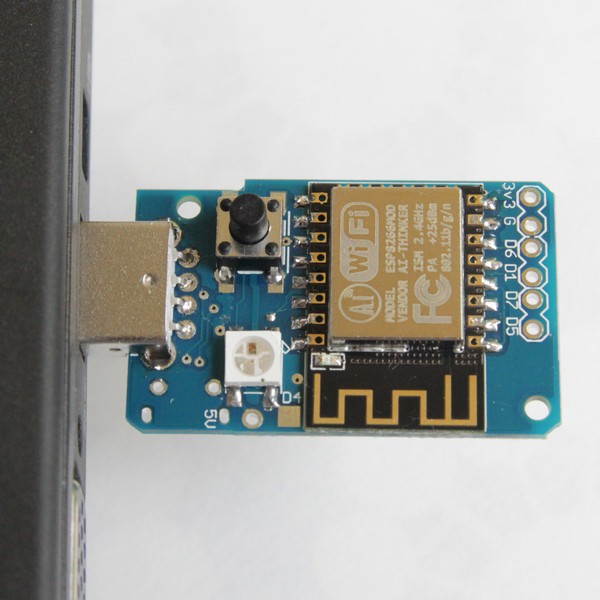
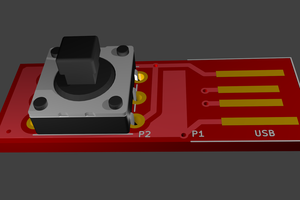
- < 2$ - ESP8266
- < 1$ - USB to UART CP210x (there are cheaper alternatives, but you need to install chinese drivers)
- < 1$ - WS2812b Led, Caps, resistor,s usb ports, vreg
- < 0.6$ - PCB (200 pieces min, may come less with scale)
- < 0.3$ - SMT Stencil (60$ / 200, cheaper with scale)
- < 1.5 $ - PCB Assembly
Which totals to <7.5$.
Of course there are some ongoing costs, for doing the research, multiple prototypes, etc - but this is why i rely on the scale, so that the price can be kept well below 10$.


 Miguel
 Andrey Ovcharov
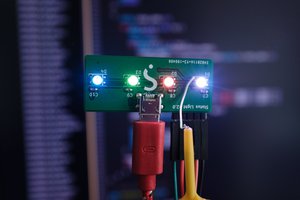
 Stephen Holdaway
Hackday.io is a great platform for makers and hackers to showcase their innovative ideas and collaborate with other like-minded individuals. The platform provides an excellent opportunity to learn and develop new skills by participating in challenges and competitions. It also fosters a supportive community where members can provide feedback, share resources, and connect with others. Overall, hackday.io is a valuable resource for anyone interested in exploring the world of DIY technology and innovation.
www.blogguru.pk