 Markus Dieterle
It's high time for an update...
Since I did not add another log entry for quite some time now, this one is going to be somewhat longer. Let's start with the TL;DR version first:
- breadboard prototype is (almost) finished
- Raspbian and open source base software were reinstalled after some technical difficulties
- the TextEye software is undergoing a change from the initial C++ design to a more modular standard C design
- components for version 1 hardware prototype design were changed:
- Raspberry Pi camera module replaces USB webcam
- Raspberry Pi Zero was upgraded to version 1.3 (with integrated camera connector)
- NeoPixel ring replaces NeoPixel strip
- MAX98357A breakout board replaces the previous combination of DAC and amplifier breakout boards
- Raspberry Pi model 3 board was purchased for more direkt Pi development
- new digital camera for documentation and upcoming videos
- added 3D printing capability for custom case design
If you'd like to know more, keep on reading...
Breadboard prototype
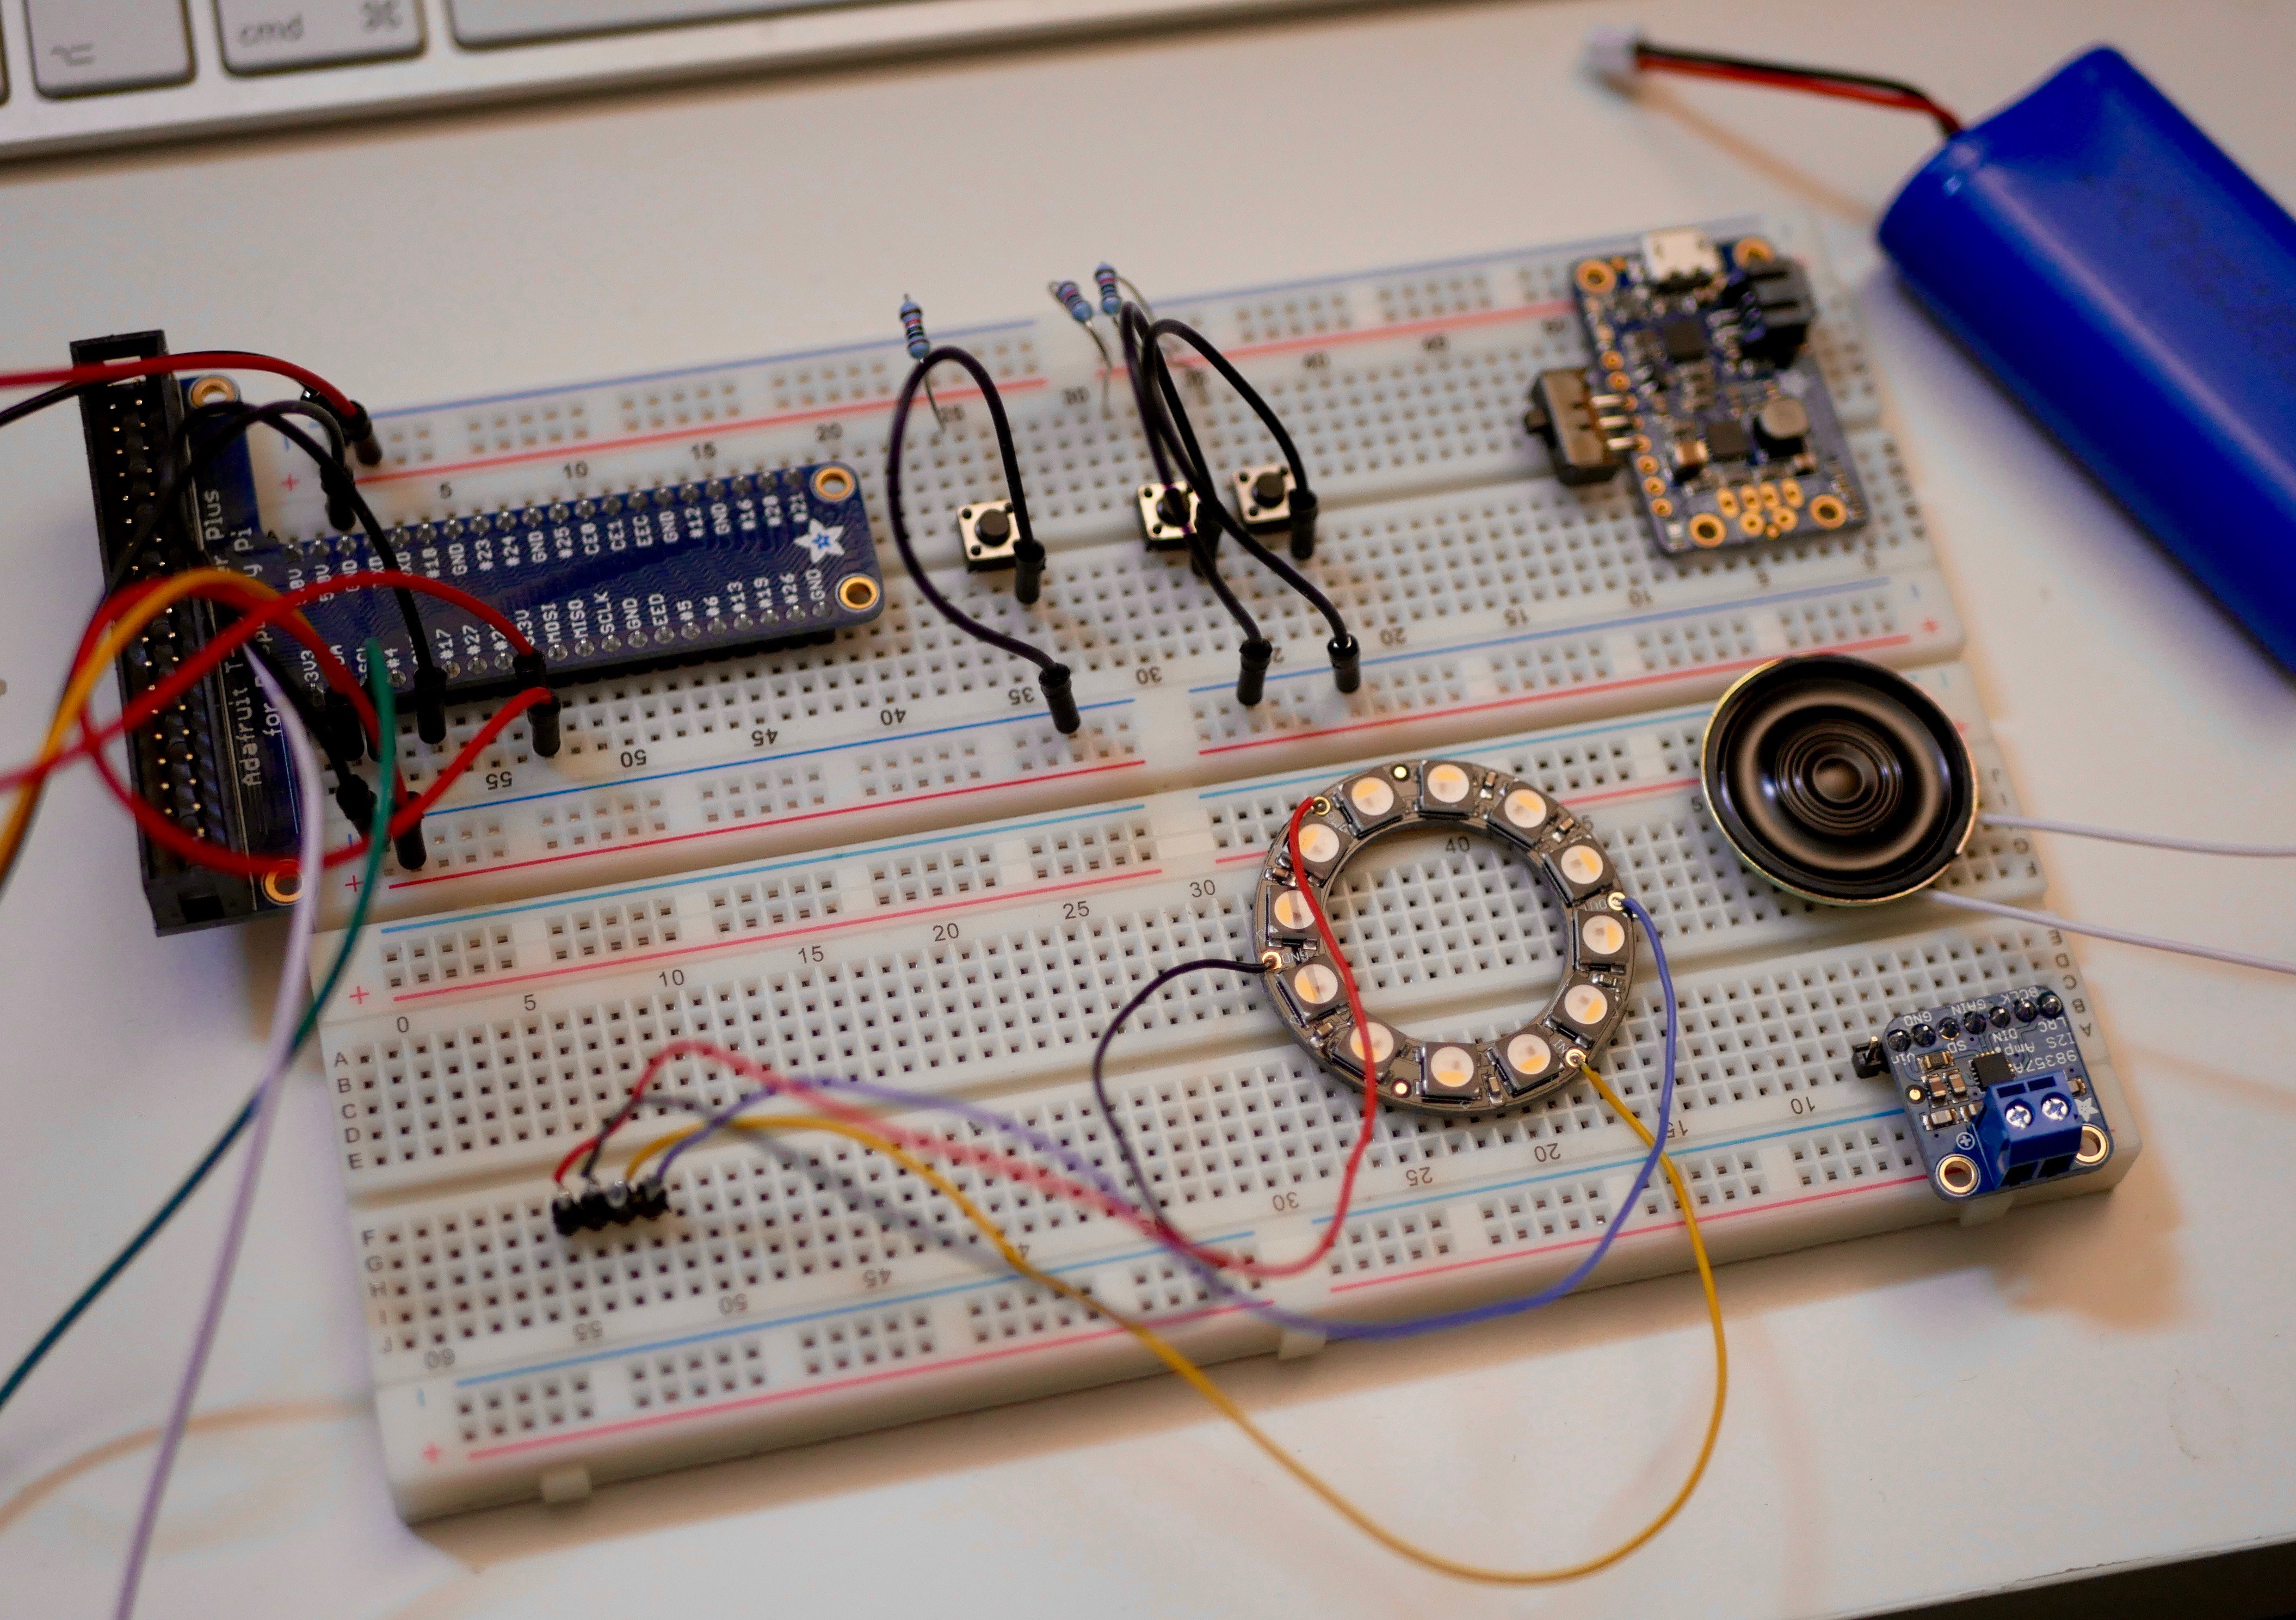
The hardware changes described above have slightly affected the breadboard prototype, but not too much:
I'm plannig to update the Fritzing design after finishing the breadboard prototype, but that requires creating some new parts in Fritzing as I'd like to add the Pi camera module and connector cable along with the new Pi Zero v 1.3 board (for which there does not yet seem to be a ready made part in Fritzing).
Software reinstallation
In order to more easily transfer code and image files between the Raspberry Pi and my development system (and more easily create backups), I registered a USB stick and created a new mount point on the Pi. Mounting the stick, reading and writing to it worked fine so I decided to add the device to the device table and configure it for automatic mounting on startup.
The result of this was that the Raspberry Pi did not complete the boot process any more. No matter if had the USB stick plugged into the Pi or not, it just hang up during boot. I could not connect to the Pi any more, wether I tried the WiFi connection or the USB serial TTL cable connection.
So I went ahead and flashed the SD card with a new, updated Raspbian Jessie light image. After basic configuration, I reinstalled the software: GraphicsMagick, Tesseract OCR, Festival and WiringPi. As a final step, I copied my development folder with all the code, test images etc. back to the Pi SD card (thankfully I'd taken care to regularly save the code etc. before this misshap).
Another lesson learned... :)
TextEye software redesign
After finding some time for working on the code again, I had gained sufficient distance to it in order to see that it was getting to complicated and not modular enough.
With the experience from my tests and necessary future changes to different parts of the workflow in mind, I knew I needed a different code design that would allow easier swapping of the code within the individual workflow steps.
So I've started to do a rewrite using the standard C language, with different header and code files for camera functions, image processing, text recognition and speech output along with generic headers and the main file.
Hardware changes
Since I started this project, new hardware has become available that allows the TextEye to be smaller and a little more efficient.
With the original Raspberry Pi Zero, I could not use the Pi camera modules as it did not have a camera connector port. The recently updated version 1.3 does have that, so I can switch from a USB webcam to the current 8 megapixel versions of the Pi camera or the NoIR camera module. That makes it more compact, more easy to power from the Pi and also upgrades the image resolution.
The NeoPixel ring with 12 LEDs should work just as well as the NeoPixel sticks which I chose first with regard to brighten up the imaging area. It fits better into the overall design and also should slightly improve light distribution. I still have to test this option though. I've also gotten hold of the "Bright Pi" kit from Pi Supply as a possible alternative. This is a little more bulky, but adds some IR LEDs into the mix, which should be a better option if I decide to use the NoIR camera module instead of the normal camera module (the images have to be processed anyway, and the NoIR module should gather a litte more light under any circumstances).
On the sound output side, the MAX98357A breakout board replaces the previous combination of DAC and amplifier breakout boards. This solution is more compact, helping to reduce the size of the final hardware.
I'm planning to wire the final components together over the weekend. For now, here is a quick look at the soldered parts:
Raspberry Pi model 3 development hardware
While the transfer between the Raspberry Pi and my main computer works fine with FTP as well as a network mount option, I have to switch back and forth between coding and testing. So I've decided to not only copy the code to a USB stick, but also get a Raspberry Pi model 3 as an improved development platform.
For this, I flashed a new SD card with the standard Raspbian Jessie OS and installed the same software on it. I also started to install OpenCV, but the process here isn't done with just a simple "apt-get install" command.
I will start using this platform regularly in the future, as it not only allows me to test my code faster (as I can directly code on the target platform), but also gives me the option of testing some desktop-based stuff that will likely come in handy for improving the text recognition and the image processing.
New digital camera
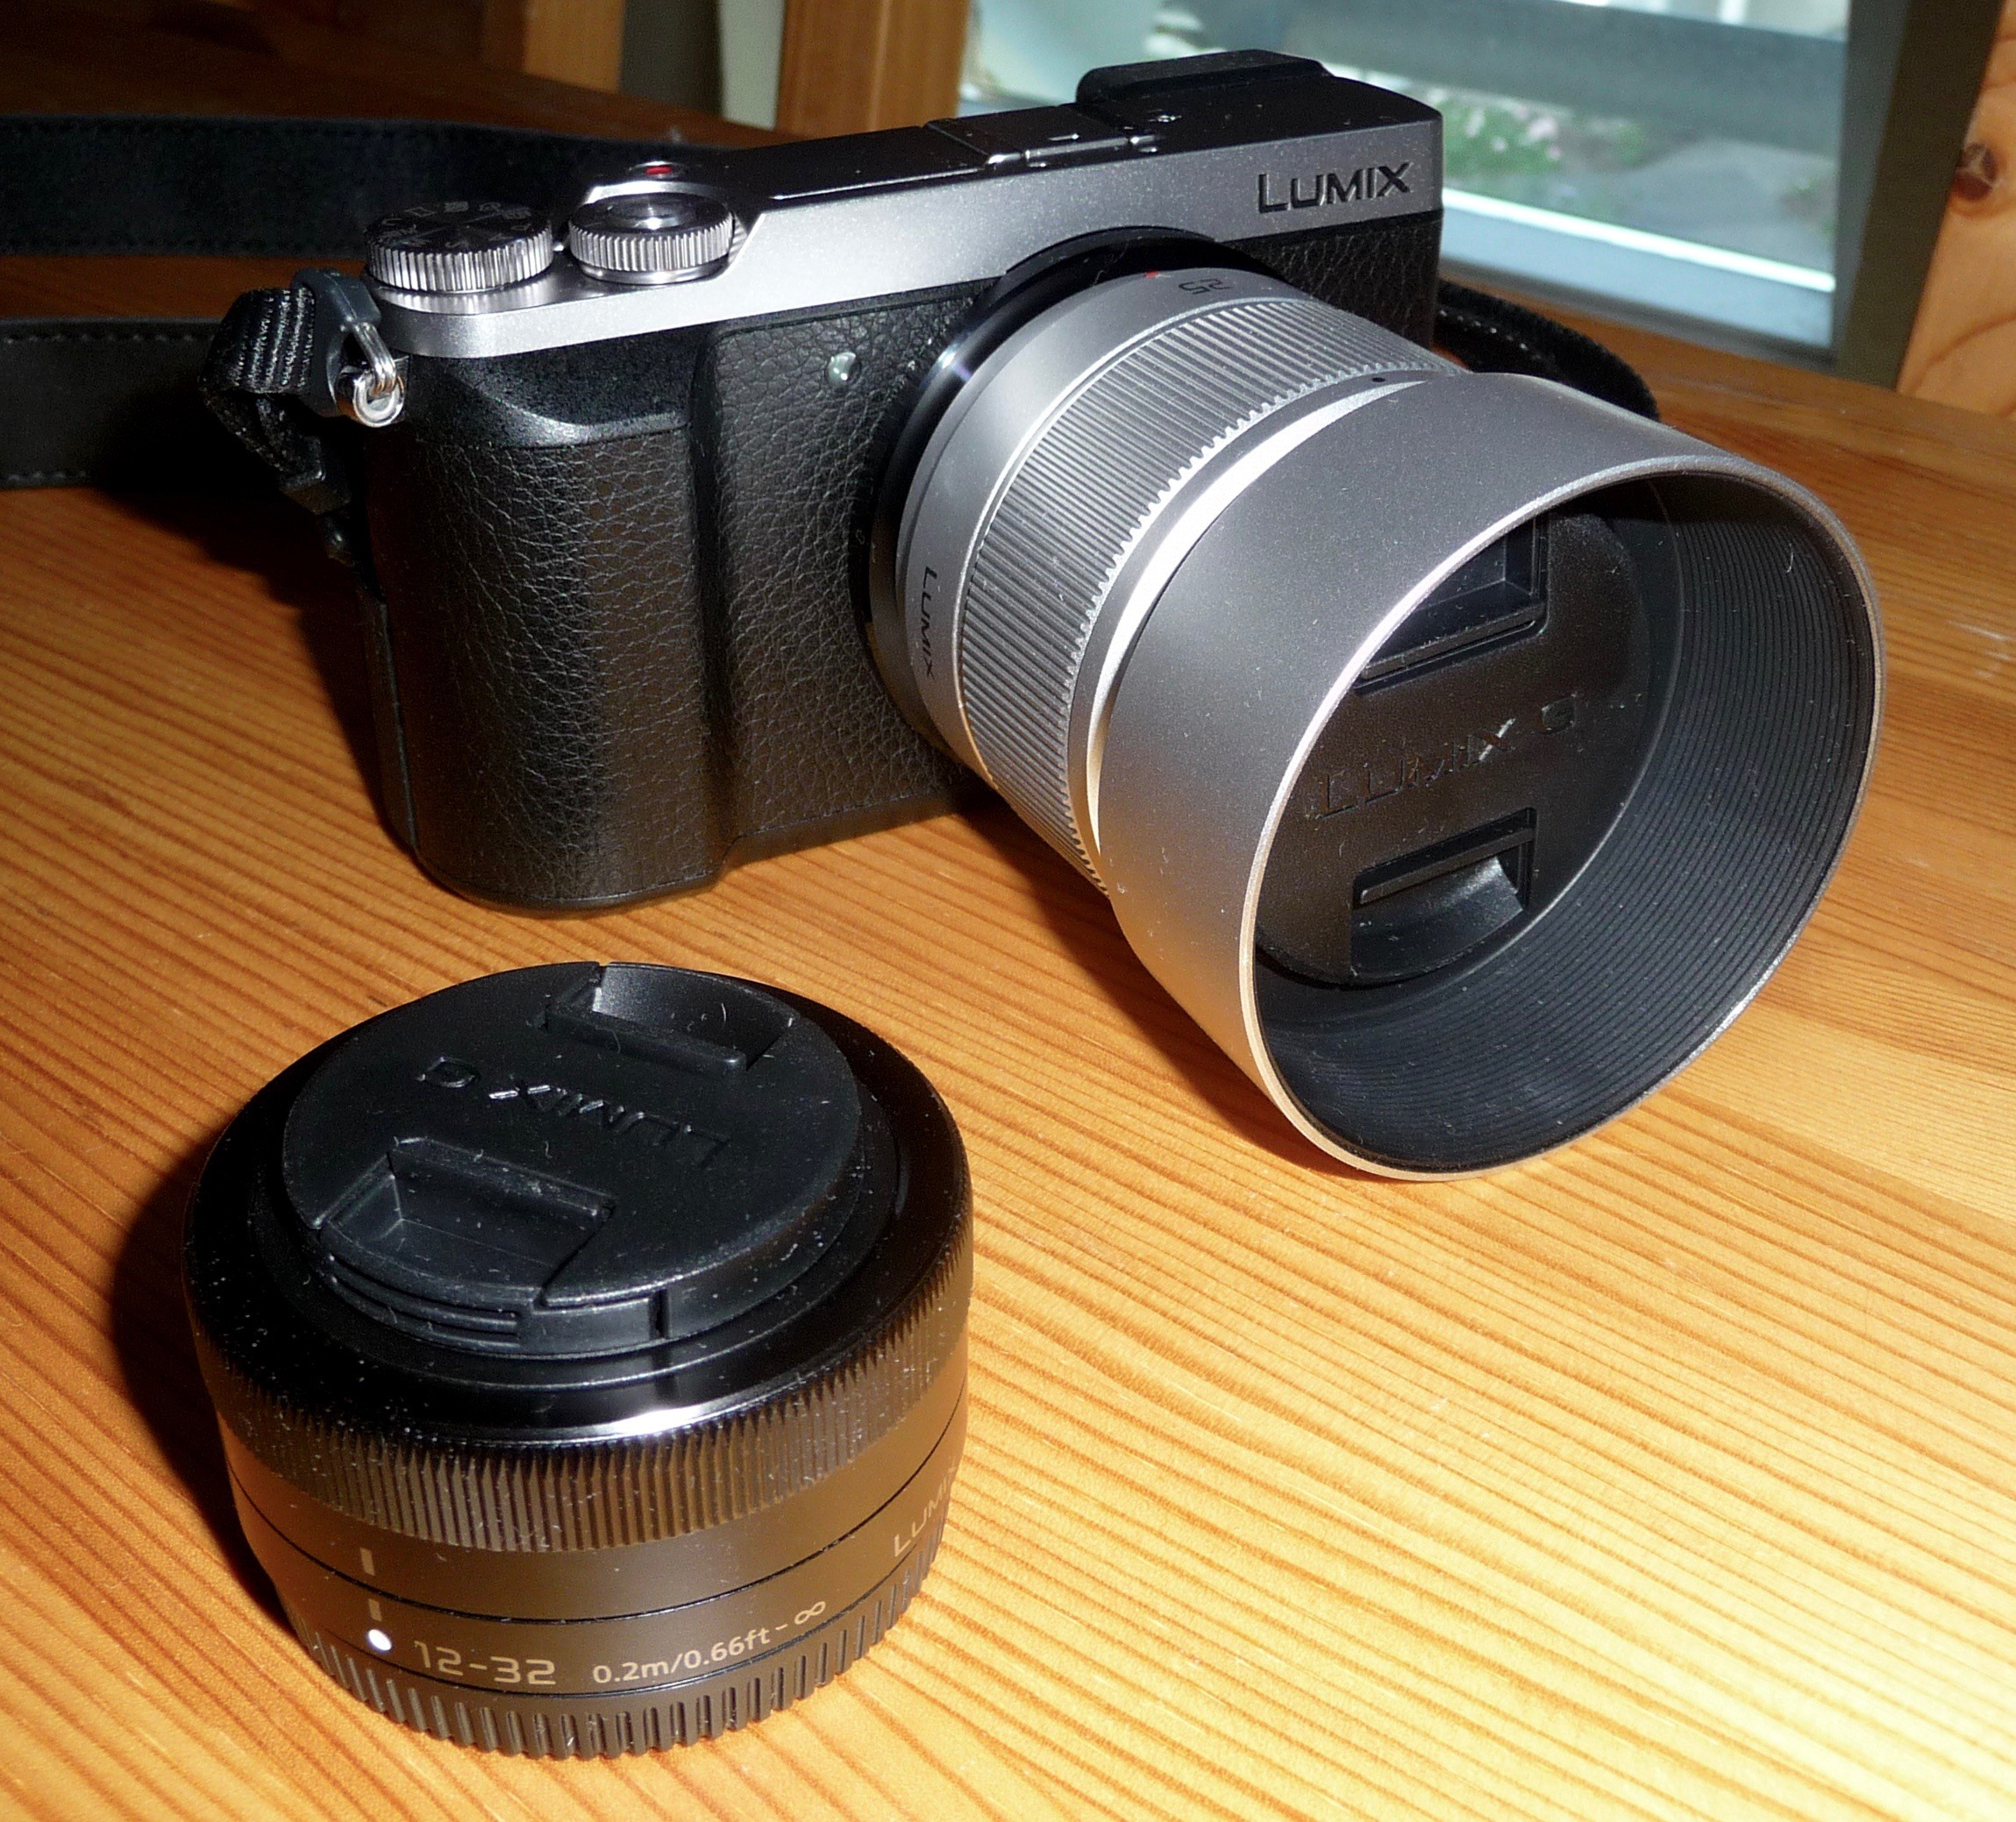
The project pictures I've taken so far (apart from the ones taken with the two webcams) were produced by my trusty Panasonic DMC TZ-5. While it's still a nice and enjoyable camera, I've been longing for an upgrade for some time now. I want to explore photography more deeply in the future, and since the camera does not offer many manual control options and has a fixed zoom lens, I wanted to switch to a mirrorless camera that's not too big but much more capable.
So I recently got myself a Panasonic DMC GX80 (also known as GX85 or GX7 Mark II in other markets around the globe) with the 12 to 32 mm kit lens and an additional 25mm F1.7 lens. Along with a better image quality and better low light performance this also gives me the option of recording decent videos in 4K or 1080p resolution (altough I need to record the sound externally and synchronize it with the video in post-processing):
I'll use that for documenting the further progress of this project and for recording the project video which is a requirement for the Hackaday Prize 2016. I also plan to do some additional videos about the project. It might take a while though since I'm a complete beginner as far as video production is concerned. Another learning frontier... :)
3D Printing capabilitiy
Since the project started, I've planned to design a custom case for the final hardware that should be 3D printed. As the parts list for the version 1 prototype is now complete, I can go ahead to create a design, at least after the hardware and sofware start to work properly (which is much more important anyway).
From my current location, the nearest maker spaces are quite a bit away and take a lot of time to get to. I could send off a finished design to another maker or an online 3D printing service, but when details need to be changed, the design prototyping process is not that fast, requiring a lot of time and money.
Thanks to the seed money for this project, I was able to use the money I initially saved for the camera upgrade (which I would have done anyway this summer) for buying my own 3D printer. This is another thing that I wanted to to but normally would have had to wait until next year given my normal monthly budget.
I already did a lot of reading and research on 3D printing, and I also thought about how I would use a 3D printer, so I was able to come up with a list of "must have" and "nice to have" features.
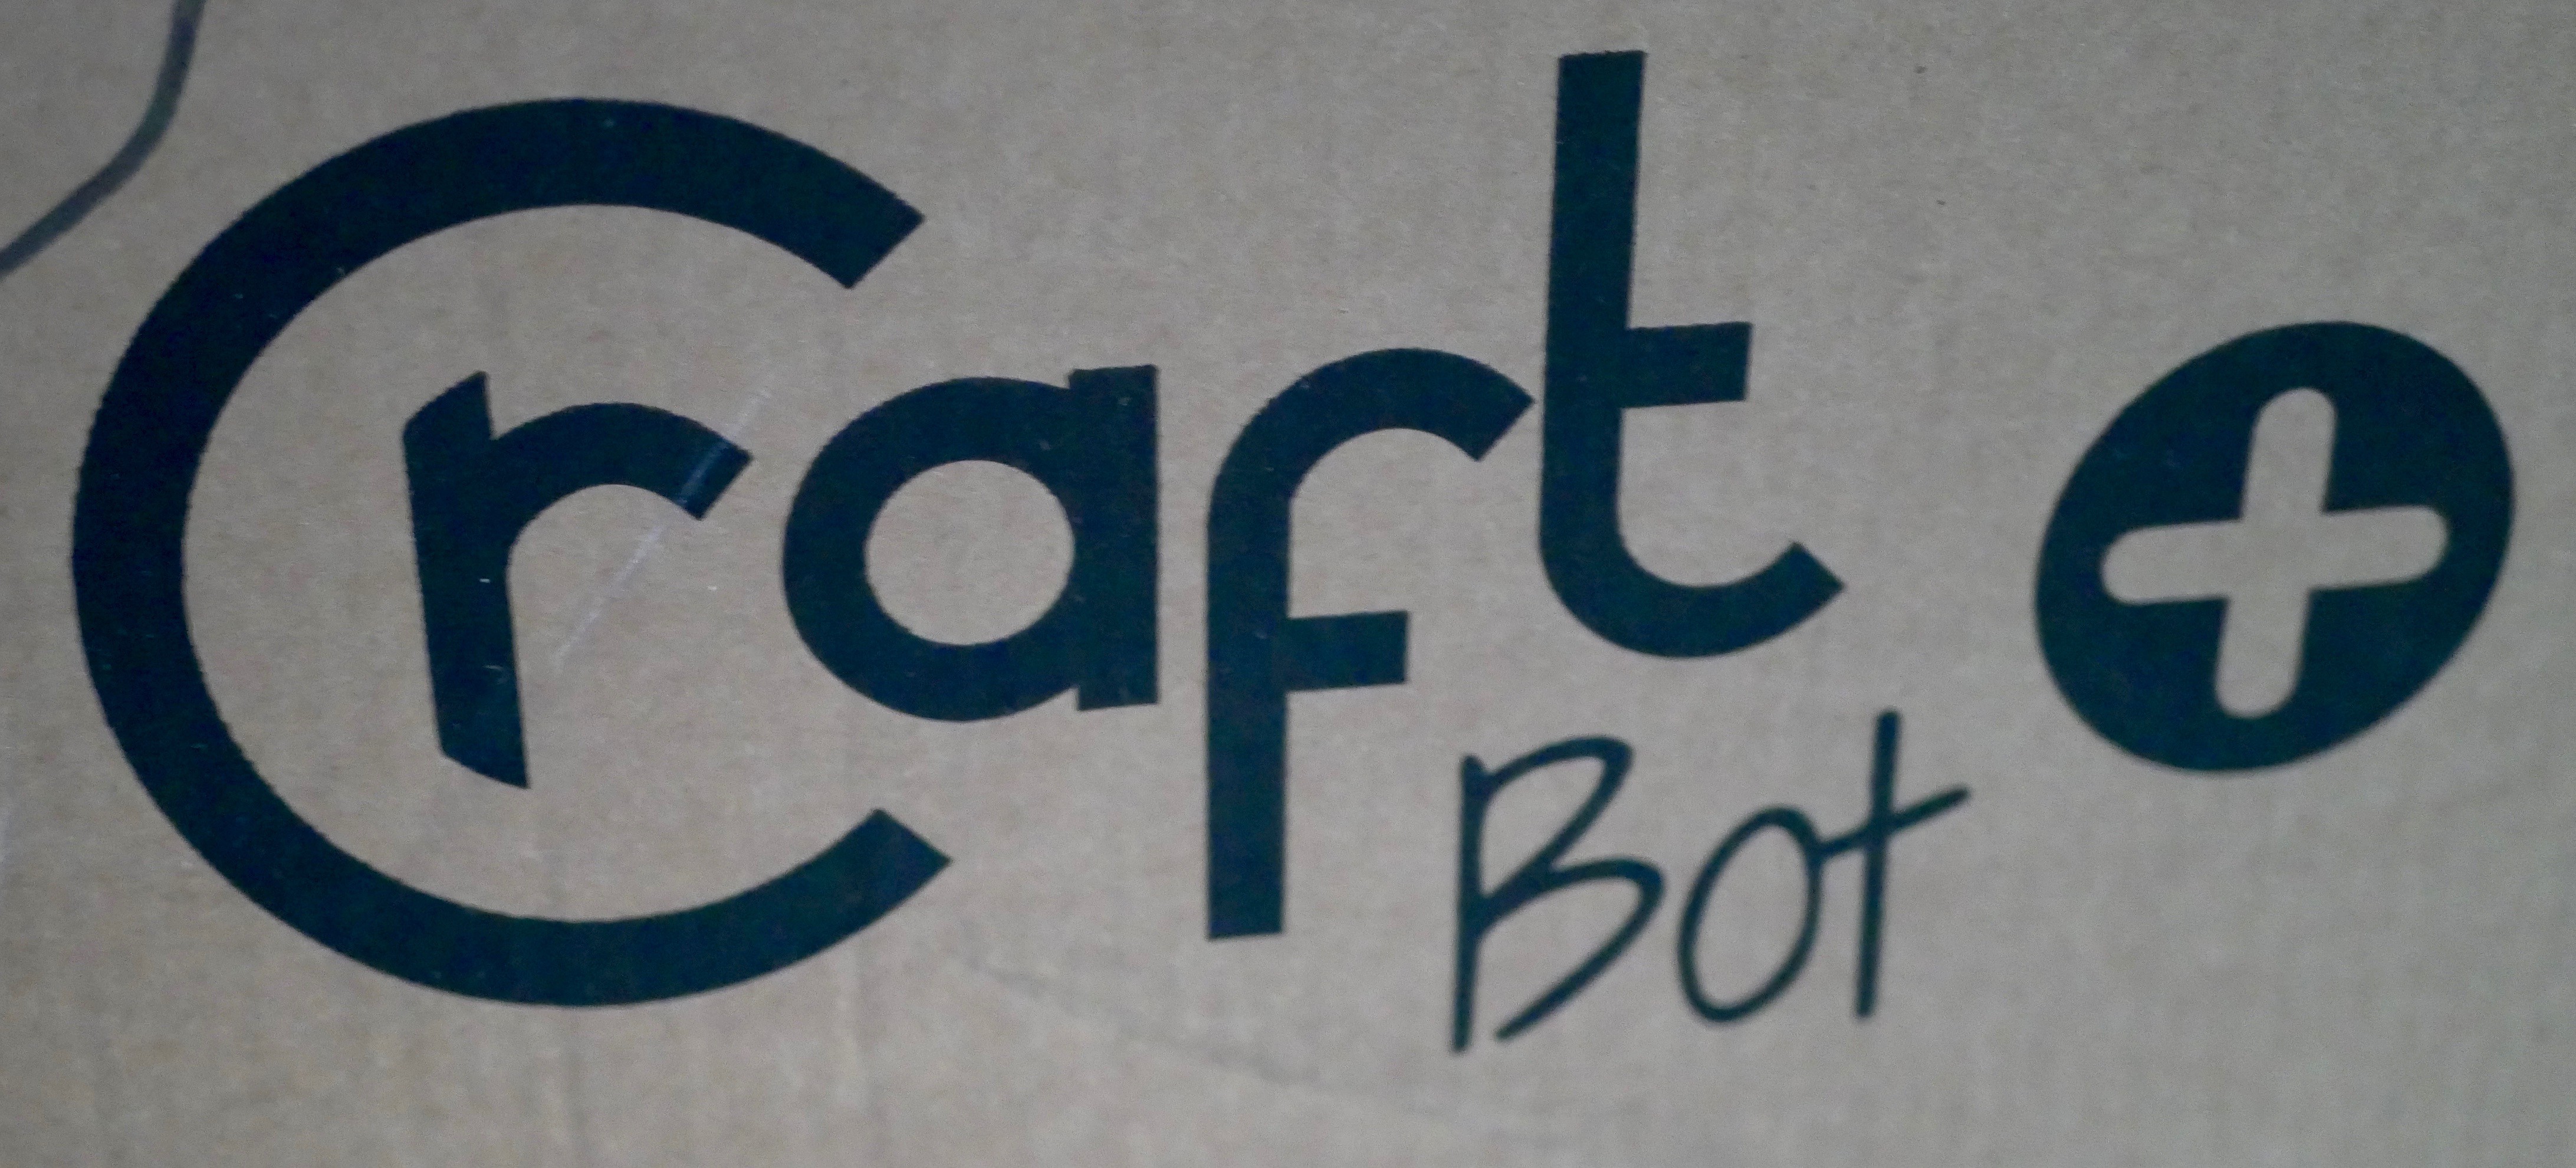
I finally decided to go for the Craftbot Plus from CraftUnique - not the cheapest option, but a really good "bang for the buck" option. The Craftbot 2, which has just been launched, is a little more expensive, but the mechanics and extruder are the same. It mainly adds wireless connectivity via WiFi and the internal electrical wiring is said to be improved. The older Craftbot+ is still available though (in the same palette of colors) and remains a good option.
I just received the printer and hope to get around to doing some test prints in the next few days. At the moment it is still in its box:
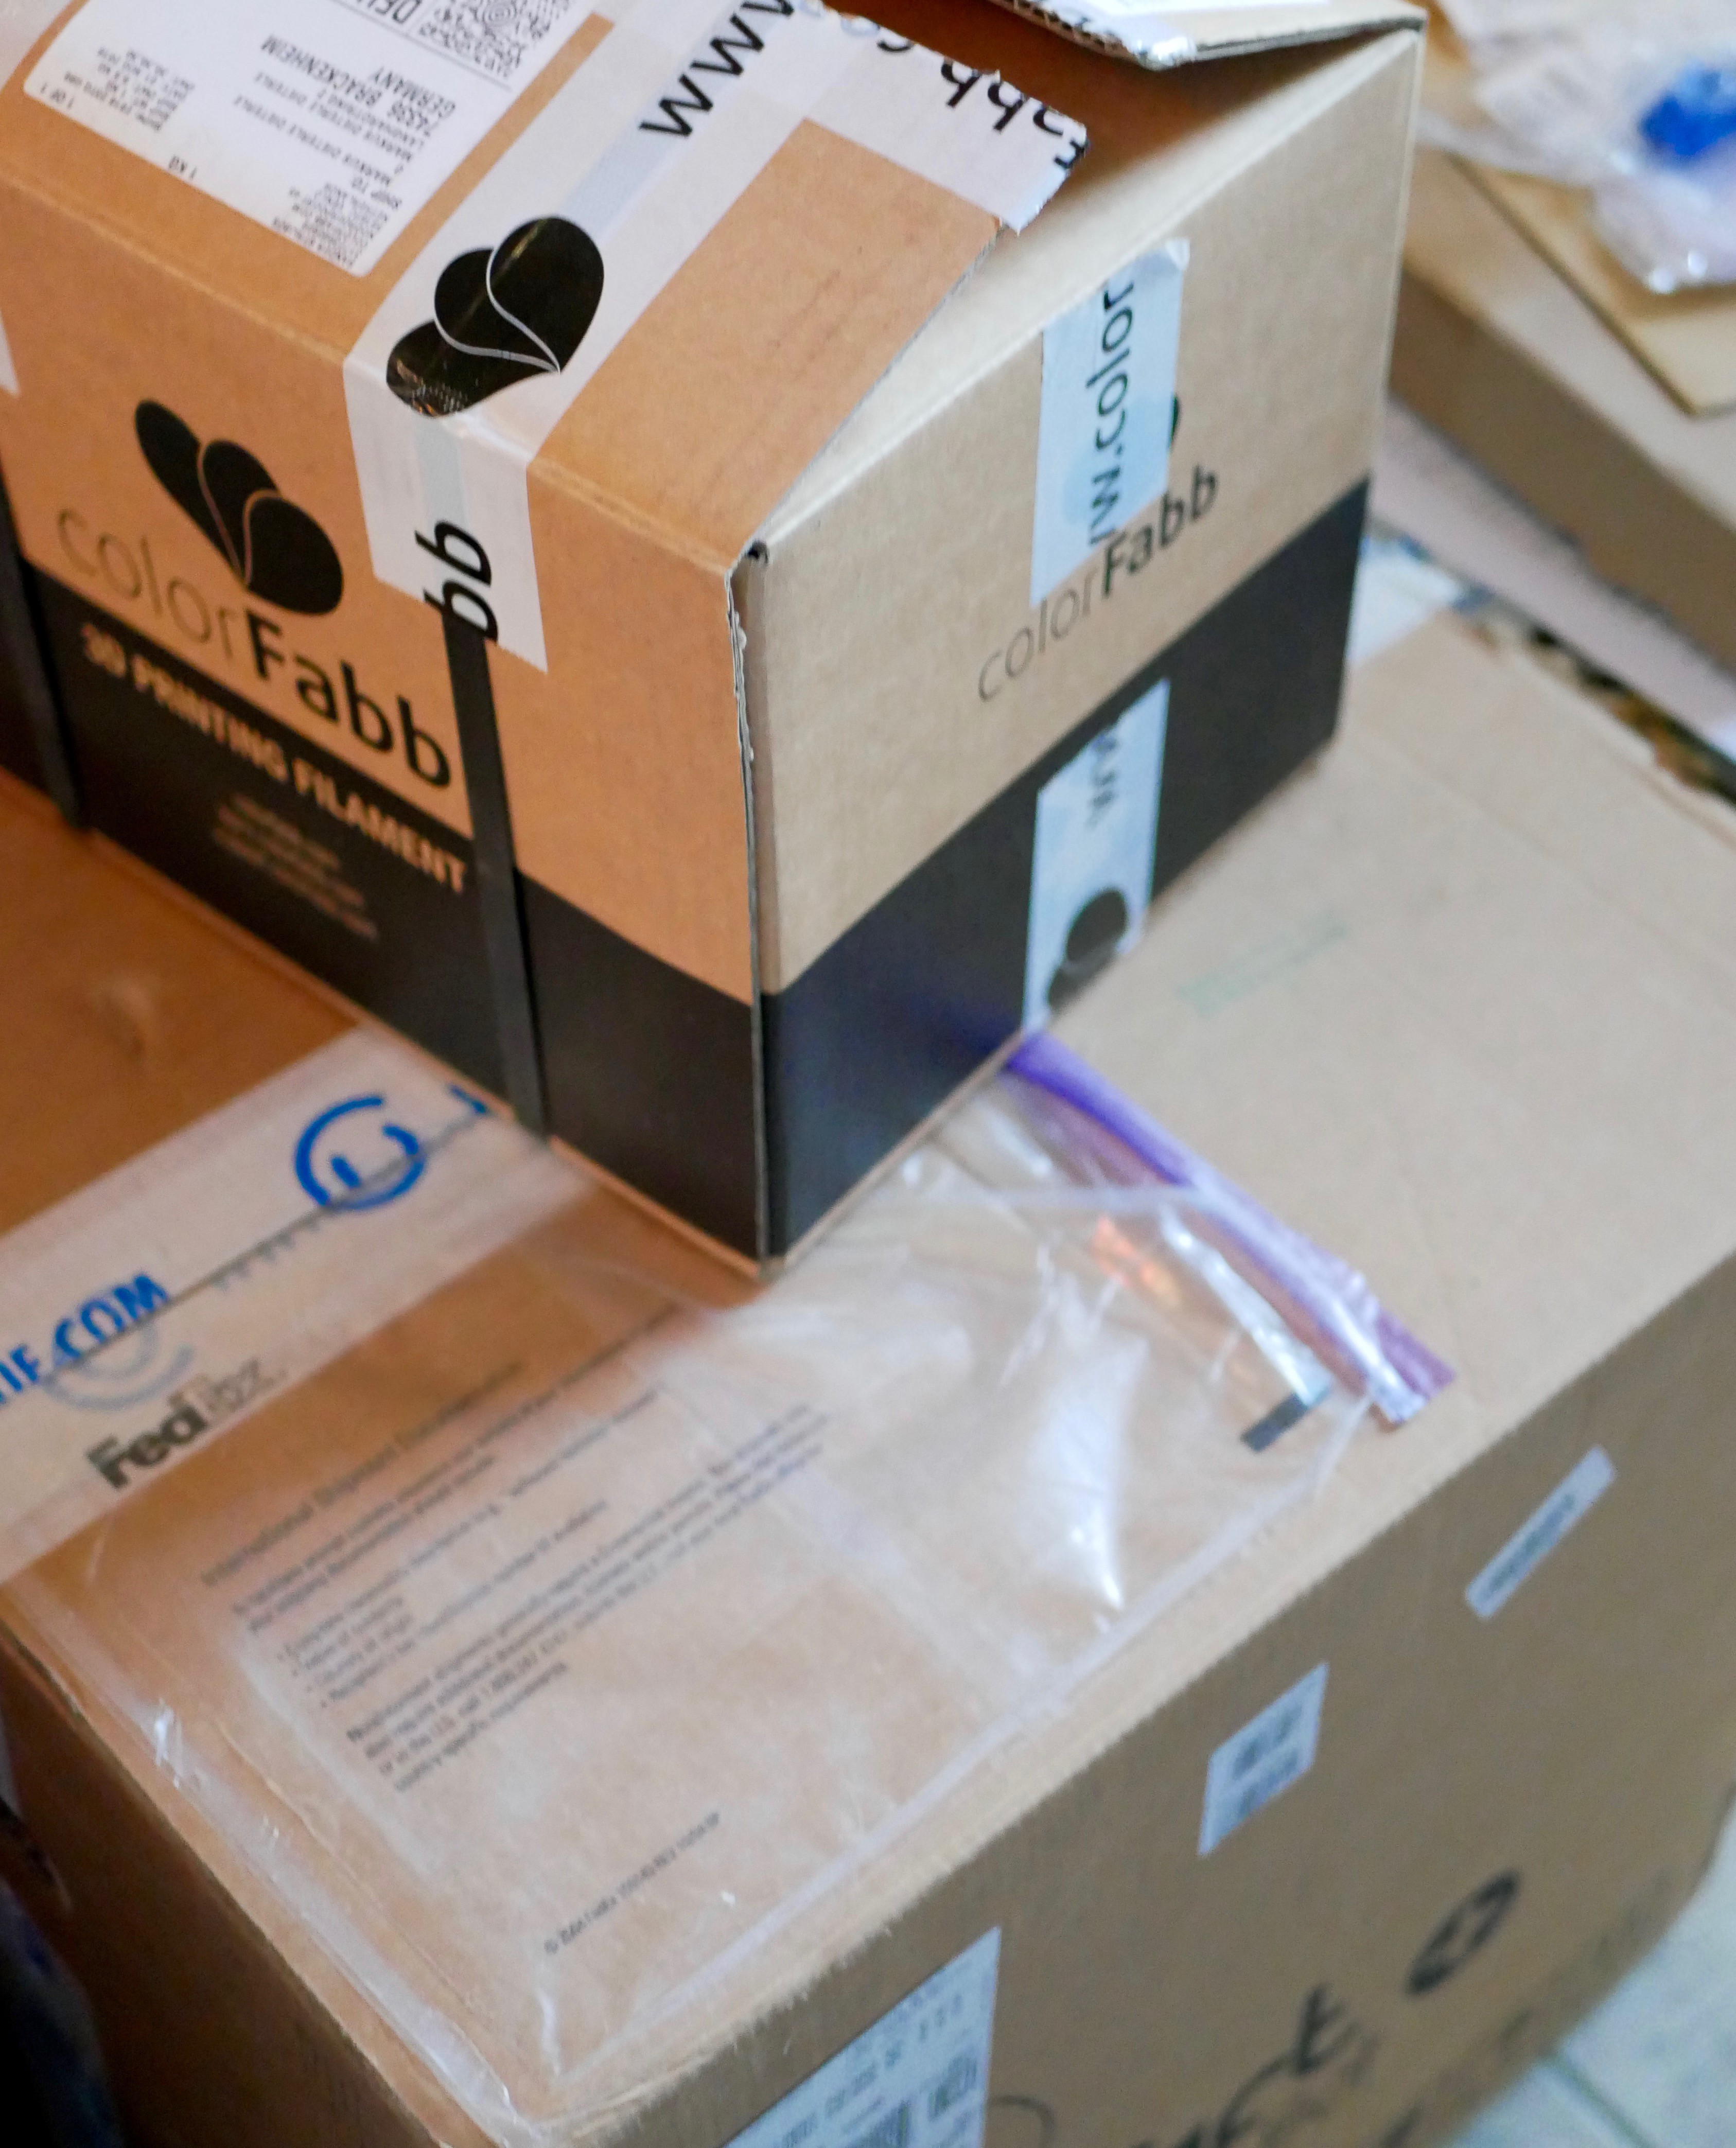
As you can see, I also went for some additional filament from ColorFabb (some PLA and nGen).
Next steps
There are still several steps I need to take in order to get this project properly "off the ground":
- finalize the prototype hardware and transfer it from its breadboard form into a full prototype
- finish the basic TextEye software and get the workflow running, upload the code to GitHub
- design and print a case for the prototype
- create a custom project logo
- update the parts list and build instructions
- add more documentation
- create a project video (and additional detail videos if I can)
- enter the project into the "Assistive Technologies" sub-challenge of the Hackaday Prize 2016
- try to improve the image recognition and OCR part of the software
- work on the "add-on" version 2 prototype (that attaches to a digital photo camera)
Sounds like I need to take a vacation from my daytime job in order to do this... :)
I definitely have to prioritize some steps over others here. For this year's contest, I guess I'll focus on the version 1 prototype, getting that up and running up to the point where I can focus on improving the software.
I will try to keep the version 2 prototype in mind when finishing the software. Basically this second version will need to regularly check for new image files in a different storage location, unless I can easily tap into the button press signal from the digital camera. The hardware connection between the external camera and the Raspberry Pi still has to be worked out, but I already have some ideas for this. The rest of the hard- and software is basically identical to version 1, apart from a different case that needs to be fitted to the camera (I'd like to keep the camera unchanged, but of course you could crack it open and maybe transfer the camera internals into a new, expanded, custom case if you want).
As far as the videos go, this will be another learning experience for me, so it might be a little rough at first.
Stay tuned...
Discussions
Become a Hackaday.io Member
Create an account to leave a comment. Already have an account? Log In.