 Andrew Bills
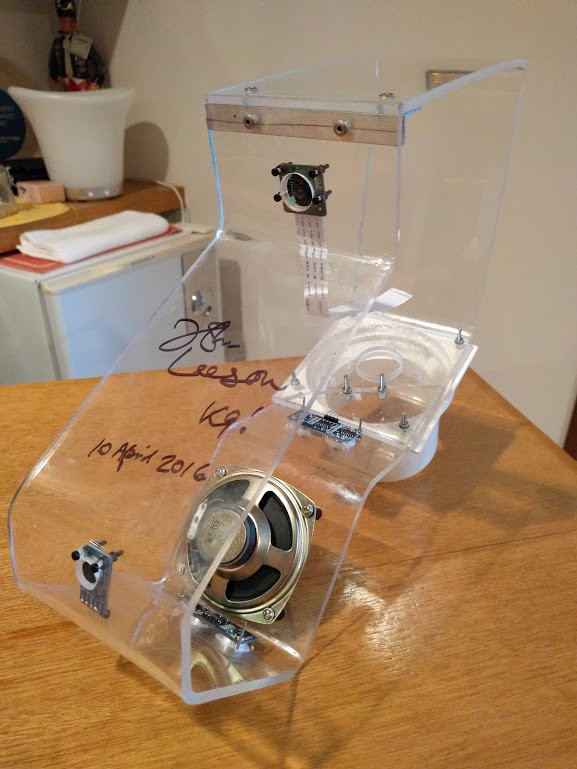
Long time between drinks, I took a little bit of a break after being up every night past 2 am for that ComicCon thing, then I was waiting for the right size mounting screws and then the weather has been a bit horrible... but last week there was a rare not freezing cold day so I thought Id make a dash for it and try and cut the holes in the head for mounting. I was a little worried about it cracking, seeing how its signed now, but it was just warm enough and I was careful enough that it didn't happen.
I had some challenges finding a drill bit for the ultrasonics (a single drill bit was $80!) but found this hobby drill bit that is a cone with notches to increase the size of holes.
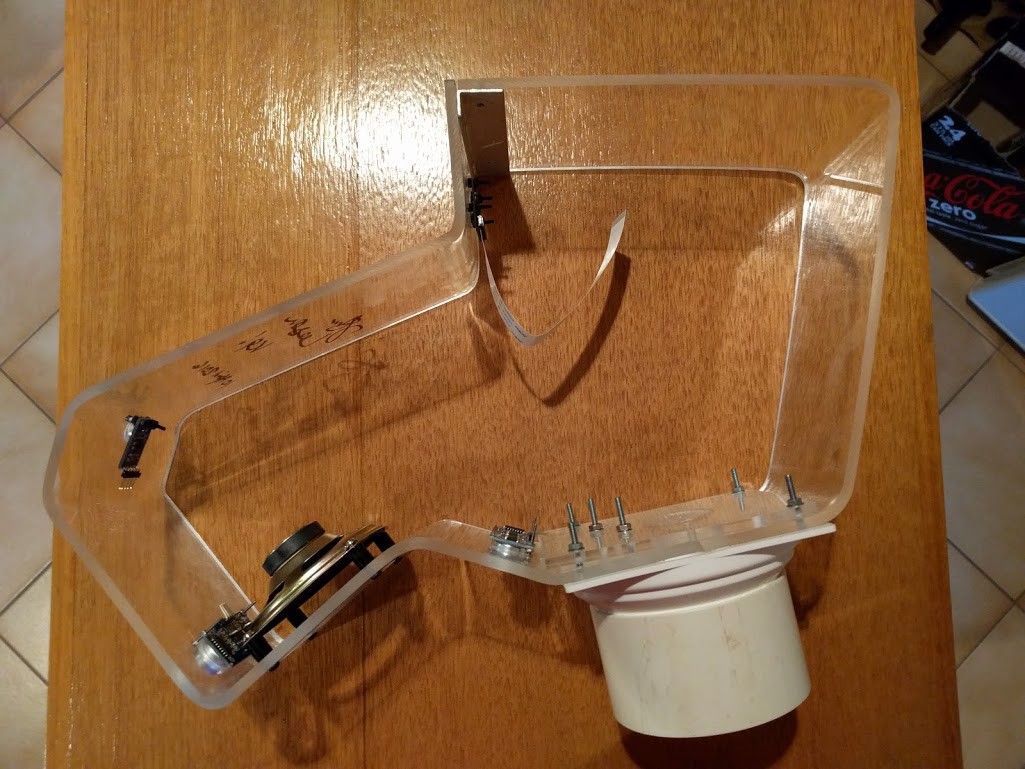
Anyway as you can see there is some electronics now mounted in the head ready for me to hook up to the wiring I have done. Running through...
- There is a microphone in the nose which is per the parts list. I am probably going to change the headers to something that is just straight instead of 90 degree one I put on initially. The mic has auto gain adjustments so hopefully it will work well when the shell is on for being able to give basic voice commands
- A new Raspberry Pi v2 camera has been added to the eye socket. I initially had the older model but figured might as well upgrade. This will be used eventually for CV stuff but initially it might just be used for time-lapse. The dream is to use it for actual navigation or to find things in addition to facial recognition. Facial recognition being used partially to allow for him to chat with people he recognises but mostly for the purpose of knowing when to allow voice commands (with recognised users)
- Ultrasonics! The forward facing one which will point towards the ground in front of K9 is for collision avoidance. I understand that Ultrasonics can 'bounce off' if not square with the surface, this isnt a concern with the forward facing because it only cares about 'less than x' to know there is a collision imminent. The downward facing Ultrasonic near the neck is for knowing if K9 is about to go down a flight of stairs or something too steep. Originally I was going to have this in the body but in the head it gets to be further forward. I am only going to allow K9 to go forward or turn, not go in reverse (by the controller, maybe ill allow it if it's self navigating but probably not).
- 3W speaker is also mounted. I was kinda worried about this one and you cant see in the pictures really but there is a large hole right under the speaker to allow for sound to pass through. This was a worry because, big hole, cold, perspex, cracking, etc.
The only thing I didn't manage to mount is the on off/kill switch which I also intend to put in the head under the chin where it is not visible but easy to get to in case K9 decides to make a break for it. Obviously not intended for safe shut downs (at this stage) more for 'holey crap turn it off turn it off!'. I also like the idea of ensuring the cables for the 24v have an end point which is mounted in plastic and not with the metal frame. Most of the electronics are in perspex 'sandwiches' to protect it from being touched as well as isolate it from the frame.
That is as far as I have gotten since the last update. I want to try and get the top panel done next with the buttons and battery gauges but do need to make sure its all enclosed as it would be enough to have a nasty accident if grabbed wrong. Anyway that's where I'm at. Hopefully I have it more together over the next 2 months before the next ComicCon type event,then its all about improvements on the software side.
Discussions
Become a Hackaday.io Member
Create an account to leave a comment. Already have an account? Log In.