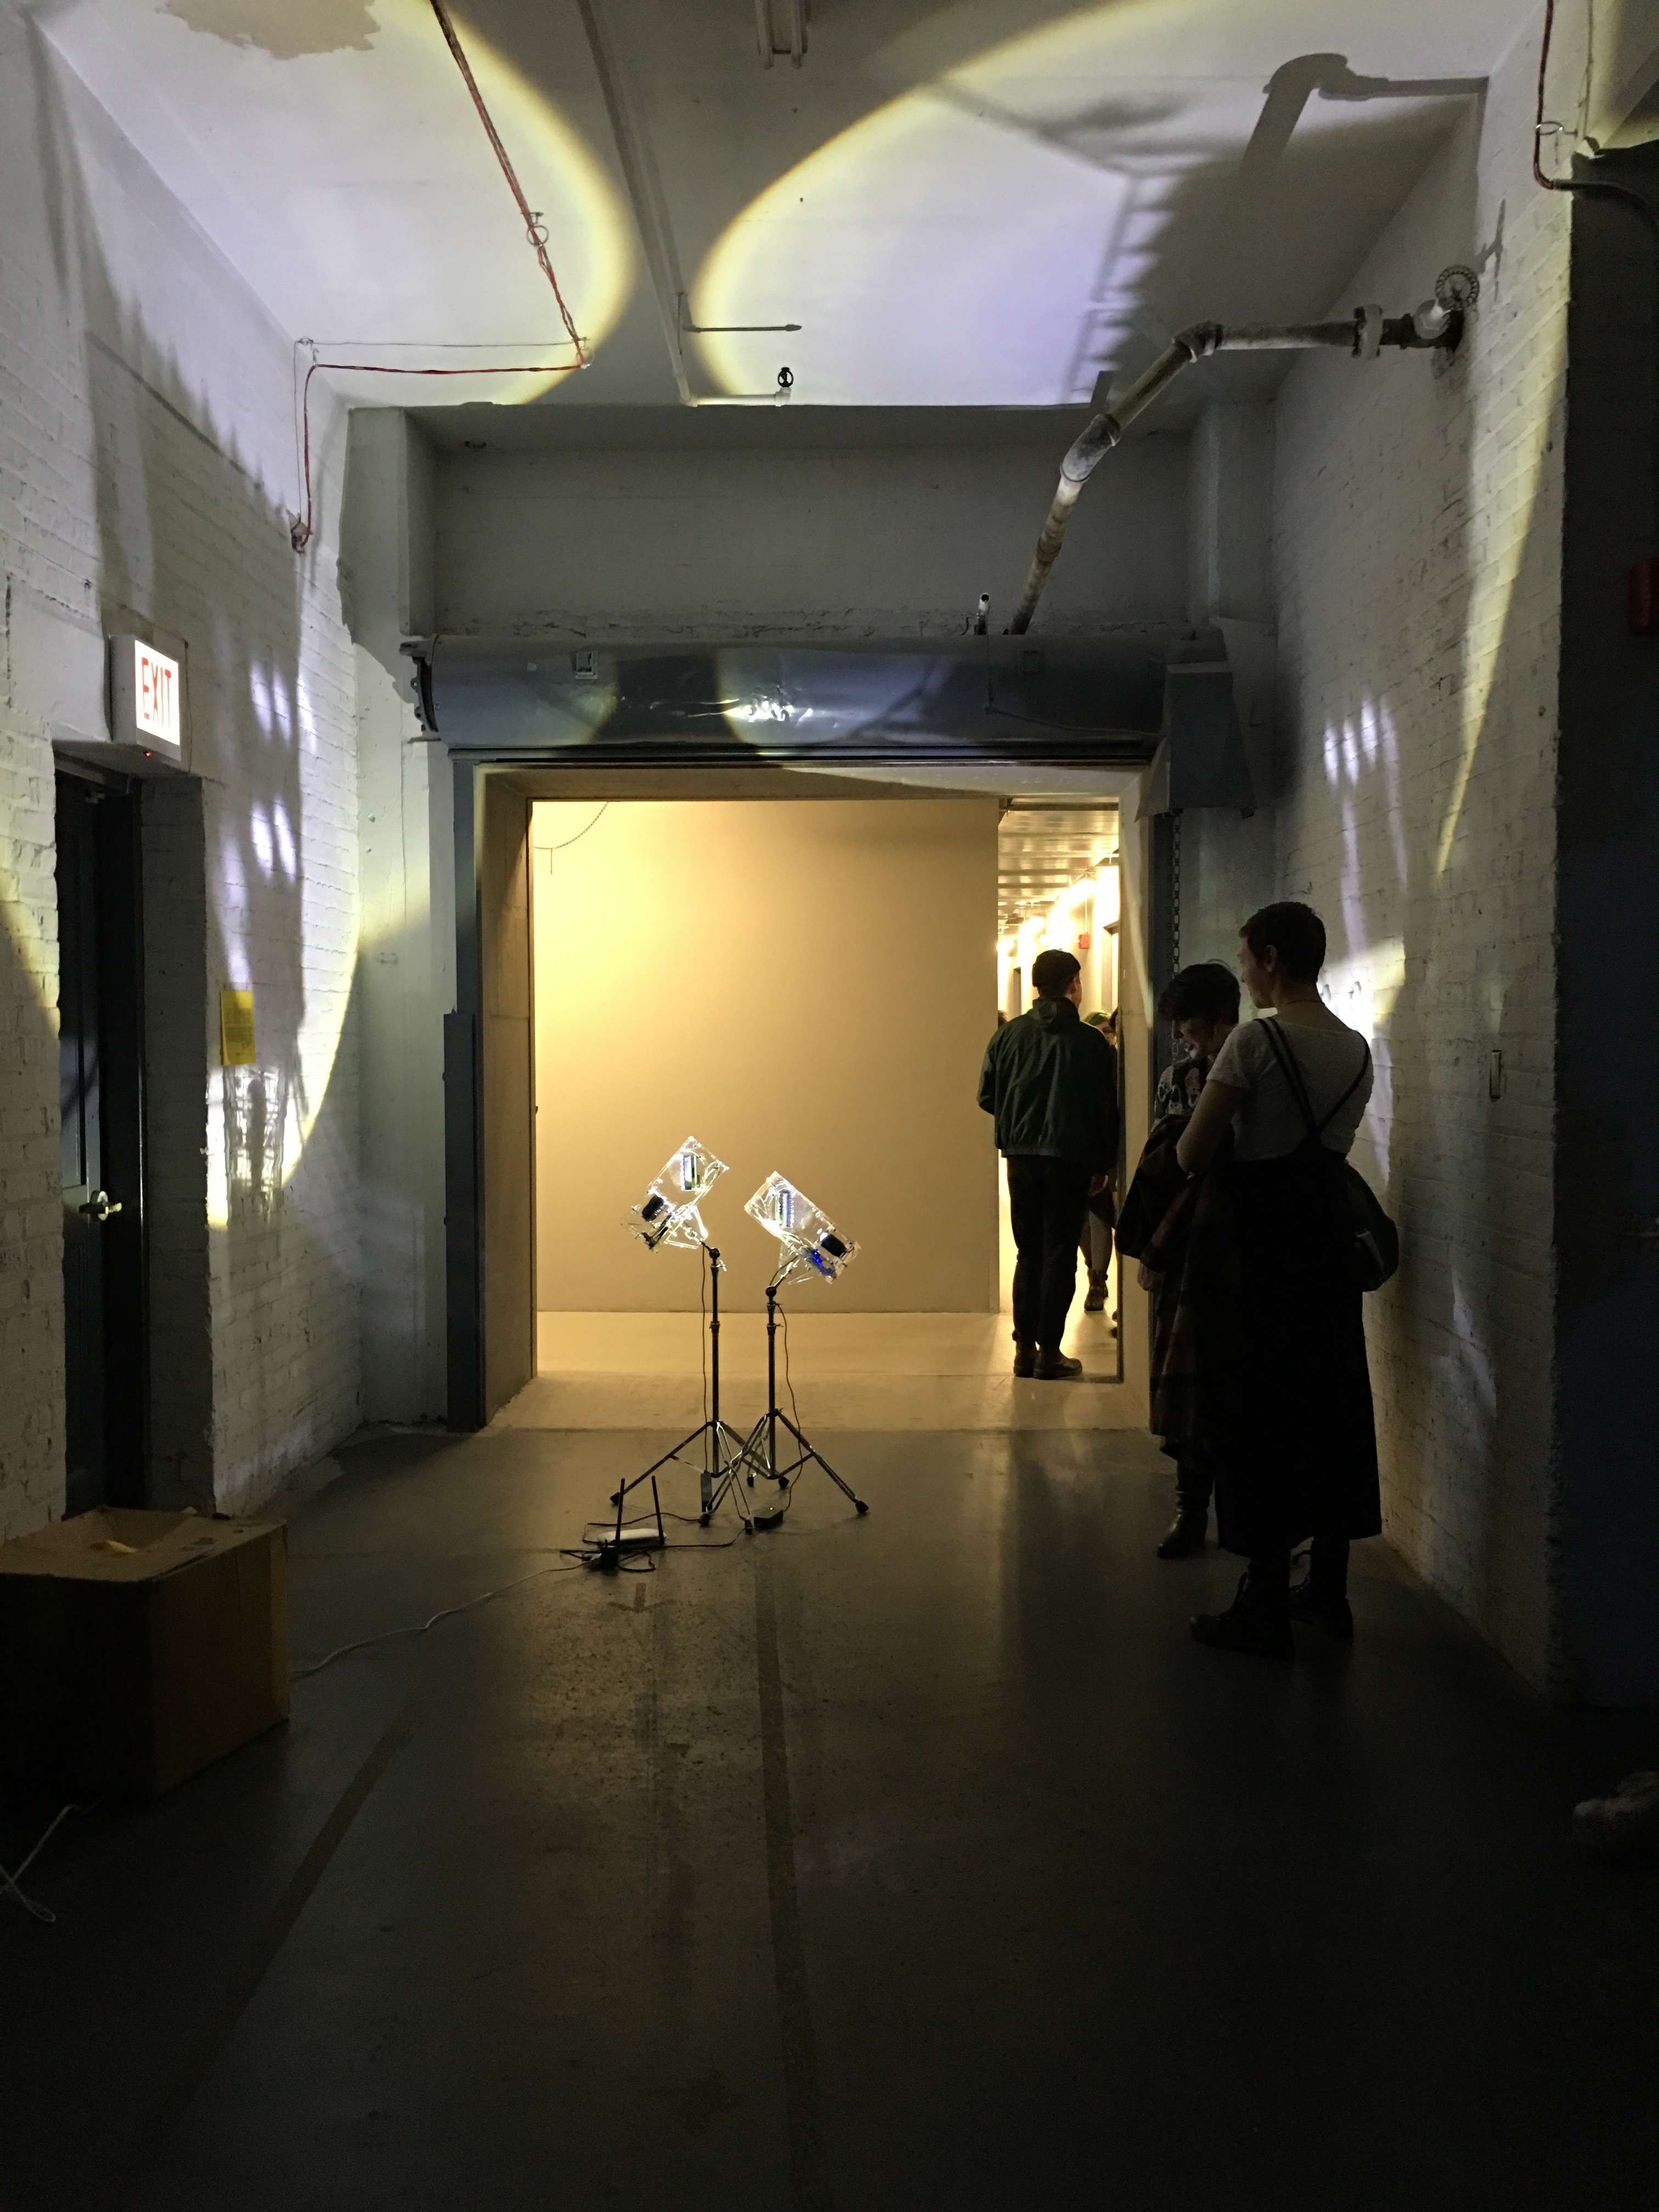
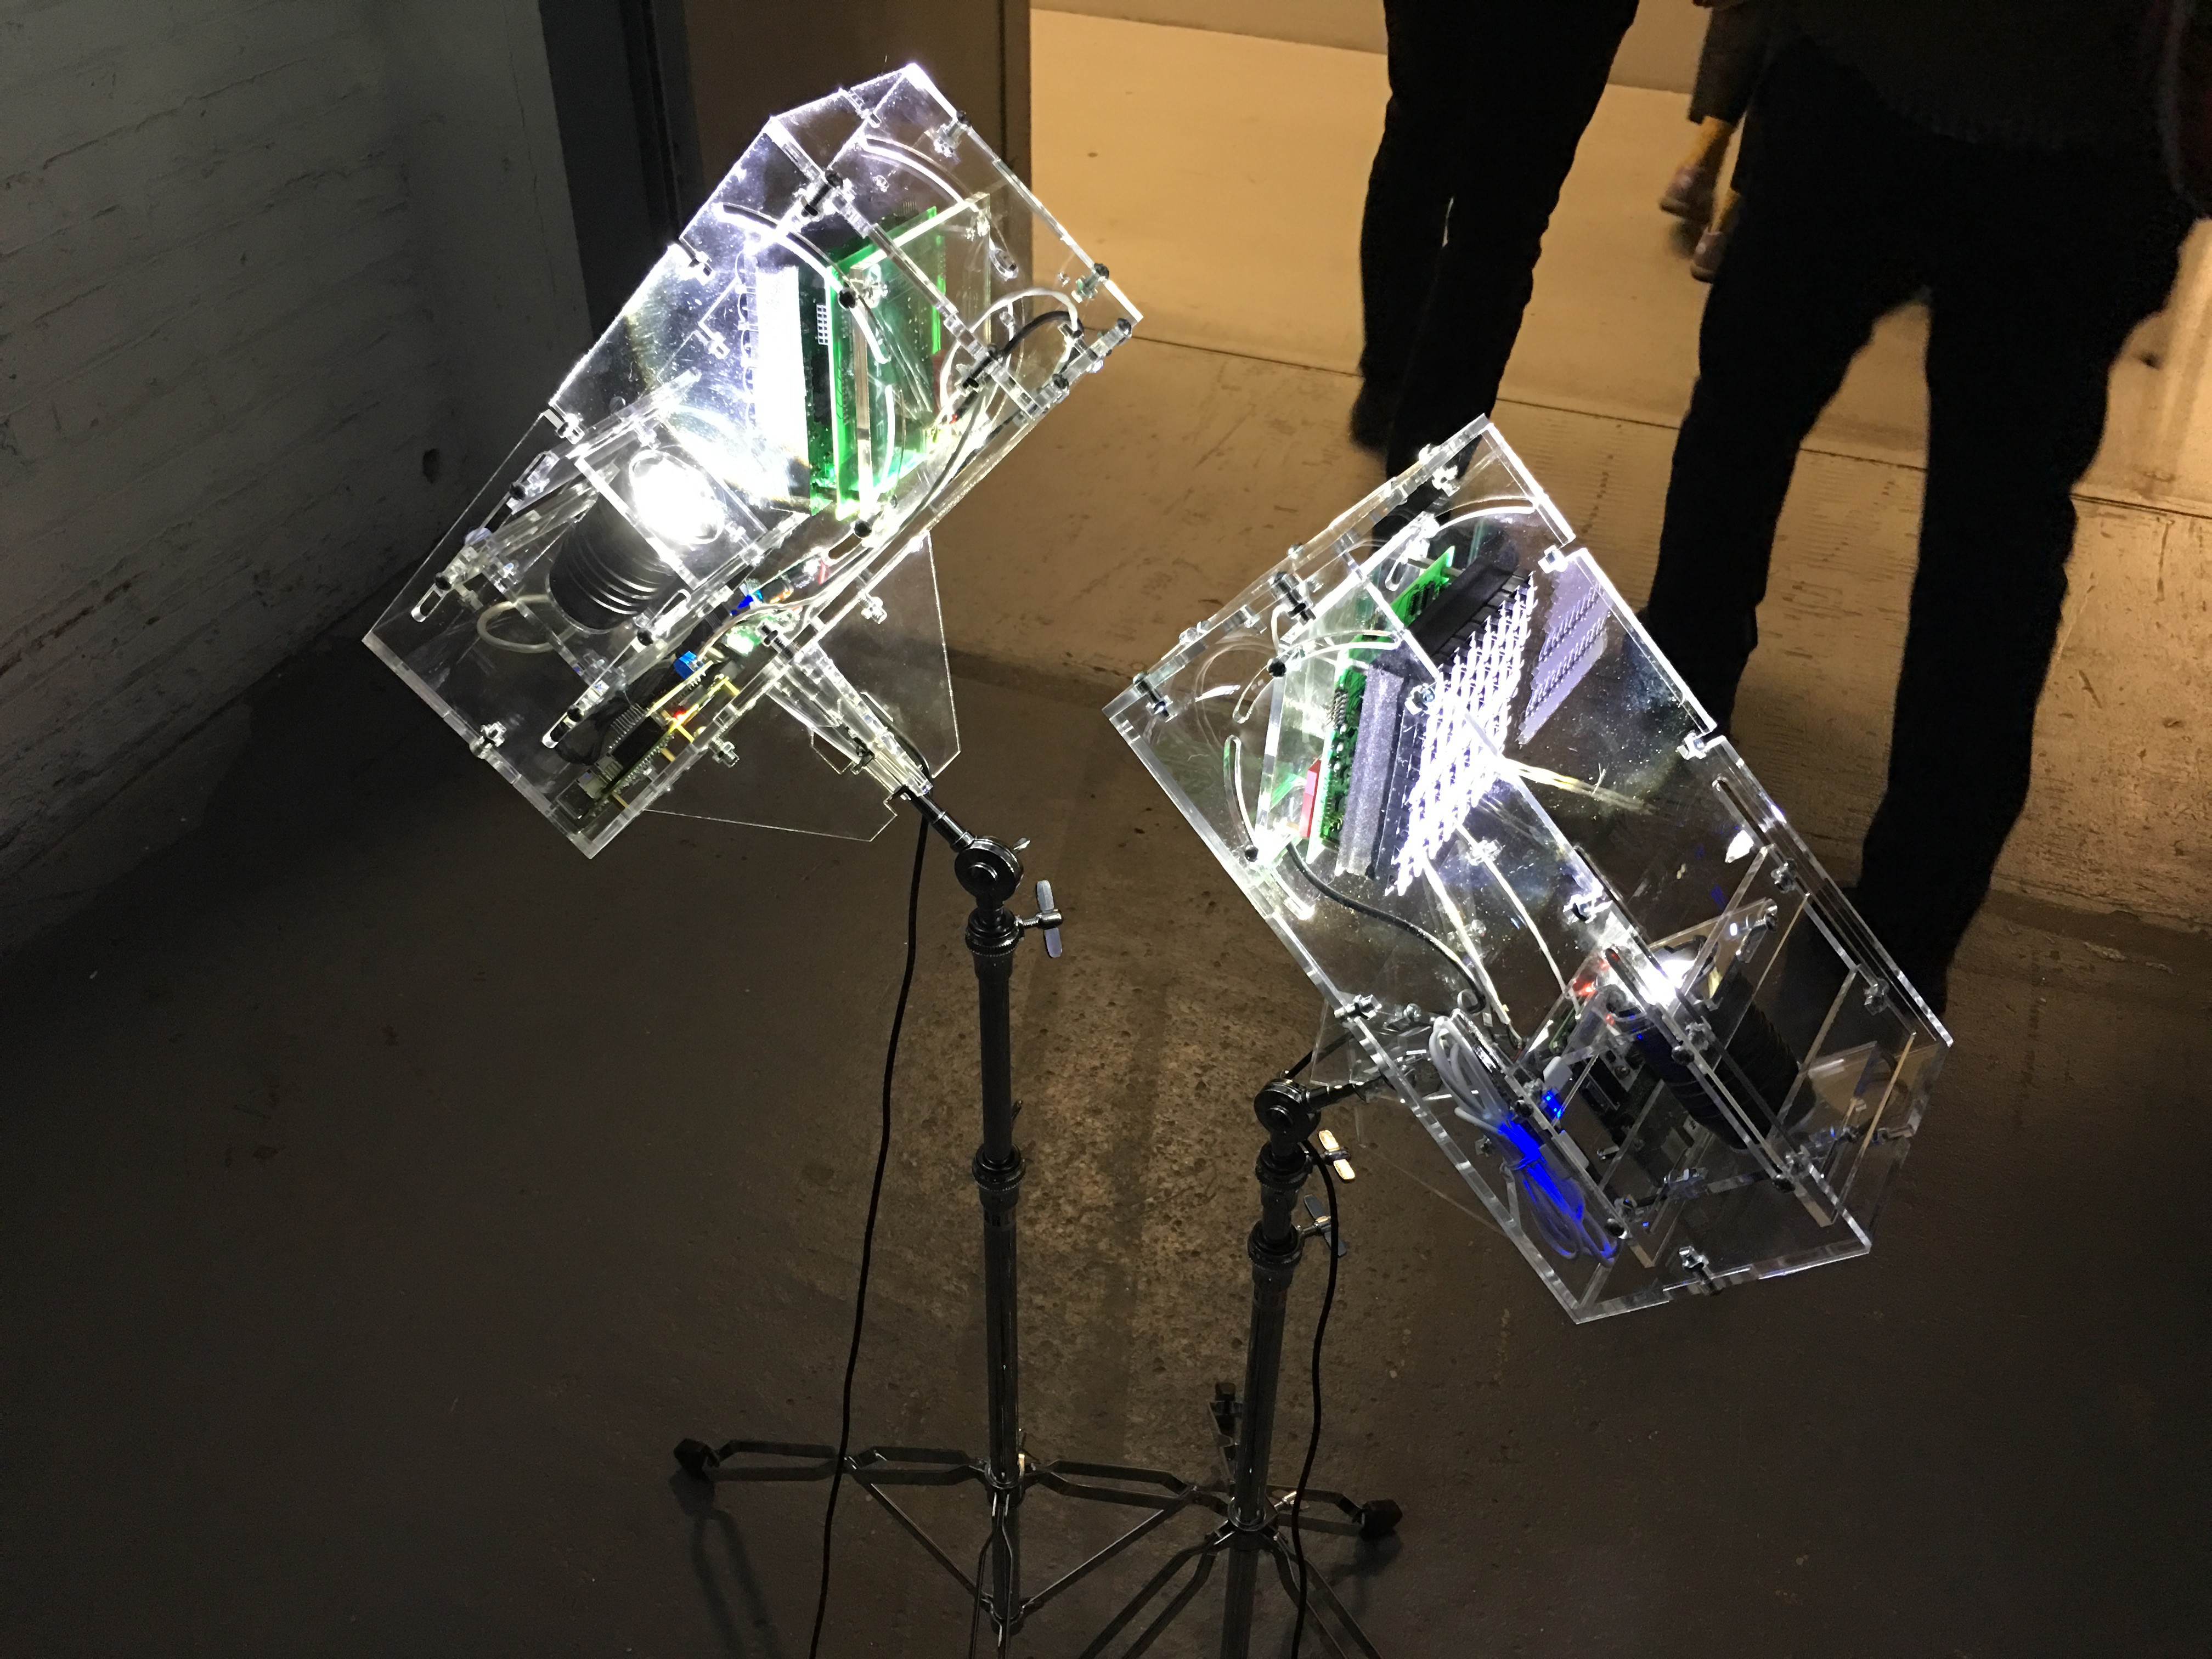
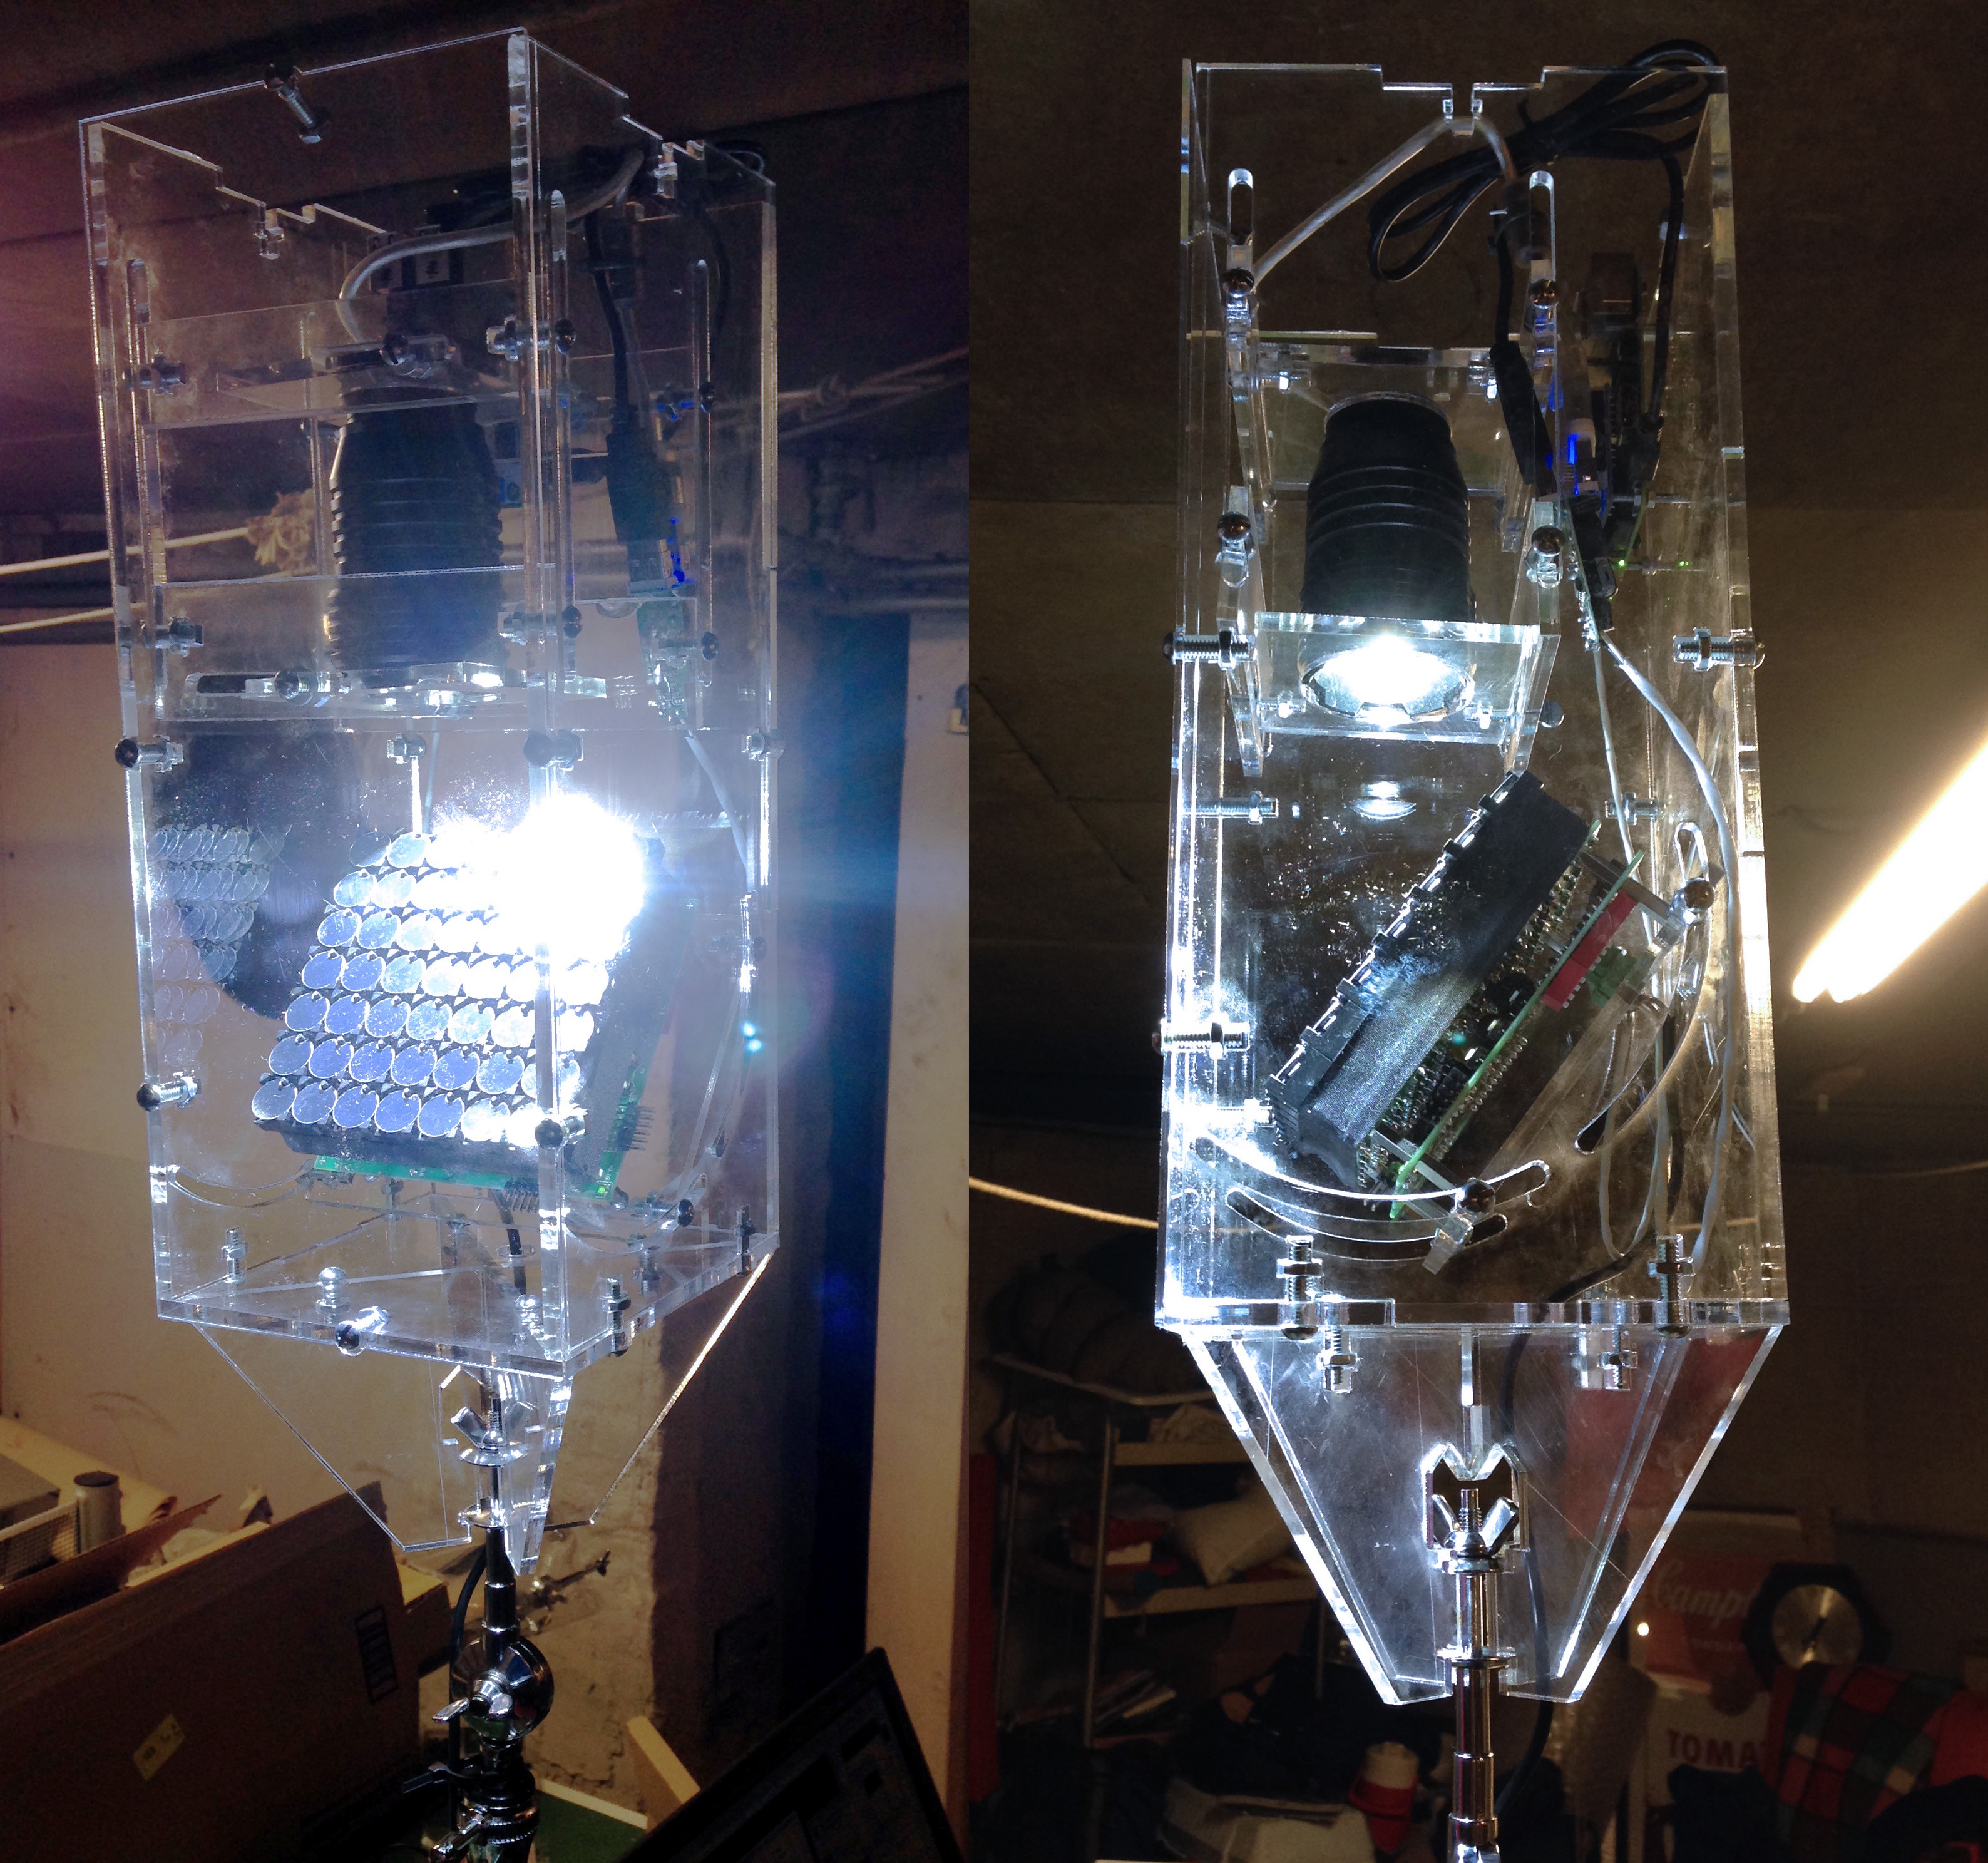
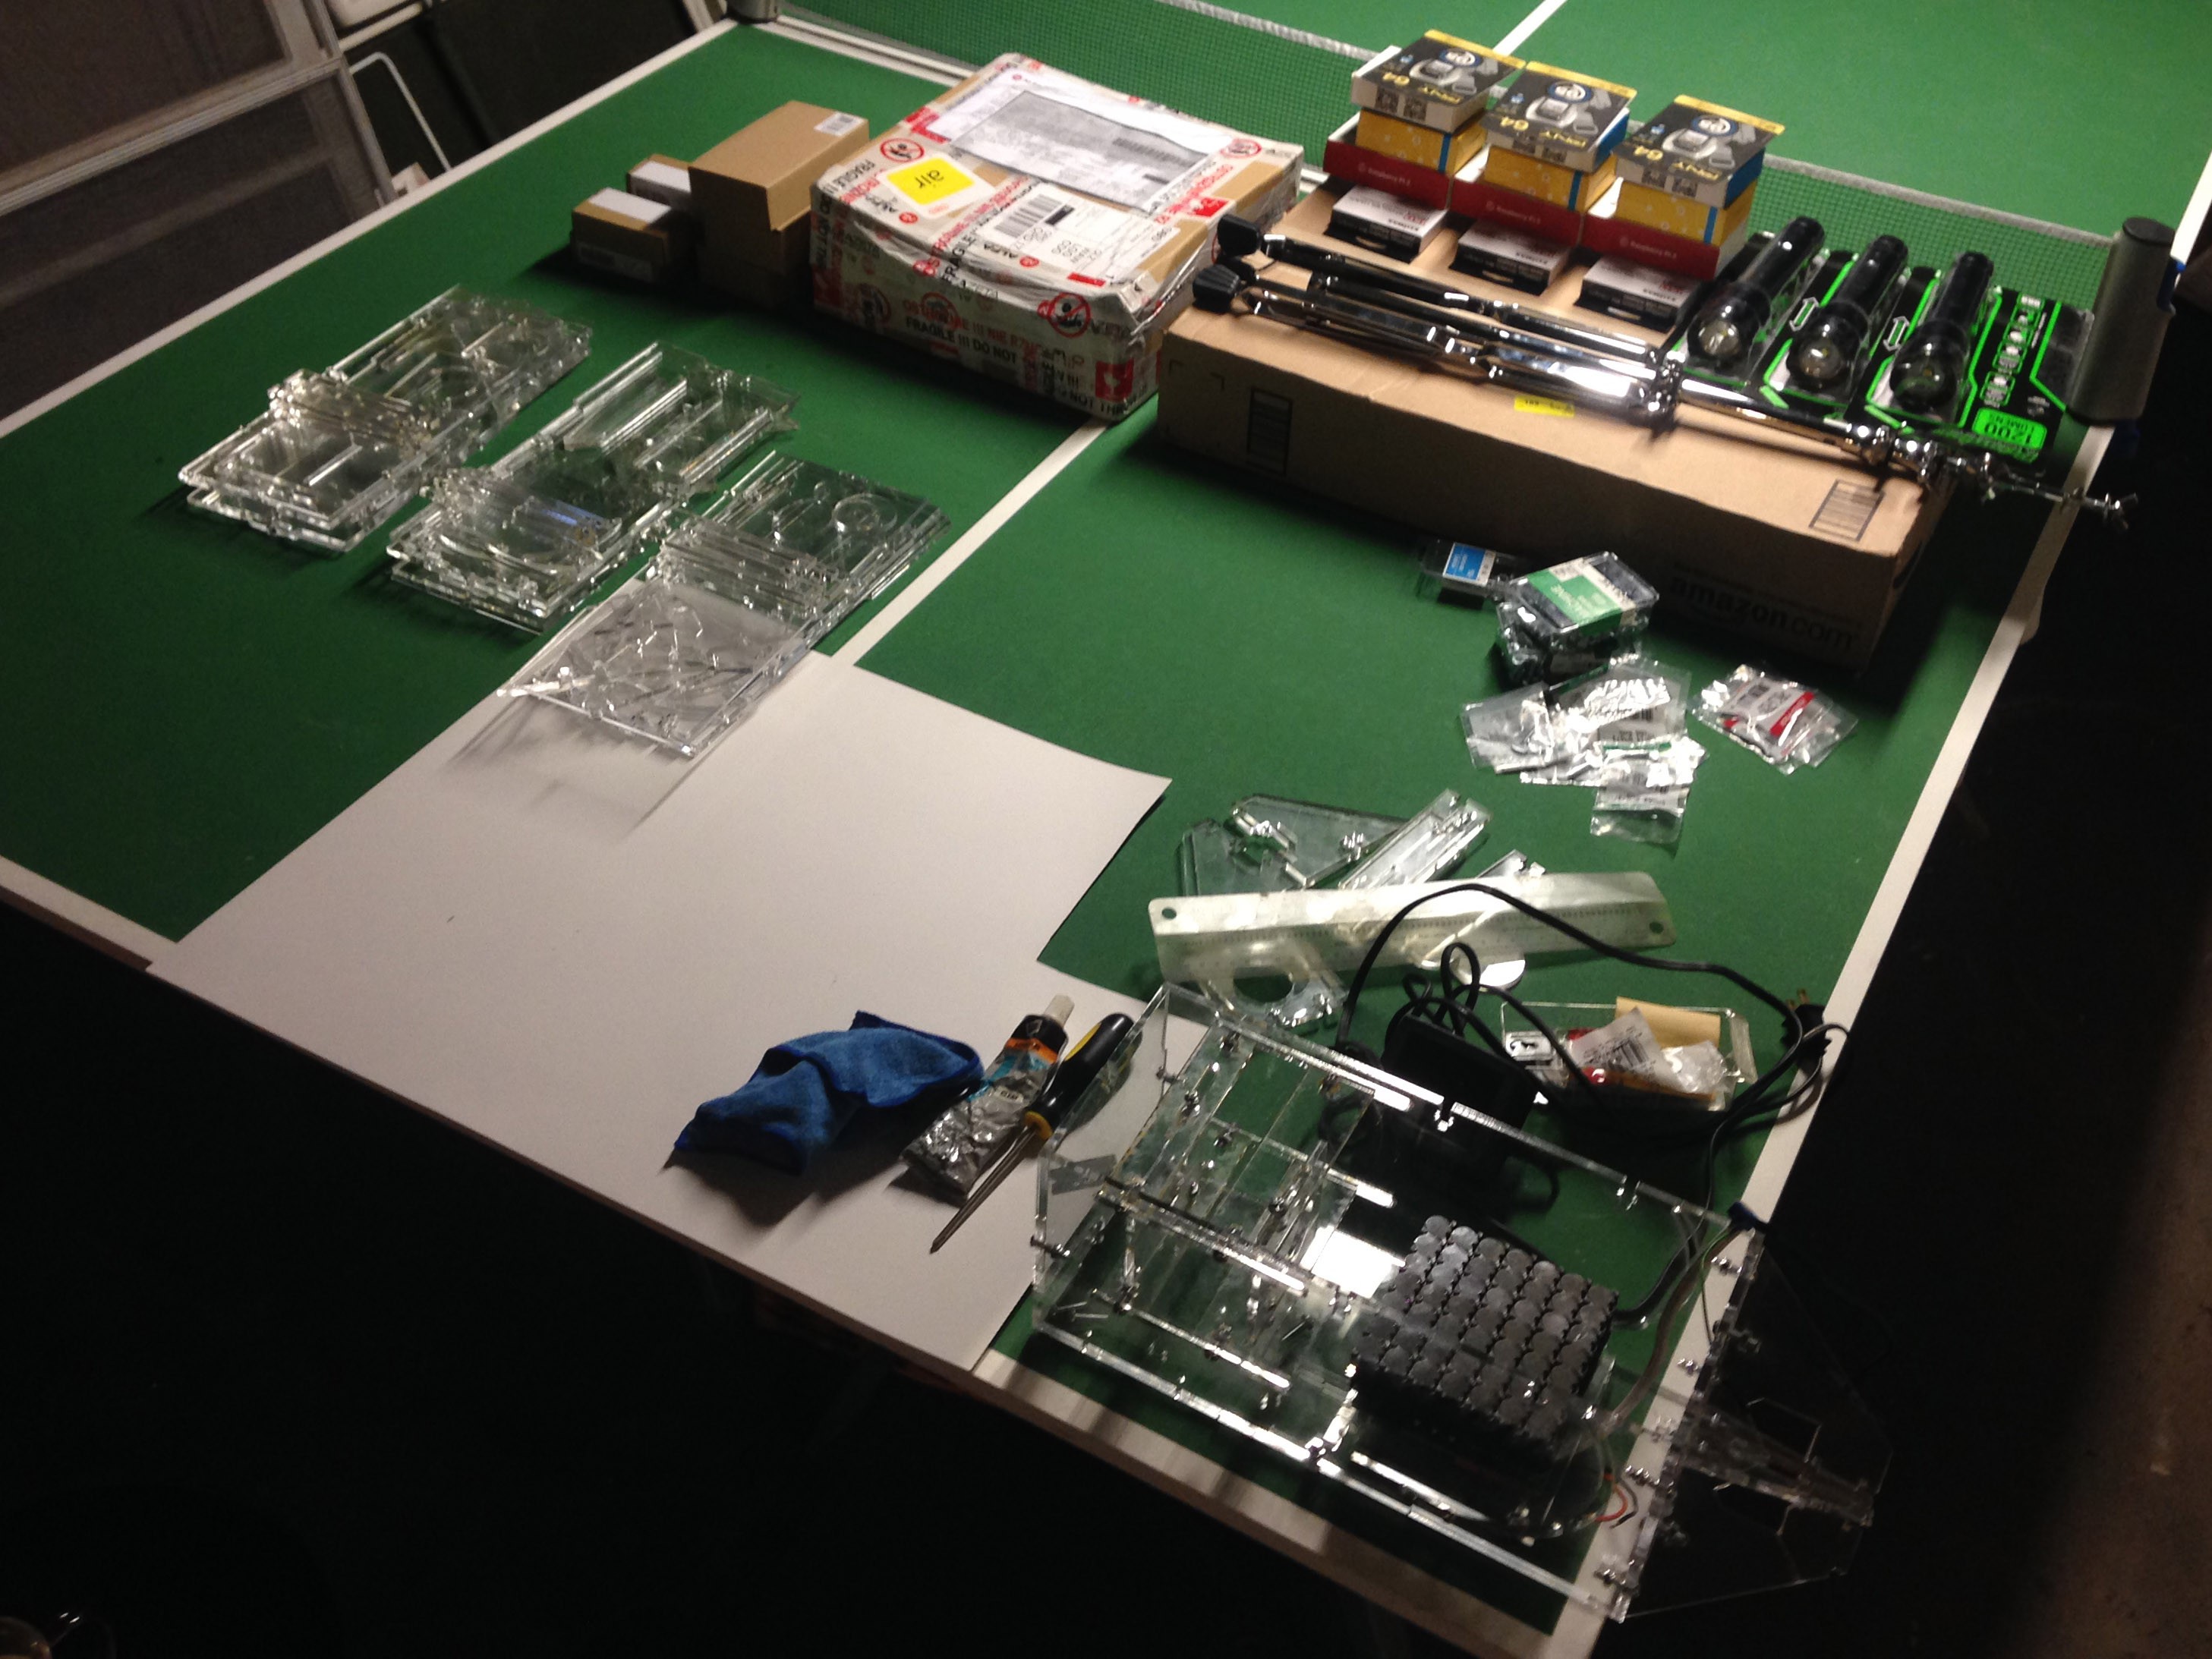
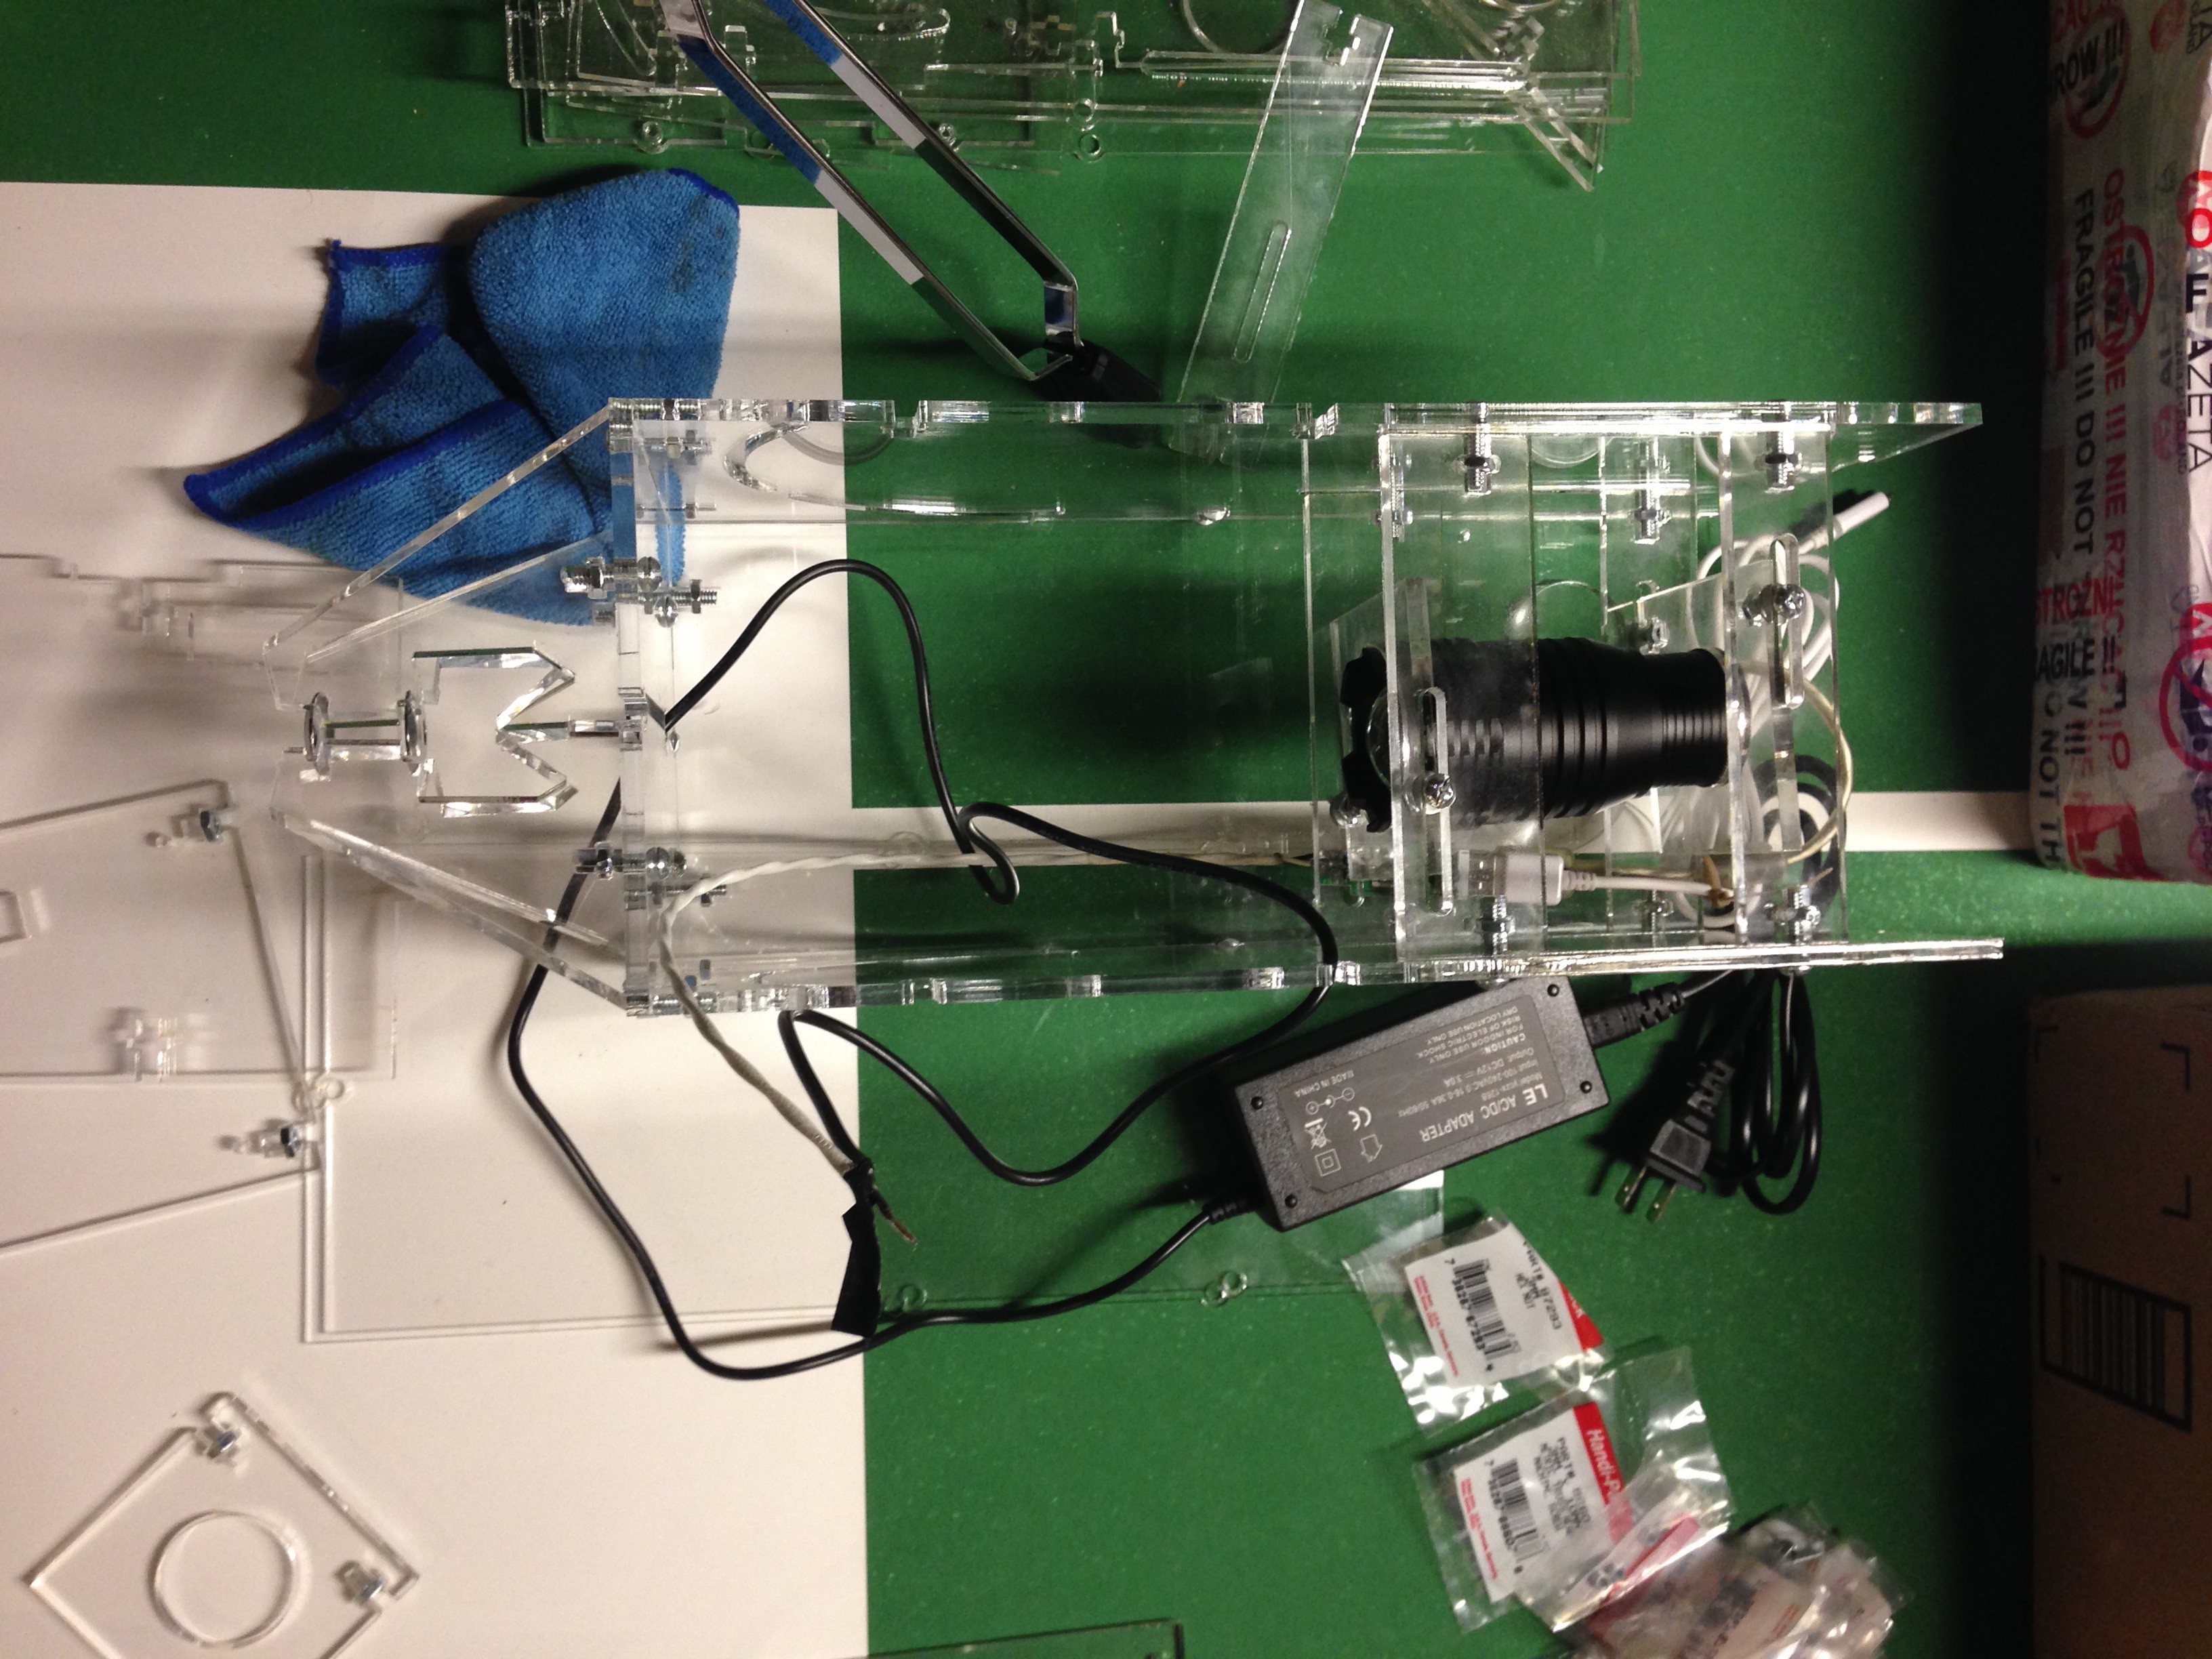
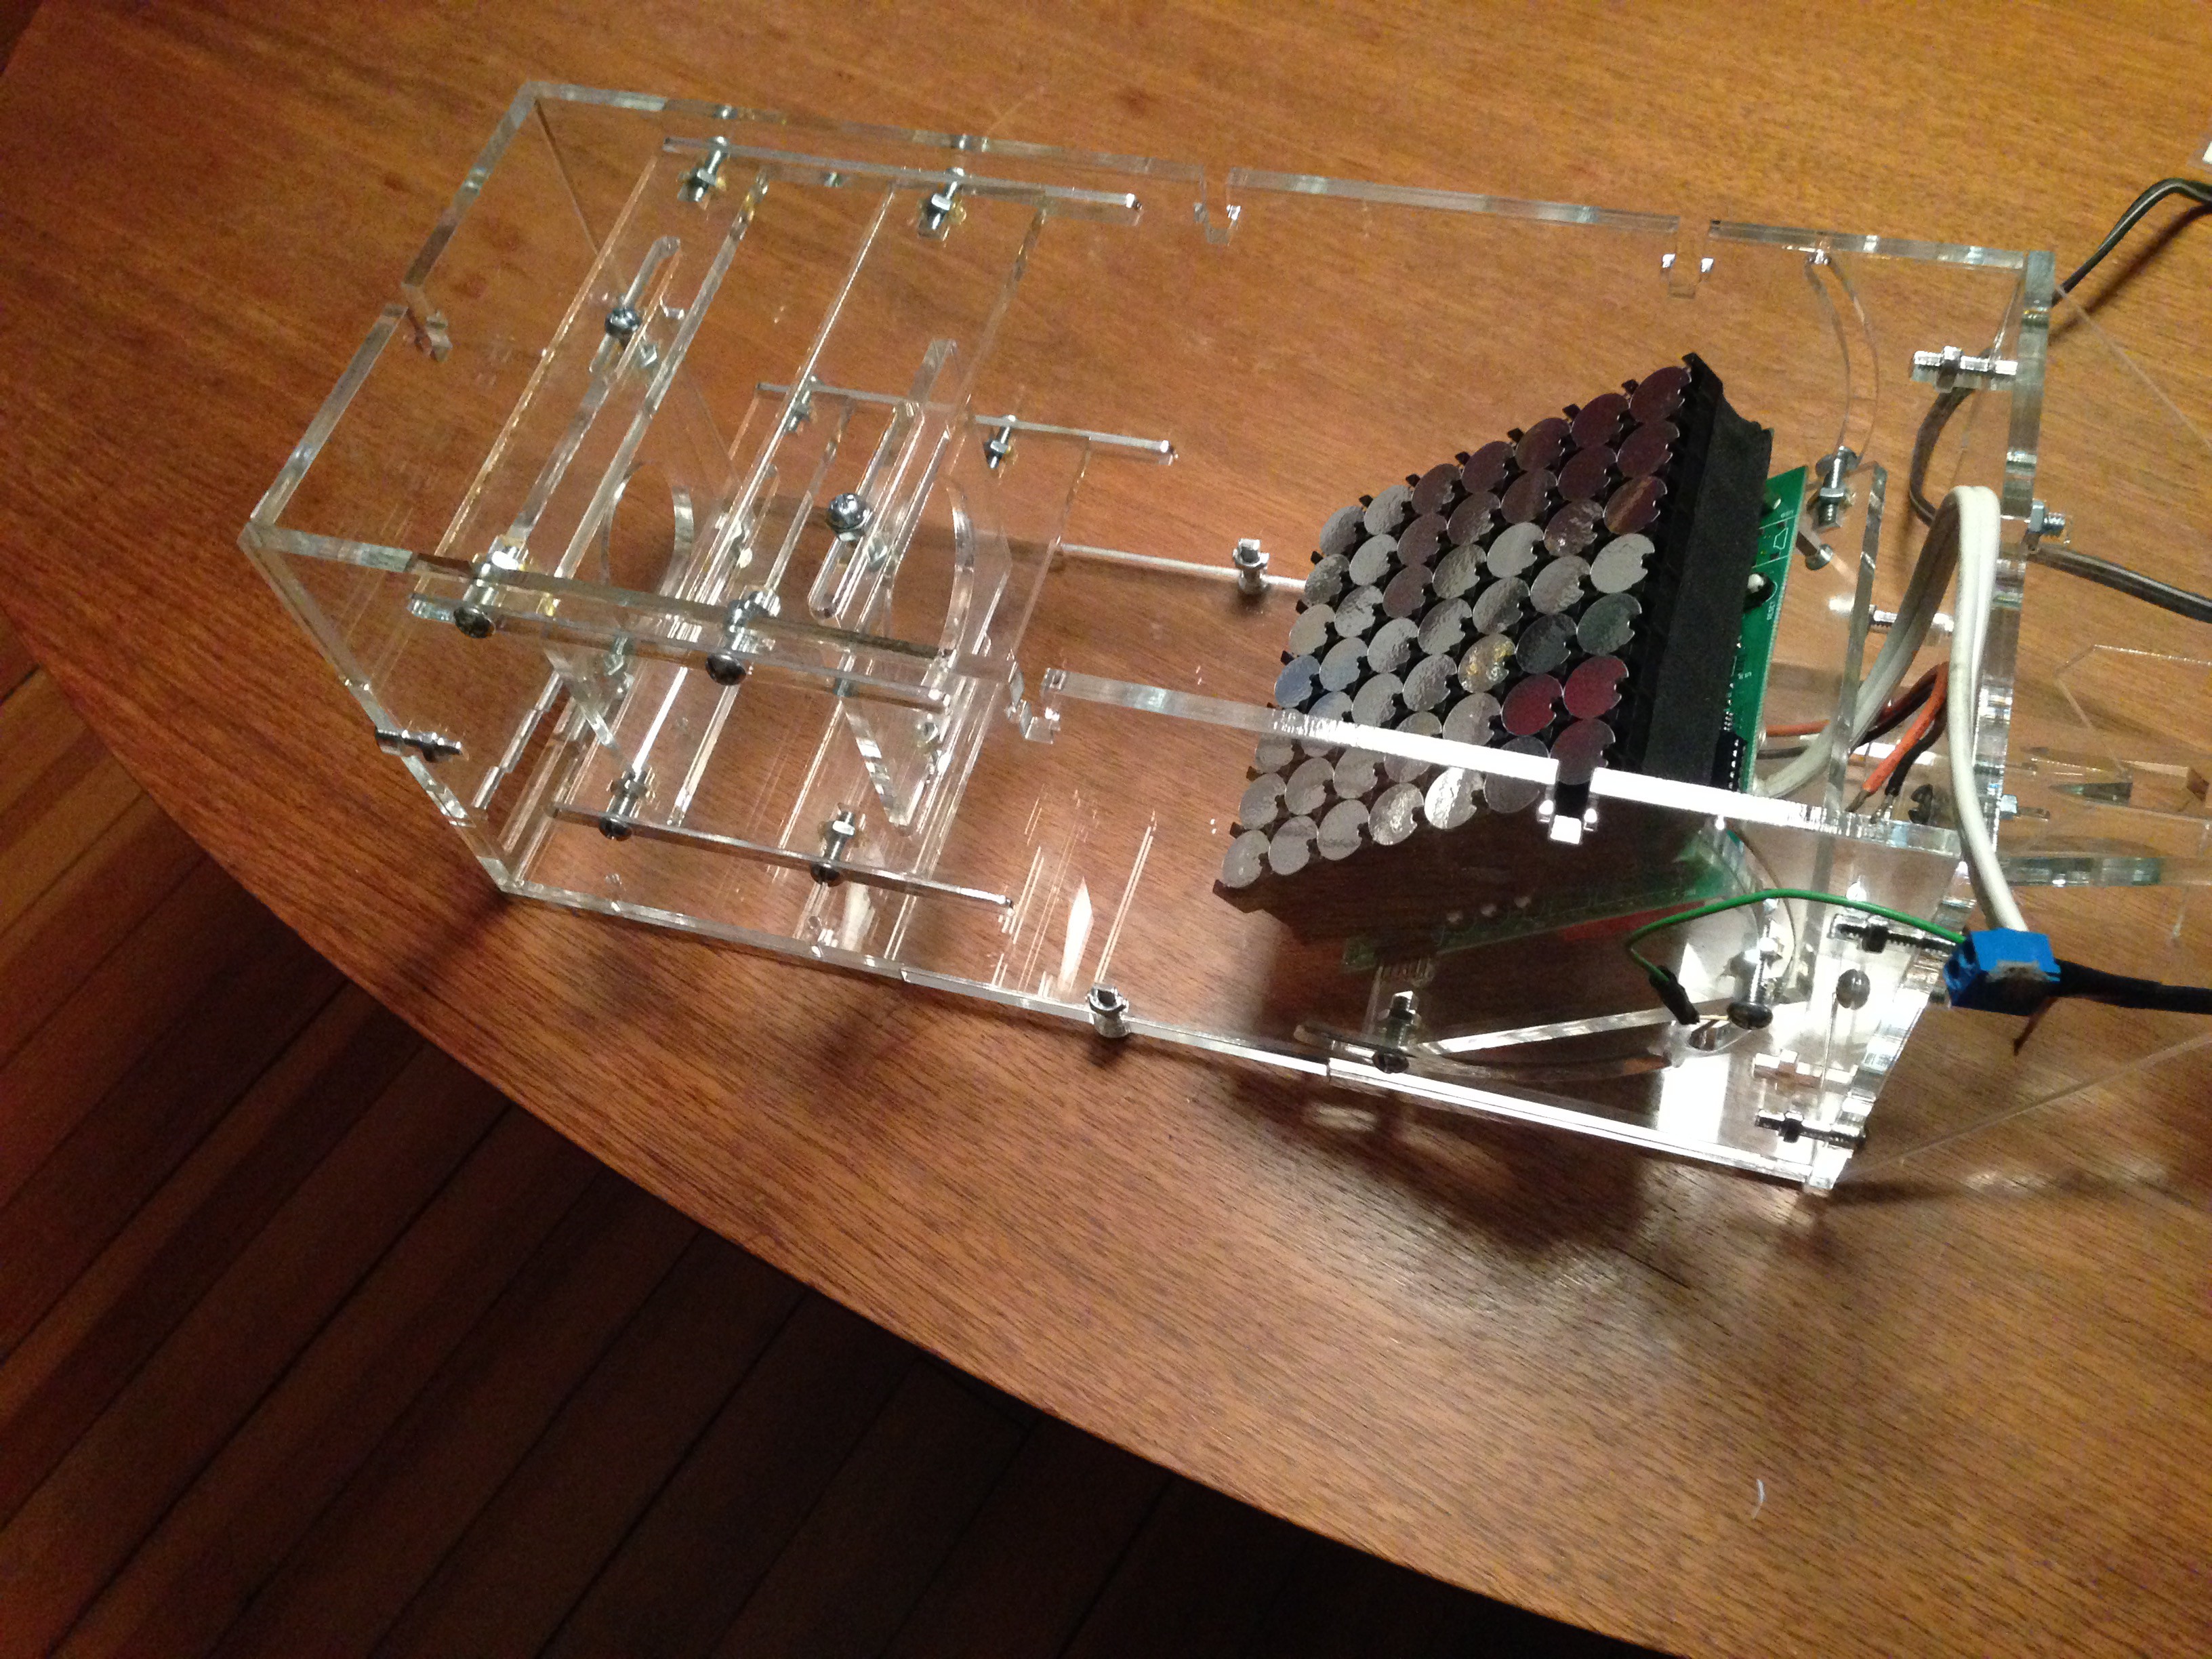
The concept for this project was to create a design for a digital projector built around a 7x7 pixel flip-dot display from AlfaZeta. Their displays are available in a variety of dot colors including a silver foil, reflective enough to provide a fairly focused dot from an LED light source at least 20 feet away. From the beginning I wanted viewers to be able to see the flip-dot panel working and to attempt to build 4 identical networked projectors.
Because of the small size of the components, either an Arduino or Raspberry Pi seemed ideal small controllers and due to the requirement for wireless communication a Pi with a cheap USB WiFi radio seemed the best option.
The content would be limited to 1-bit color so would need to be either abstract patterns, scrolling text, and possibly dithered video. Because of my familiarity with programming in Processing and its recent release for Raspberry Pi, all development was done in Processing.
Low power components were selected to enable future battery operation, though only DC power supplies have been used thus far.
 Hari Wiguna
 Gee Bartlett
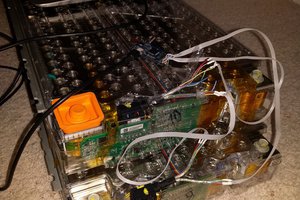
 Jarrod
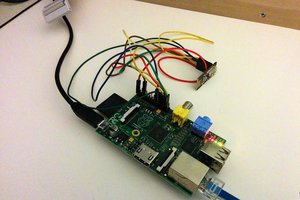
 surfingsteve