 marble
For the 32. Chaos Communication Congress in Hamburg two friends of mine build an internet controlled beckoning cat with an ESP8266 and a servo motor. On that congress, the hackers from c-base have set up a laser fence with cheap laser diodes from AliExpress.
Inspired by both of these I came up with the Idea of a laser Maneki-neko. I also wanted it to be controllable via WiFi and a web interface. So this is the first project I use the ESP for. As I discovered the capabilities of the ESP, I added more features to the plan.
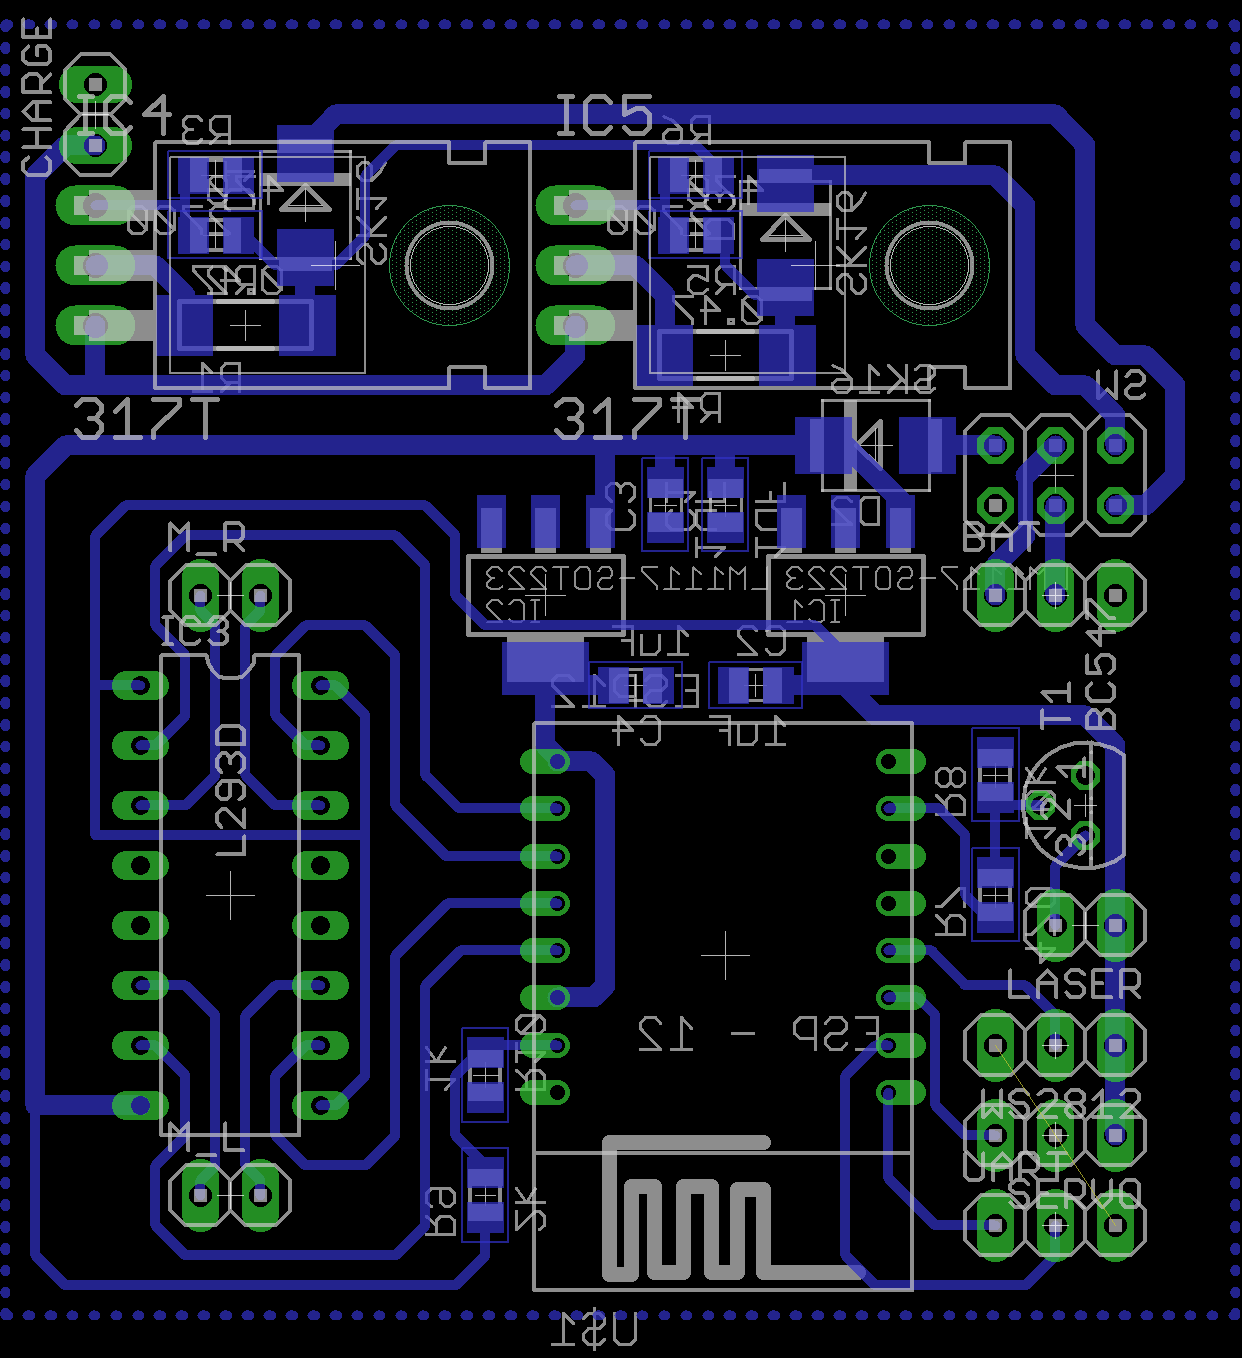
The Maneki-neko will feature the waving arm, controlled by a servo, laser eyes, two DC motors for driving and a WS2812 strip for RGB lighting, all controlled by the ESP running NodeMCU in AP mode.


 mauswerkz
 Wasim Sahu
 Dimitar
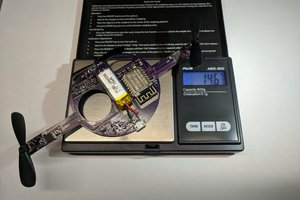
 Sophi Kravitz