 zakqwy
For some reason, I didn't order the cheap pillow block I listed in the GimbalBot Expense spreadsheet. It was only $10, but I just... didn't do it. In any case, I was at a local surplus store picking up parts for another project earlier this week and grabbed a pair of flanged ball bearings:
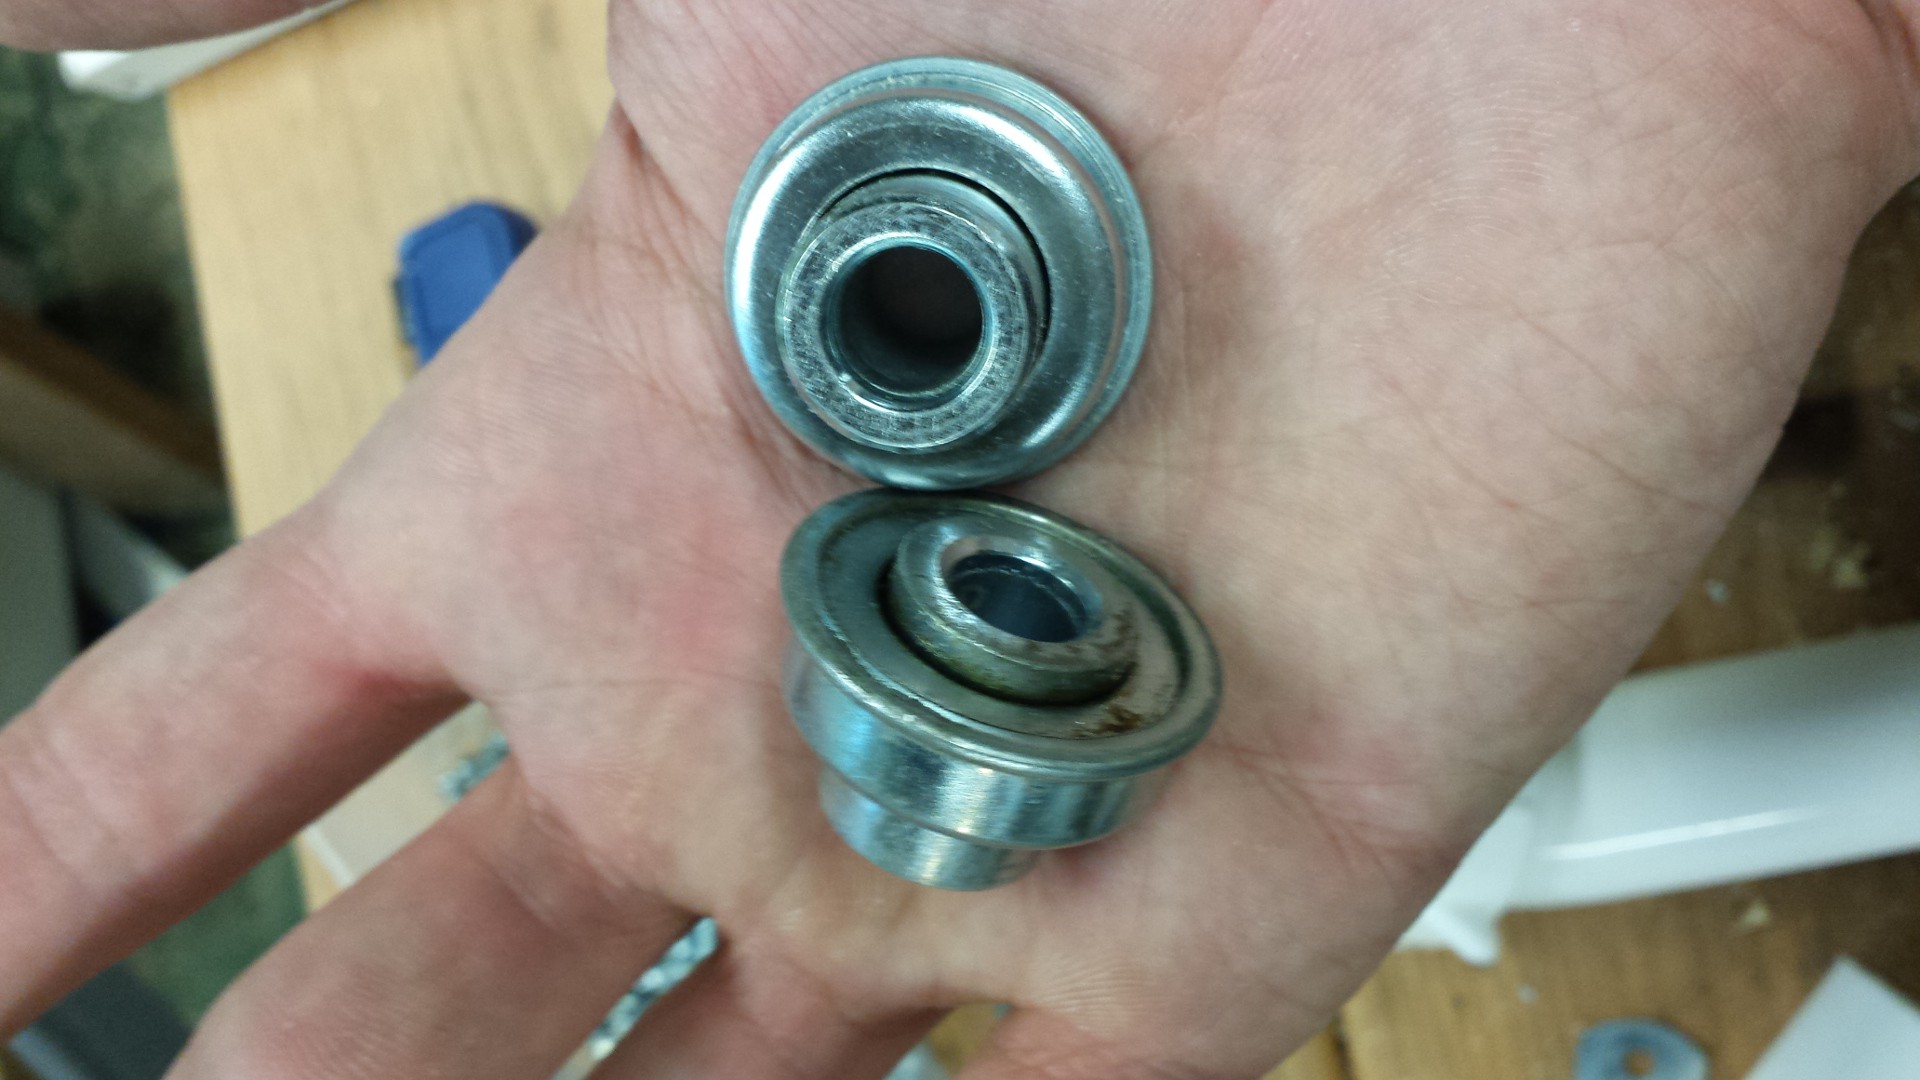
Hmmm.. that's not a pillow block. Fortunately, I had a spare PVC trap lying around whose ID matched the bearings. I introduced the trap to my chop saw:
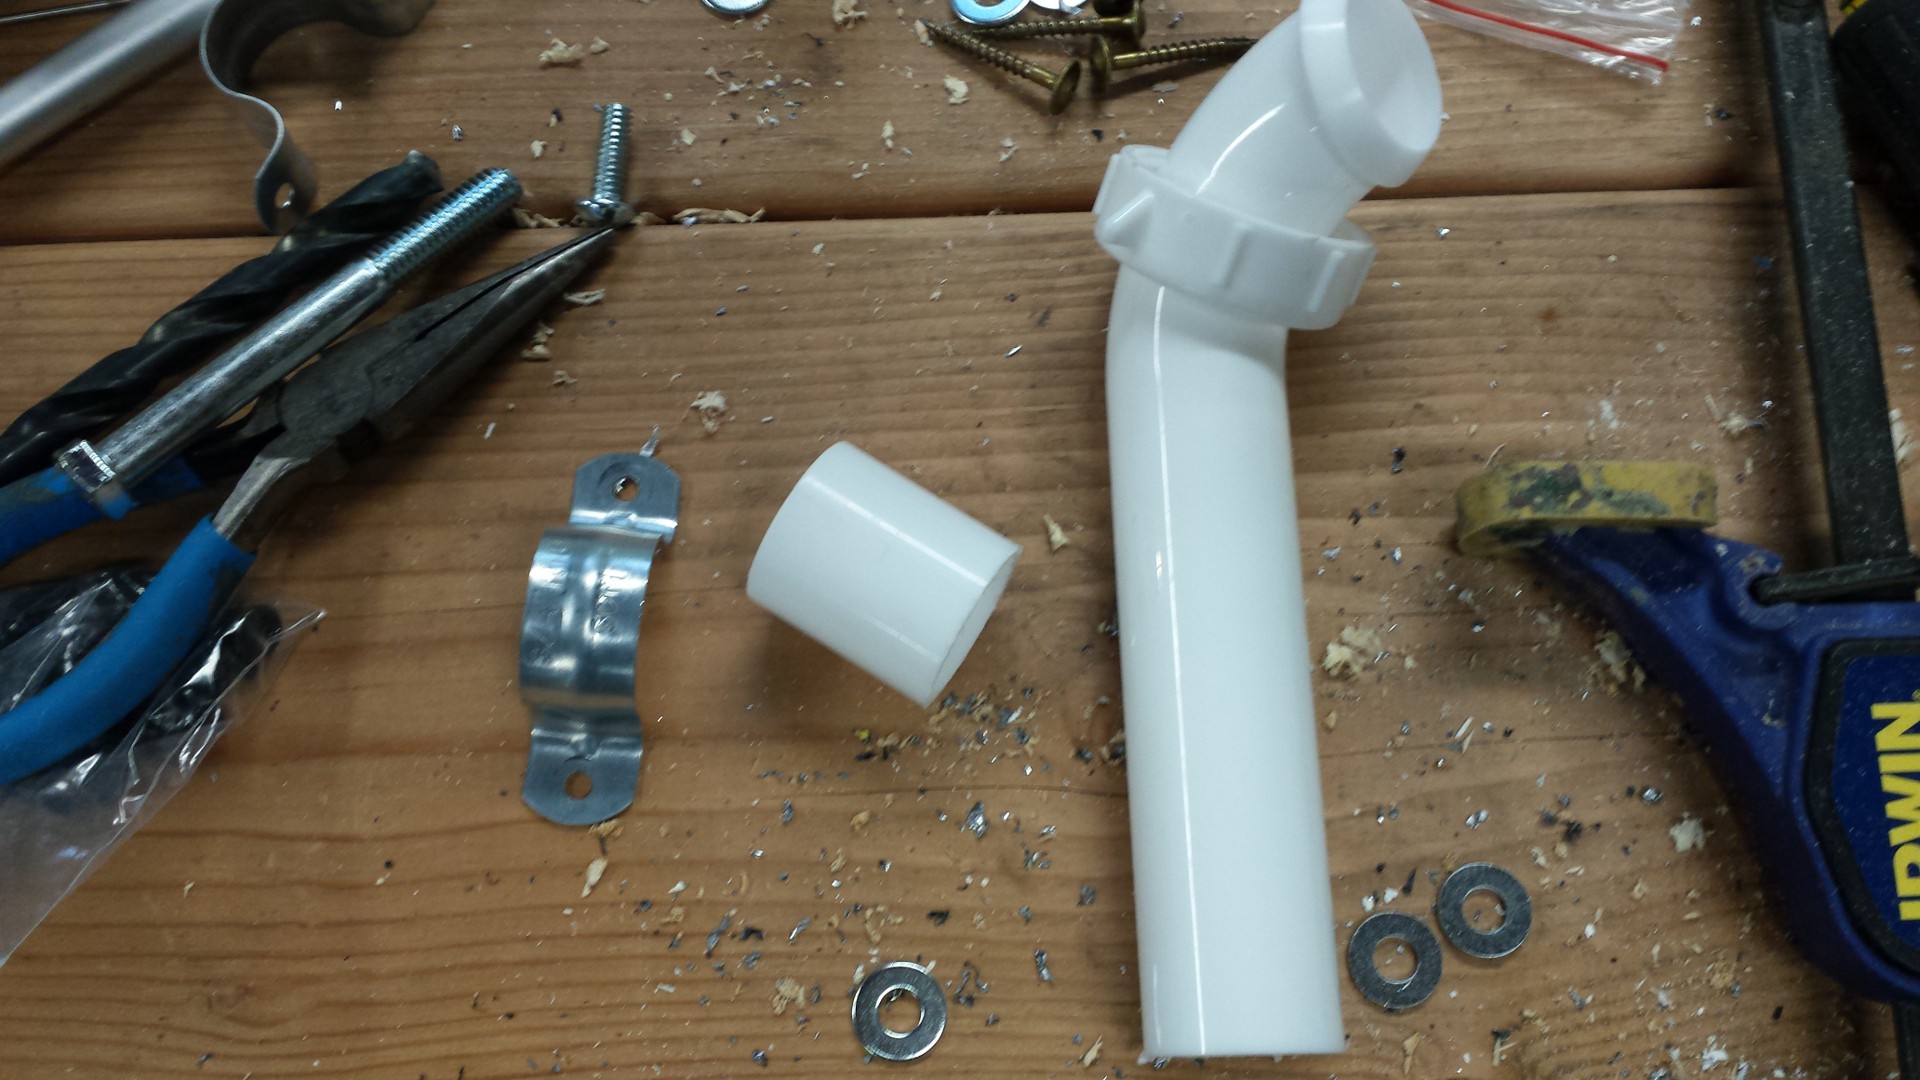
... and paired the pipe stub up with a 3/4" steel pipe hanger:

BAM, DIY pillow block. Probably came out about even if you count the cost of the trap. I stand behind my tendency to occasionally reinvent the wheel--helps clean out the junk bins.
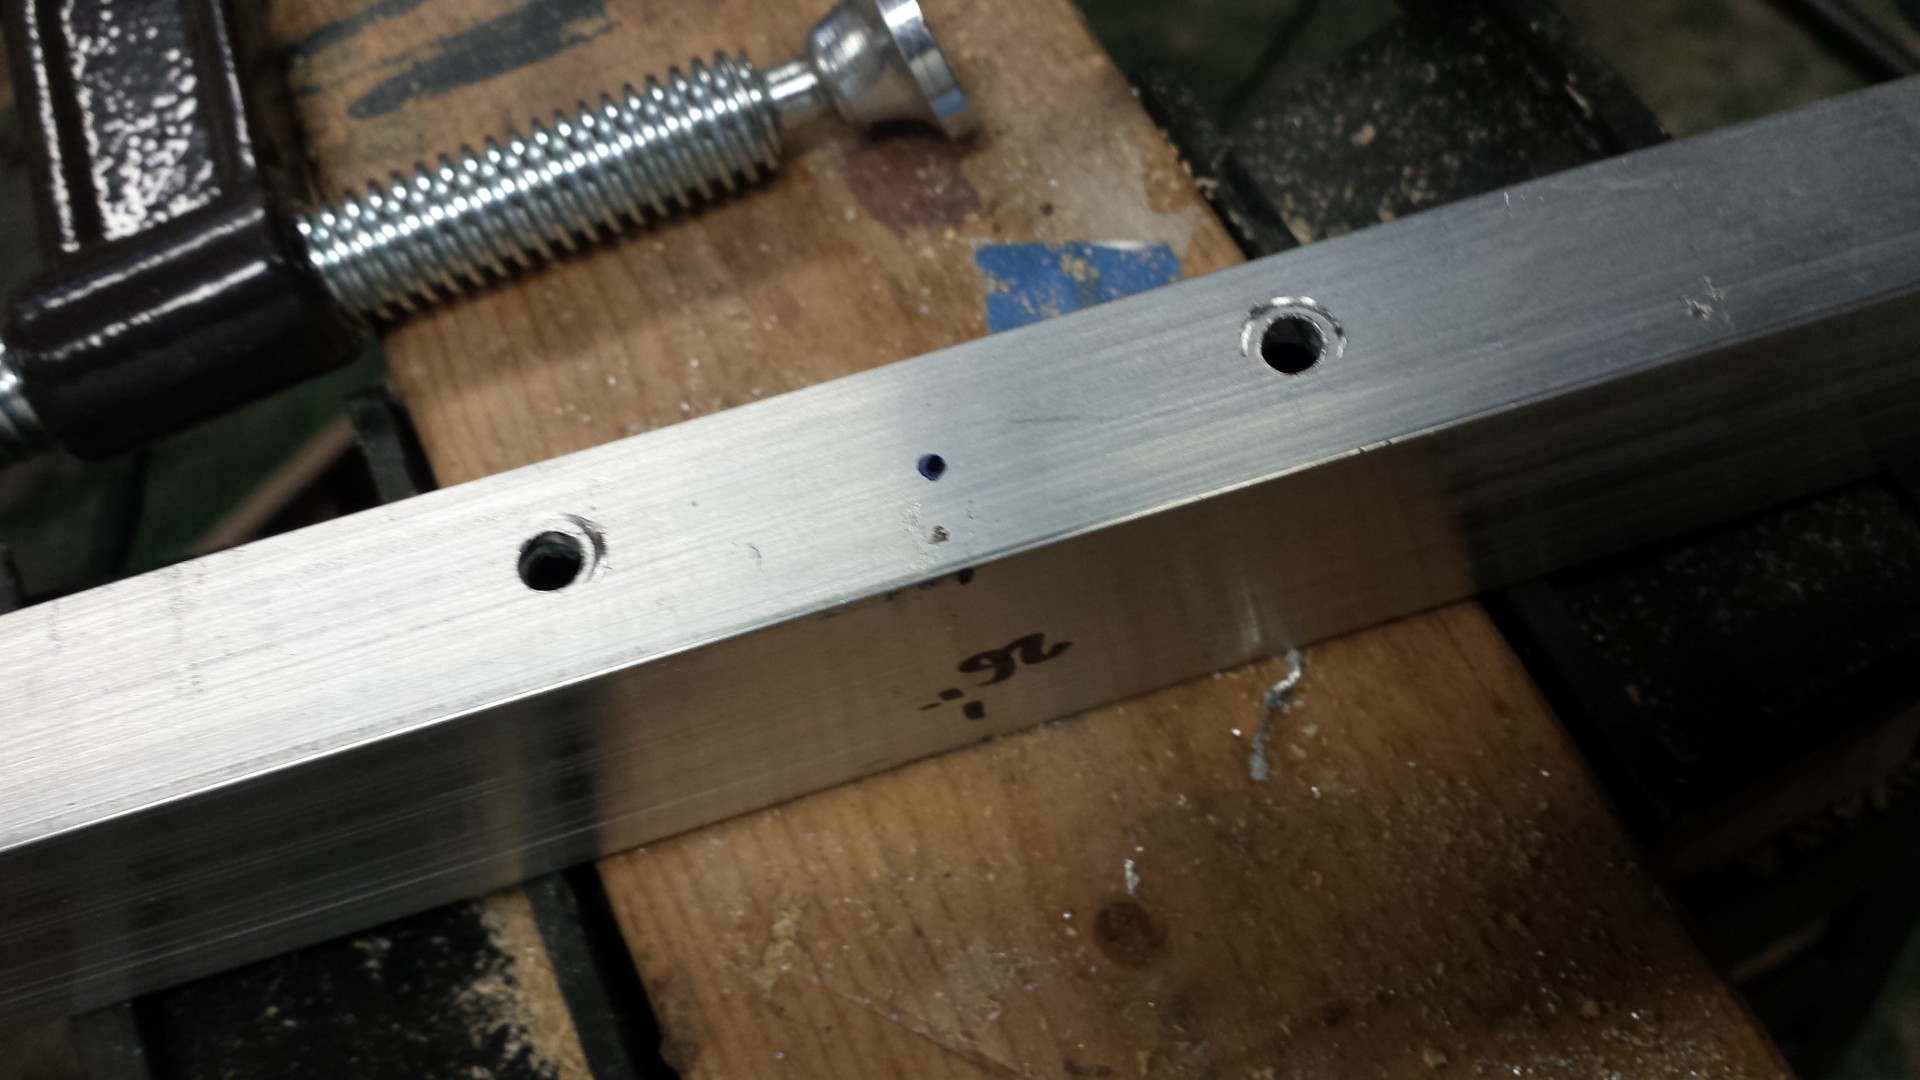
After that, it was a simple matter of measuring the halfway point between the center of the props and the end of the thrust rig arm and drilling a few holes:
Bolt everything together and the mechanical portion of the test rig is done:
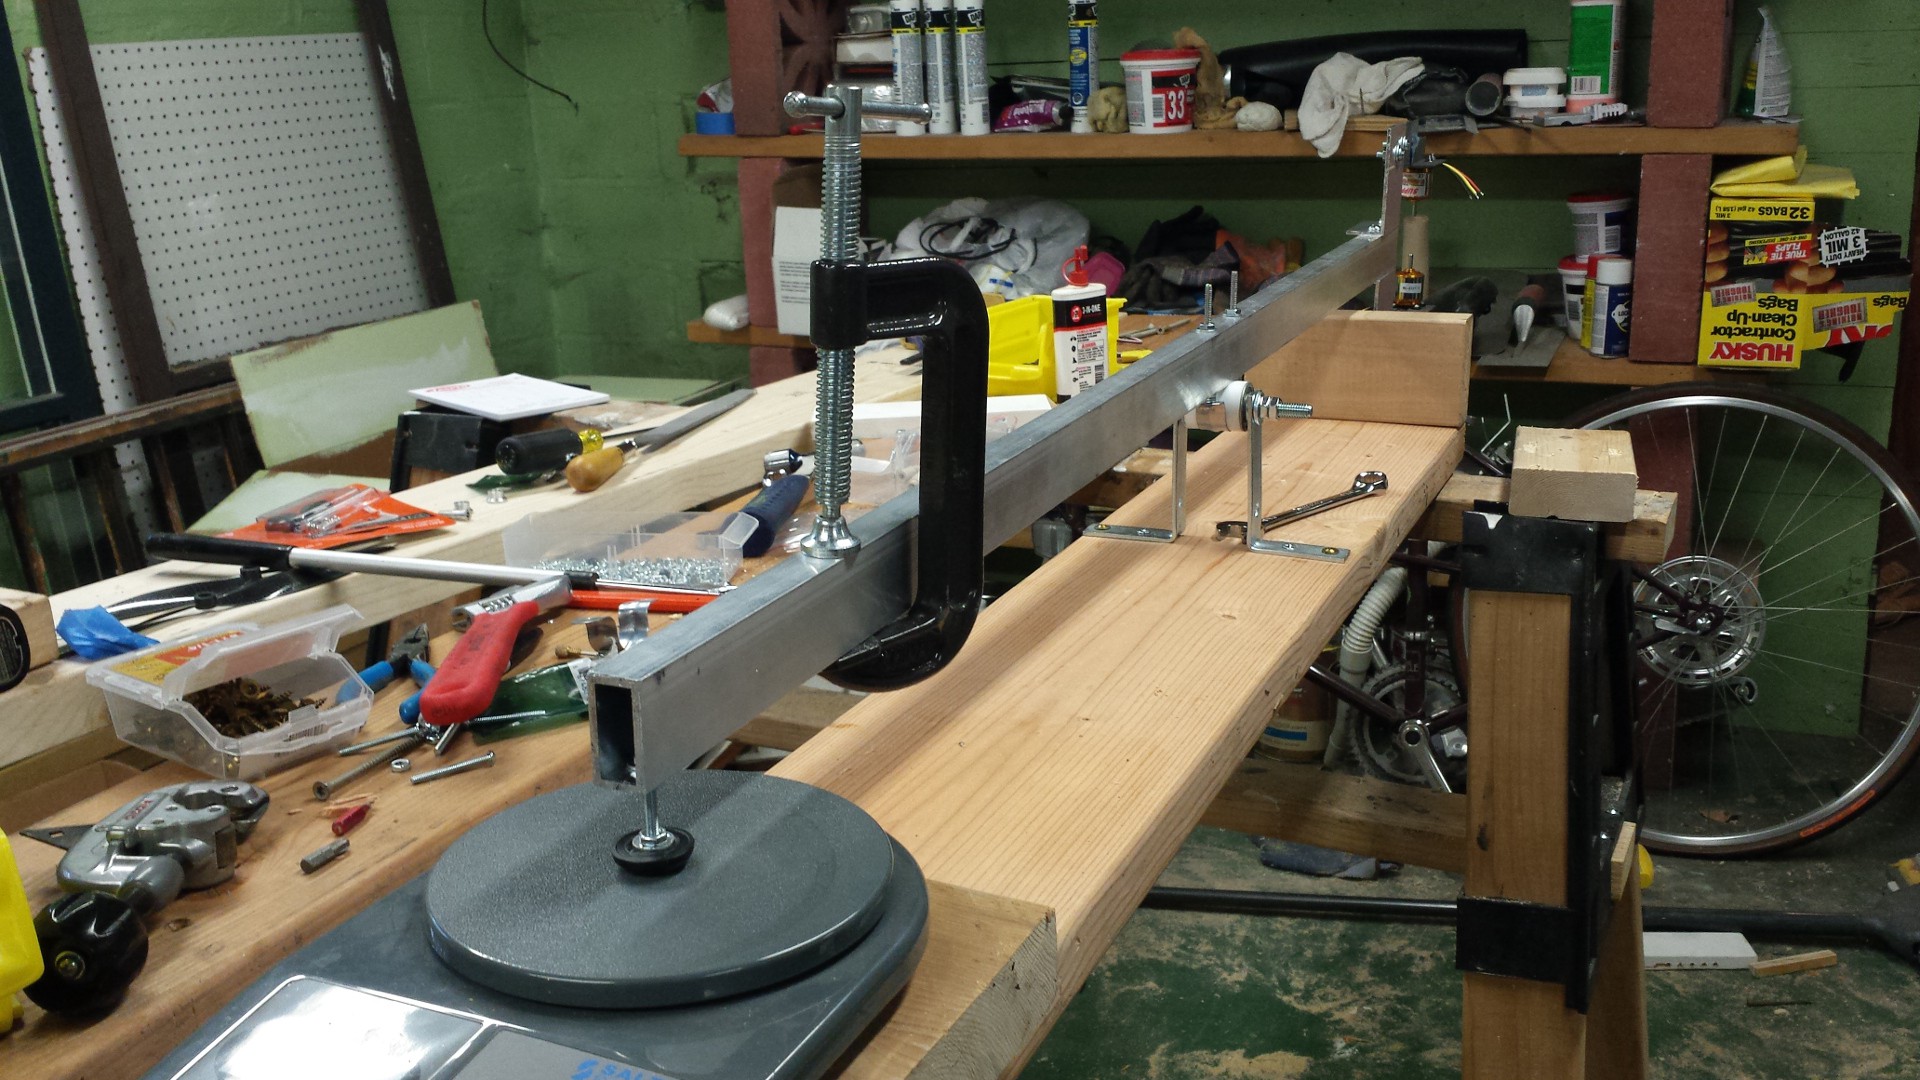
Probably should have hung a backdrop for that picture. Project house basements tend to look like that, I'm afraid.
A few details:
- The C-clamp is an easy way to adjust the preload on the scale. I don't really care what the value is, I just need it to be stable and high enough to offset the weight of the motors. After preloading, taring the scale is easy.
- The little rubber foot on the arm worked better than expected. Not sure it's needed, but it'll keep everything from slipping about.
- The bearing assembly is held up with two slightly modified angle irons that are screwed to the 2x8 base. The bearings themselves aren't terribly high quality (I think they might have been heavy-duty filing cabinet wheels at some point), so they have a decent amount of slop; however, the joint seems to have fairly low friction so I'm confident that it will work.
Next steps: wire up the speed controllers, throw together a servo pulse generating circuit, hook up a high-current power supply, and watch the CFRP fly.
Discussions
Become a Hackaday.io Member
Create an account to leave a comment. Already have an account? Log In.