 amelia.you
-
Nextion HMI Display - A User Interface that is Simple and Easy to Use
04/05/2016 at 03:38 • 0 commentsJust read a passage about Nextion HMI Display, thought it kind of interesting to share with you guys. The following is the one I just mentioned: enjoy!
With the complexity and sophistication of embedded systems today, a necessary component is a user interface that is more than an indicator LED. Today it is expected that the user will be updated with relevant and timely information in an aesthetically pleasing manner. While I have yet to meet an embedded developer who enjoys GUI design and programing there are some easy and some not so easy methods to accomplish this.
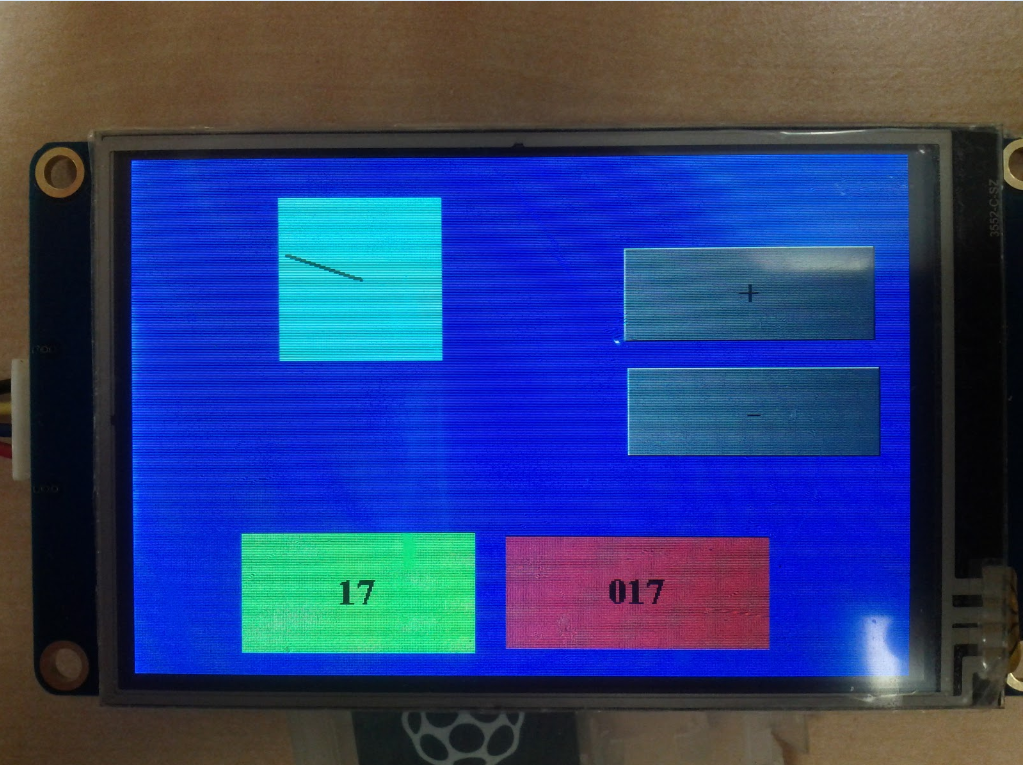
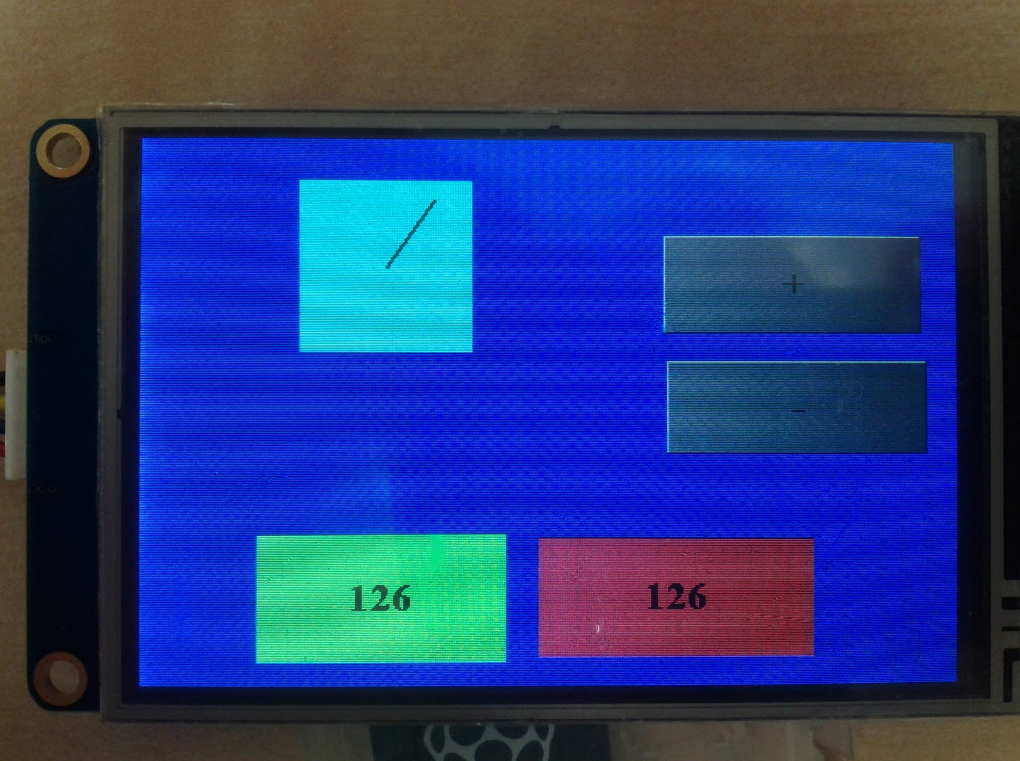
Just recently I was placed with the task of creating a controller with a touch display. The development software has over 1000 pages of “help files” and little to no worked demos. The first task was to try to use buttons to increase and decrease a displayed number and then load that to the control unit. After a large undisclosed number of hours neither have yet to be successfully accomplished. The support consisted of being sent completed projects to examine and run in simulation, sadly this did not help.
Support documentation for a Control Display
Interestingly towards the end of my time evaluating this unit I was asked by ITead Studio if I could review their Nextion display. After reading all the demos and working through them (~20 pages plus ~20 pages for the Nextion instruction set), which are easy and intuitive, I thought I’d give my task a try. Yes there is a demo that is very similar, but with in 10 minutes I had the demo running on the Nextion. I will say the demo may not have looked all that pretty but with another 20 - 30 minutes that could have been rectified.
Out of the Box
The displays ship in a neatly packed box that fits the displays quite snuggly. The kit includes the display (3.5” in this case) and a power connector. The connector allows the display to be easily powered from any USB power source.
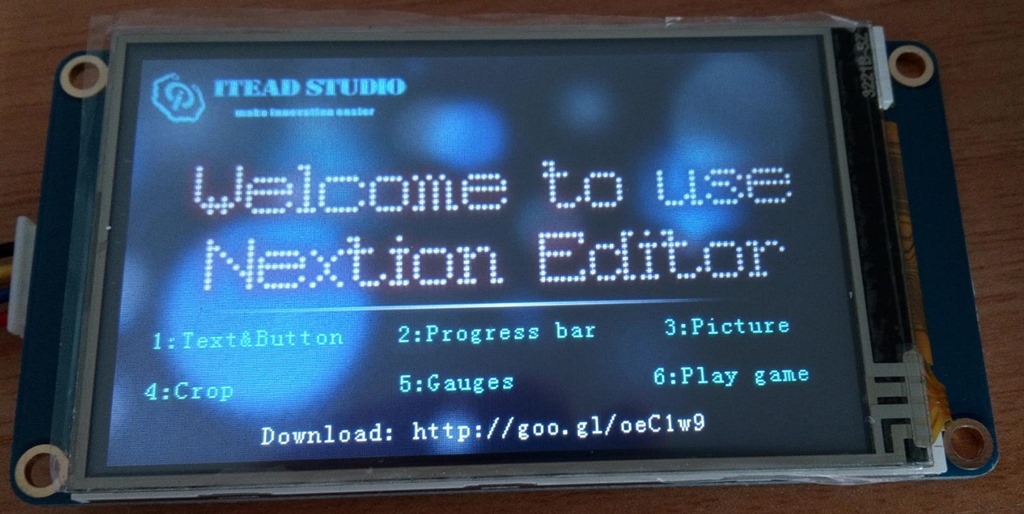
When the unit is powered up for the first time there is a clean and neat welcome screen that displays the ITead name and logo as well as 6 demos. Going through the demos is not too impressive as they show the functions available in a very simplified form, that is except for the last one. The last demo allows an evaluator to see that the display is not merely a touch screen but can also run intelligent code.
The demo is to find 5 differences between the two pictures and shows three hearts as a player's lives, when a wrong area is selected these hearts go dark one at a time. While this may seem trivial, it clearly shows that the display has some computational abilities.
The User Interface
The GUI design and layout is done in a development environment (IDE) provided by ITead Studio. The Nextion IDE downloads with no issues from ITead Studio’s Nextion portal and is simple to install. Once installed opening the IDE presents the user with a clean and well organized user interface. The IDE is organized into 8 sections as shown in the image below, each section has a unique task to perform or information to convey.
The 8 sections functions are as such.
1) Menus including save, open, etc. are found here.
2) Image library, images used on the Nextion display need to be uploaded before hand. In order to do this all images first need to be imported to the IDE, the IDE then gives each image a unique number by which that image is referenced. It is then from this section that images and backgrounds can be selected and positioned in your GUI.
3) Font library, text entered in the GUI needs to be setup to be correctly displayed on the display. To do this fonts are created in specific sizes and styles and then configured for the specific display. After completing the configuration the font can be added to the font list.
4) Working area, this is where the graphical display is designed and shown. It is in this area a scale representation of the display is shown as a canvas on which to work. All desired components are added and arranged with in this area to represent...
Read more »
This user joined on 03/29/2016.


 Arcadia Labs
 genericsoma
 Lutetium
 Ivo Slanina
 Adam Oakley
 Dylan Bleier
 Mike Szczys
 Heather-Lynne Van Wilde
 j0z0r pwn4tr0n
 Myrijam
 Grégory Paul
 rockfishon
 pbleisch