 Jeremy Wilson
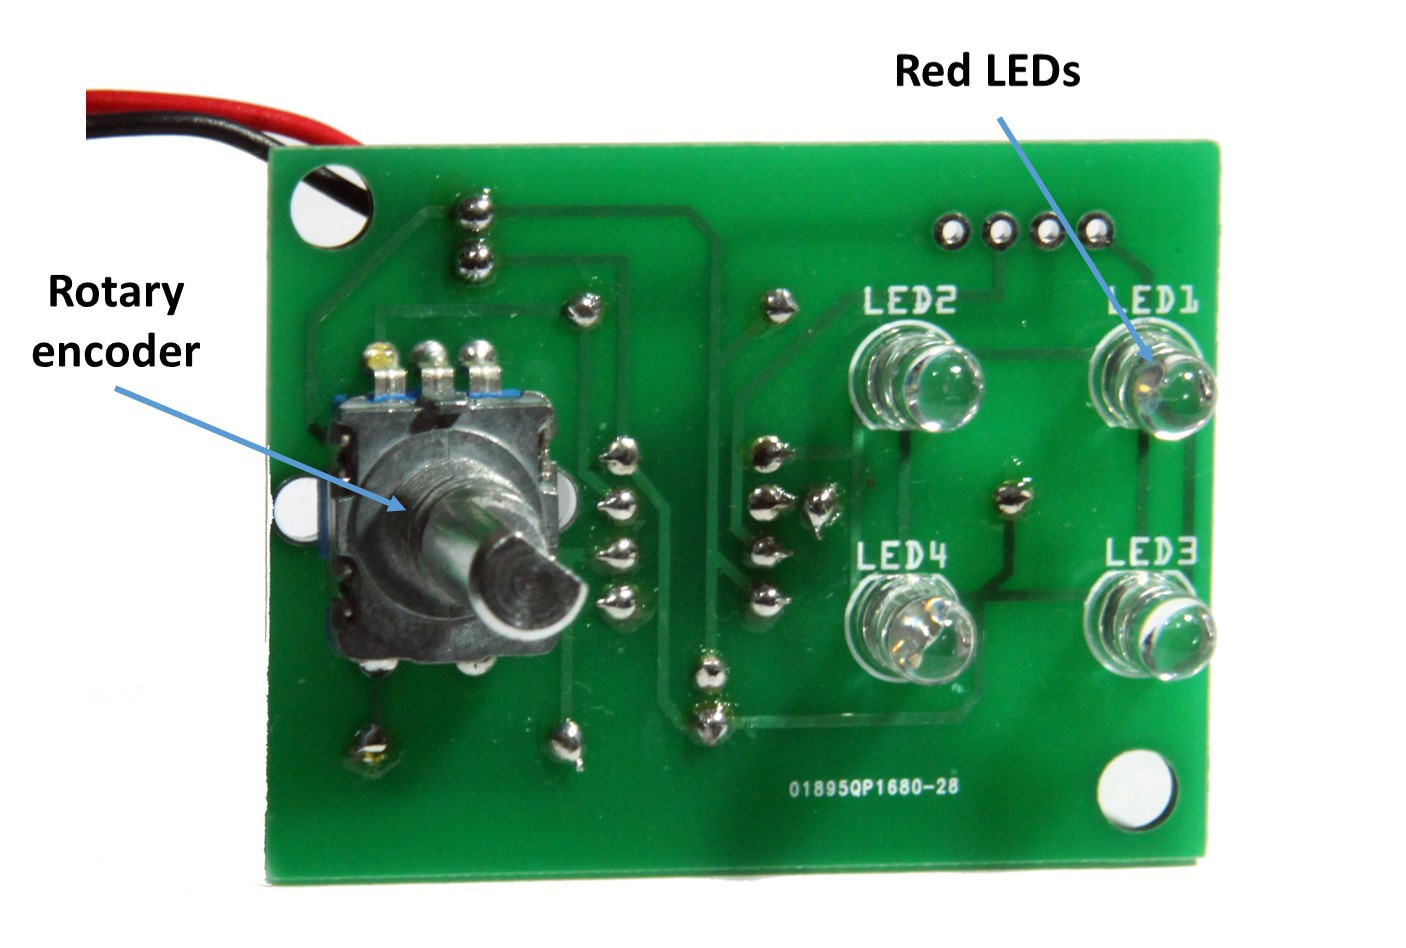
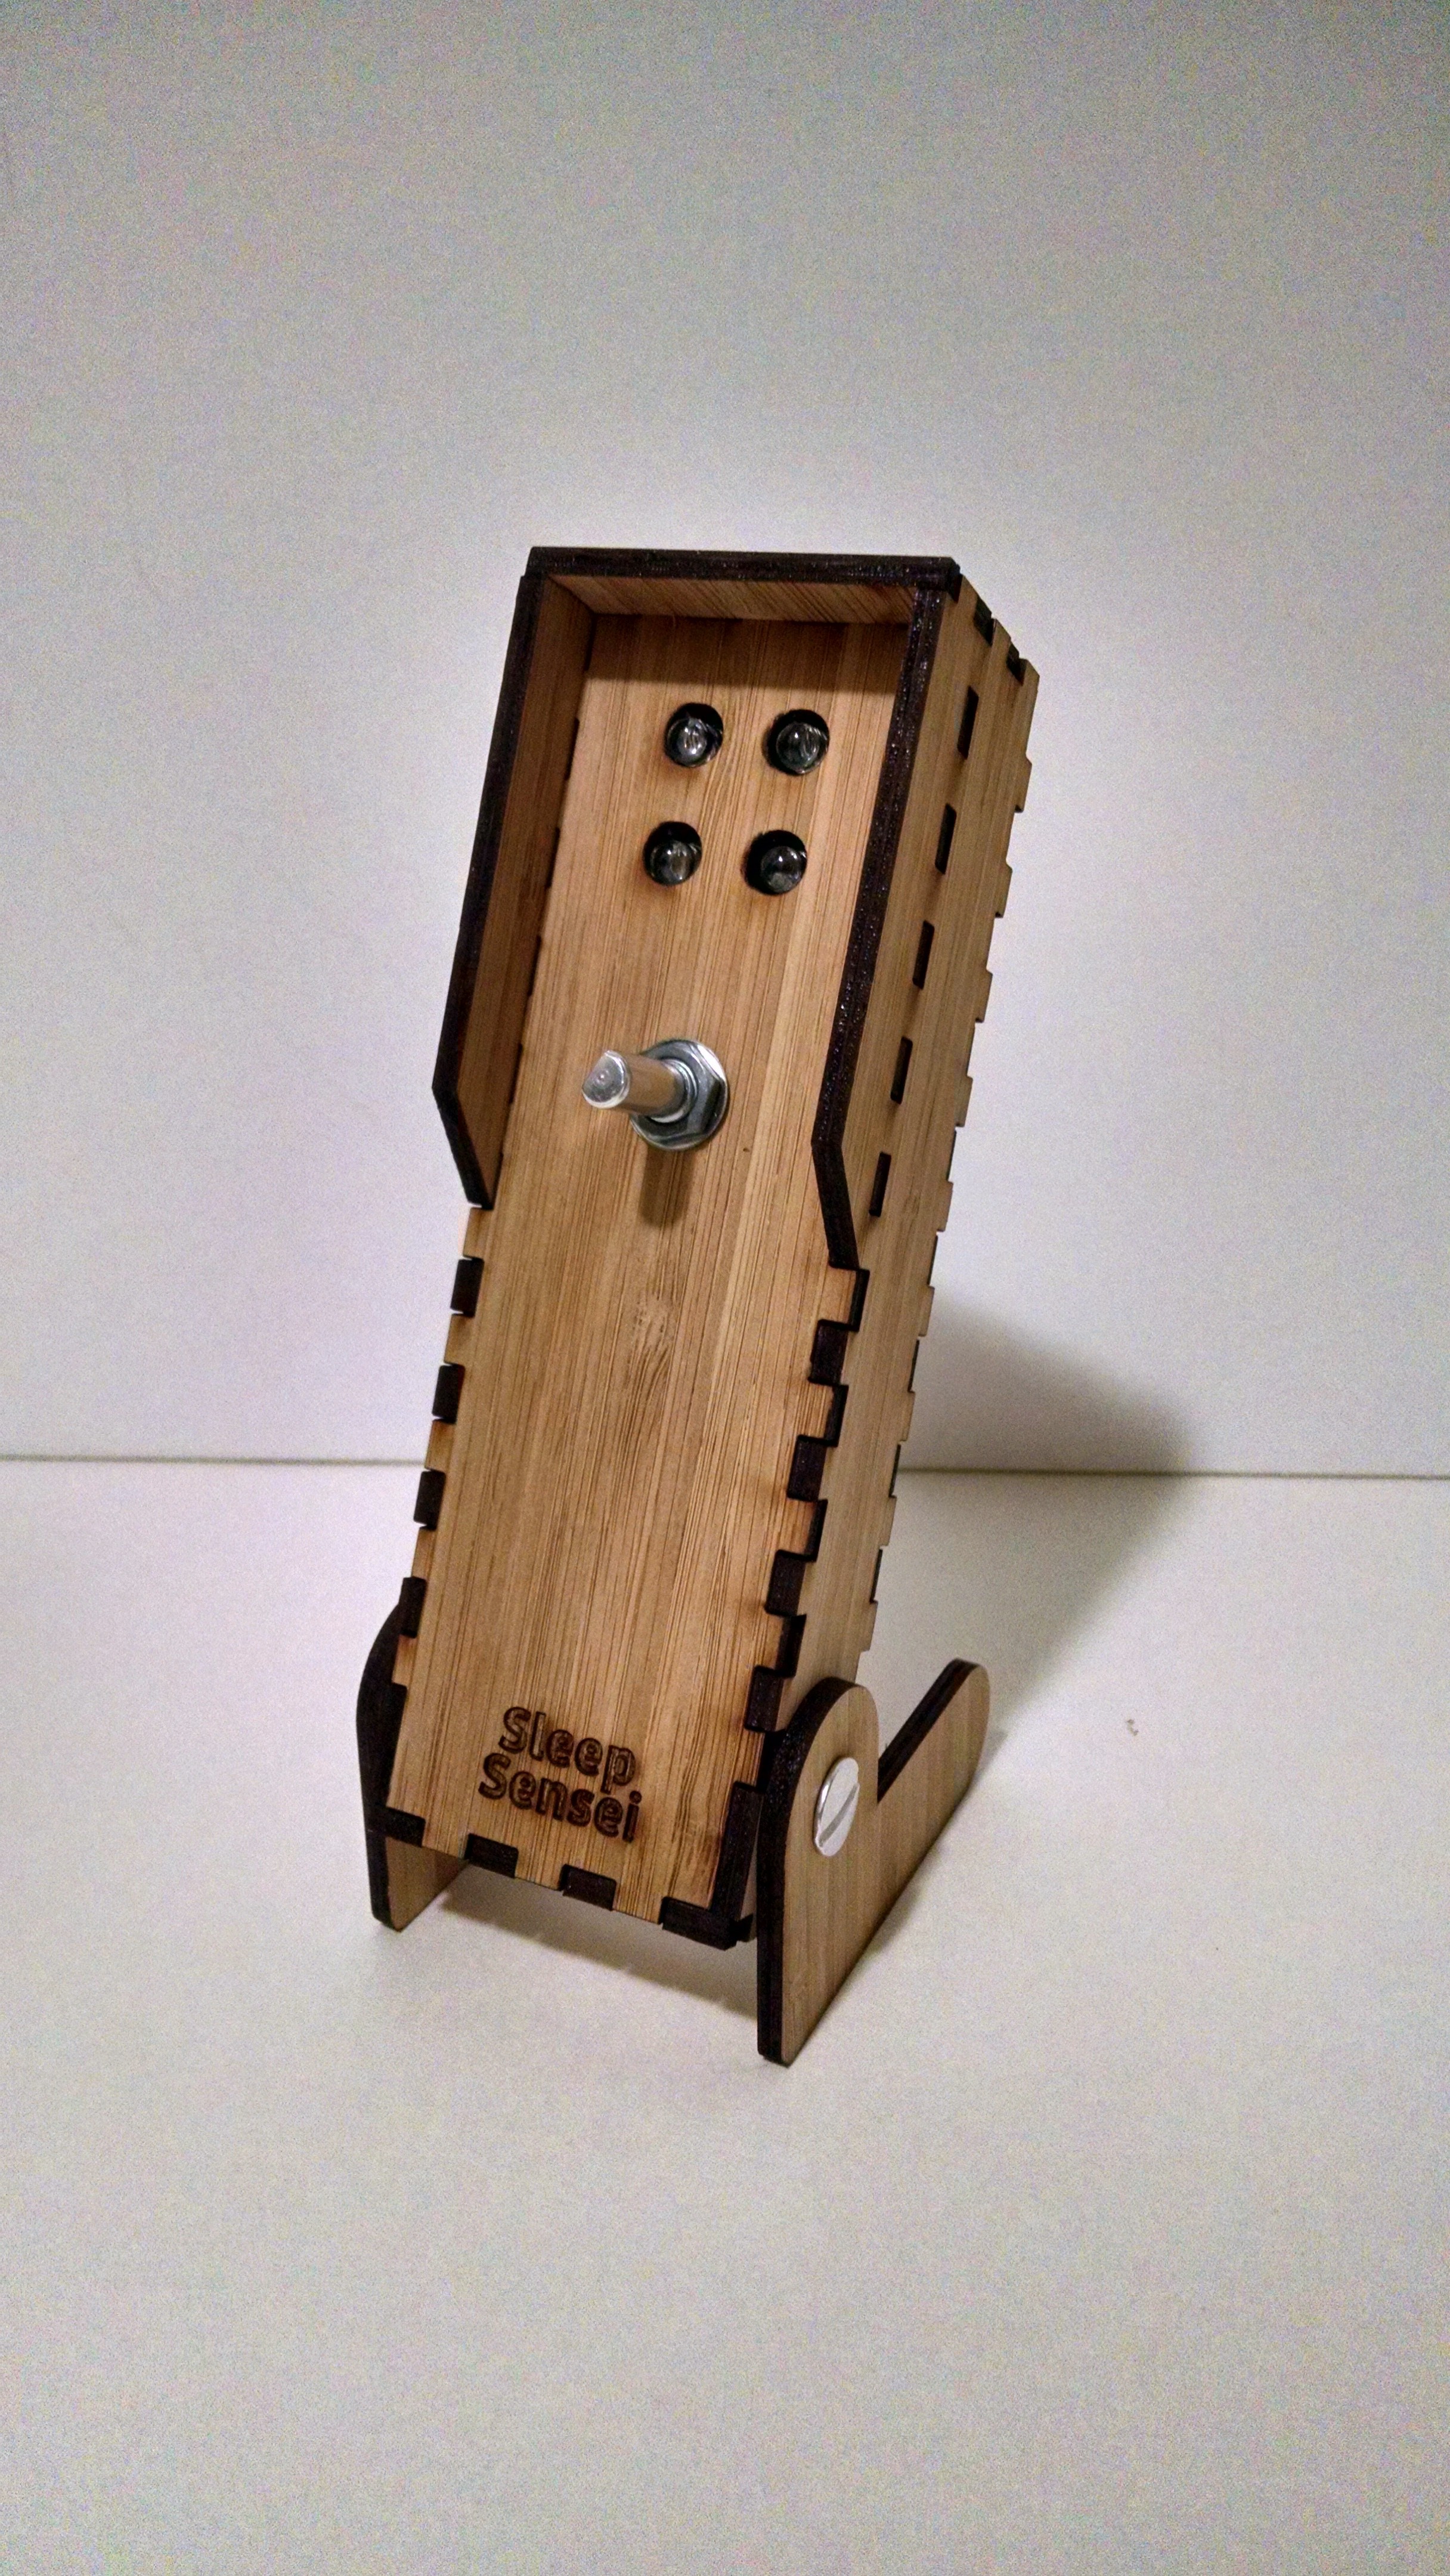
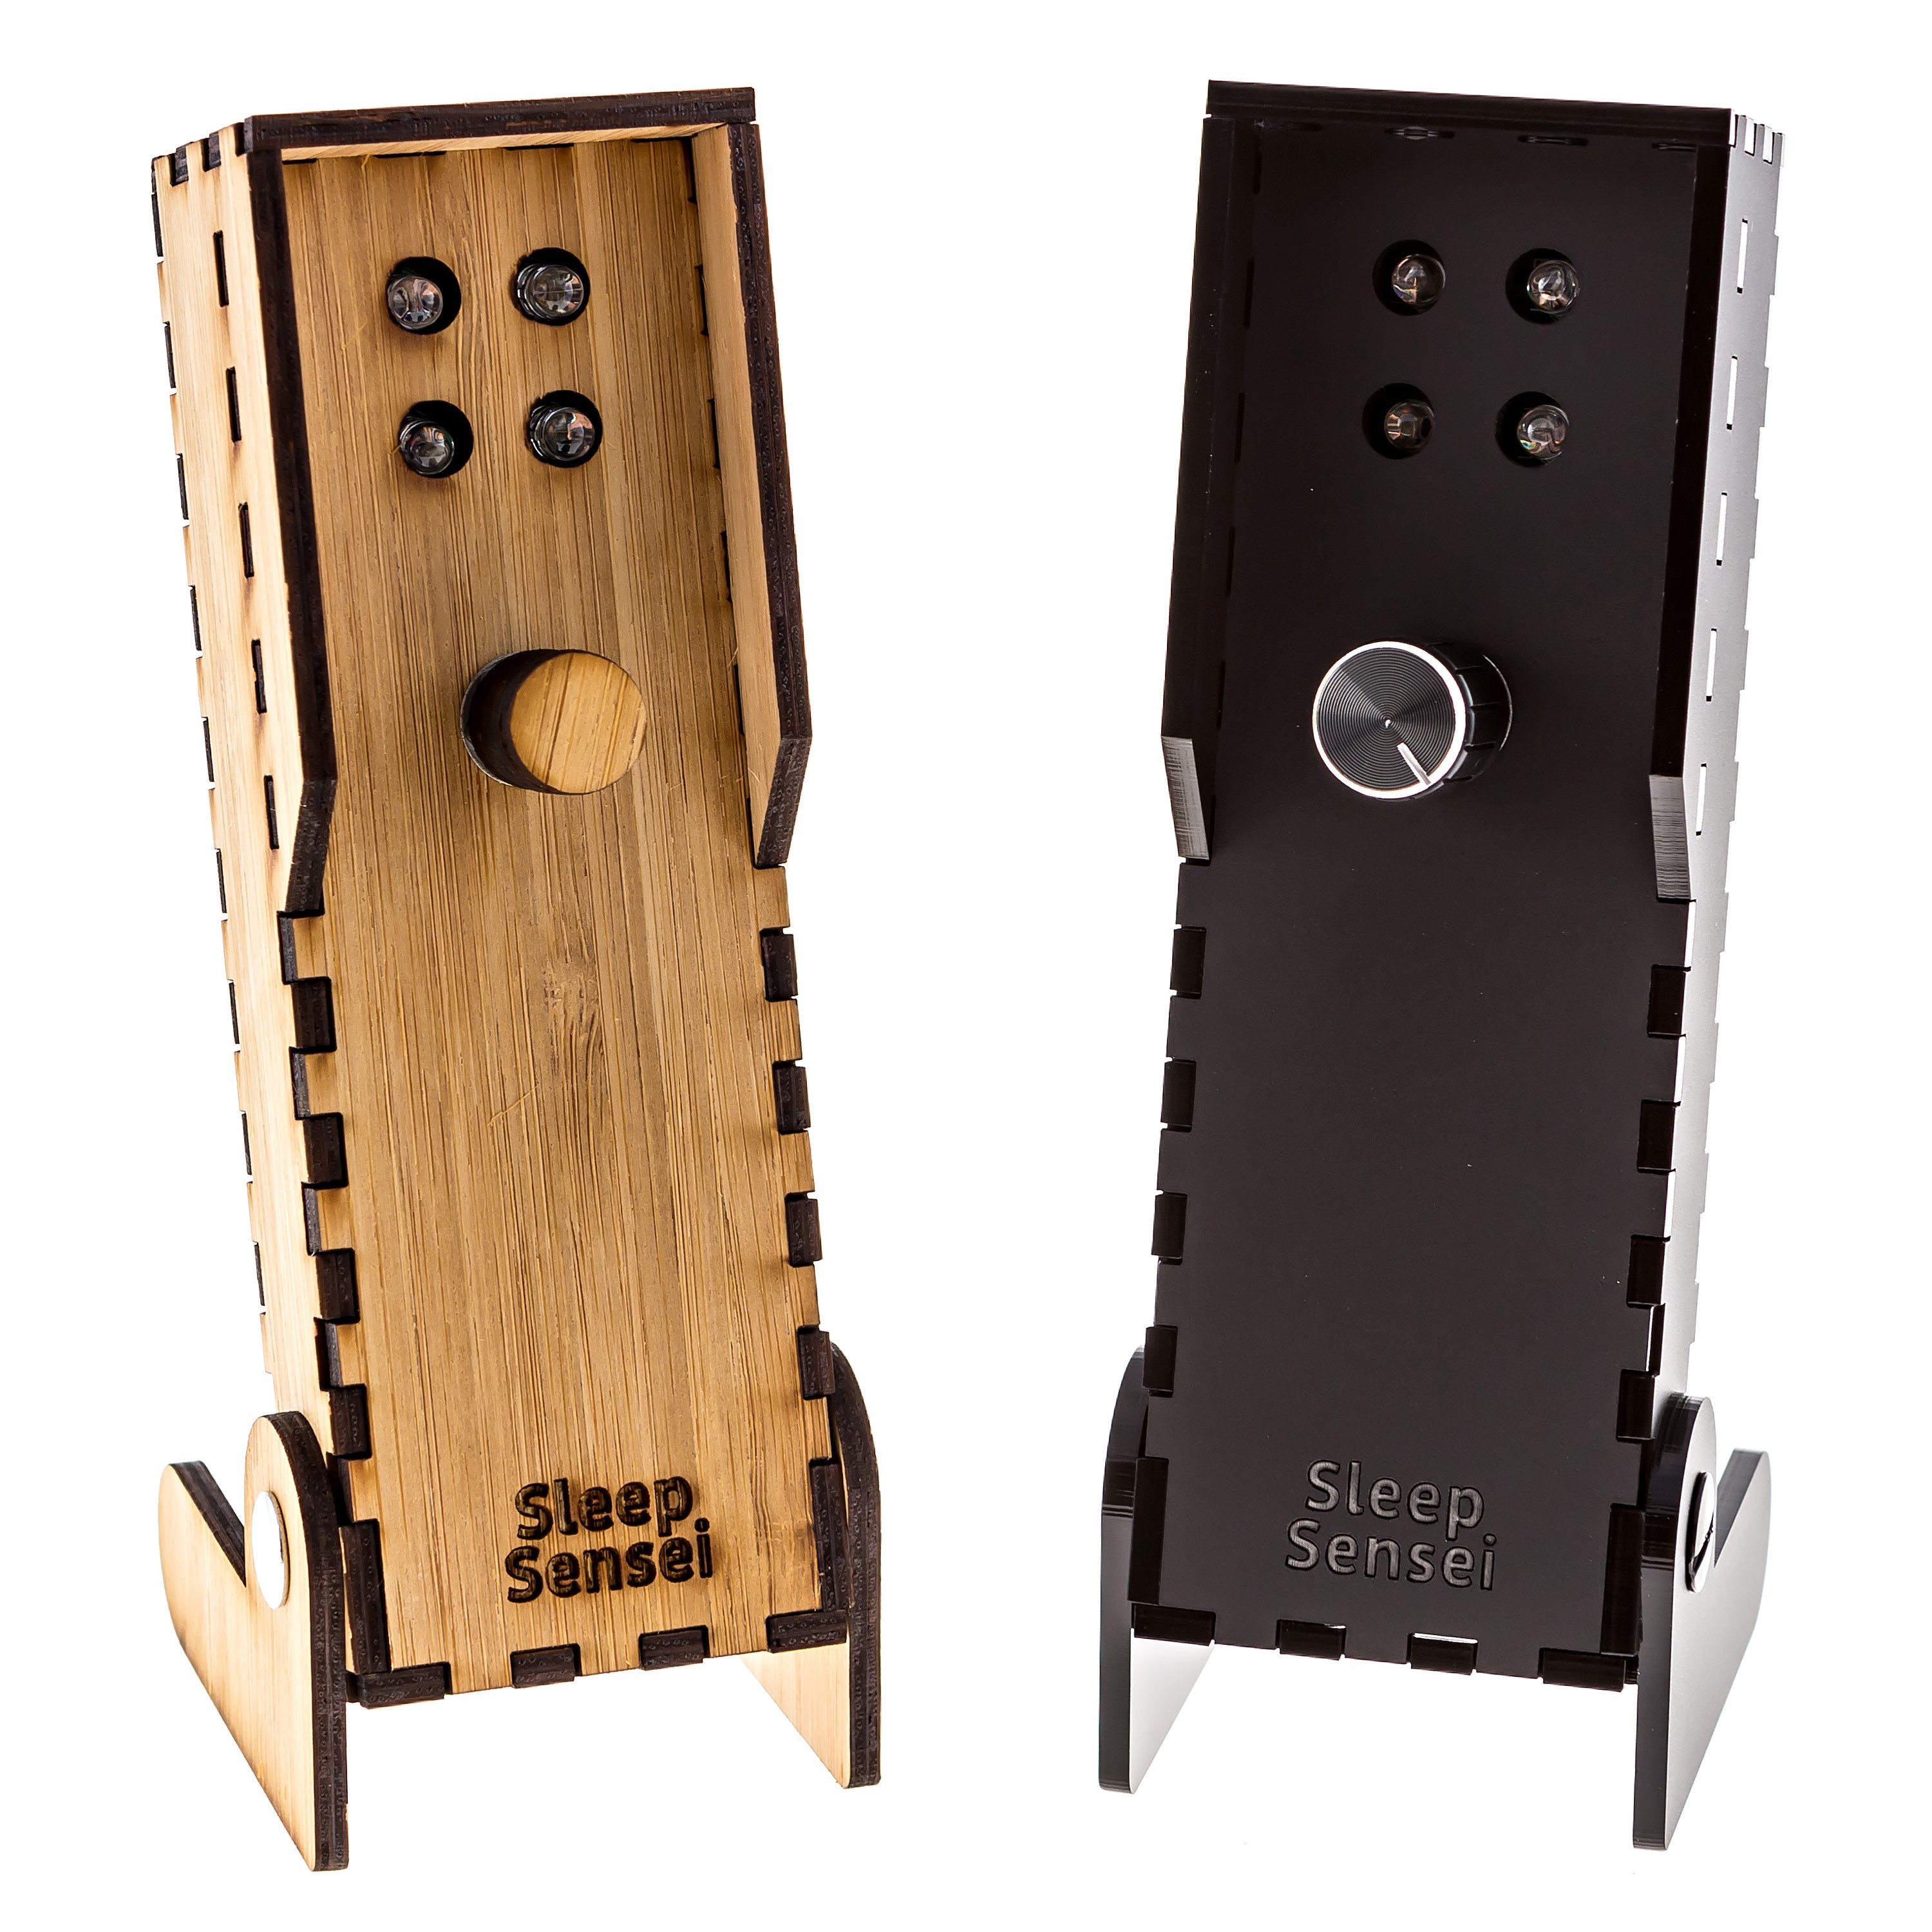
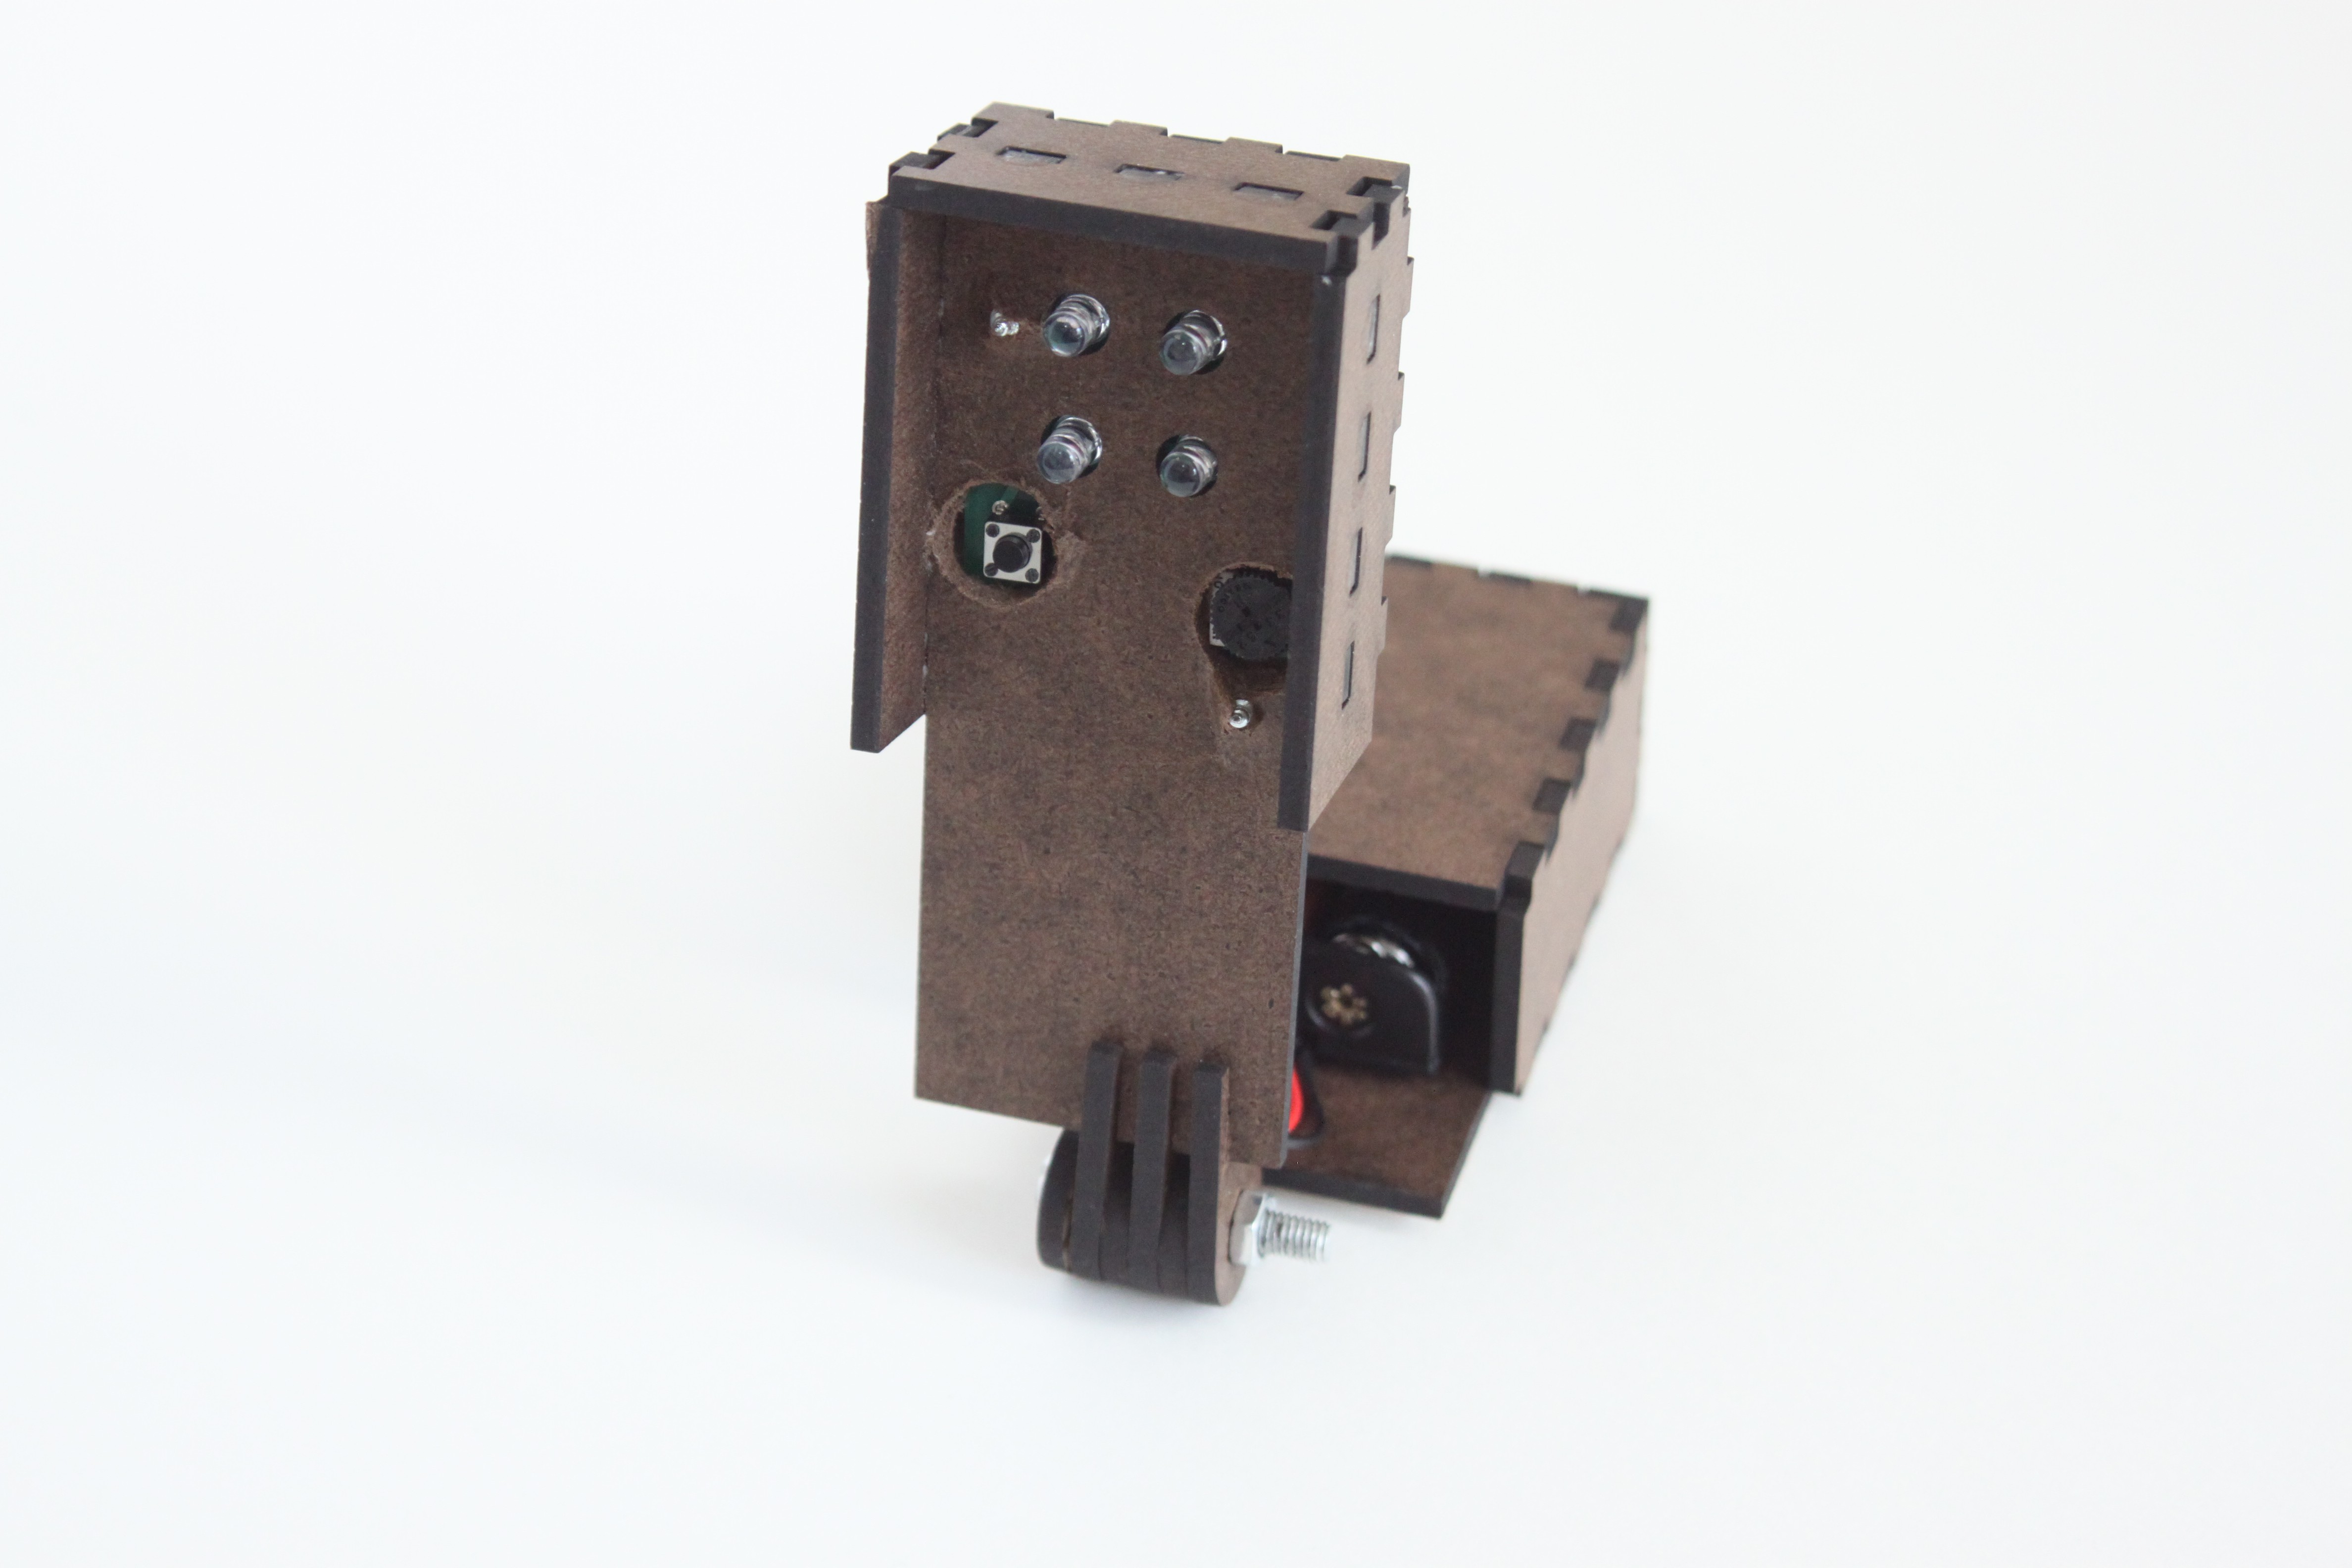
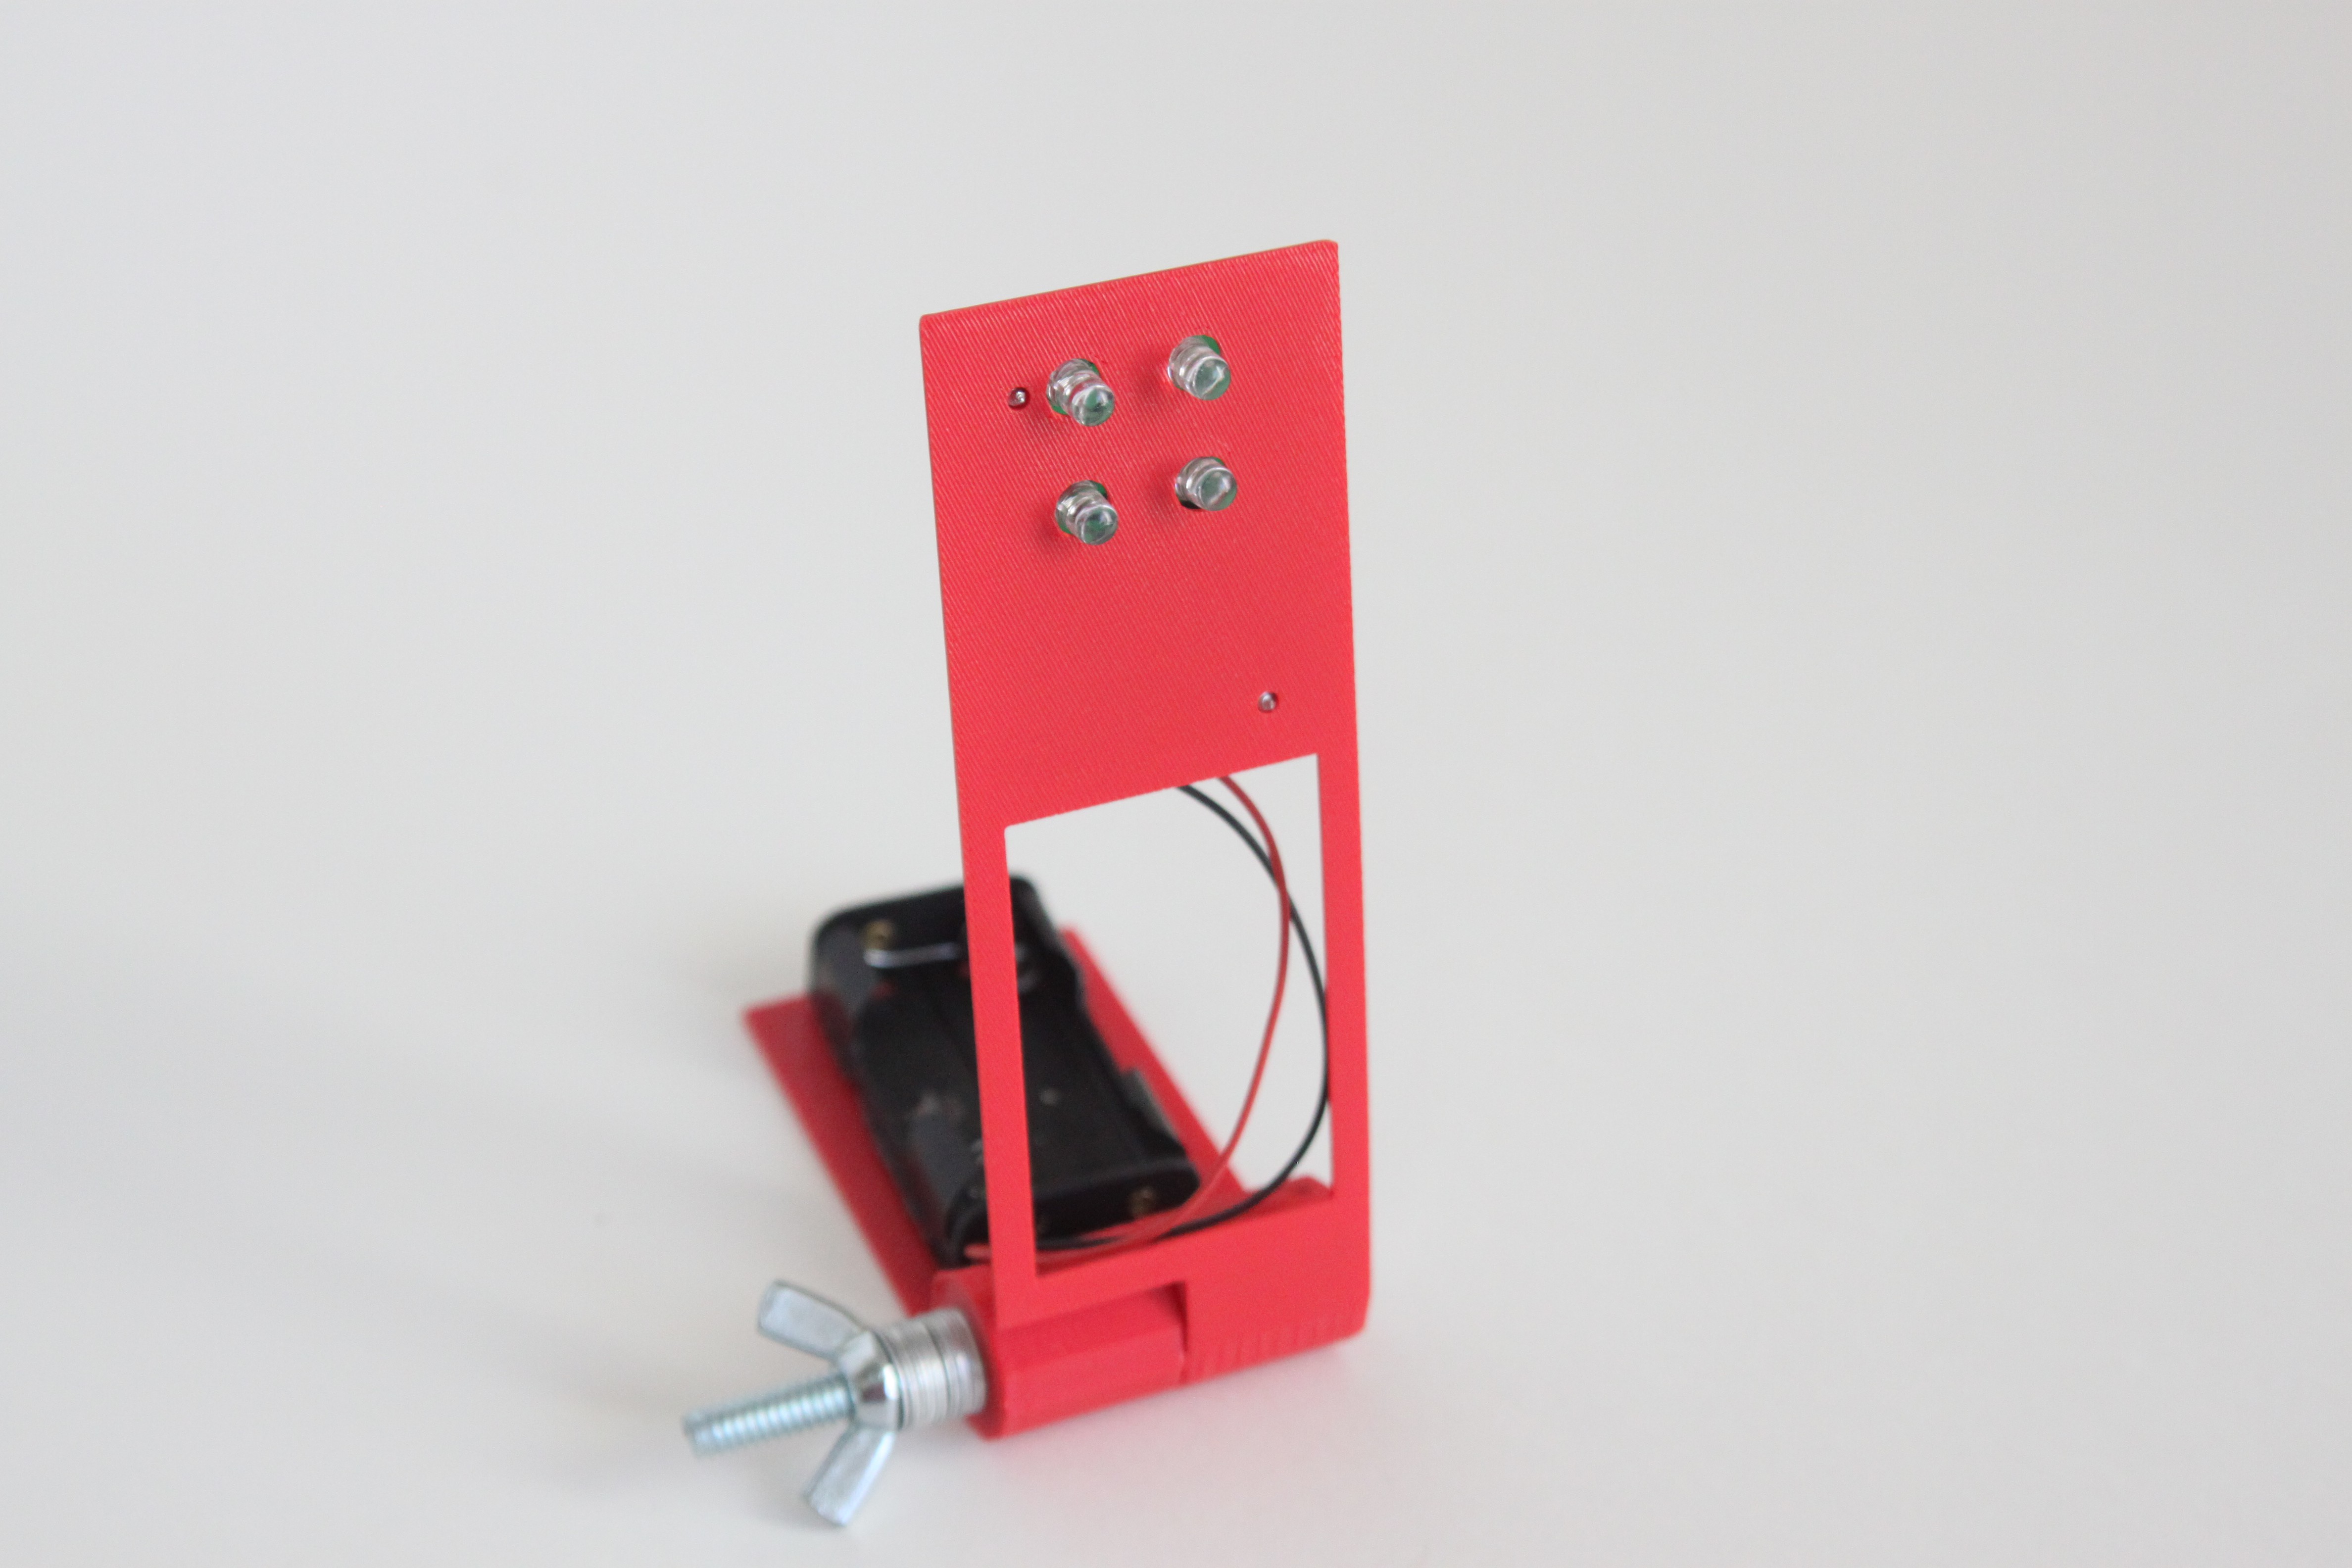
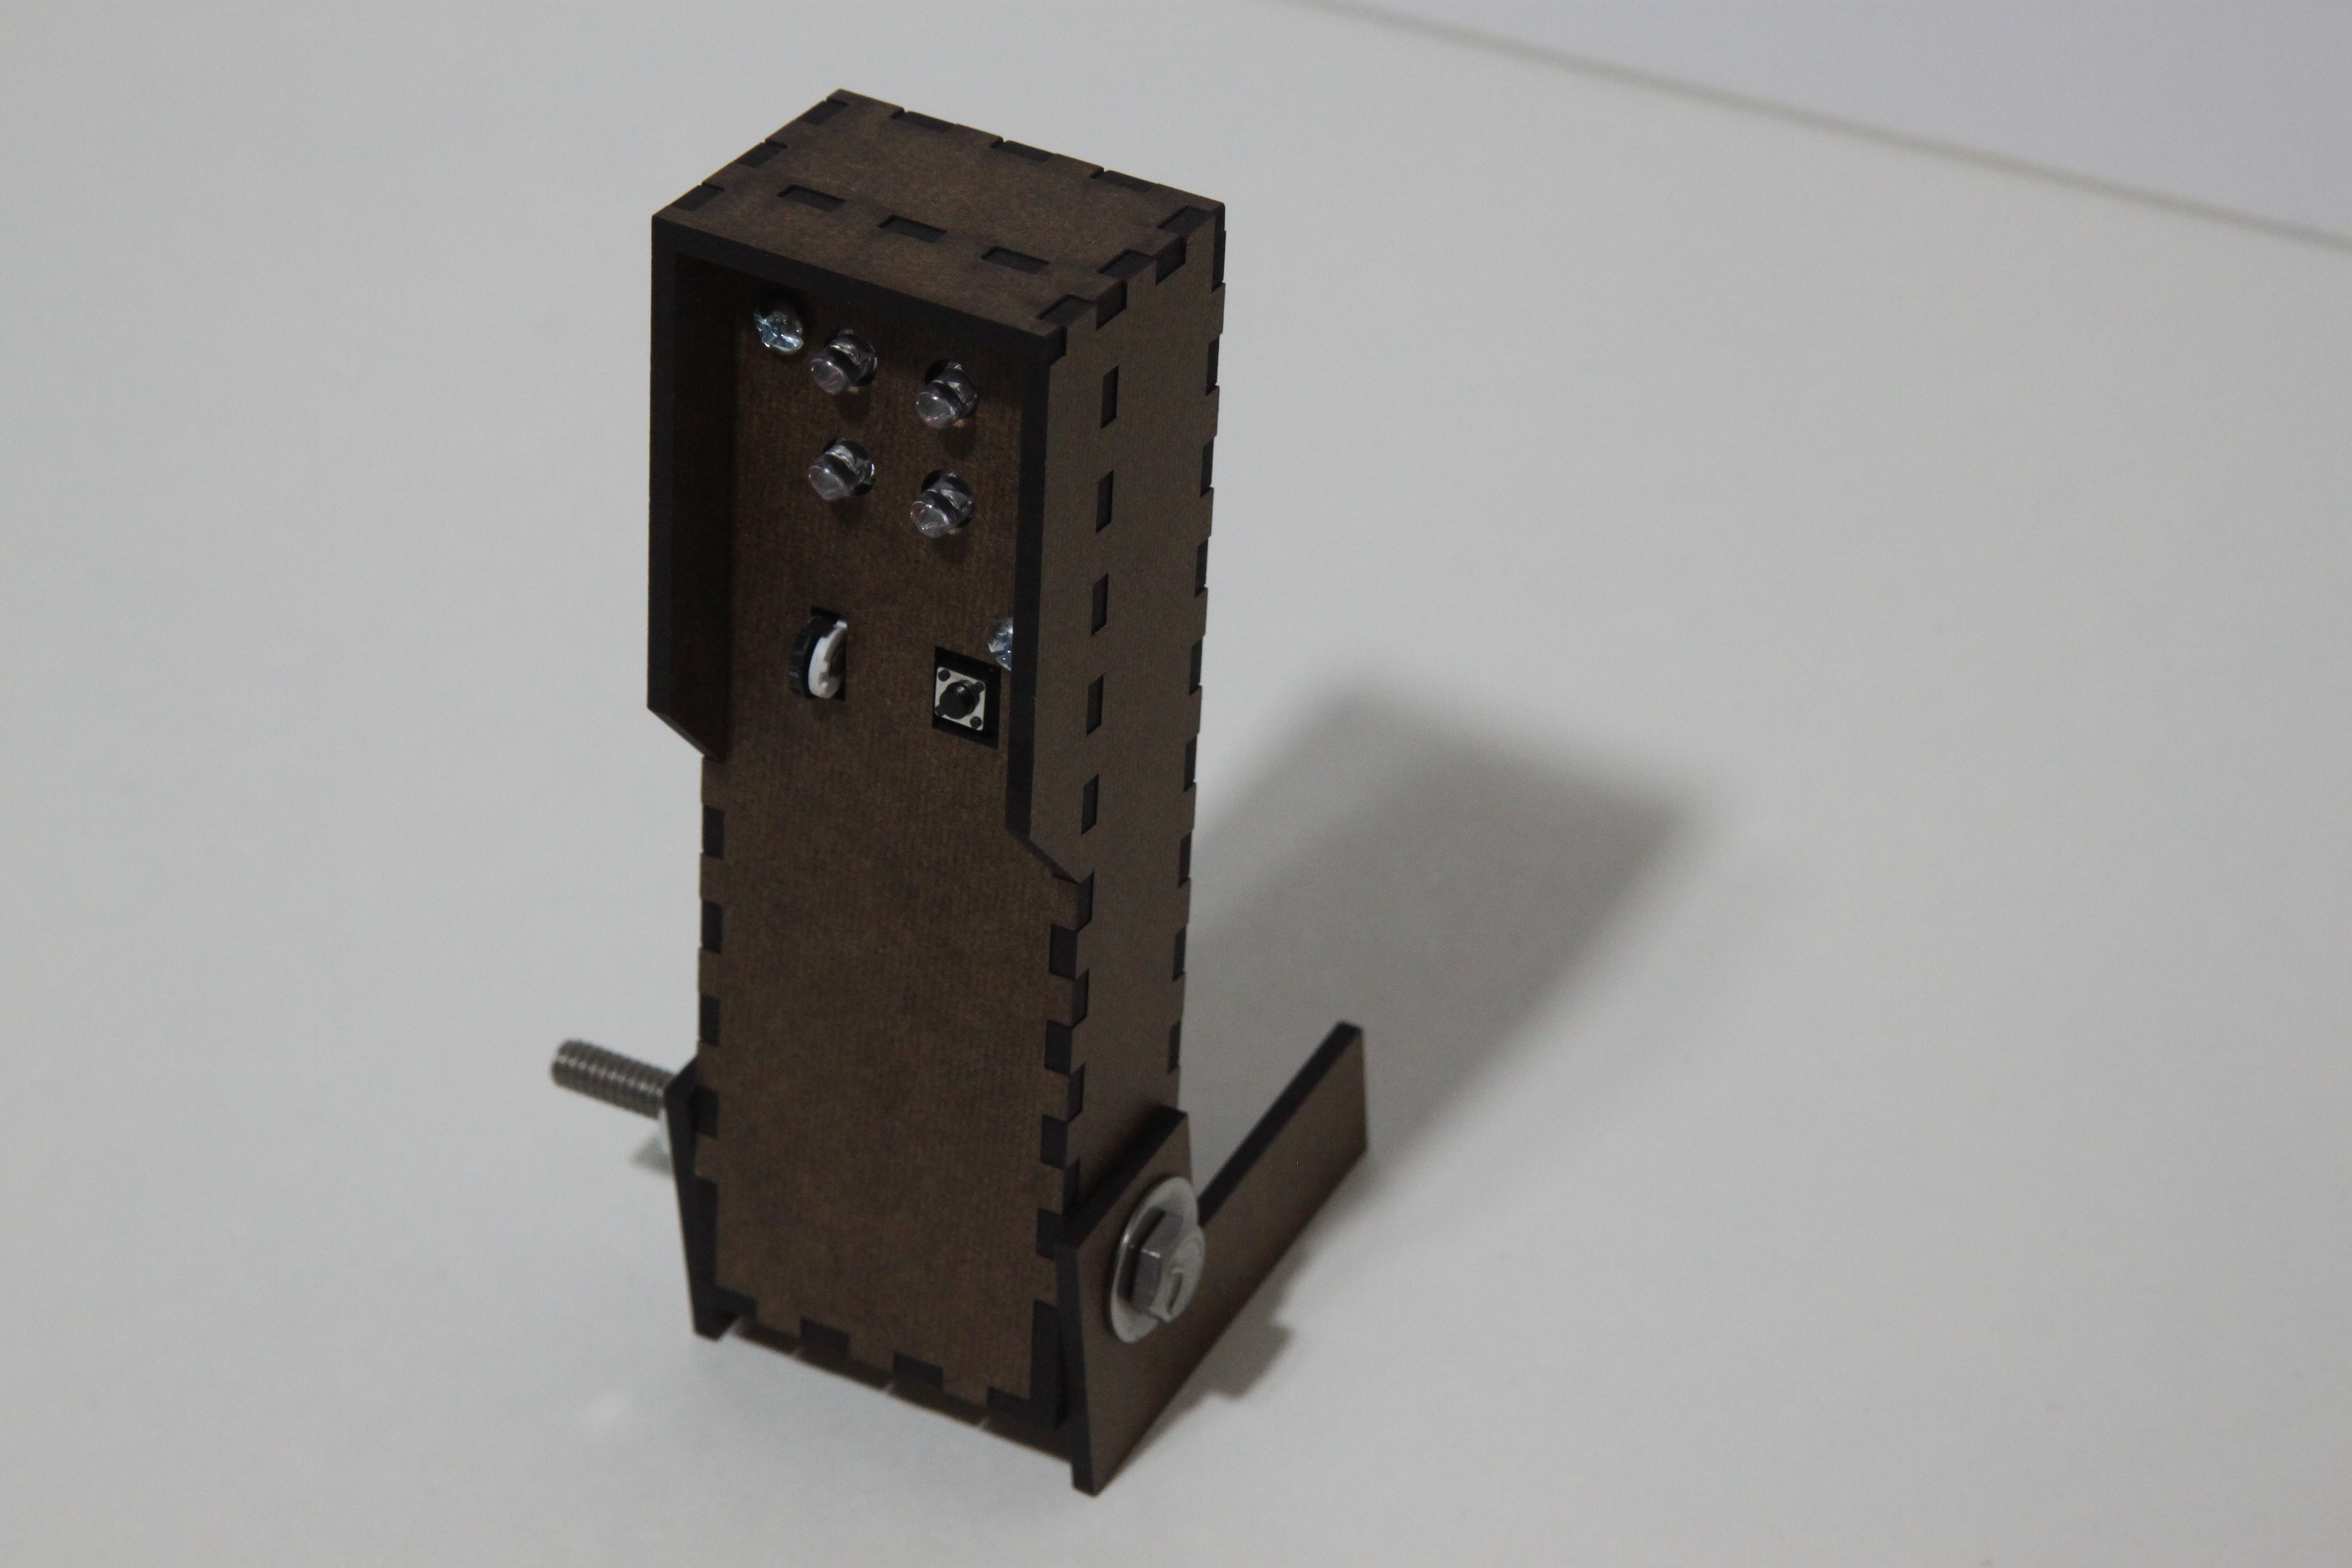
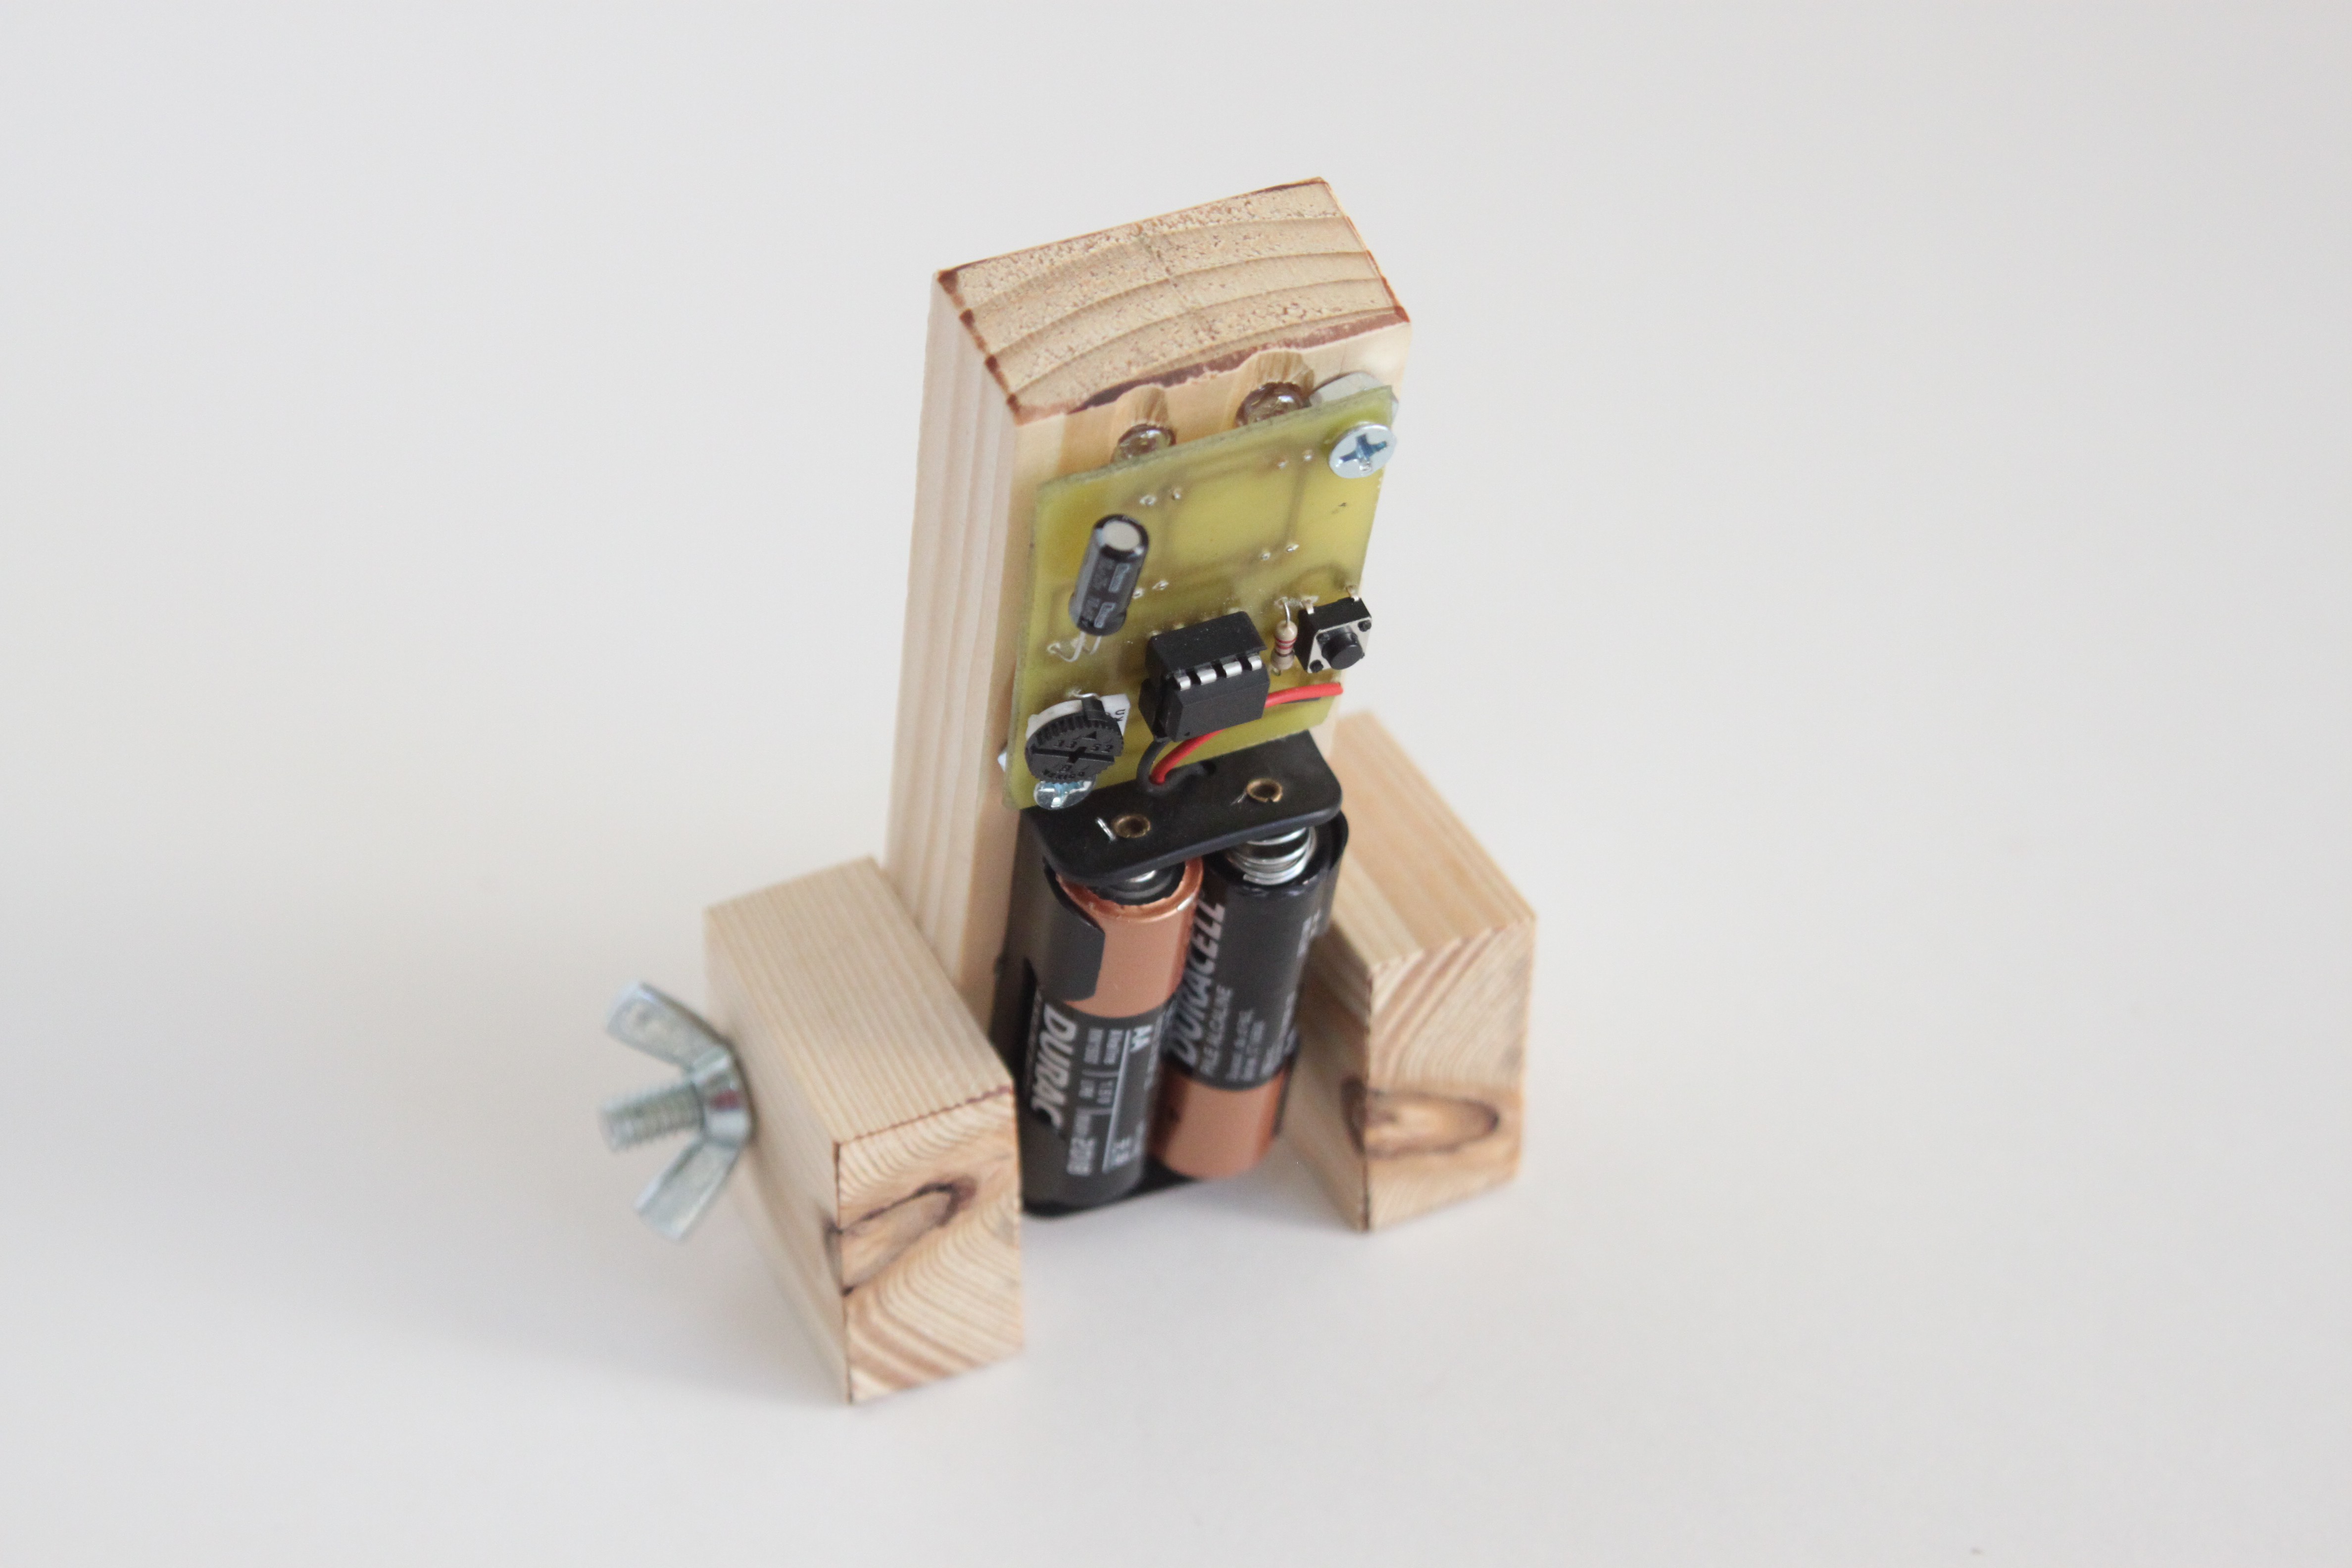
The Sleep Sensei has 4 ultra-bright red LEDs, which allow you to see the coaching light even with your eyes closed. The max brightness of the Sleep Sensei can be adjusted on-the-fly to suit your comfort level.
Why red light? Blue/white light actually keeps you awake, while green light has a similar effect and can suppress your melatonin output. This leaves red light, which "has the least power to shift circadian rhythm and suppress melatonin." That's why apps like Flux change your screen to a more reddish hue towards the end of the day.
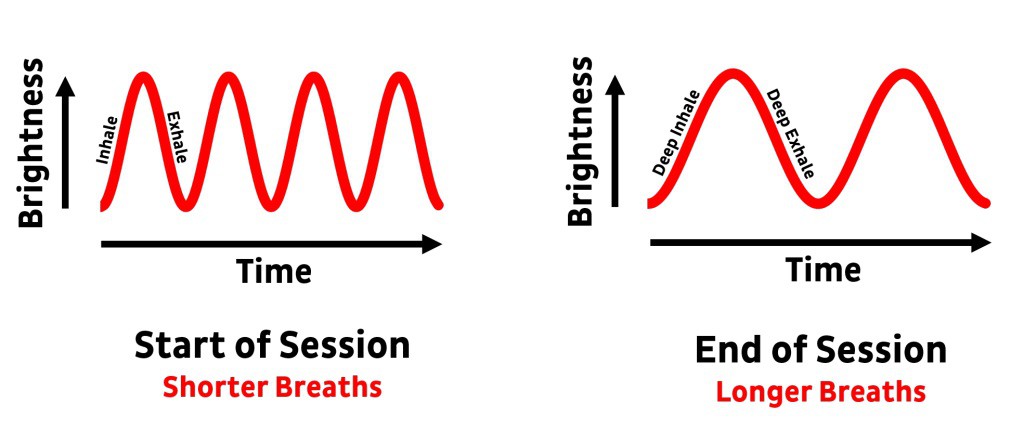
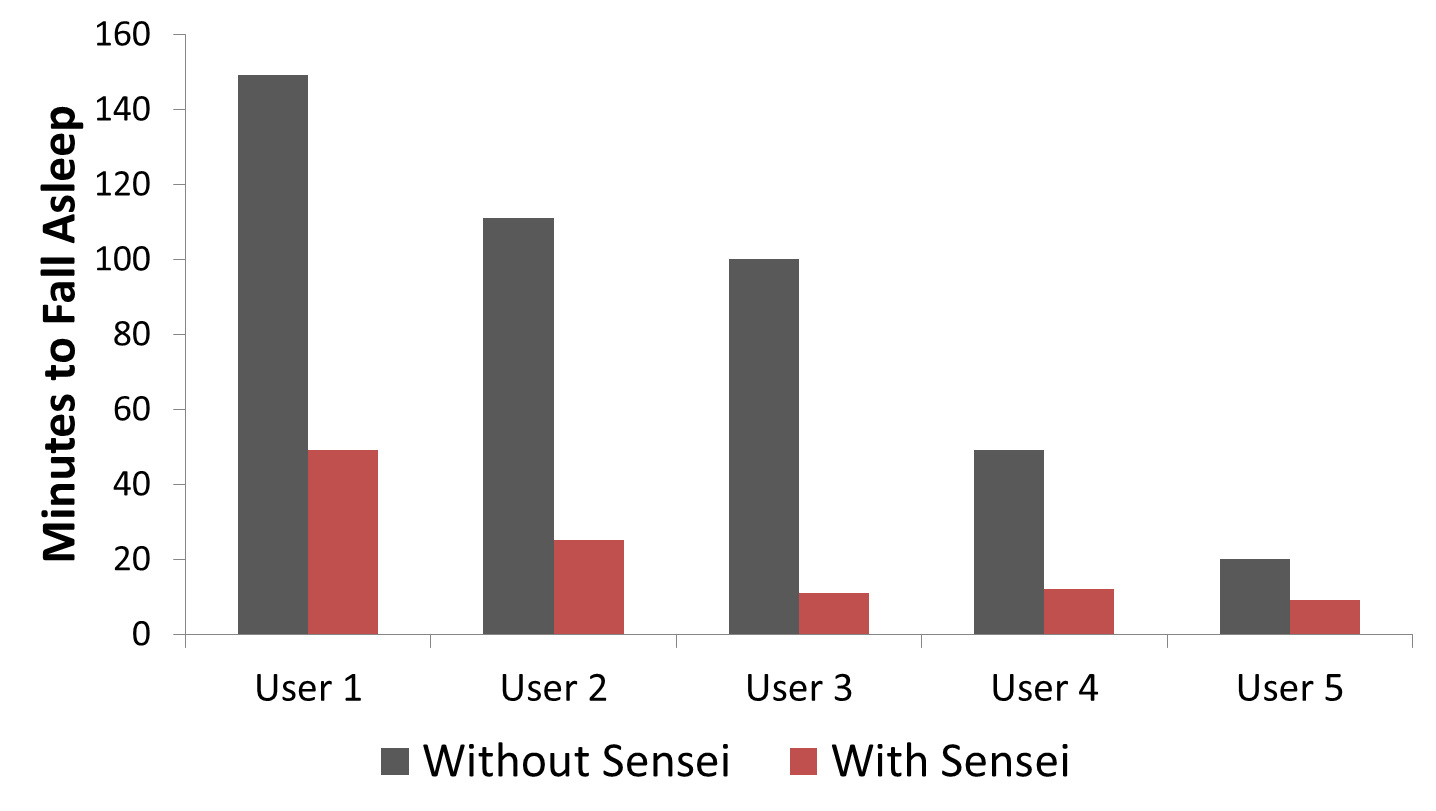
The Sleep Sensei guides users to sleep by coaching their breathing patterns. Your breathing rate decreases when you are asleep, so the Sleep Sensei trains your breathing to get slower as the coaching session progresses to ease you into a state of sleep. Using calm red light, the Sleep Sensei produces a sinusoidal pattern of light that you follow with your breathing.
As the light begins to brighten, the user inhales, and as the light dims, the user exhales. As time passes, the breath length gets longer up to a maximum length specified by the user’s settings. It is a very gradual and unnoticeable change that happens progressively over time.
Customizable Coaching Profiles
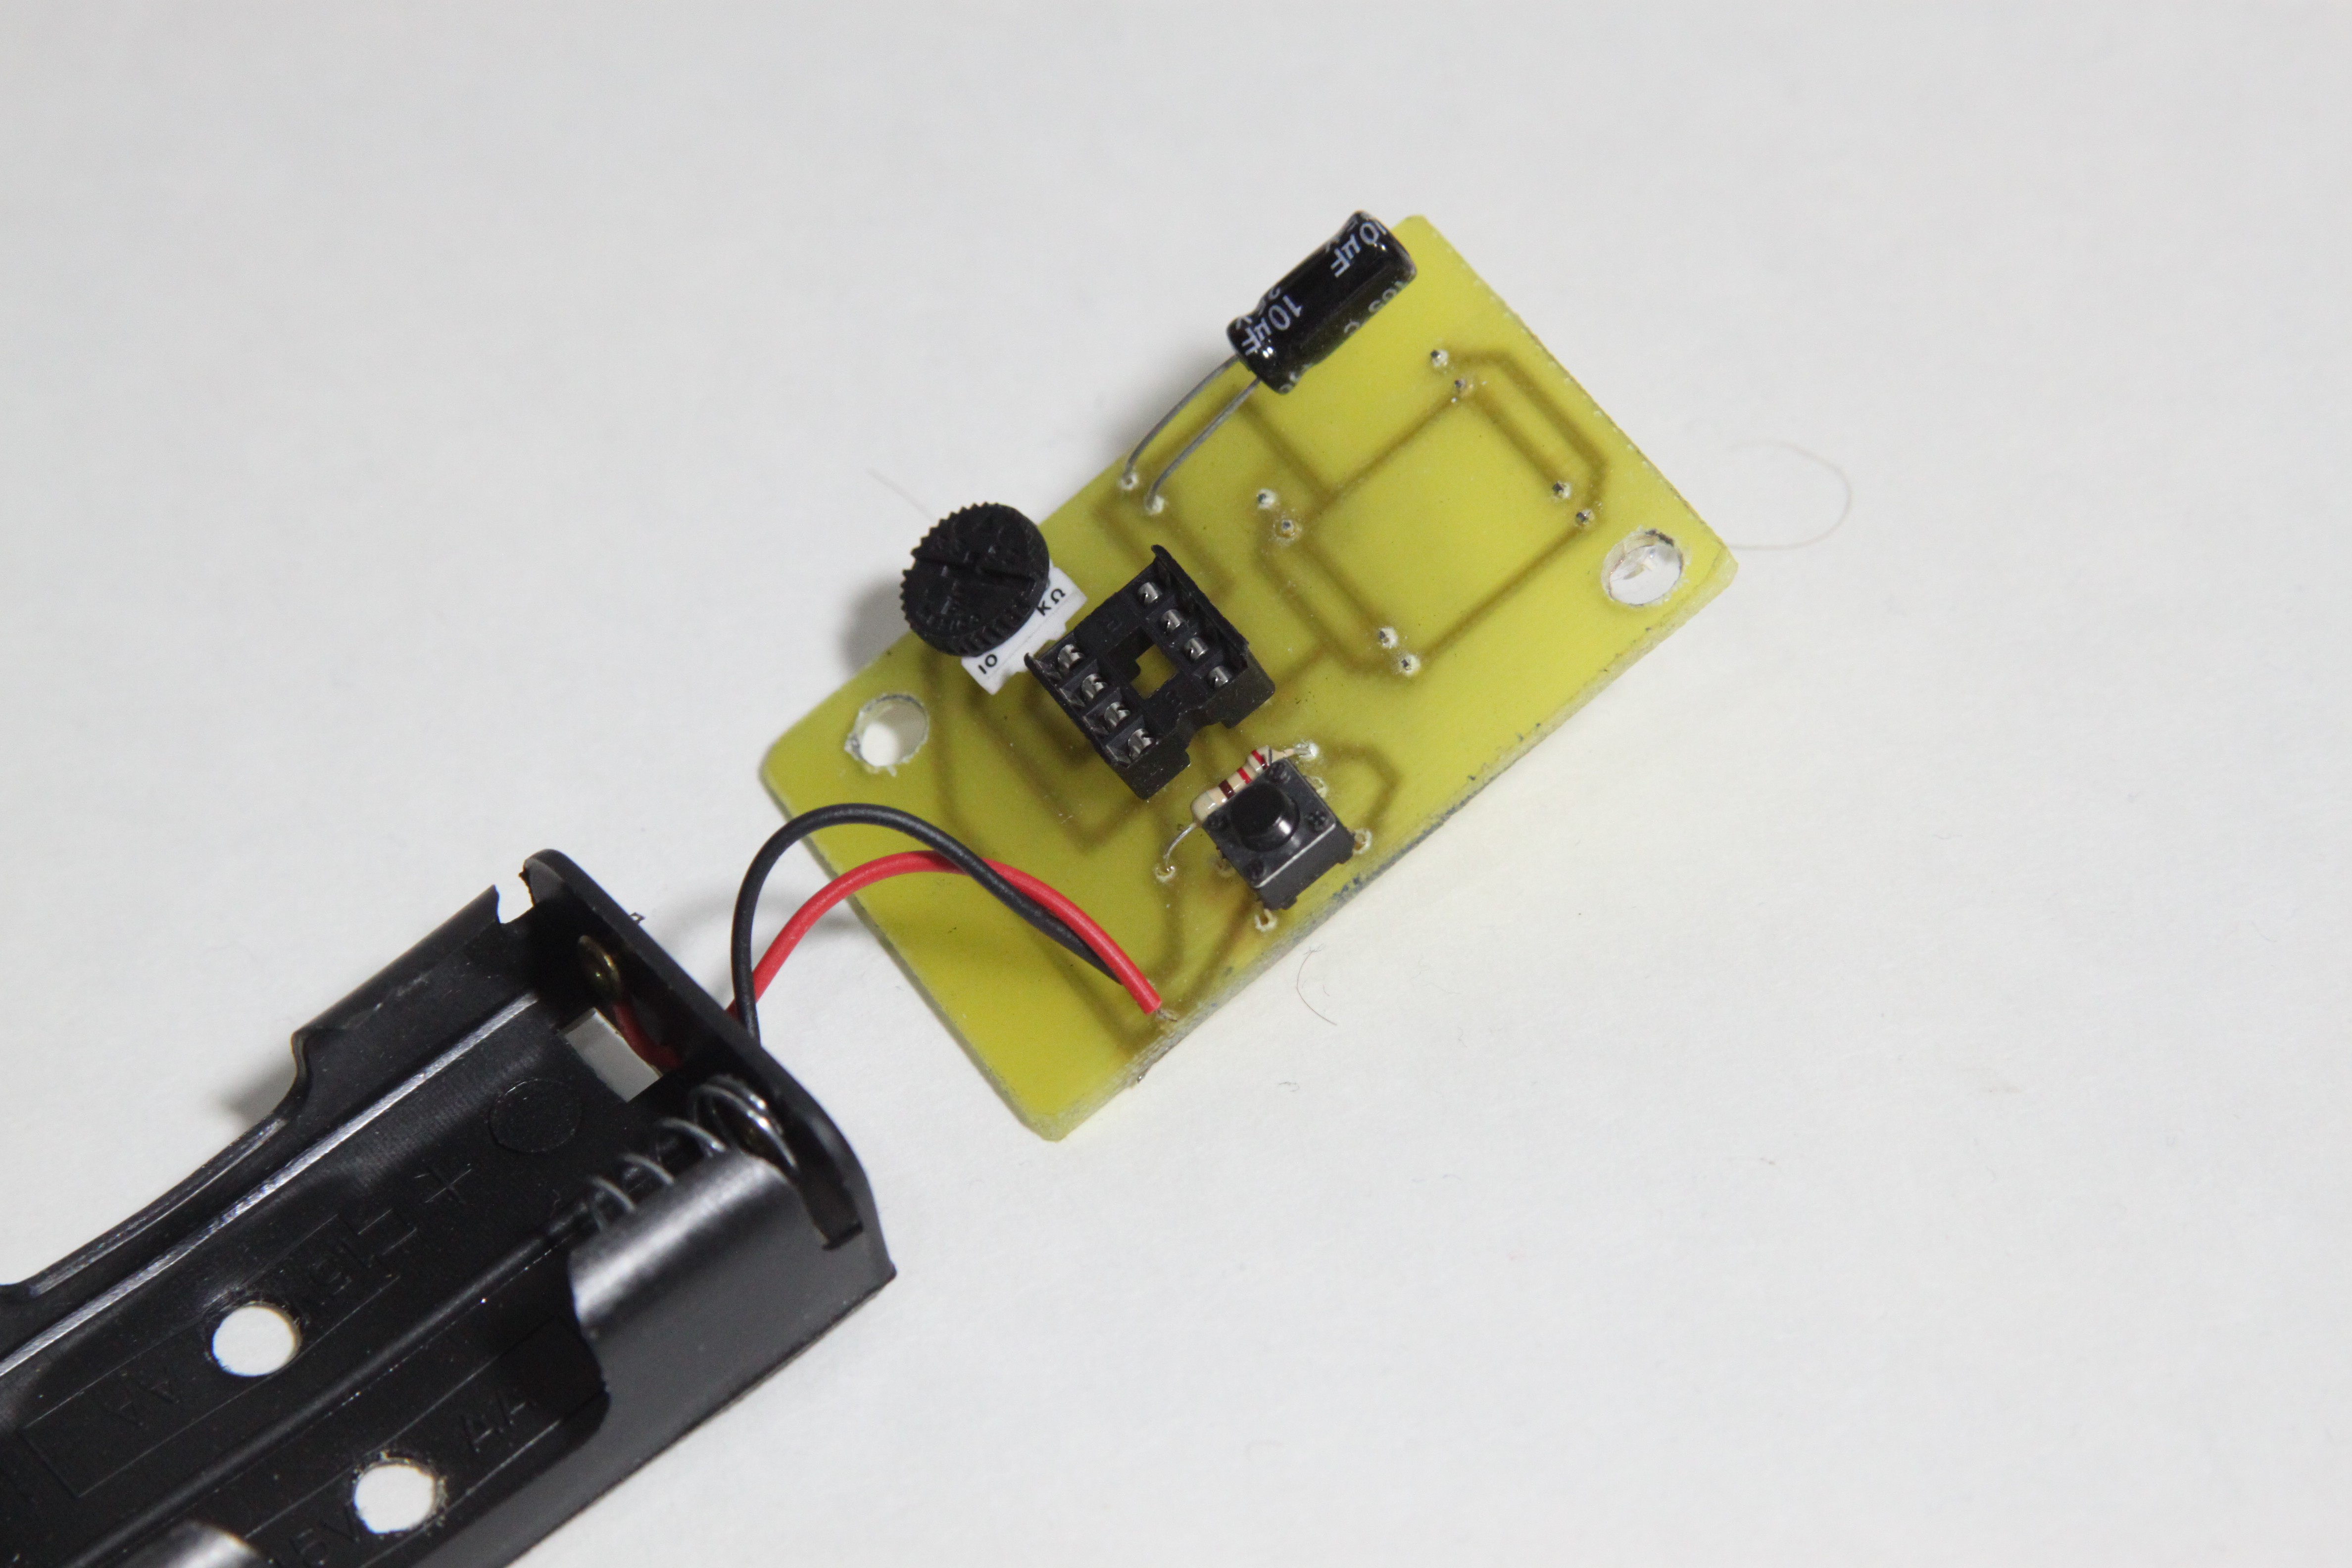
You can change the length of coaching session, initial breath length, final breath length, and brightness. These settings are saved to profiles that are stored in the Sleep Sensei, even when the batteries are removed.

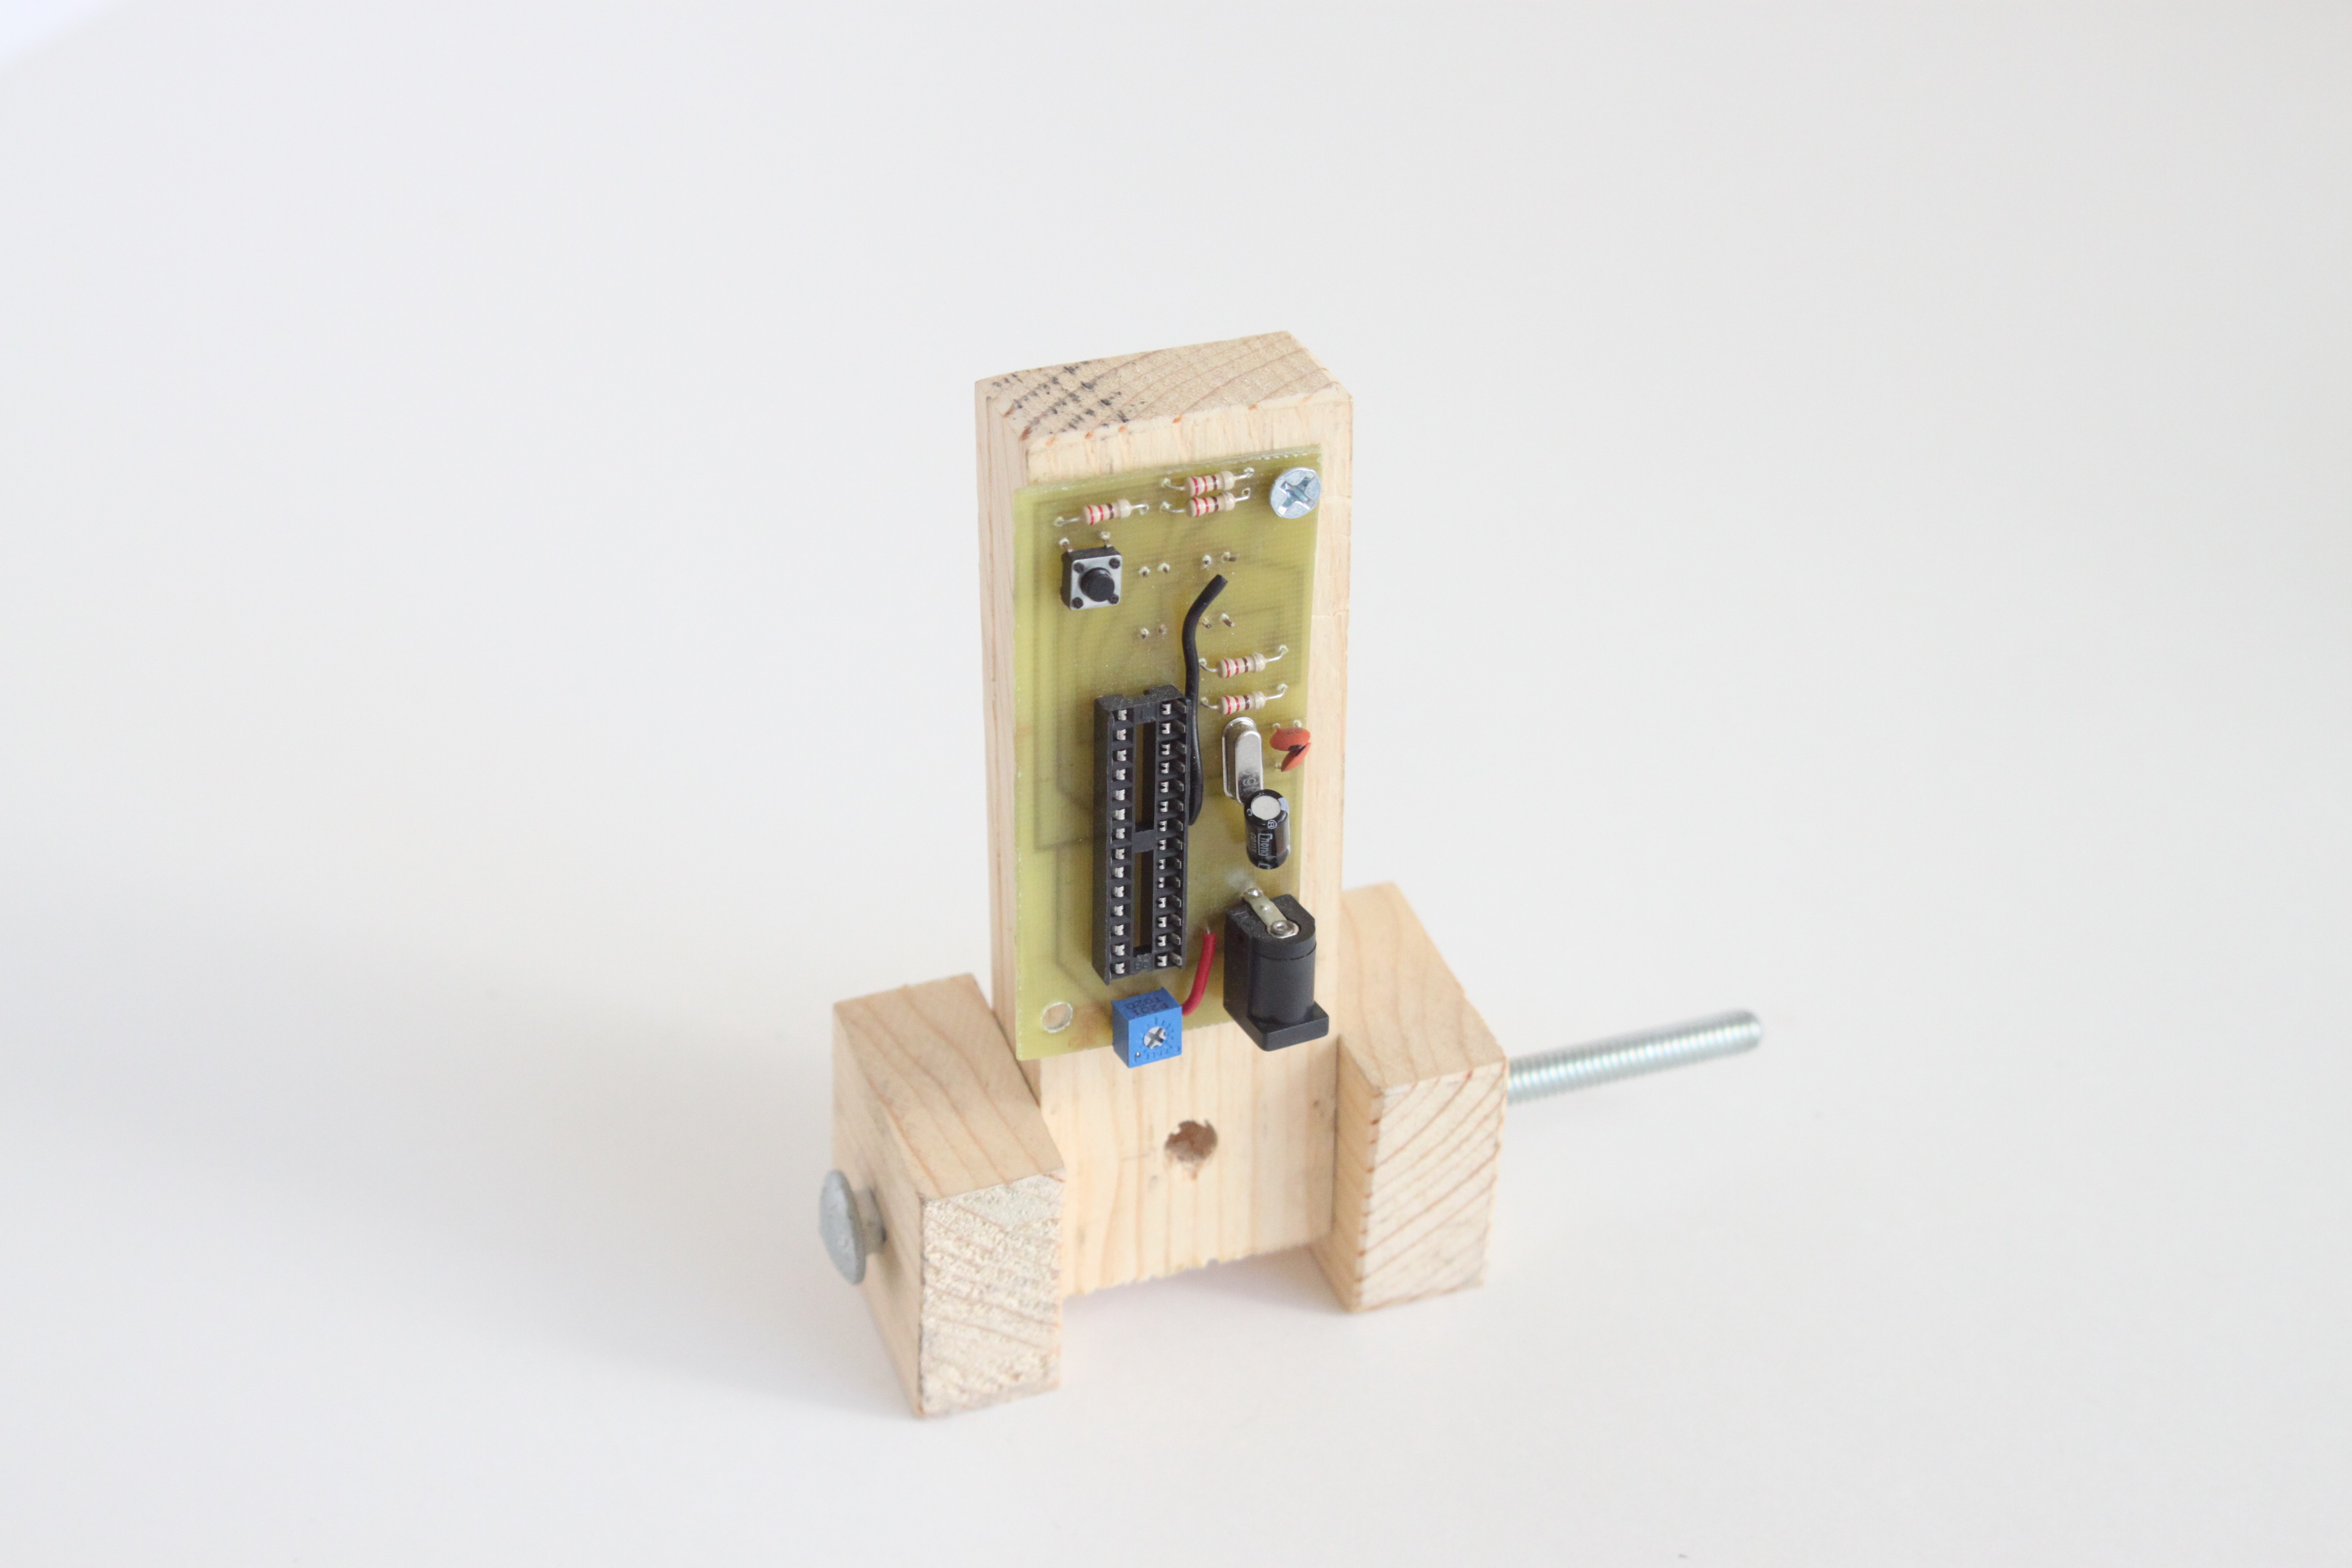
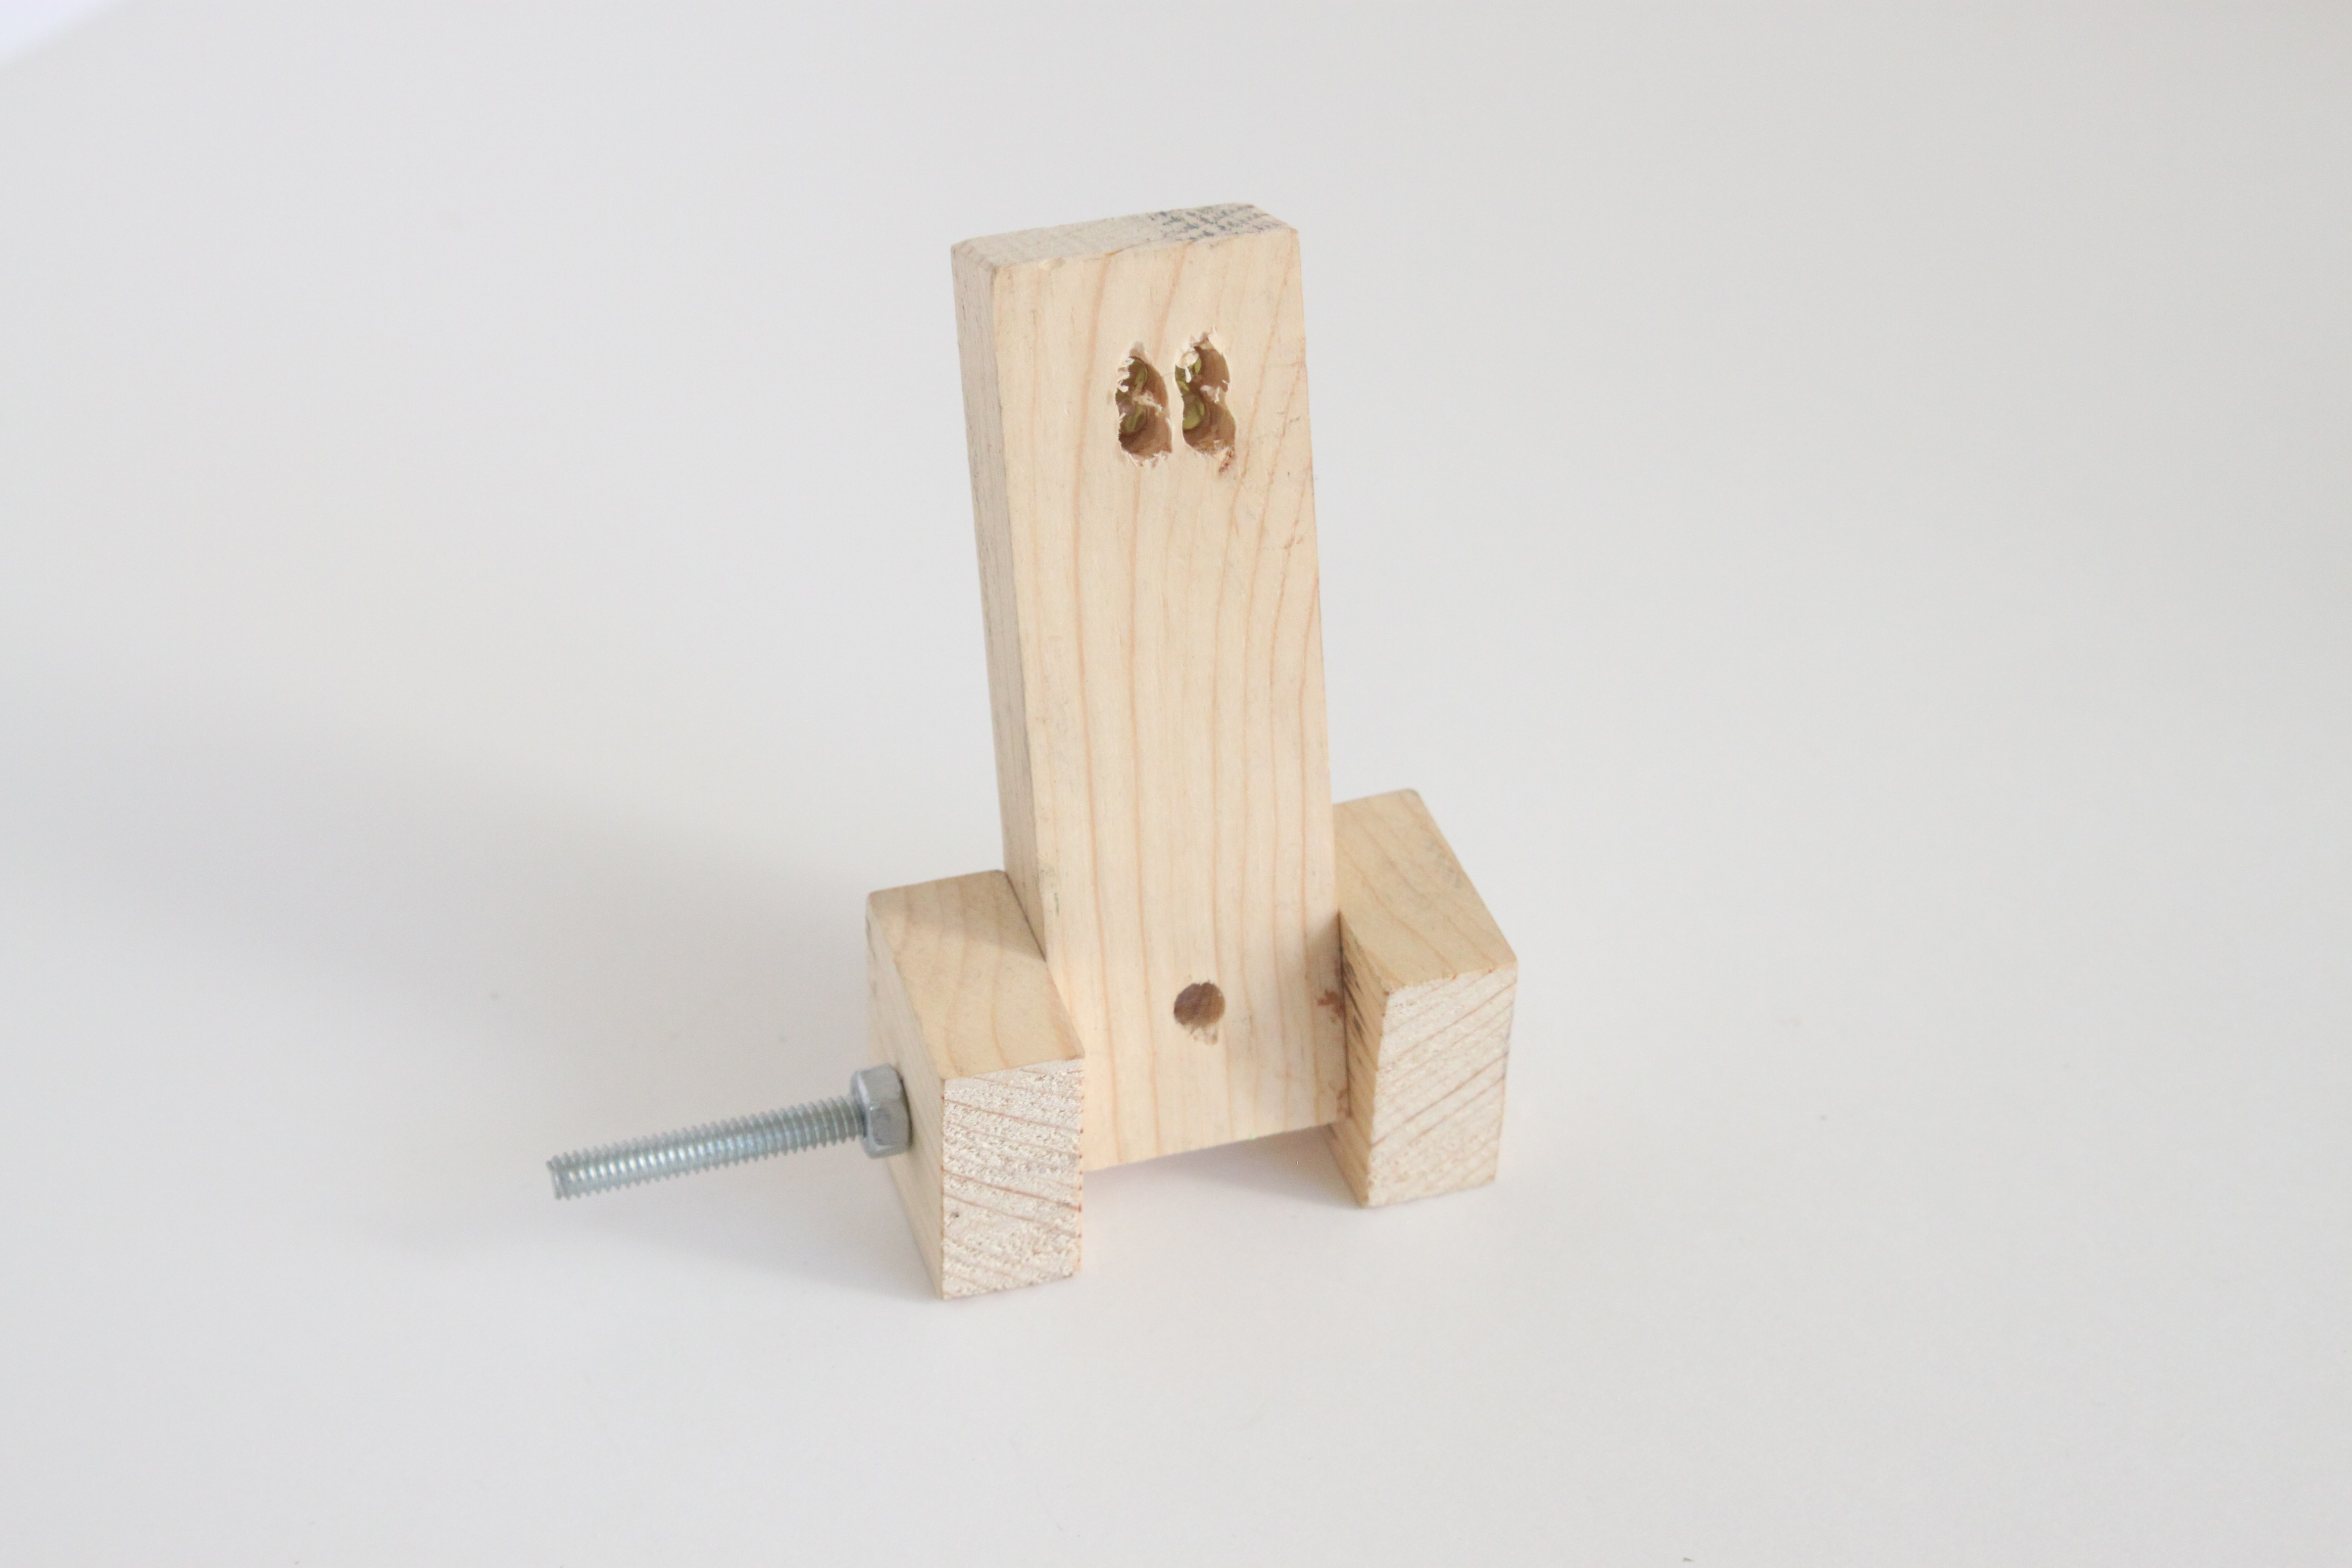
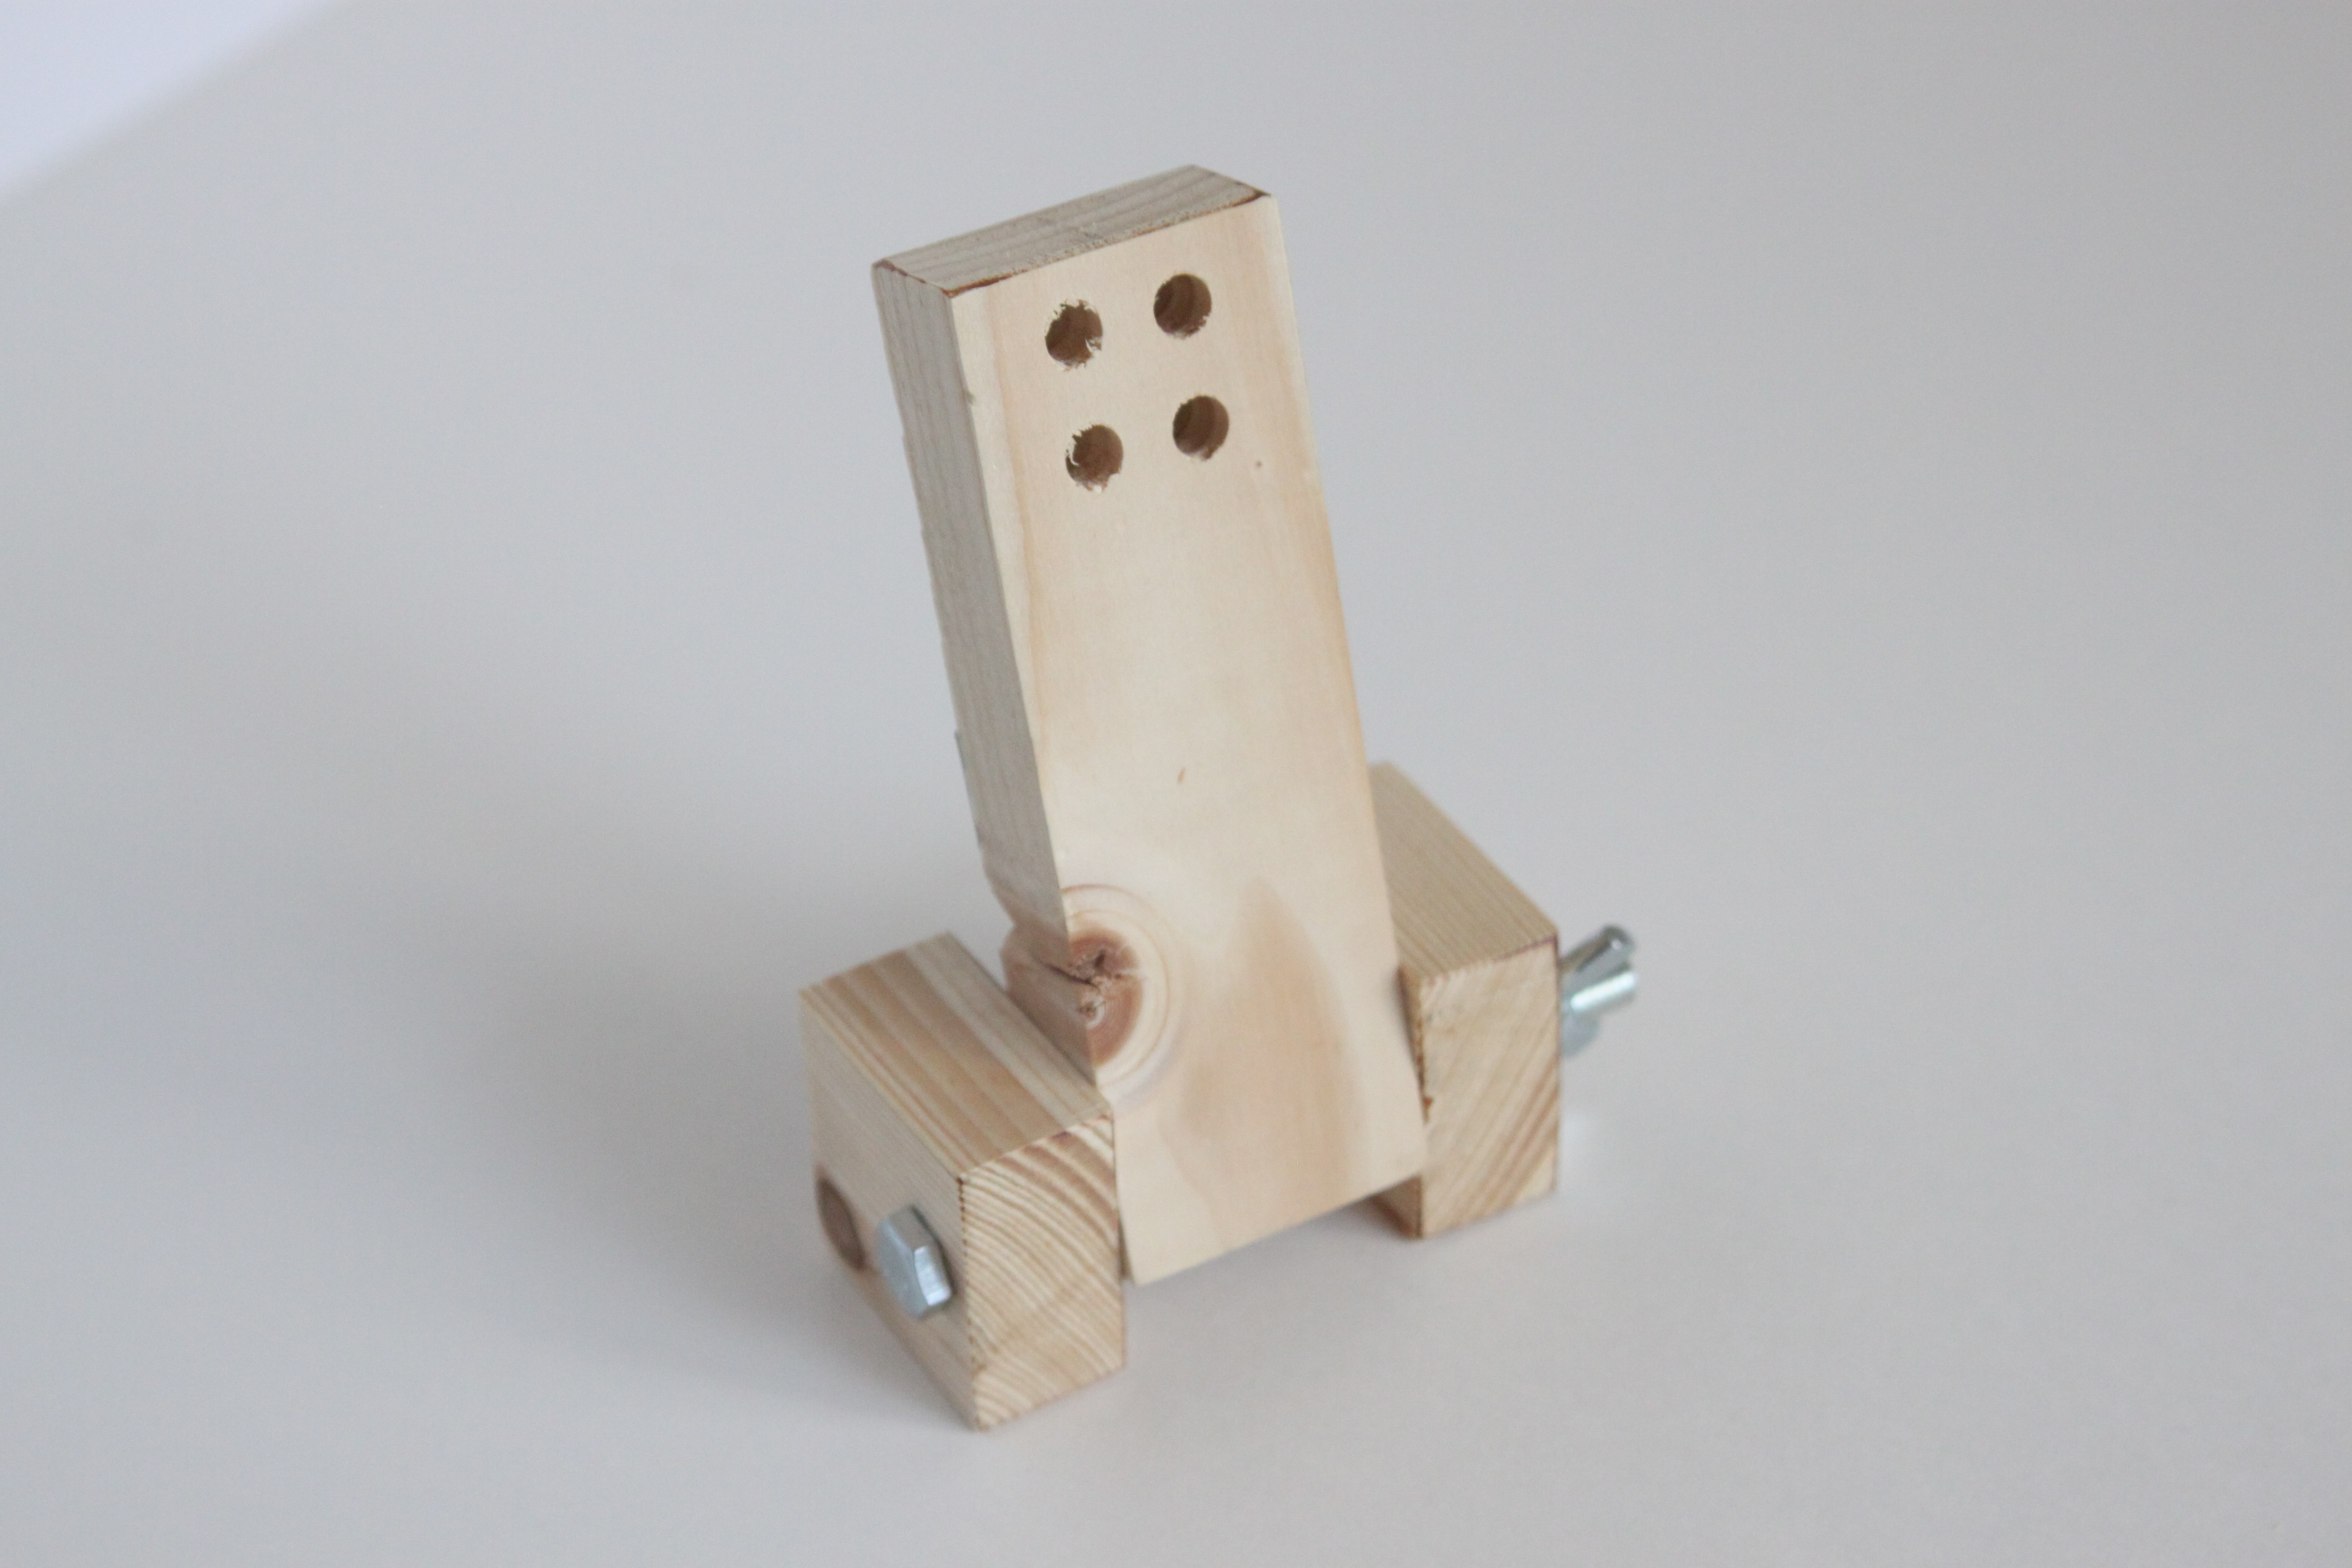
The hinged design allows you to aim the Sleep Sensei so you can most comfortably see the light in your usual sleeping position. You can also adjust the stiffness of the hinge.
Open Source
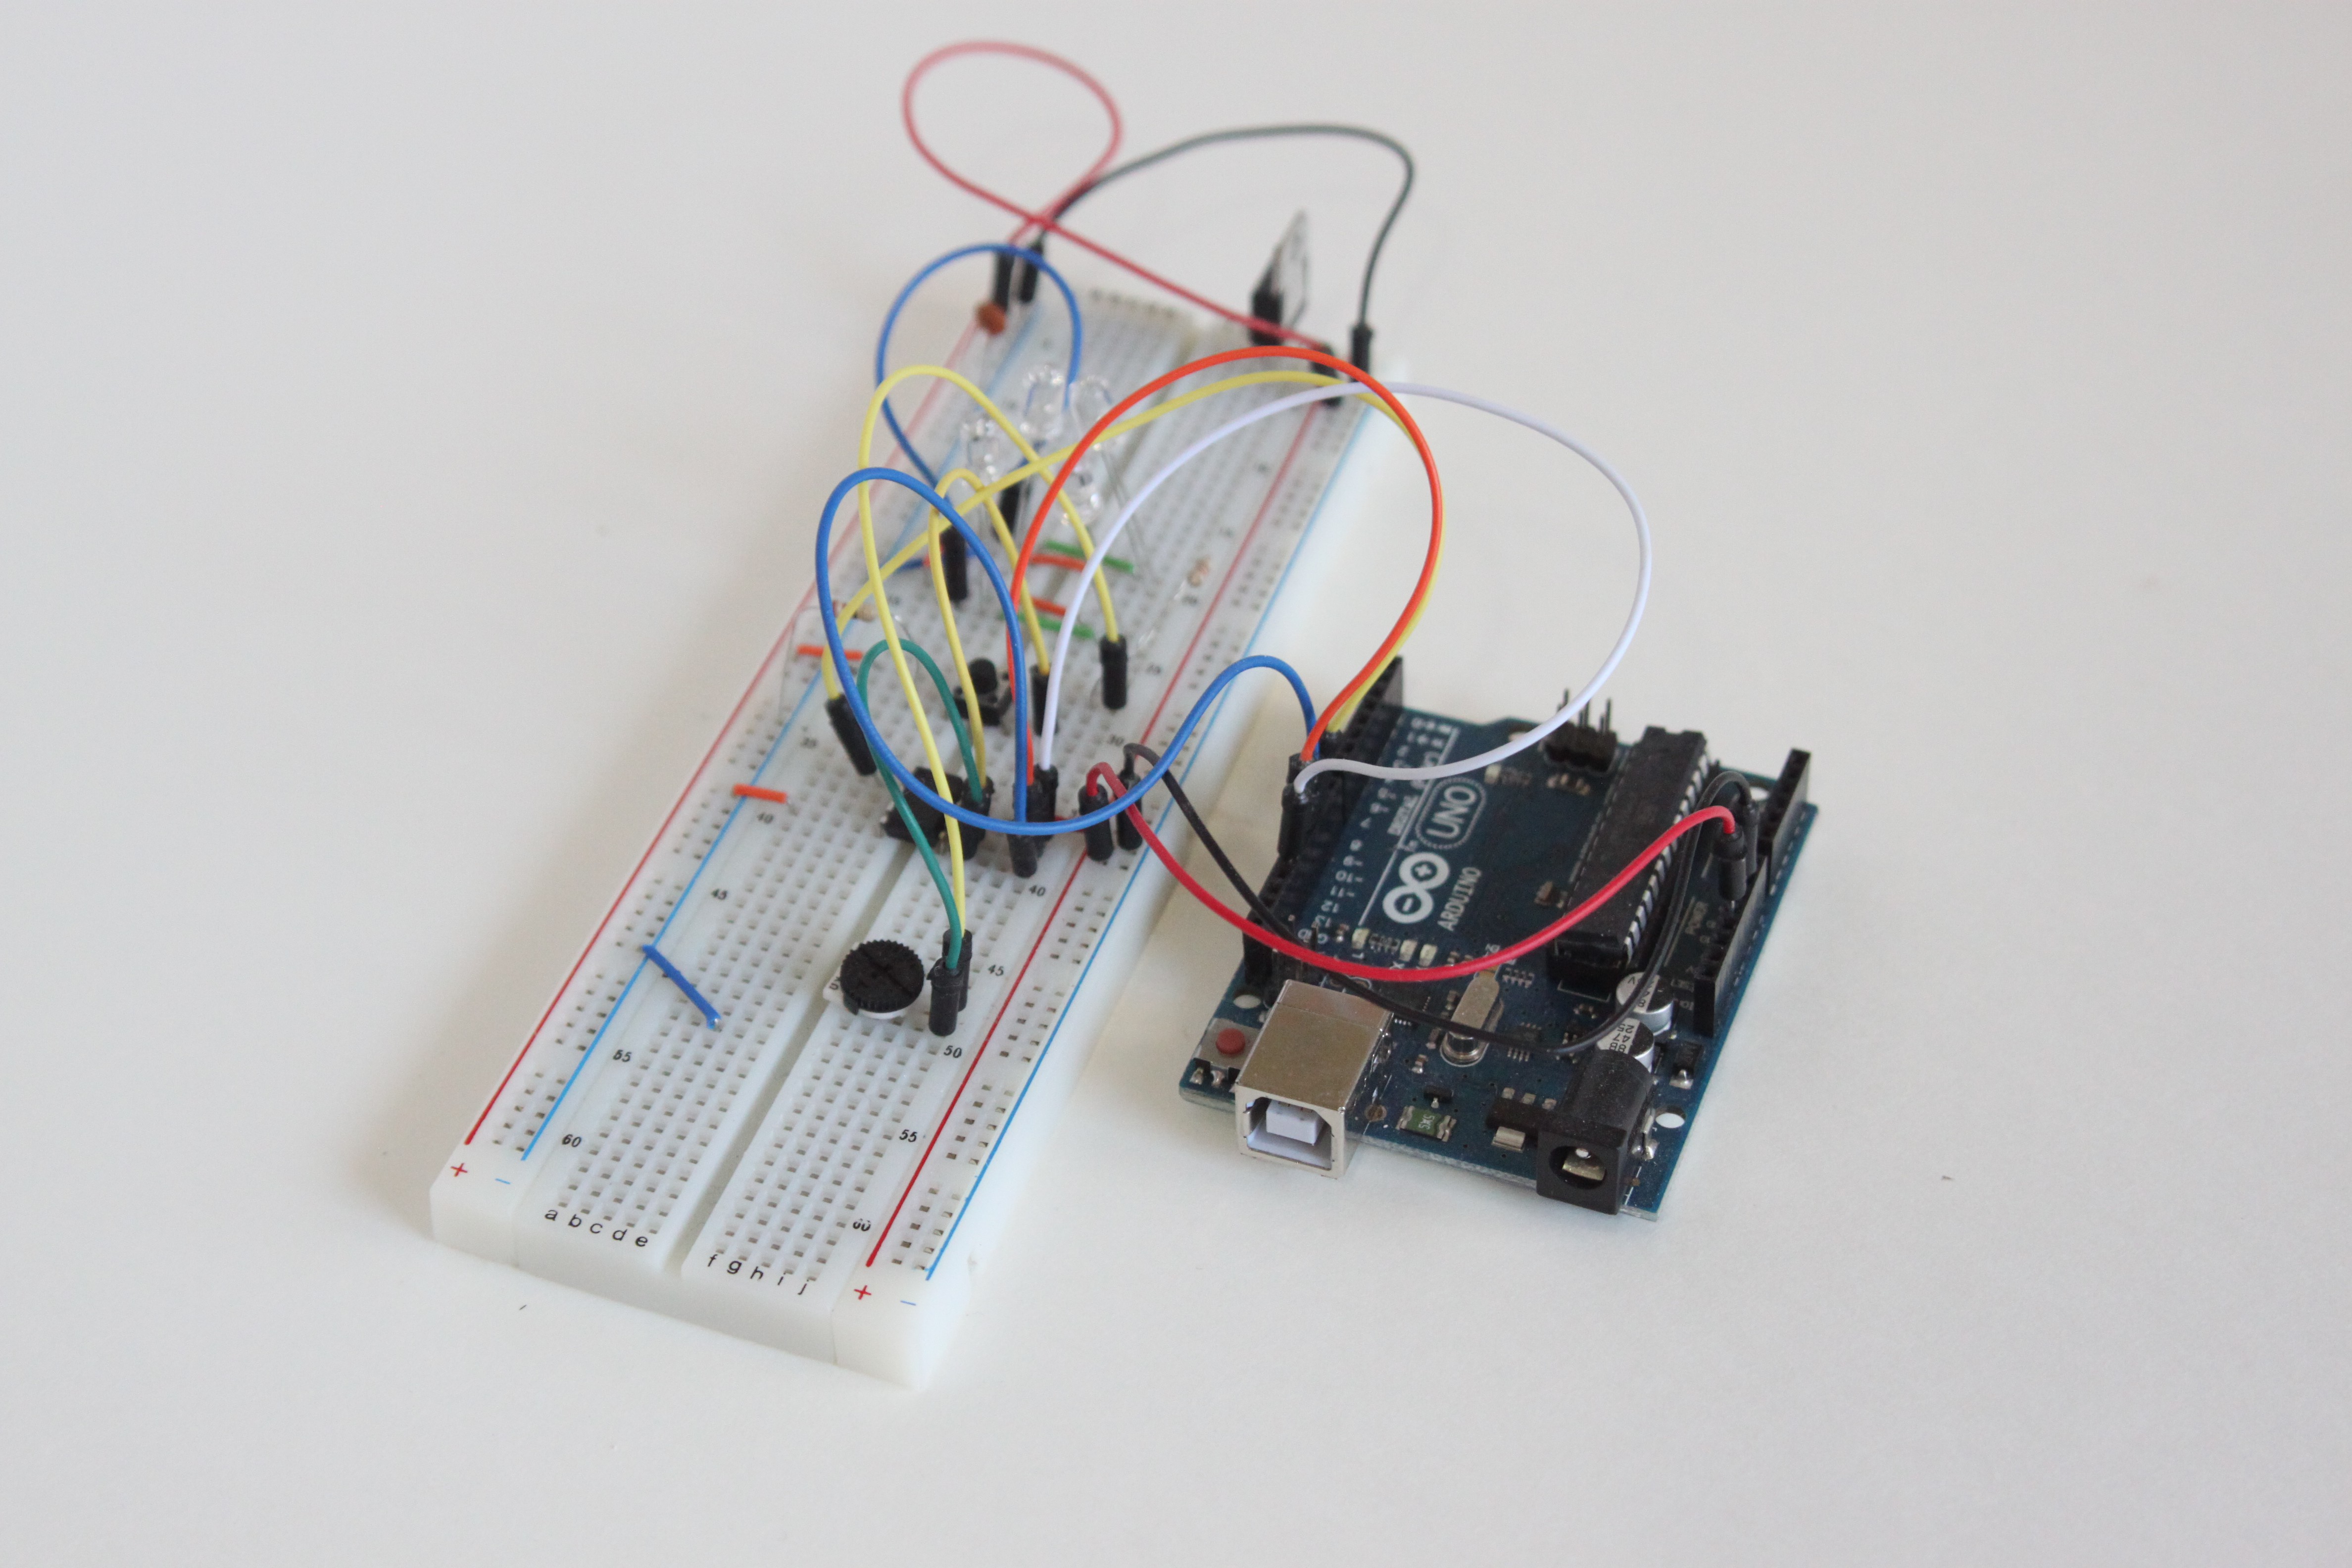
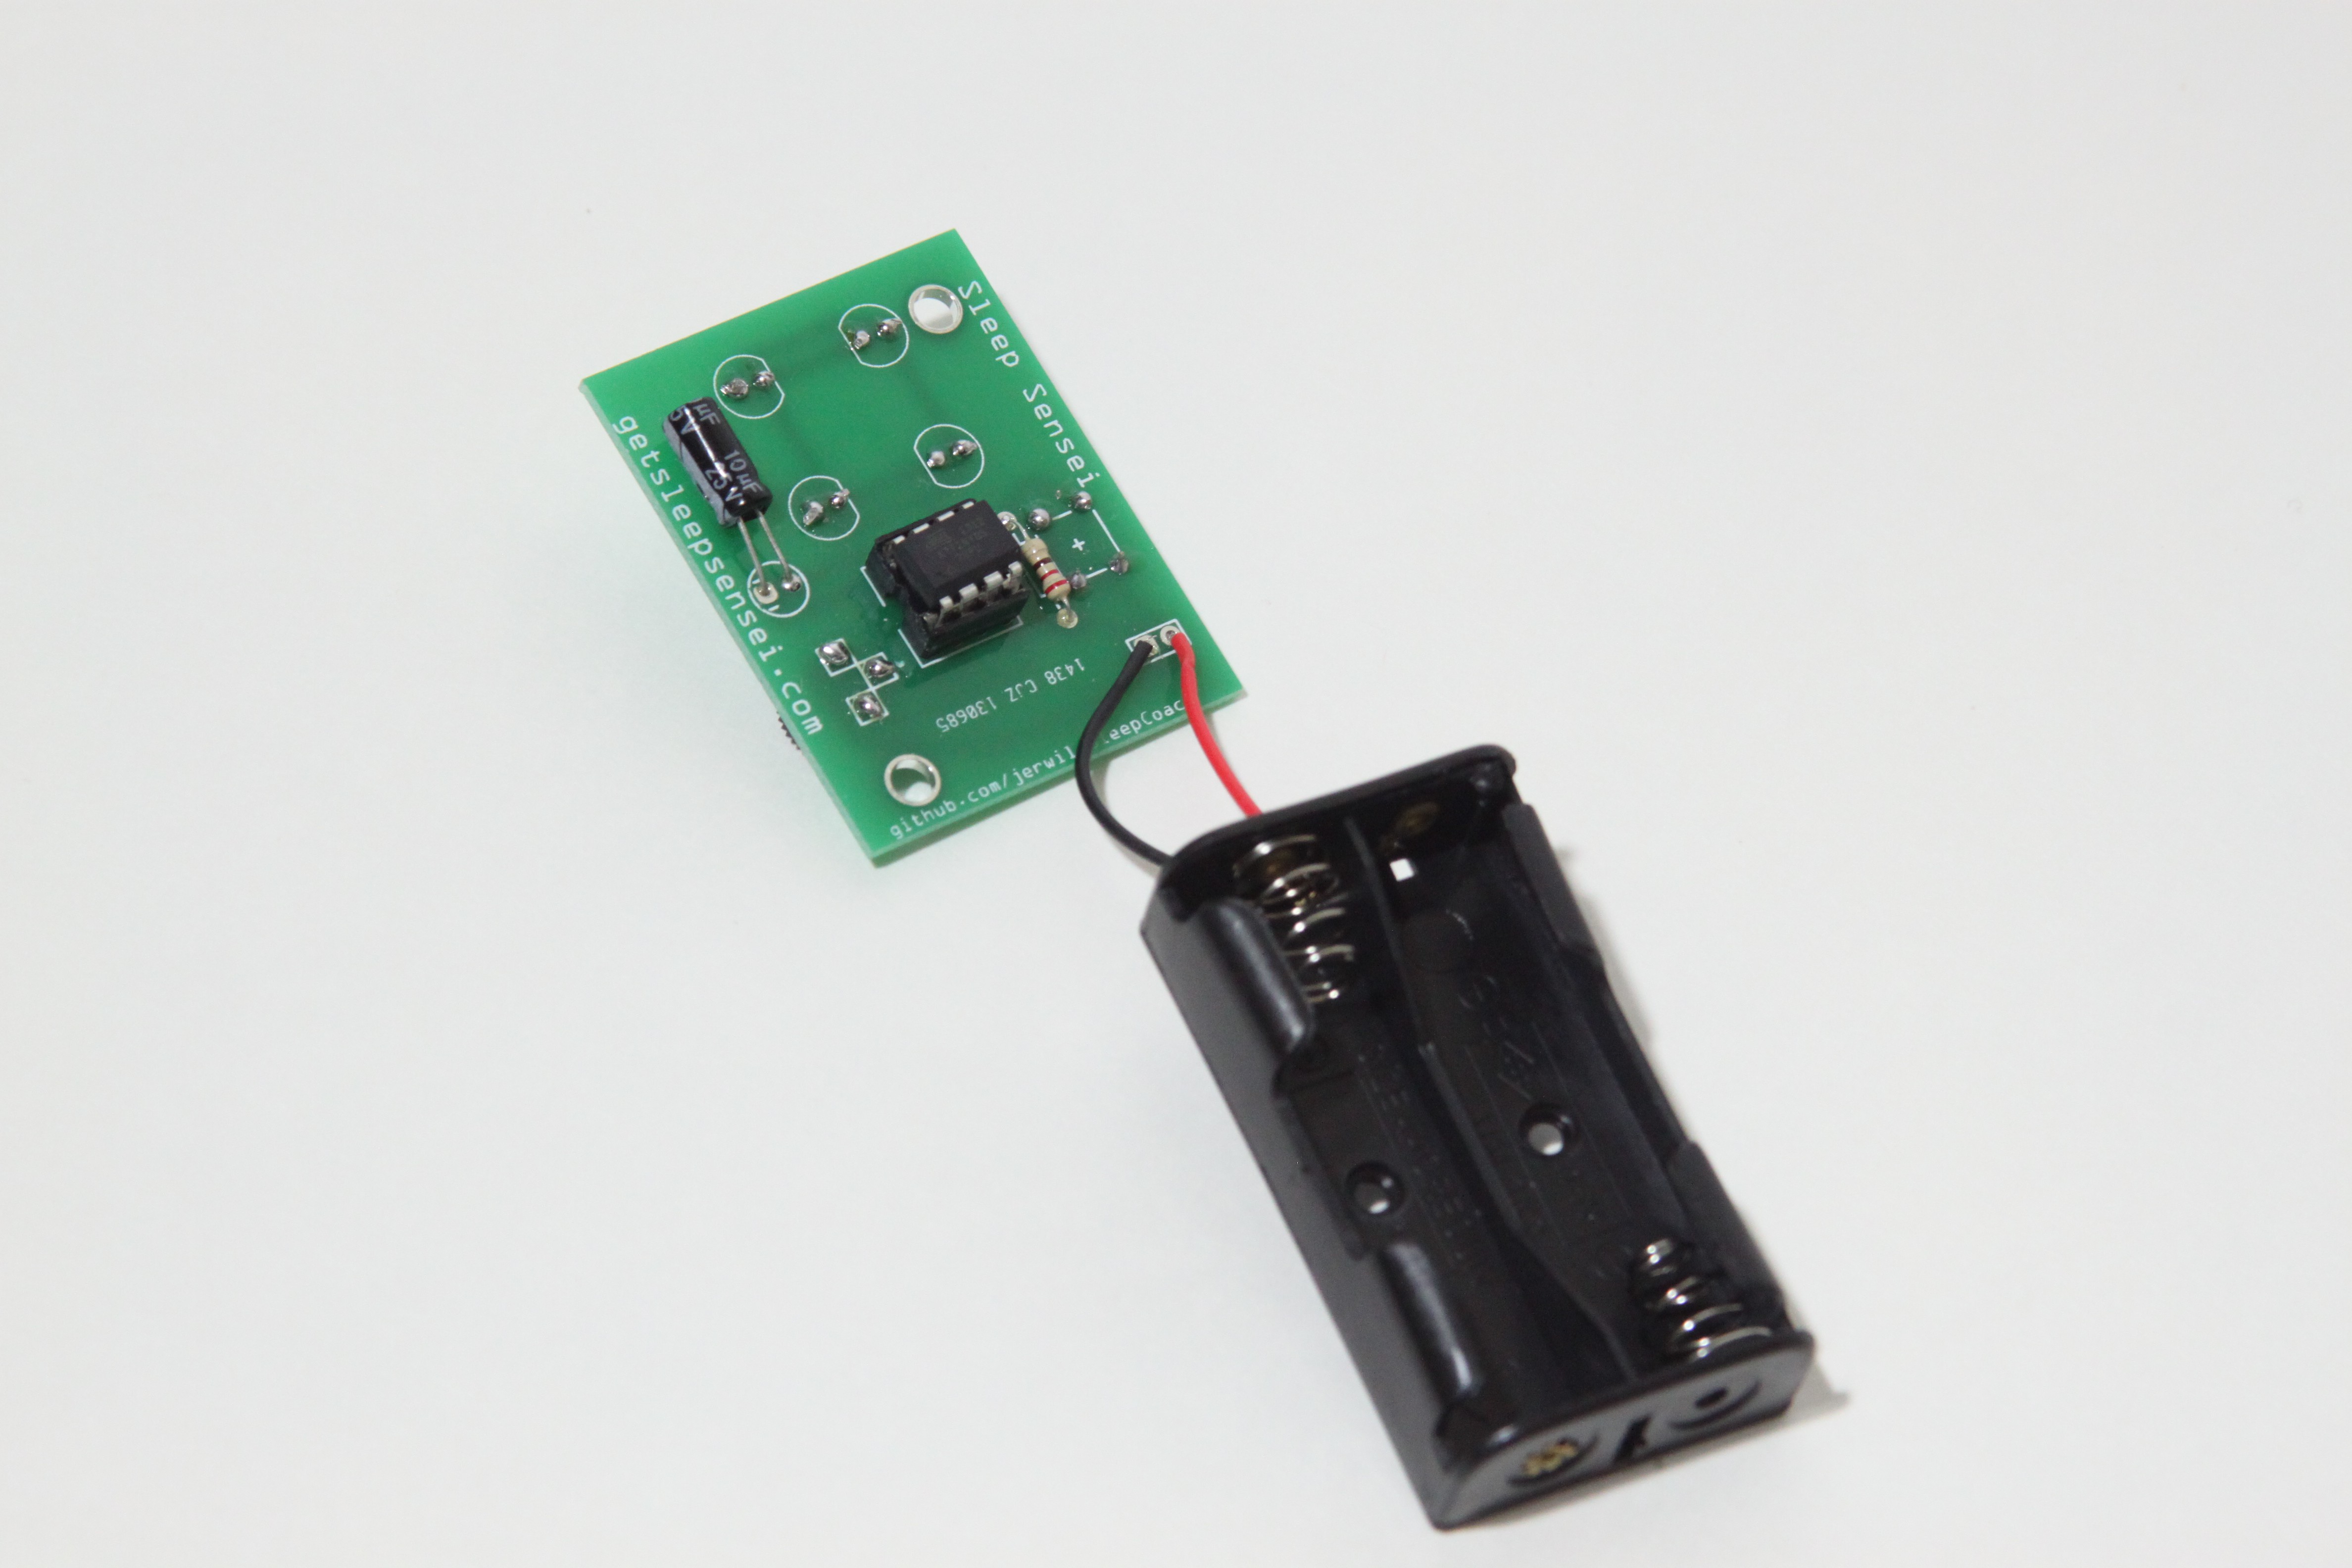
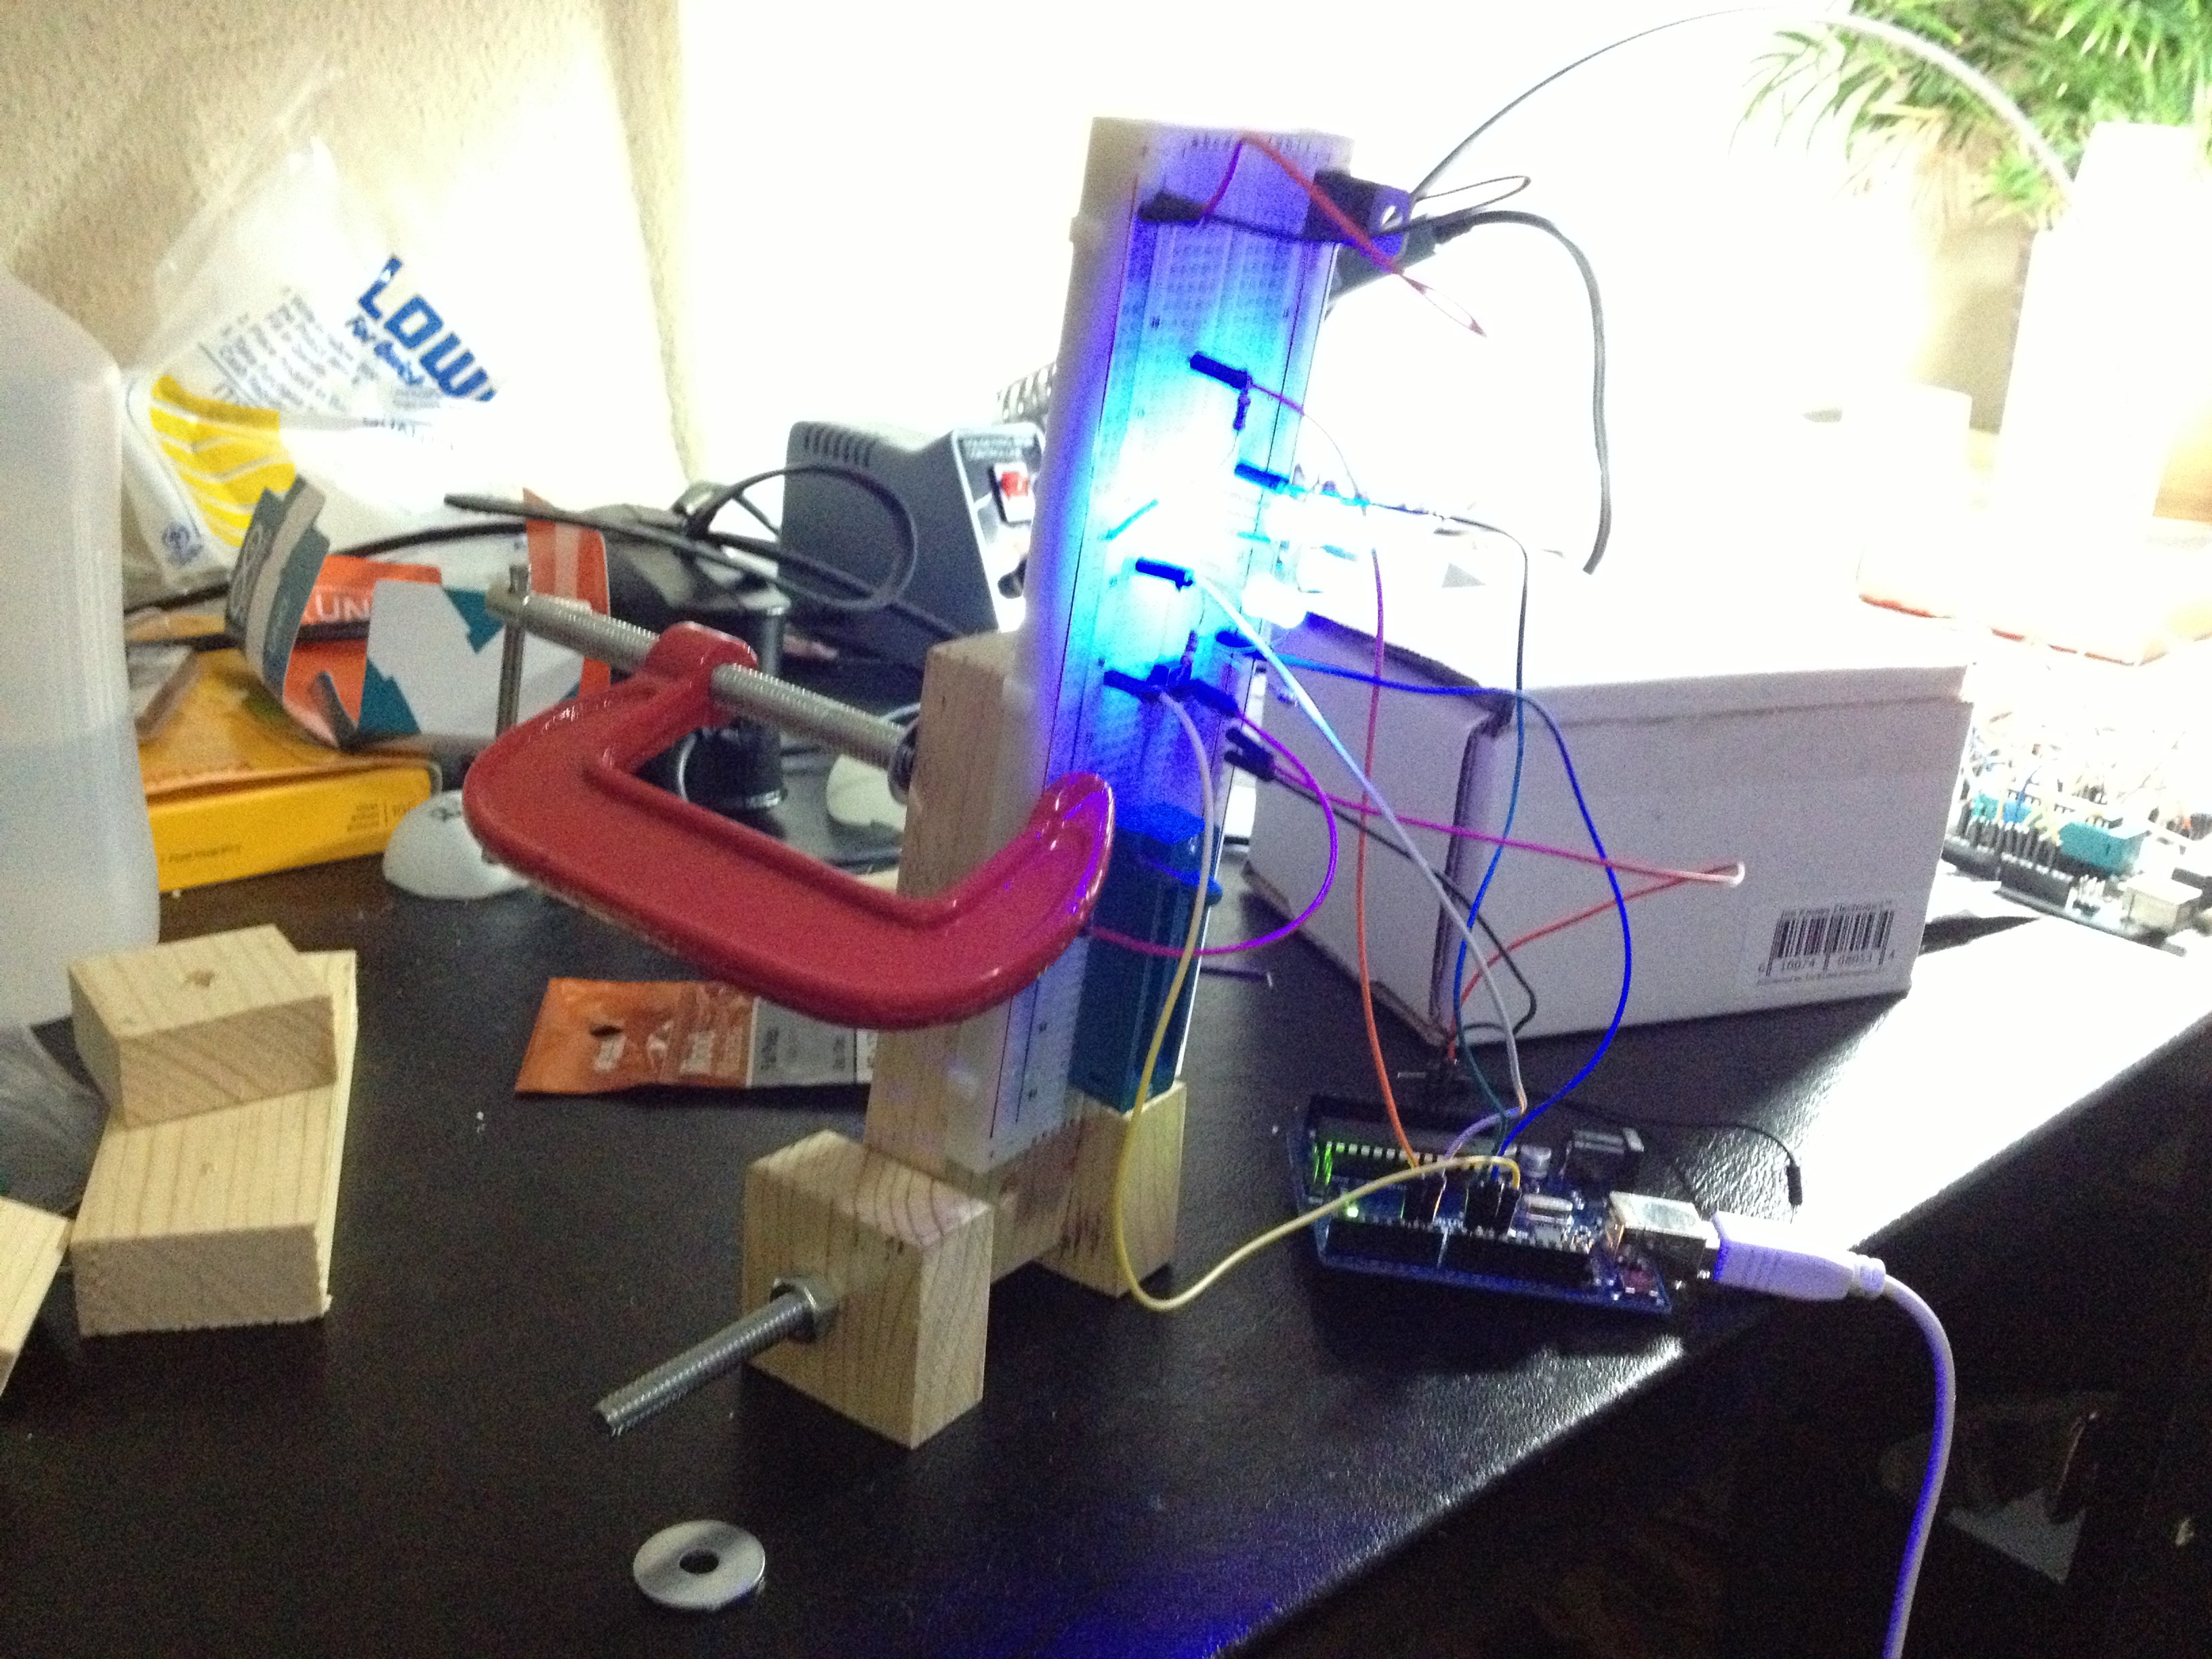
The Sleep Sensei is built on the open-source Arduino platform. All aspects of the Sleep Sensei, including the circuit board design and Arduino code, are freely available. Check out the GitHub page!
The Design
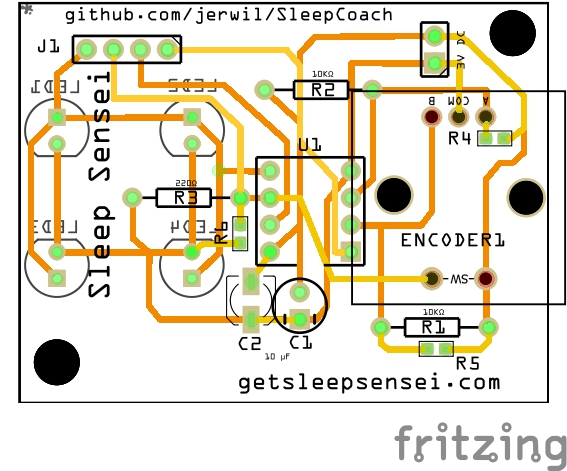
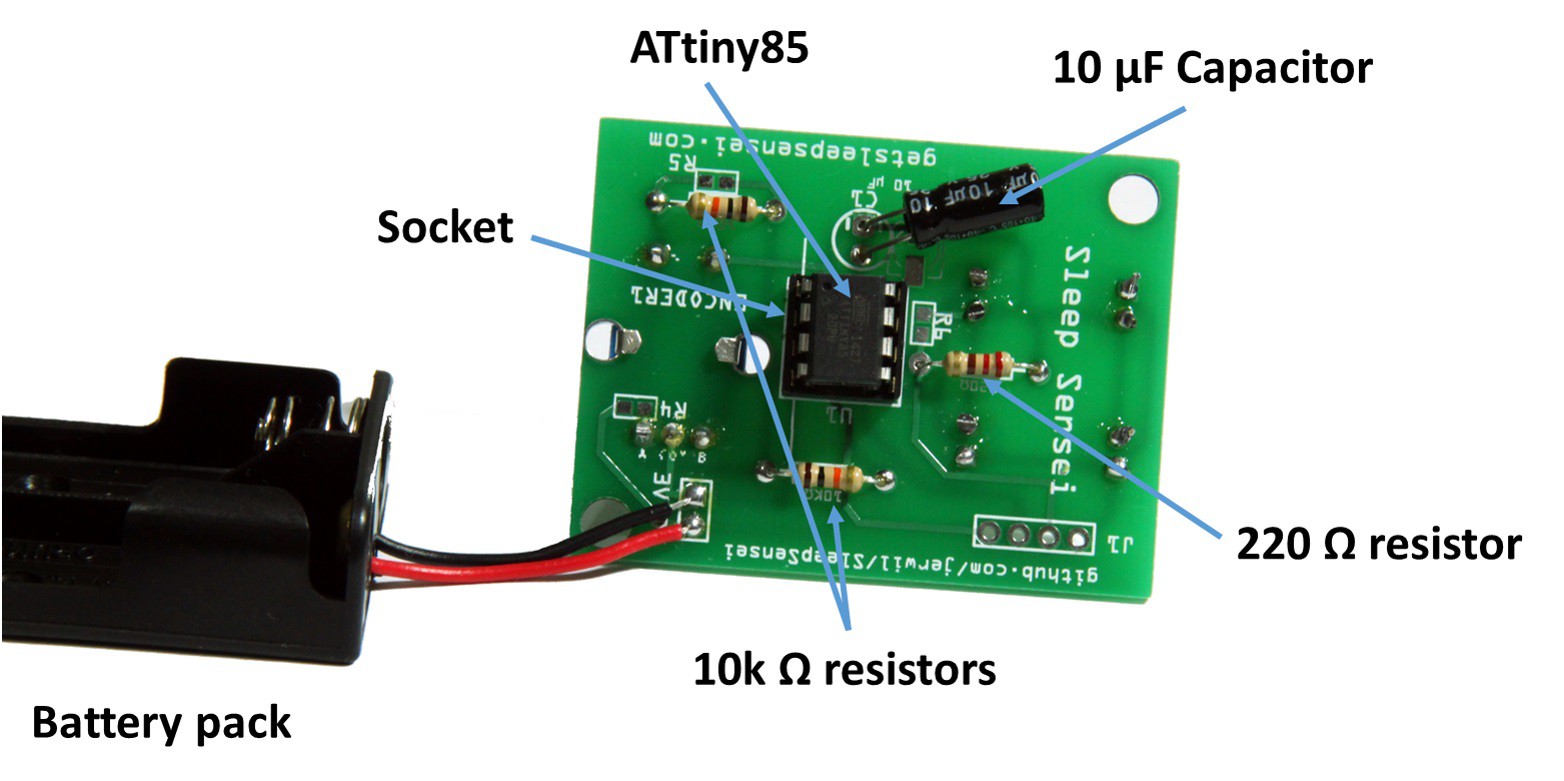
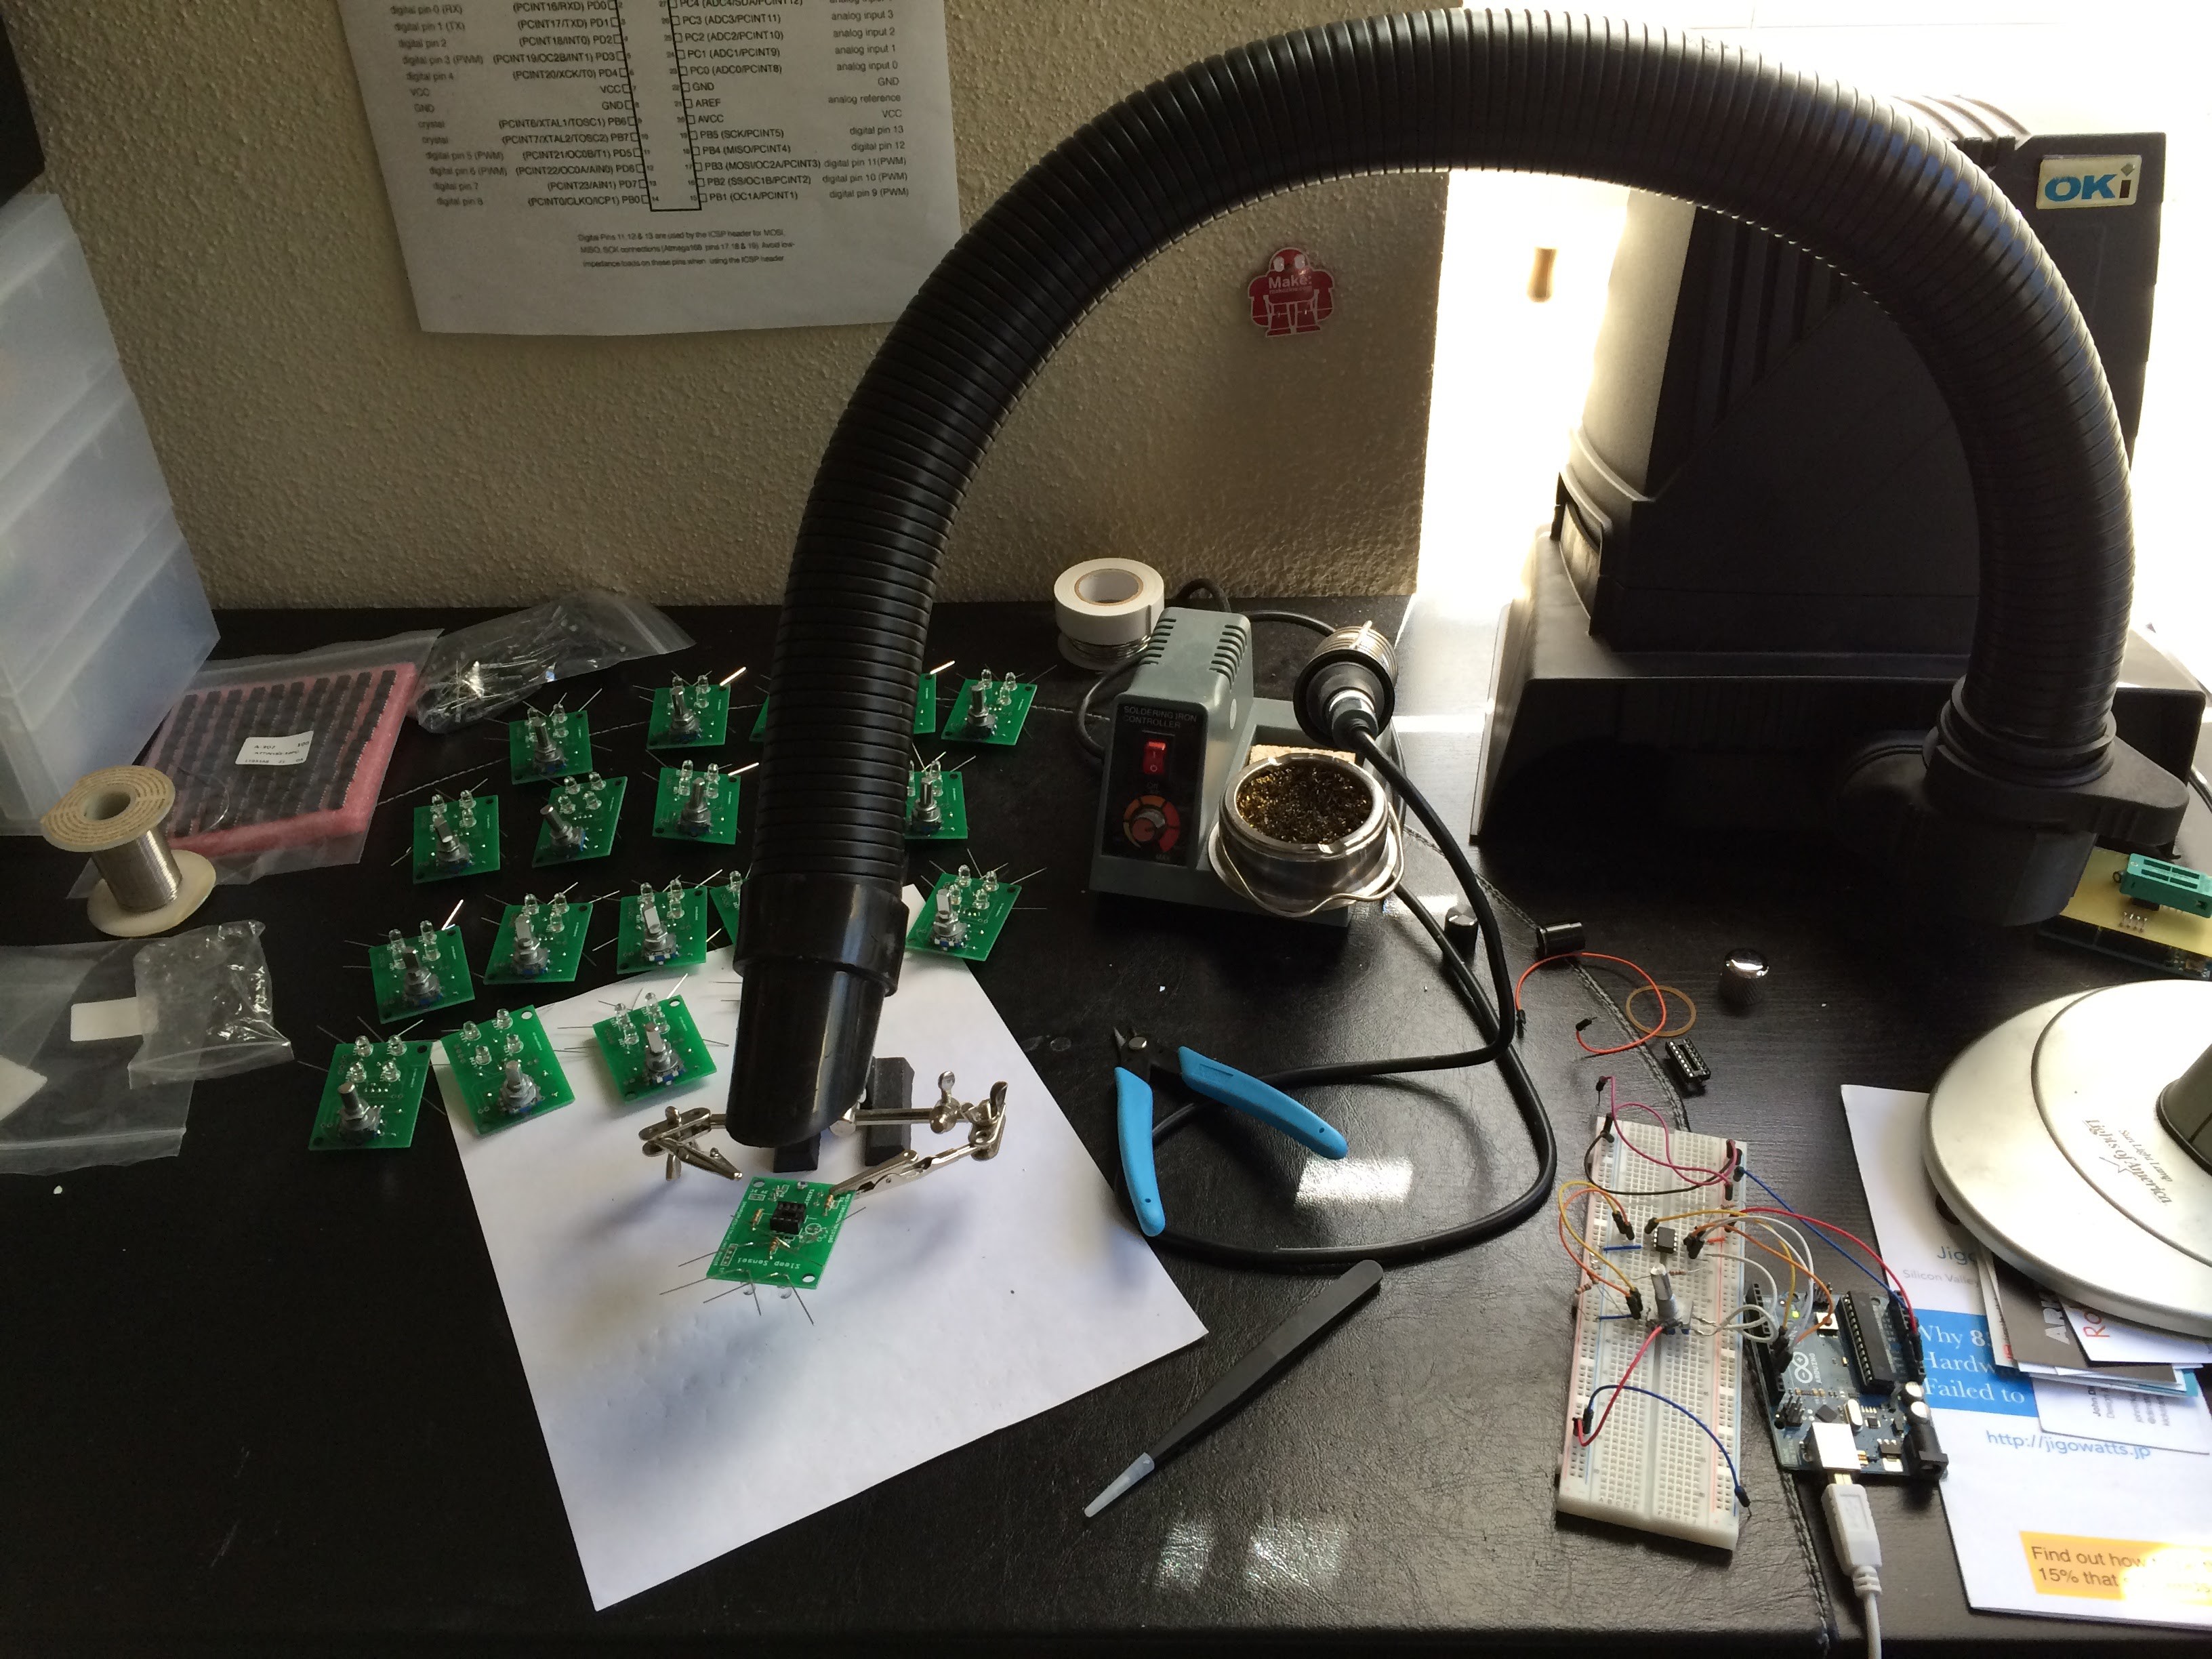
The circuit contains an ATtiny85 as the brains of the operation, and a rotary encoder is used for control.
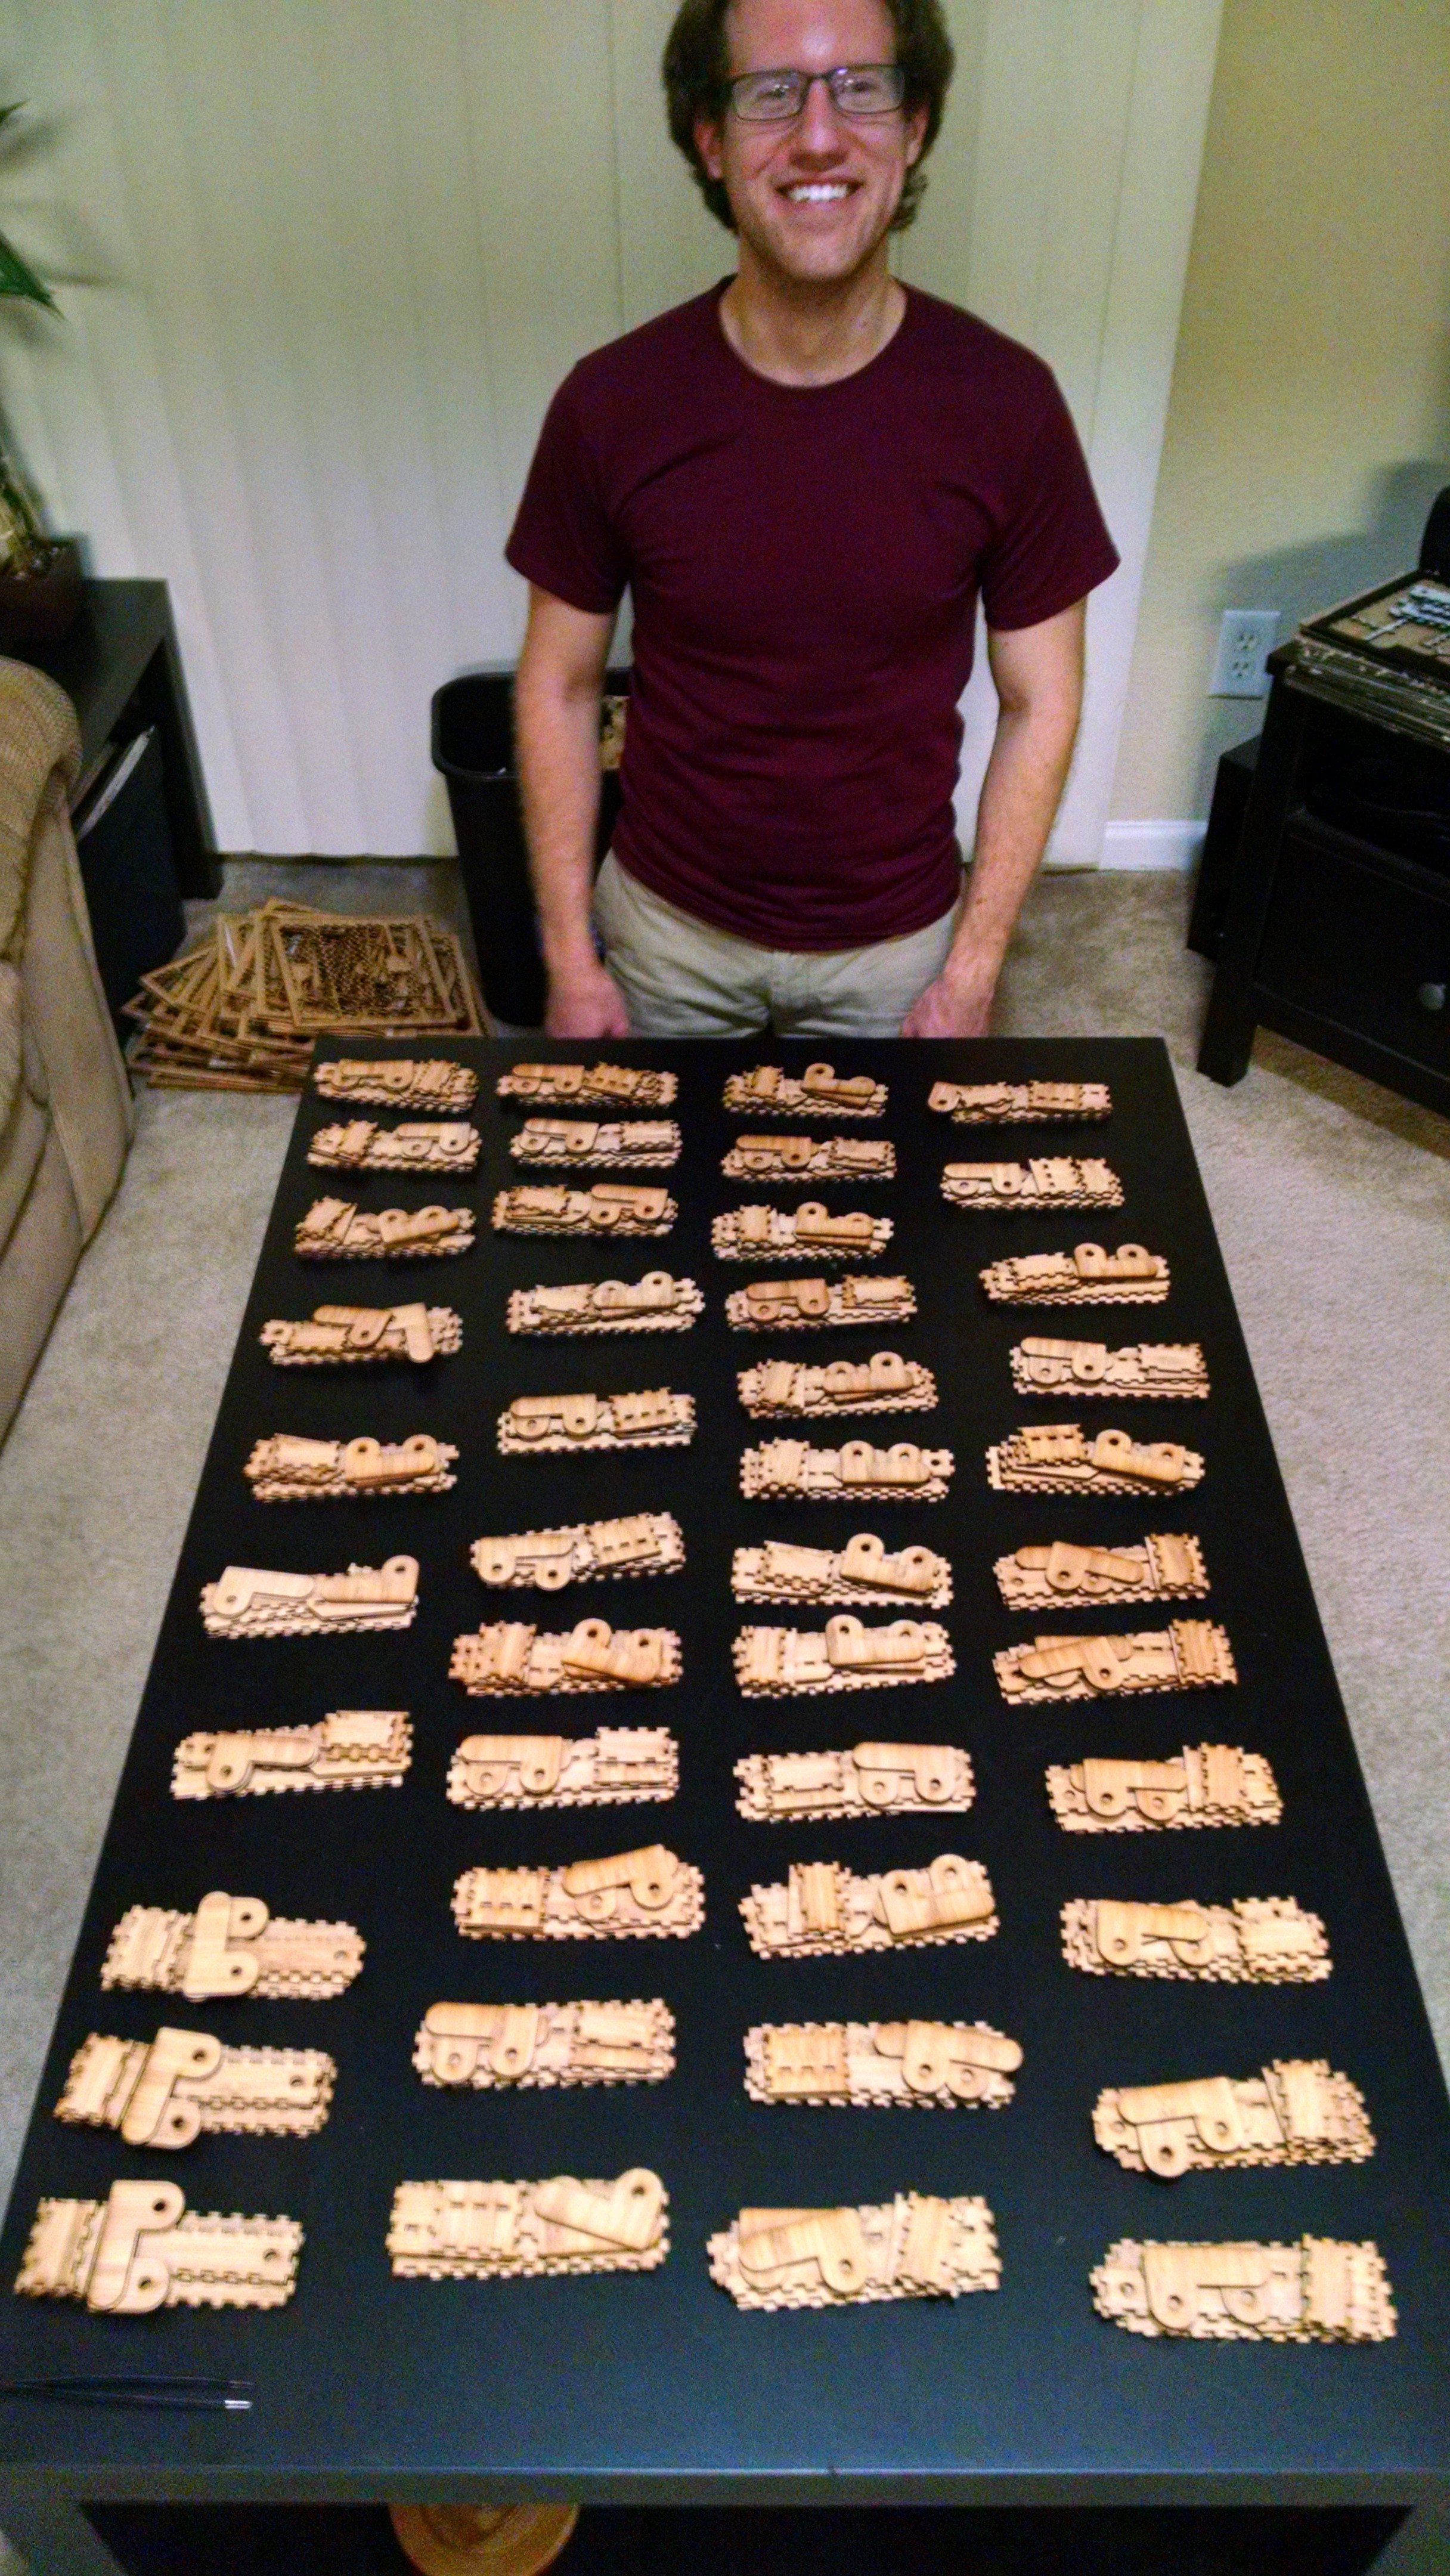
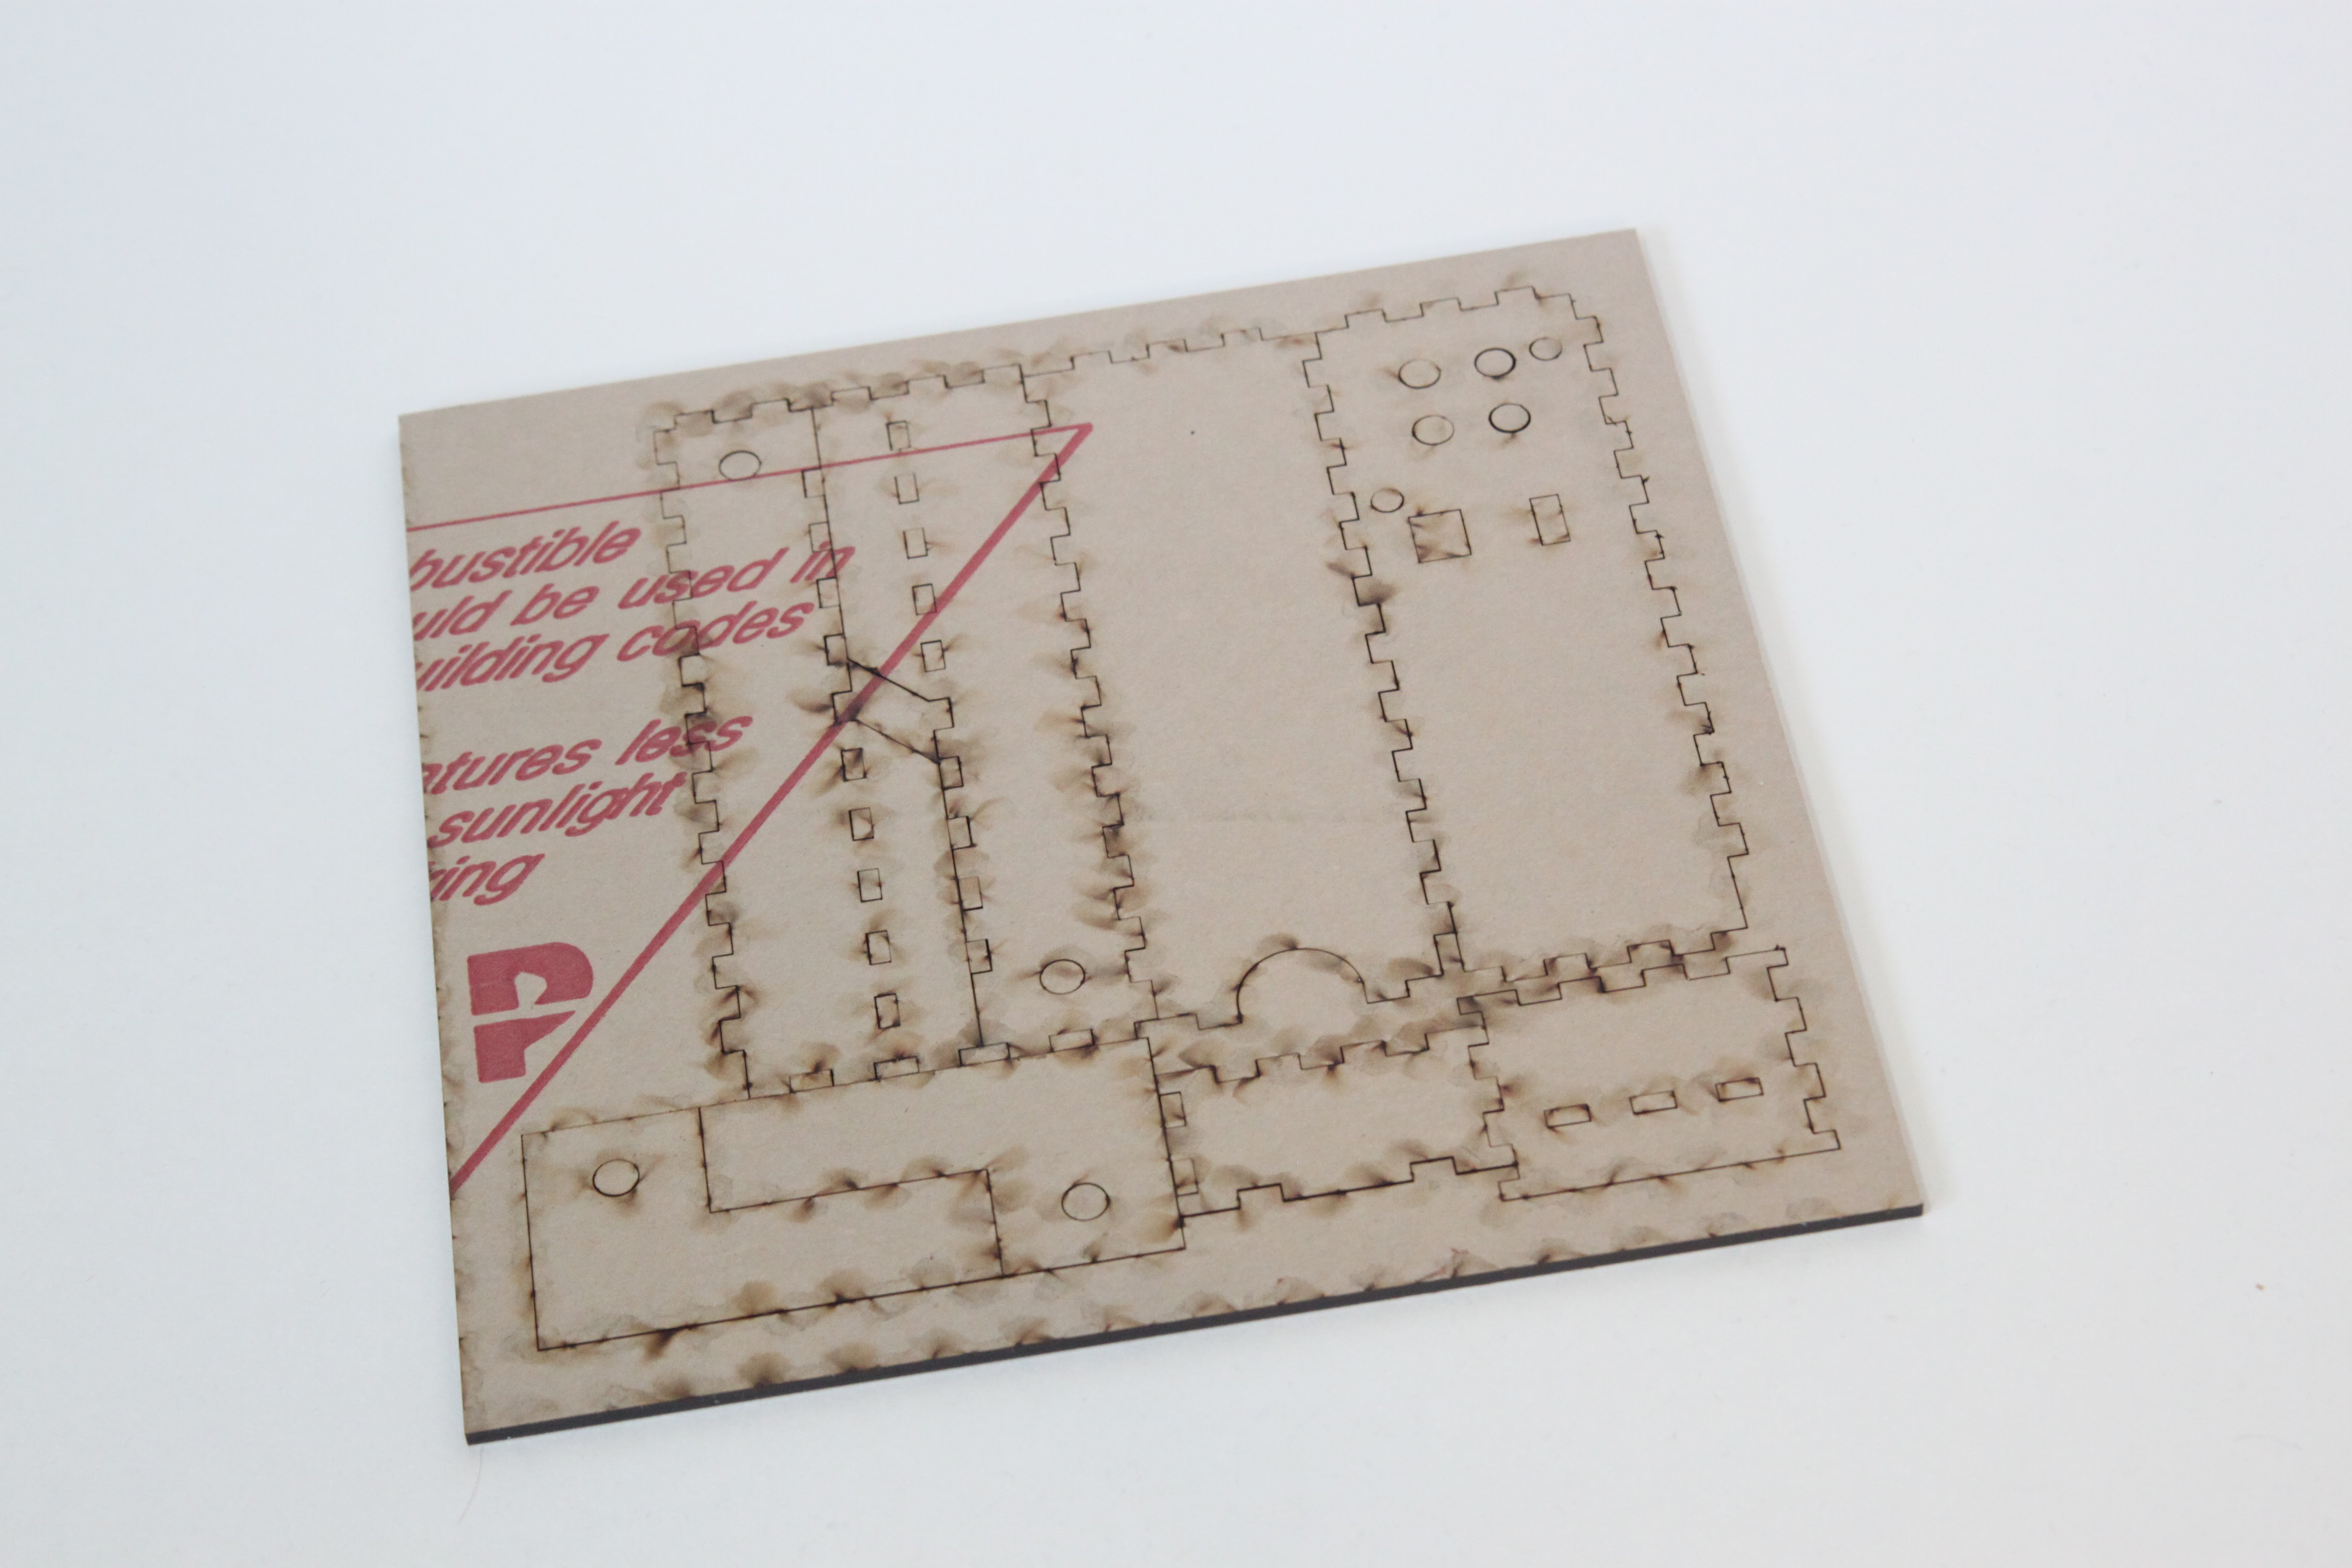
The body is made of laser-cut bamboo. The design file is available on the GitHub repository.


 AKA
AKA
 GearheadRed
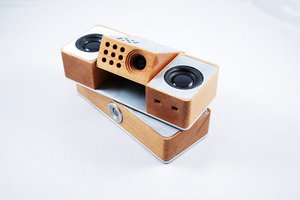
 Ovidiu Sandru
 Pierre-Loup M.
adderallsellers strong opioids include diamorphine, oxycodone, fentanyl, methadone and buprenorphine. Opioid medicines come in many forms including tablets, capsules, liquids, skin patches and injections.