0%
0%
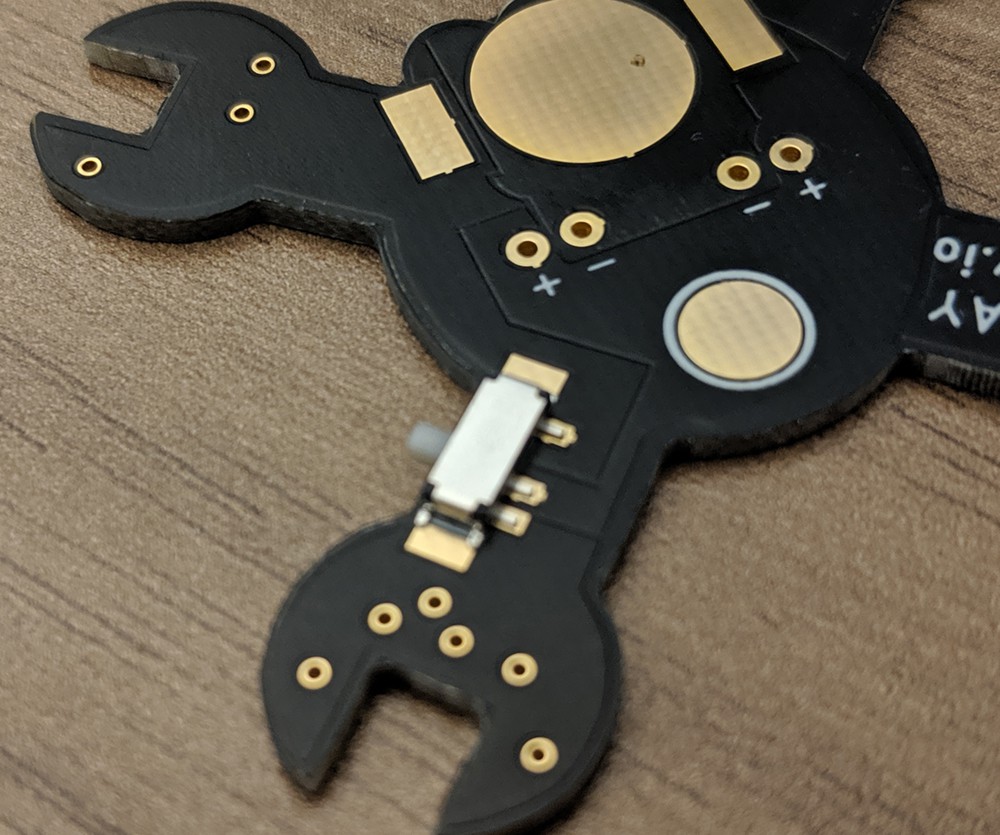
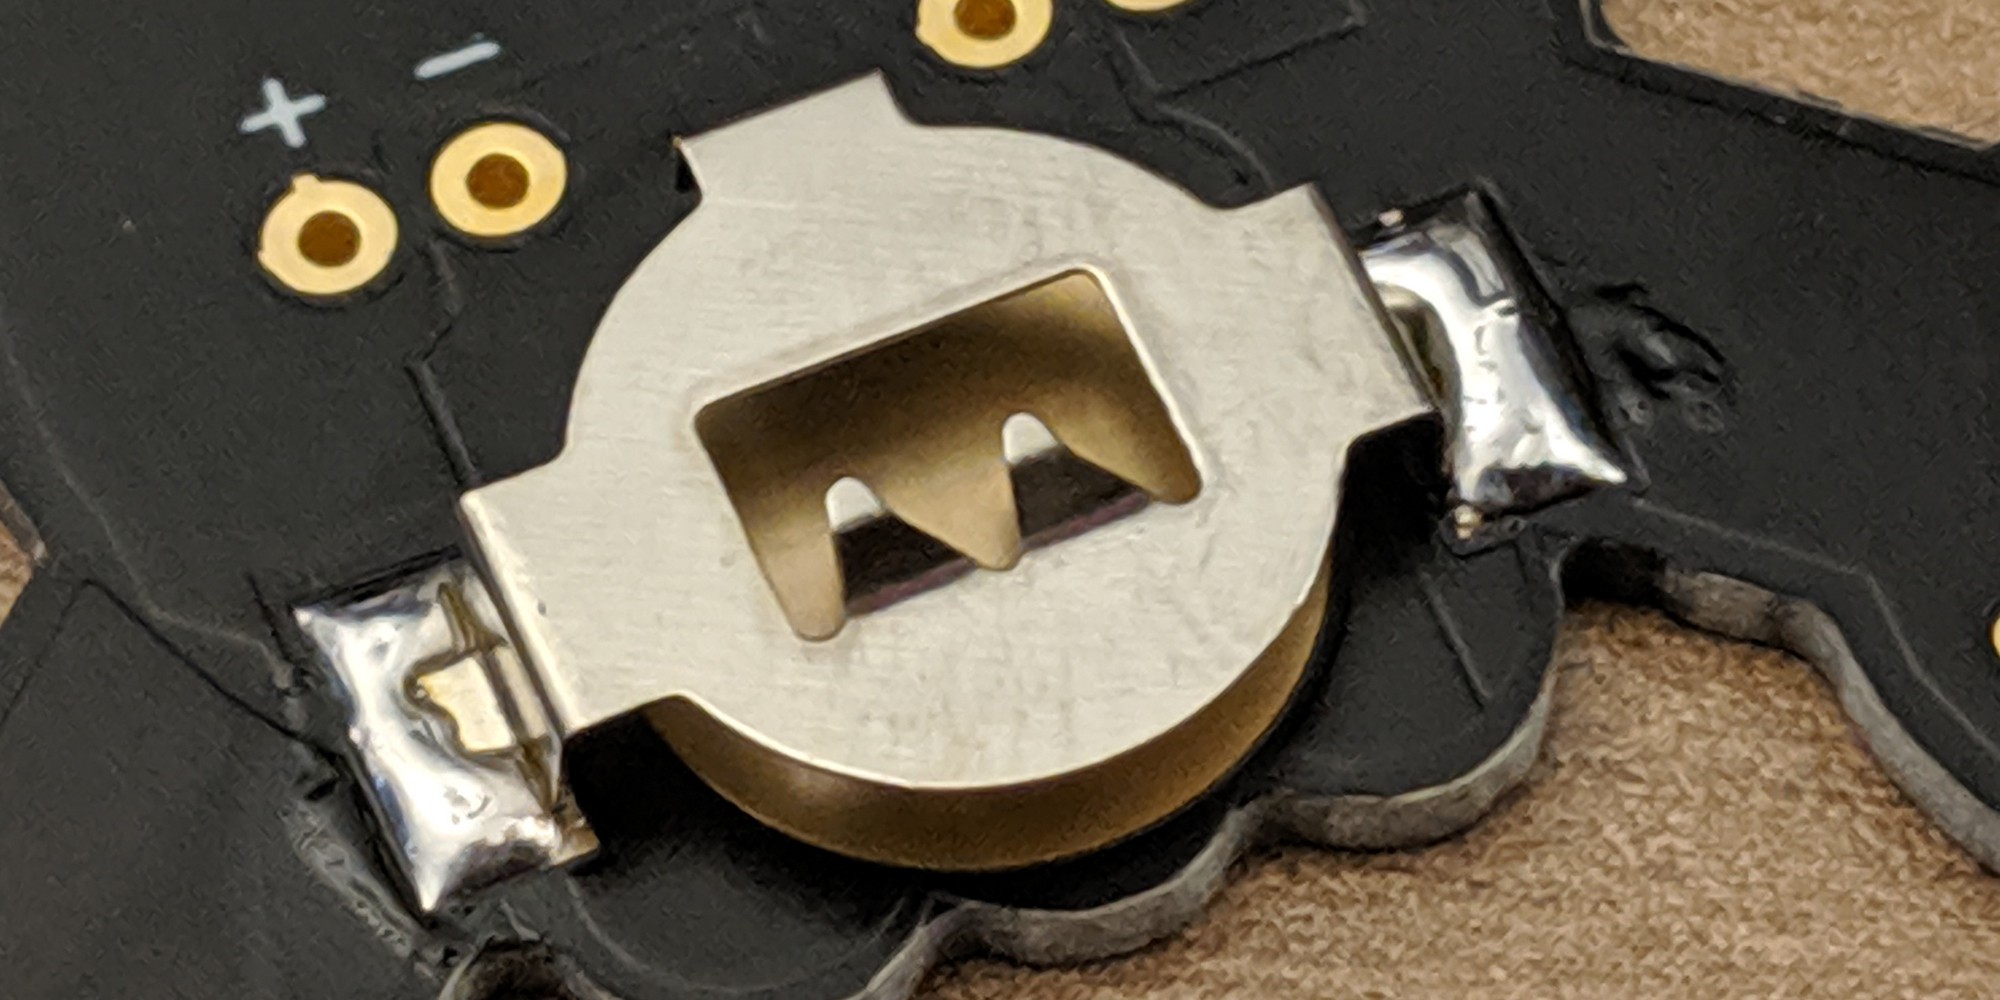
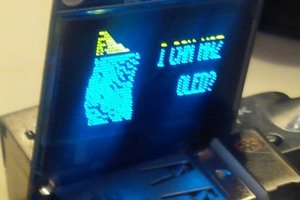
Hackaday Blinky LED Badge
There's some through hole & surface mount soldering to be done, but when you're finished you've got a sparkly eyed Hackaday head lapel pin.
 Benchoff
Become a Hackaday.io member
Already have an account? Log in.
Just one more thing
To make the experience fit your profile, pick a username and tell us what interests you.
Pick an awesome username
hackaday.io/
Your profile's URL: hackaday.io/username. Max 25 alphanumeric characters.
Pick a few interests
Projects that share your interests
People that share your interests


 Brenda Armour
 Sven Dahlstrand
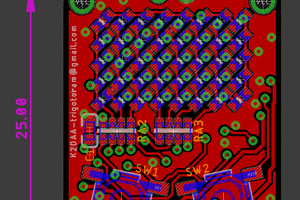
 HT3H5796-14
 davedarko
Why are the traces so skewed, have you decided to try Fritzing after all?