Close
0%
0%

Auto tracking camera

A camera that tracks a person & counts reps using *AI*.

Similar projects worth following
The source code:https://github.com/heroineworshiper/countrepsRapidly becoming the next big thing, 1st with subject tracking on quad copters, then subject tracking on digital assistants. It's long been a dream to have an autonomous camera operator that tracks a subject. The Facebook Portal was the 1st sign lions saw that the problem was finally cracked. The problem is all existing tracking cameras are operated by services which collect the video & either sell it or report it to government agencies.Compiling & fixing a machine vision library to run as fast as possible on a certain computer is such a monumental task, it's important to reuse it as much as possible. To simplify the task of a tracking camera, the same code is used to count reps & track a subject. The countreps program was a lot more complicated & consumed most of

The lion kingdom started getting ideas to make a tracking camera in July 2014.  Quad copter startups were booming & tracking subjects by GPS suddenly caught on, even though it was just a rehash of the worthless results hobbyists were getting in 2008.  The lion kingdom figured it could improve on it with machine vision tracking fiducial markers.

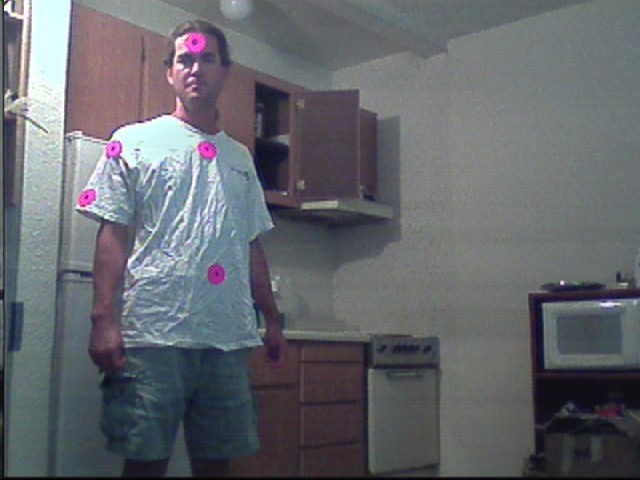
It was terrible.  You can't make a video wearing all those markers & the picture quality wasn't good enough to reliably detect the markers.  To this day, hobbyist tracking cams are all still using chroma keying & LED's.  The lion kingdom would do better.

The next step occurred in Aug 2016 with LIDAR.


That had problems with reflections in windows & couldn't detect tilt.  It could only estimate tilt by the distance of the subject from the camera.

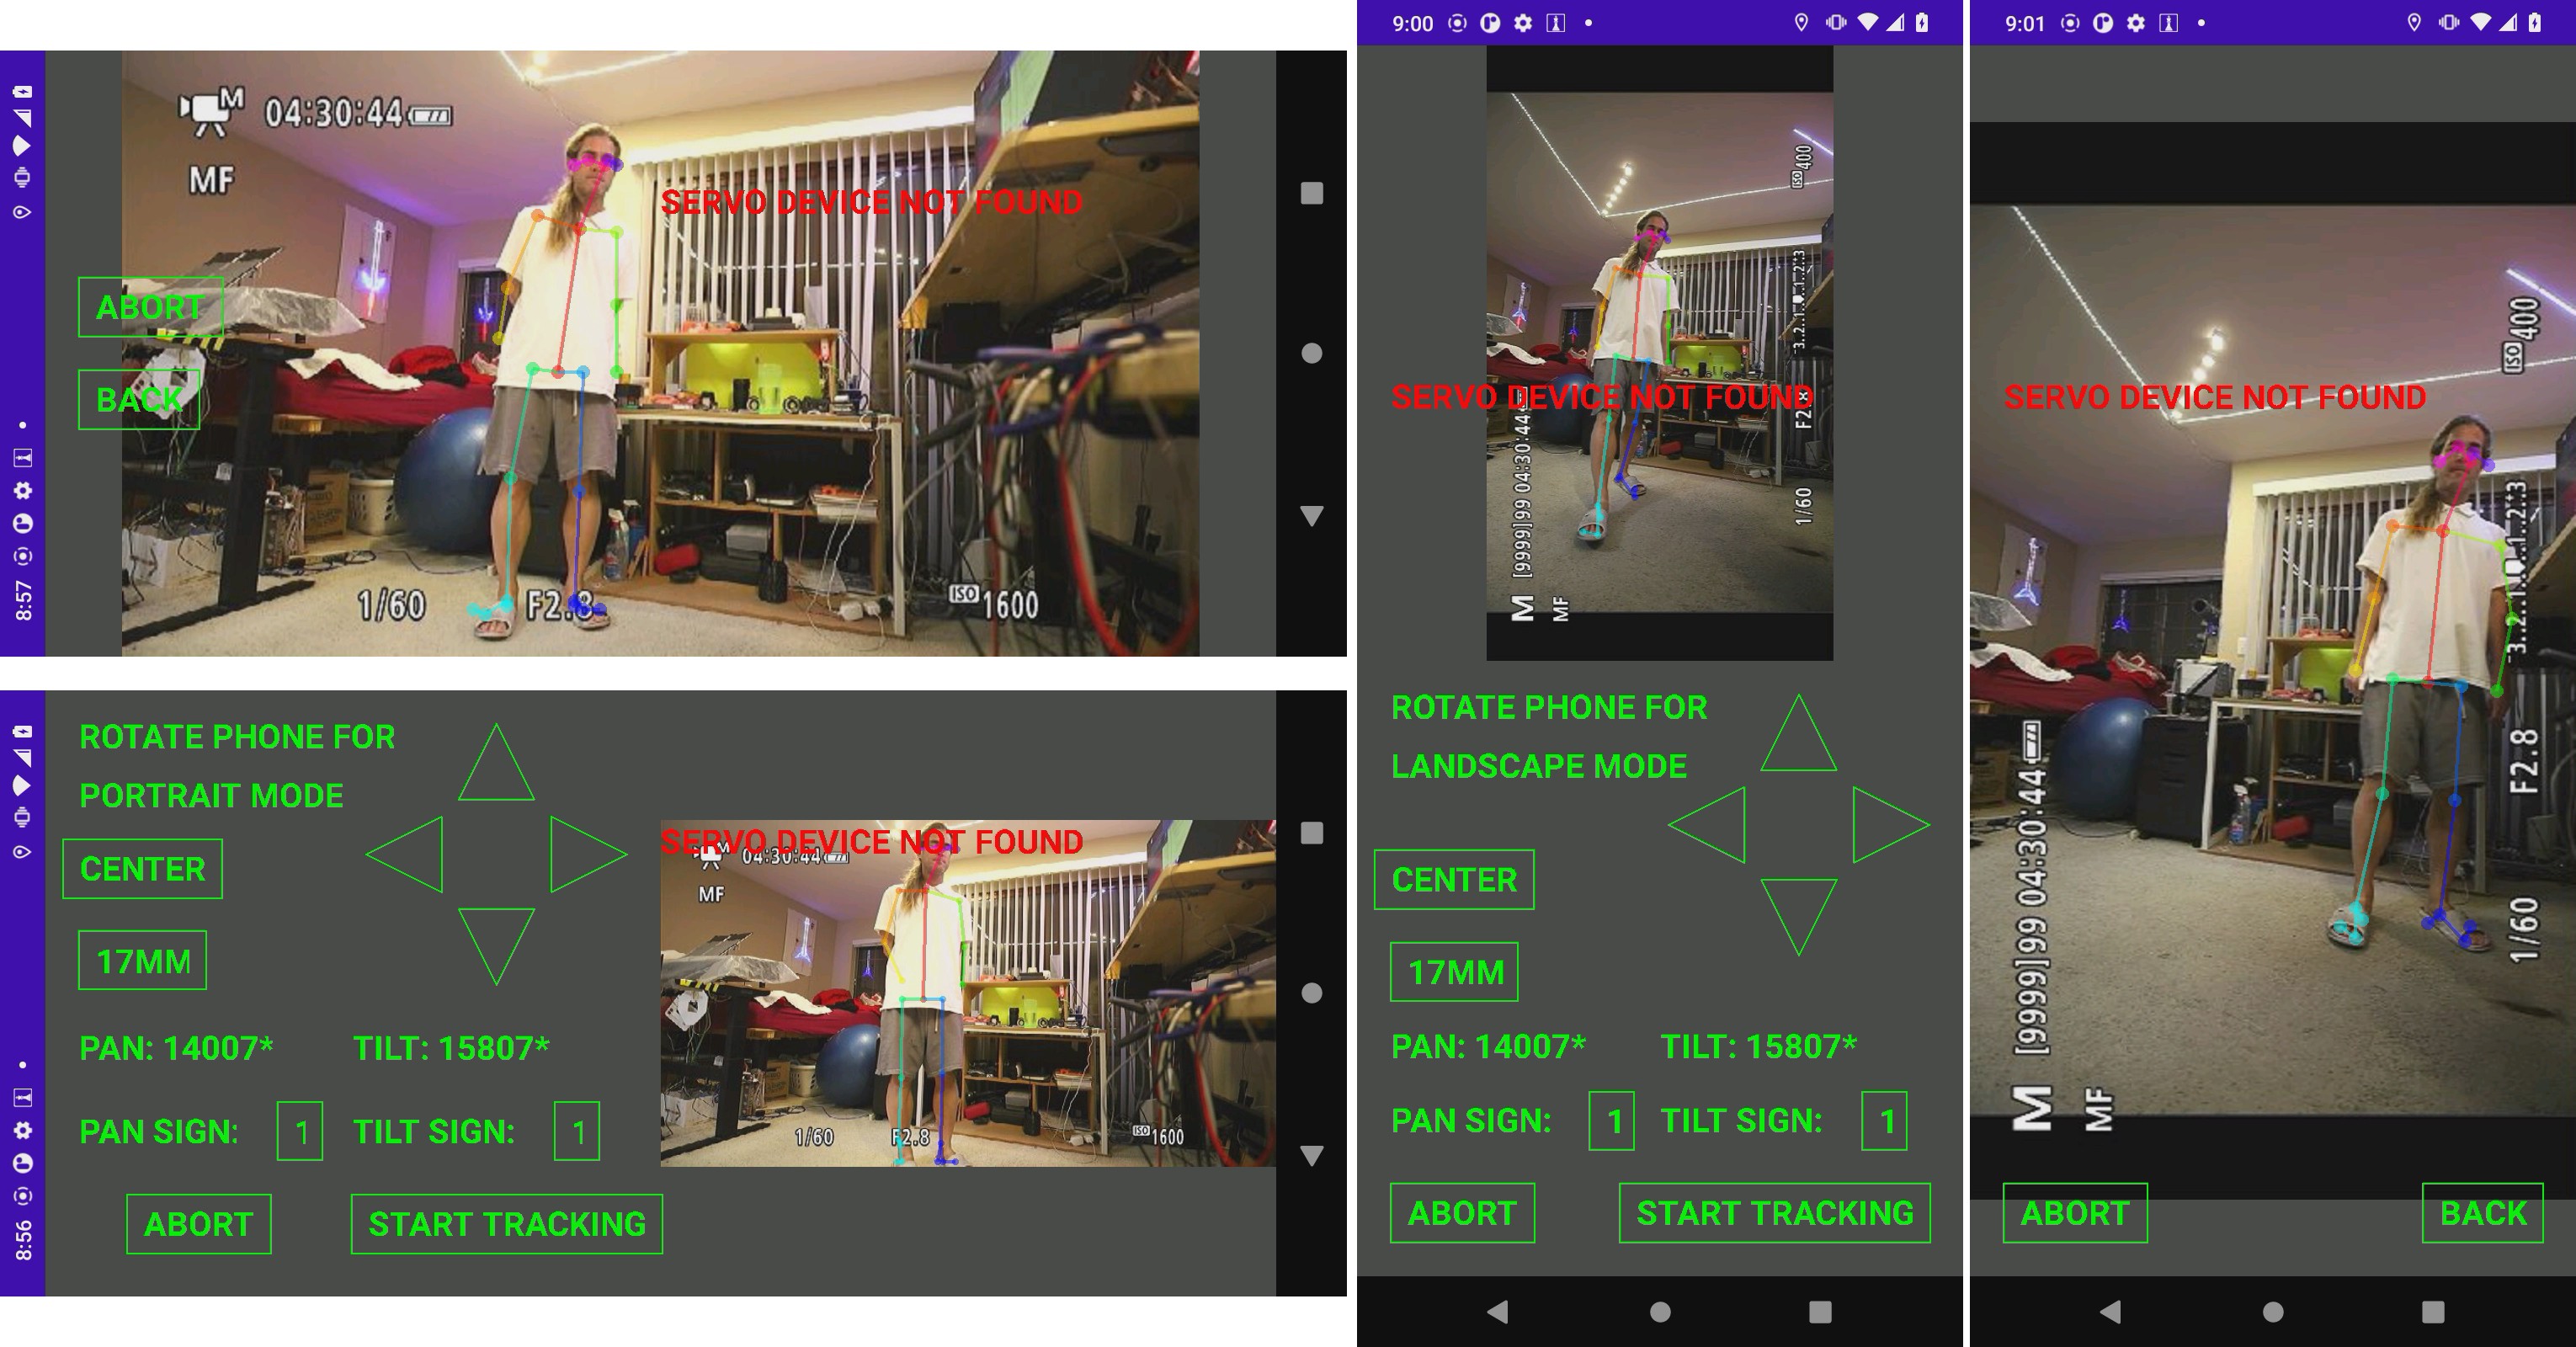
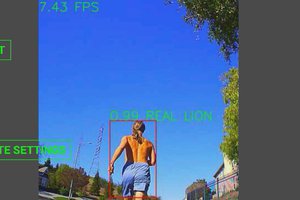
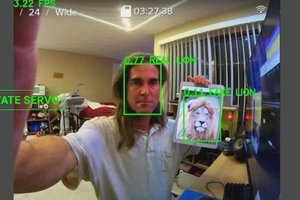
2018 saw an explosion in CNN's for subject tracking.  The key revelation was openpose.  That theoretically allowed a camera to track a whole body or focus in on a head, but it didn't allow differentiating bodies.  The combination of openpose & a 360 camera finally allowed a subject to be tracked in 2 dimensions, in 2019.


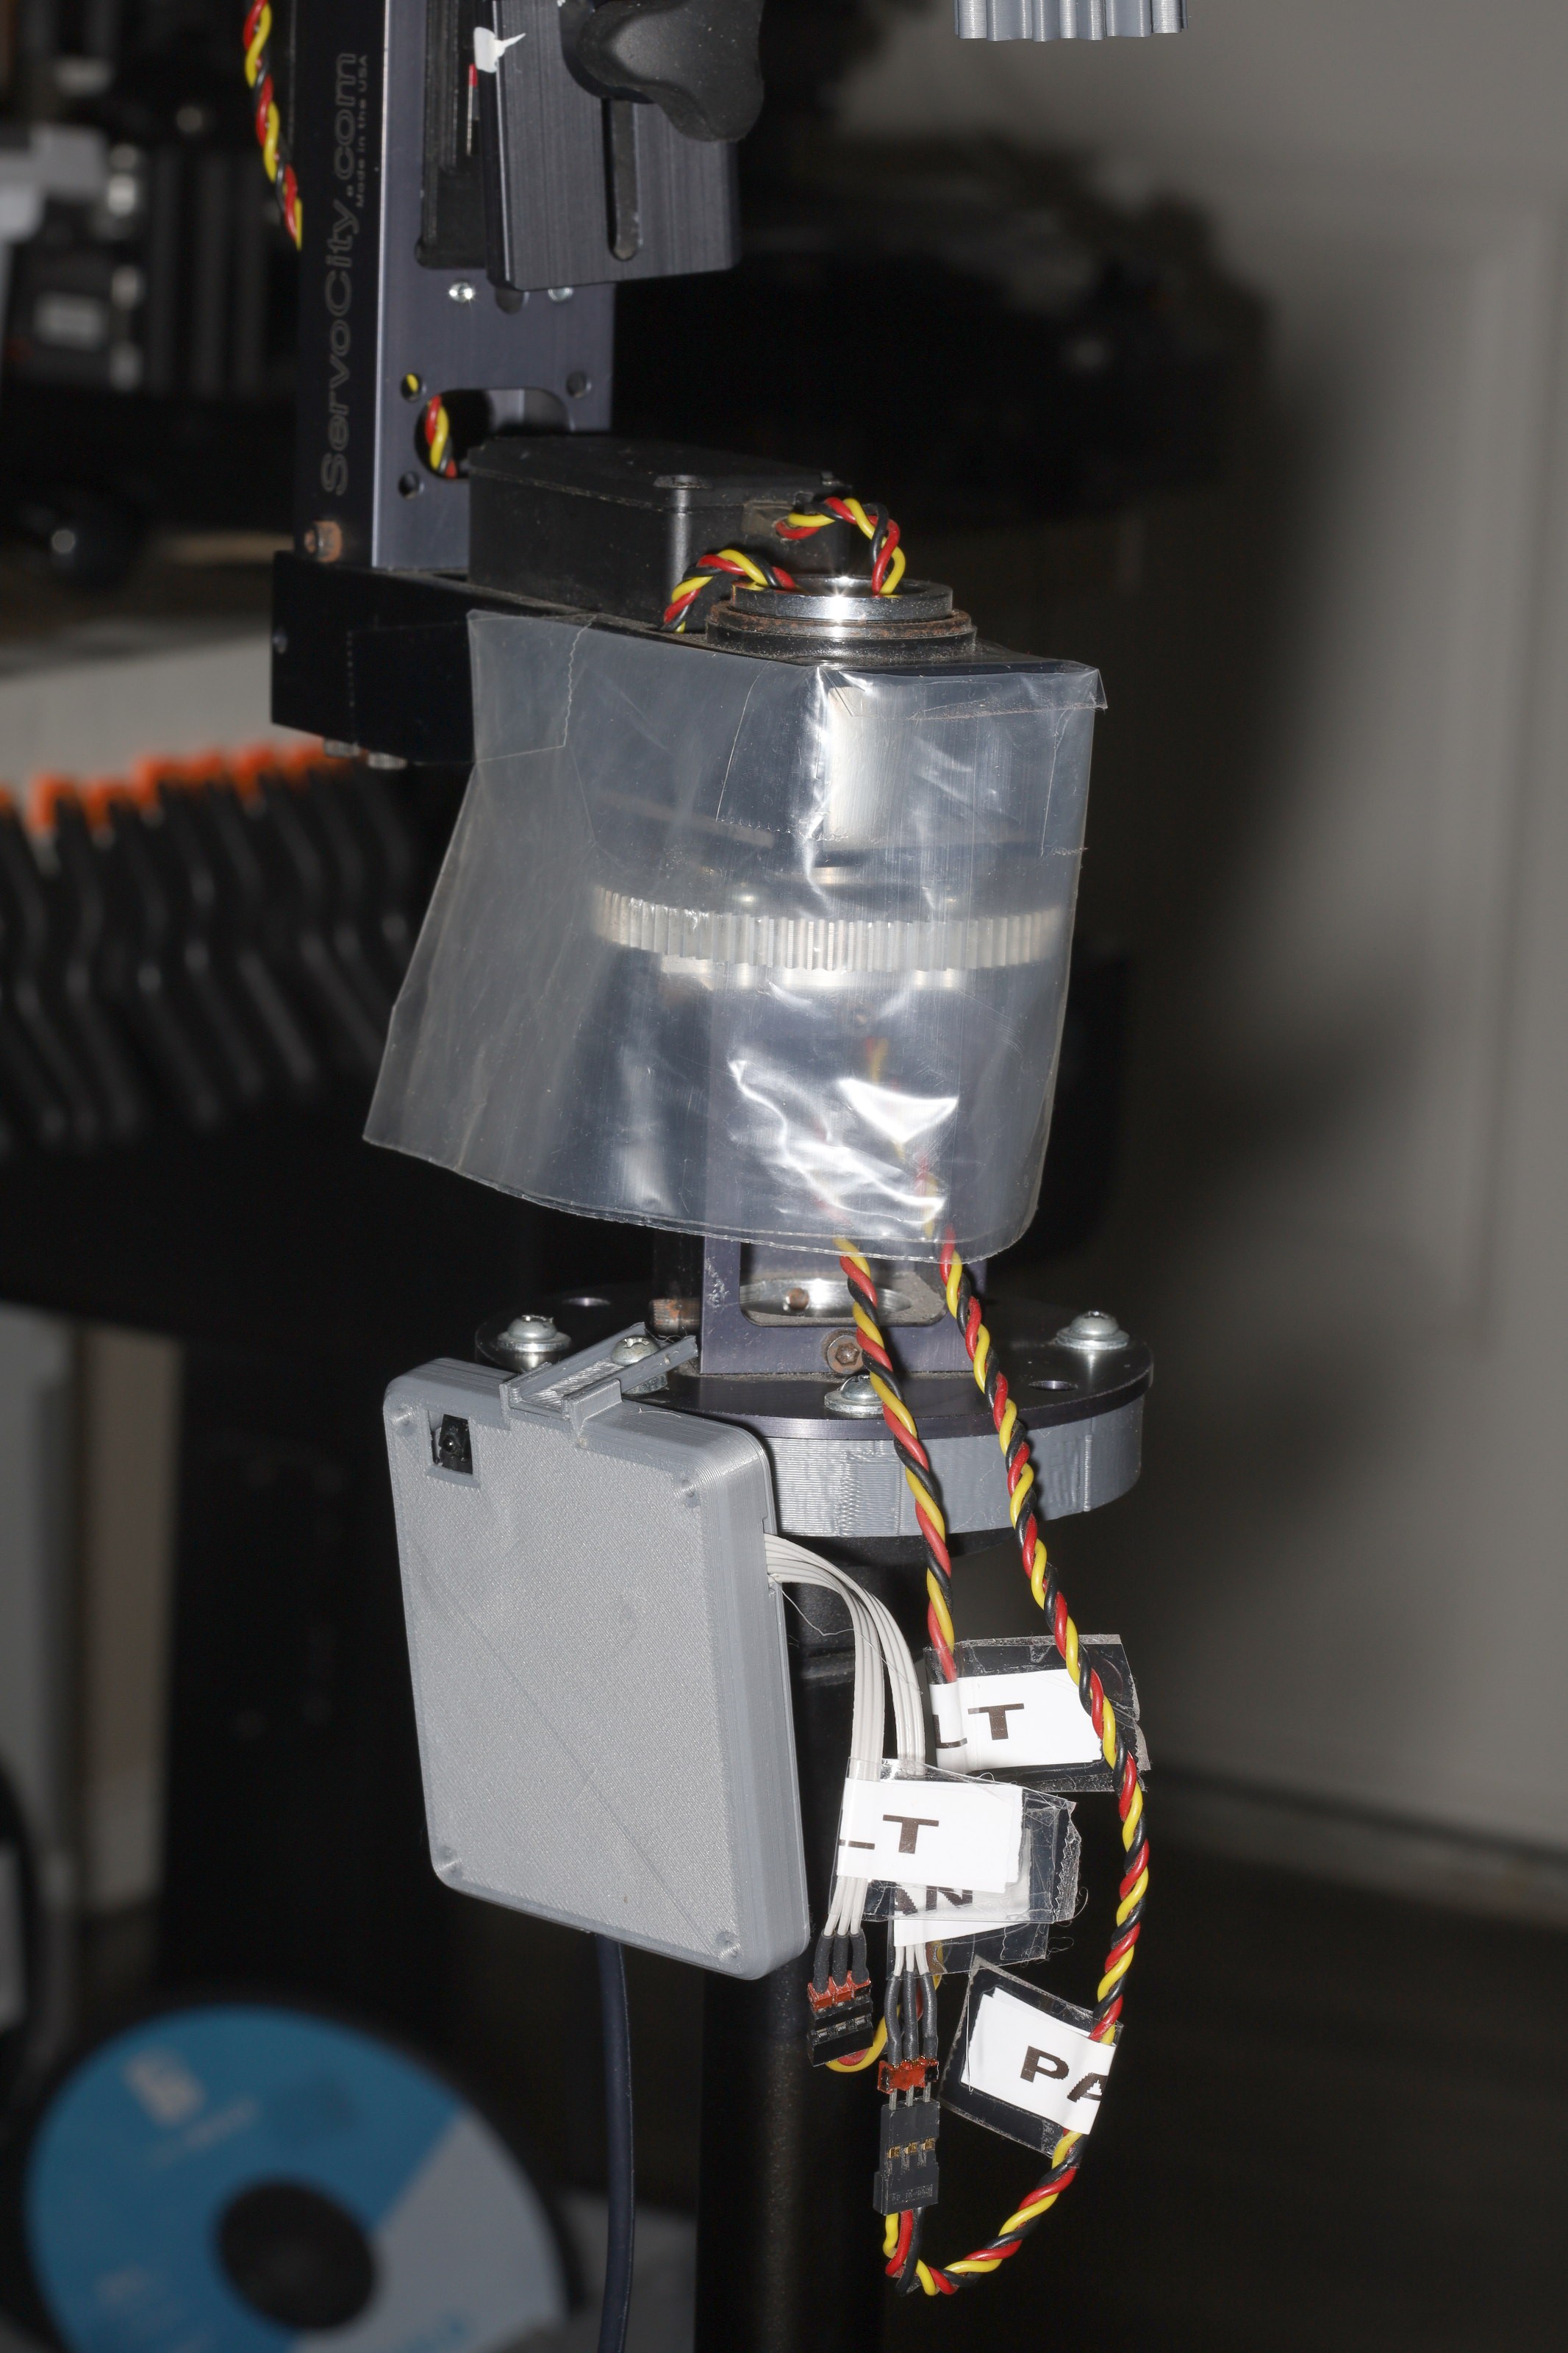
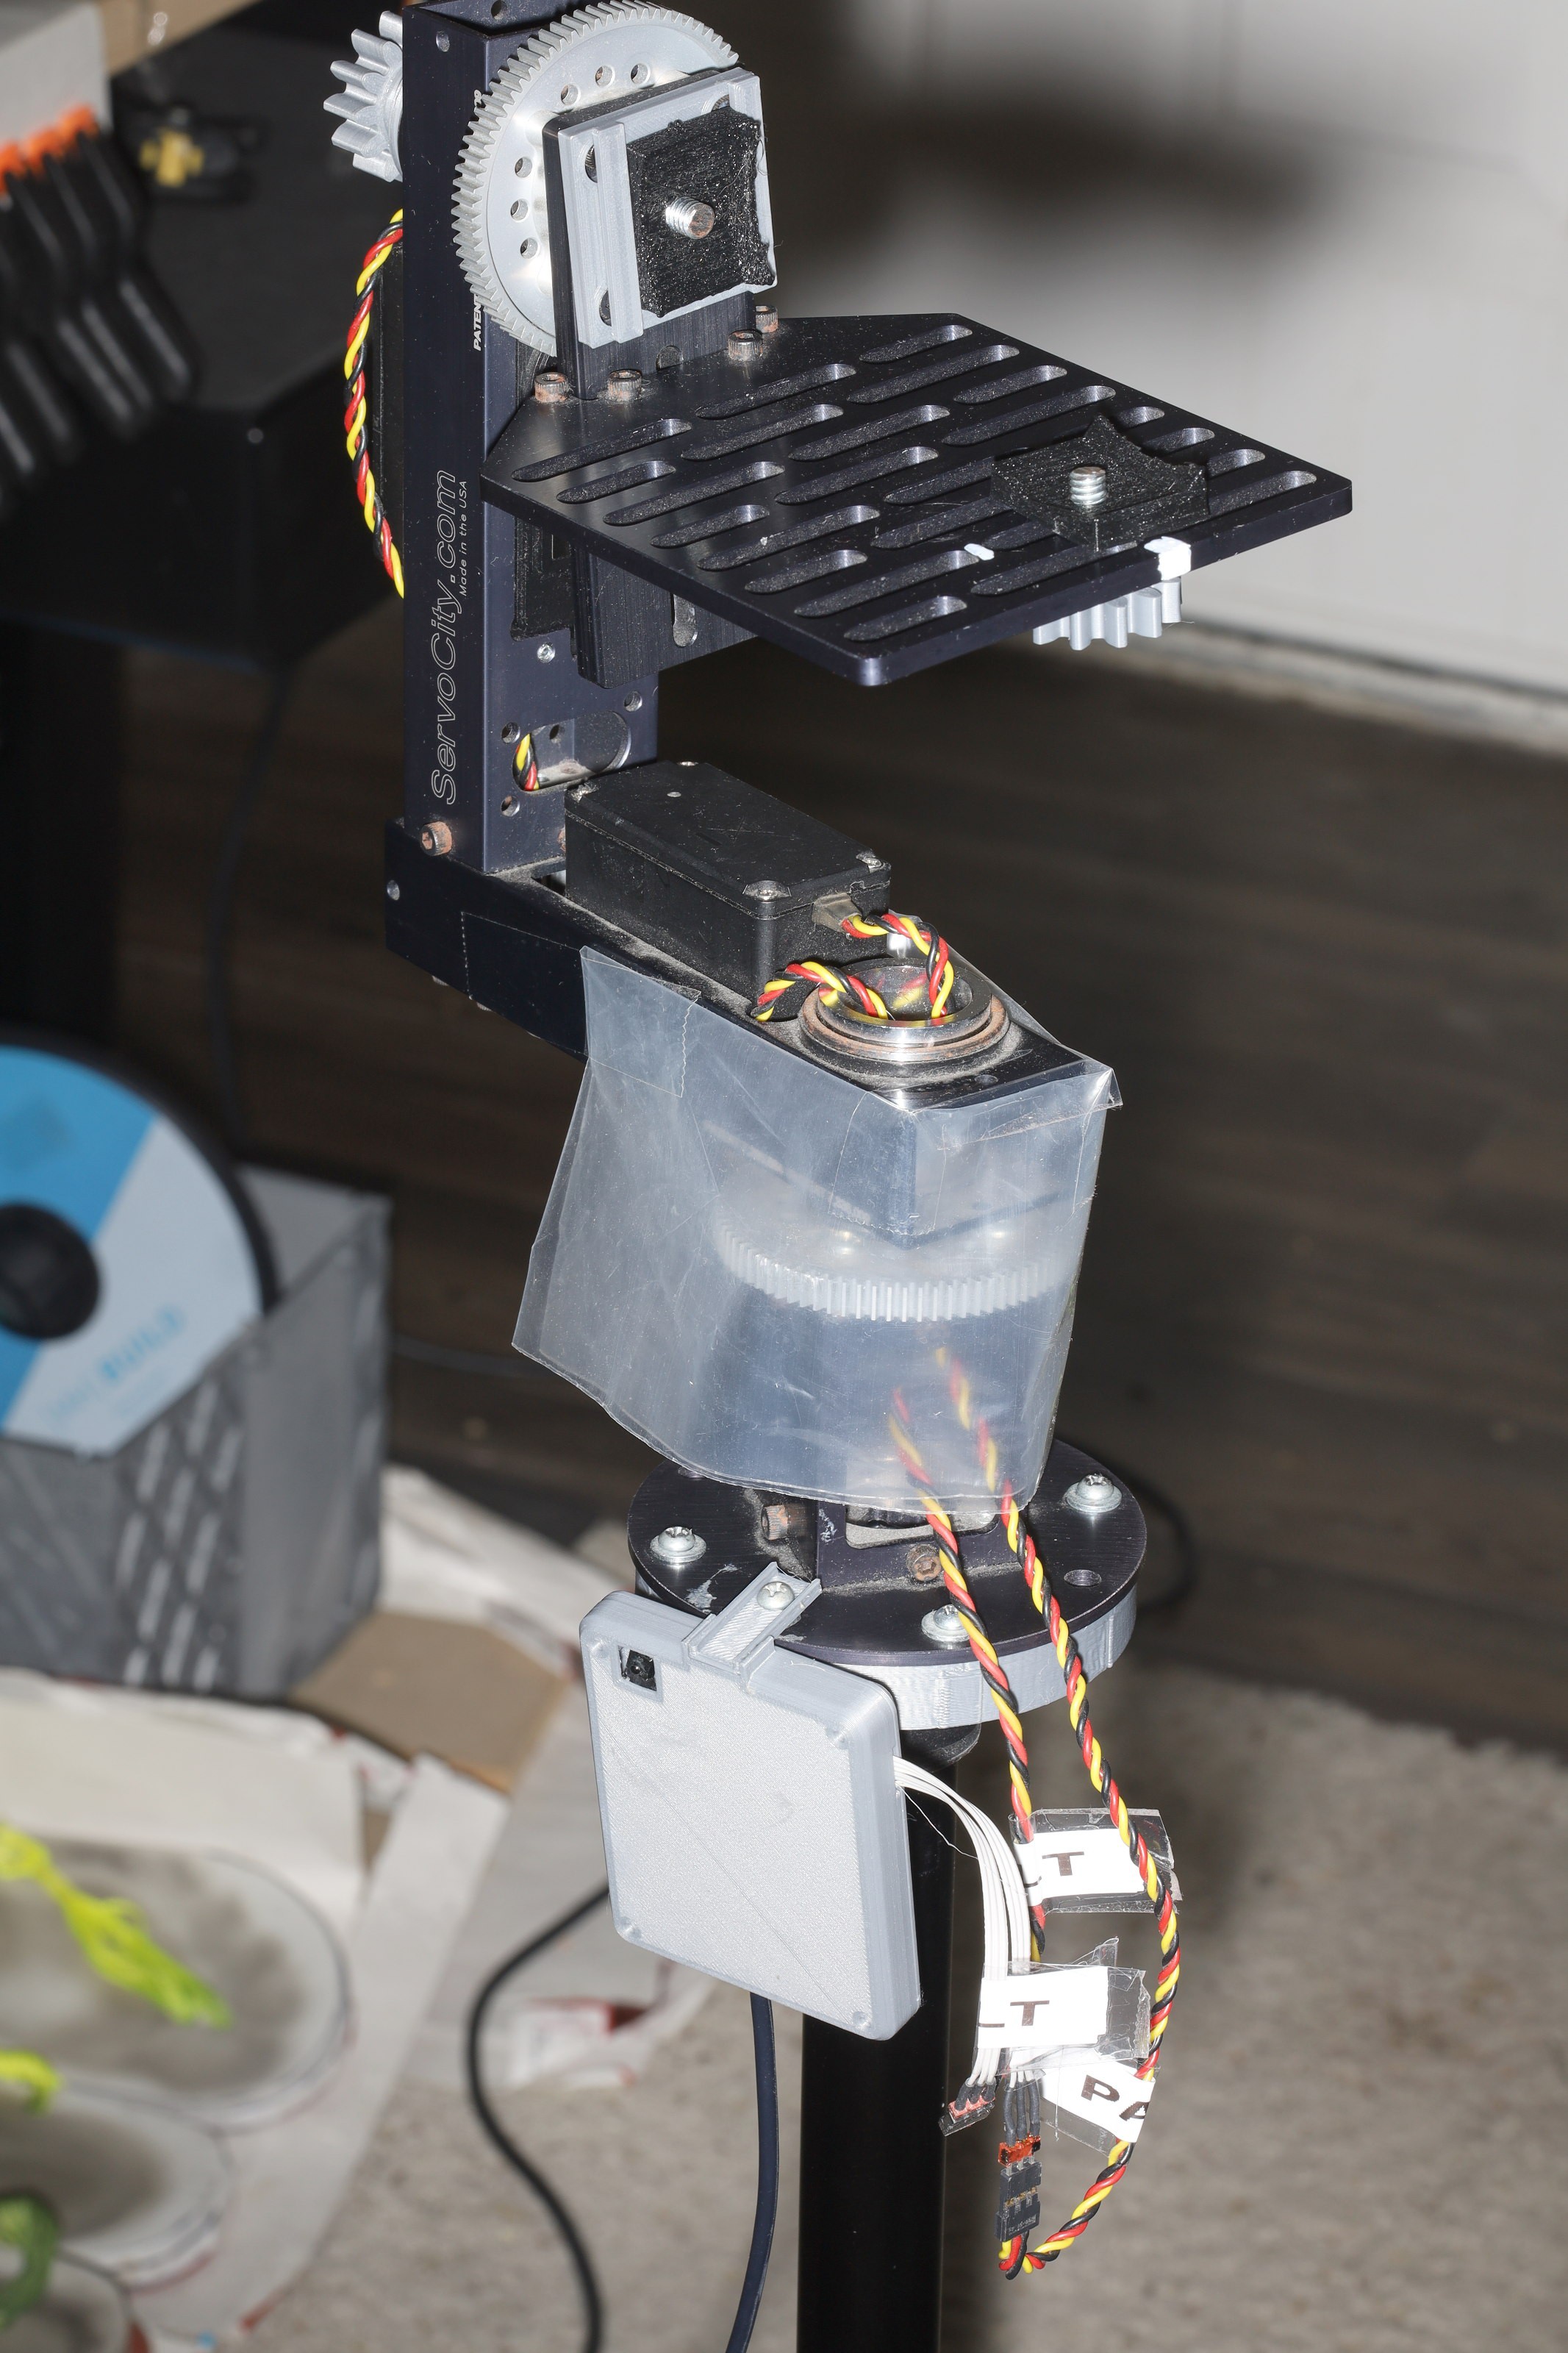
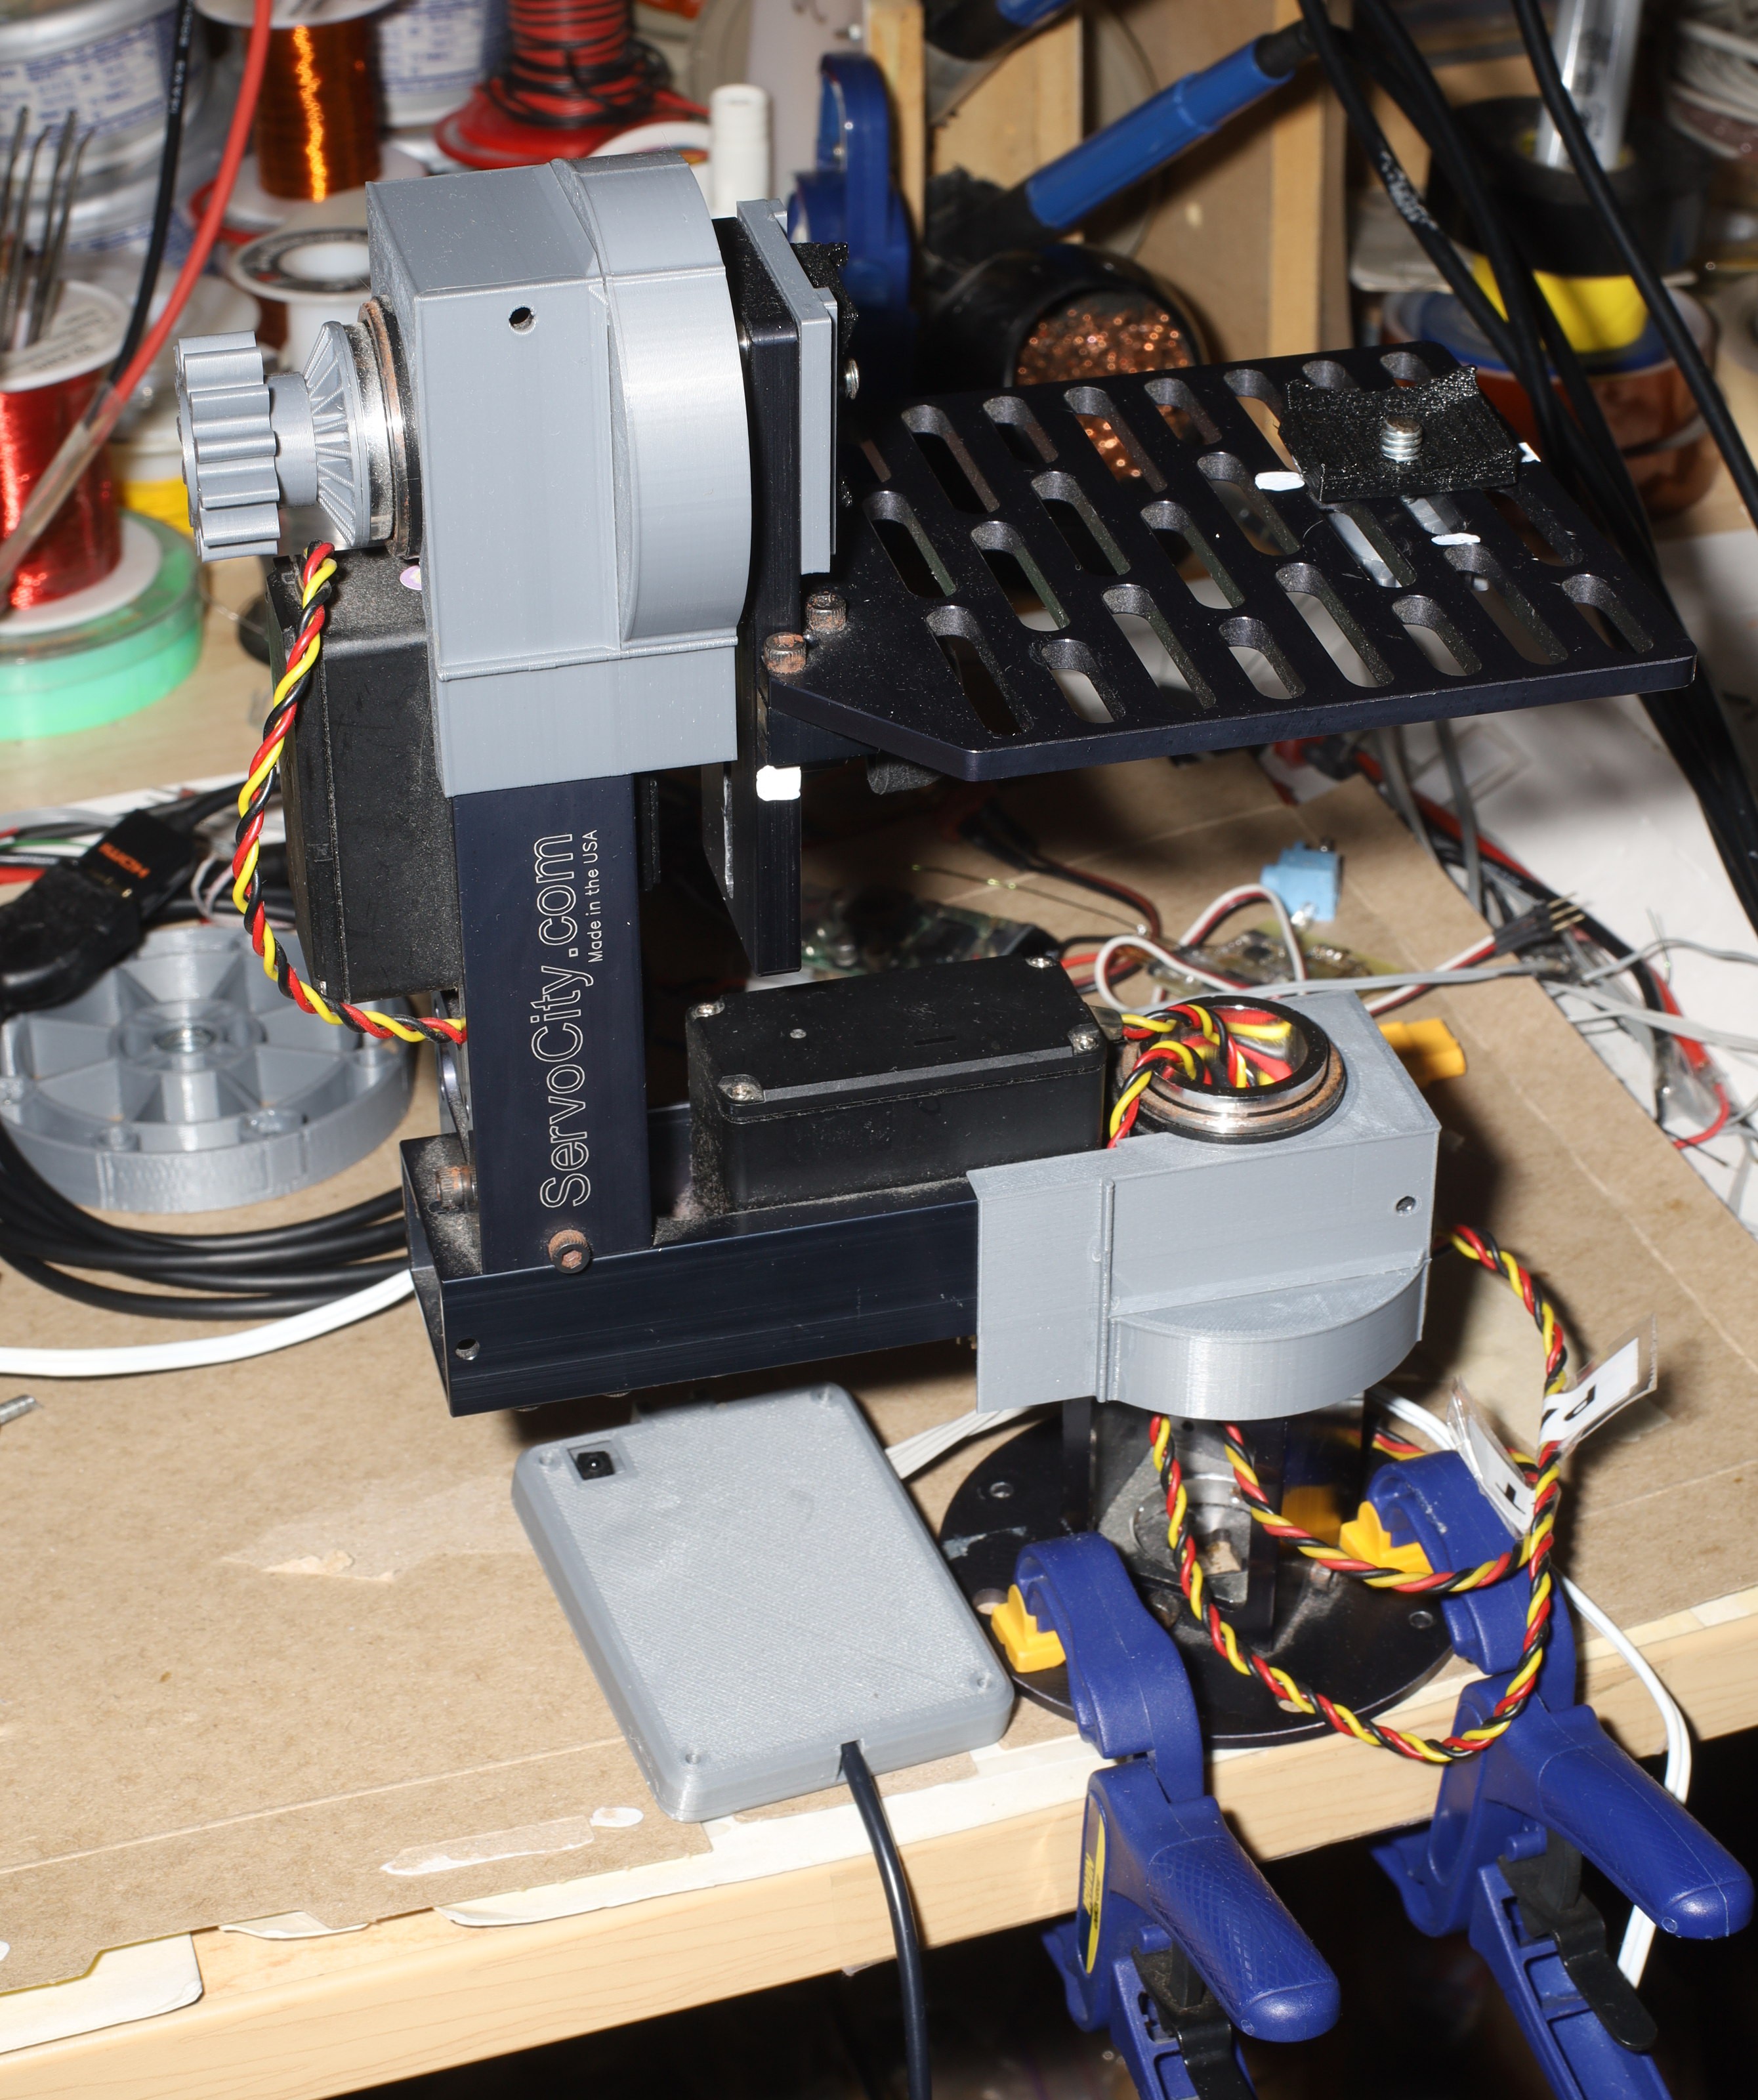
The problem was a 360 camera with live output was expensive & cumbersome to get working.  The live video from the 360 camera drove the recording camera & had a long lag.  Cameras which recorded high quality video didn't have a wide enough field of view or fast enough autofocus to track anything.  The tracking camera was offset from the recording camera, creating parallax errors.

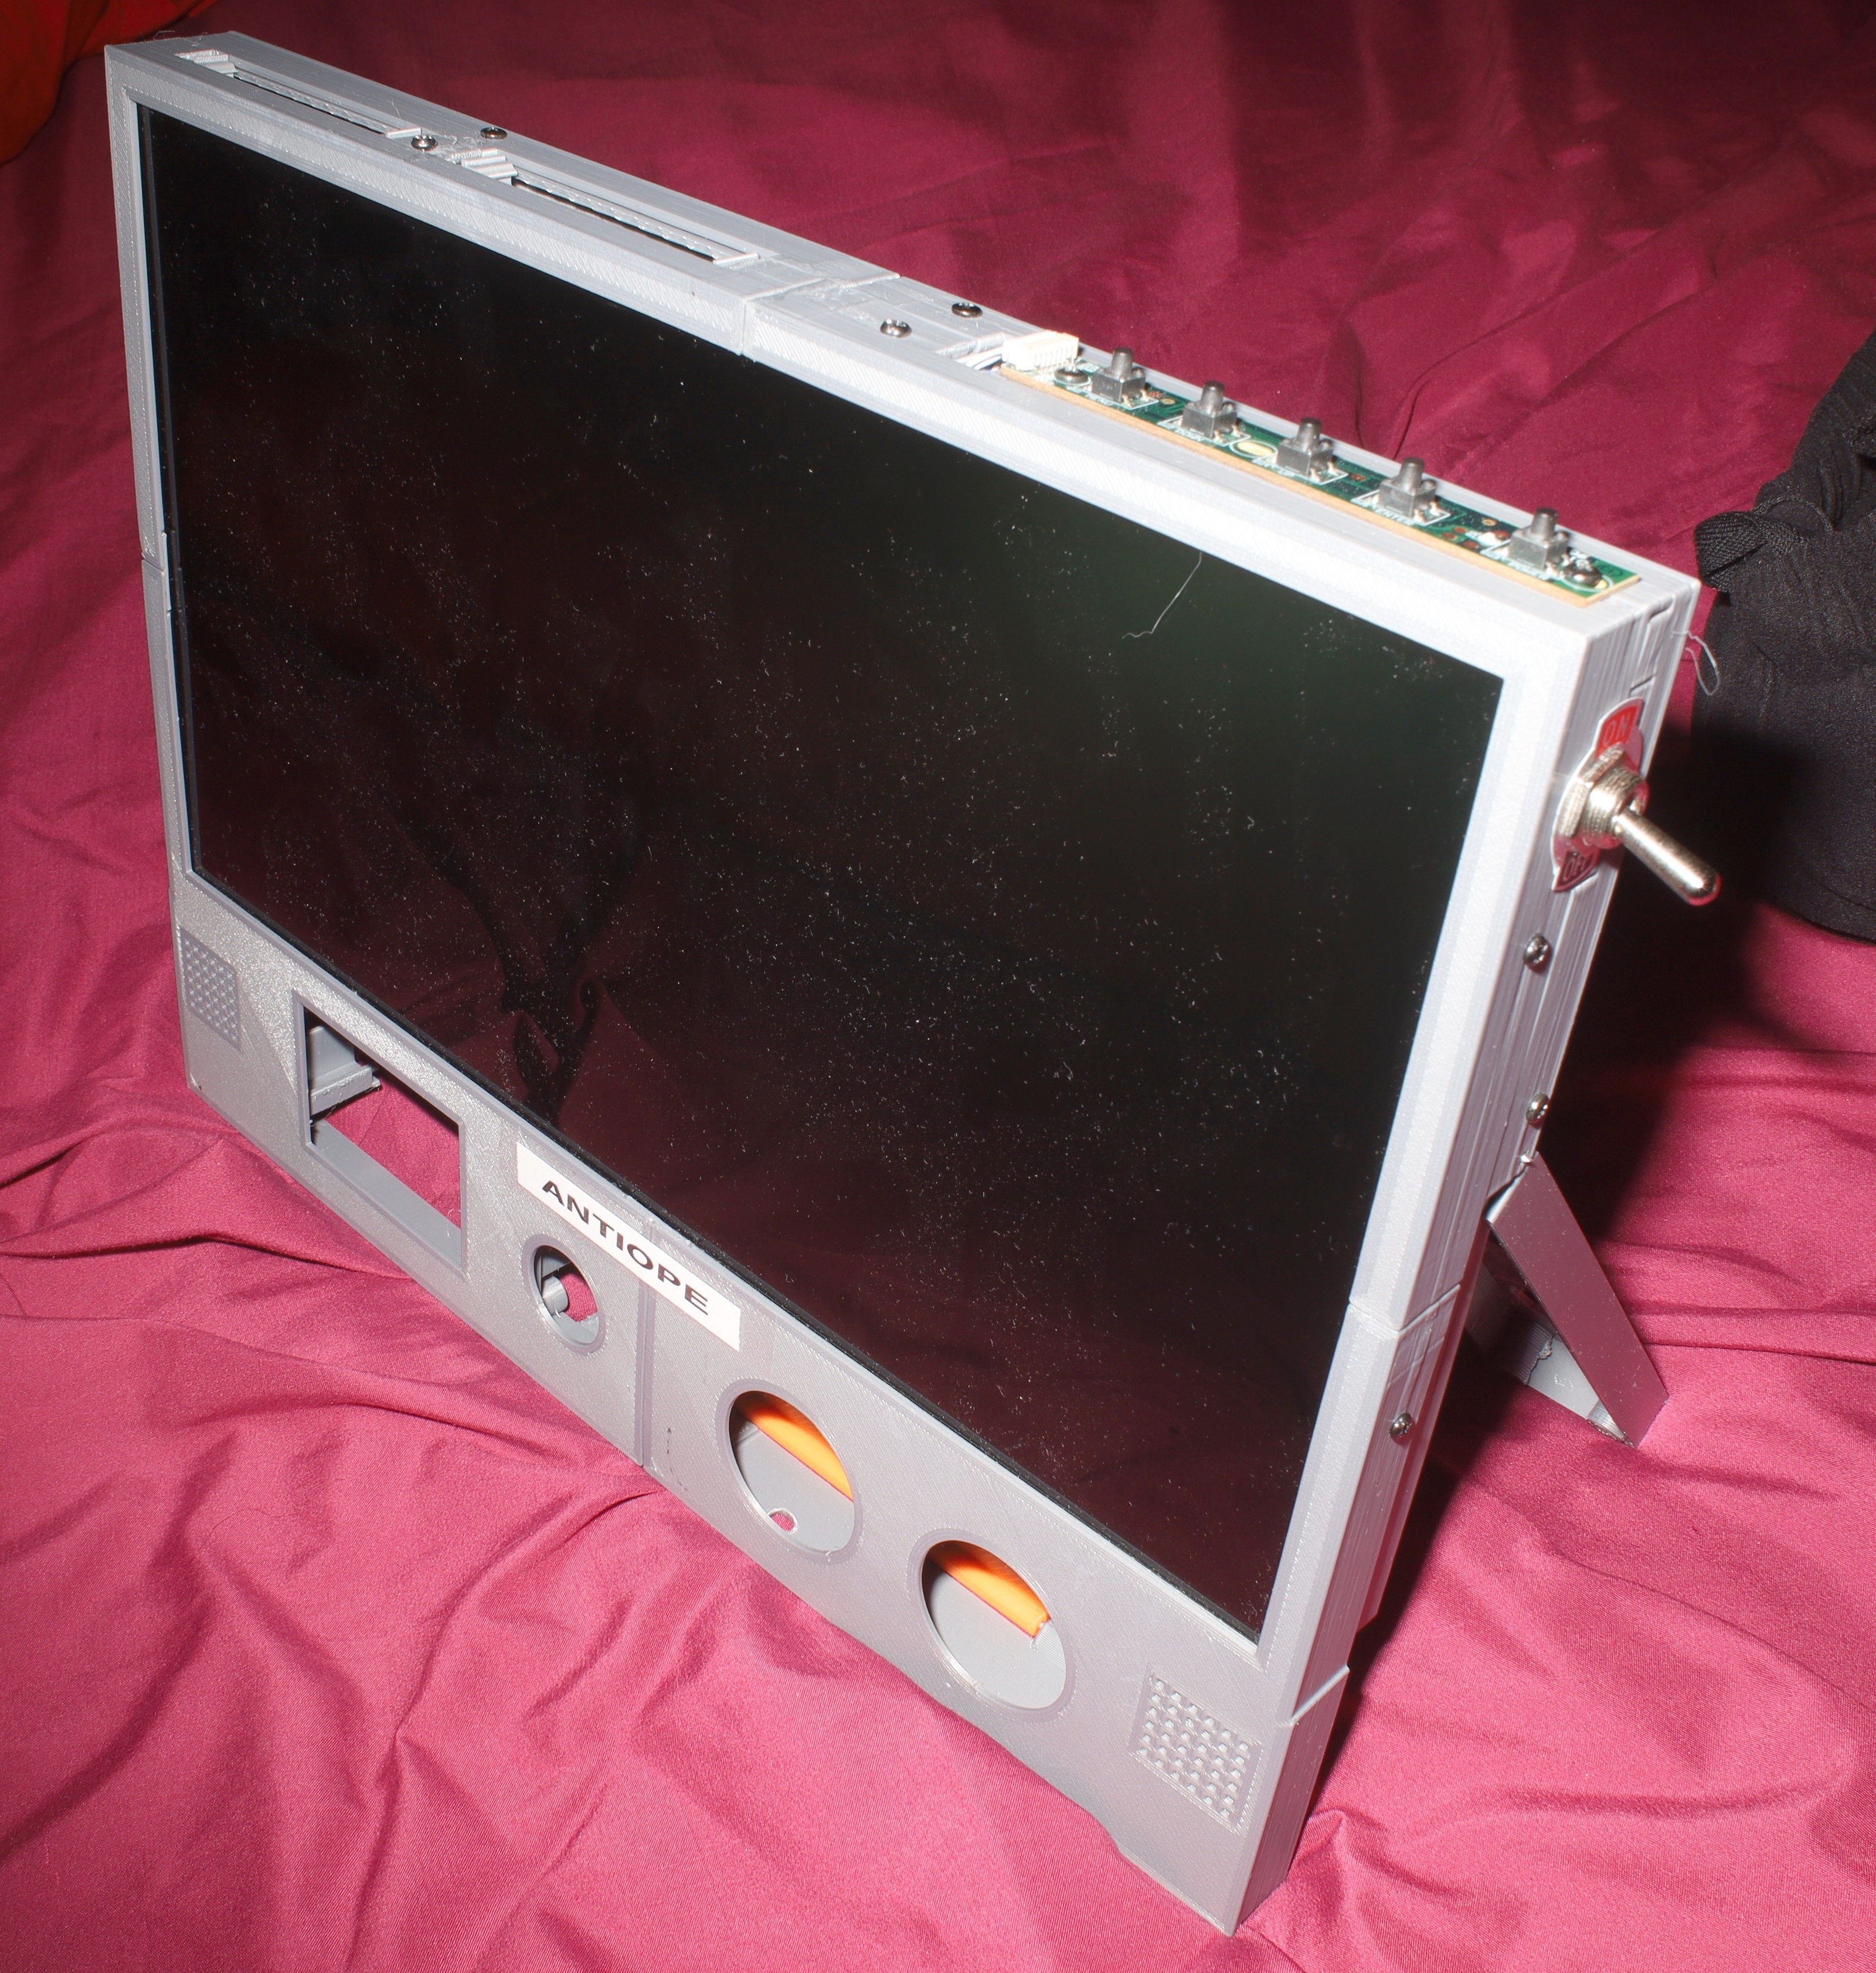
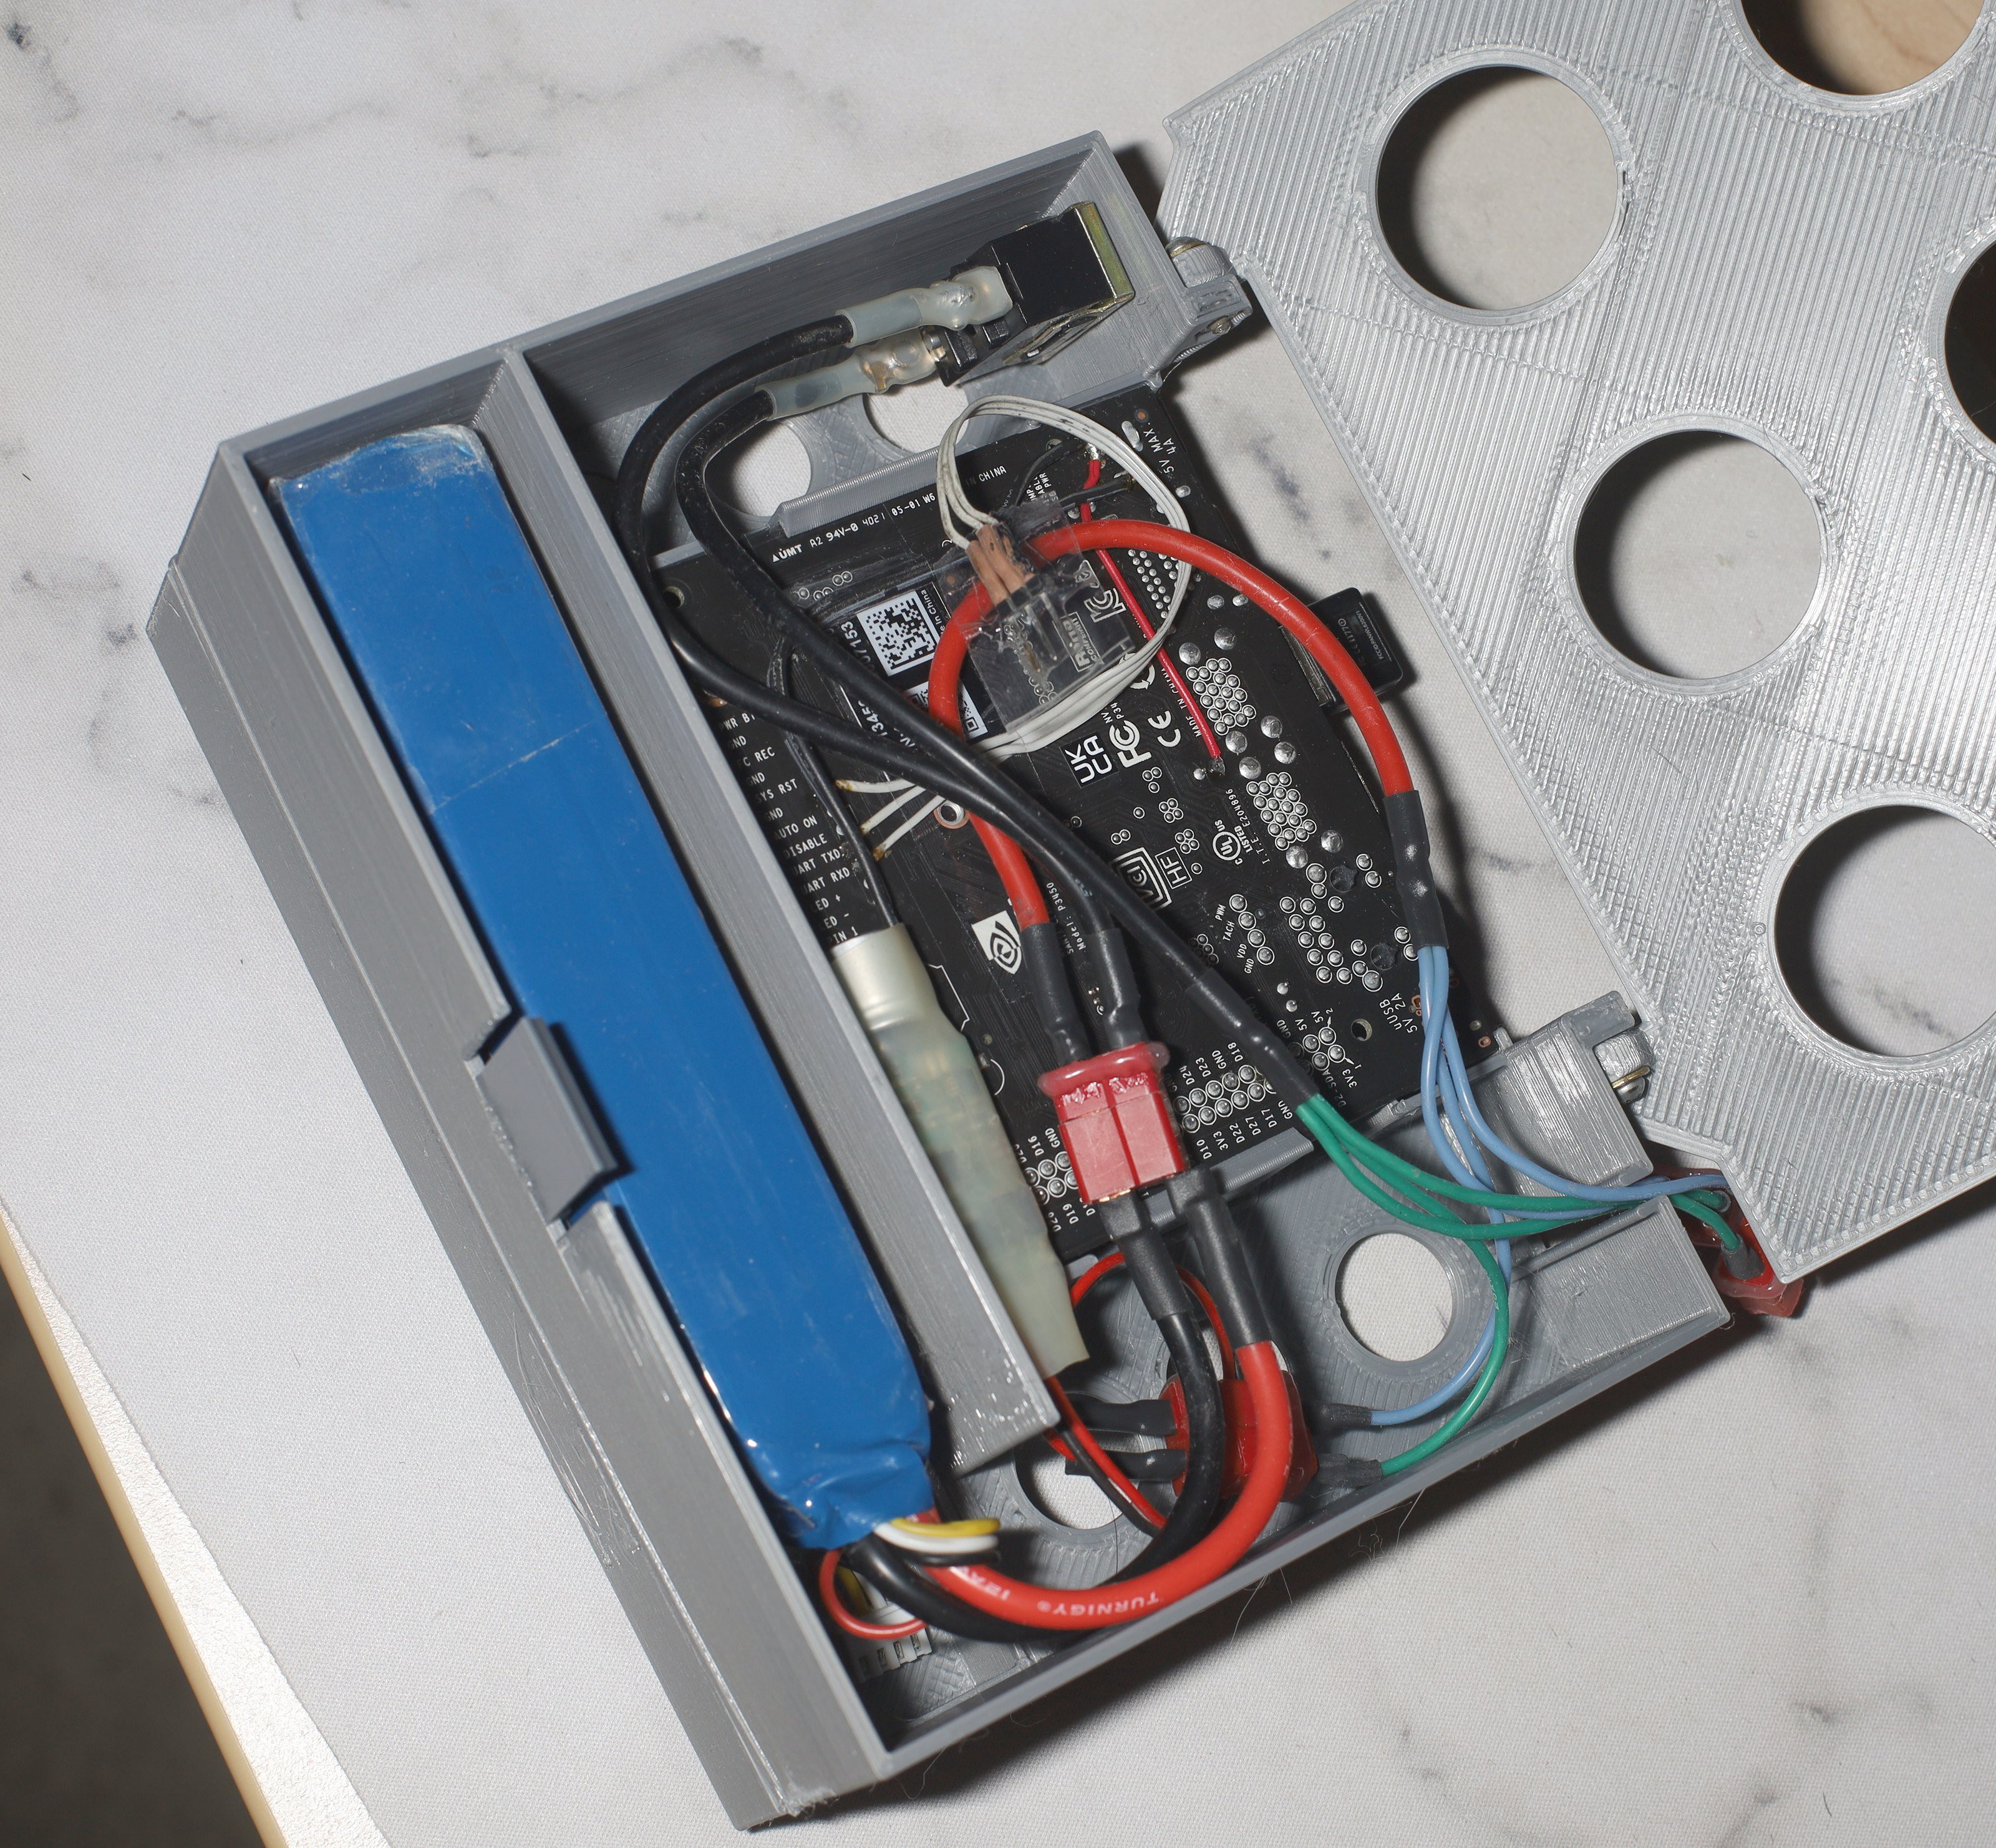
Tracking would have to come from the same camera that recorded the video. That would require a wide angle lens, very fast autofocus, & very high sensitivity.  It took another year for cameras to do the job for a reasonable price.


The EOS RP allowed wide angle lenses & had much faster autofocus than previous DSLRs.  Together with a faster laptop, the tracking system was manely doing the job.  Openpose couldn't detect the boundaries of the head, only the eye positions.  That made it point low.  A face tracker running in parallel would refine the tracking, but enough confusing power would cost too much.

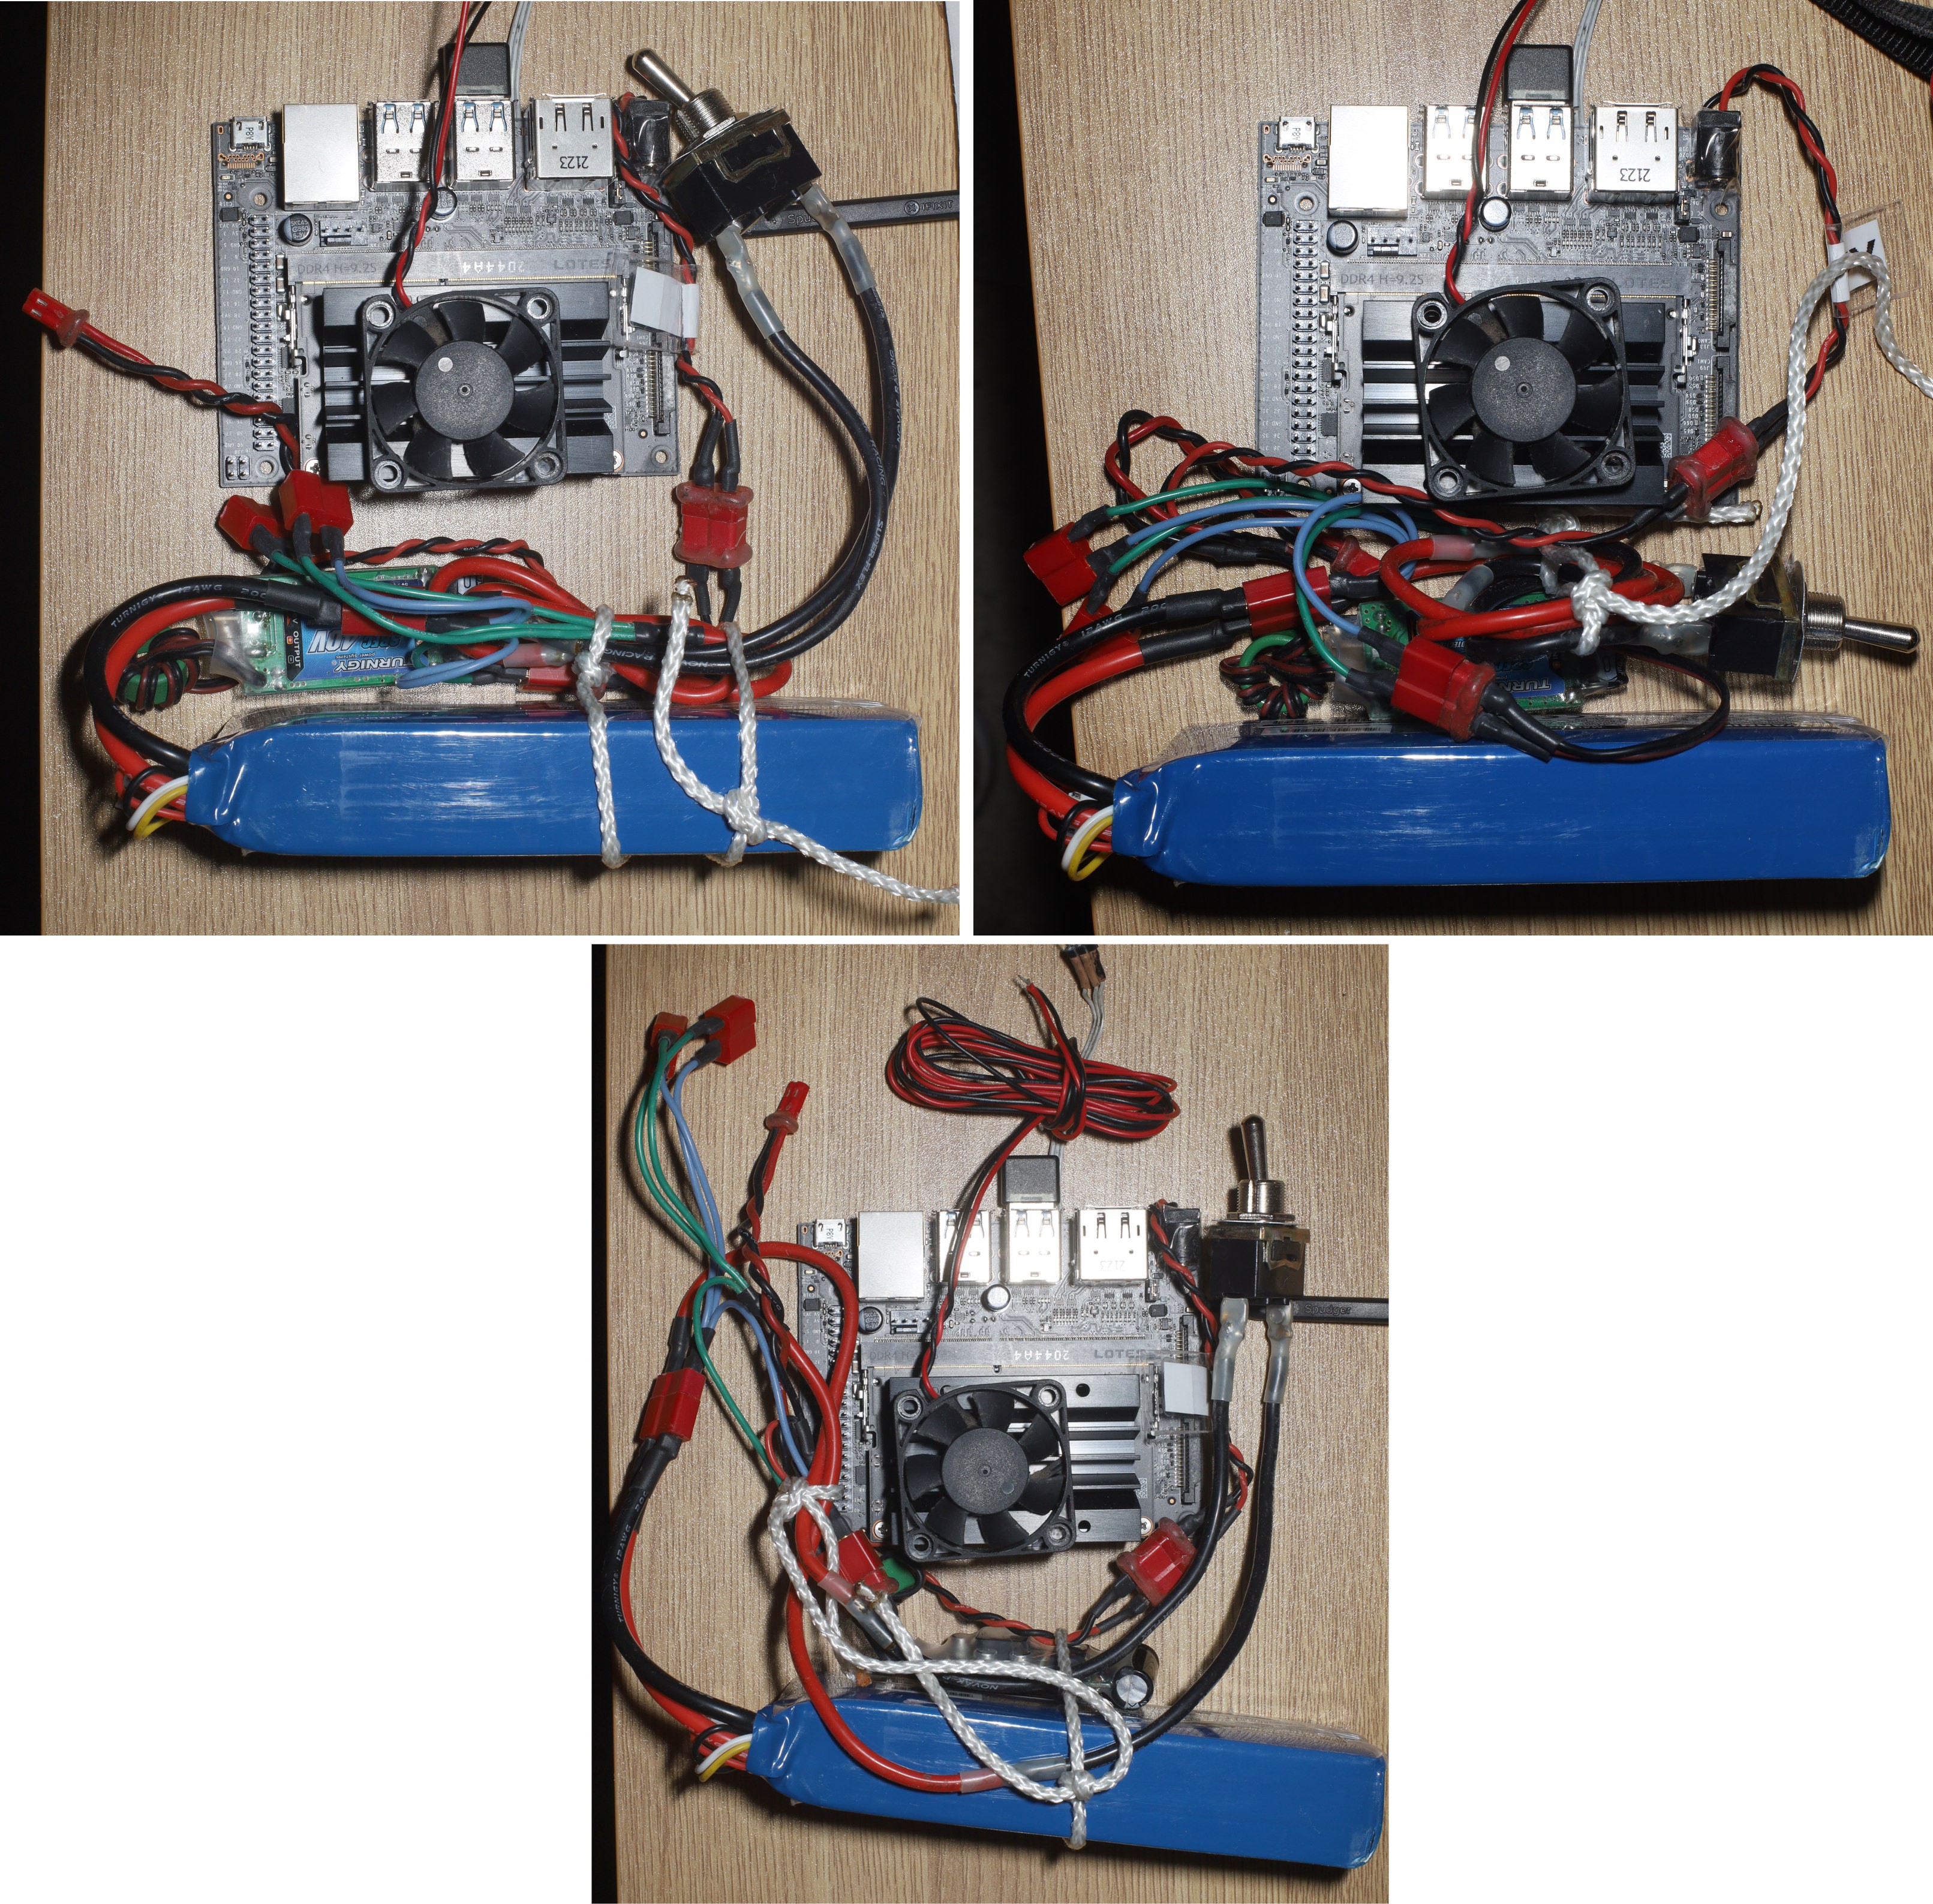
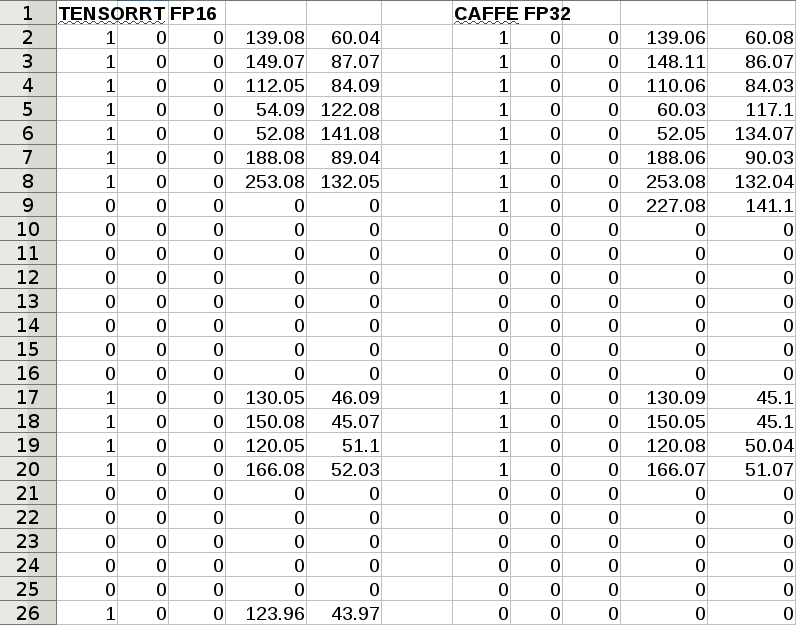
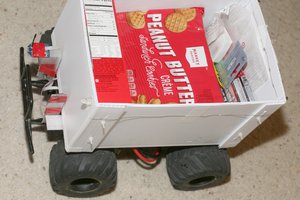
The key requirement of openpose seemed to be 8GB of video RAM.  The laptop had 4GB of video RAM, required manes voltage & ice packs to run at full speed, so it was far from portable.

The next step would be tracking a single face in a crowd of other faces.

openpose.mac.tar.xz

Bits for openpose & caffe that were changed for mac.

x-xz - 11.55 kB - 01/04/2019 at 18:38

Download

countreps.mac.tar.xz

The simplest demo for mac. Obsolete.

application/x-xz - 1.71 kB - 01/04/2019 at 18:36

Download

countreps.c

Simplest Linux demo Obsolete.

x-csrc - 5.34 kB - 01/02/2019 at 08:31

Download

Makefile

Simplest Linux makefile. Obsolete.

makefile - 673.00 bytes - 01/02/2019 at 08:31

Download

  • Commercial progress

    lion mclionhead07/06/2023 at 17:57 0 comments


    5 years after lions got serious about this project, OBSBOT is knocking it out of the park, in a sense.  They're all still based on face tracking.  The best ones still are required by law to use indigenous Chinese cameras with horrendous light sensitivity.  They would still have a hard time with 2 animals with obstructed faces in unusual positions.  Their face trackers are hitting high frame rates, allowing fast movement to be tracked.

    The lion kingdom still hasn't had enough money or time to use the tracker for its intended purpose, since building the jetson nano system.

    The other project requires tracking 1 animal in a crowd while being mounted on a small vehicle.  The obsbot would be no use there.

  • How to fix USB on the jetson nano

    lion mclionhead04/13/2023 at 18:33 0 comments

    It became clear that USB on the jetson nano didn't work without ethernet being connected.  It was obviously broken & a lot of users have trouble getting reliable USB in general.  Power management for USB might have gotten busted when it was hacked for servos.  Maybe it was back EMF from the servos.  Maybe it just burned out over time.  Disabling power management with /sys & usbcore.autosuspend=-1 didn't work.  Ideally there would be a way to trick the ethernet port into thinking it was connected, but the world's favorite search engine ended that party.

    The best hope was hacking the tegra-xusb-padctl driver to stay on. There's a kernel compilation guide on https://developer.ridgerun.com/wiki/index.php/Jetson_Nano/Development/Building_the_Kernel_from_Source

    cd /root/Linux_for_Tegra/source/public/
    export JETSON_NANO_KERNEL_SOURCE=`pwd`
    export TOOLCHAIN_PREFIX=/opt/gcc-linaro-7.3.1-2018.05-x86_64_aarch64-linux-gnu/bin/aarch64-linux-gnu-
    export TEGRA_KERNEL_OUT=$JETSON_NANO_KERNEL_SOURCE/build
    export KERNEL_MODULES_OUT=$JETSON_NANO_KERNEL_SOURCE/modules
    make -C kernel/kernel-4.9/ ARCH=arm64 O=$TEGRA_KERNEL_OUT LOCALVERSION=-tegra CROSS_COMPILE=${TOOLCHAIN_PREFIX} tegra_defconfig
    
    # Change some drivers to modules 
    make -C kernel/kernel-4.9/ ARCH=arm64 O=$TEGRA_KERNEL_OUT LOCALVERSION=-tegra CROSS_COMPILE=${TOOLCHAIN_PREFIX} menuconfig
    # change to modules:
    # Device Drivers → USB support → xHCI support for NVIDIA Tegra SoCs
    # Device Drivers → USB support → NVIDIA Tegra HCD support
    # Device Drivers → PHY Subsystem → NVIDIA Tegra XUSB pad controller driver
    # disable Device Drivers → USB support  → OTG support
    # disable Device Drivers → USB support  → USB Gadget Support
    
    
    make -C kernel/kernel-4.9/ ARCH=arm64 O=$TEGRA_KERNEL_OUT LOCALVERSION=-tegra CROSS_COMPILE=${TOOLCHAIN_PREFIX} -j8 --output-sync=target zImage
    make -C kernel/kernel-4.9/ ARCH=arm64 O=$TEGRA_KERNEL_OUT LOCALVERSION=-tegra CROSS_COMPILE=${TOOLCHAIN_PREFIX} -j8 --output-sync=target modules
    make -C kernel/kernel-4.9/ ARCH=arm64 O=$TEGRA_KERNEL_OUT LOCALVERSION=-tegra CROSS_COMPILE=${TOOLCHAIN_PREFIX} -j8 --output-sync=target dtbs
    make -C kernel/kernel-4.9/ ARCH=arm64 O=$TEGRA_KERNEL_OUT LOCALVERSION=-tegra INSTALL_MOD_PATH=$KERNEL_MODULES_OUT modules_install


    Then there's a nasty procedure for flashing the jetson.  Lions just back up /boot/Image then

    cp build/arch/arm64/boot/Image /antiope/boot/

    cp -a modules/lib/modules/4.9.140-tegra/ /antiope/lib/modules/

    cp -a build/arch/arm64/boot/dts/*.dtb /antiope/boot/dtb/

    The trick is the NFS mount requires having ethernet plugged in, bypassing the bug.  The offending modules are 


    /lib/modules/4.9.140-tegra/kernel/drivers/usb/host/xhci-tegra.ko

    /lib/modules/4.9.140-tegra/kernel/drivers/phy/tegra/phy-tegra-xusb.ko

    The USB hub is actually a RTS5411 on the carrier board, MFG ID 0bda. The jetson card has only 1 USB port which supports OTG.

    Ethernet is provided by a RTL8111 on the jetson card.

    The lion kingdom managed to hack phy-tegra-xusb to not turn USB off after unplugging ethernet, but it won't turn on until ethernet is plugged in. Interestingly, once phy-tegra-xusb is loaded it can't be unloaded.

    You can get phy-tegra-xusb to call the power_on functions without ethernet but it can't enumerate anything until ethernet is plugged in.  There's a power on step which is only done in hardware.  The power off step is done in software.  USB continued to disconnect, despite enabling the pads.

    A key requirement is disabling power management for some drivers

    find /sys/devices/50000000.host1x  -name control -exec sh -c 'echo on > {}' \;                              

    This kicks it up to 3W & starts roasting the heat sink.

    The kernel outputs vdd-usb-hub-en: disabling but there's nothing about where...

    Read more »

  • Plastic modelling

    lion mclionhead04/03/2023 at 02:25 0 comments

    Servo board enclosure

    There was a real fight to retain some kind of IR capability, including modeling an opening for it & trying to glue it.  There never was a good way of mounting it.  The fact is it's not going to be used.  The best mounting solution might eventually be PLA riveting down a separate box which surrounds the back of the IR sensor.   In the mean time, it just flops around.

    The tripod mounting evolved to a more compact puck which bolts on.  The puck is of course modeled after a certain rocket engine injector plate.

    Then, the servo board just hooks onto the puck.  The servo wires hook up to umbillicals.  The ziploc bag gets chewed up by the gear & sticks down too far.  It needs a more permanent gear shroud, but there's no way to farsten a PLA shroud to the aluminum.  The puck still doesn't attach firmly to the tripod.  It needs indentations on the underside for the set screws to grab onto but any PLA is just going to flex.

      There is a desire to make an alternative puck for clamping it on a bench, but whatever replaces the puck still needs to allow the servo board to hook on.  The bare aluminum can clamp on, but isn't very secure.  This system has been years in the making.  It started before lions had any semblance of a real bench.

    Pan/tilt head finally got gear shrouds.  These actually stay in place passively, but can be wired in for transport.  Sadly, they're too flimsy & delaminate.

    The flash mounting is still unsolved.  It was originally just clamped onto a larger puck.  Then it seemed to migrate to another tripod.

    All the USB ports on the jetson are powered by a common 5V.  This was bodged to make it do the full 2A.

    Next, time to scavenge parts from the 1st enclosure.  It would have made a hell of a portable TV, 40 years ago, when just getting a moving picture to appear on anything was a miracle.  We just don't use portable TV's anymore.  The overhead expansion slots worked, even if they were hard to get the cards out of.  The battery door stopped latching.  The swinging back door worked, even if the magnets were out of alignment.  It was quite sturdy despite being made of PLA.

    Ideas for a wifi enclosure weren't a whole lot more compact.  They revolved around a bundle of excess wiring sized for the portable TV & the buck converter.  On top sits the jetson with ports facing up.  On the bottom sits the battery.  The power switch sticks out the top or the side.  Outlets for 12V & 5V stick out the side to power a flash.  The wiring could be resoldered again to move the outlets to the top. 

    The result was a self contained jetson nano module.  Helas, the USB ports no longer worked.  They all had 5V but couldn't detect anything anymore.  It seems the external 5V puts them into device mode.  Plugging in ethernet puts them into host mode.  A kernel recompile without OTG support might work.

    The power supply ended up being a $25 Castle Creations 10A.  These are super compact & make a lot more power than the LM2596. 

    Fully assembled tripod head for historic purposes.

  • Phone interface with jetson

    lion mclionhead03/26/2023 at 02:33 0 comments

    Old laptop wifi was a fail.

    Macbook wifi was a fail.

    For something which comes nowhere close a 5 year old laptop, it's impressively packed with 0201's.

    The HDMI, wifi, & servos actually fit into all the USB ports with some bending.  

    Back to problematic USB dongles & a phone interface it was.  This also meant the beloved IR remote was useless.  This would require yet another enclosure for the battery, confuser & USB dongles.  The enclosure would need a phone holder.  It probably needs a fan.

    The RTL8188 driver on the jetson manages to stay connected, but still drops out for long periods when it's more than a foot away.  Like all wifi drivers, if it's not connected eventually powers down & has to be restarted.  

    Wifi rapidly degrades beyond a few feet, probably because of the high bitrate of 2megbit.  UDP is essential, but the wifi is so bad it might be necessary to use USB tethering.  Restarting the app brings it back, but recreating the socket does not.  Android might restrict wifi usage a number of ways. 

    The MACROSILICON HDMI dongle is able to output 640x480 raw YUV, which kicks the framerates up a notch.  It only uses 25% of 1 core so overclocking would make no difference.  Compression of JPEG frames for the wifi has to be done in a thread.  The HDMI output has to be kept in YUV outside of the GPU.  The neural network needs RGB, so the YUV to RGB conversion has to be done in the GPU.  This arrangement got the 256x144 model from 6.5 up to 8fps.  This stuff definitely needs to be in a library to be shared with truckcam.

    A key step in CUDA programming is dumping the error code when your CUDA functions return all 0.

    cudaDeviceSynchronize();
    cudaError_t error = cudaGetLastError();
    if(error != 0) printf("%s\n", cudaGetErrorString(error) );
    

    The most common error is too many resources requested for launch which means there either aren't enough registers or there are too many kernels.  The goog spits out garbage for this, but lions got it to work by reducing the blockSize argument.  This increases the gridSize argument.

    Portrait mode is best done by loading 2 models simultaneously.  A 160x240 body_25 was created for portrait mode.  This runs at 7fps because it has slightly more neurons.  It does much better than stretching 256x144.  The resident set size when loading 1 model is 1 gig & 2 models is 1.4 gig. 

    All 4 modes need to be paw debugged.  Screen dimensions on the Moto G Pure are different than the Wiki Ride 3.  The mane trick is the neural network scans the center 3:2 in portrait mode while it scans the full 16:9 in landscape mode.  It might be easier if all the keypoints are scaled to 0-1 instead of pixel coordinates.  

    That leaves bringing up the servo head with the jetson.  The good news is this app is pretty solid after 3 years.

    There is a person outline detector which might give better results.  Testing different models is long & hard.  The entire program has to be rewritten.  They have to detect sideways & overlapping animals.

  • The truth about INT8

    lion mclionhead03/19/2023 at 22:23 0 comments

    The next step after FP16's disappointing results was INT8.  The trick with INT8 is it requires a calibration step & the goog has nothing on that.  NvInfer.h has a bunch of calibration functions.  trtexec has a --calib option for reading a calibration file but nothing for creating a calibration file.  The calibration file seems to be just a table of scaling values for each layer in the network.

    The IBuilderConfig used in creating the tensorrt engine has a setInt8Calibrator function.  It seems the model has to be converted to FP32 by trtexec once, executed on a data set to create a calibration file, then the model has to be converted again to INT8 by trtexec with the calibration file passed to the --calib option.  A key requirement is the creation of a batch stream.  

    Helas, int8 is not supported on the jetson nano, so it would be a waste of time.  Int8 is a relatively new concept, so GPUs before 2020 don't support it.

    Instead, it was time to try the lowest possible network size in FP16, 224x128.

    Enter the desired H & W in the prototxt file:


    /root/openpose/models/pose/body_25/pose_deploy.prototxt

    name: "OpenPose - BODY_25"
    input: "image"
    input_dim: 1 # This value will be defined at runtime
    input_dim: 3
    input_dim: 128 # This value will be defined at runtime
    input_dim: 224 # This value will be defined at runtime
    

    Convert to ONNX: 

    time python3 -m caffe2onnx.convert --prototxt pose_deploy.prototxt --caffemodel pose_iter_584000.caffemodel --onnx body25_128x224.onnx

    Replace broken operators:

    time python3 fixonnx.py body25_128x224.onnx body25_128x224_fixed.onnx

    Finally convert to tensorrt:

    time /usr/src/tensorrt/bin/trtexec --onnx=body25_128x224_fixed.onnx --fp16 --saveEngine=body25_128x224.engine
    

    9fps 224x128 using 640x360 video represents the fastest useful output it can generate.  It's about as good as resnet18.  Input video size has a big impact for some reason.  What might be benefiting it is the use of 25 body parts to create redundancy.  

    In porting the rest of the tracker to tensorrt, it became clear that the large enclosure lovingly created for the jetson nano isn't going to do the job.  It's no longer useful for rep counting & it's too big.  The speakers especially have no use.  A phone client began to gain favor again.  Noted the battery door deformed & no longer latches.  Another idea is making the screen a detachable module.  Throwing money at a laptop would solve everything.

  • Body_25 using FP16

    lion mclionhead03/15/2023 at 02:53 0 comments

    While porting BodyPartConnectorCaffe, it became clear that the easiest solution was to link openpose against the tensorrt library (nvinfer) rather than trying to move the openpose stuff into the trt_pose program.  It would theoretically involve replacing just the use of spNets in poseExtractorCaffe.cpp.  It would still be work & most of the unhappy path was already done though.  

    BodyPartConnectorCaffe entailed copying most of openpose.  In the end, the lion kingdom's attempt to port just a subset of openpose became a complete mess.  Having said that, the port was just the GPU functions.  The post processing is so slow, the CPU functions aren't any use on a jetson nano.

    Should be noted all the CUDA buffs are float32 & all the CUDA functions use float32.  No fp16 data types from the tensorrt engine are exposed.  INT8 started gaining favor as a next step, since it could impact just the engine step, but the value ranges could change.

    Another important detail is they instantiate a lot of templates in .cpp files with every possible data type (classType className<unsigned short>;)  Despite this efficiency move, they redefine enumClasses.hpp in 9 places.

    The non maximum suppression function outputs a table of obviously 25 body parts with 3 columns of some kind of data.  It's interesting how close FP16 & FP32 came yet 2 rows are completely different.  The rows must correspond to  POSE_BODY_25_BODY_PARTS + 2.   Row 9 must be LWrist.  Row 26 must be RHeel.  Neither of those are really visible.  The difference is not RGB vs BGR, brightness or contrast, the downscaling interpolation, but some way the FP16 model was trained.

    After 1 month invested in porting body_25 to FP16, the result was a 3.3fps increase.  The model itself can run at 9fps, but the post processing slows it down.  The GUI slows it down by .3fps.  The FP32 version did 5fps with a 224x128 network.  The FP16 version hit 6.5fps with a 256x144 network, 8.3fps with a 224x128 network.  It's still slower than what lions would consider enough for camera tracking.

    Results are somewhat better if we match the parameters exactly.  128x224 network, 640x360 video experiences a doubling of framerate in FP16.  The size of the input video has a dramatic effect.  There is less accuracy in FP16, as noted by the NMS table.

  • Debugging tensorrt

    lion mclionhead03/06/2023 at 05:43 0 comments

    Previous results with efficientdet were documented here:

    https://hackaday.io/project/162944/log/203849-best-results-with-raspberry-pi-4

    Reasons for not using efficientdet were documented here:

    https://hackaday.io/project/162944/log/203975-the-last-temptation-of-christ

    Detecting 2 overlapping animals, lying positions, & oscillations from windowing were the deal breakers.


    Despite the naming convention, all the caffe "forward" functions in openpose seem to be raw CUDA with no specific dependencies on CAFFE.  The memory mapping for the CAFFE & CUDA buffers is the same.  They're flat float buffers of pixel data.  The CAFFE buffers (ArrayCpuGpu) have a cpu_data() to access the data from the CPU.  The CUDA buffers have a cudaMemcpy to access the data from the CPU.

    To debug the porting effort, it was essential to have the caffe & tensorrt programs read the same frame from a gootube vijeo (yJFOojKXe4A) as input.  Then write different stages of the output as flat PPM files.  Never underestimate the value of obsolete formats like PPM.

    Input to body_25 is 3 256x144 planes

    The output of body_25 is 78 32x18 frames.  Obviously the top frames are the part affinity fields for each body part & the bottom frames are the confidence maps of how the body parts attach.  1 frame is a background.

    In the tensorrt version, much effort was spent chasing why the output was Nan, all 0 or rotated.  1 problem is CUDA doesn't give any errors for buffer overruns so it wasn't allocating a big enough input frame.  Another problem was the input dims back in pose_deploy.prototxt were height & width.

    name: "OpenPose - BODY_25"
    input: "image"
    input_dim: 1 # This value will be defined at runtime
    input_dim: 3
    input_dim: 144 # This value will be defined at runtime
    input_dim: 256 # This value will be defined at runtime
    

    The proper output of tensorrt was nearly identical to caffe.  Minor differences could have been caused by FP16, which means all of the improvement in body_25 could be from the bit precision rather the model.  trt_pose drops a lot of body parts & sure enough, the big difference with FP16 is some markers not being as bright as float32.

    The spResizeAndMergeCaffe function just upscales these 32x16 frames back to the original 256x144 resolution.  The magic is in spNmsCaffe (NmsCaffe) & spBodyPartConnectorCaffe (BodyPartConnectorCaffe).  Those 3 functions are busters with many openpose dependencies & multidimensional arrays.

  • Openpose framerates with tensorrt

    lion mclionhead03/04/2023 at 06:36 0 comments

    Decided to benchmark body25 without decoding the outputs & got a variety of frame rates vs. network size.

    256x256 5.5fps

    224x224 6.5fps

    192x192 8fps

    160x160 9fps

    256x144 9fps

    128x128 12fps

    448x256 was what the Asus GL502V has used at 12fps since 2018.  Lions believe 9fps to be the lowest useful frame rate for tracking anything.  It pops between 160x160 & 128x128 for some reason.  Considering 224x128 with the original caffe model hit 5fps, it's still doing a lot better.  Memory usage was about half of the caffe model.  It only needs 2GB.

    This was using 1280x720 video.  Capturing 640x360 stepped up the frame rates by 5% because of the GUI refreshes.  Sadly, it's not going to do the job for rep counting, but it should be enough for camera tracking.

    Following the logic in openpose, the magic happens in PoseExtractorCaffe::forwardPass.  

    The model fires in spNets.at(i)->forwardPass

    The output appears in spCaffeNetOutputBlobs.  The sizes can be queried with

    spCaffeNetOutputBlobs[0]->shape(1)   =  78
    spCaffeNetOutputBlobs[0]->shape(2)  = 18
    spCaffeNetOutputBlobs[0]->shape(3)  =  32

    The output dimensions are transposed from 32x18 to 18x32.  

    At this point, it became clear that openpose uses a 16x9 input size instead of 1x1 like trt_pose.  Providing it -1x128 causes it to make a 224x128 input.  Providing it -1x256 causes it to make a 448x256 input. That could explain why it's more robust than trt_pose but it doesn't explain why body25 did better with 16x9 than 4x3.

    Openpose processes the output strictly in CUDA while trt_pose does it in the CPU.  The CUDA functions sometimes call back into C++.

    Openpose does an extra step which trt_pose doesn't called "Resize heat maps + merge different scales".   

    spResizeAndMergeCaffe->Forward transfers the output from spCaffeNetOutputBlobs 18x32 to spHeatMapsBlob 78x144x256

    TRT_pose & openpose both continue with non maximum suppression.  trt_pose calls find_peaks_out_nchw & openpose calls spNmsCaffe->Forward.  Trt_pose does it in the CPU.  Openpose does it in the GPU.

    spNmsCaffe->Forward transfers spHeatMapsBlob 78x144x256 to spPeaksBlob 25x128x3

    find_peaks_out_nchw transfers the CMAP 42x56x56 to refined_peaks (size 3600) peak_counts (size 18) & peaks (size 3600)

    Finally openpose connects the body parts by calling spBodyPartConnectorCaffe->Forward which indirects to connectBodyPartsGpu in CUDA.

    This transfers spHeatMapsBlob & spPeaksBlob to mPoseKeypoints & mPoseScores but doesn't use a PAF table anywhere.  TRT_pose does 3 more steps in the CPU with a PAF table.

    At this point, it seems simpler to port PoseExtractorCaffe::forwardPass to tensorrt & keep its CUDA functions intact.

  • Resizing the input layer using caffe2onnx

    lion mclionhead03/02/2023 at 05:49 0 comments

    While waiting 9 minutes for the onnx python library to load a model, lions remembered file parsers like these going a lot faster 30 years ago in C & taking a lot less memory.  The C parser used in trtexec goes a lot faster.

    The next idea was to edit the input dimensions in pose_deploy.prototxt

    name: "OpenPose - BODY_25"
    input: "image"
    input_dim: 1 # This value will be defined at runtime
    input_dim: 3
    input_dim: 256 # This value will be defined at runtime
    input_dim: 256 # This value will be defined at runtime
    

     Then convert the pretrained model with caffe2onnx as before.

    python3 -m caffe2onnx.convert --prototxt pose_deploy.prototxt --caffemodel pose_iter_584000.caffemodel --onnx body25.onnx
    name=conv1_1 op=Convn
        inputs=[
            Variable (input): (shape=[1, 3, 256, 256], dtype=float32), 
            Constant (conv1_1_W): (shape=[64, 3, 3, 3], dtype=<class 'numpy.float32'>)
            LazyValues (shape=[64, 3, 3, 3], dtype=float32), 
            Constant (conv1_1_b): (shape=[64], dtype=<class 'numpy.float32'>)
            LazyValues (shape=[64], dtype=float32)]
        outputs=[Variable (conv1_1): (shape=[1, 64, 256, 256], dtype=float32)]


    It actually took the modified prototxt file & generated an onnx model with the revised input size.  It multiplies all the dimensions in the network by the multiple of 16 you enter.  Then comes the fixonnx.py & the tensorrt conversion.

    /usr/src/tensorrt/bin/trtexec --onnx=body25_fixed.onnx --fp16 --saveEngine=body25.engine

    The next step was reading the outputs.  There's an option of trying to convert the trt_pose implementation to the openpose outputs or trying to convert the openpose implementation to the tensorrt engine.  Neither of them are very easy.

    openpose outputs:

    trt_pose outputs:

    Tensorrt seems to look for layers named input & output to determine the input & output bindings.


    The inputs are the same.  TRT pose has a PAF/part affinity field in output_1 & CMAP/confidence map in output_0.  Openpose seems to concatenate the CMAP & PAF but the ratio of 26/52 is different than 18/42.  The bigger number is related to the mapping (CMAP) & the smaller number is related to the number of body parts (PAF).

    There's a topology array in trt_pose which must be involved in mapping.  It has 84 entries & numbers from 0-41.

    A similar looking array in openpose is POSE_MAP_INDEX in poseParameters.cpp.  It has 52 entries & numbers from 0-51.

    The mapping of the openpose body parts to the 26 PAF entries must be POSE_BODY_25_BODY_PARTS.  trt_pose has no such table, but it's only used for drawing the GUI.

    The outputs for trt_pose are handled in Openpose::detect.  There are a lot of hard coded sizes which seem related to the original 42 entry CMAP & 84 entry topology.  Converting that to the 52 entry CMAP & 52 entry POSE_MAP_INDEX is quite obtuse.

    The inference for openpose is done in src/openpose/net/netCaffe.cpp: forwardPass.  The input goes in gpuImagePtr.  The output goes in spOutputBlob.  There's an option in openpose called TOP_DOWN_REFINEMENT which does a 2nd pass with the input cropped to each body.  The outputs go through a similarly obtuse processing in PoseExtractorCaffe::forwardPass.  There are many USE_CAFFE ifdefs.  Converting that to tensorrt would be a big deal.  The trt_pose implementation is overall a lot smaller & more organized.

  • ONNX graphsurgeon

    lion mclionhead02/28/2023 at 06:20 0 comments

    The famous trtexec program was in /usr/src/tensorrt/bin.  It supposedly can convert directly from caffe to a tensorrt engine.

    ./trtexec --deploy=/root/openpose/models/pose/body_25/pose_deploy.prototxt --model=/root/openpose/models/pose/body_25/pose_iter_584000.caffemodel --fp16 --output=body25.engine

    That just ends in a crash.   

    Error[3]: (Unnamed Layer* 22) [Constant]:constant weights has count 512 but 2 was expected
    trtexec: ./parserHelper.h:74: nvinfer1::Dims3 parserhelper::getCHW(const Dims&): Assertion `d.nbDims >= 3' failed.

    Aborted (core dumped)

    NvCaffeParser.h says tensorrt is dropping support for caffe & the converter doesn't support dynamic input sizes.

    The command for conversion from ONNX to tensorrt is:

    /usr/src/tensorrt/bin/trtexec --onnx=body25_fixed.onnx --fp16 --saveEngine=body25.engine
    

    Next, the goog popped out this thing designed for amending ONNX files without retraining.

    https://github.com/NVIDIA/TensorRT/tree/main/tools/onnx-graphsurgeon

    You have to use it inside a python program.

    # from https://github.com/NVIDIA/TensorRT/issues/1677
    
    import onnx
    import onnx_graphsurgeon as gs
    import numpy as np
    
    print("loading model")
    graph = gs.import_onnx(onnx.load("body25.onnx"))
    
    tensors = graph.tensors()
    tensors["input"].shape[0] = gs.Tensor.DYNAMIC
    
    for node in graph.nodes:
        print("name=%s op=%s inputs=%s outputs=%s" % (node.name, node.op, str(node.inputs), str(node.outputs)))
        if node.op == "PRelu":
            # Make the slope tensor broadcastable
            print("Fixing")
            slope_tensor = node.inputs[1]
            slope_tensor.values = np.expand_dims(slope_tensor.values, axis=(0, 2, 3))
    
    onnx.save(gs.export_onnx(graph), "body25_fixed.onnx")


    time python3 fixonnx.py

    This takes 9 minutes.

    The onnx library can dump the original offending operator

    name=prelu4_2 op=PRelu 
        inputs=[
            Variable (conv4_2): (shape=[1, 512, 2, 2], dtype=float32), 
            Constant (prelu4_2_slope): (shape=[512], dtype=<class 'numpy.float32'>)
            LazyValues (shape=[512], dtype=float32)] 
        outputs=[Variable (prelu4_2): (shape=[1, 512, 2, 2], dtype=float32)]
    

    Then it dumped the fixed operator

    name=prelu4_2 op=PRelu
        inputs=[
            Variable (conv4_2): (shape=[1, 512, 2, 2], dtype=float32), 
            Constant (prelu4_2_slope): (shape=[1, 512, 1, 1], dtype=<class 'numpy.float32'>)
            LazyValues (shape=[1, 512, 1, 1], dtype=float32)]
        outputs=[Variable (prelu4_2): (shape=[1, 512, 2, 2], dtype=float32)]
    

    This allowed trtexec to successfully convert it to a tensorrt model.


    Inputs for body_25 are different than resnet18.  We have a 16x16 input image.  The 16x16 propagates many layers in.

    name=conv1_1 op=Conv
        inputs=[
            Variable (input): (shape=[-1, 3, 16, 16], dtype=float32), 
            Constant (conv1_1_W): (shape=[64, 3, 3, 3], dtype=<class 'numpy.float32'>)
            LazyValues (shape=[64, 3, 3, 3], dtype=float32), 
            Constant (conv1_1_b): (shape=[64], dtype=<class 'numpy.float32'>)                
            LazyValues (shape=[64], dtype=float32)]                                                                                           
        outputs=[Variable (conv1_1): (shape=[1, 64, 16, 16], dtype=float32)]                                                       
    

    The resnet18 had a 224x224 input image.

    name=Conv_0 op=Conv
        inputs=[
            Variable (input_0): (shape=[1, 3, 224, 224], dtype=float32), 
            Constant (266): (shape=[64, 3, 7, 7], dtype=<class 'numpy.float32'>)
            LazyValues (shape=[64, 3, 7, 7], dtype=float32), 
            Constant (267): (shape=[64], dtype=<class 'numpy.float32'>)
            LazyValues (shape=[64], dtype=float32)]
        outputs=[Variable (265): (shape=None, dtype=None)]
        

    A note says the input dimensions have to be overridden at runtime.  Caffe had a reshape function for doing this.  The closest function in tensorrt is nvinfer1::IExecutionContext::setBindingDimensions

    Calling nvinfer1::IExecutionContext::setBindingDimensions causes

    [executionContext.cpp::setBindingDimensions::944] Error Code 3: API Usage Error (Parameter check failed at: runtime/api/executionContext.cpp::setBindingDimensions::944, condition: profileMaxDims.d[i] >= dimensions.d[i]. Supplied...

    Read more »

View all 59 project logs

Enjoy this project?

Share

Discussions

PhooBar wrote 03/02/2023 at 15:48 point

Robert Rudolph did the same type of thing for his sentry gun projects, back in 2010/2011.  https://www.youtube.com/watch?v=8ekeP3Y-DcY

I think his open-source software is still available via links on his YouTube channel.  https://www.youtube.com/@SentryGun53/videos

  Are you sure? yes | no

yOyOeK1 wrote 02/04/2023 at 14:15 point

Nice !

  Are you sure? yes | no

Similar Projects

Does this project spark your interest?

Become a member to follow this project and never miss any updates