 Mattia Dal Ben
Why?
Recently I switched to a keyboard that doesn't have the nav cluster, nor the numpad. I discovered that 75 keys are more than enough for my daily job BUT the numpad is the only thing I'm really missing. I tried to use layers and a smart positioning of the numbers but nothing can beat the numpad. My muscle memory is all for it.
Upon searching for a readily-available numpad I found out that none had all the features I wanted, and everyone costed too much. So here we are!
Rationale
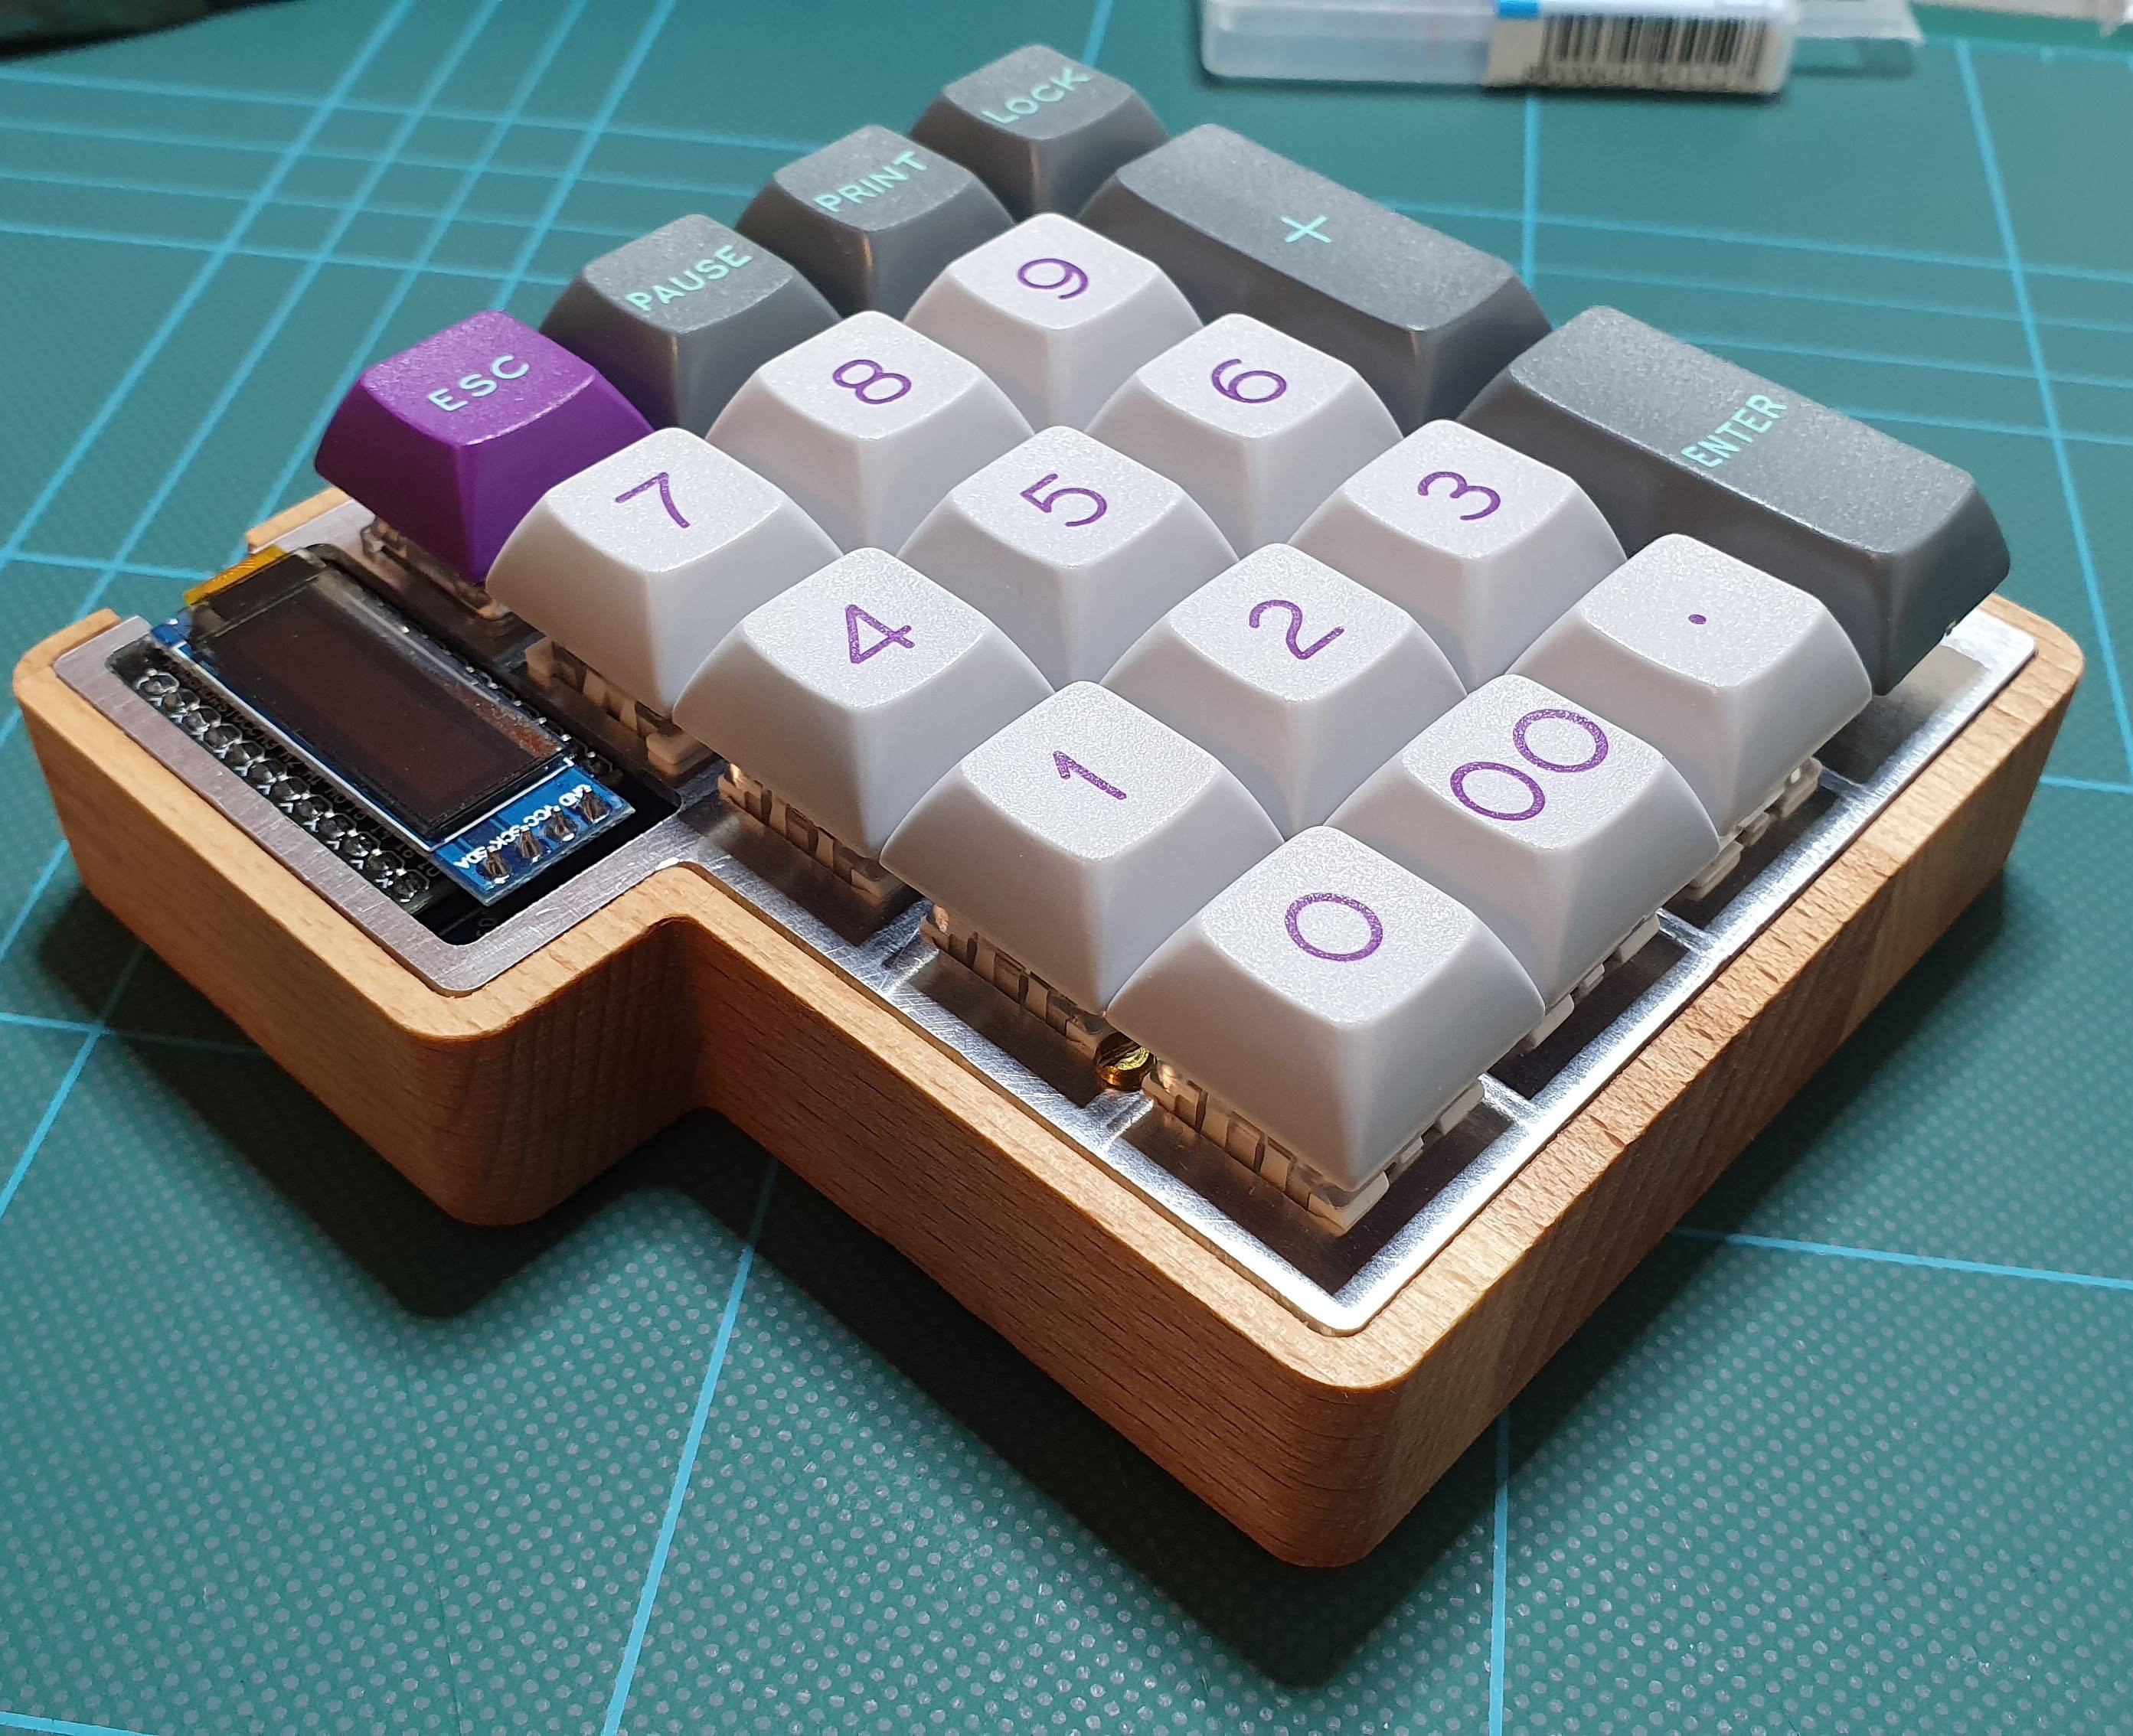
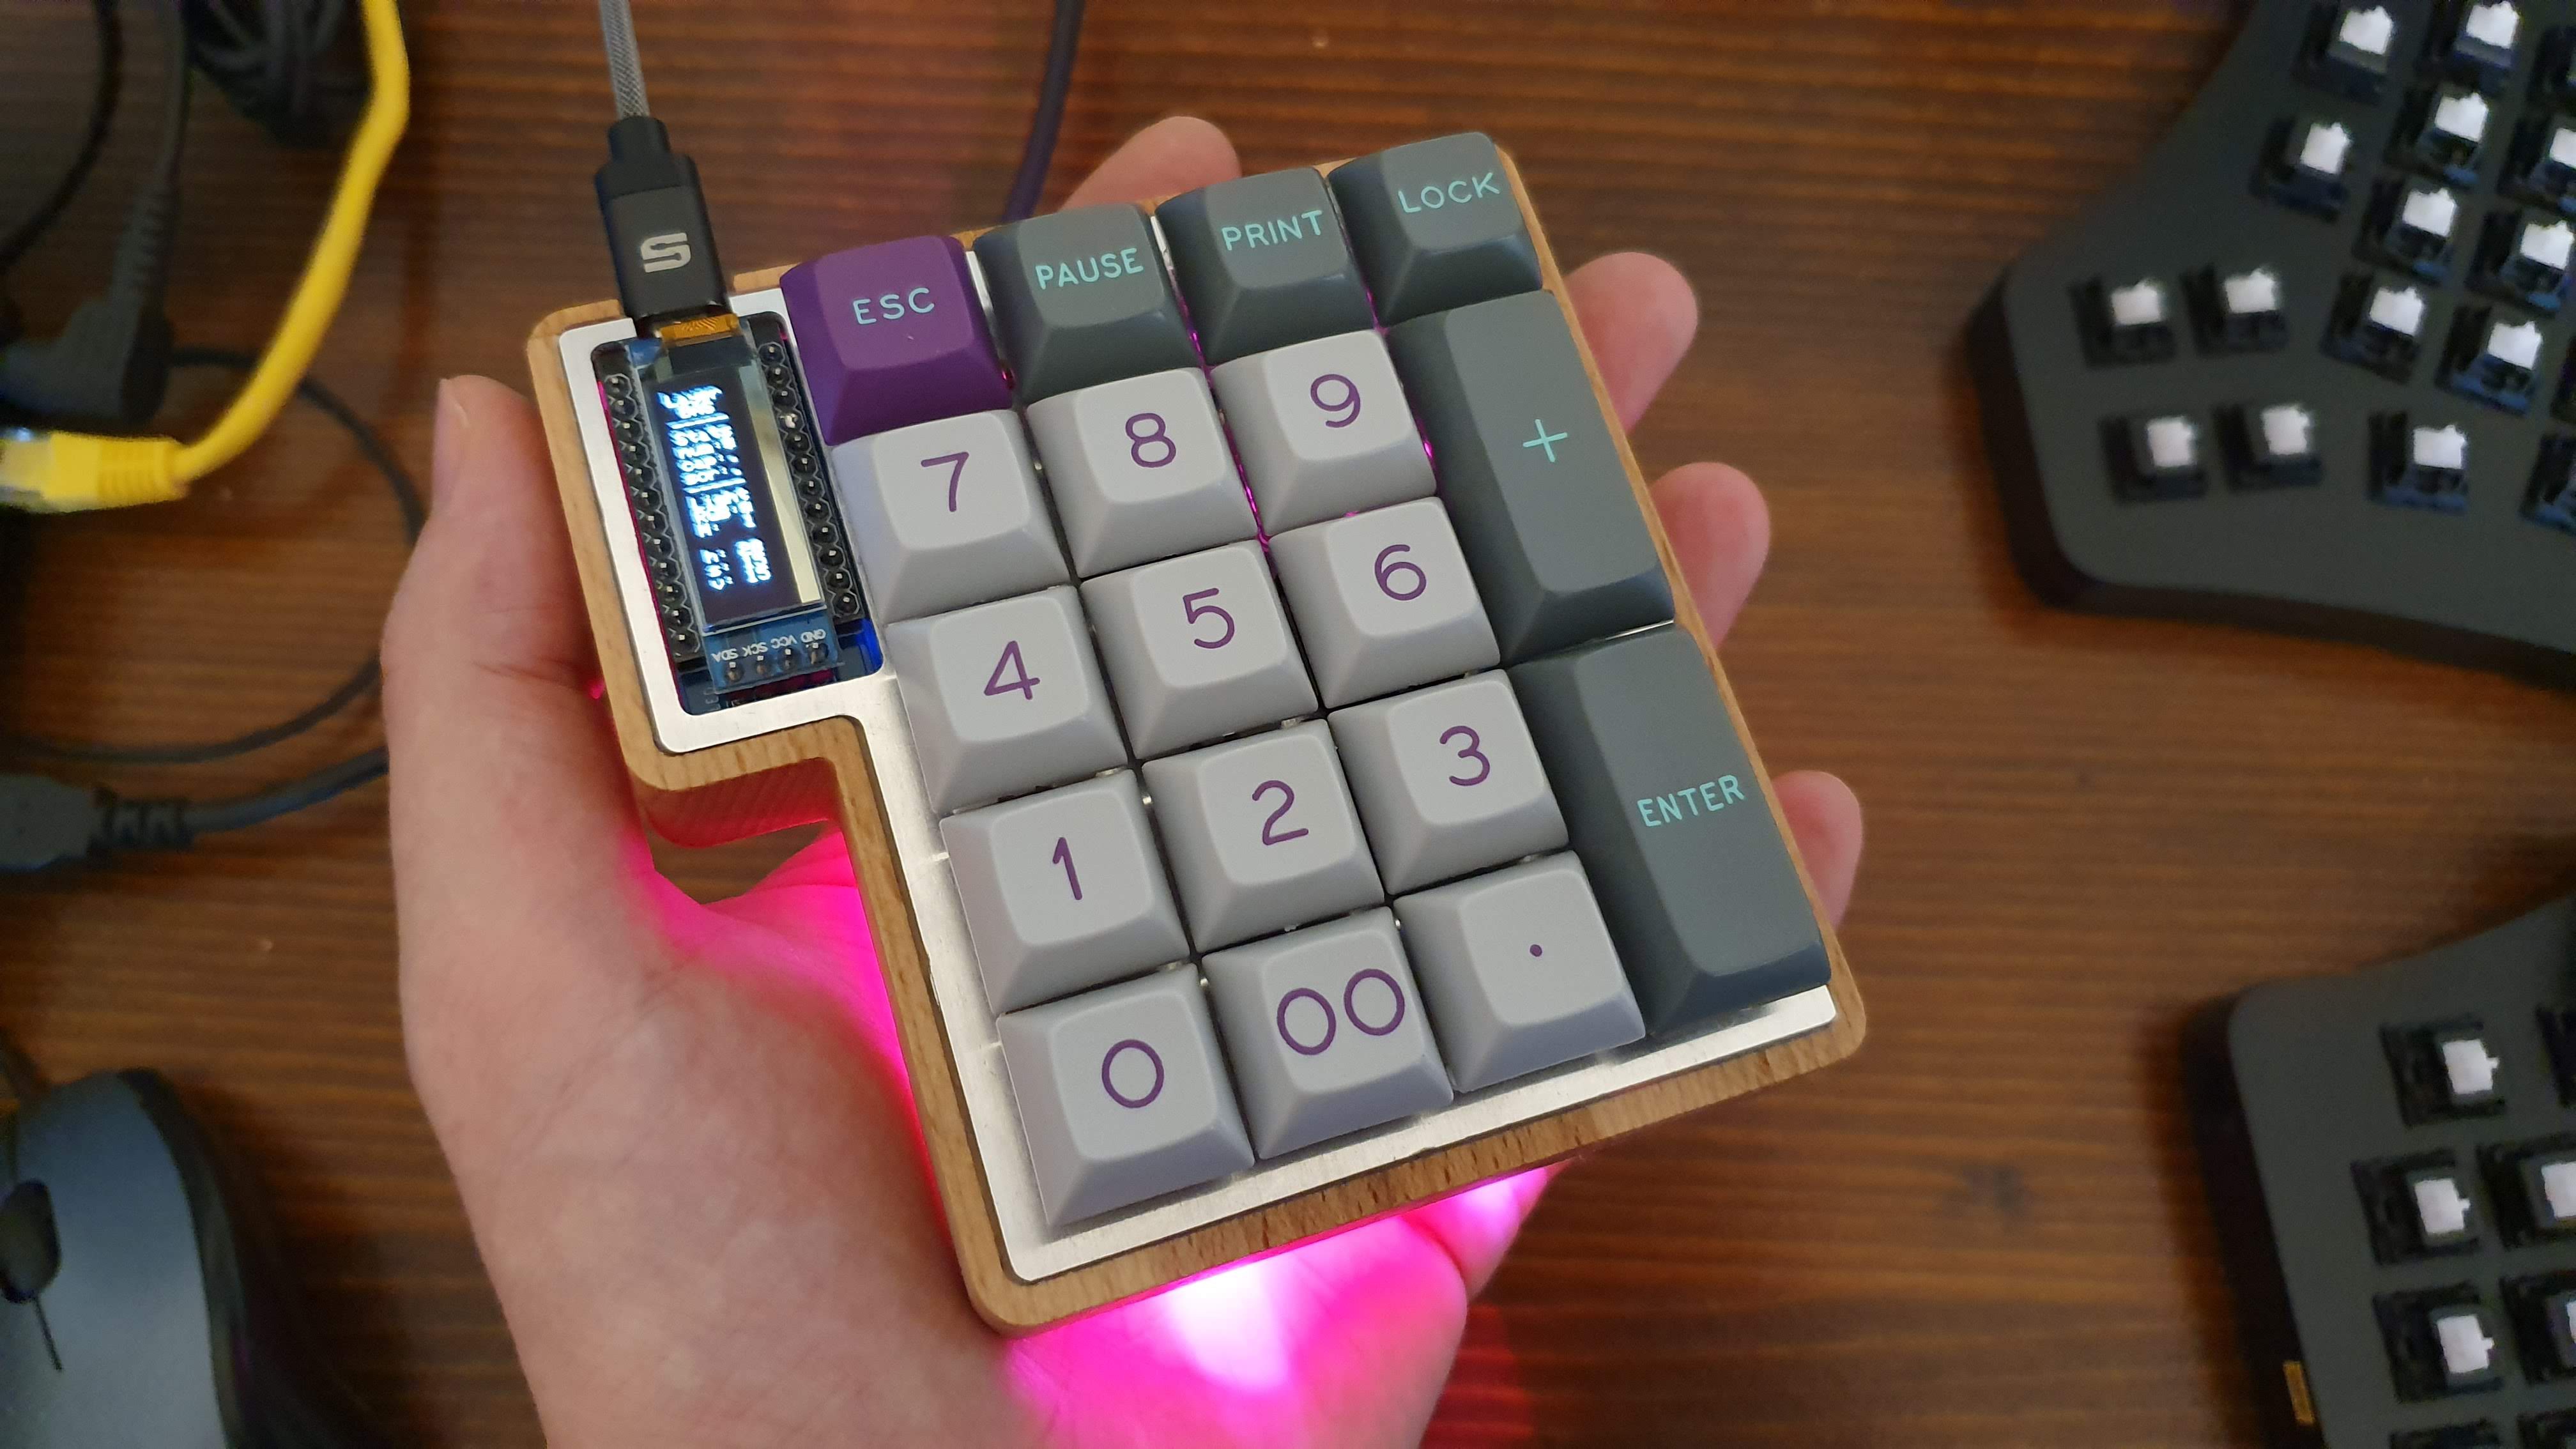
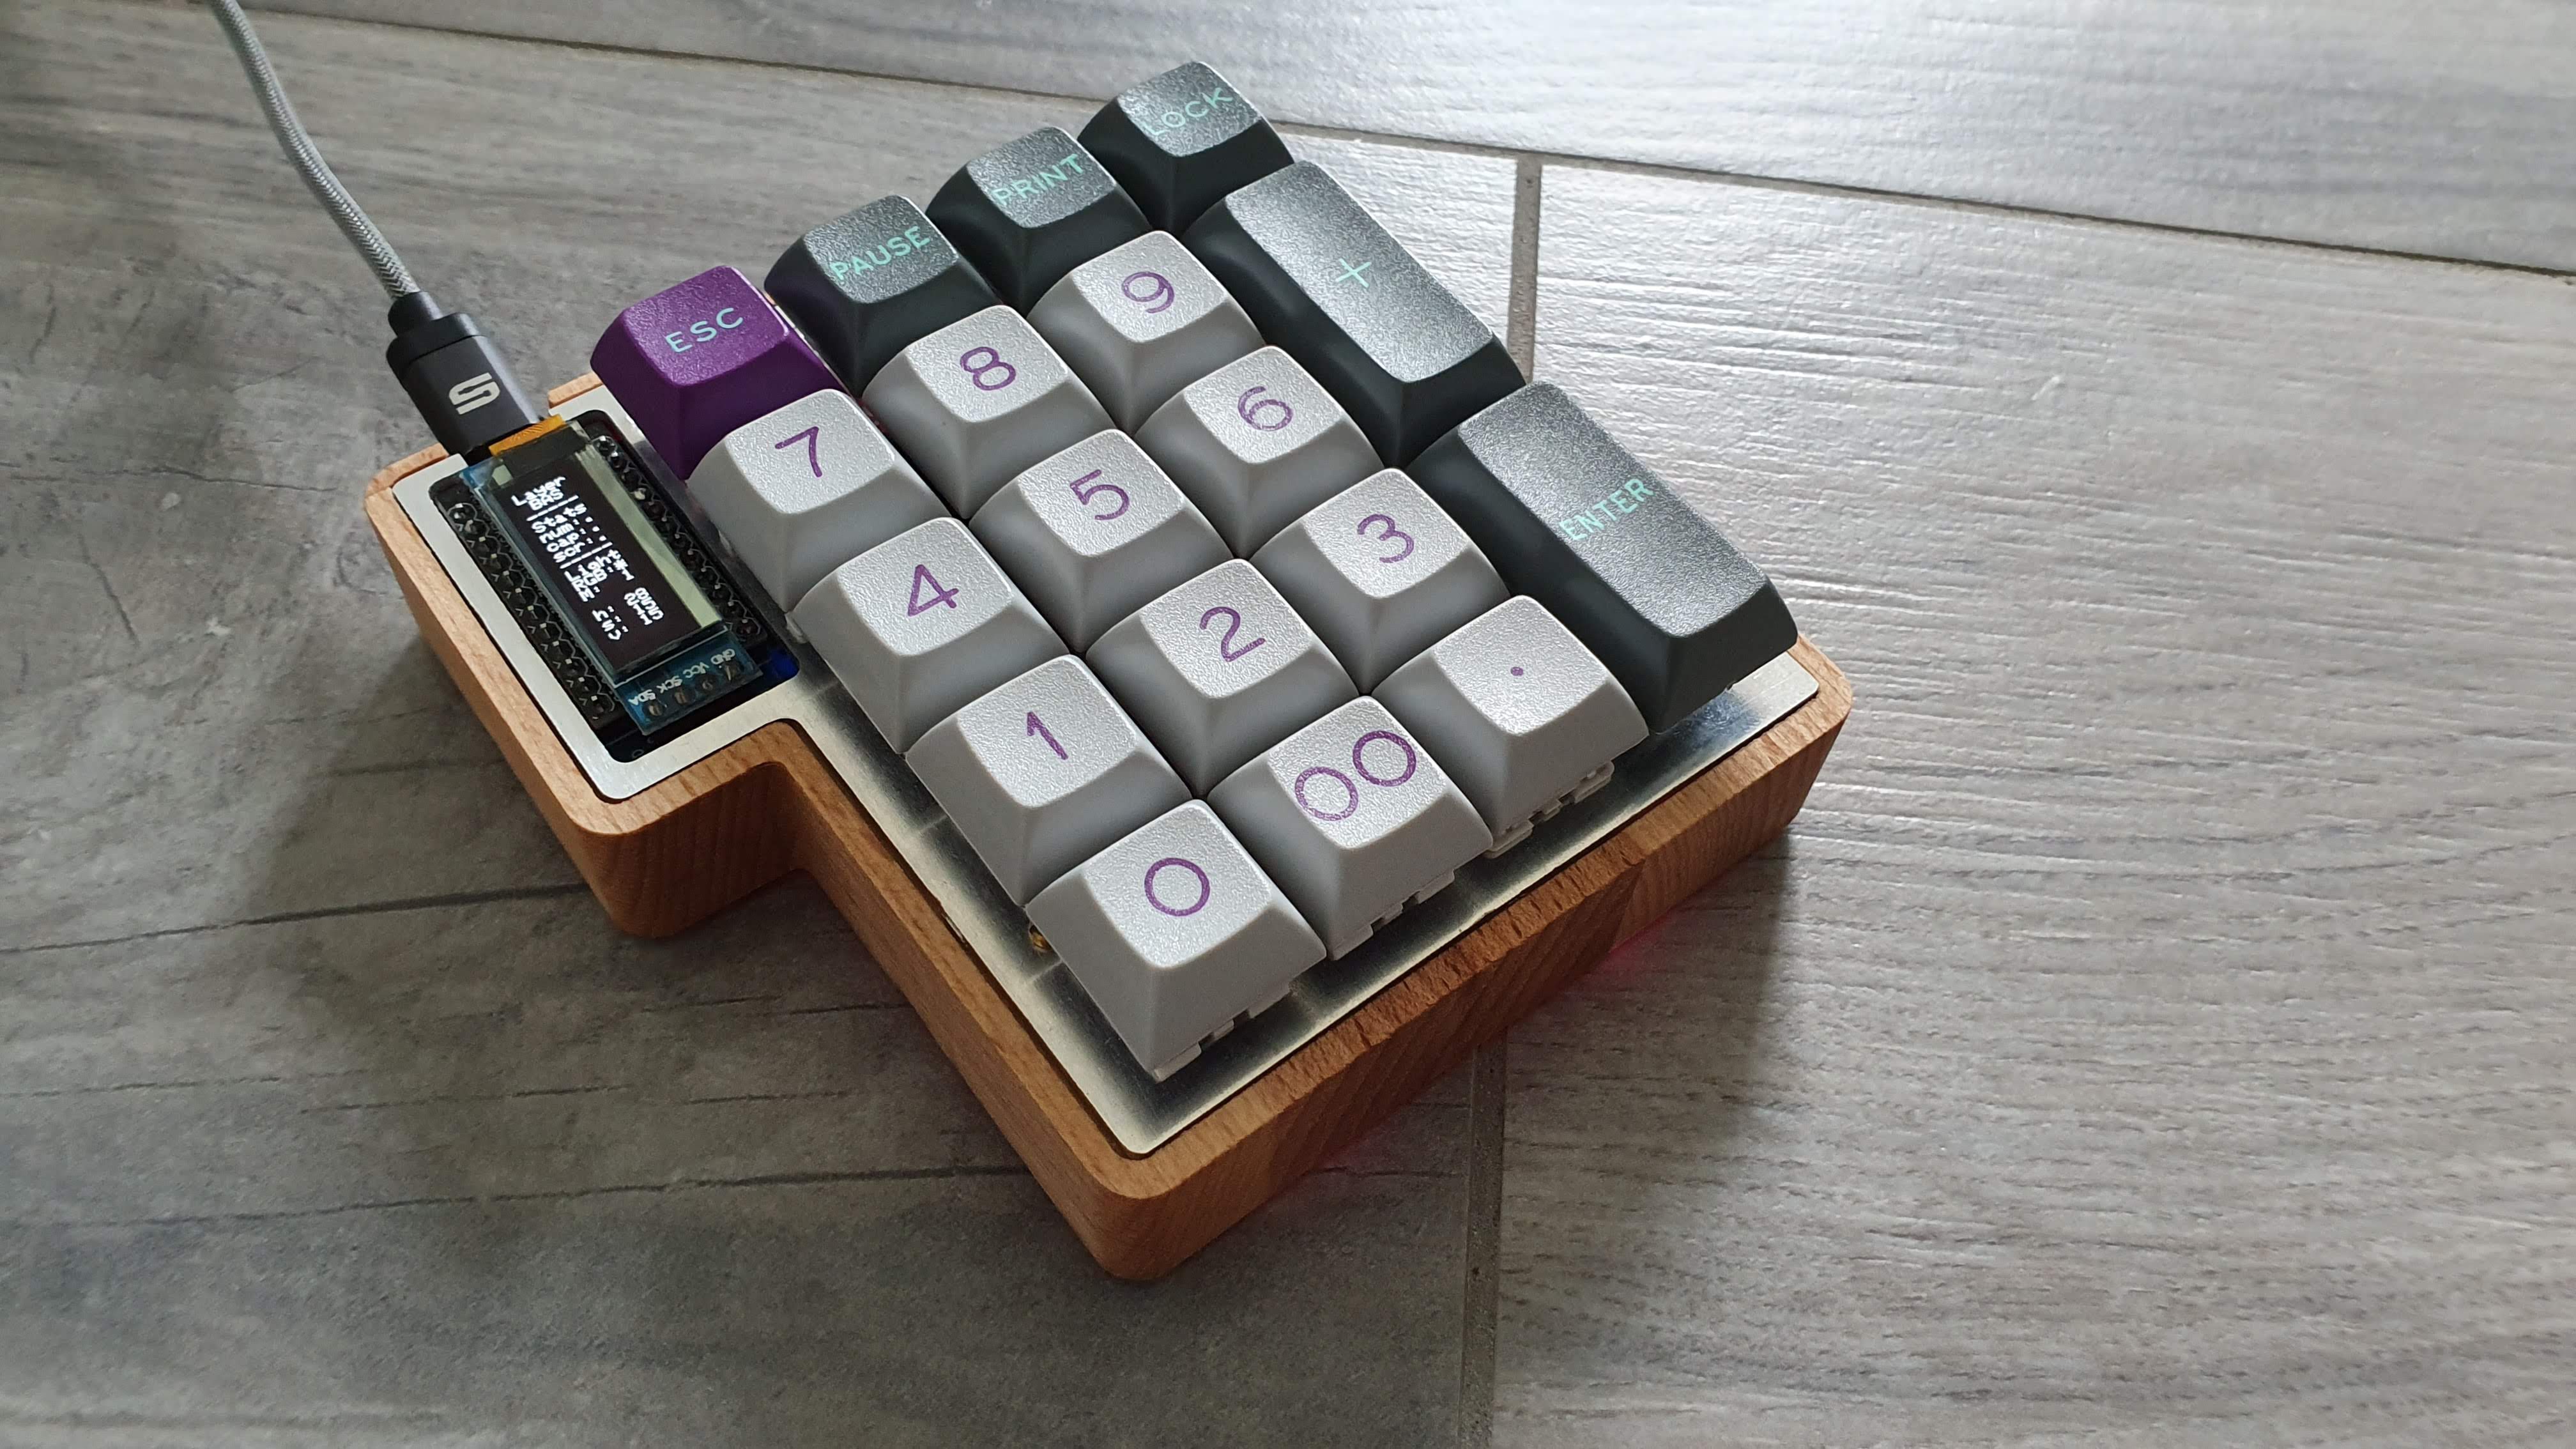
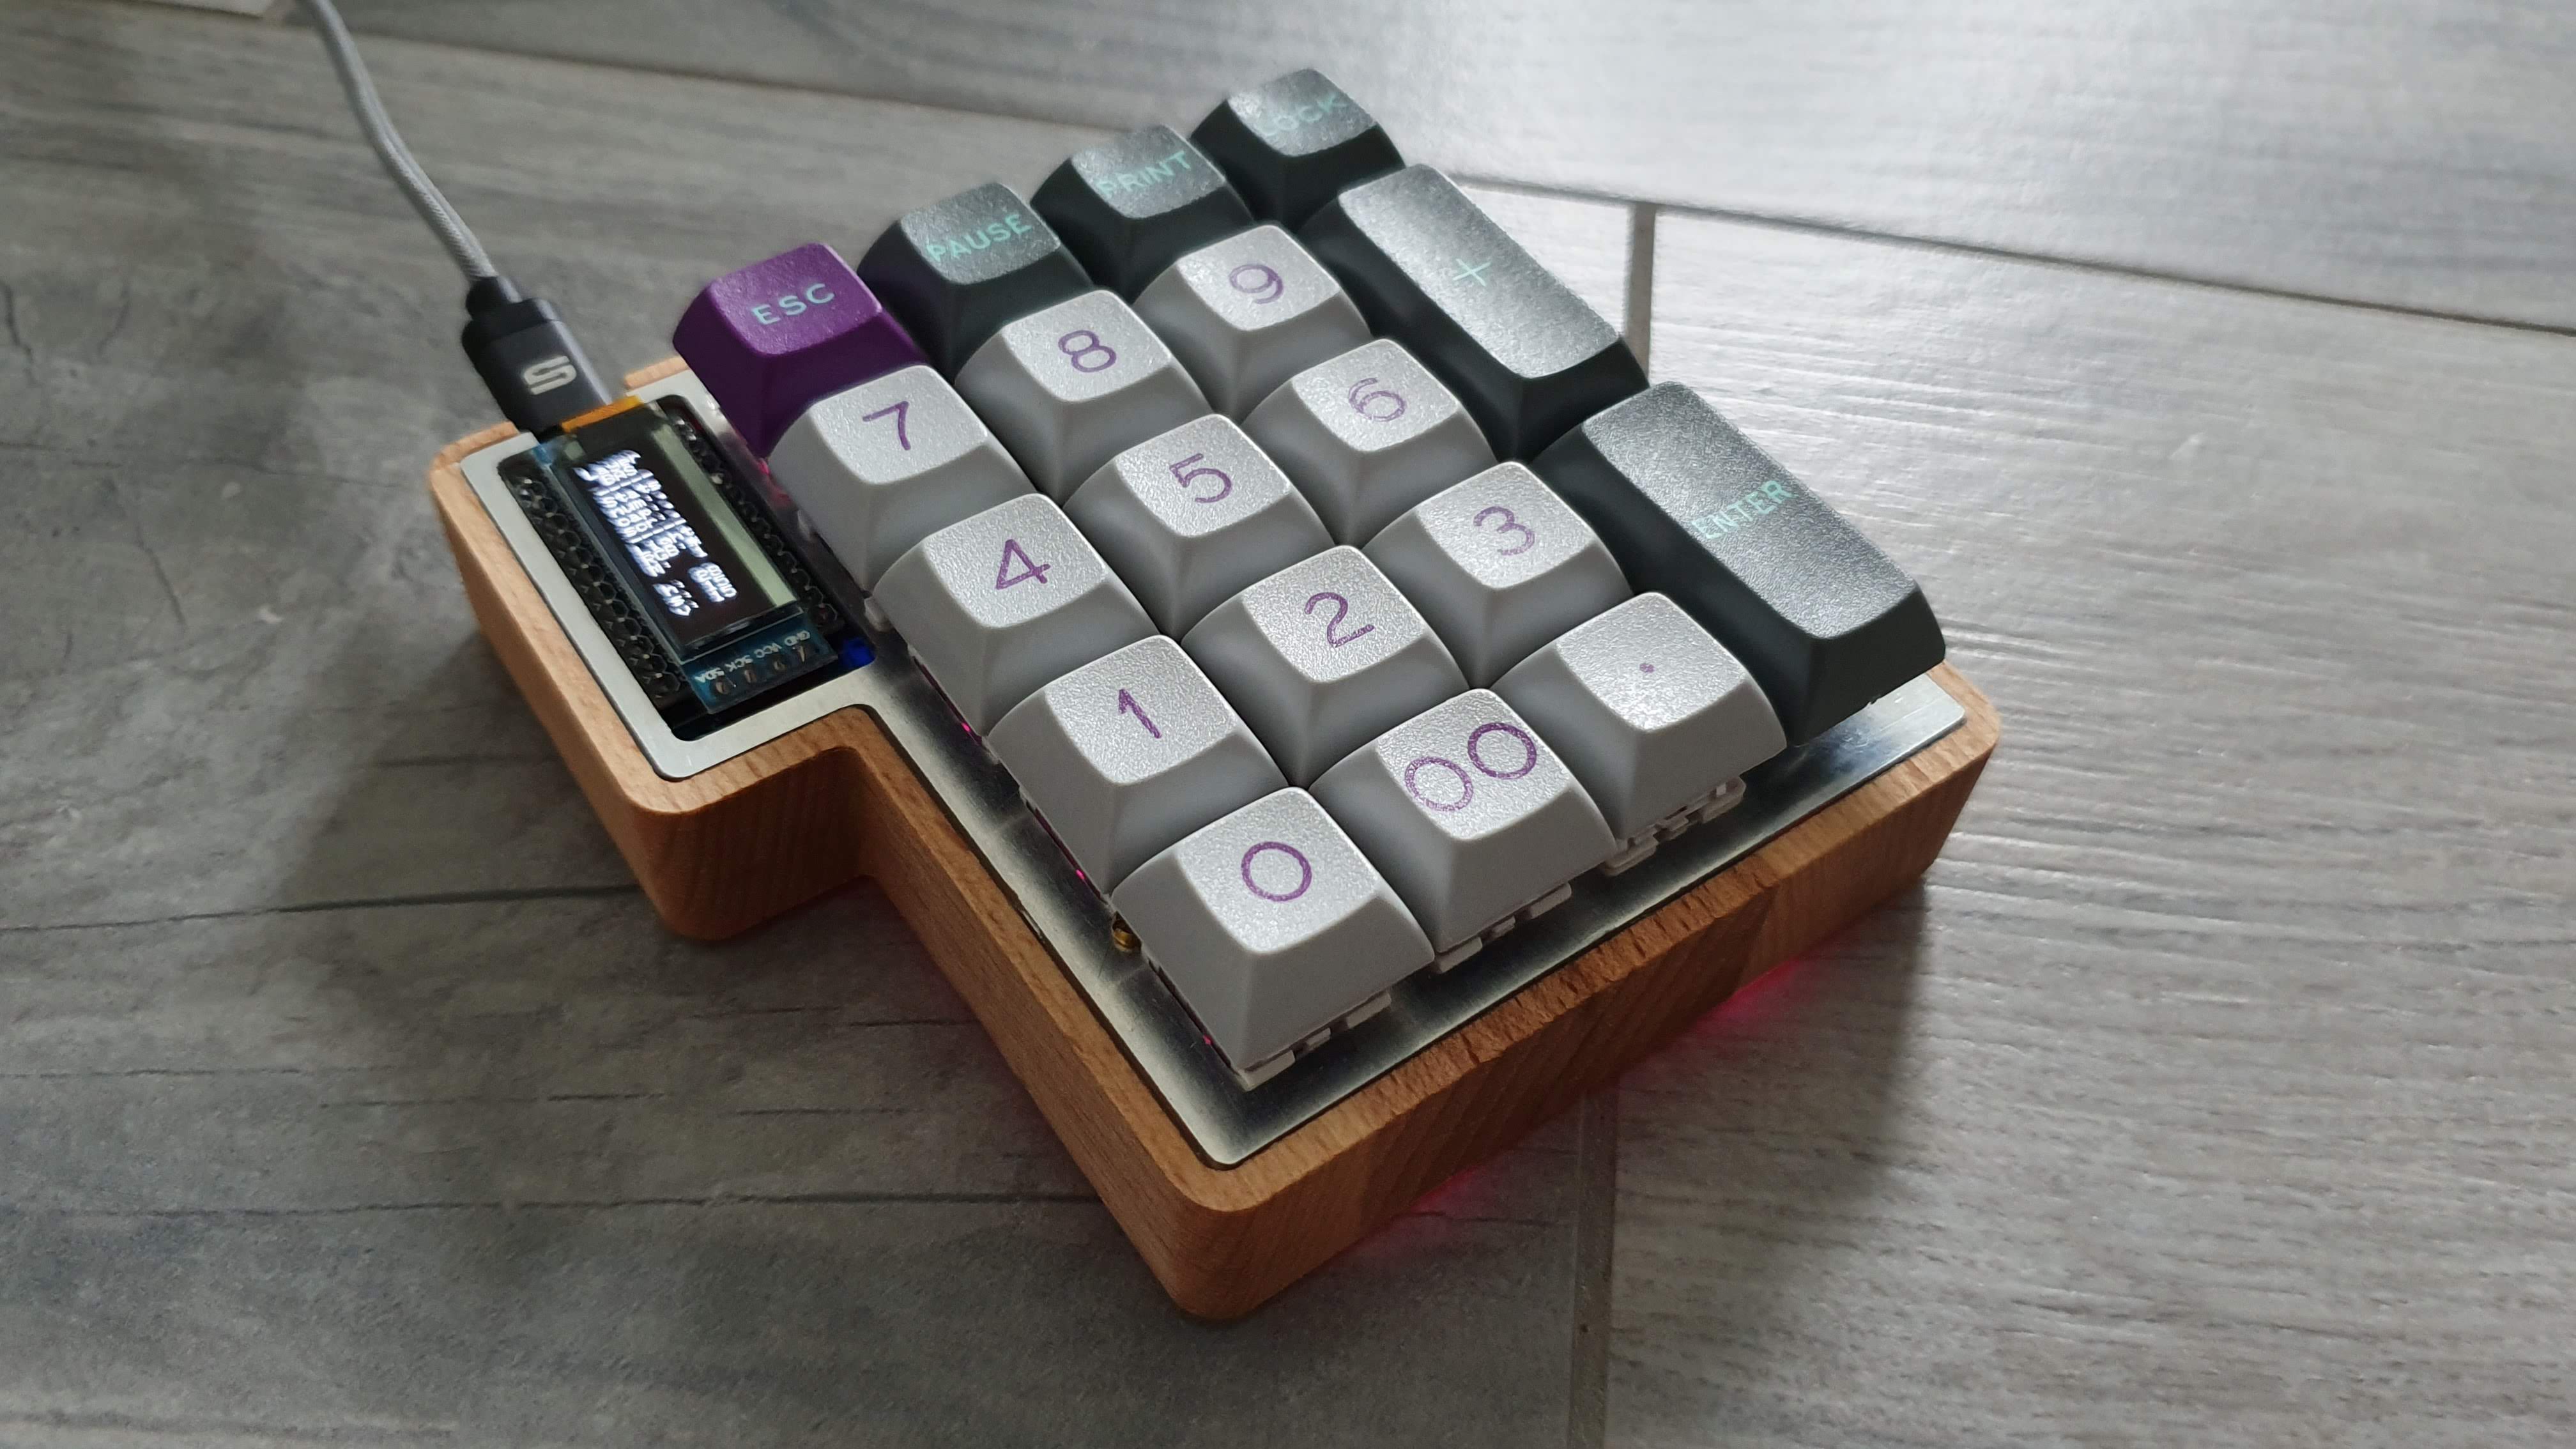
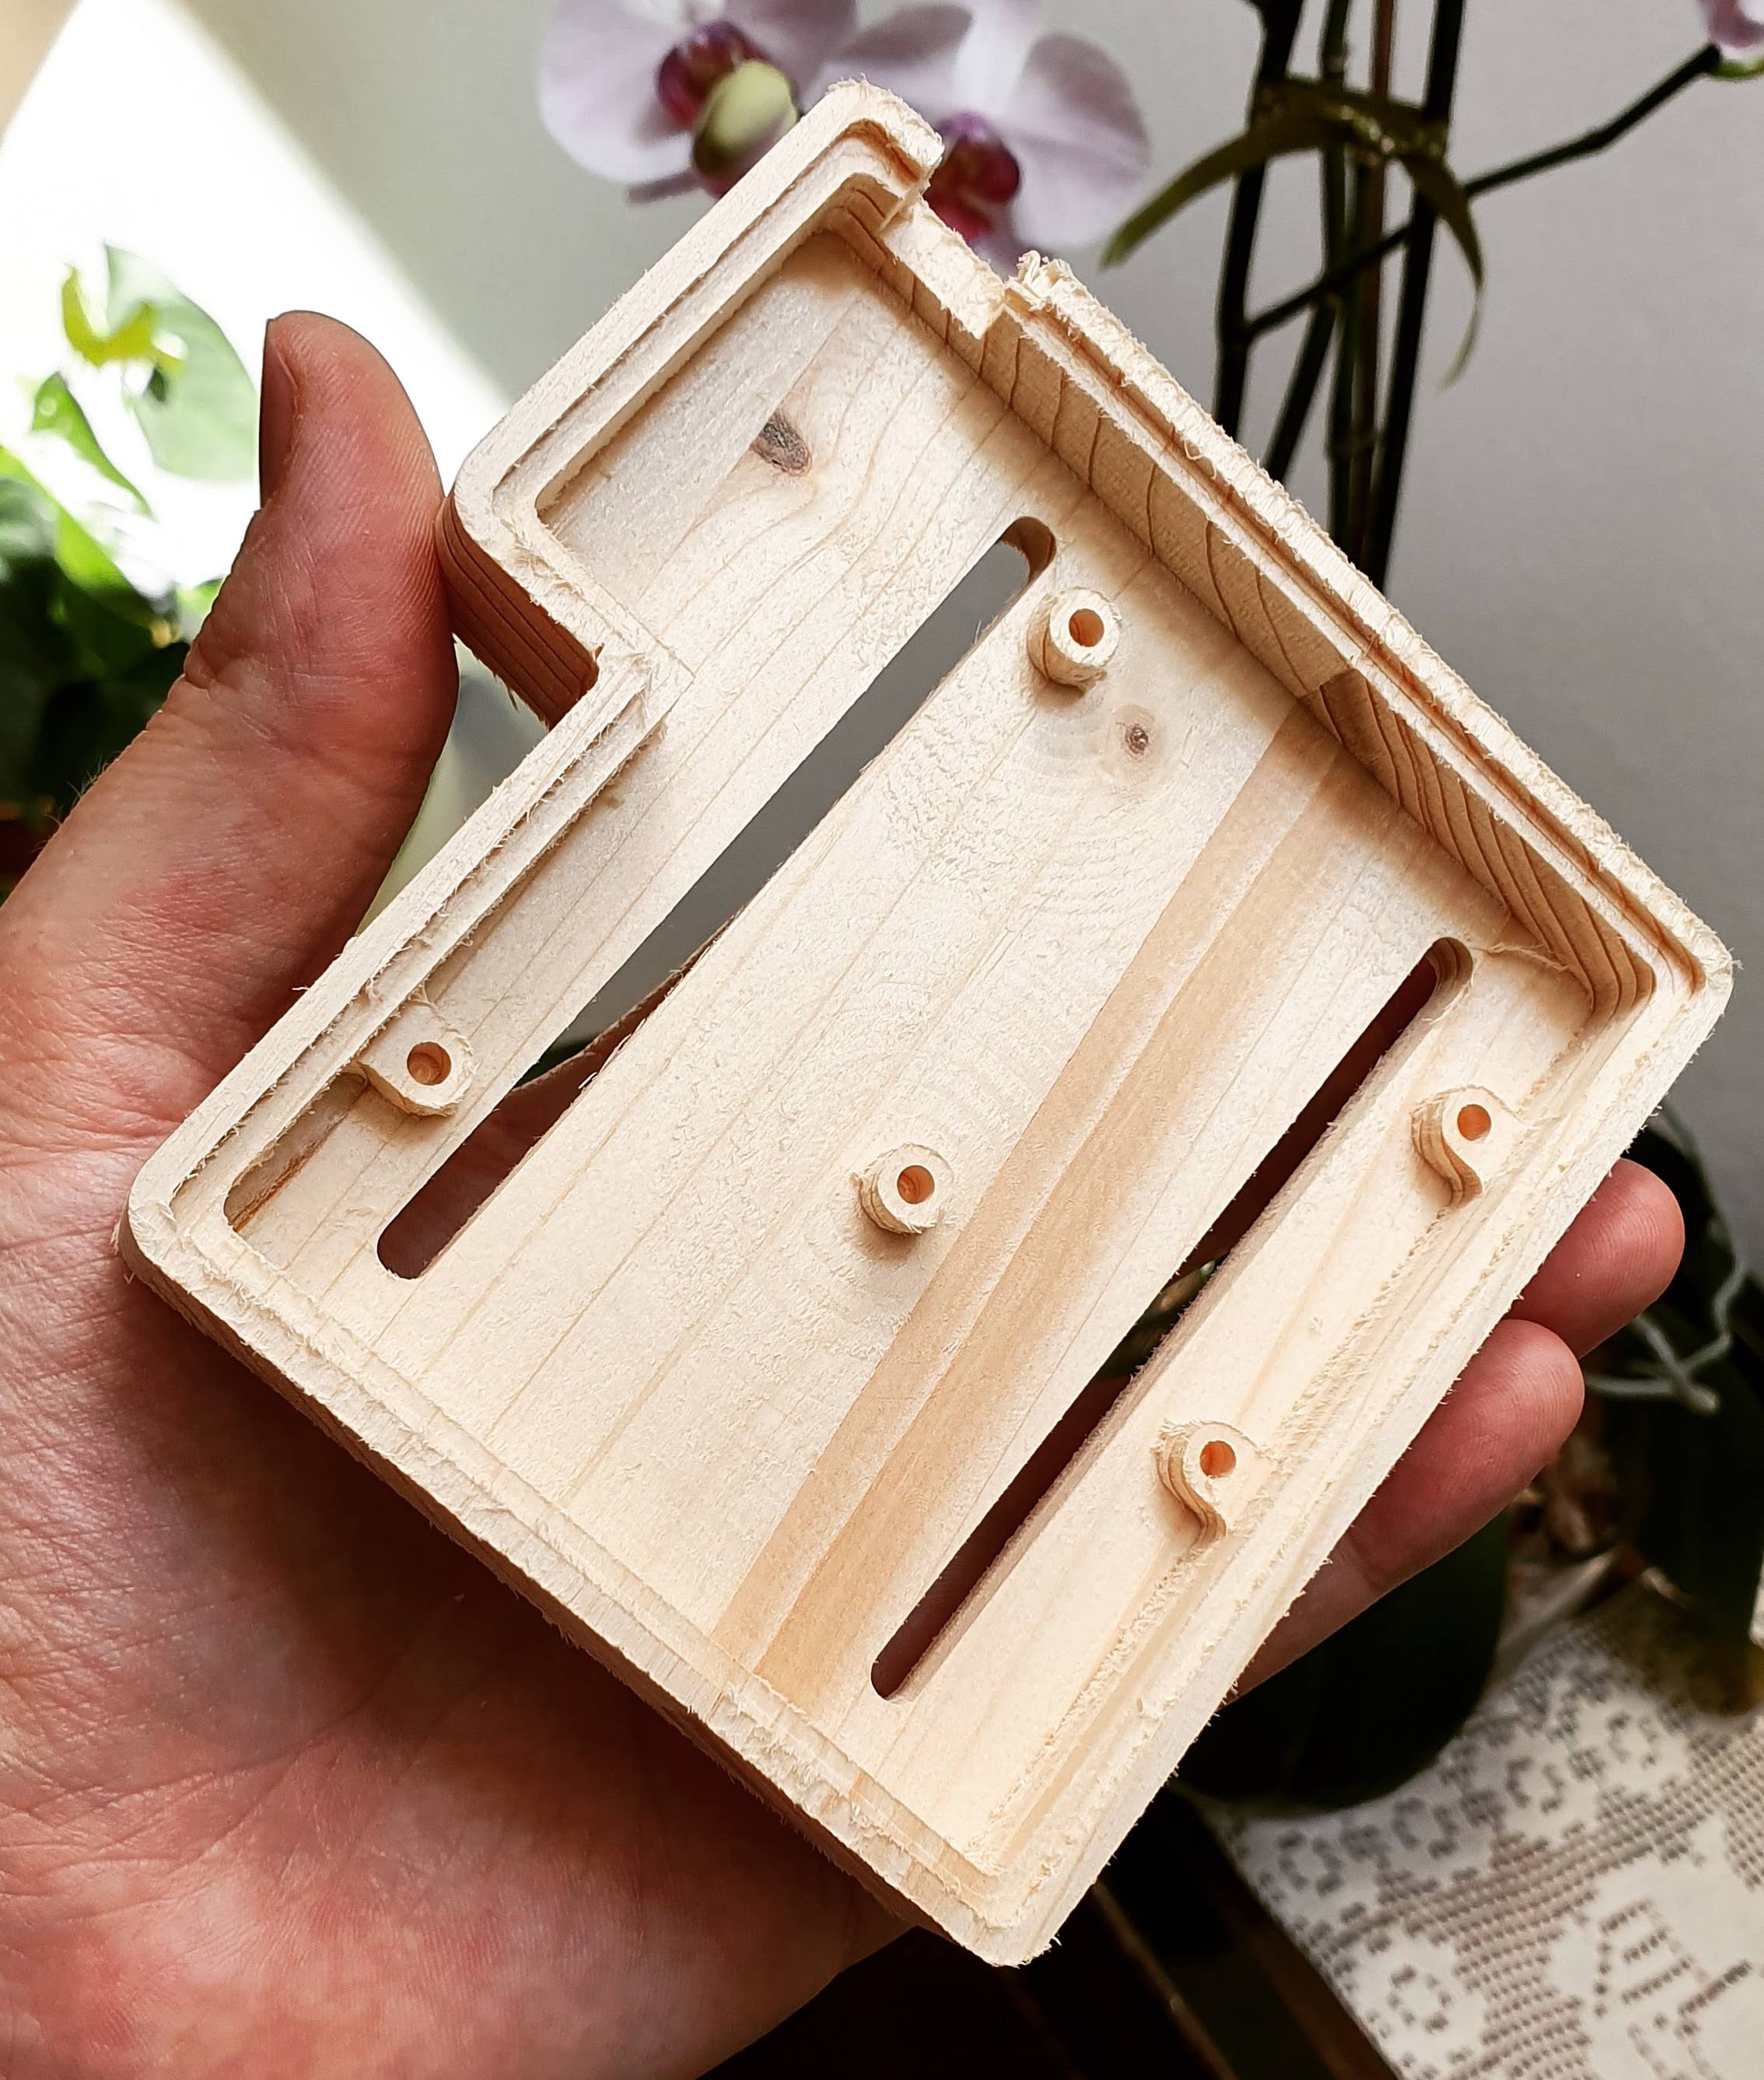
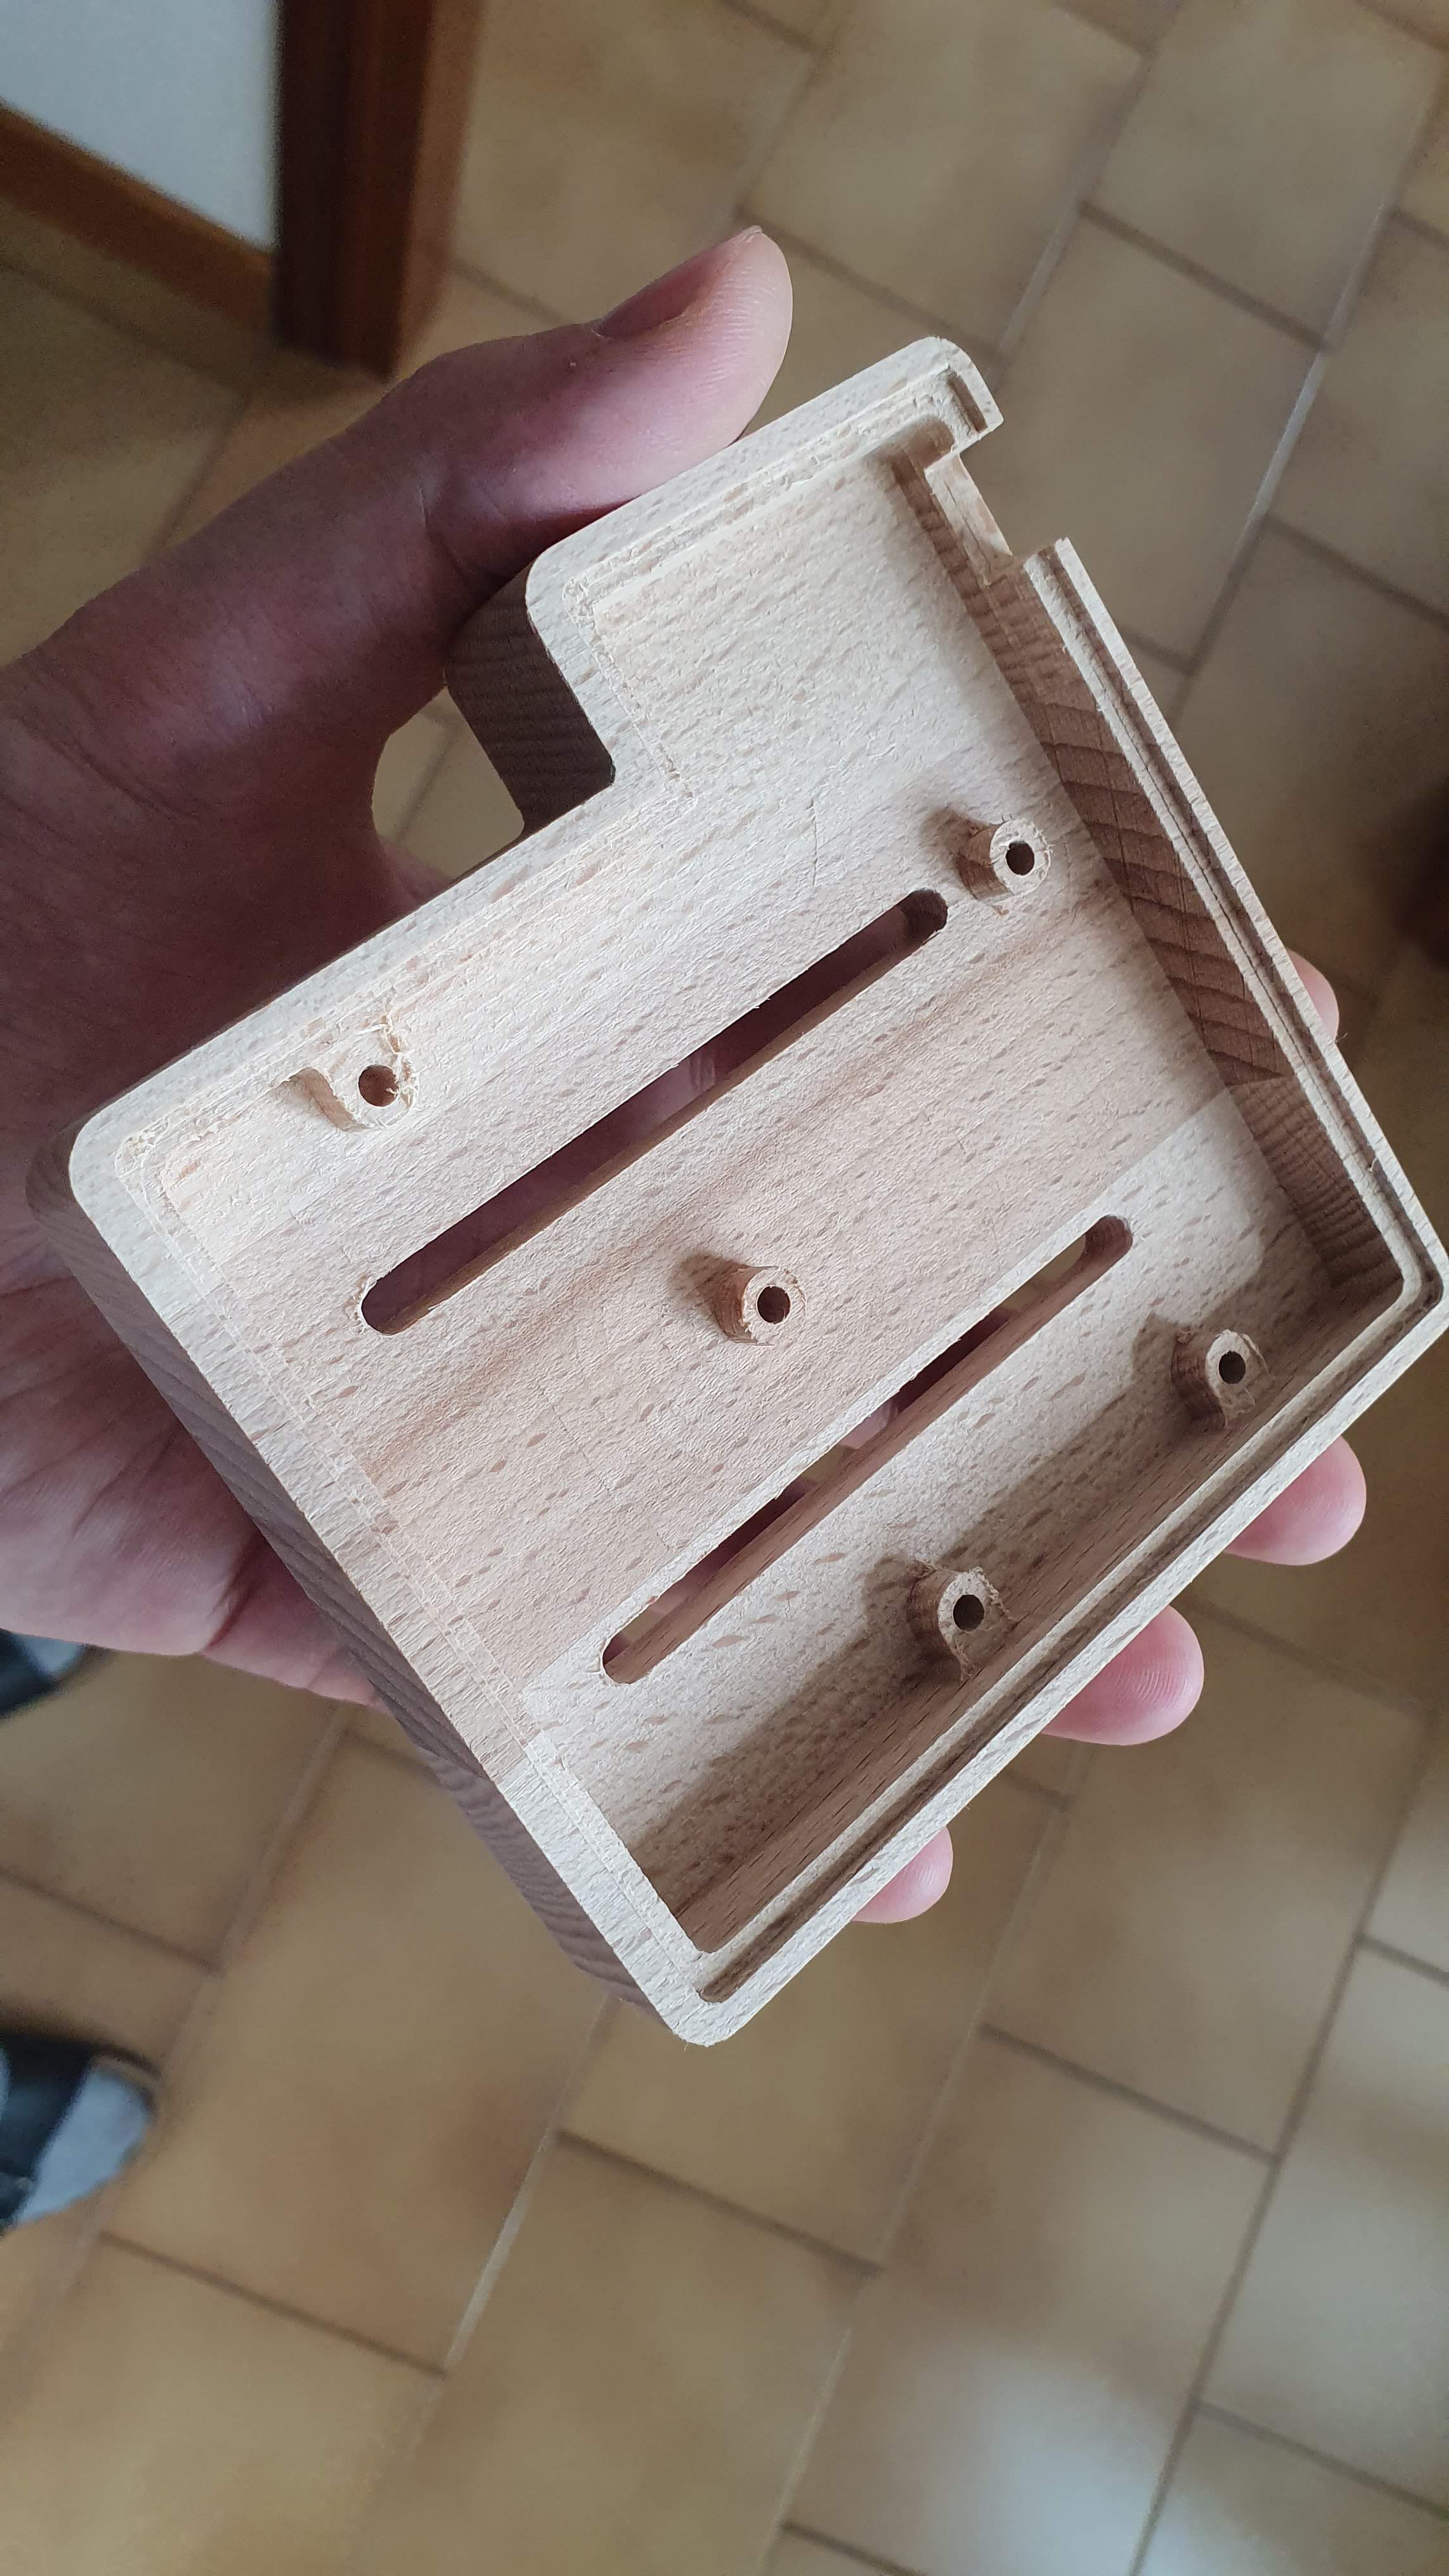
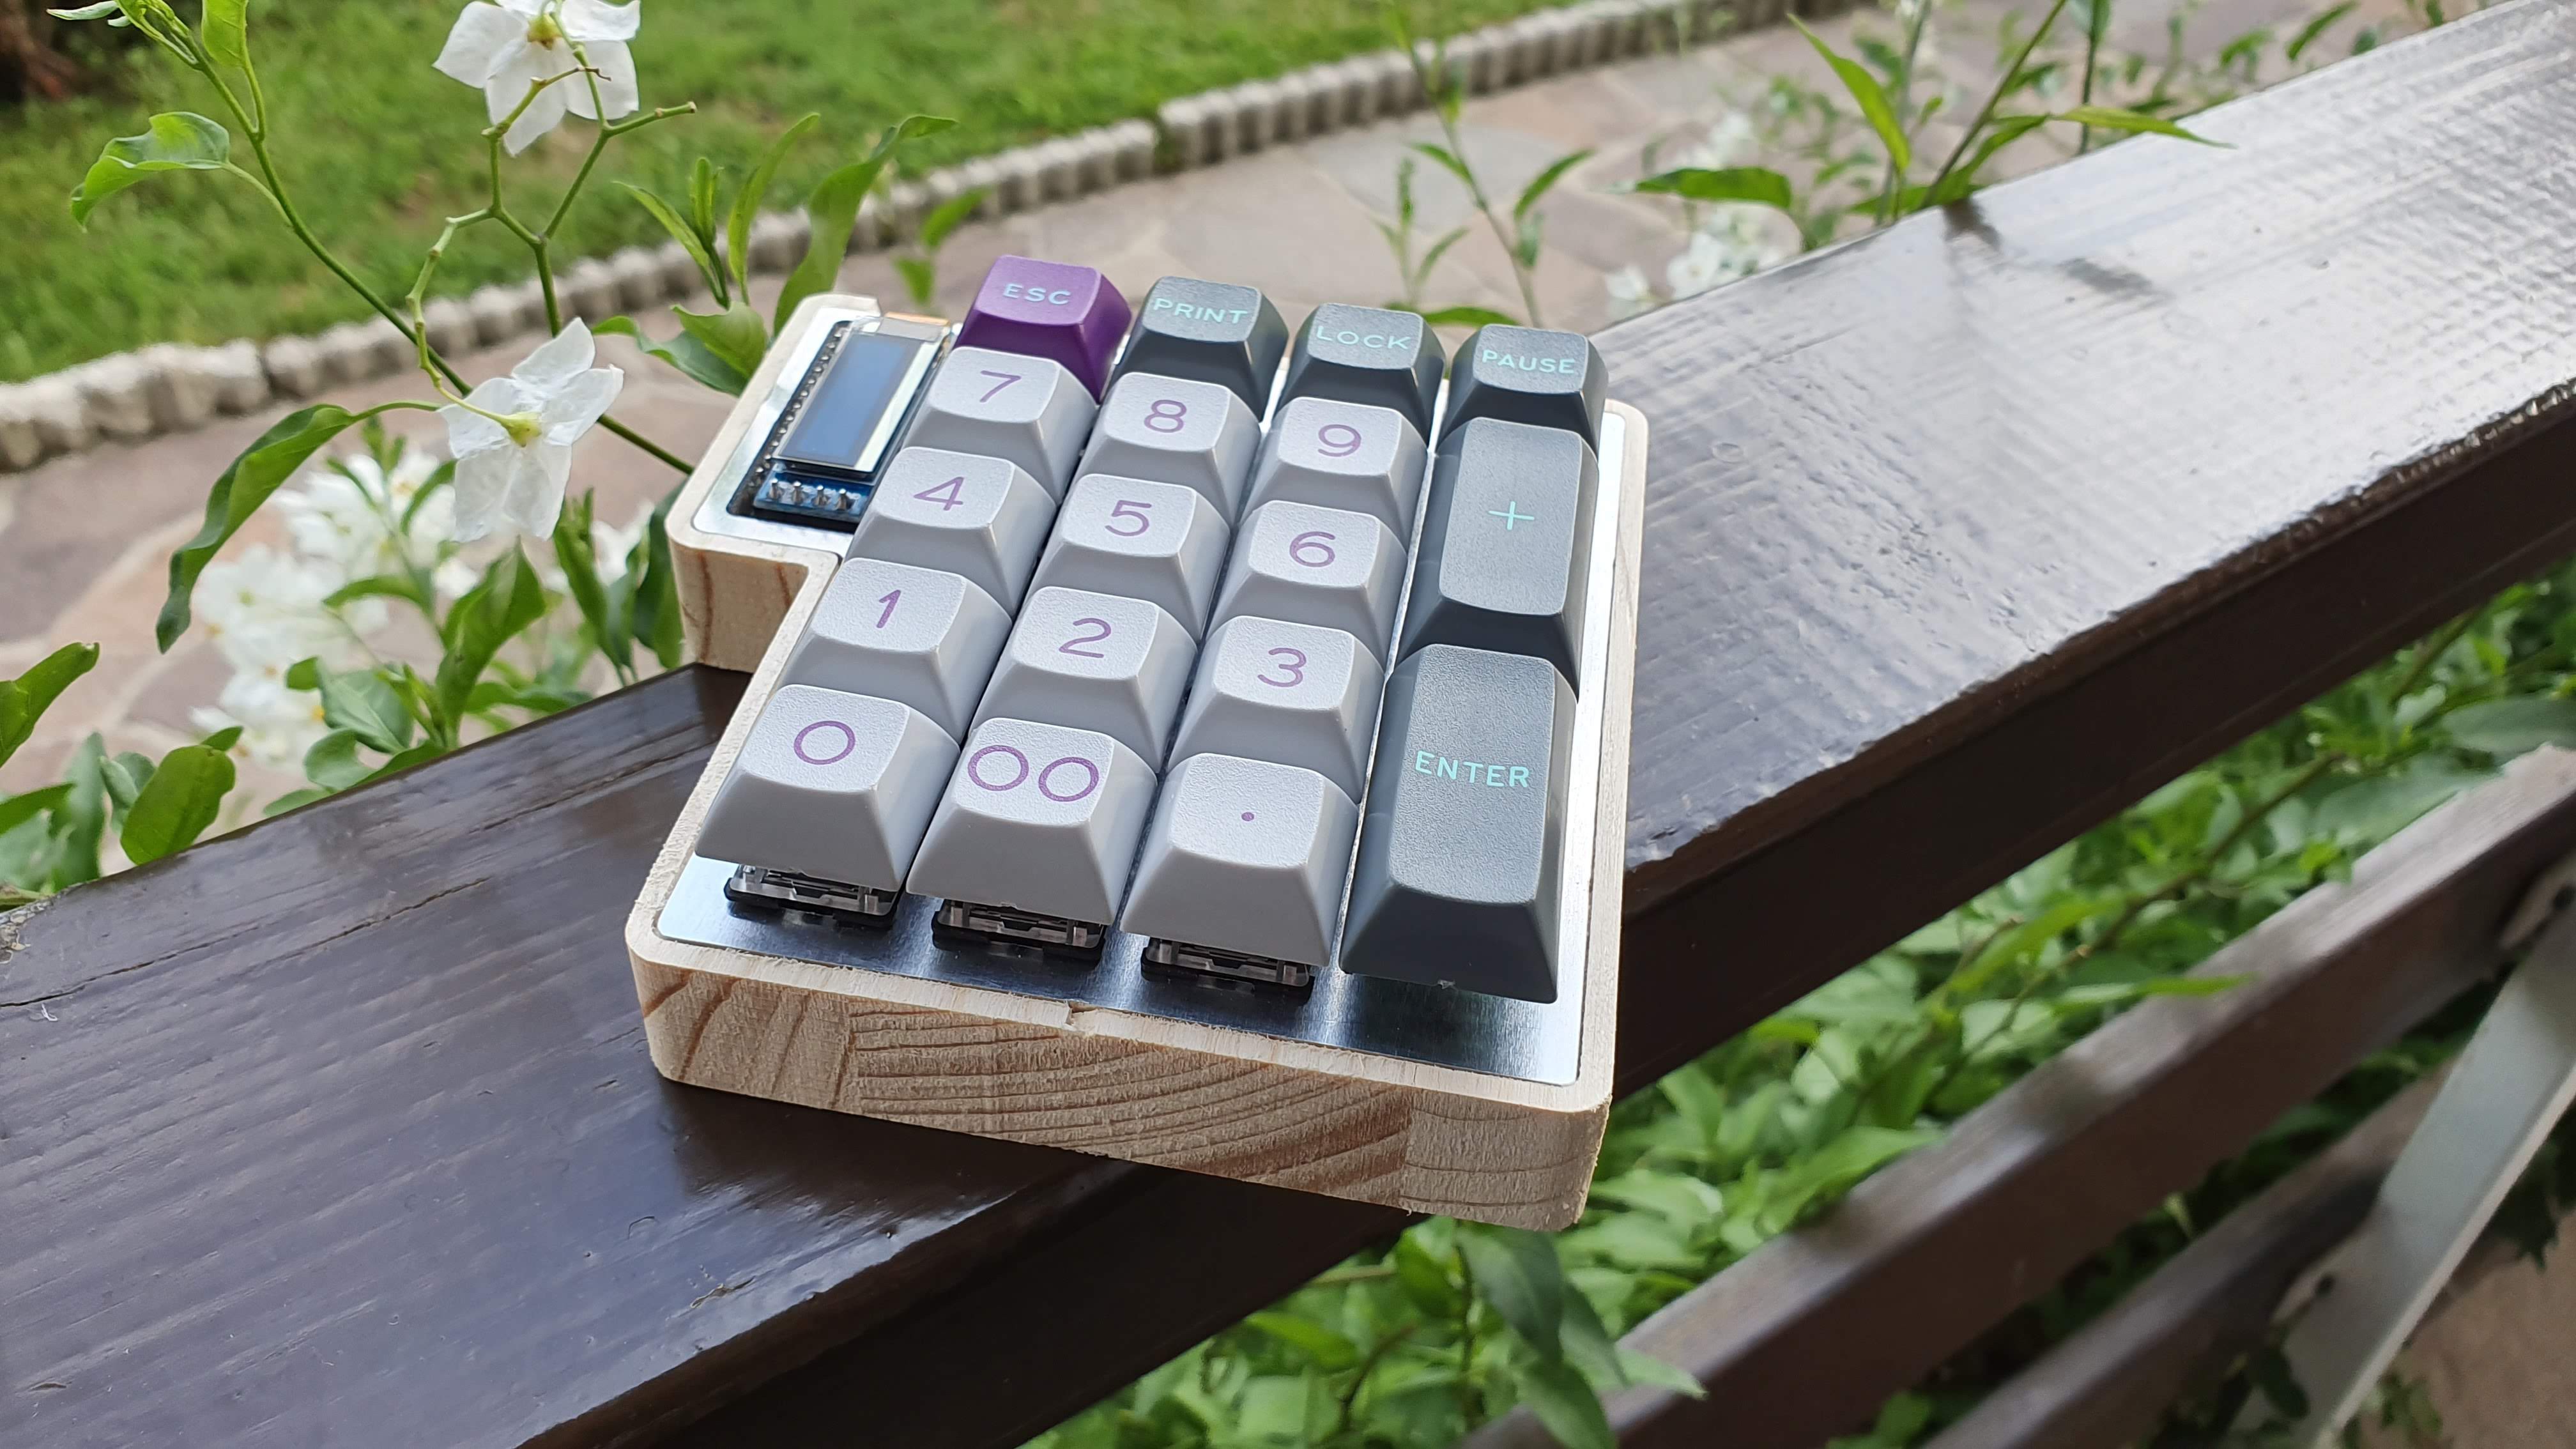
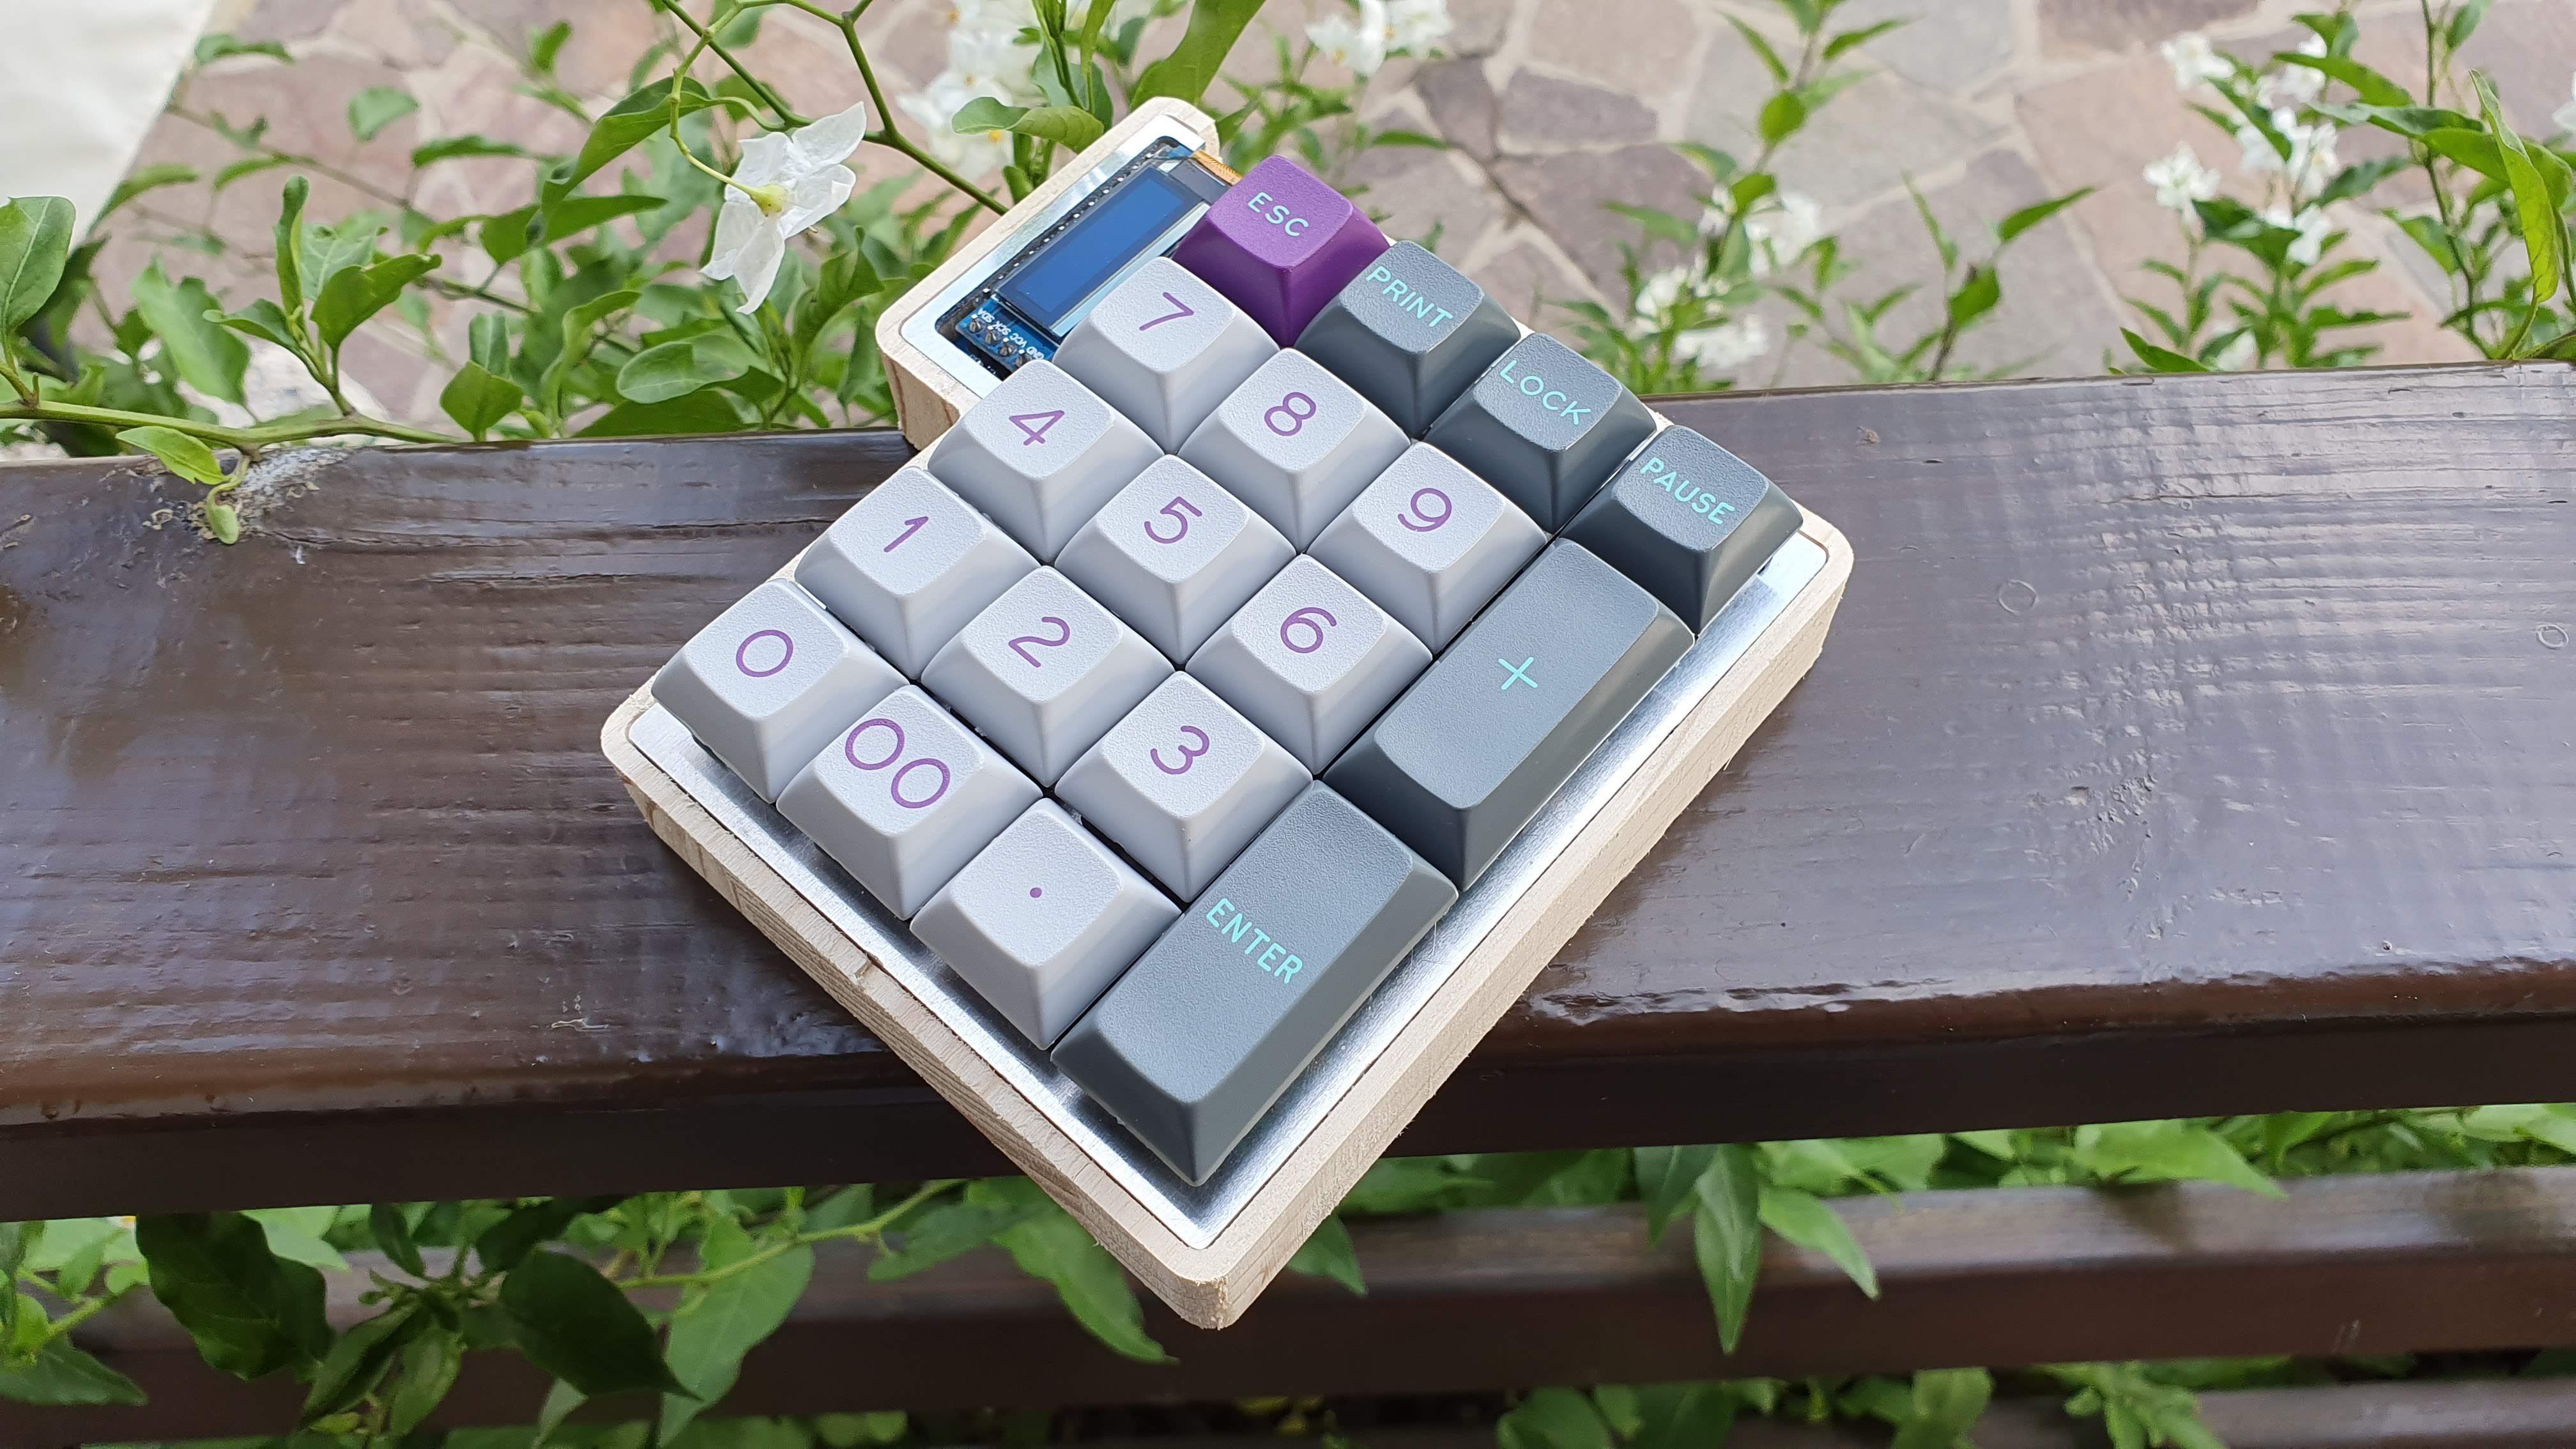
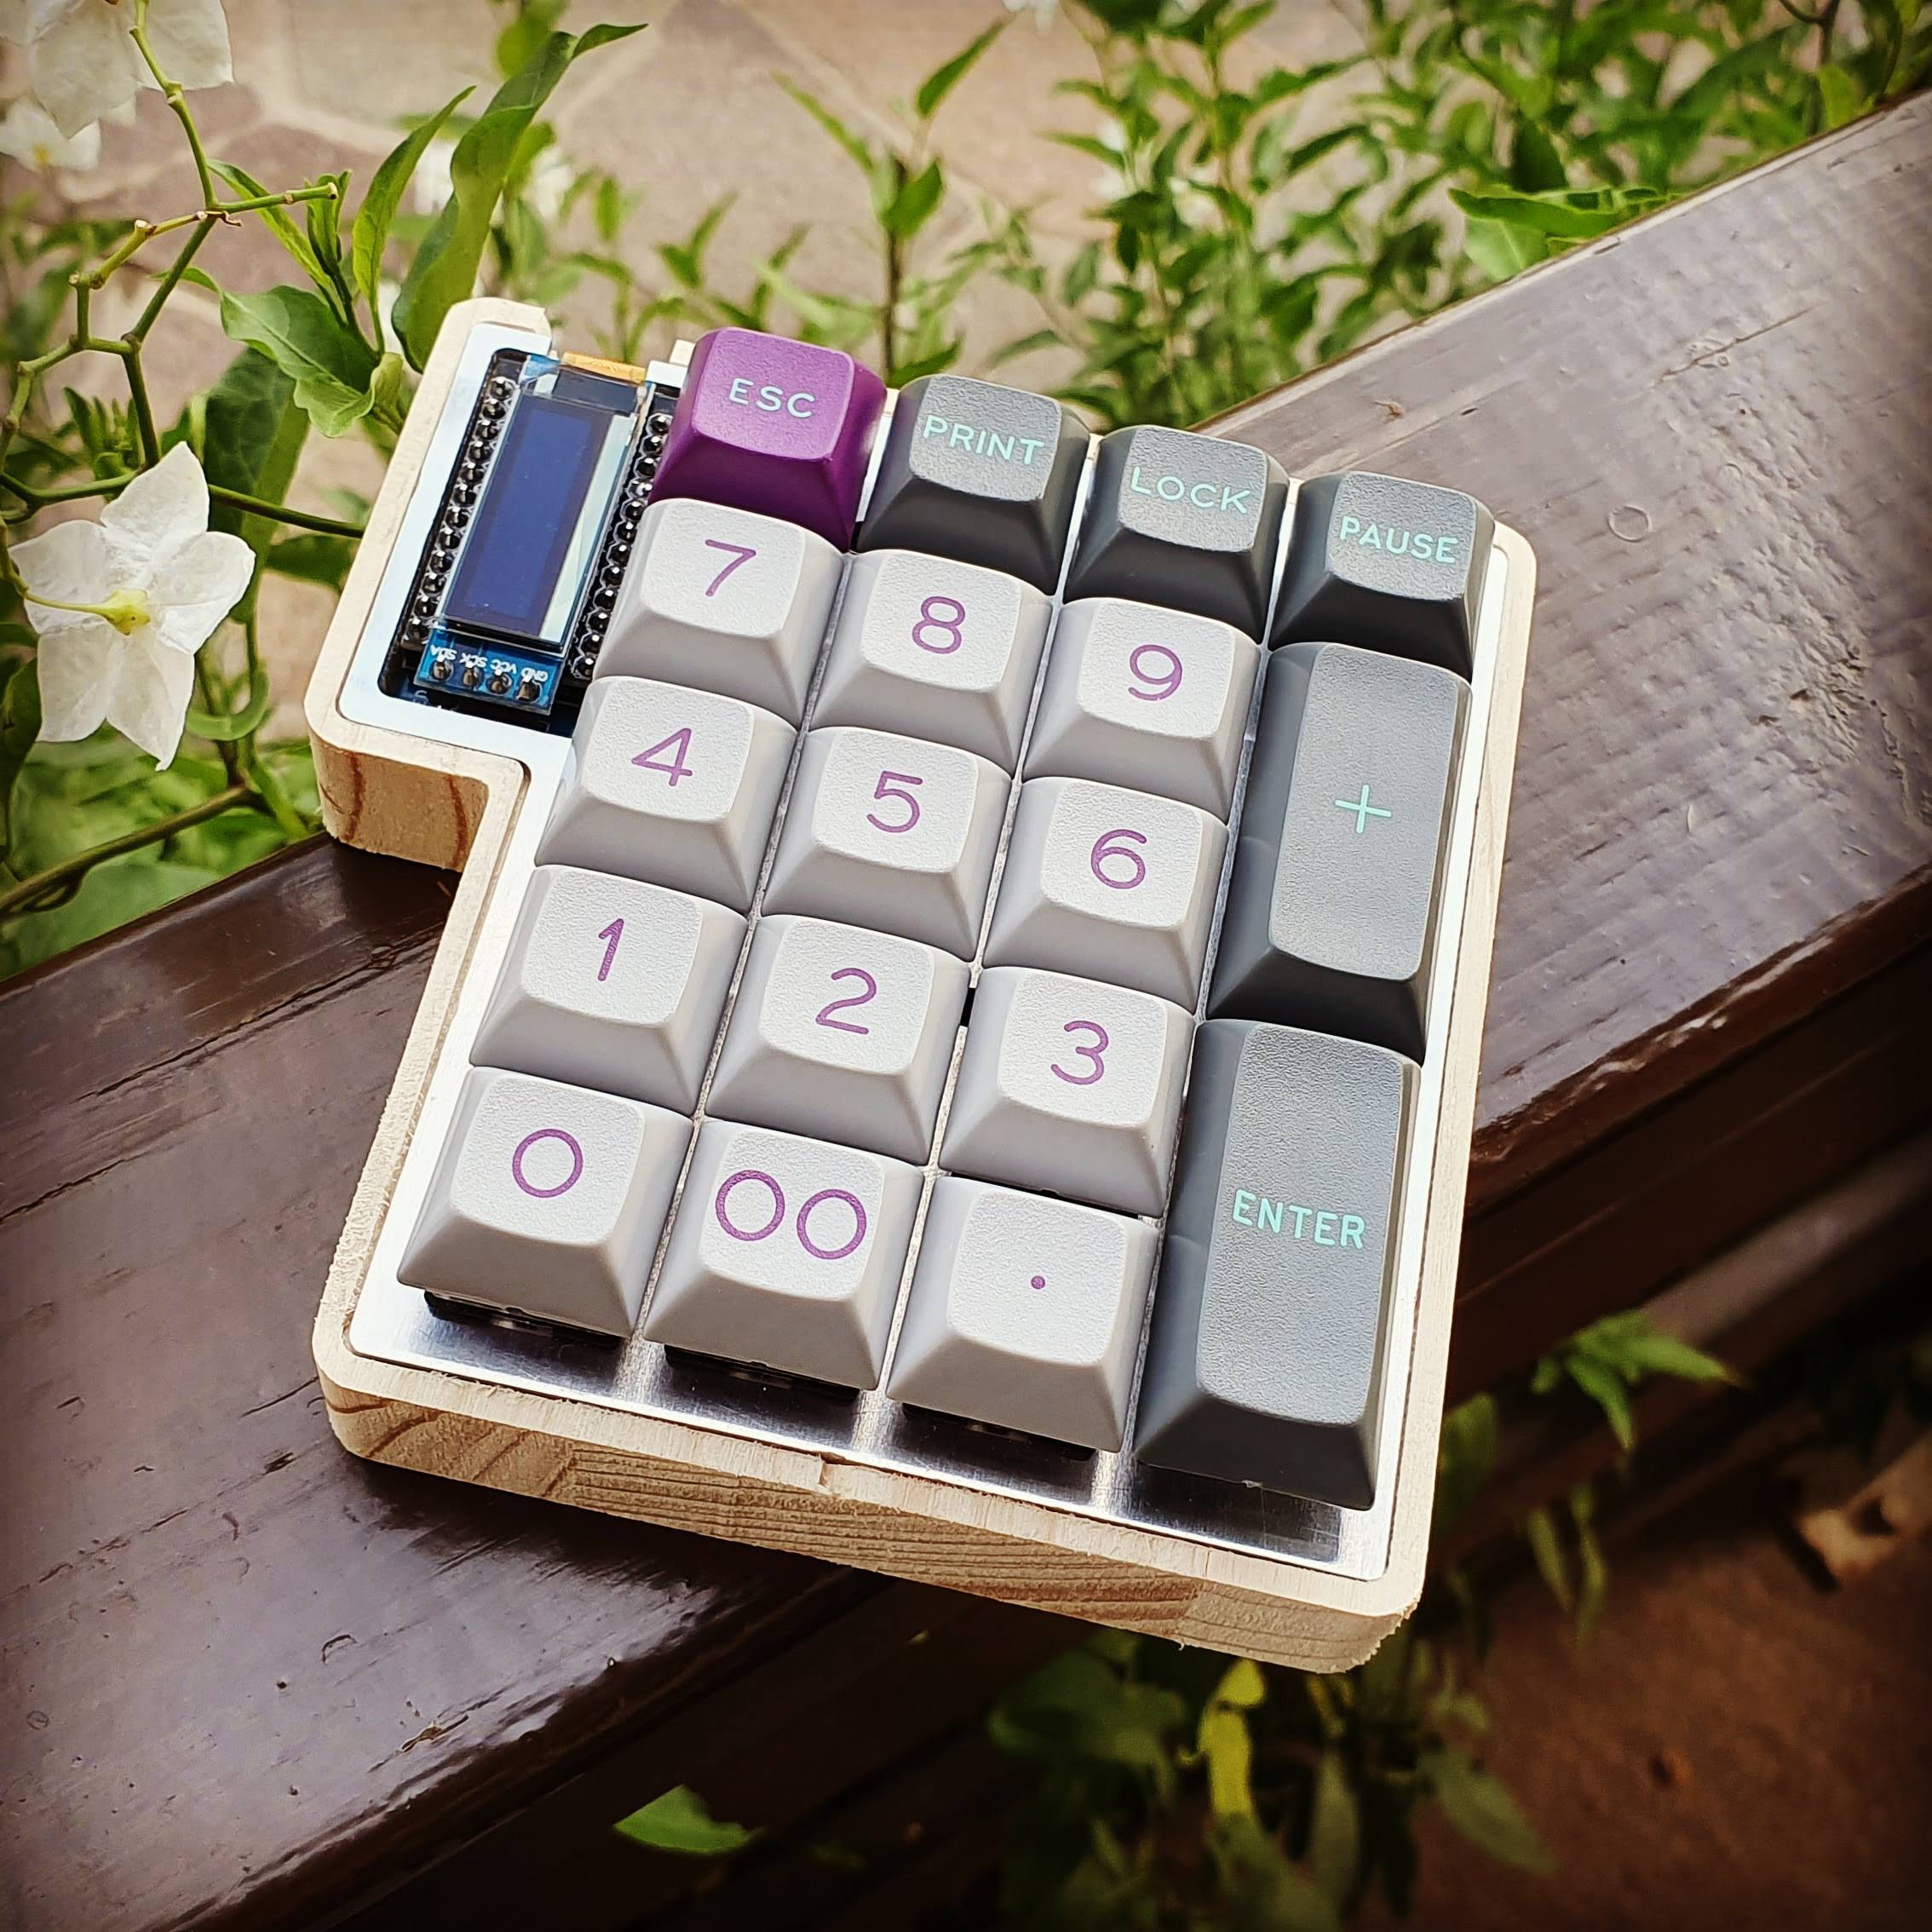
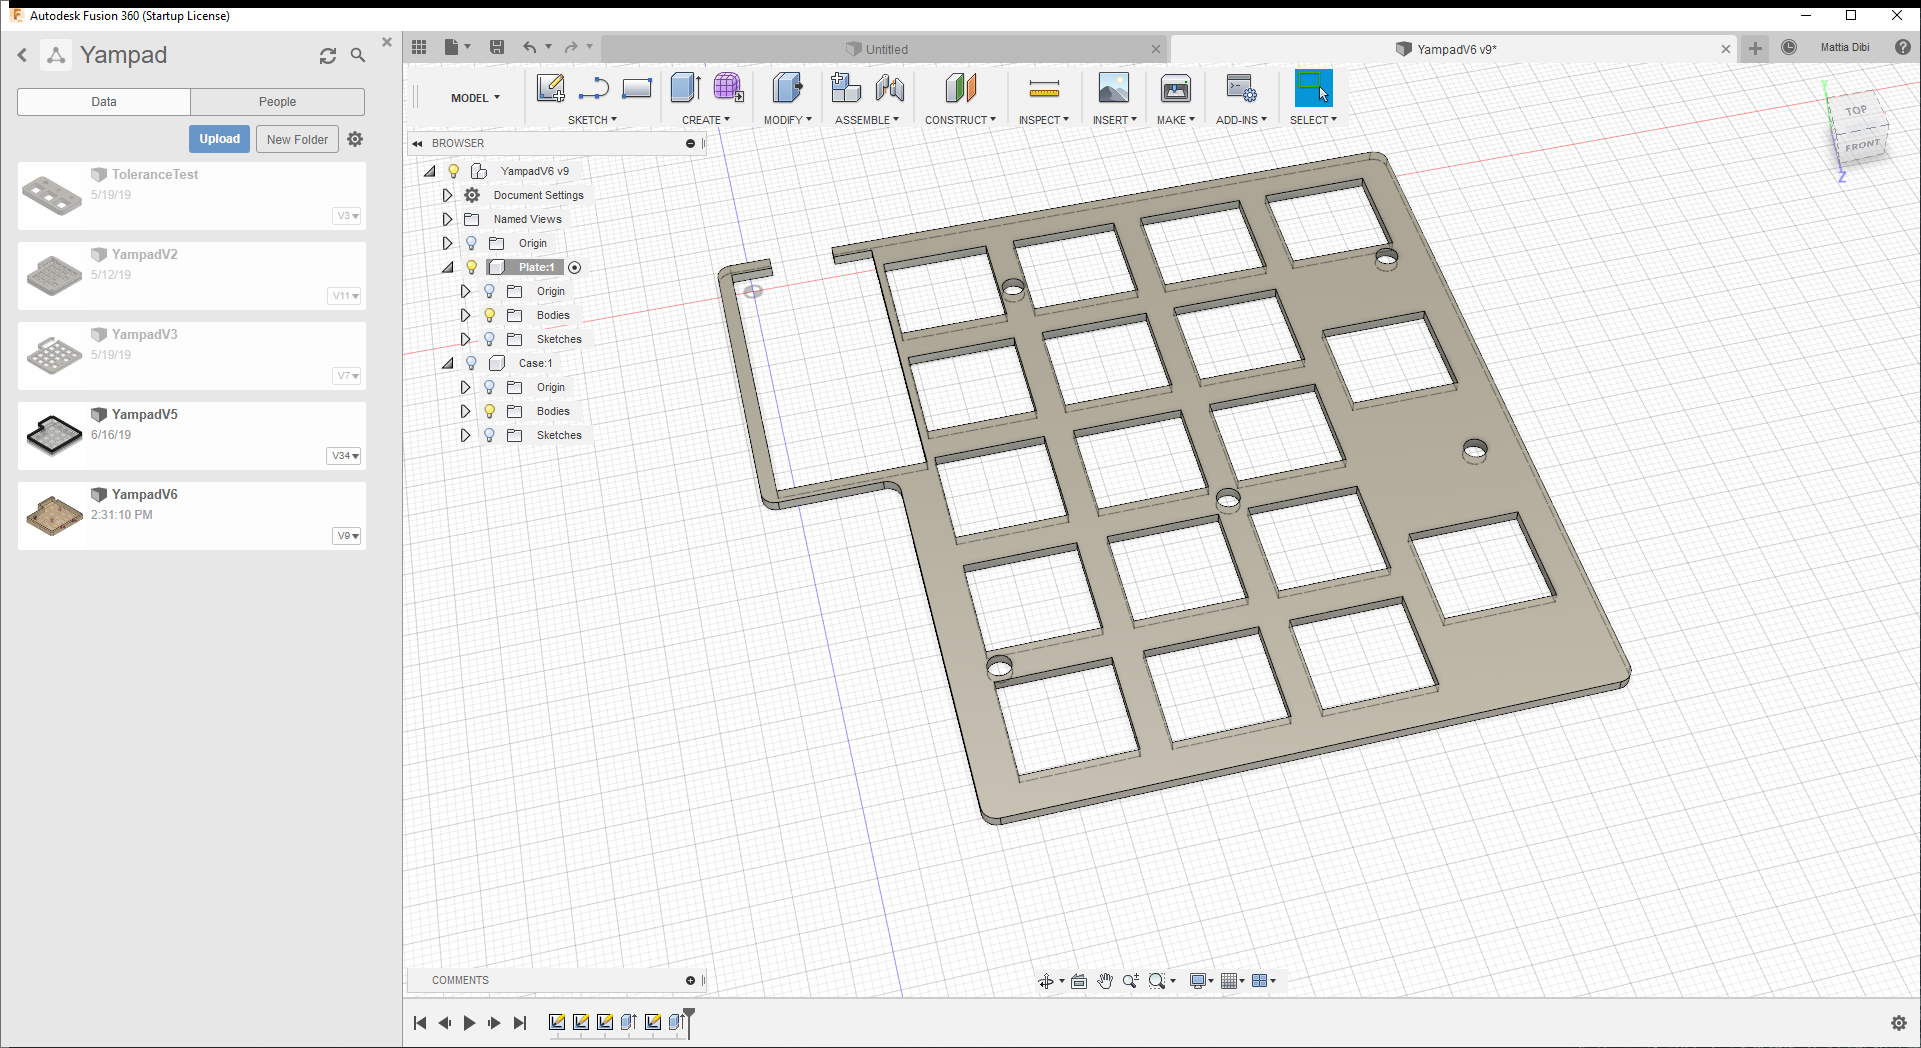
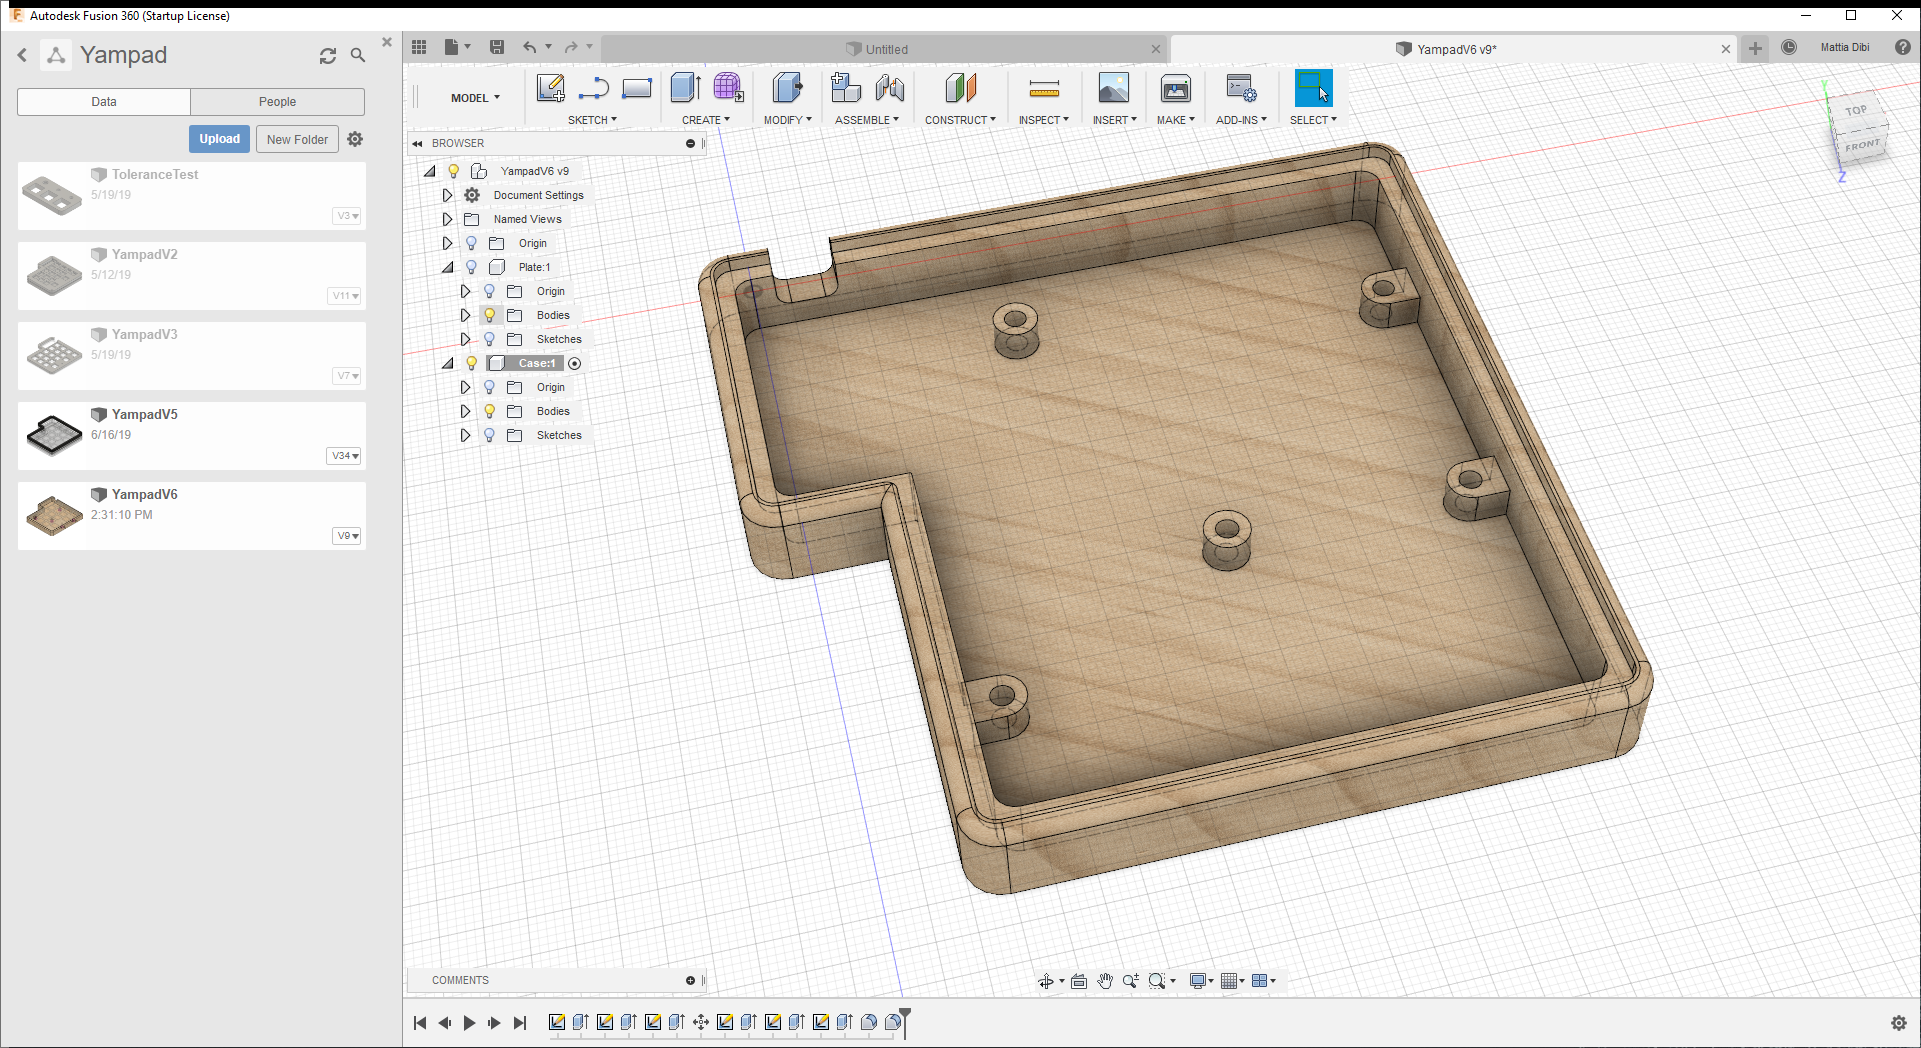
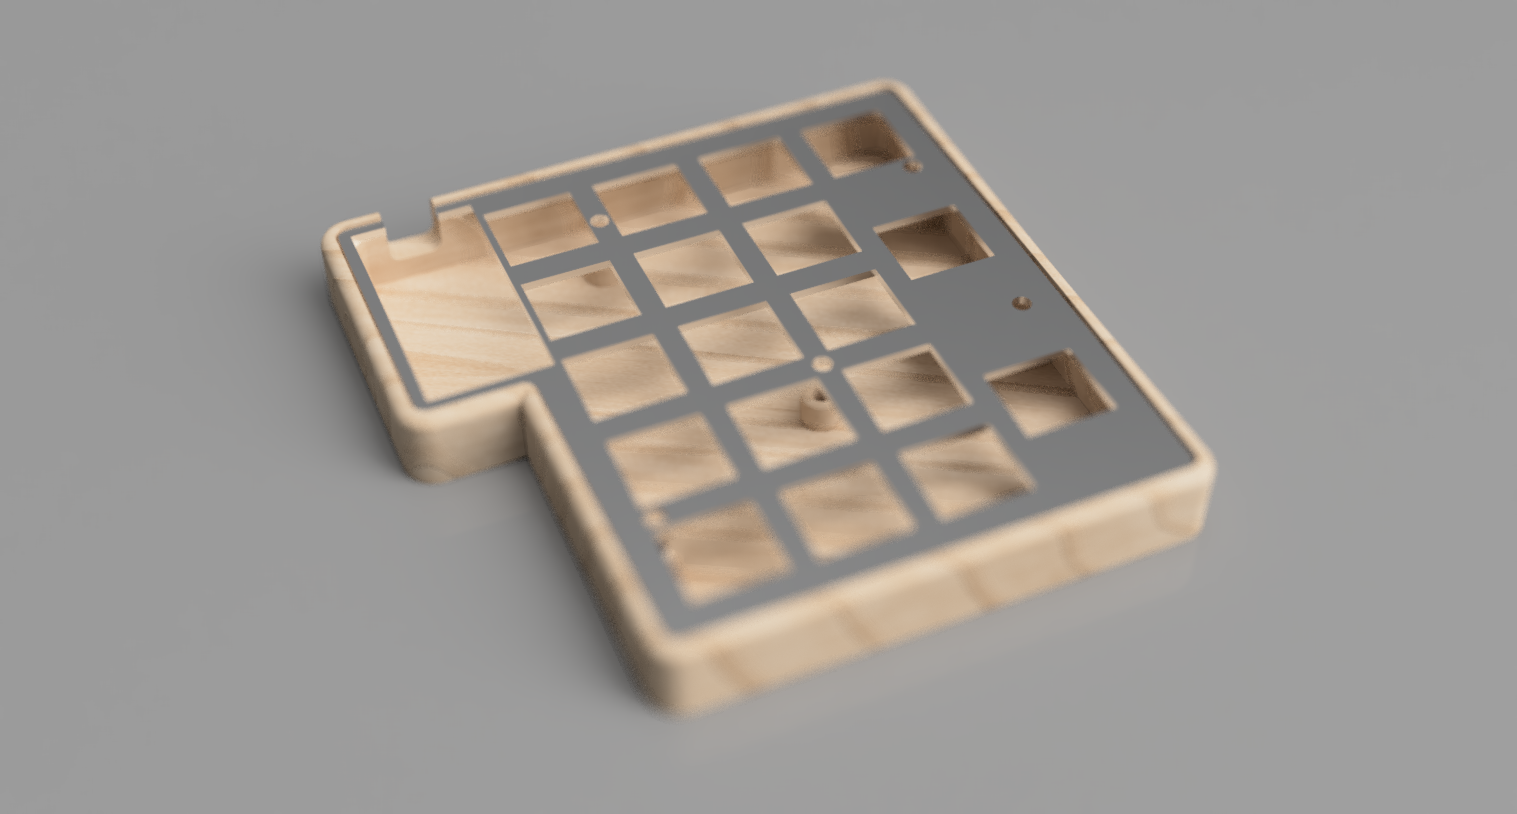
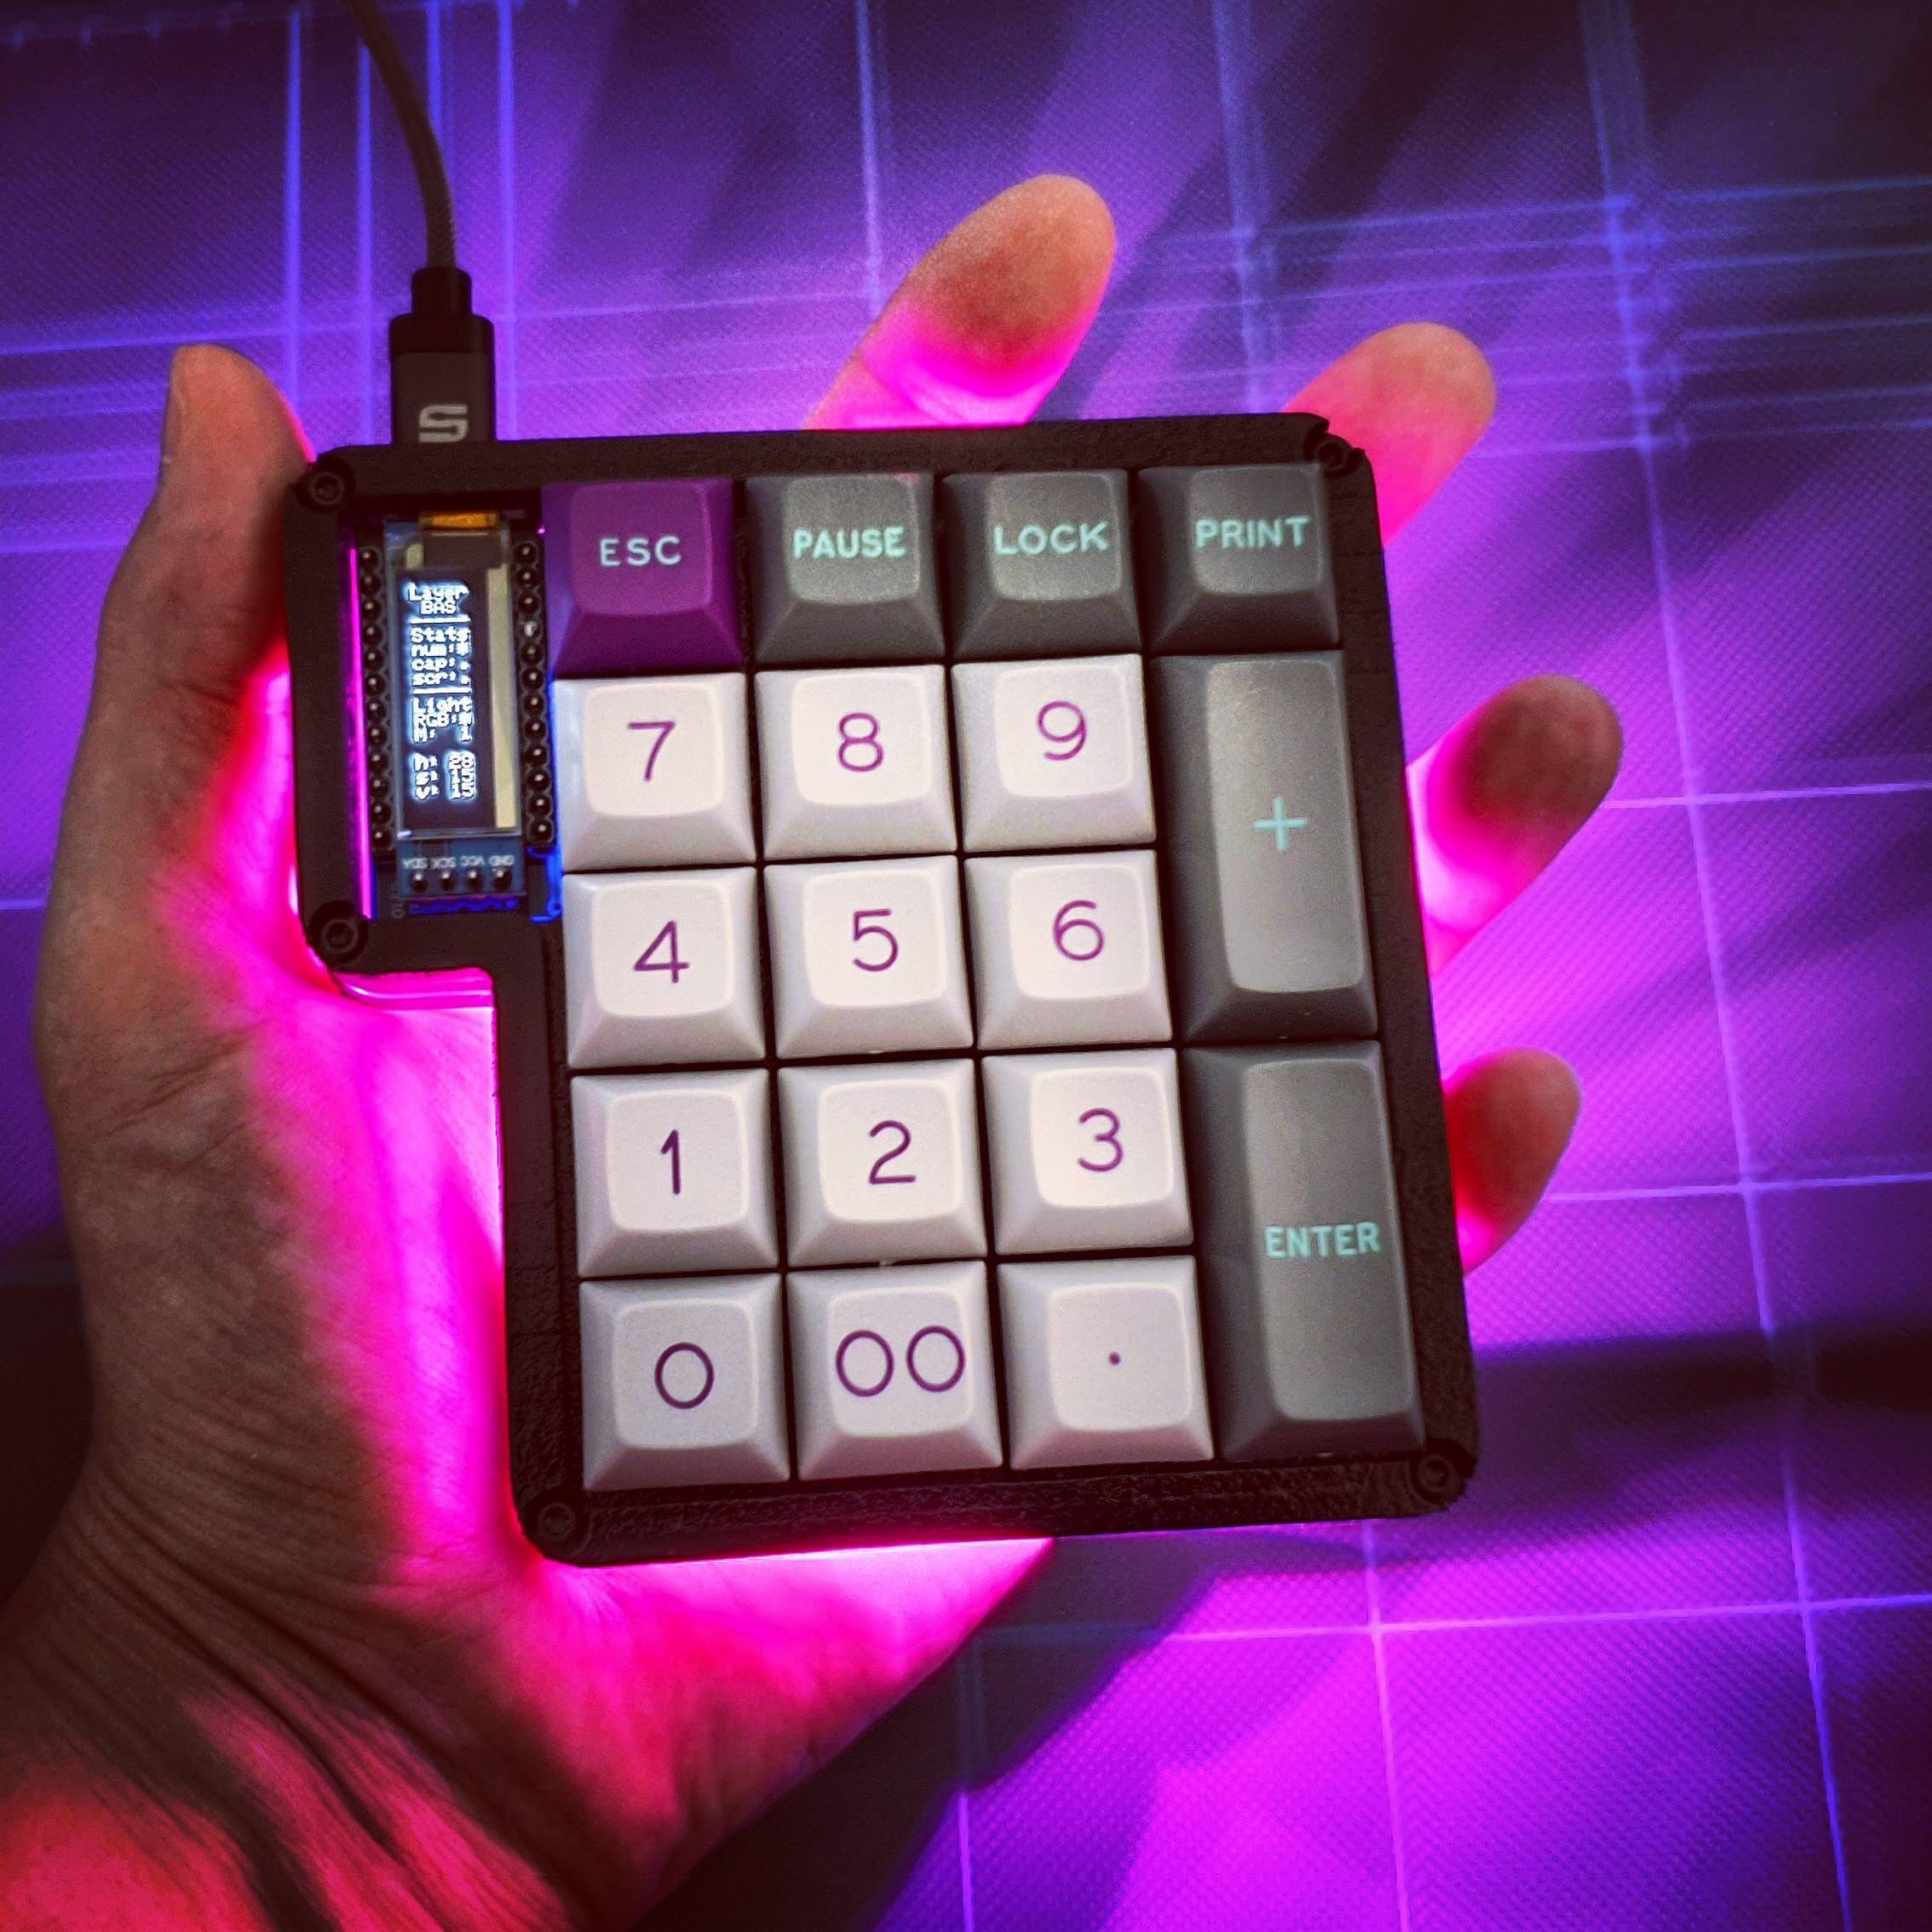
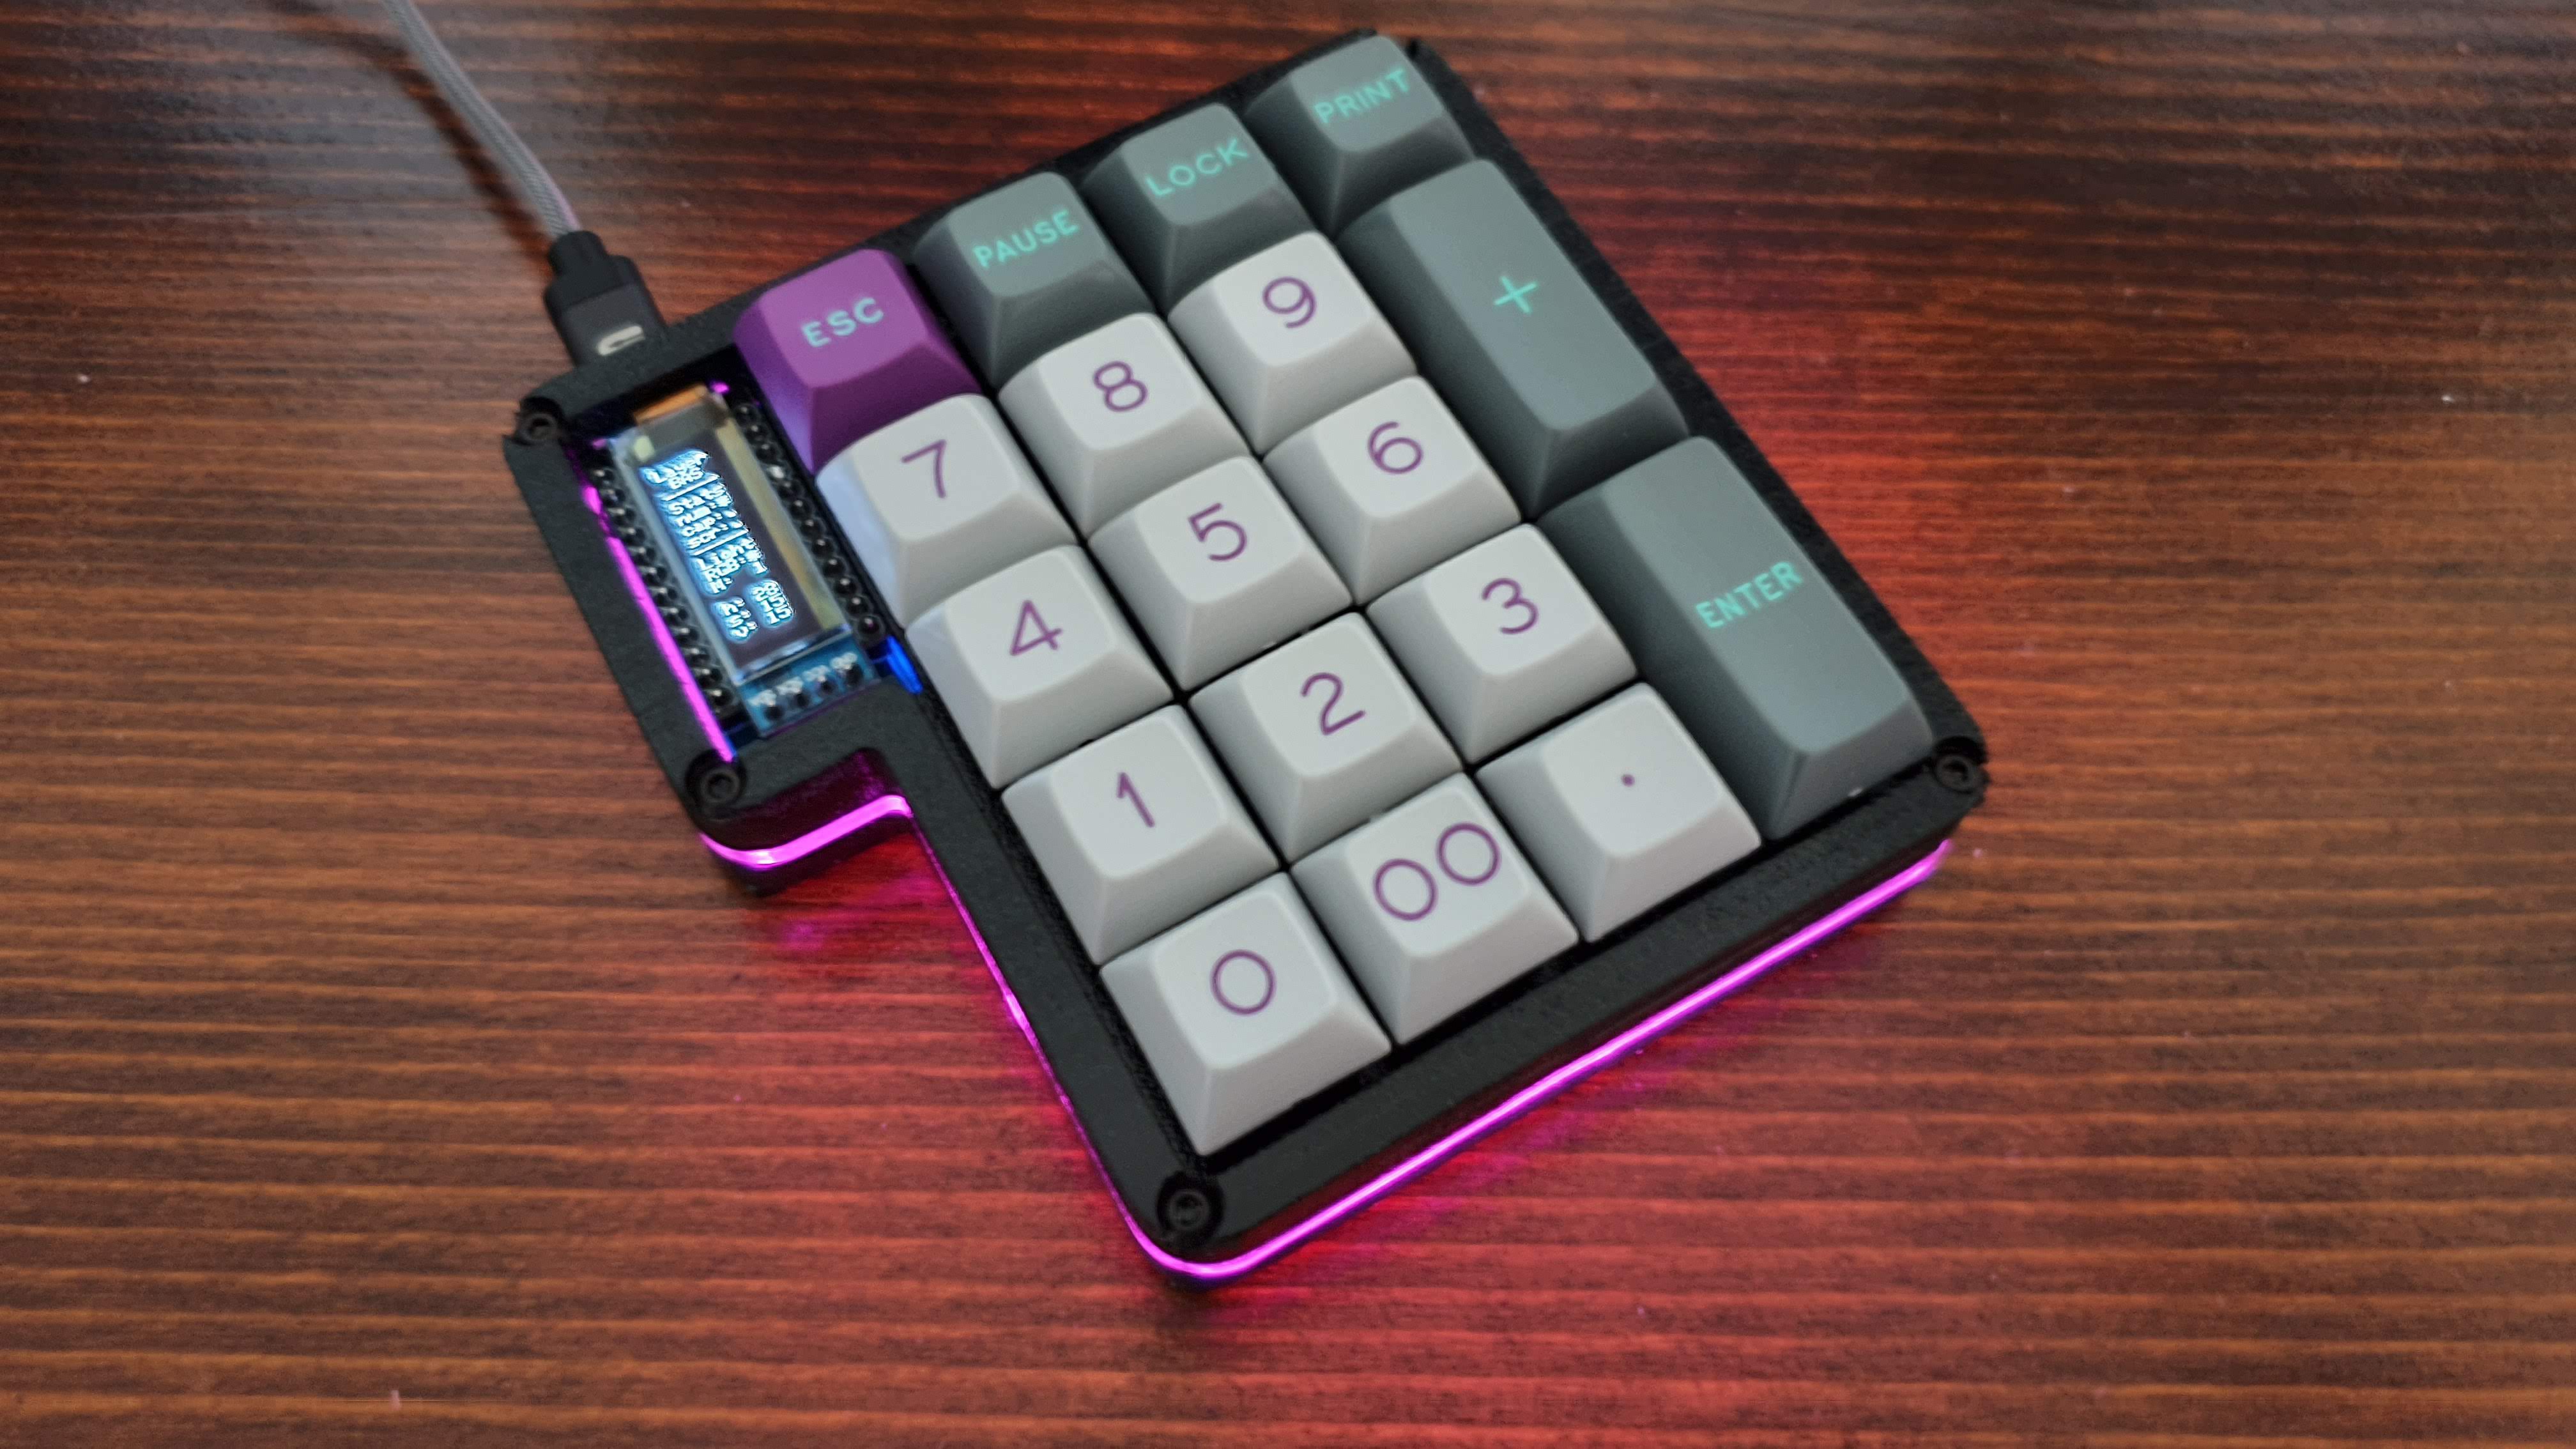
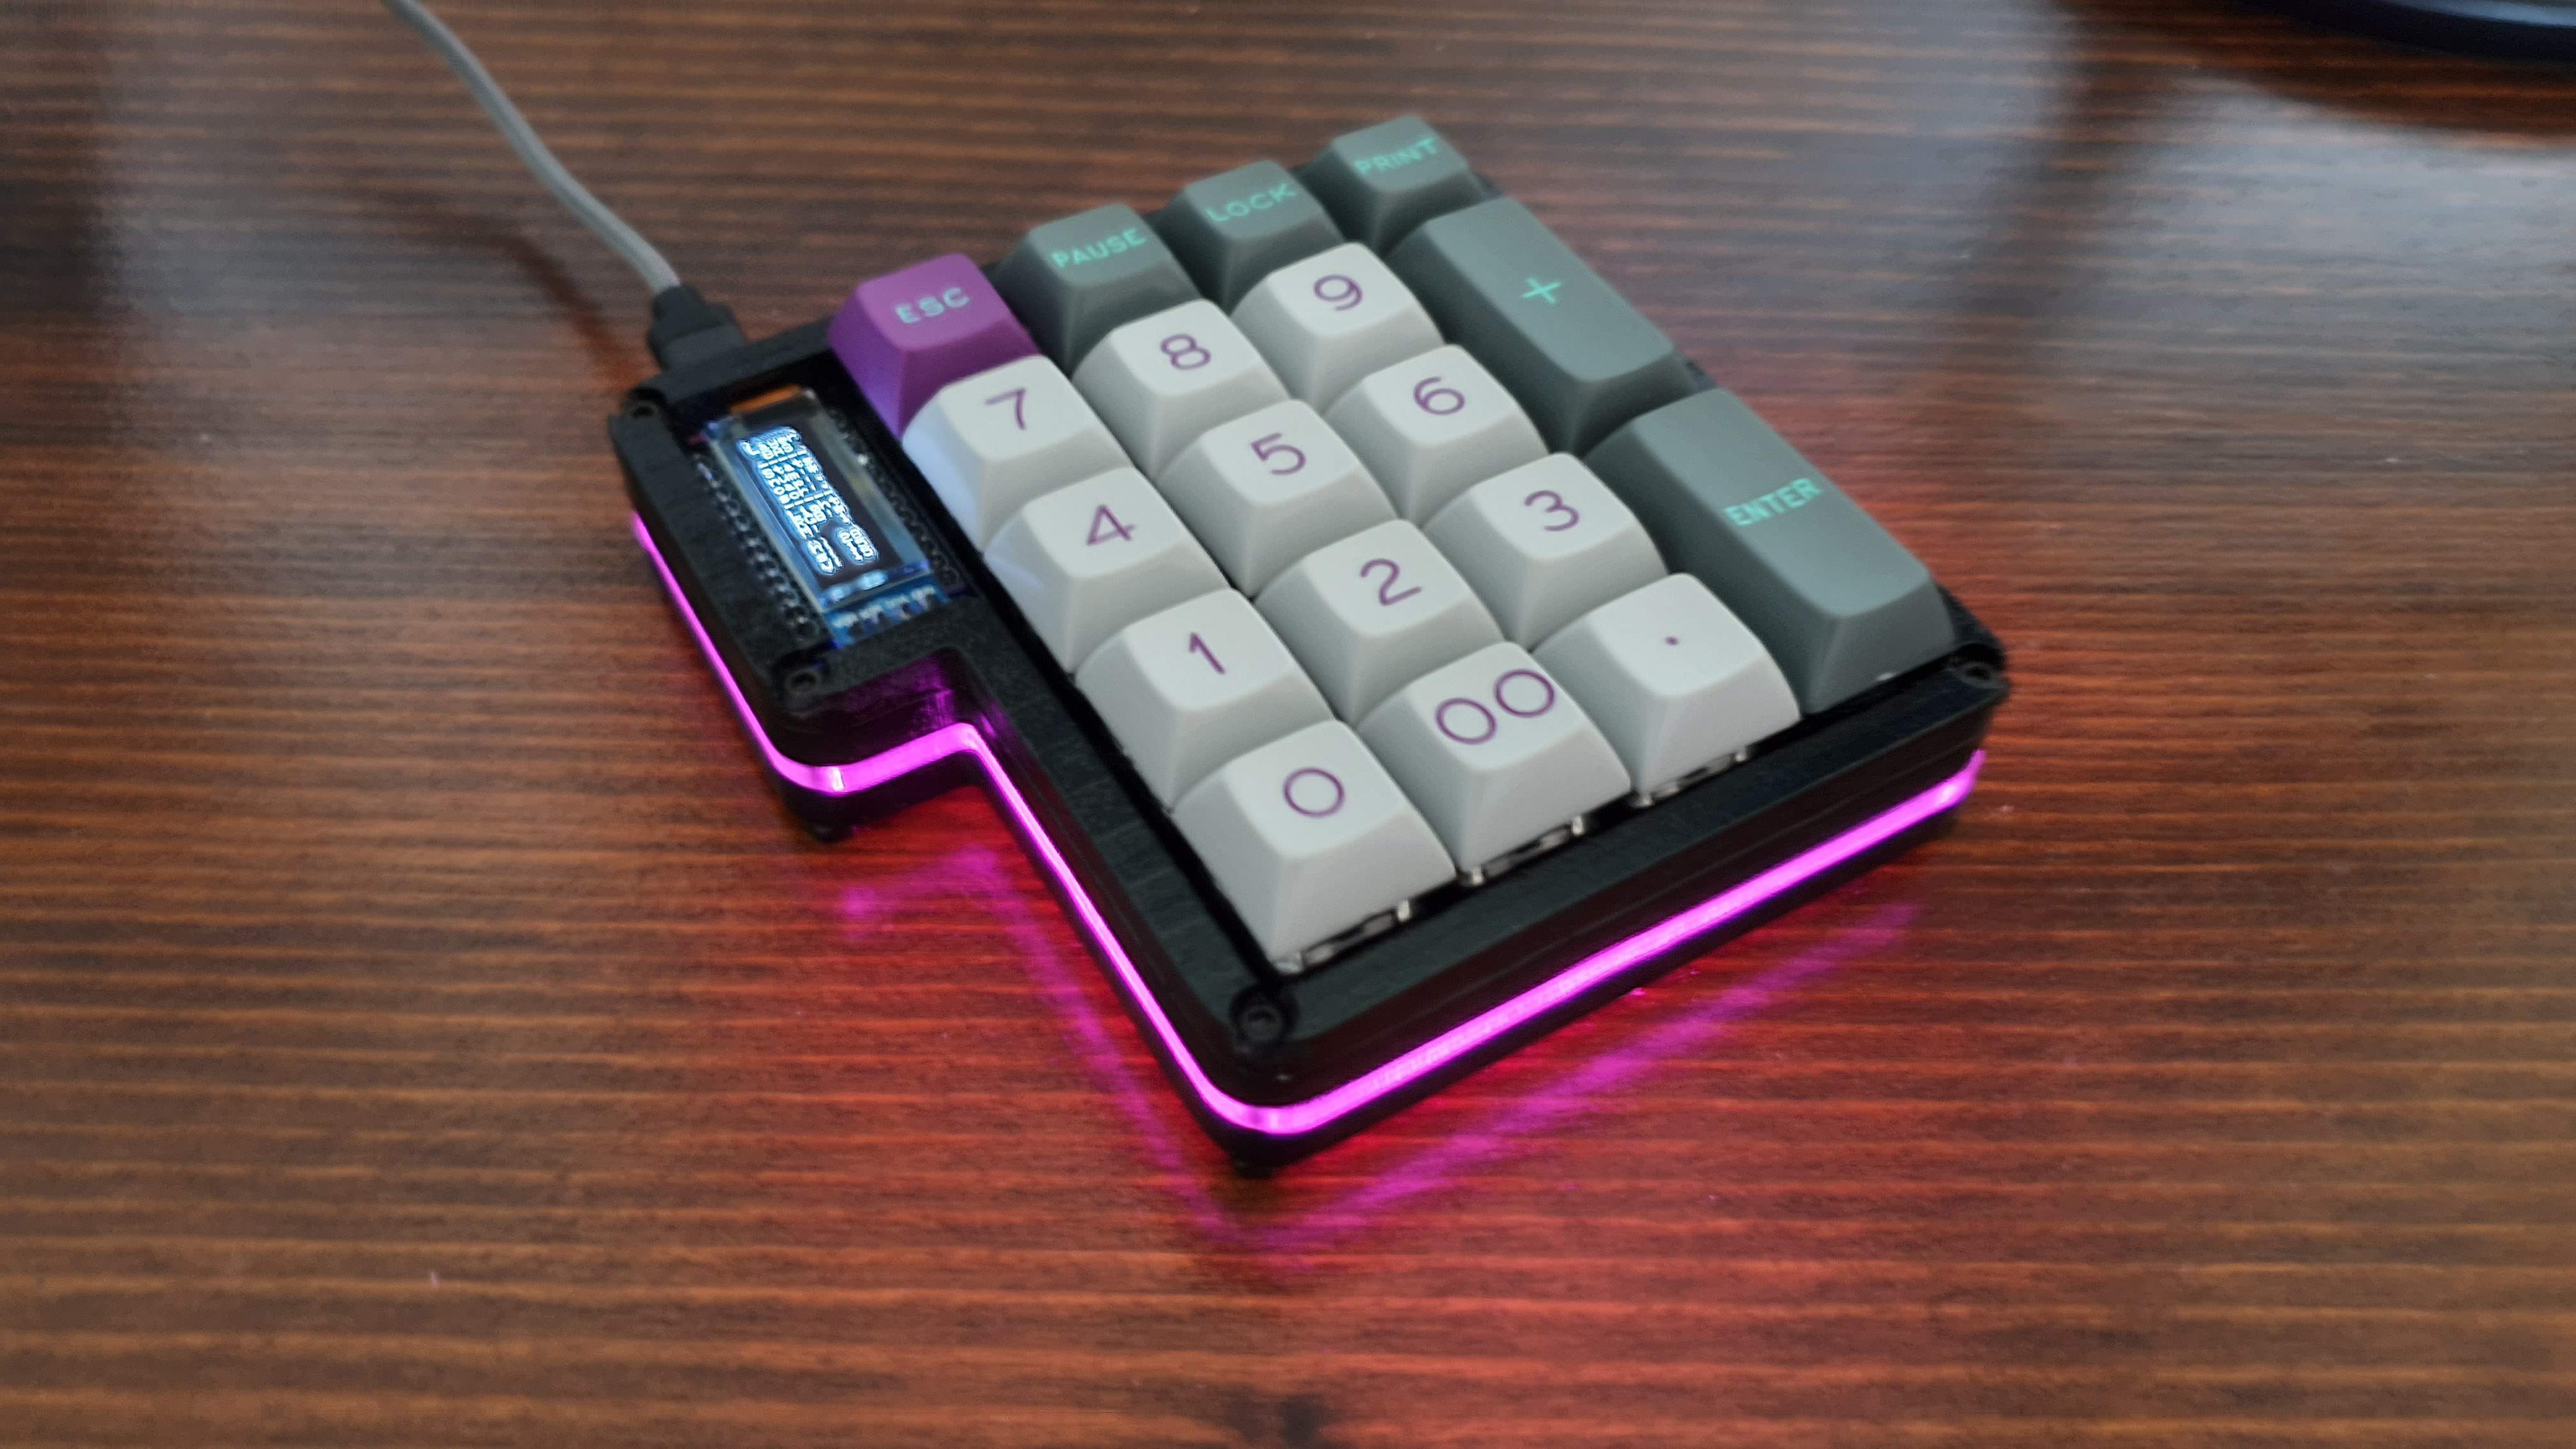
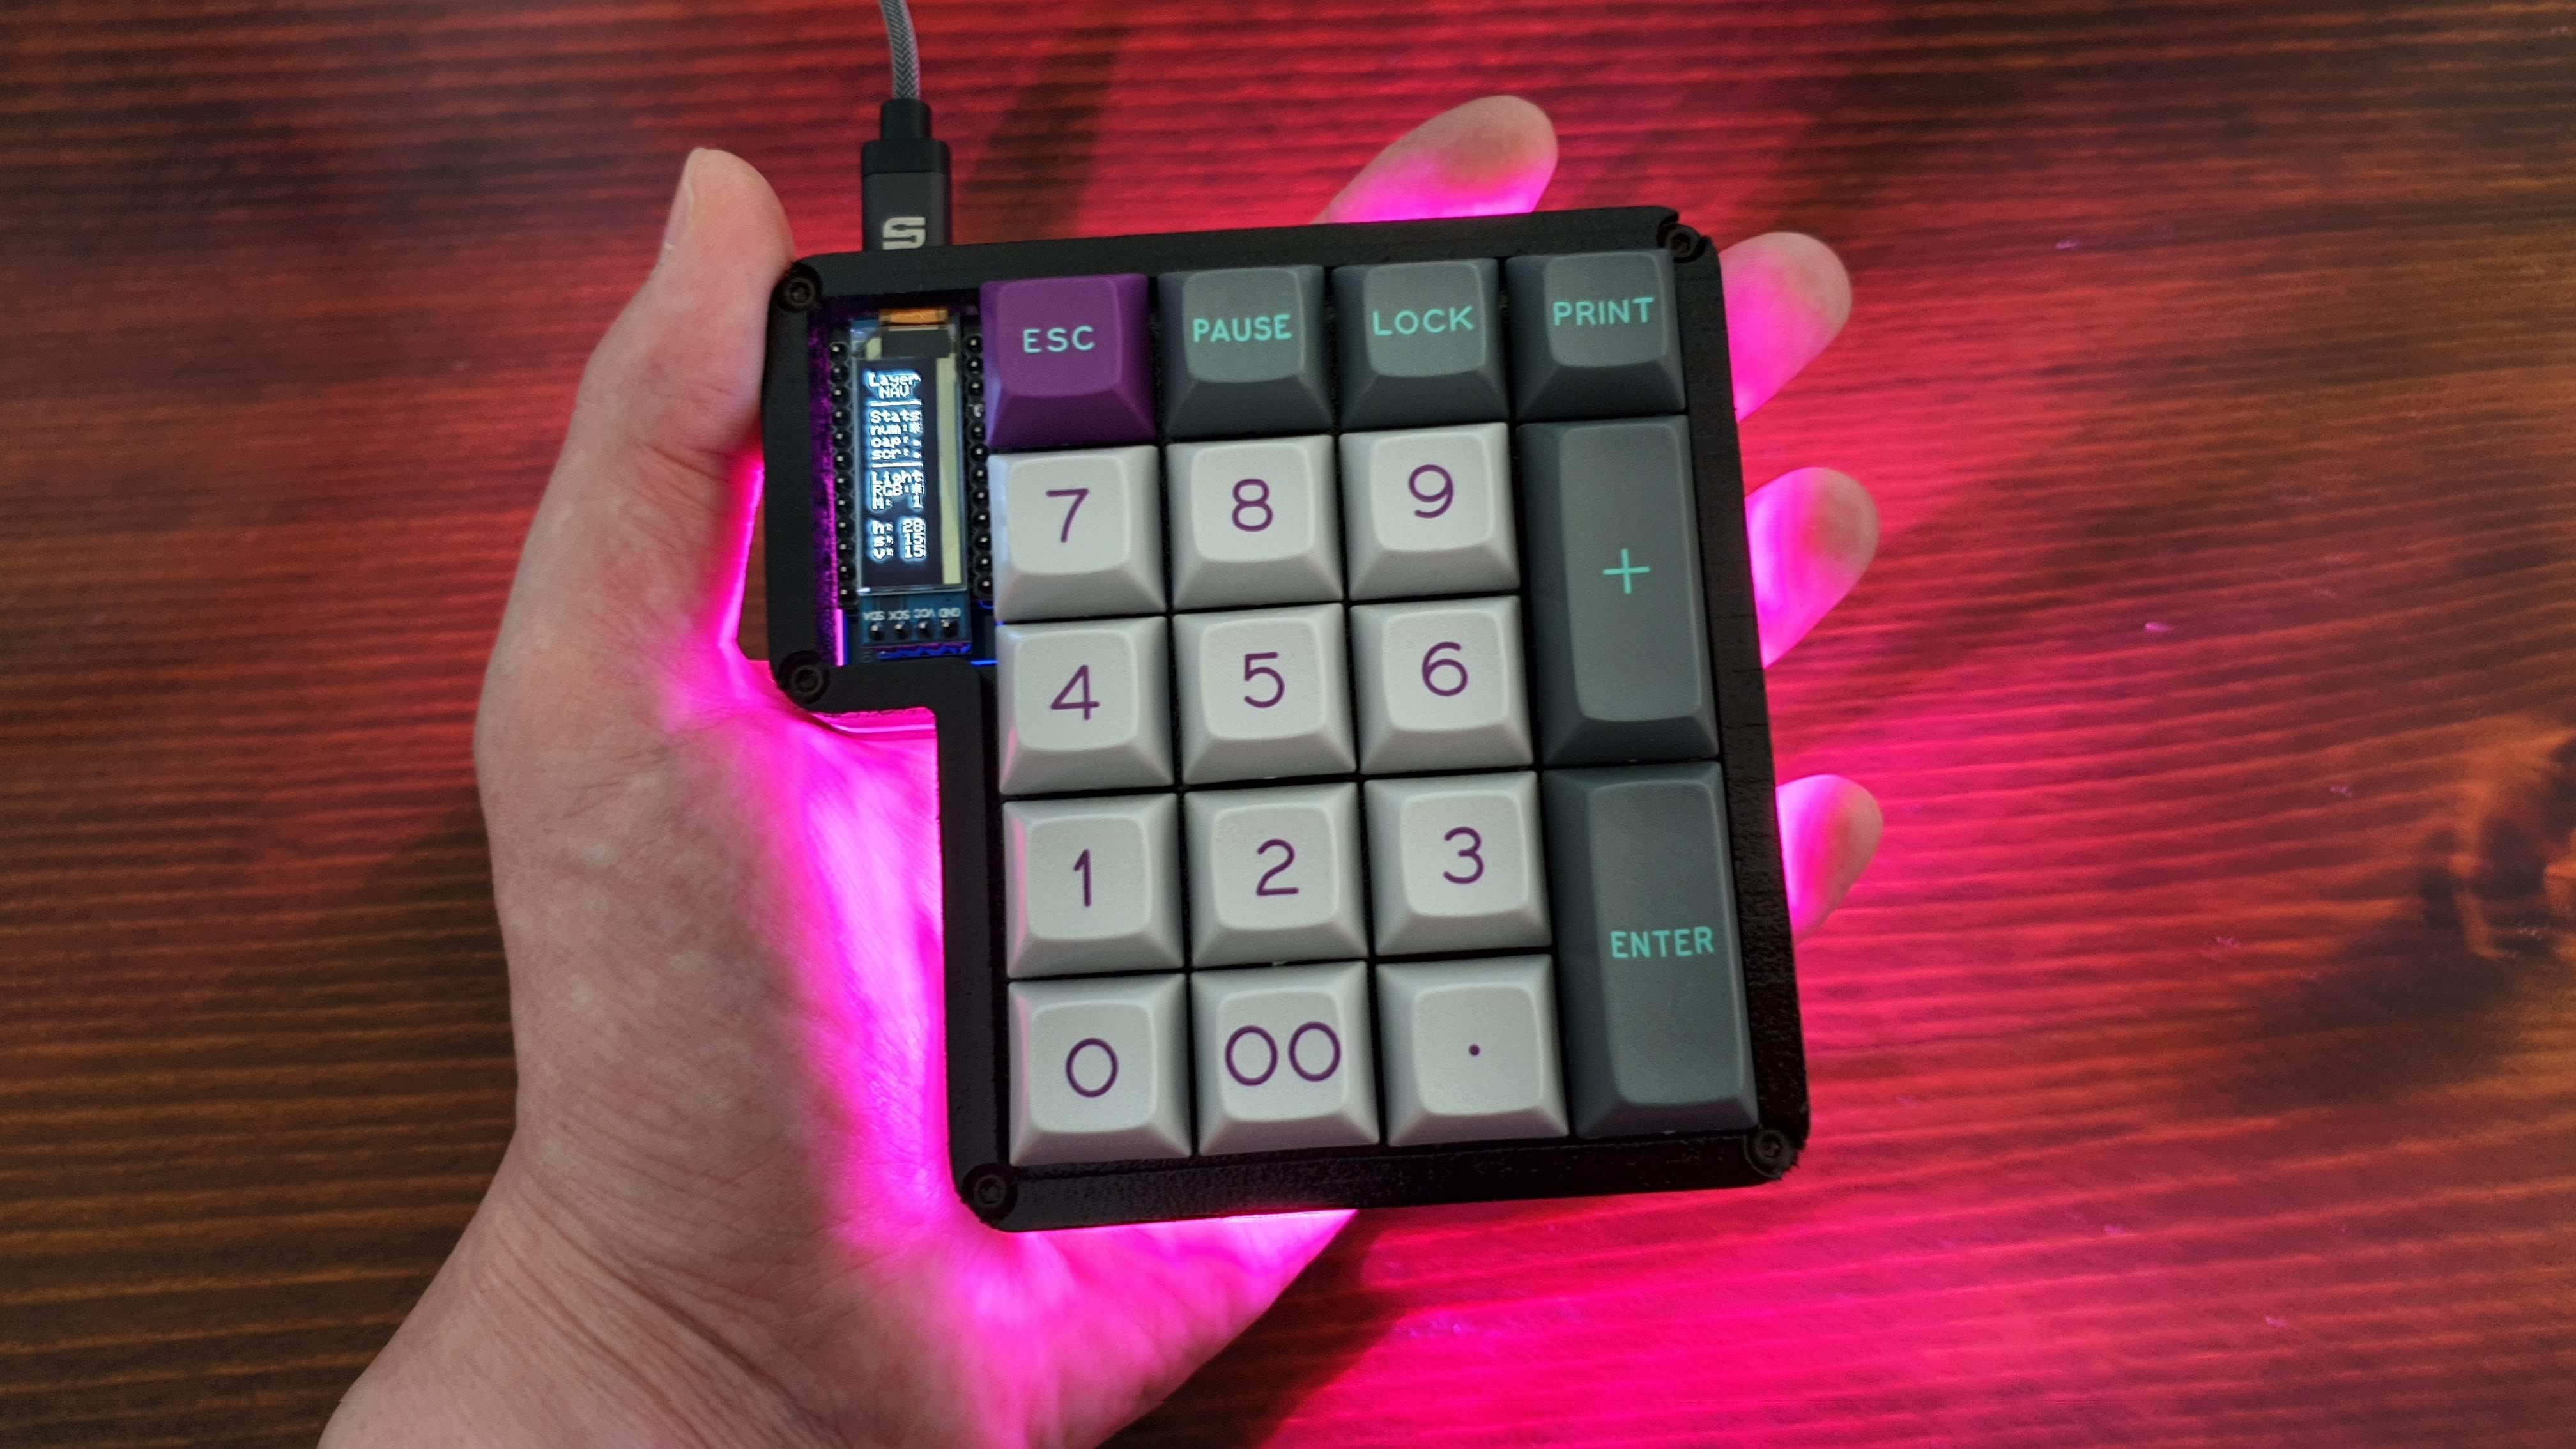
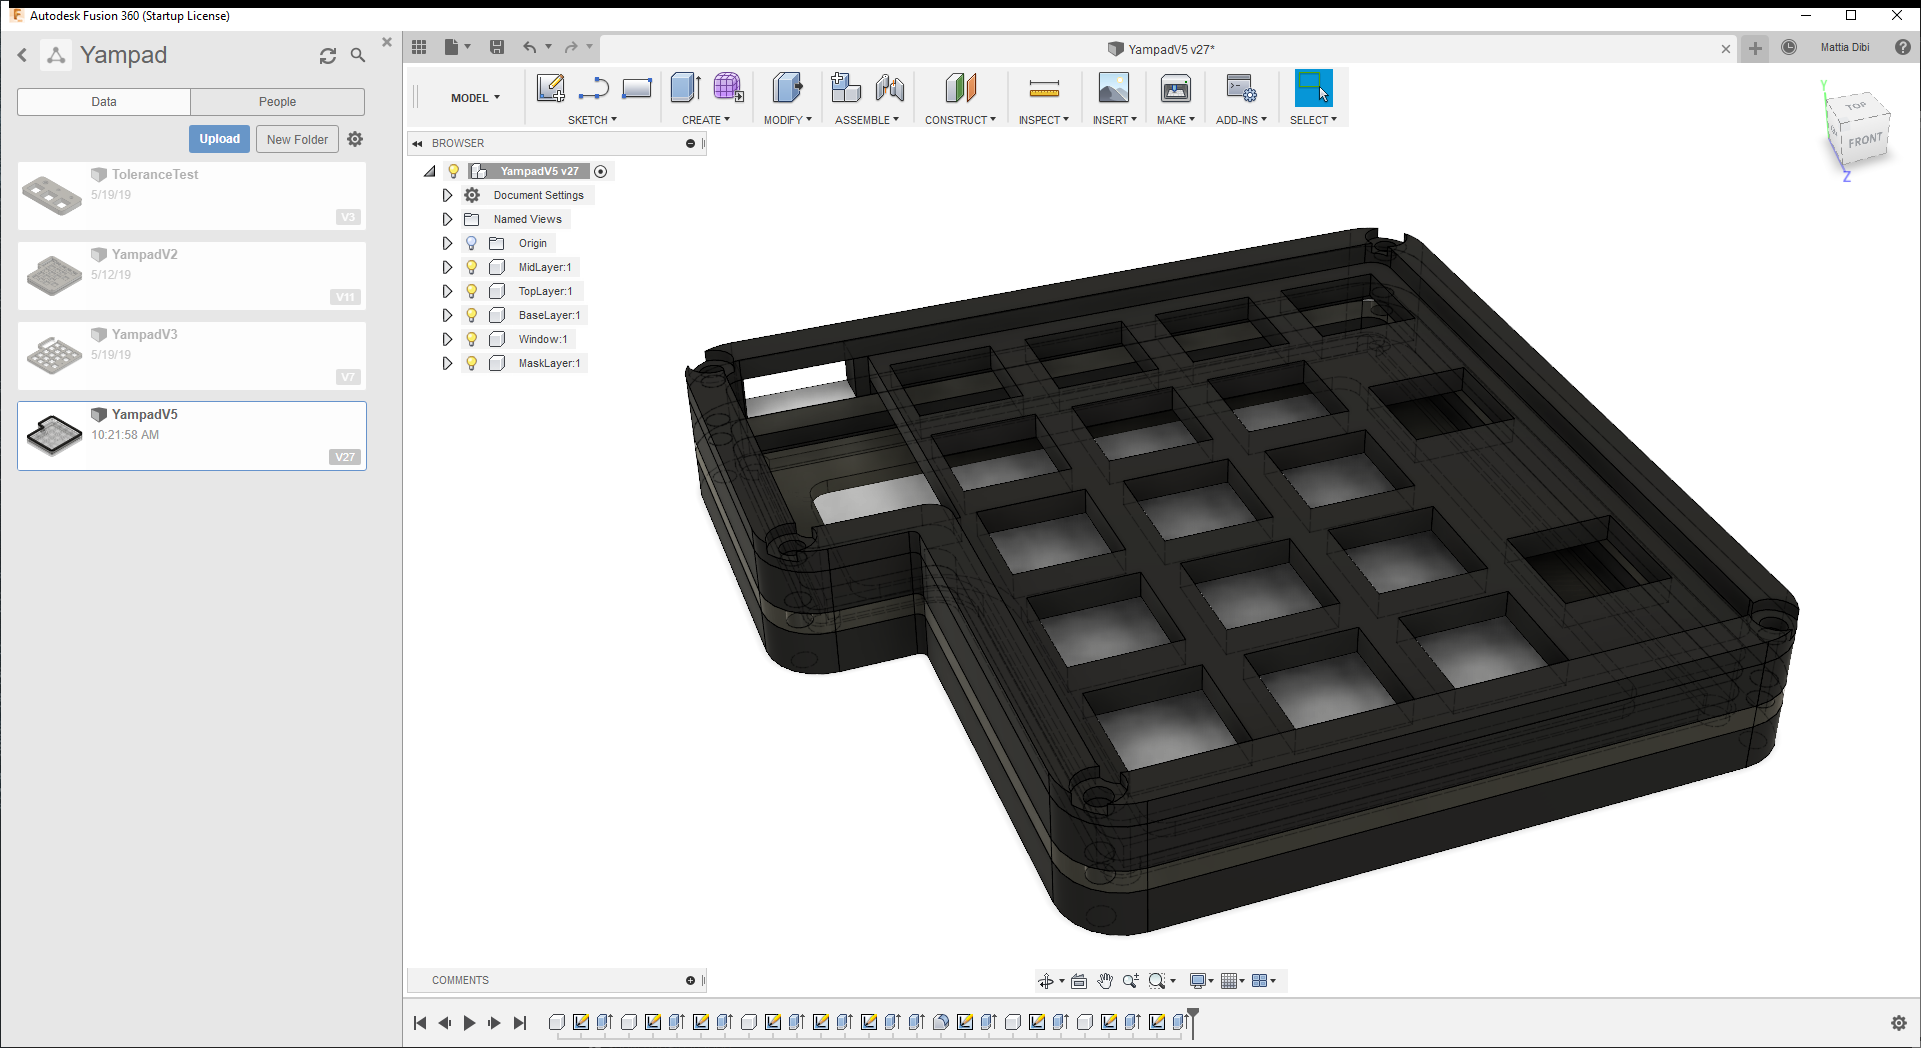
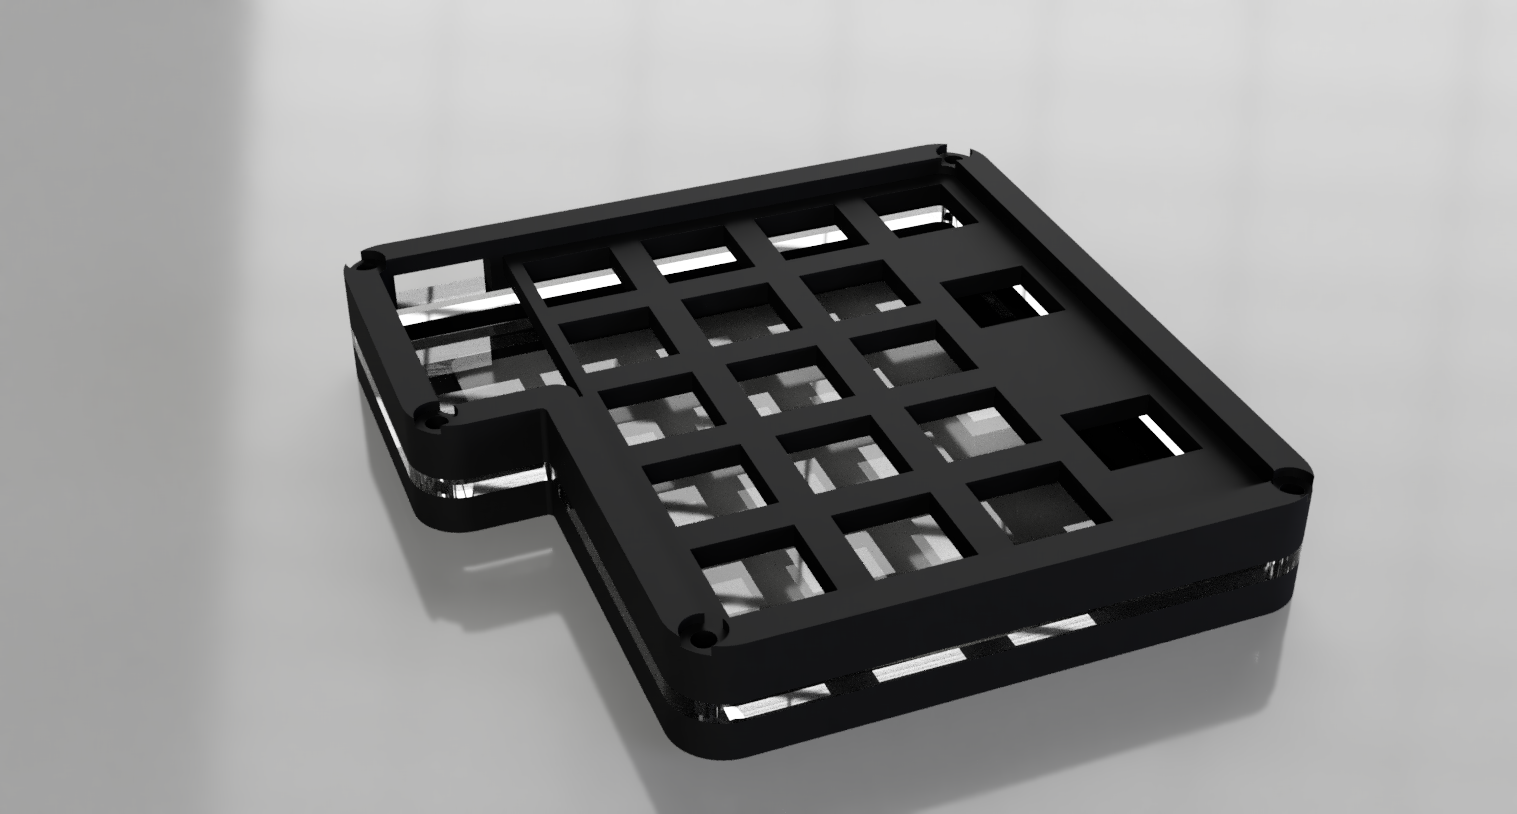
The Yampad is a Macropad/Numpad which uses Cherry MX style mechanical switches laid out in the usual numeric pad layout. The only difference comes from the bottom row, which uses a 4 keys configuration, thus enabling the use of the macropad as a nav cluster.
The name comes from the acronym: Yet Another Mechanical numPAD, referring to the disruptive and innovative nature of the project :D
Features
- Cheap to build
- Easy to source components
- Easy to build
- Hot swappable keys using Kailh PCB sockets
- Arduino Pro Micro powered
- QMK compatible
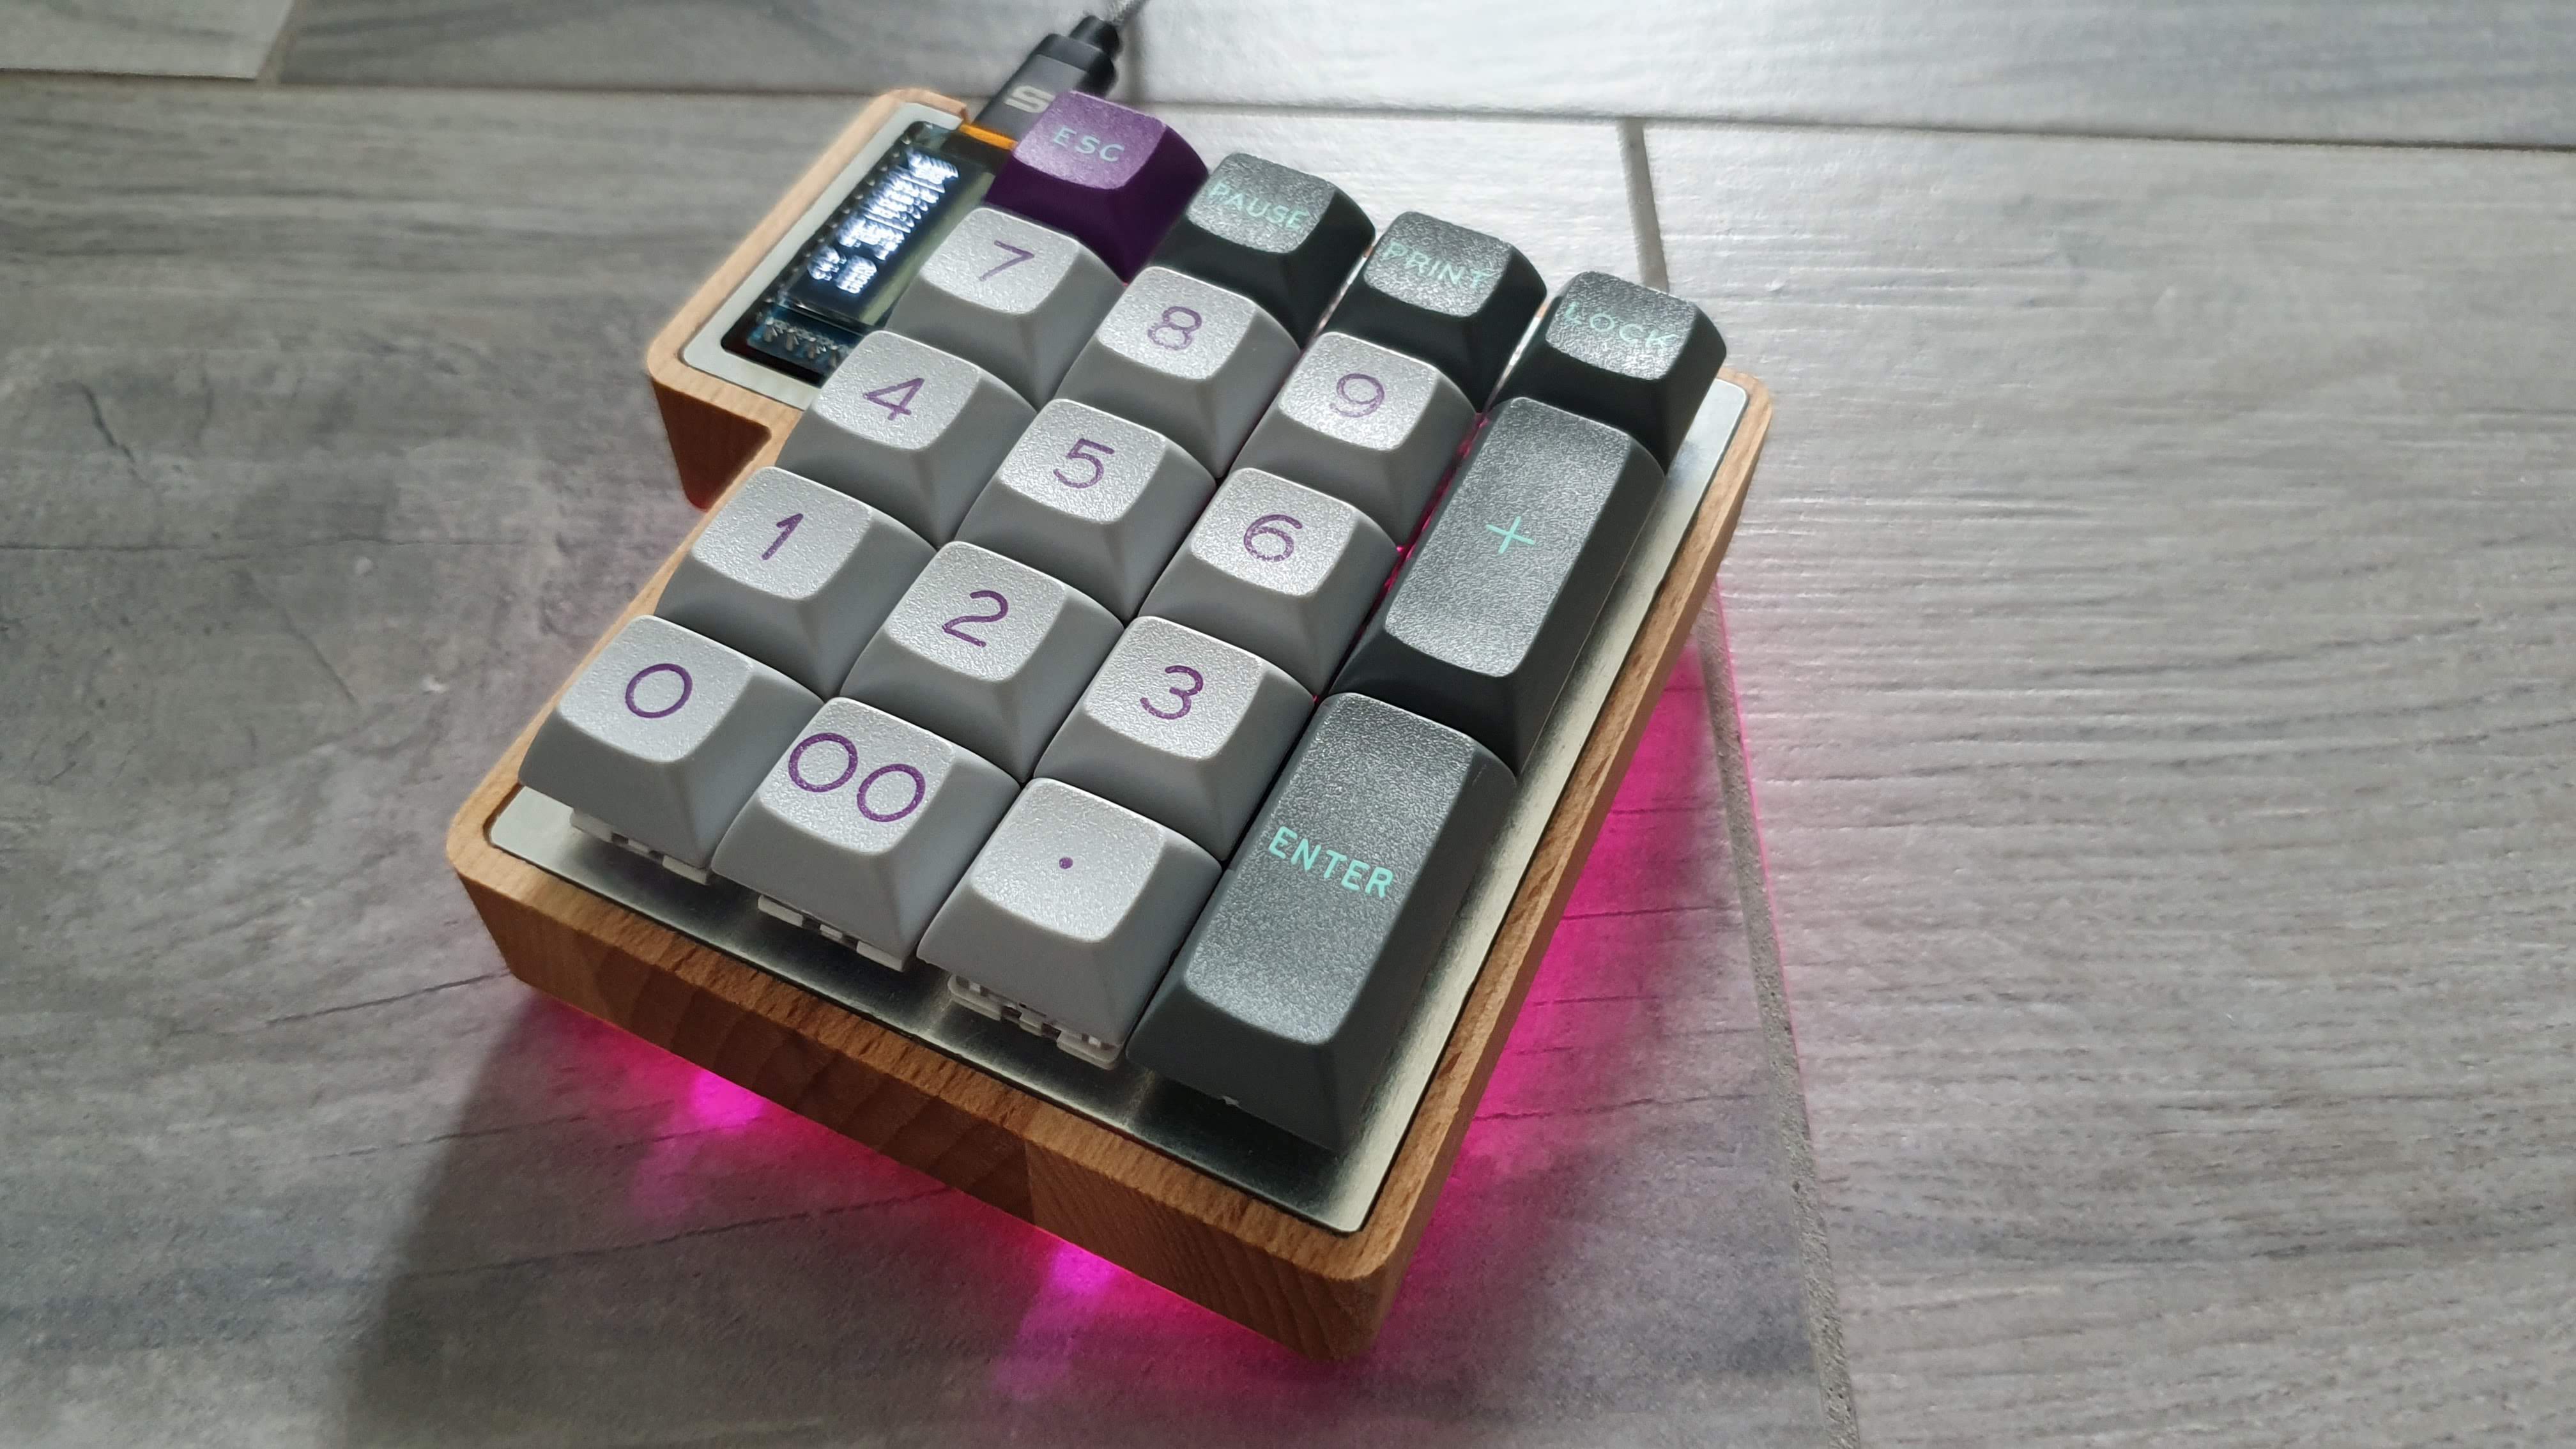
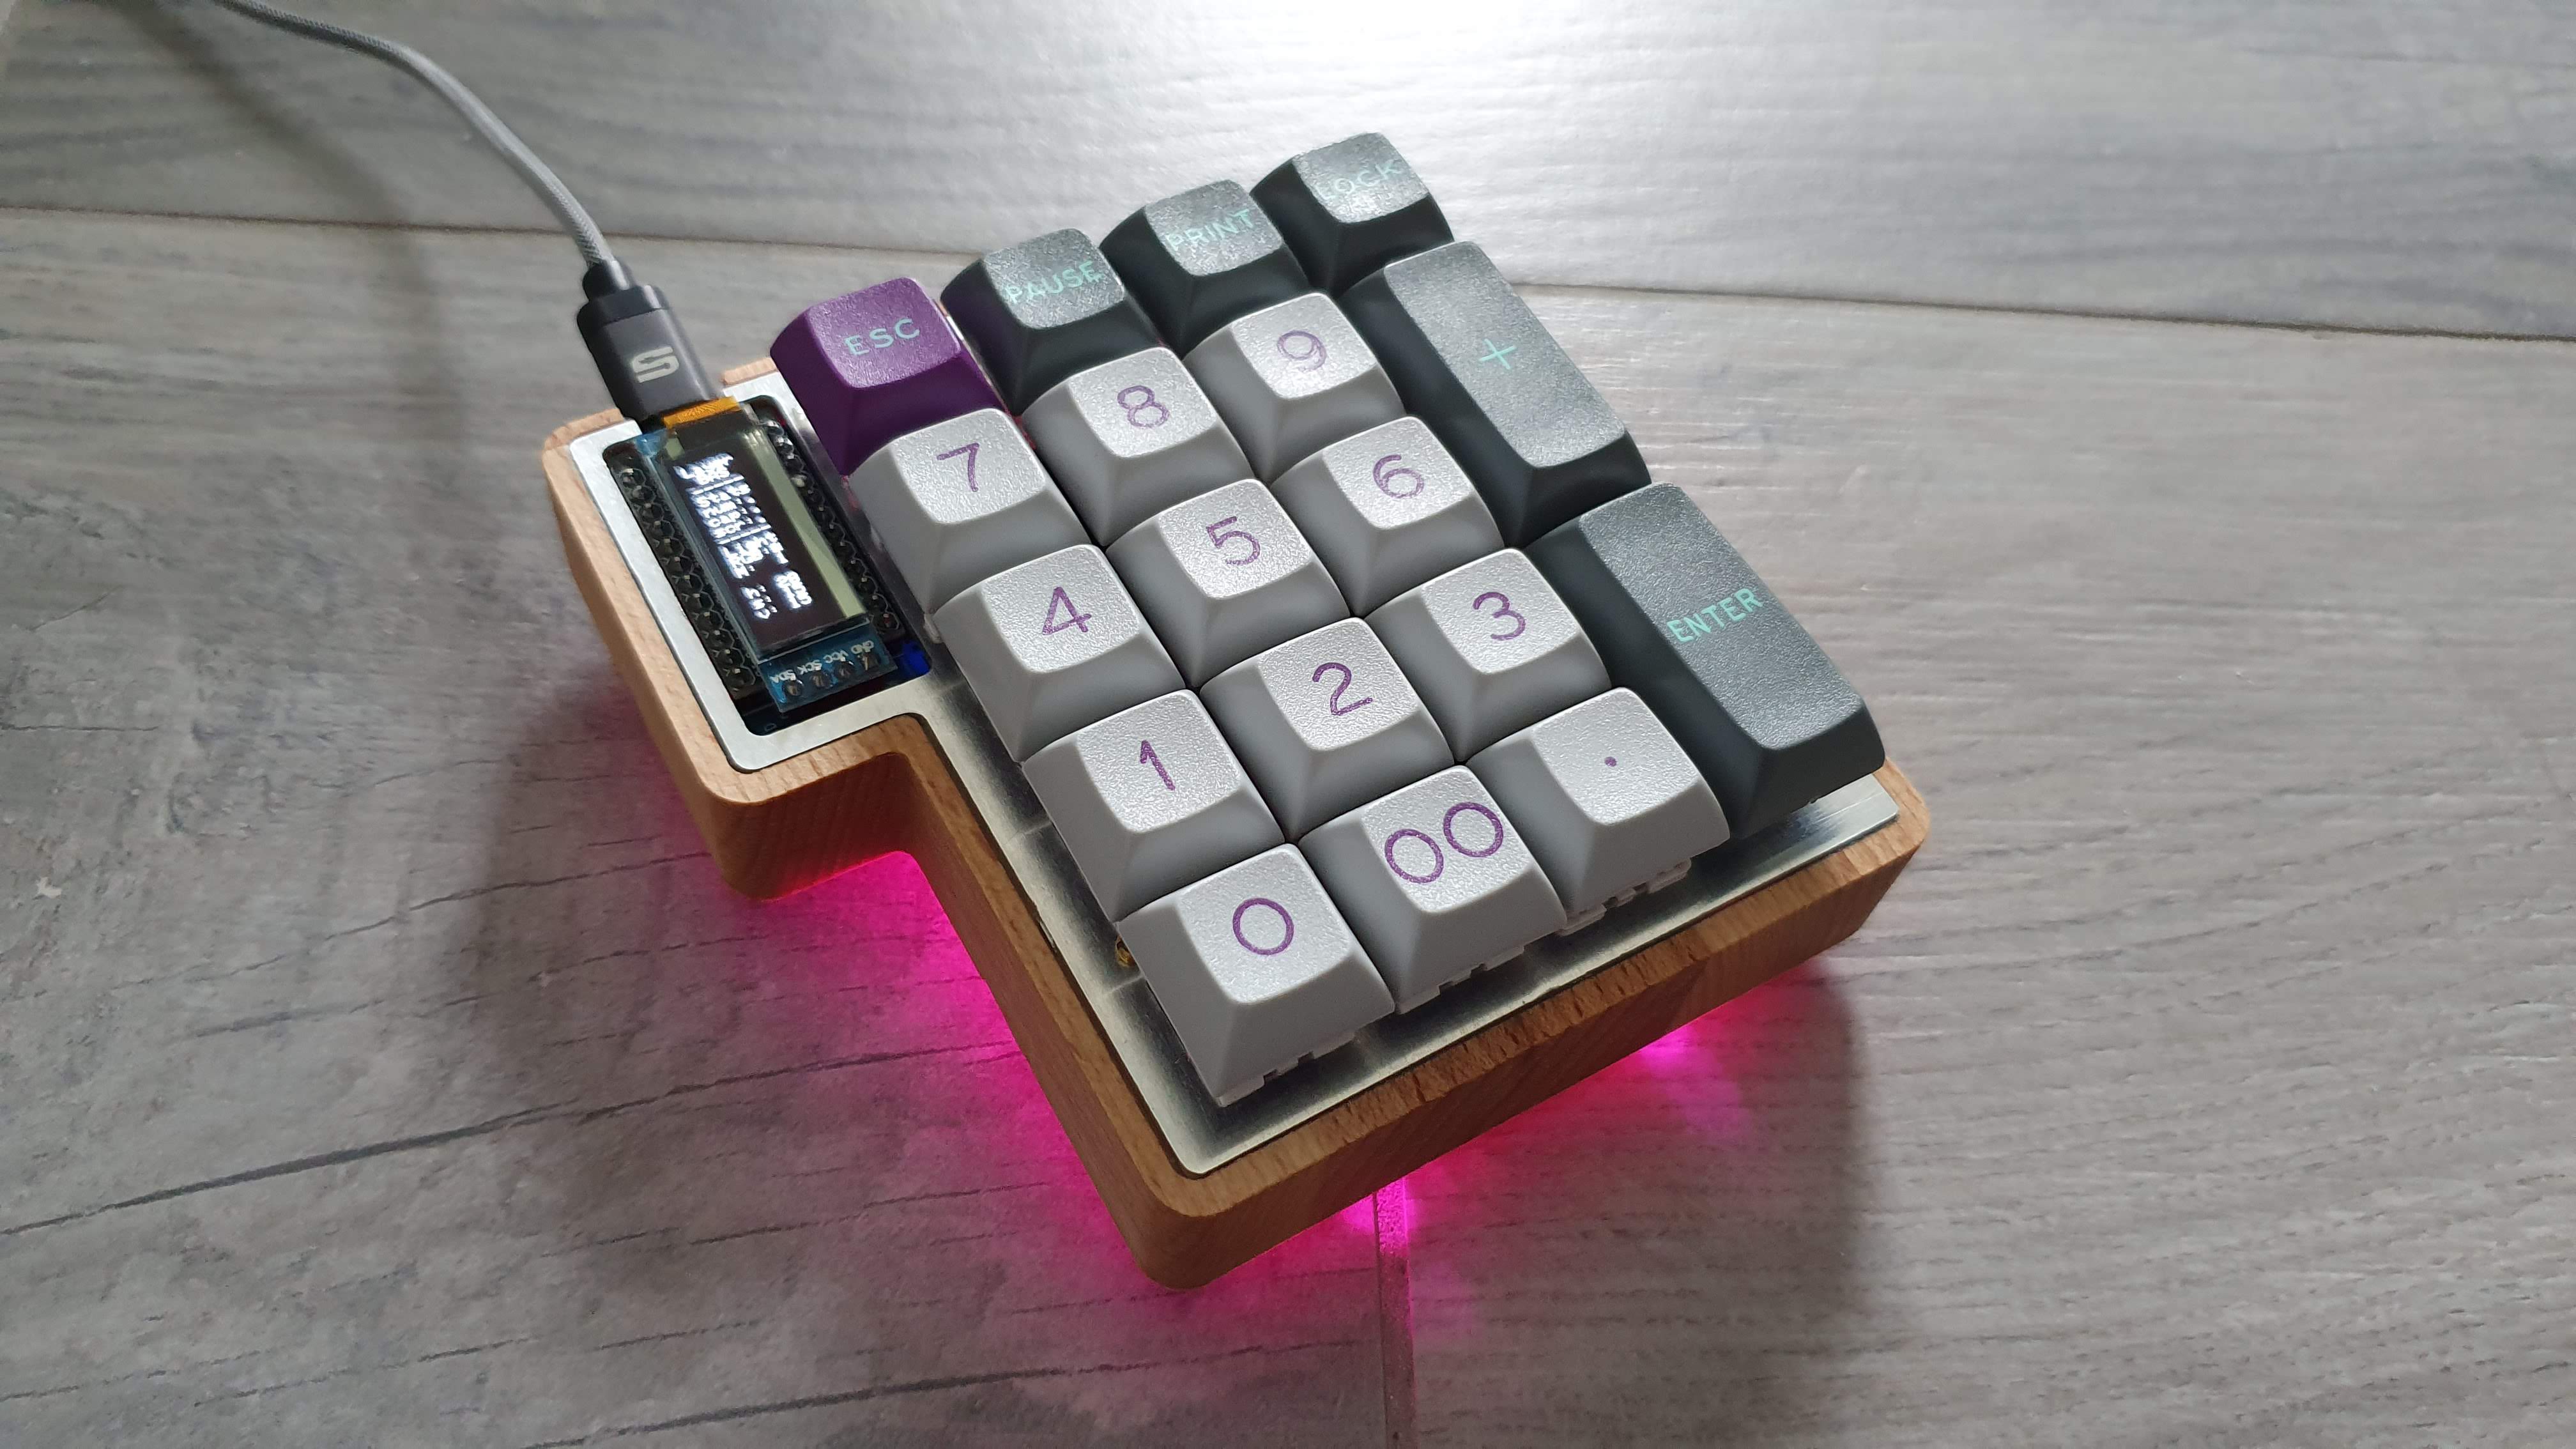
- RGB backlighting
- OLED 0.91" screen
- Completely open-source
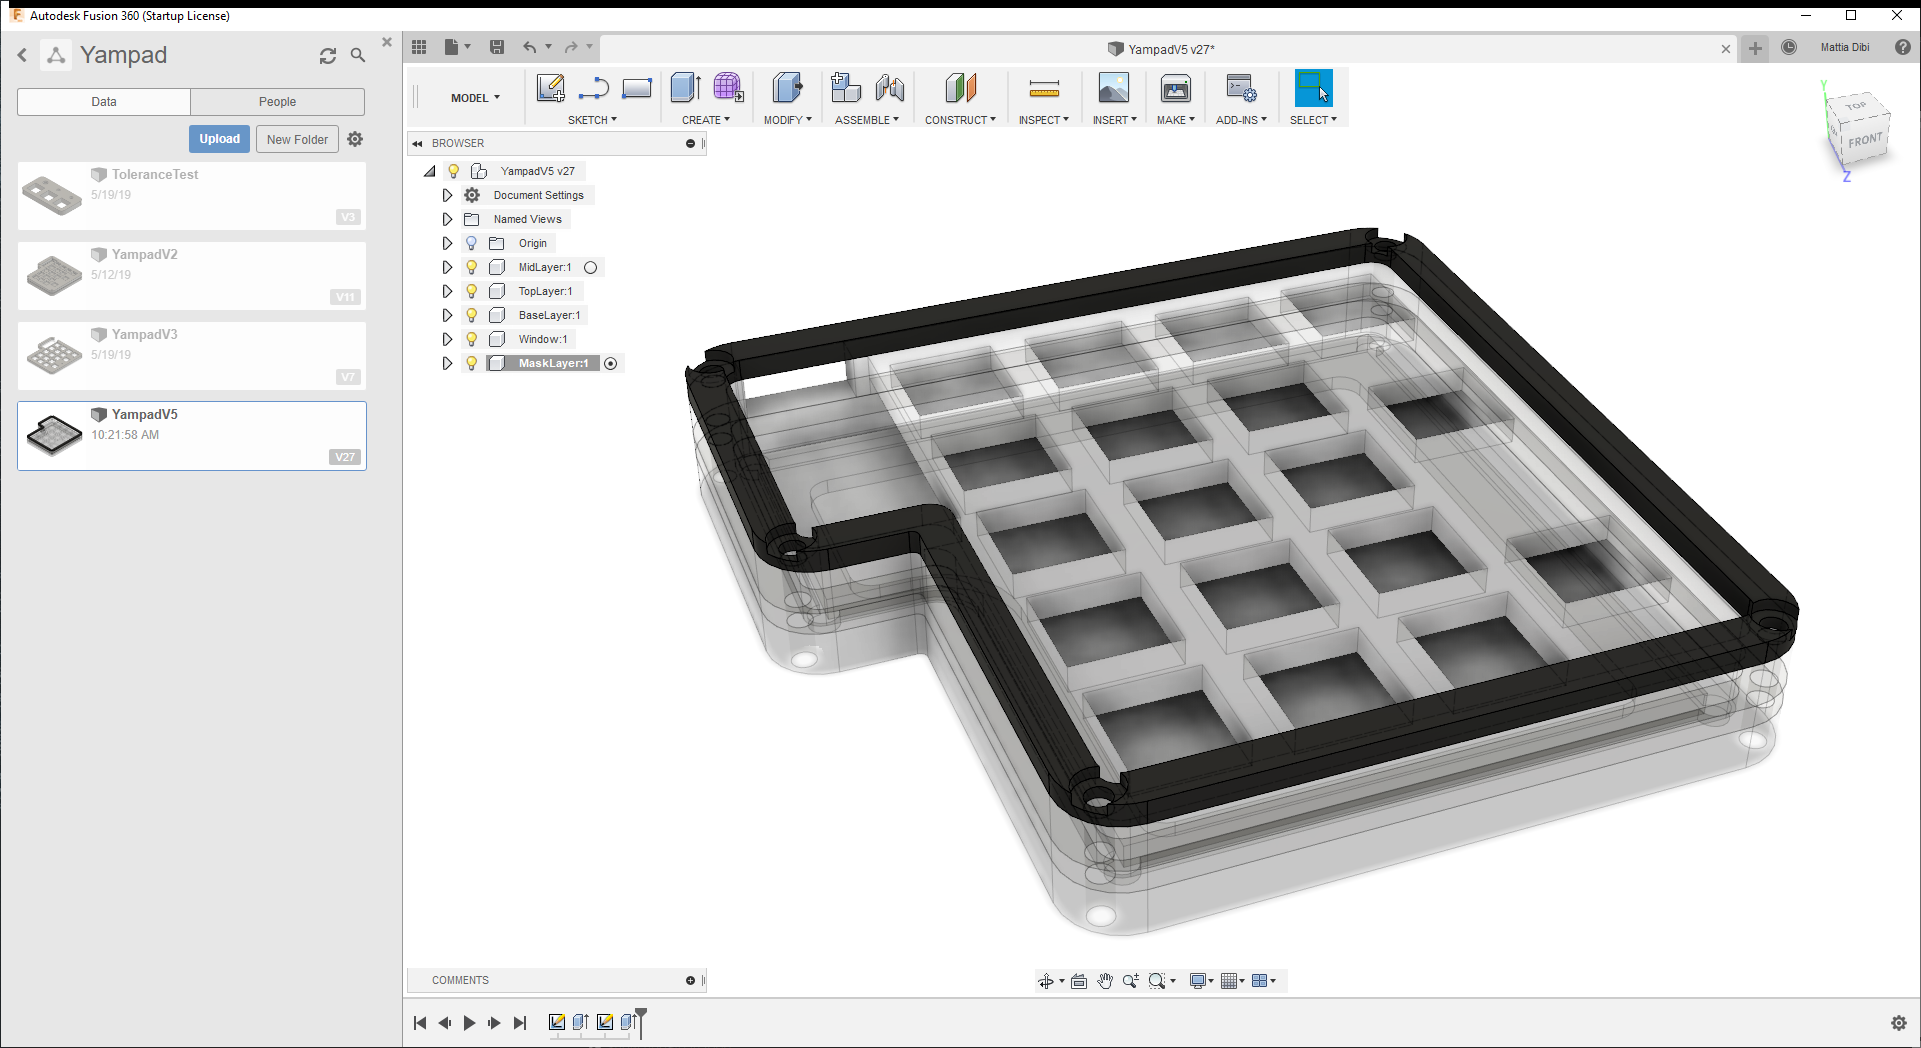
- 3D-printable case (WIP)
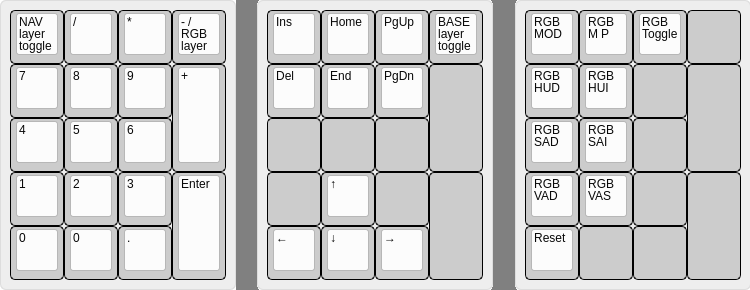
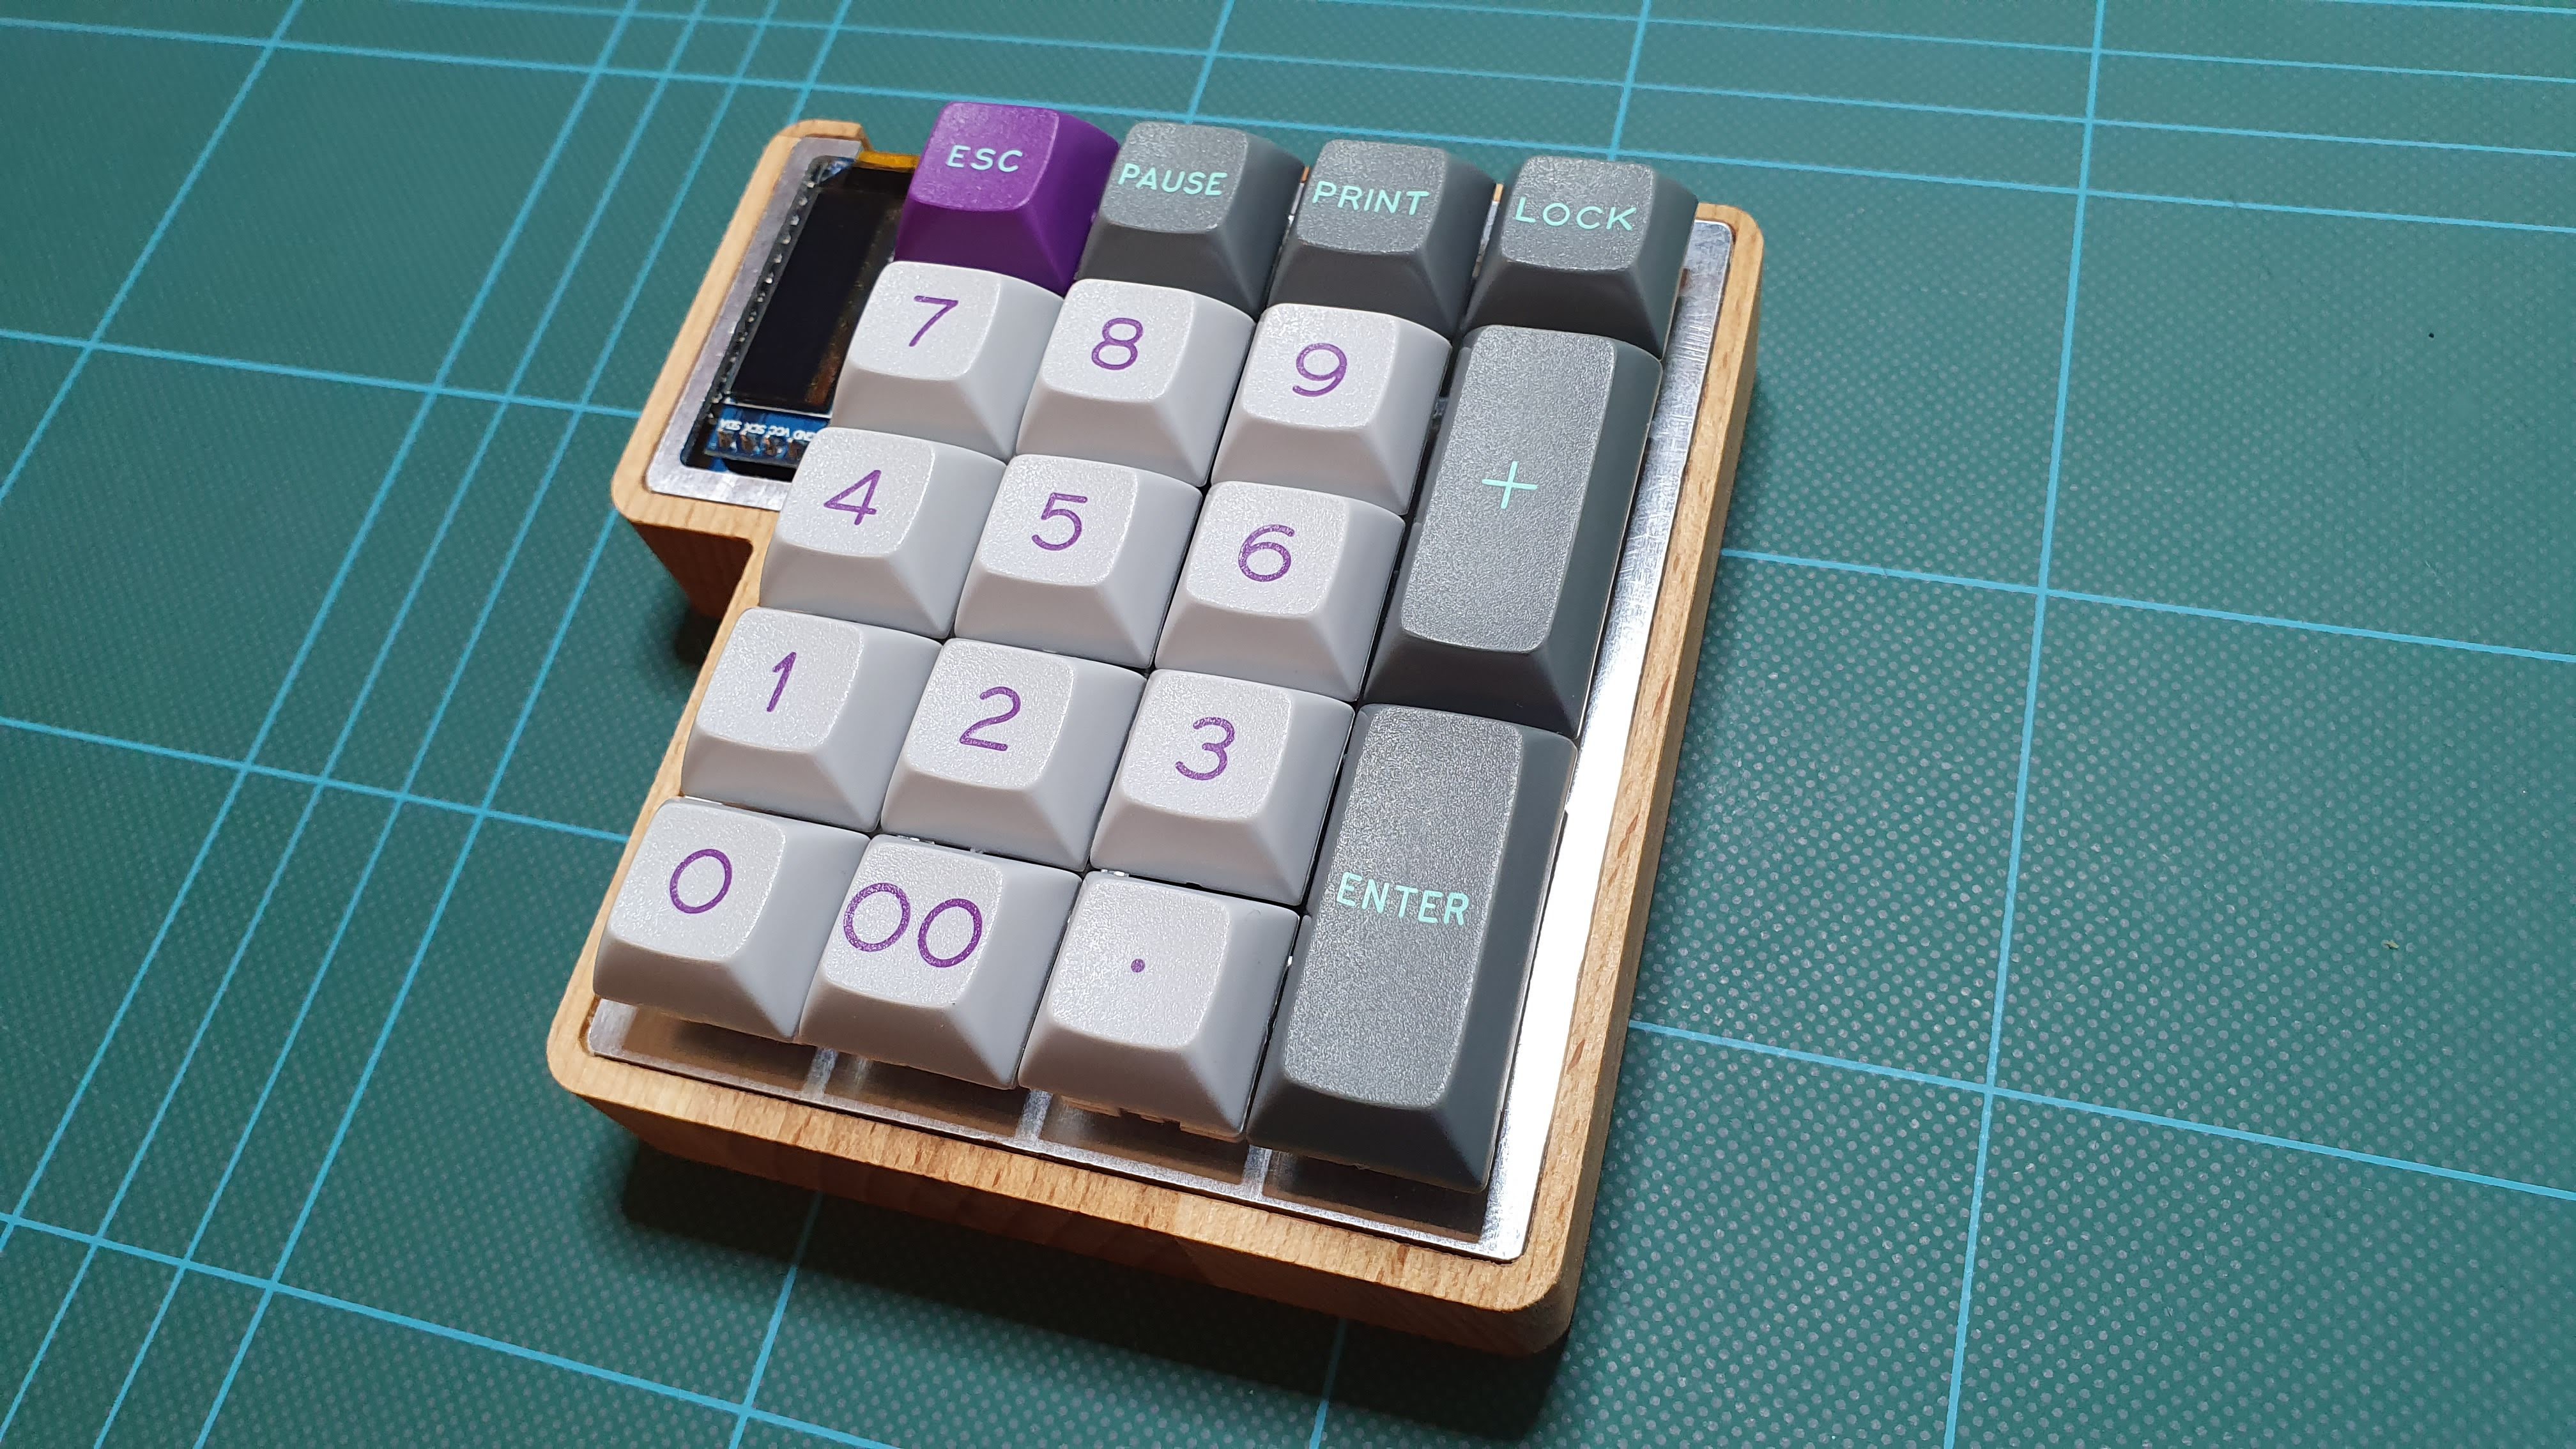
Default layout
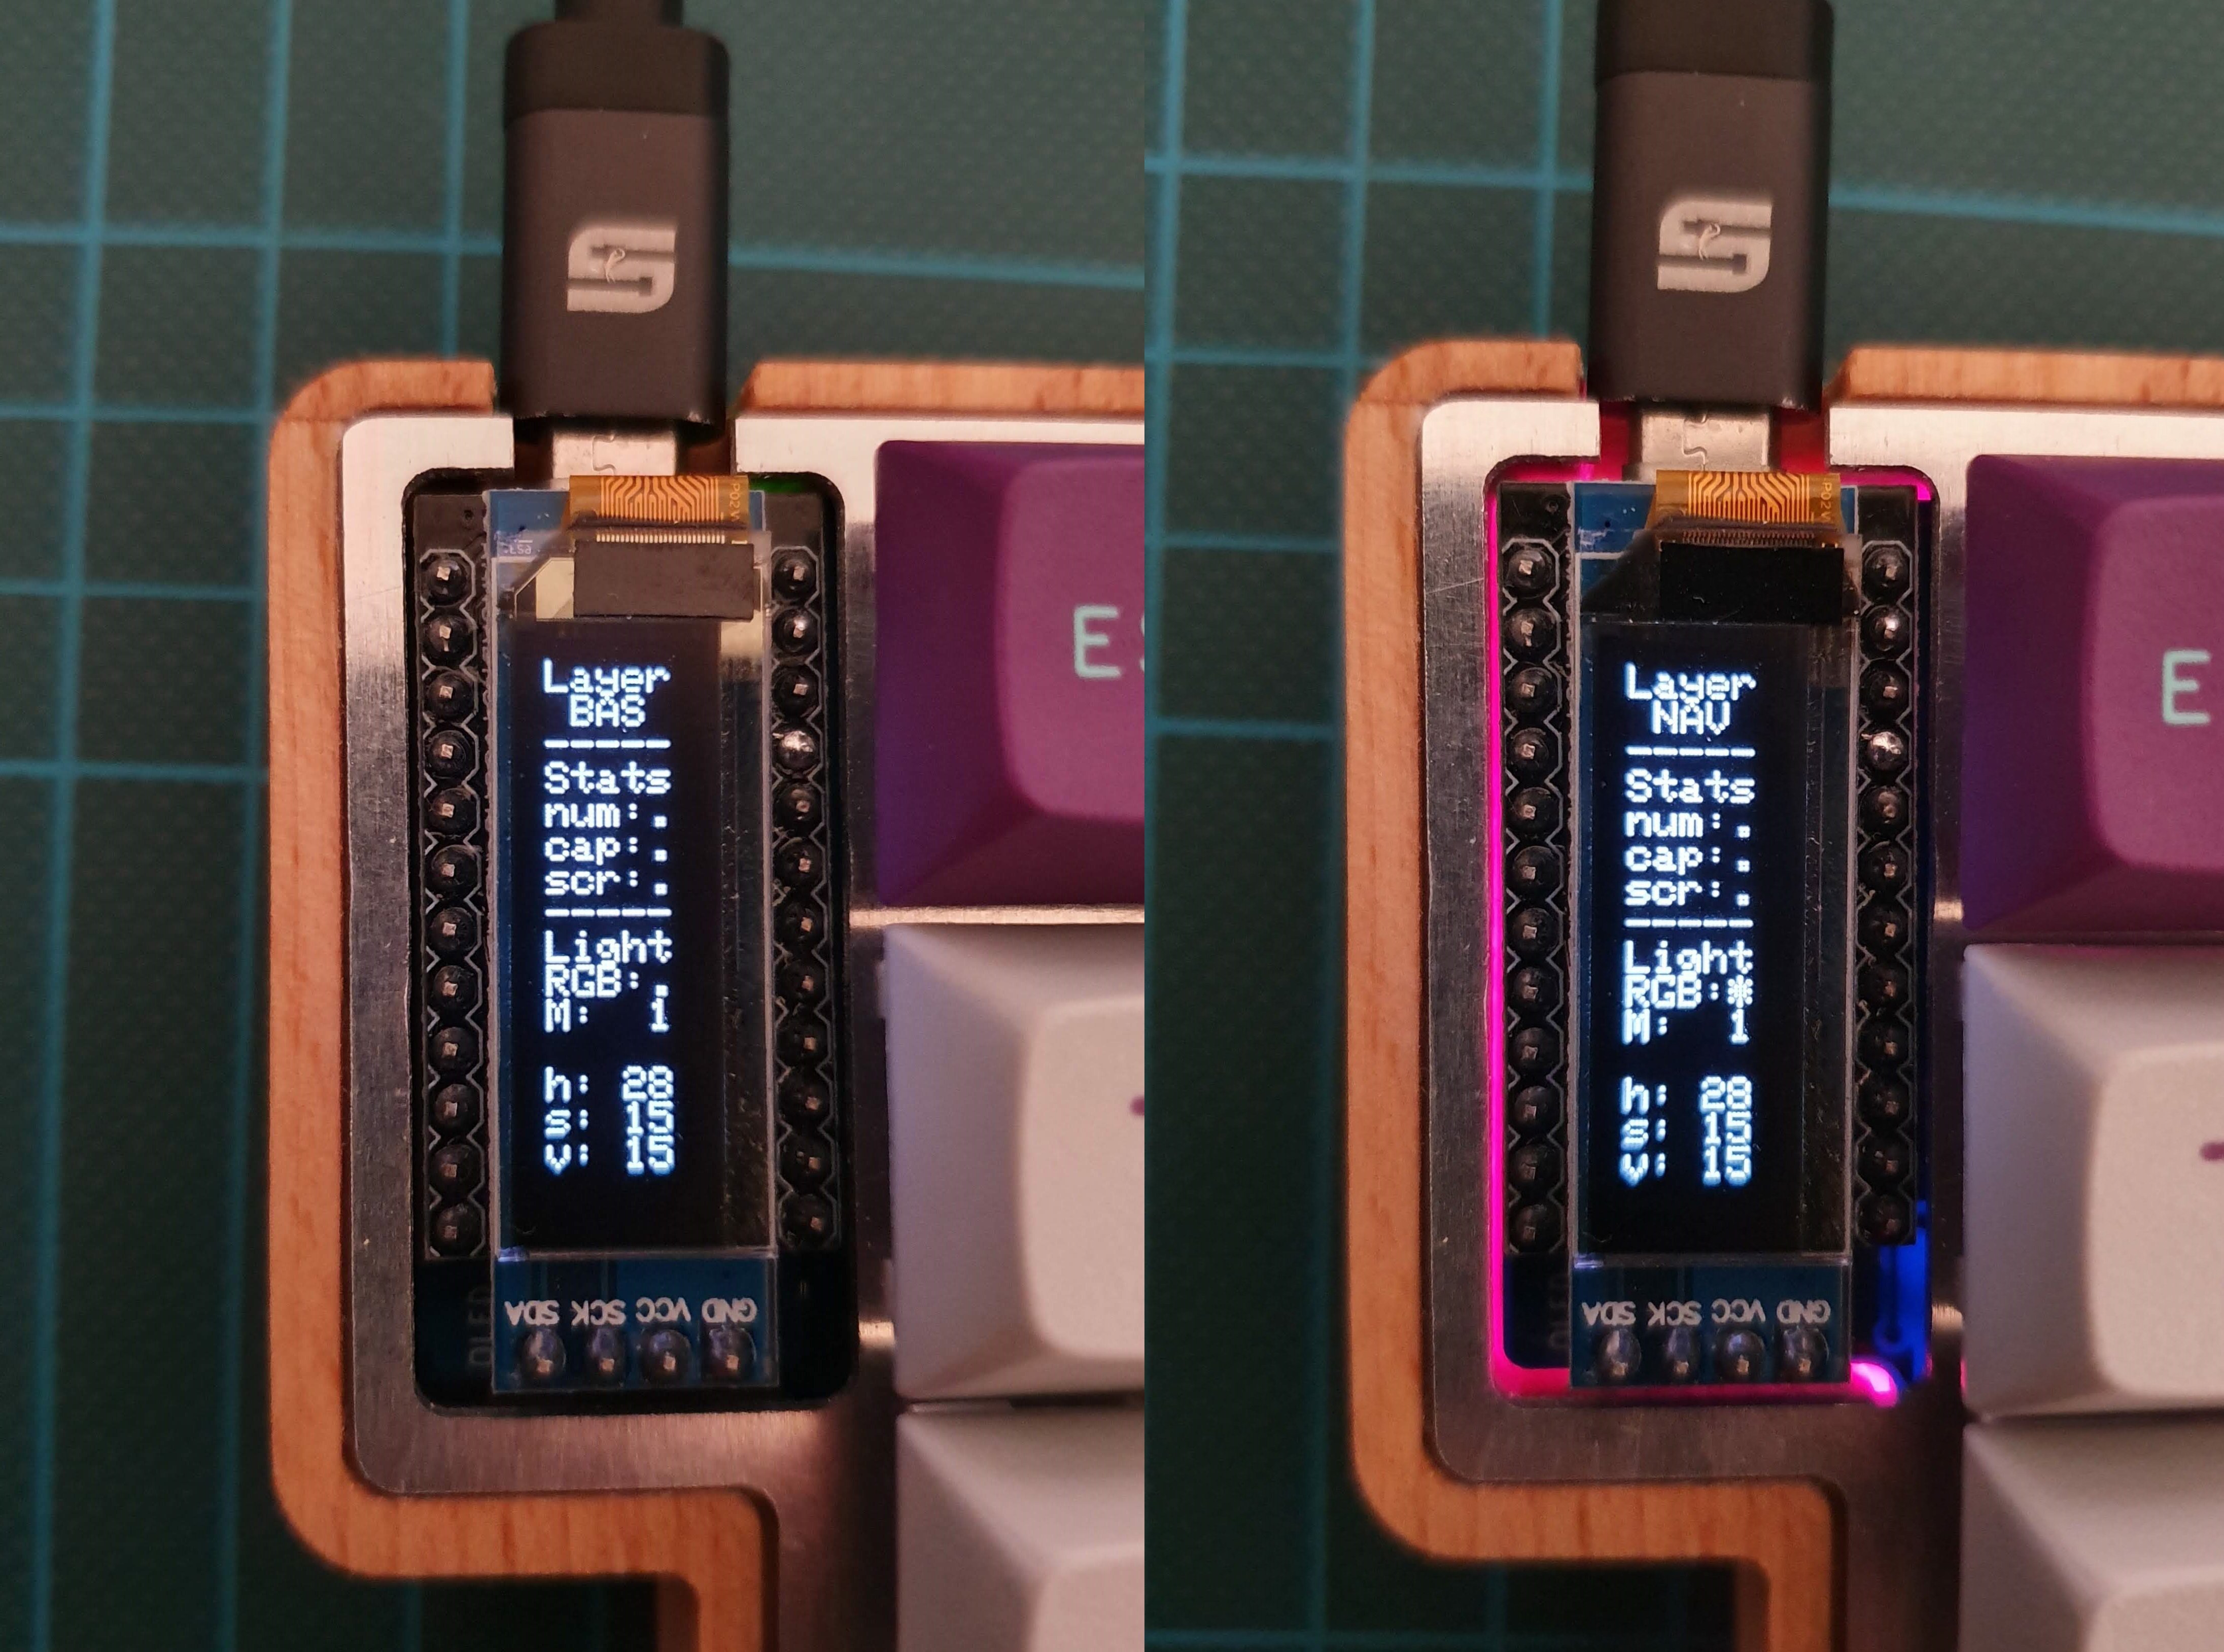
OLED screen
The screen can display a lot of different informations, by default it shows:
- Layer status (Base, Navigation, RGB)
- Host keyboard LED status (Num lock, Caps lock, Scroll lock)
- RGB backlighting configuration (HUE, Saturation, Val)
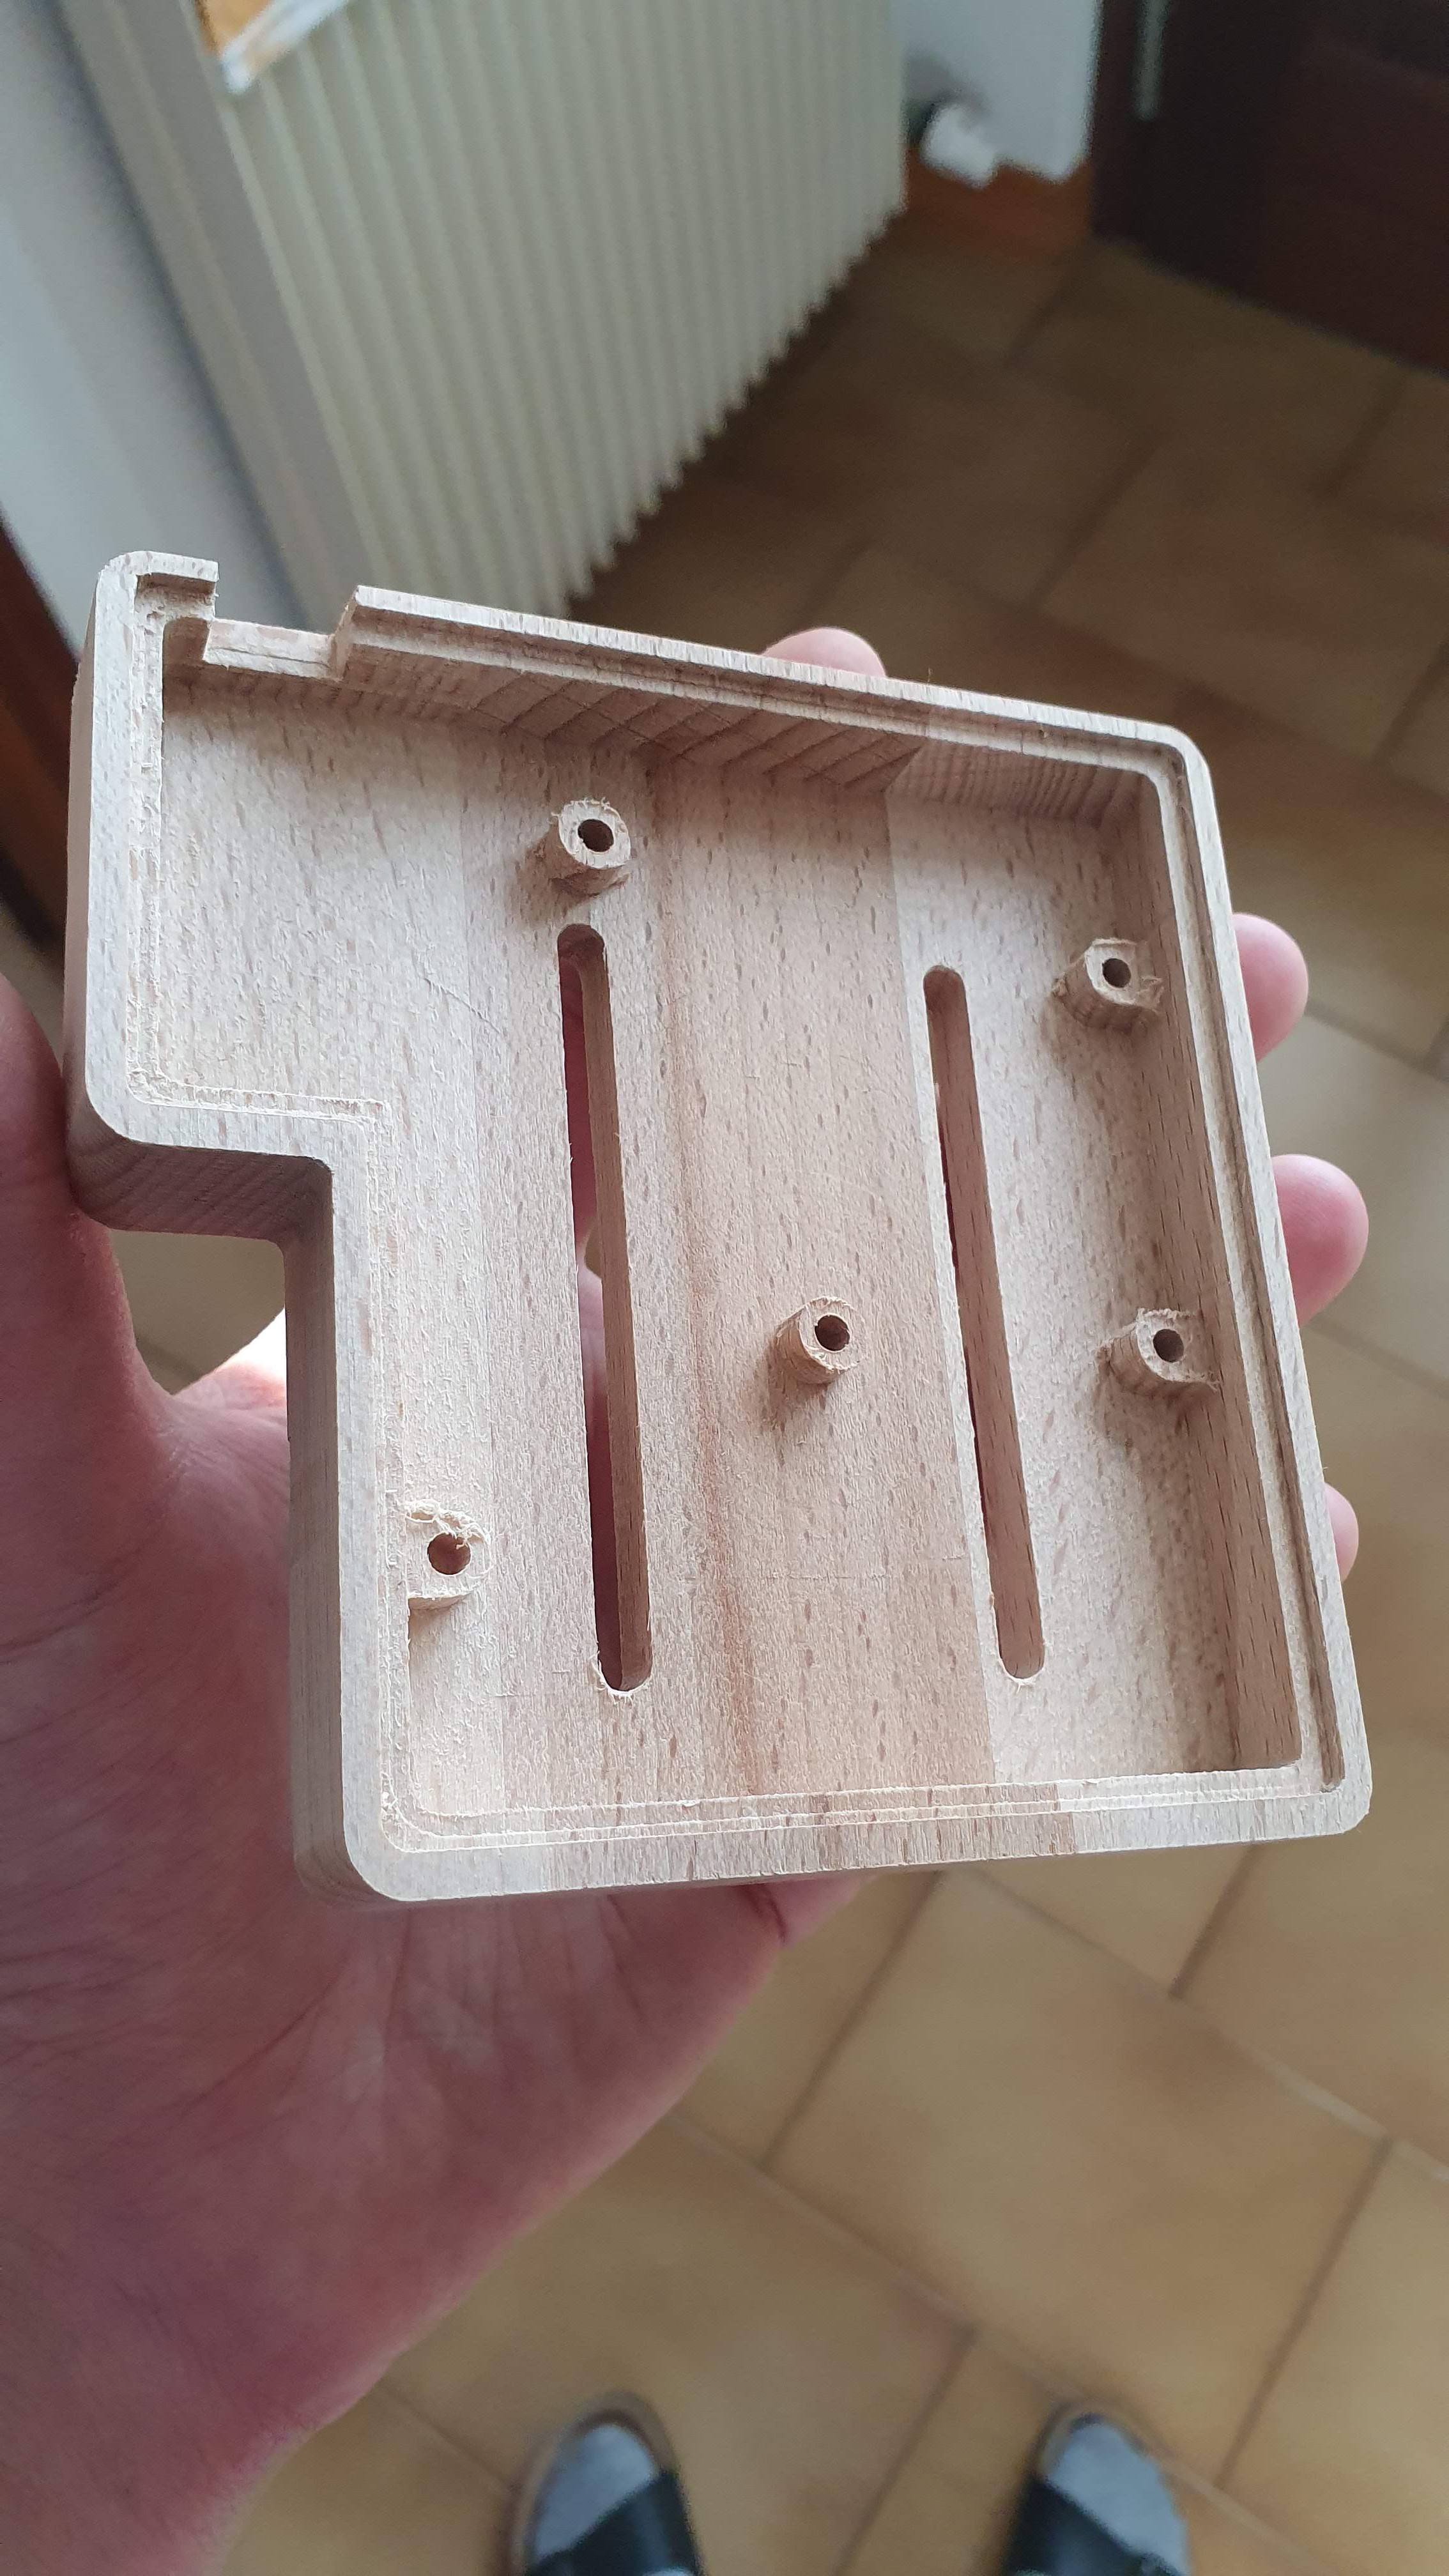
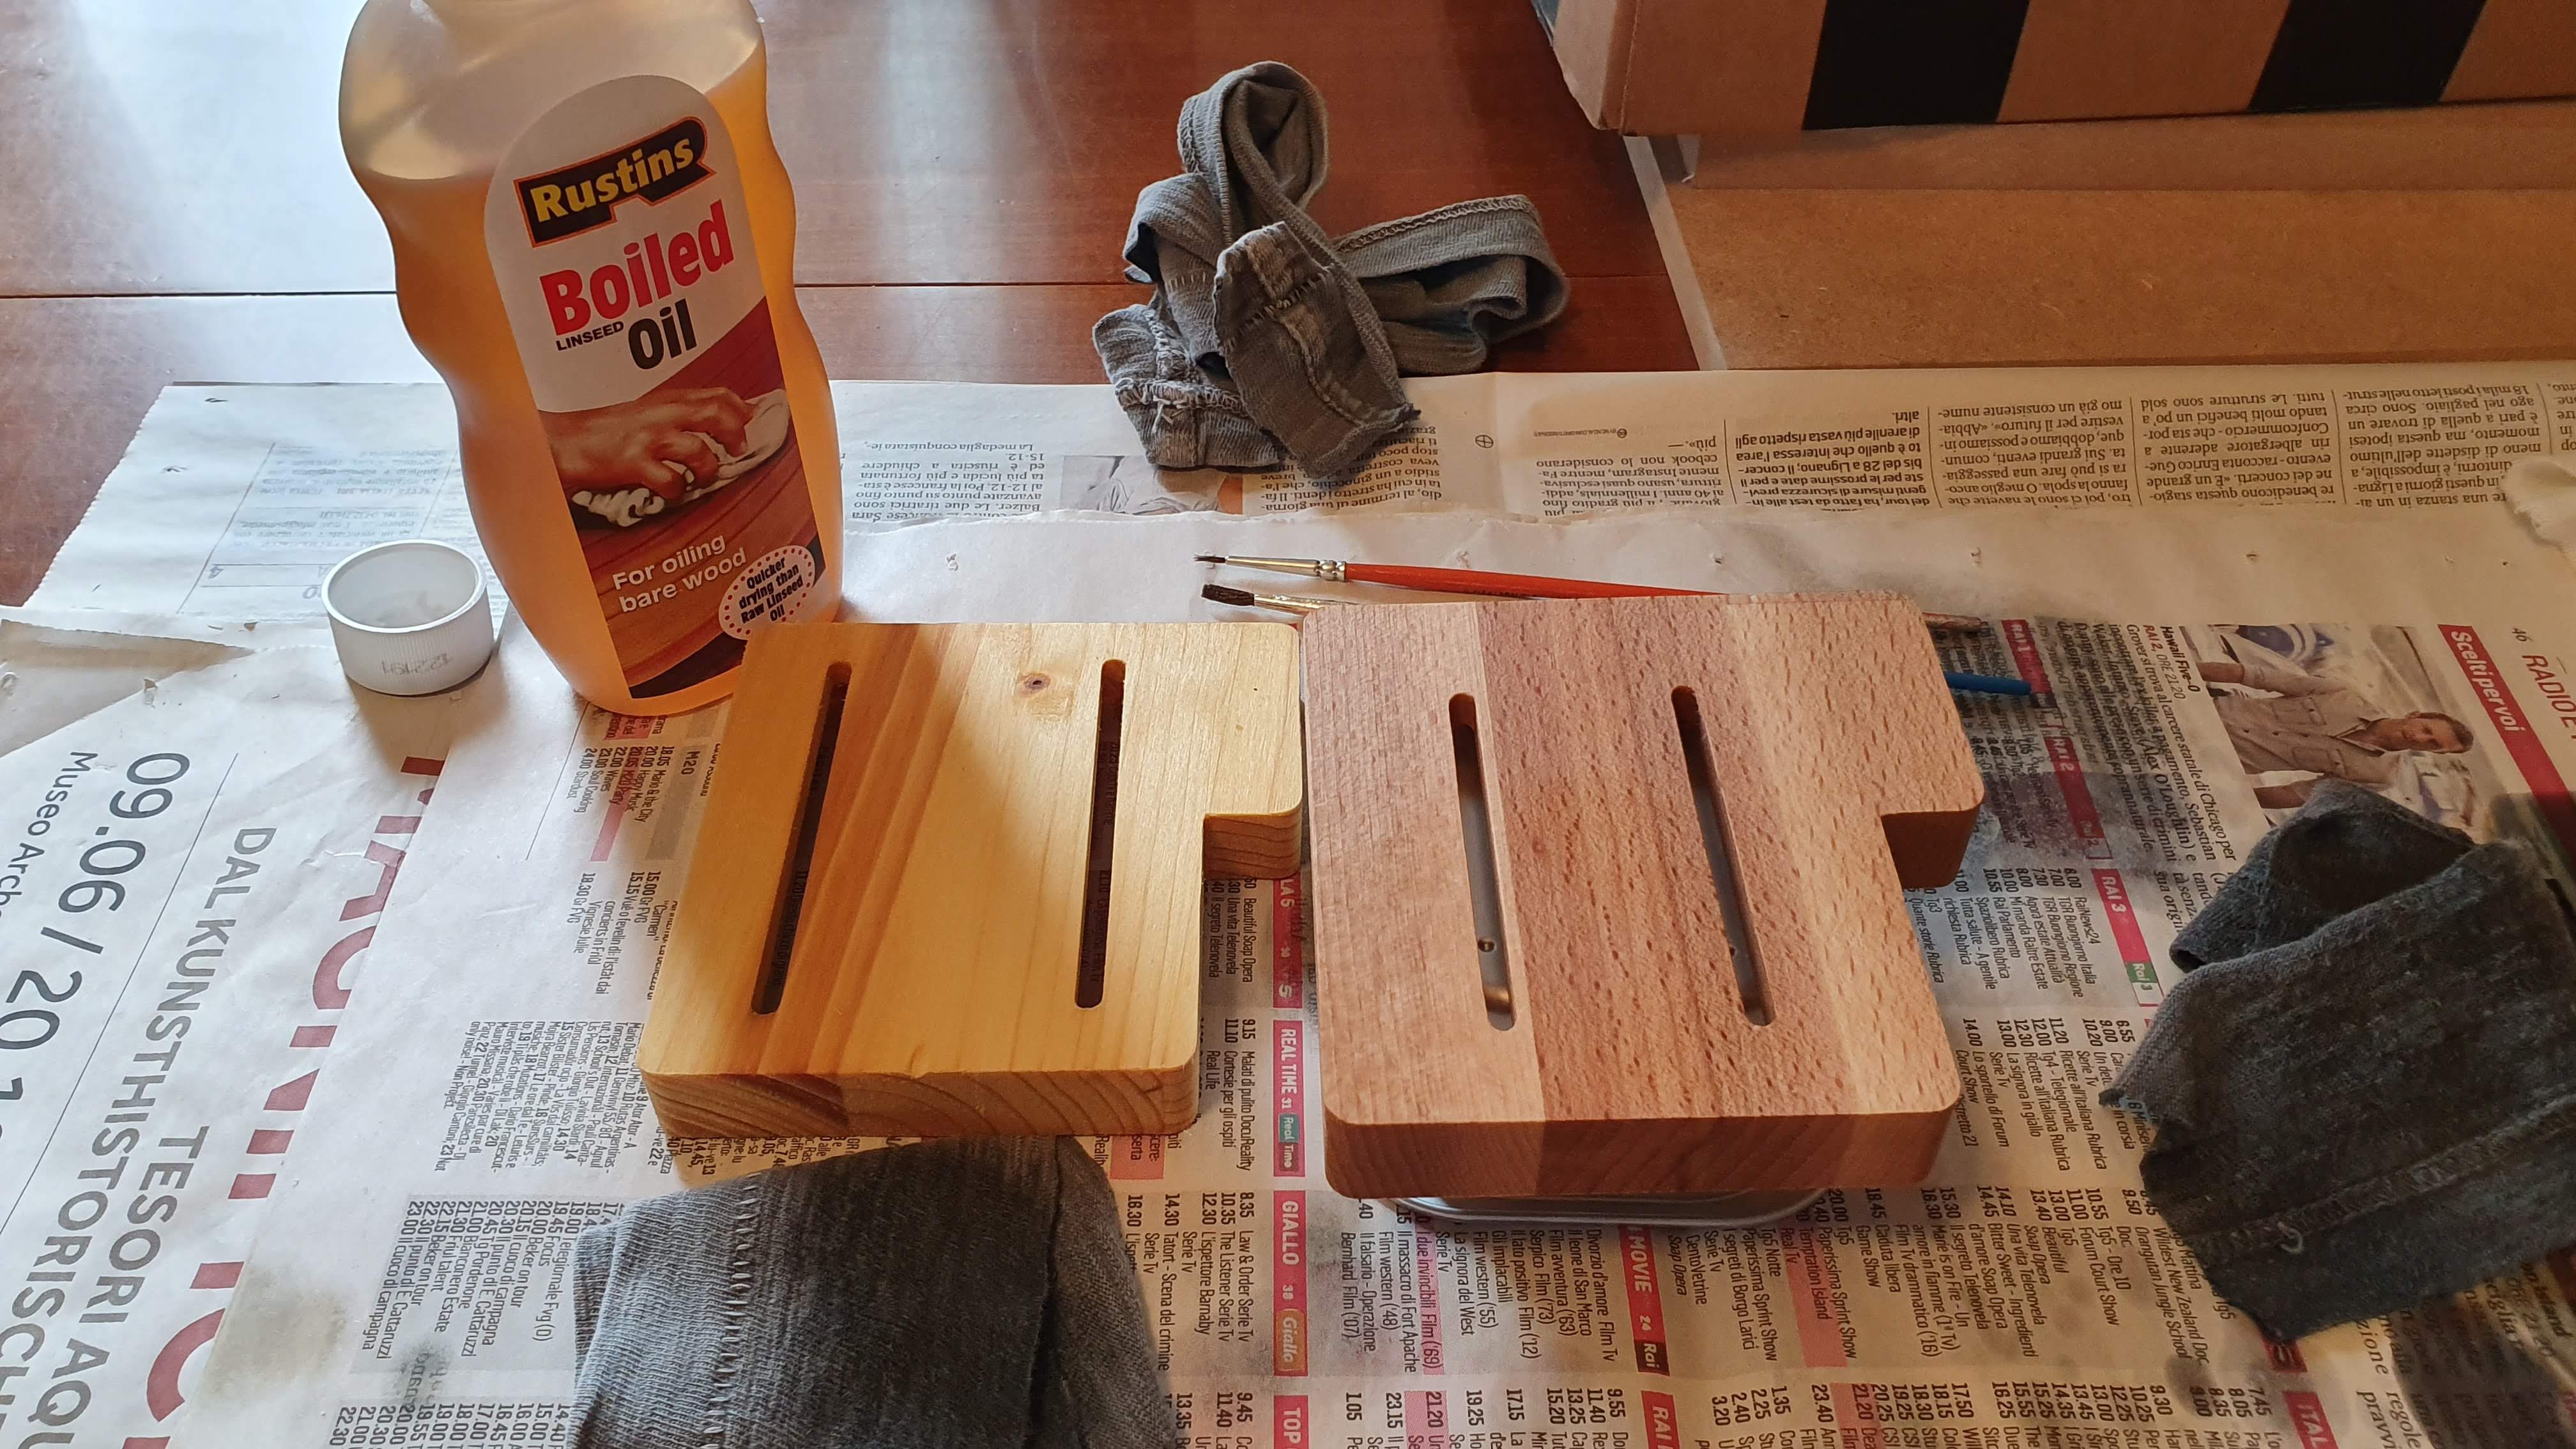
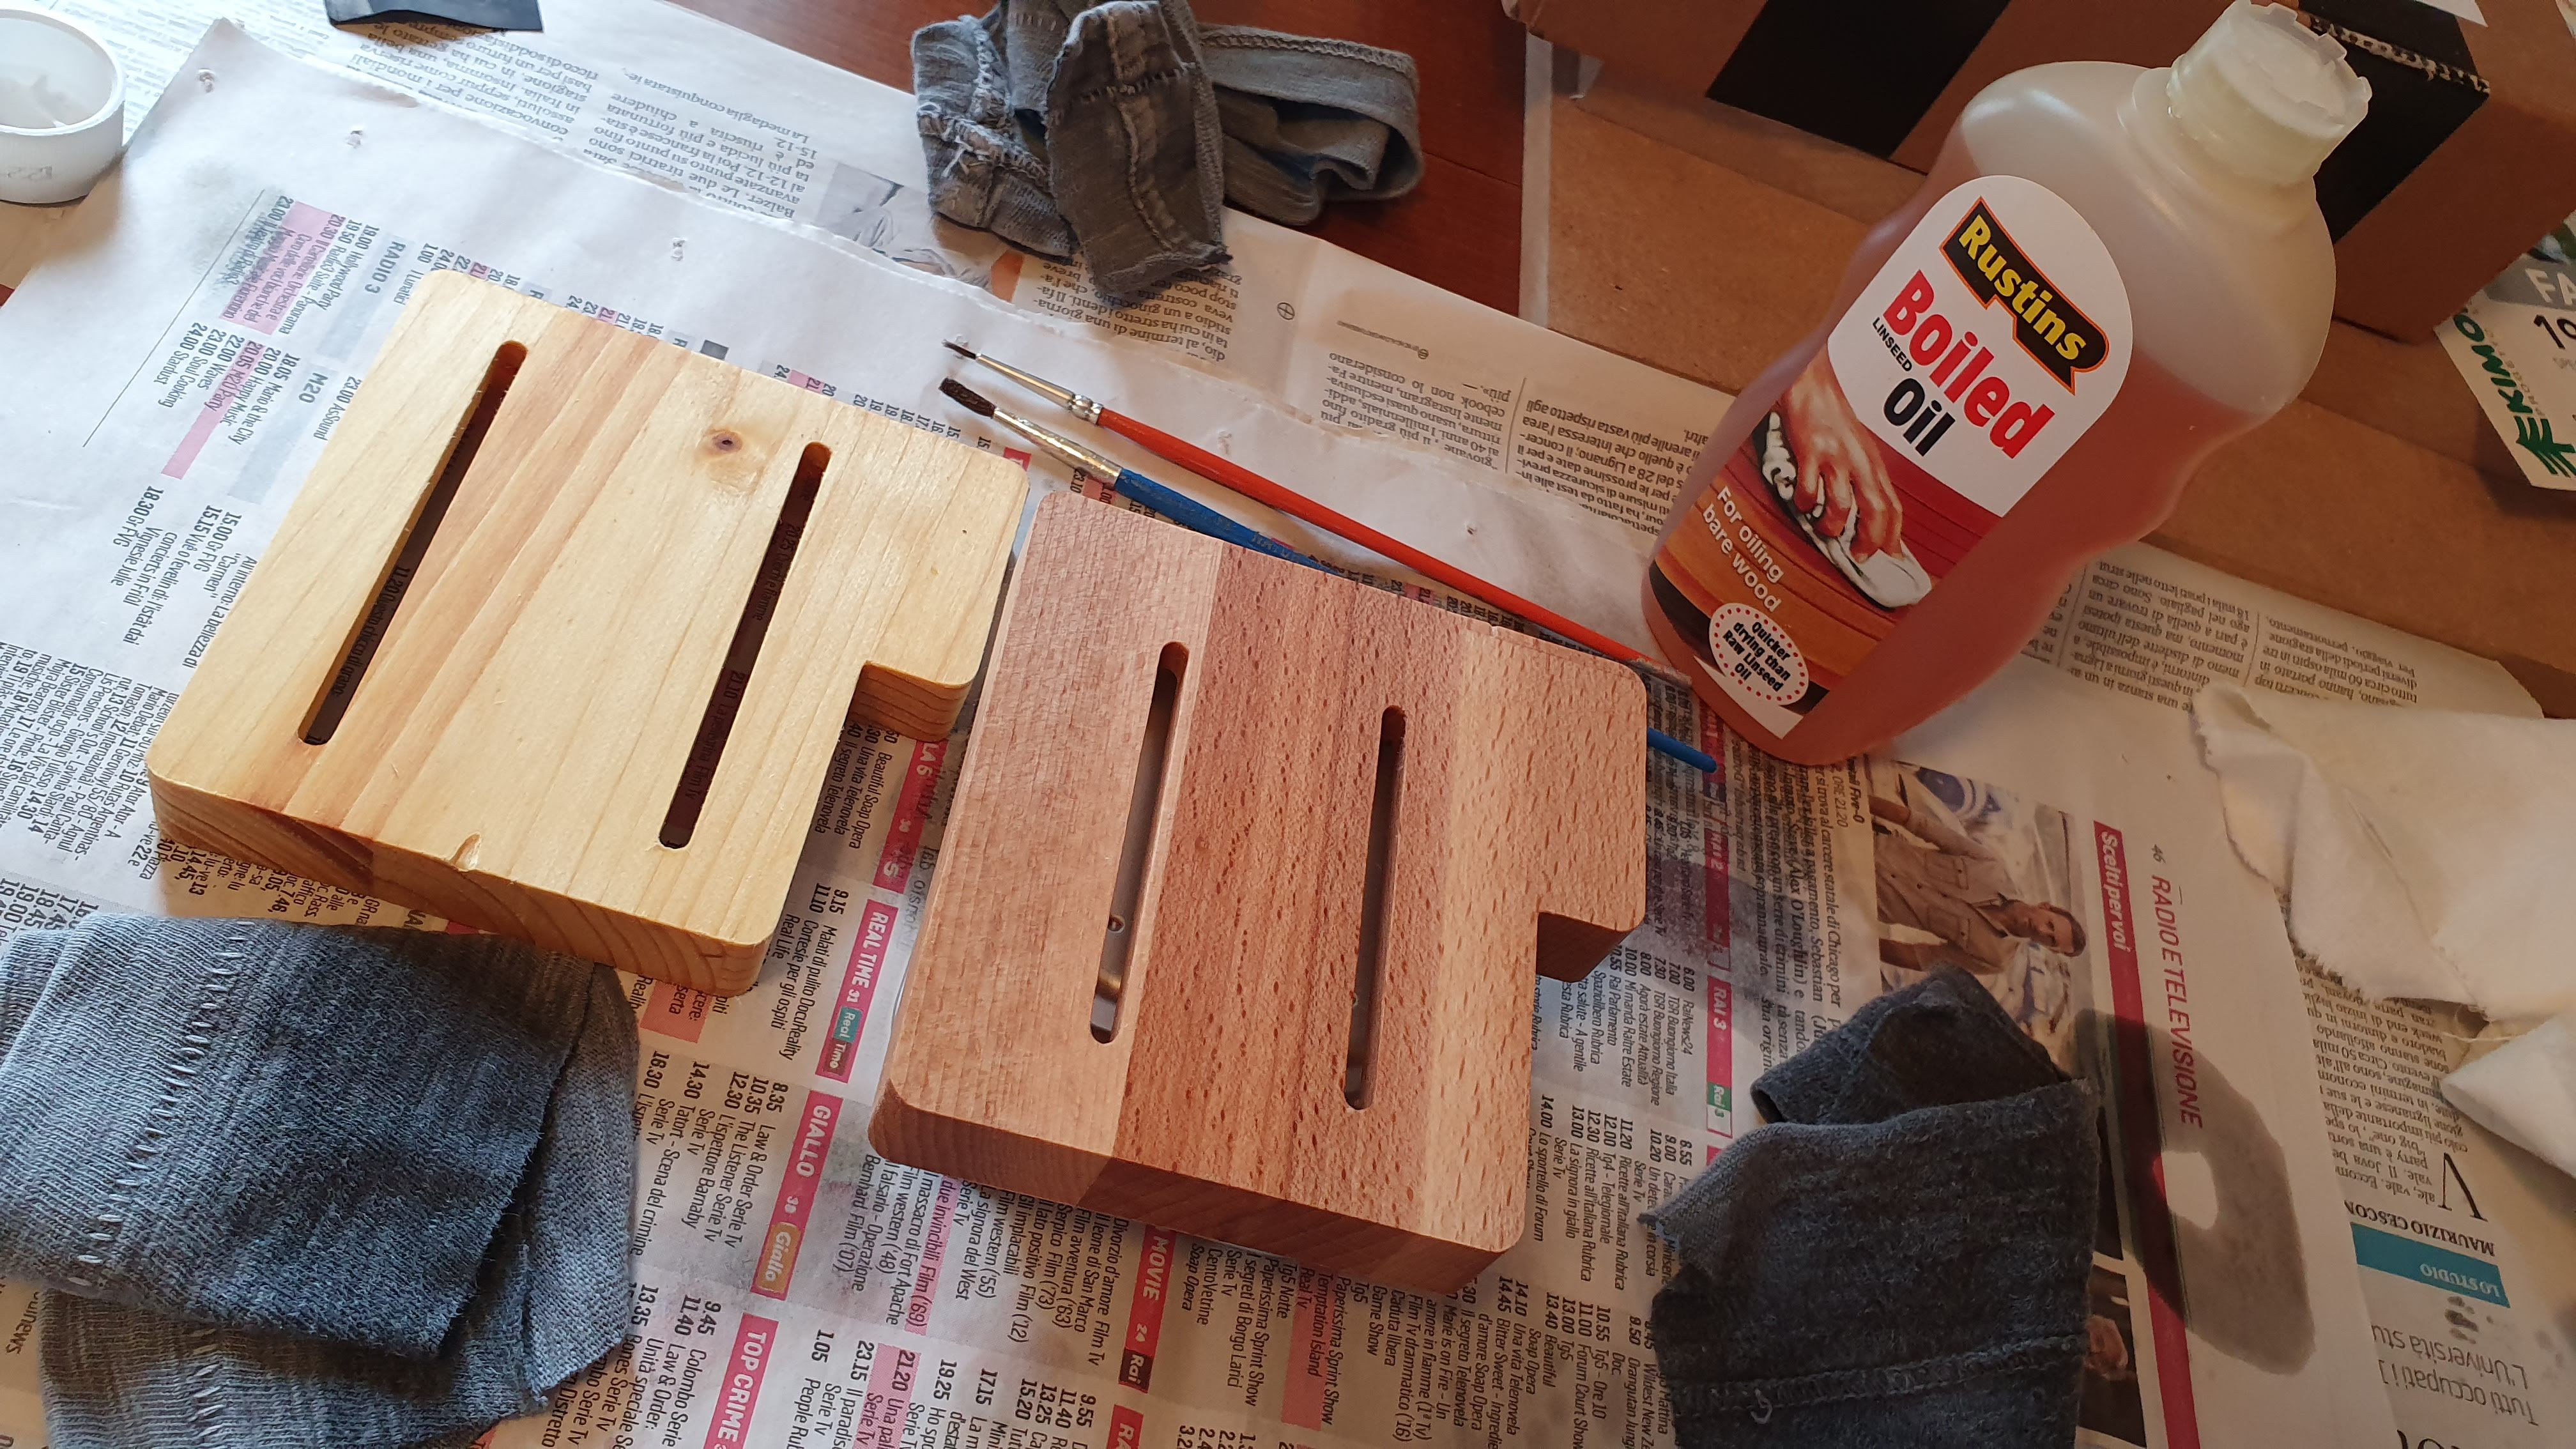
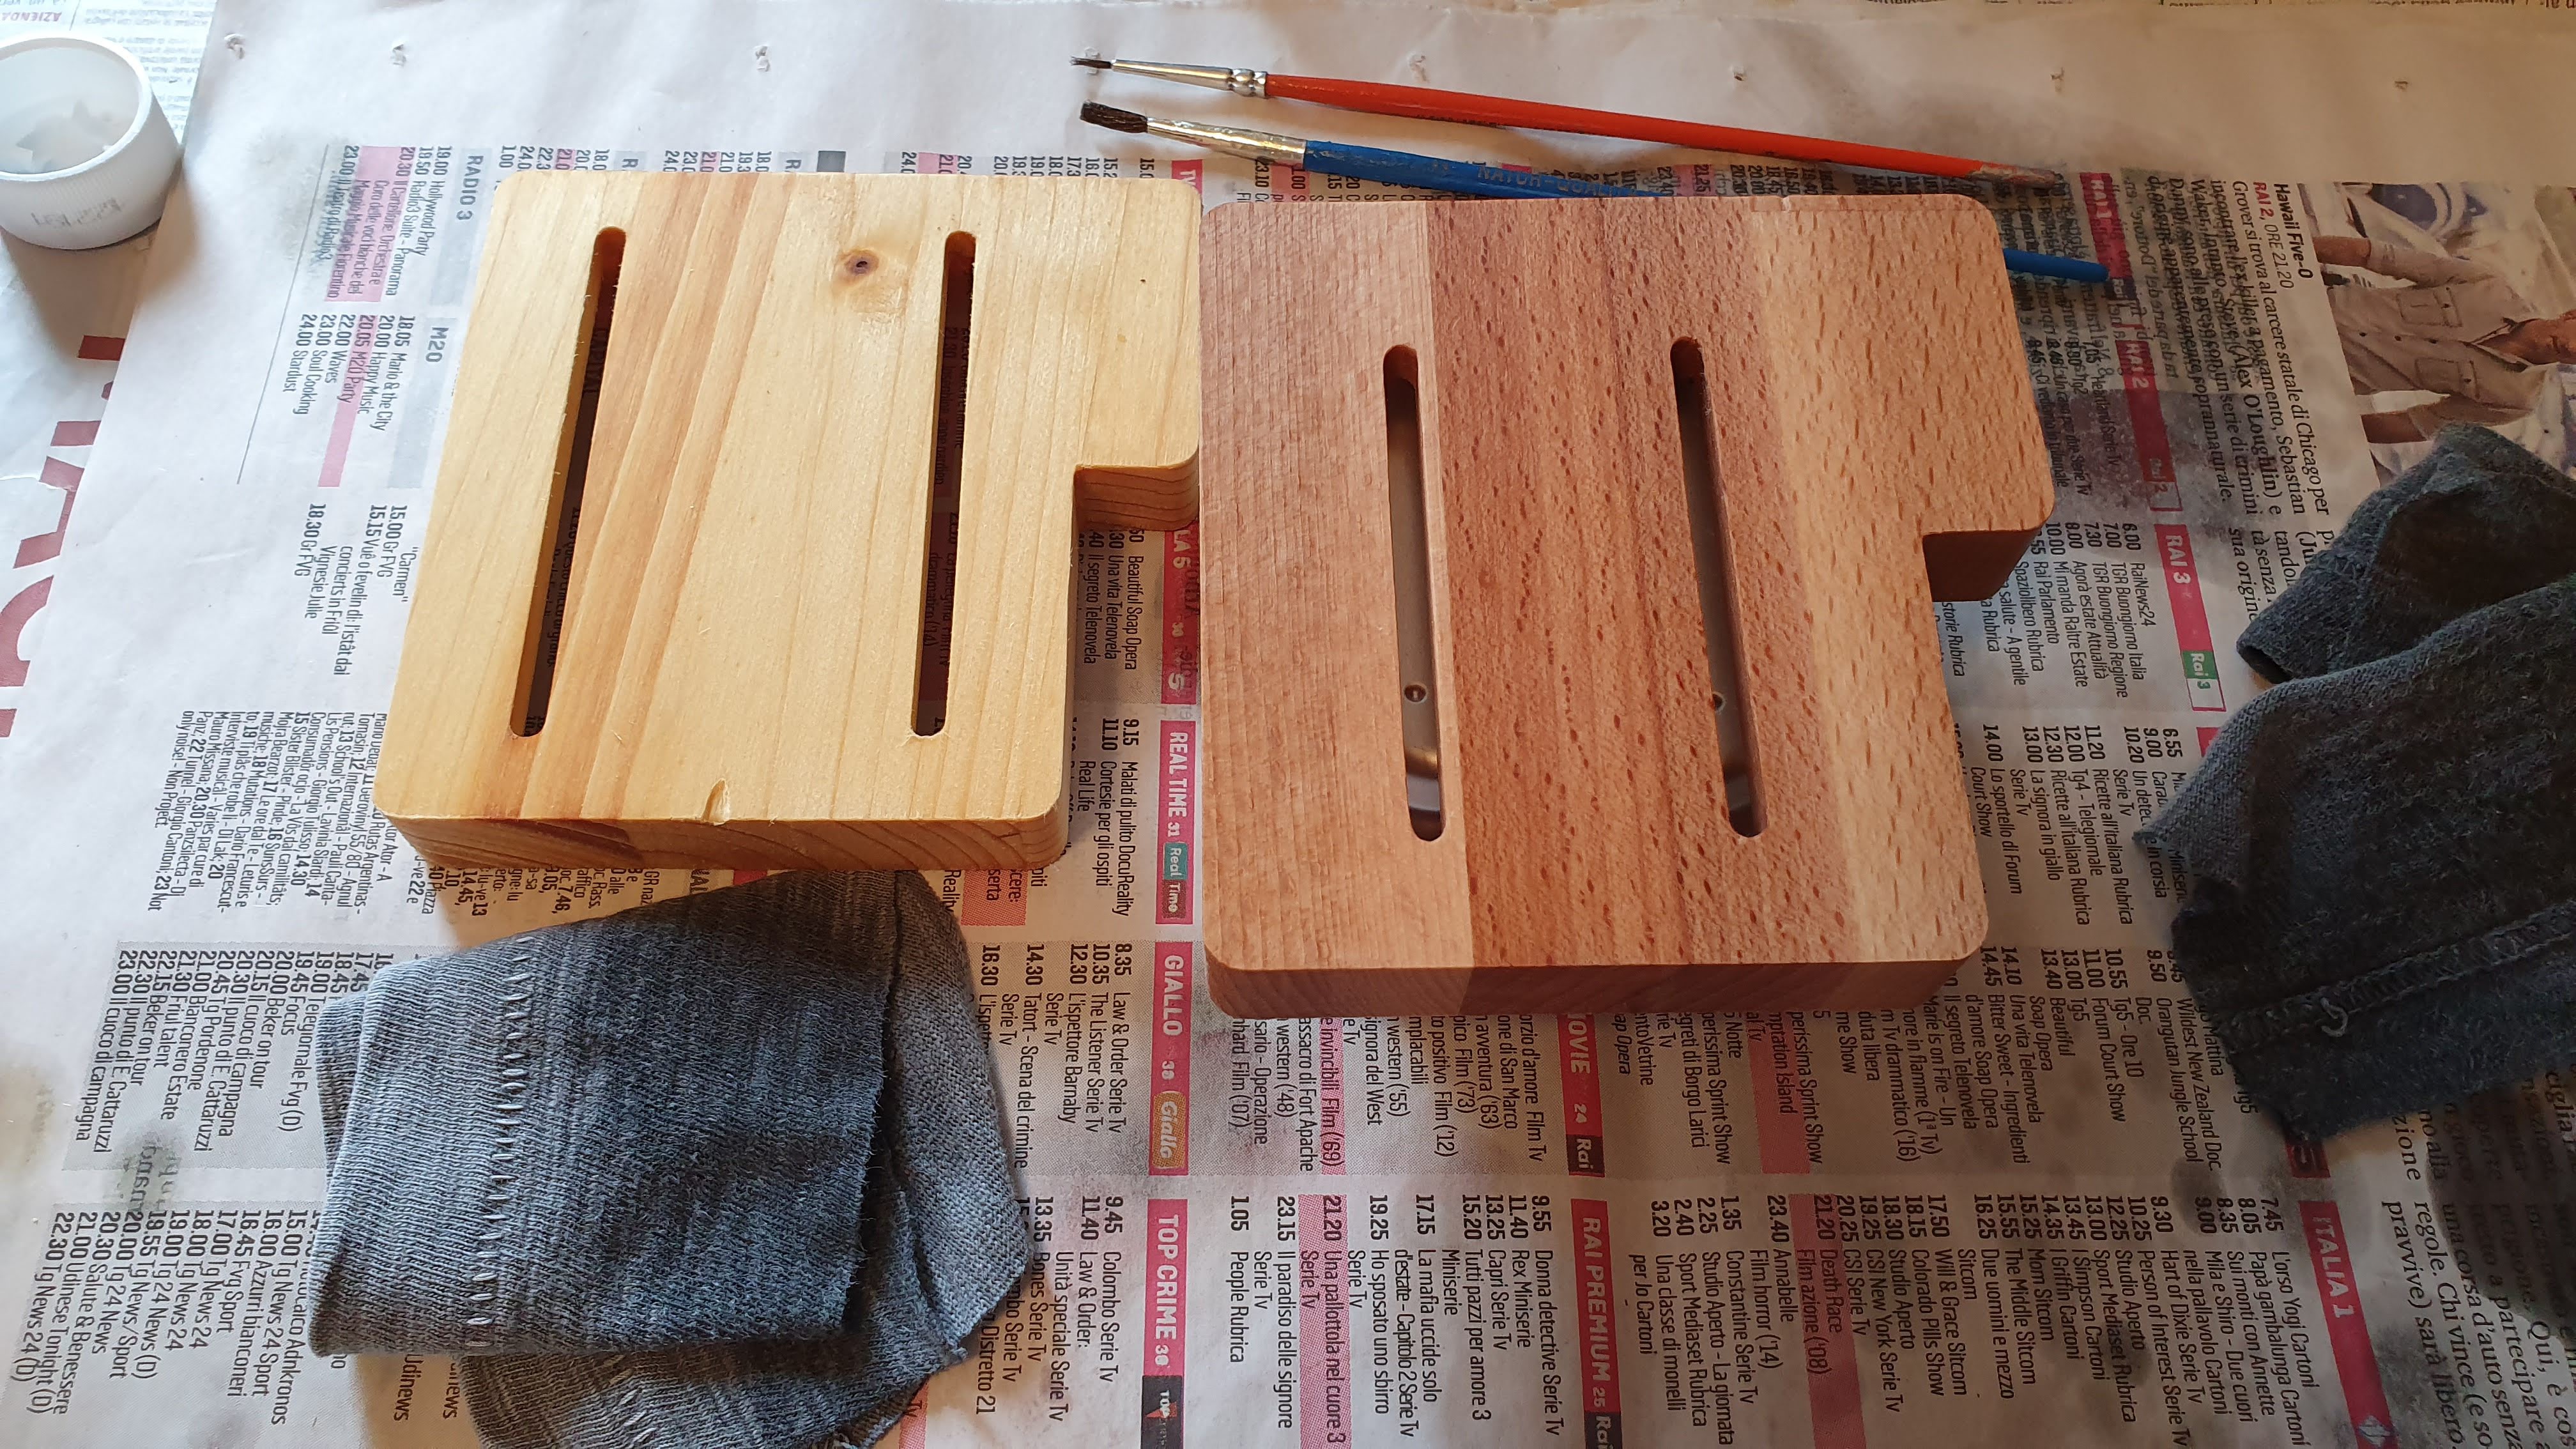
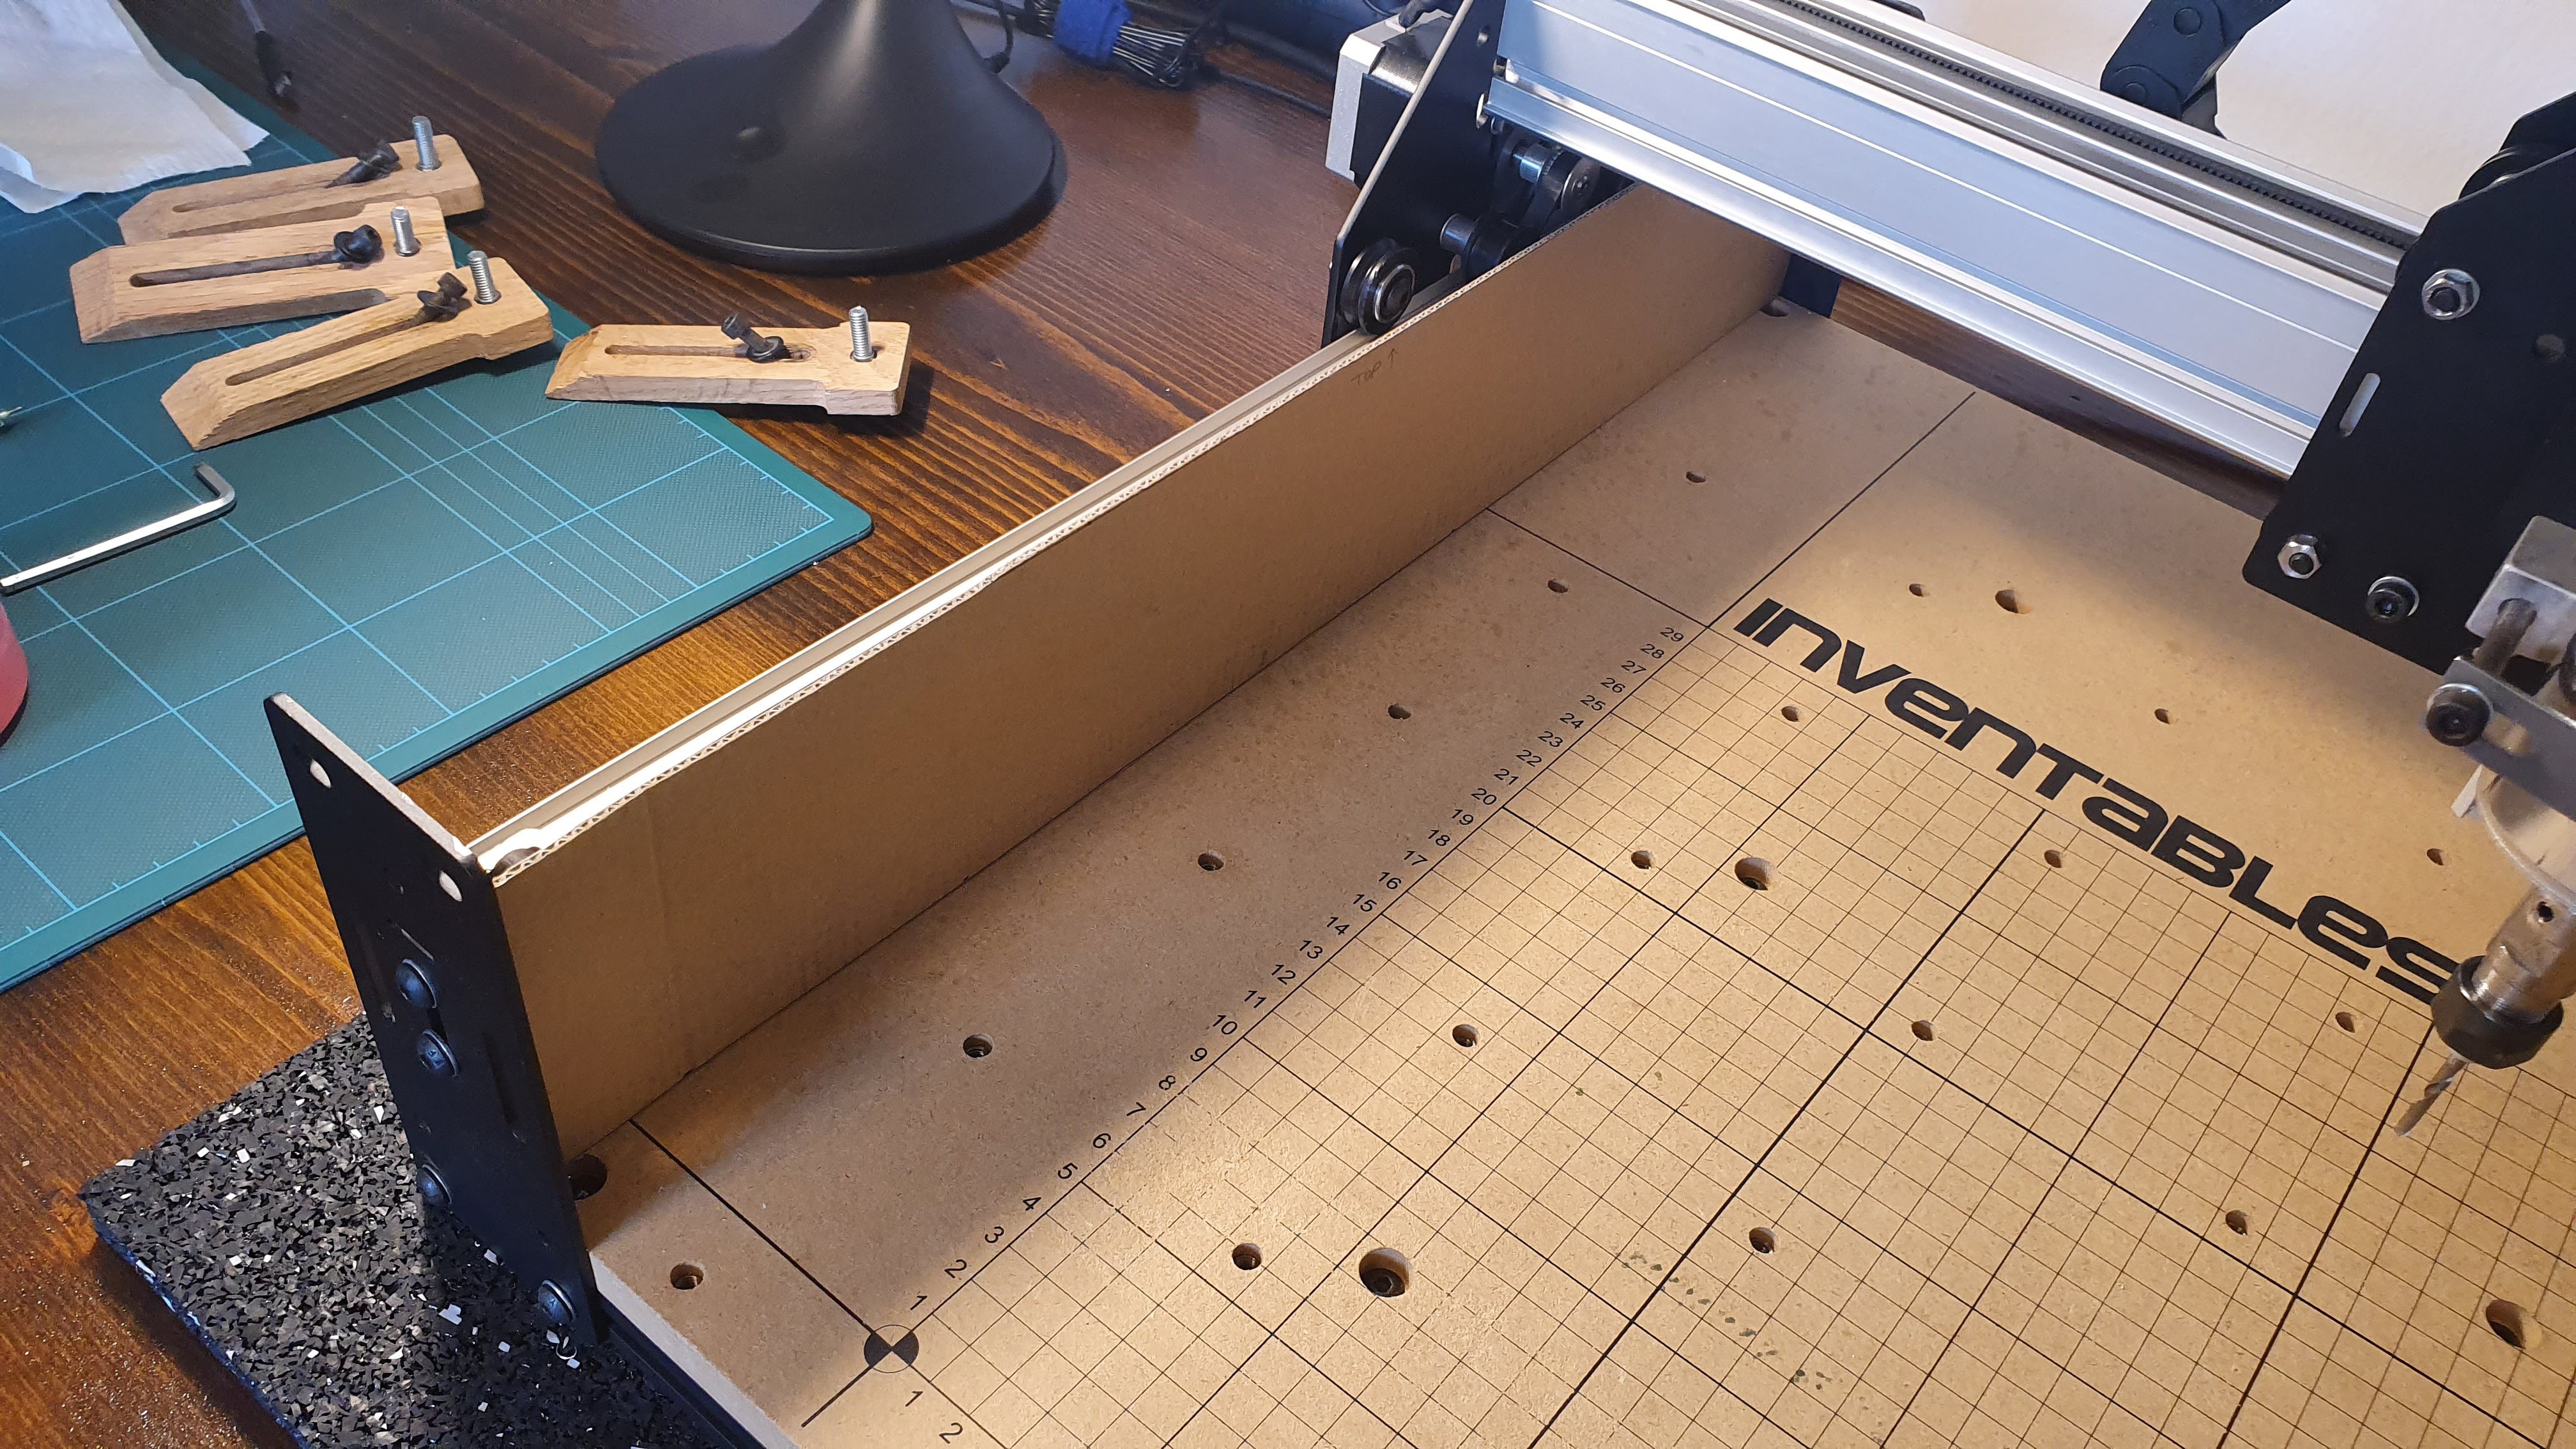
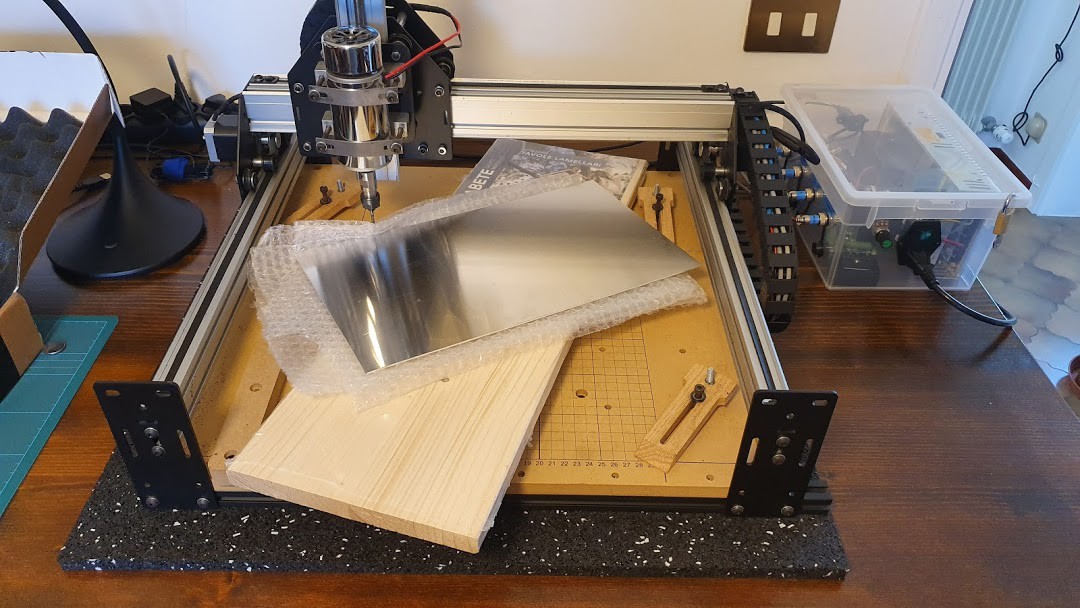
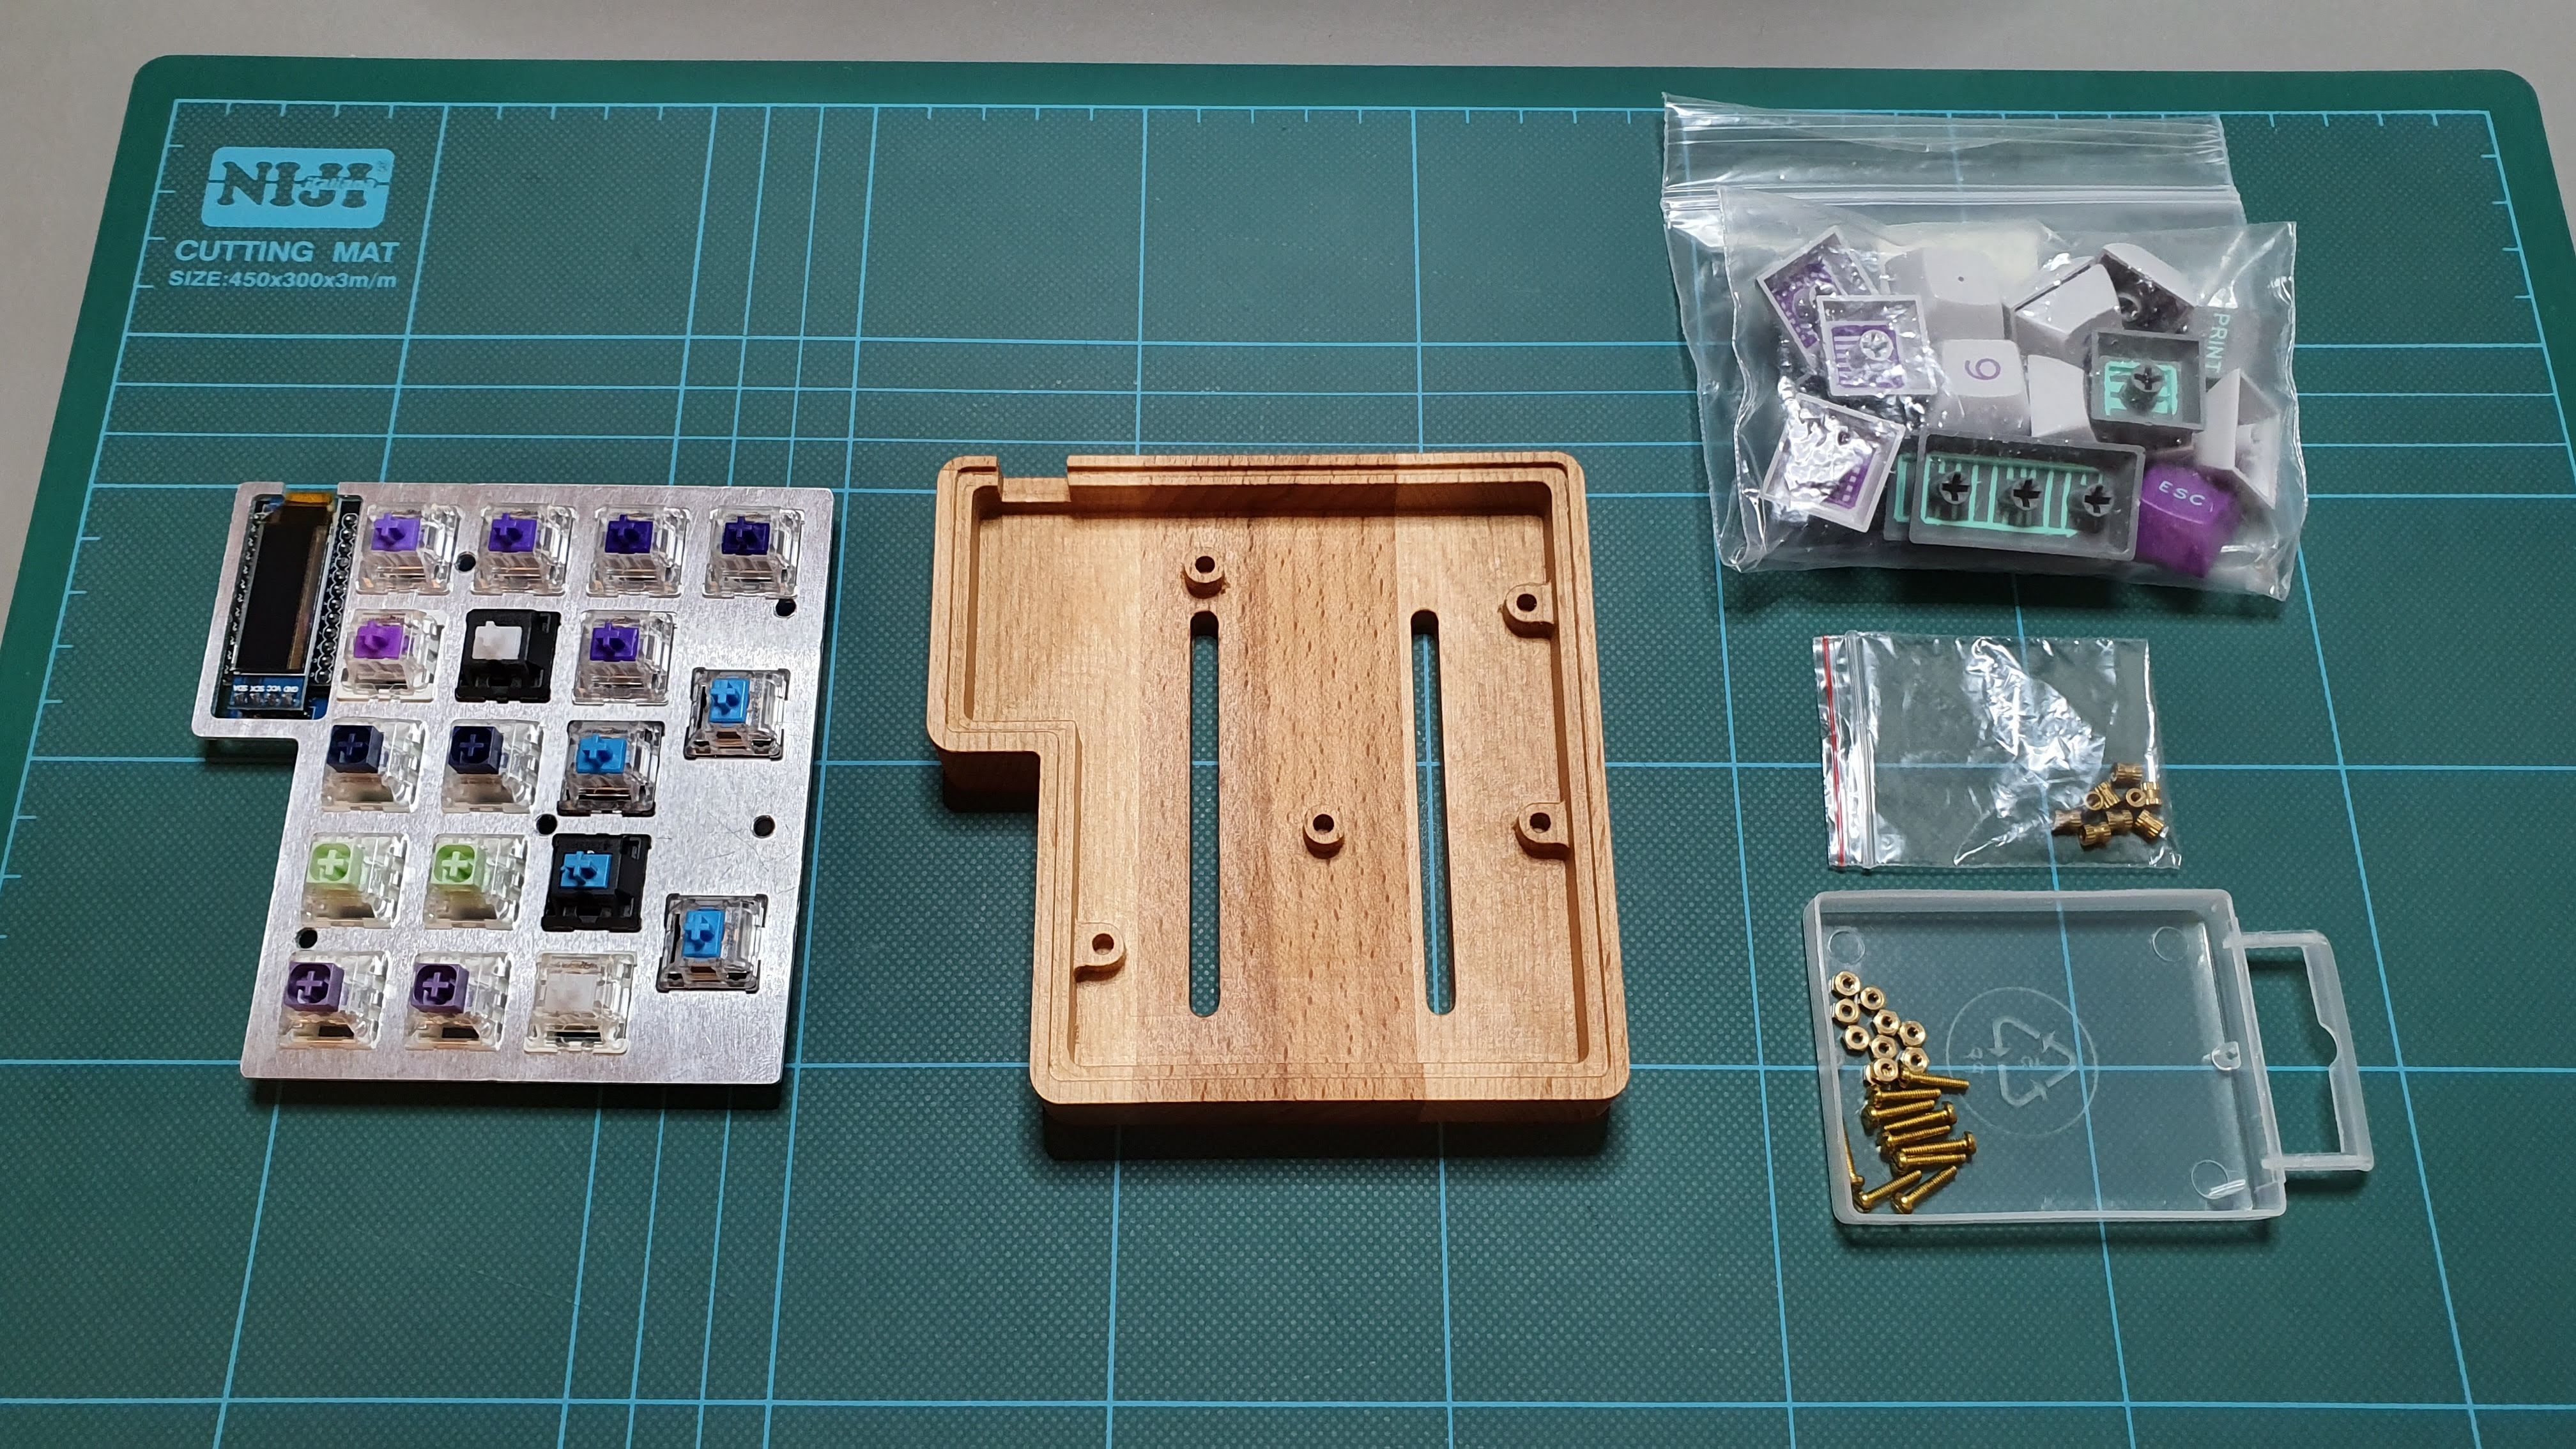 Here's all the parts:
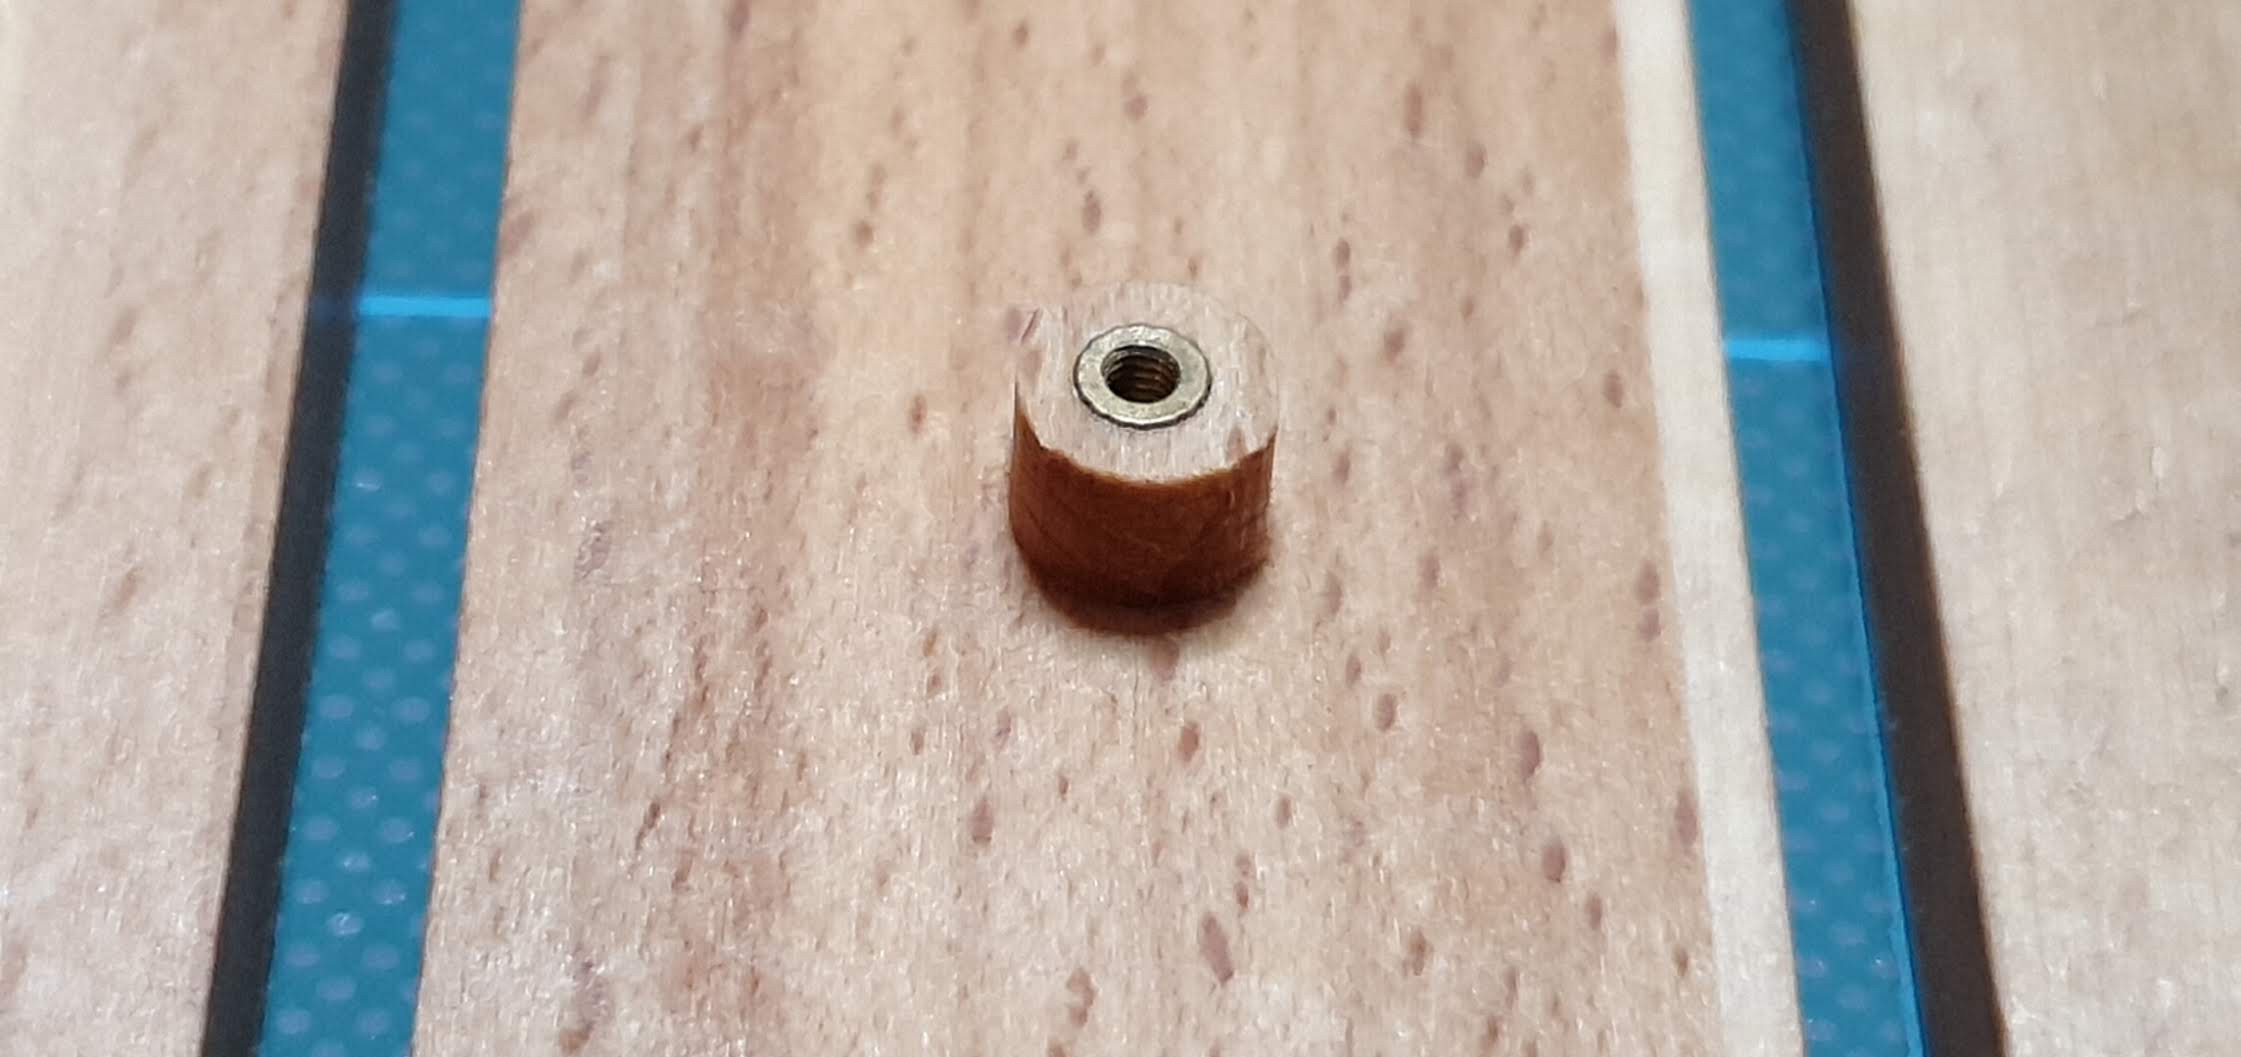
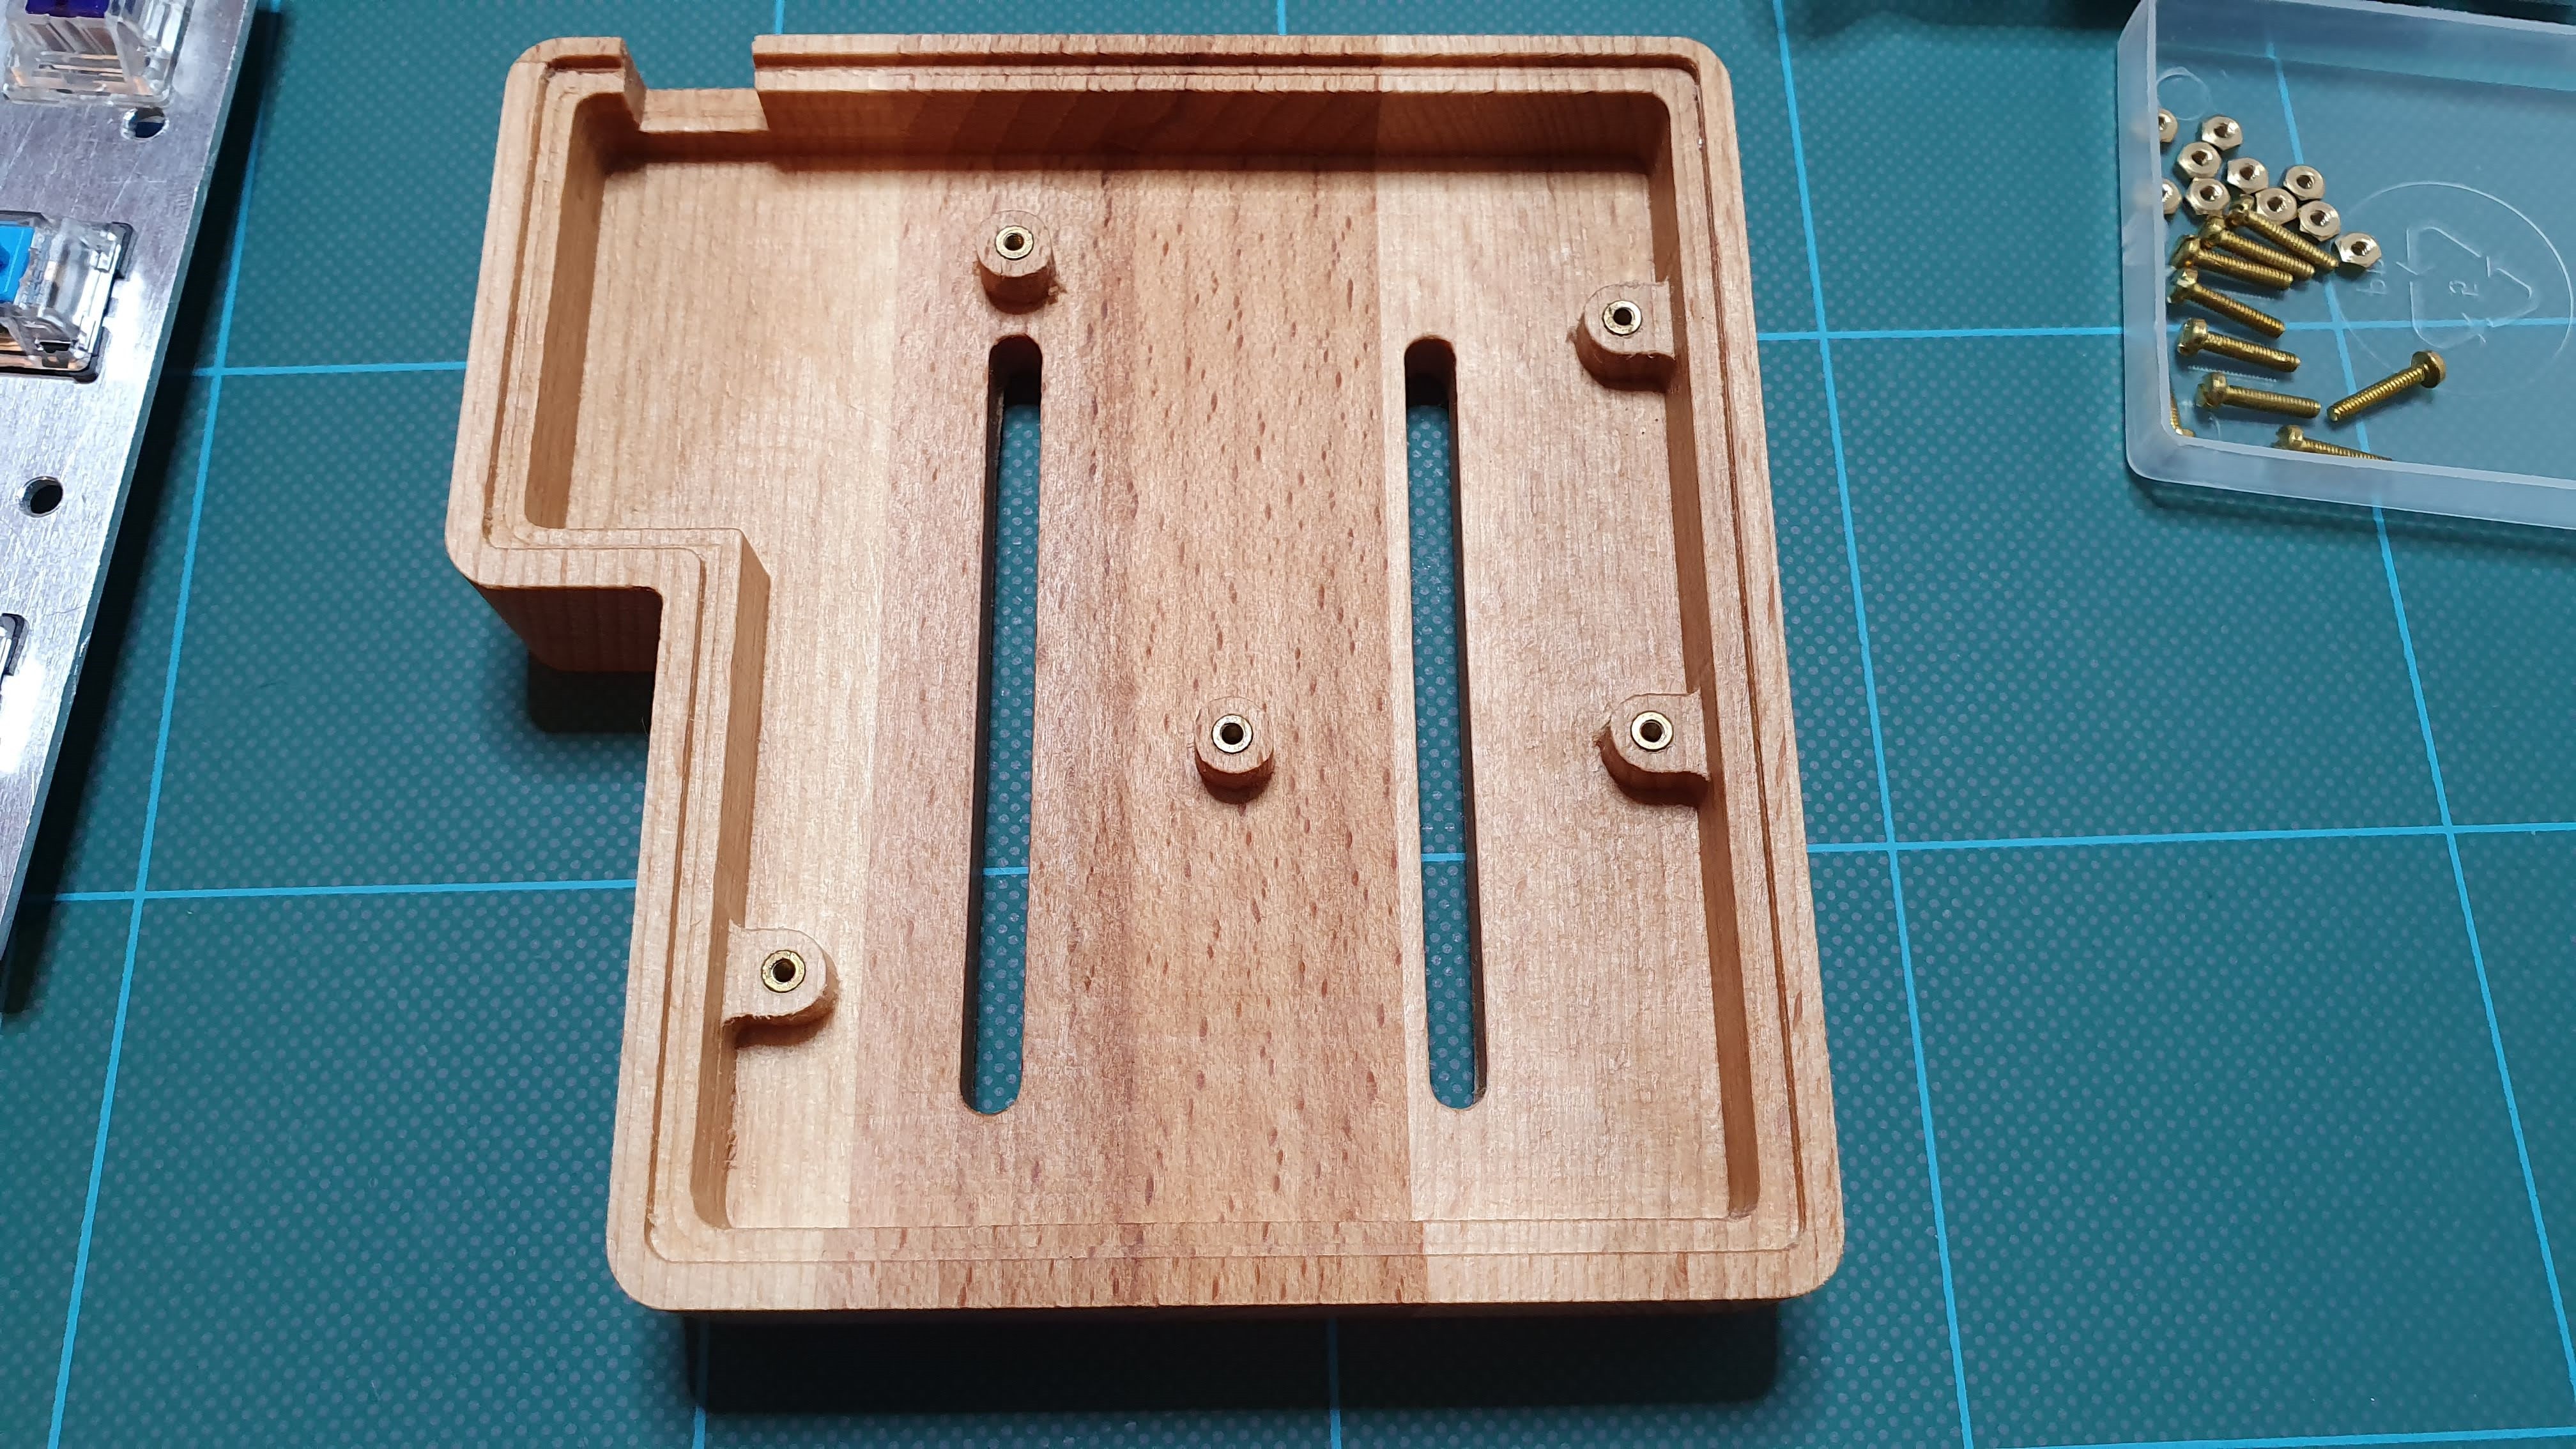
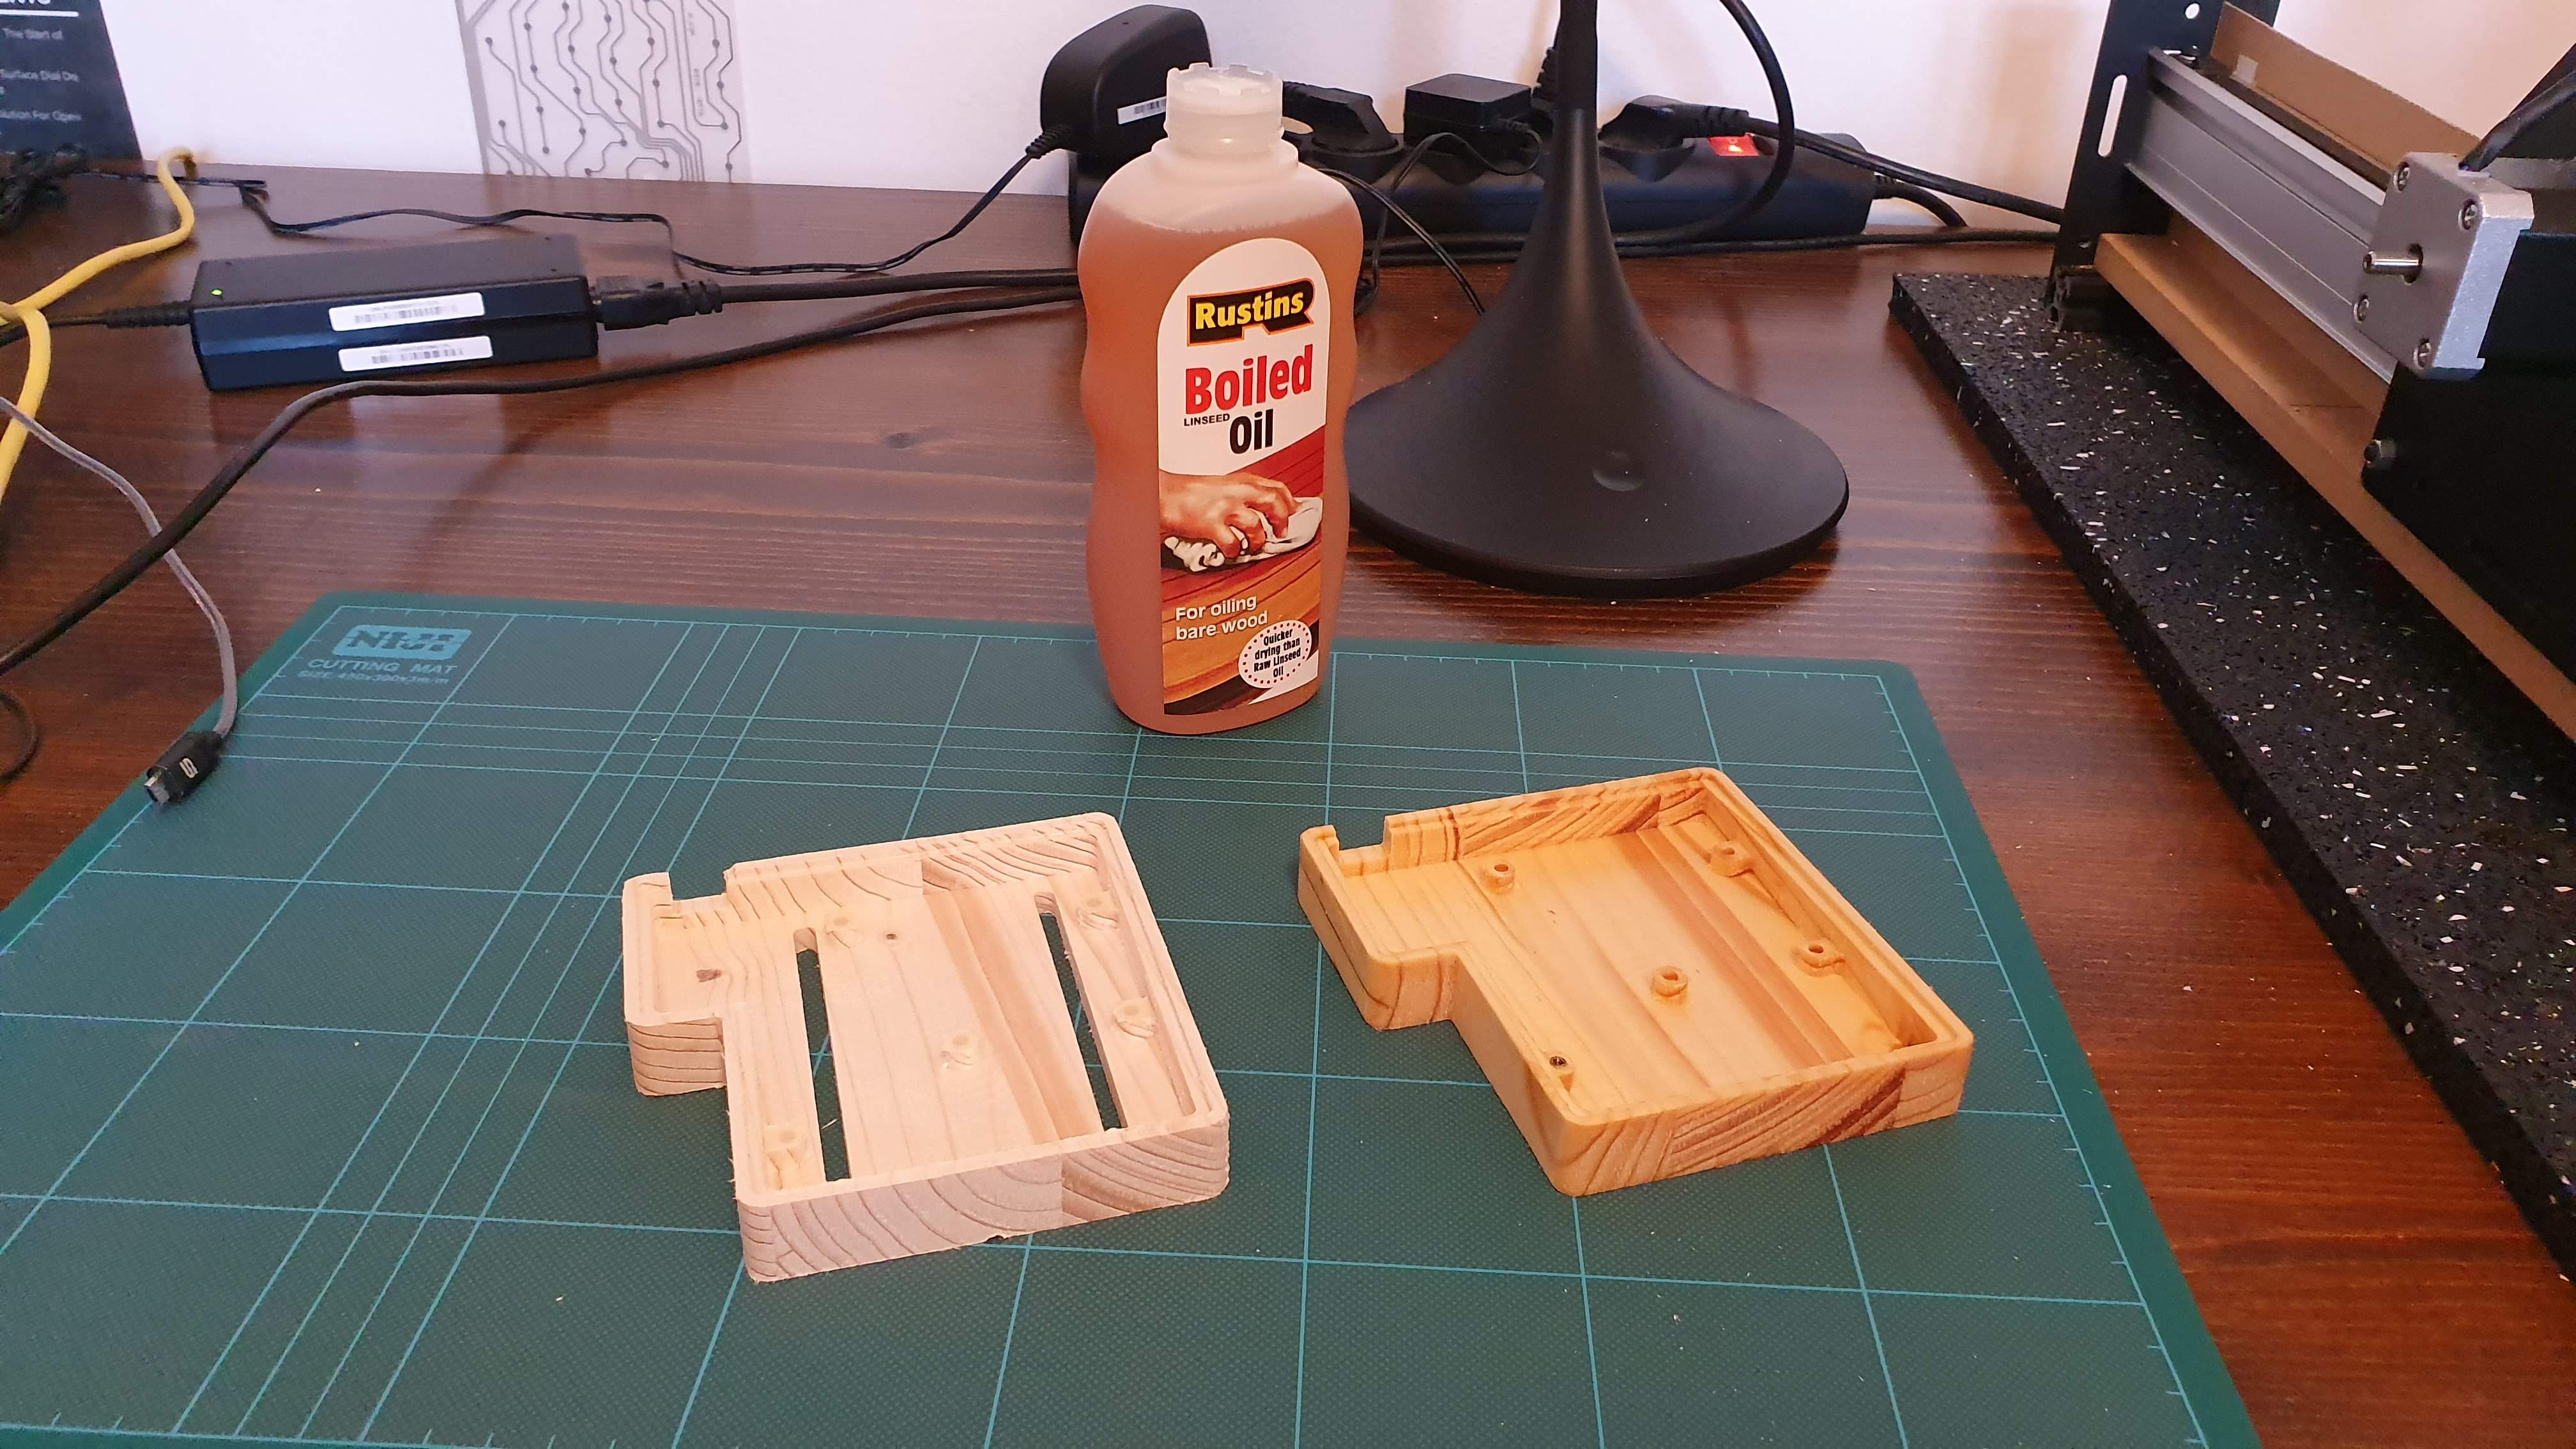
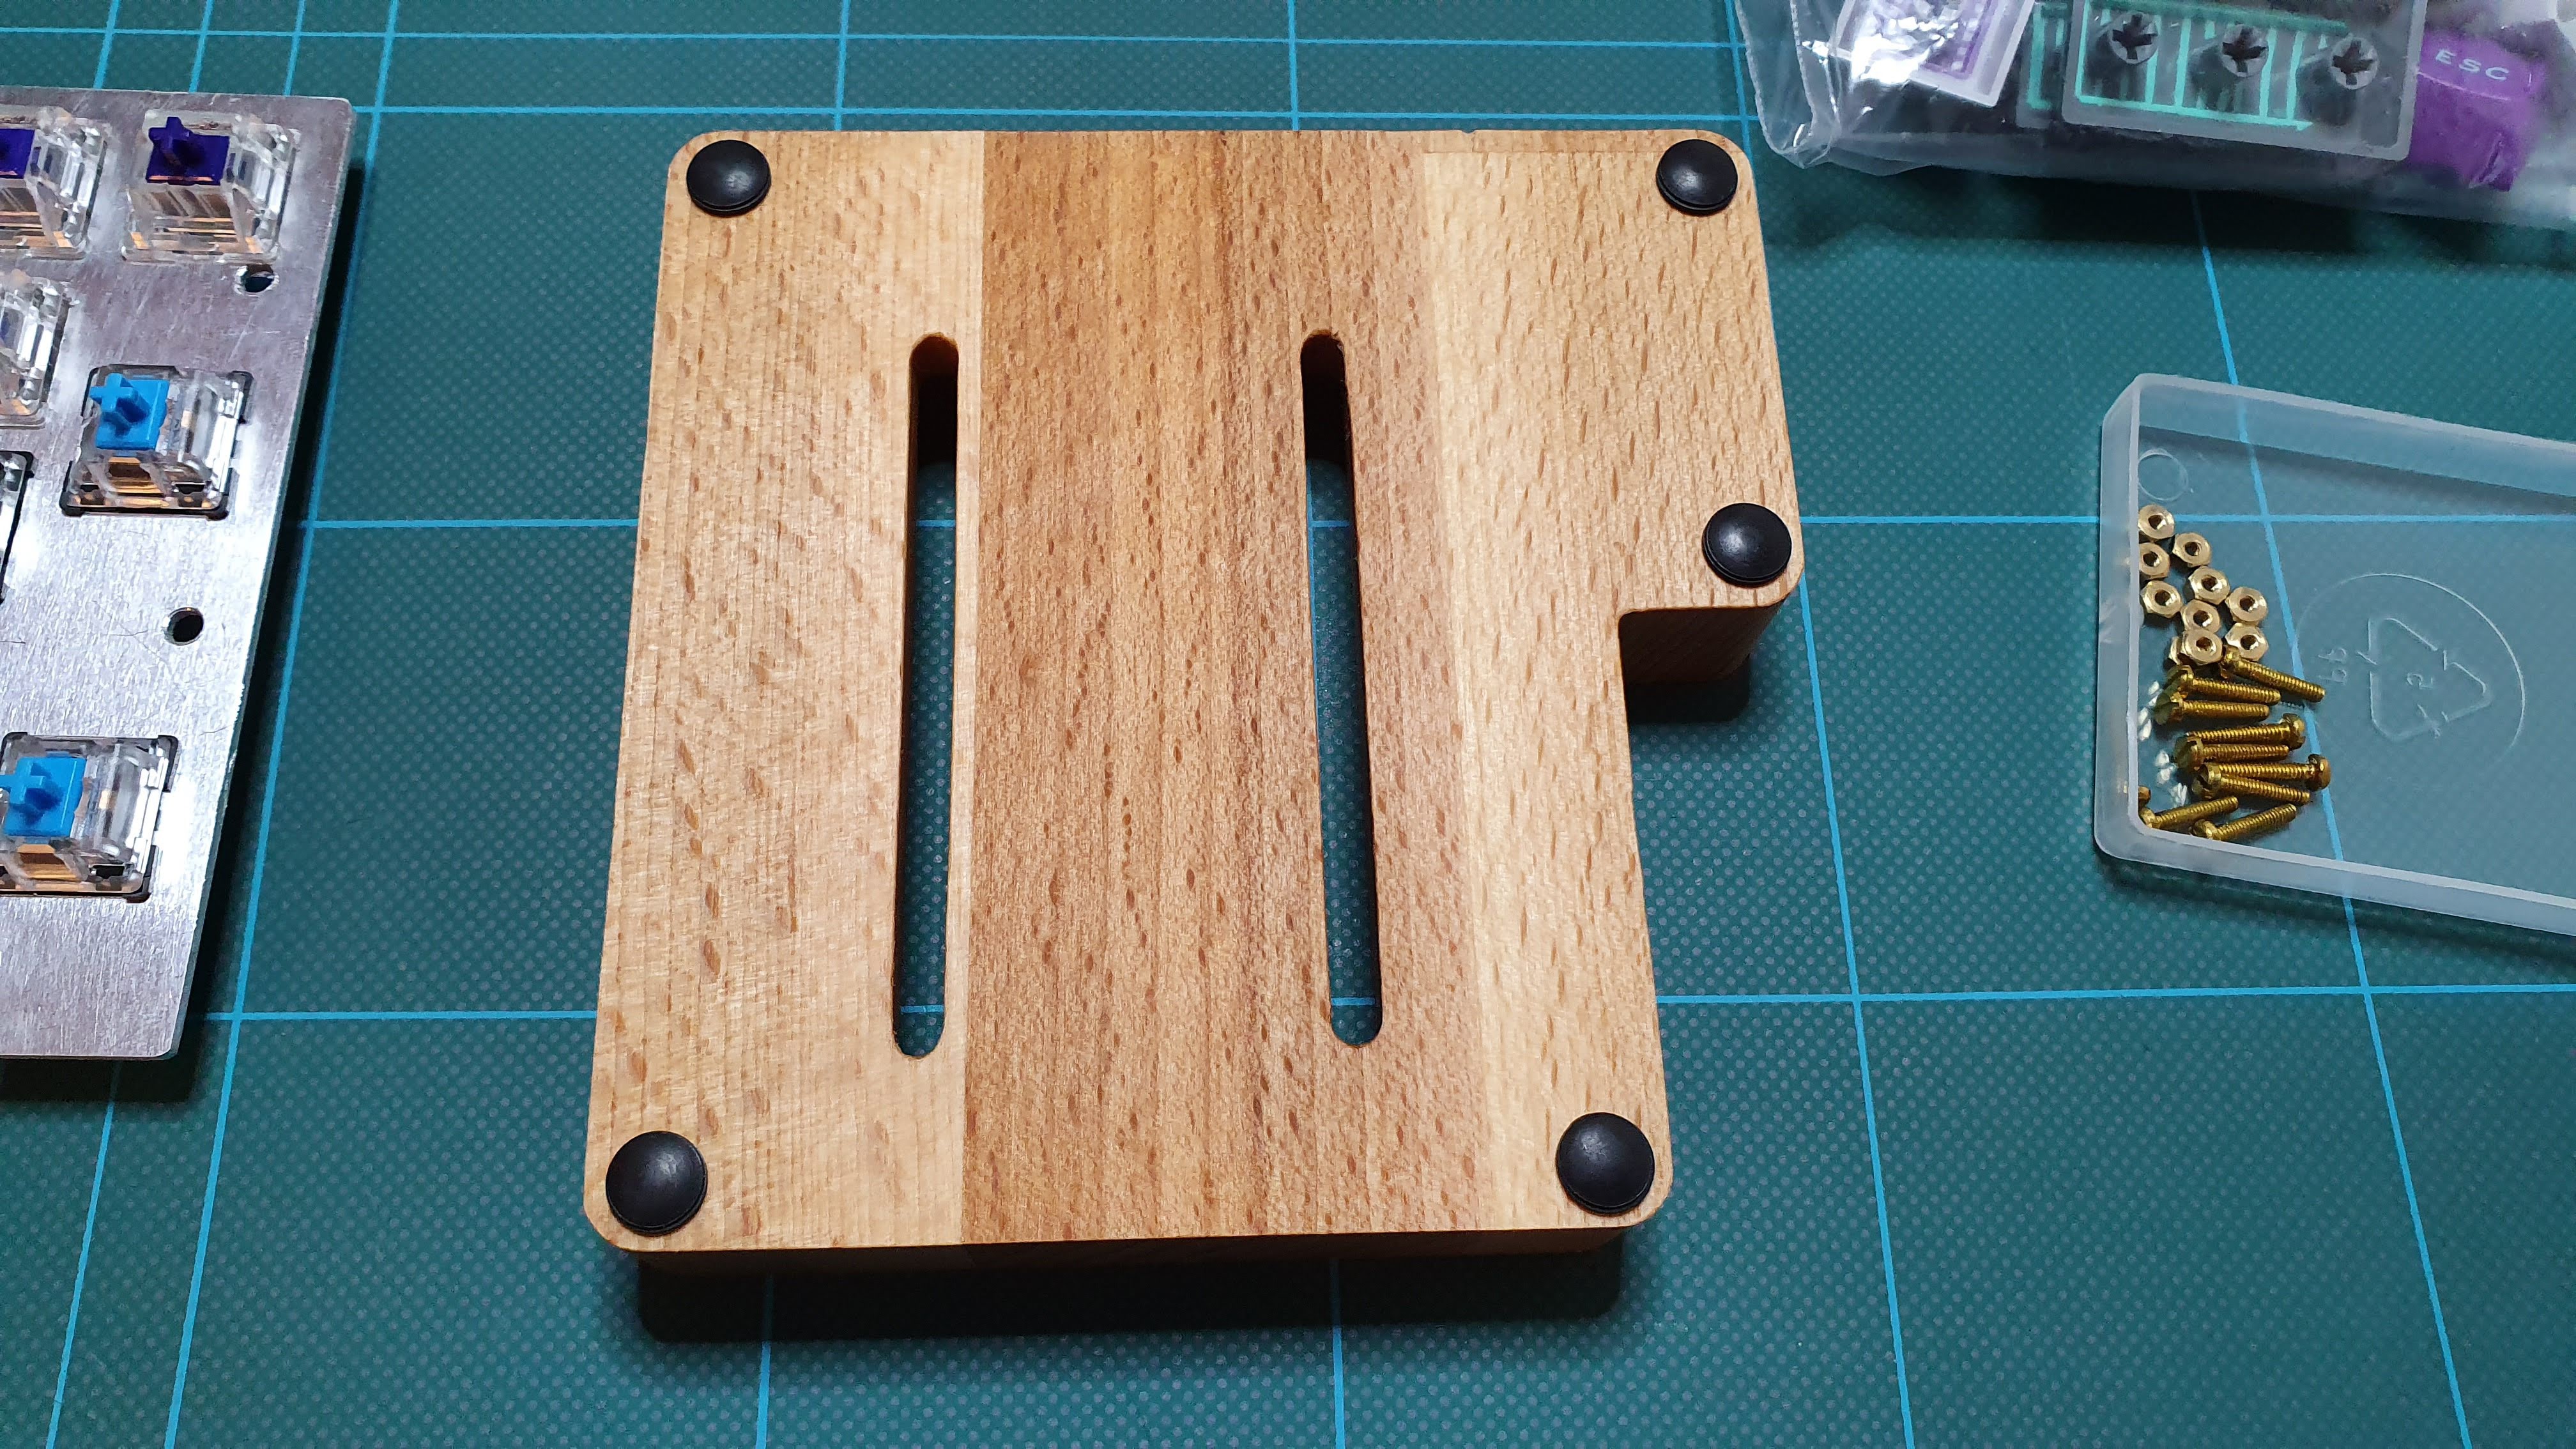 Then the threaded inserts. These are actually for plastics but work great for wood too.
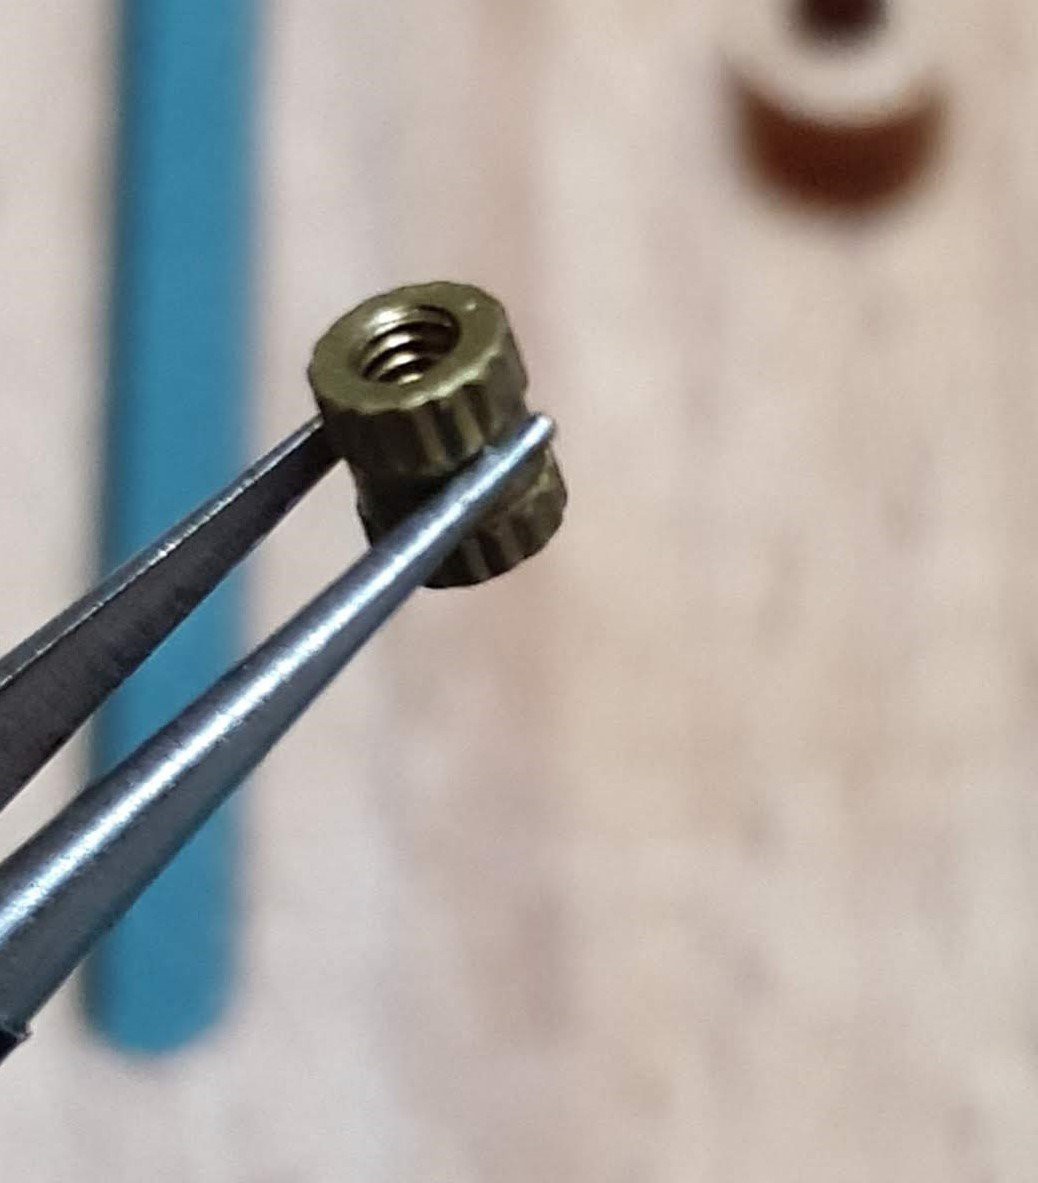
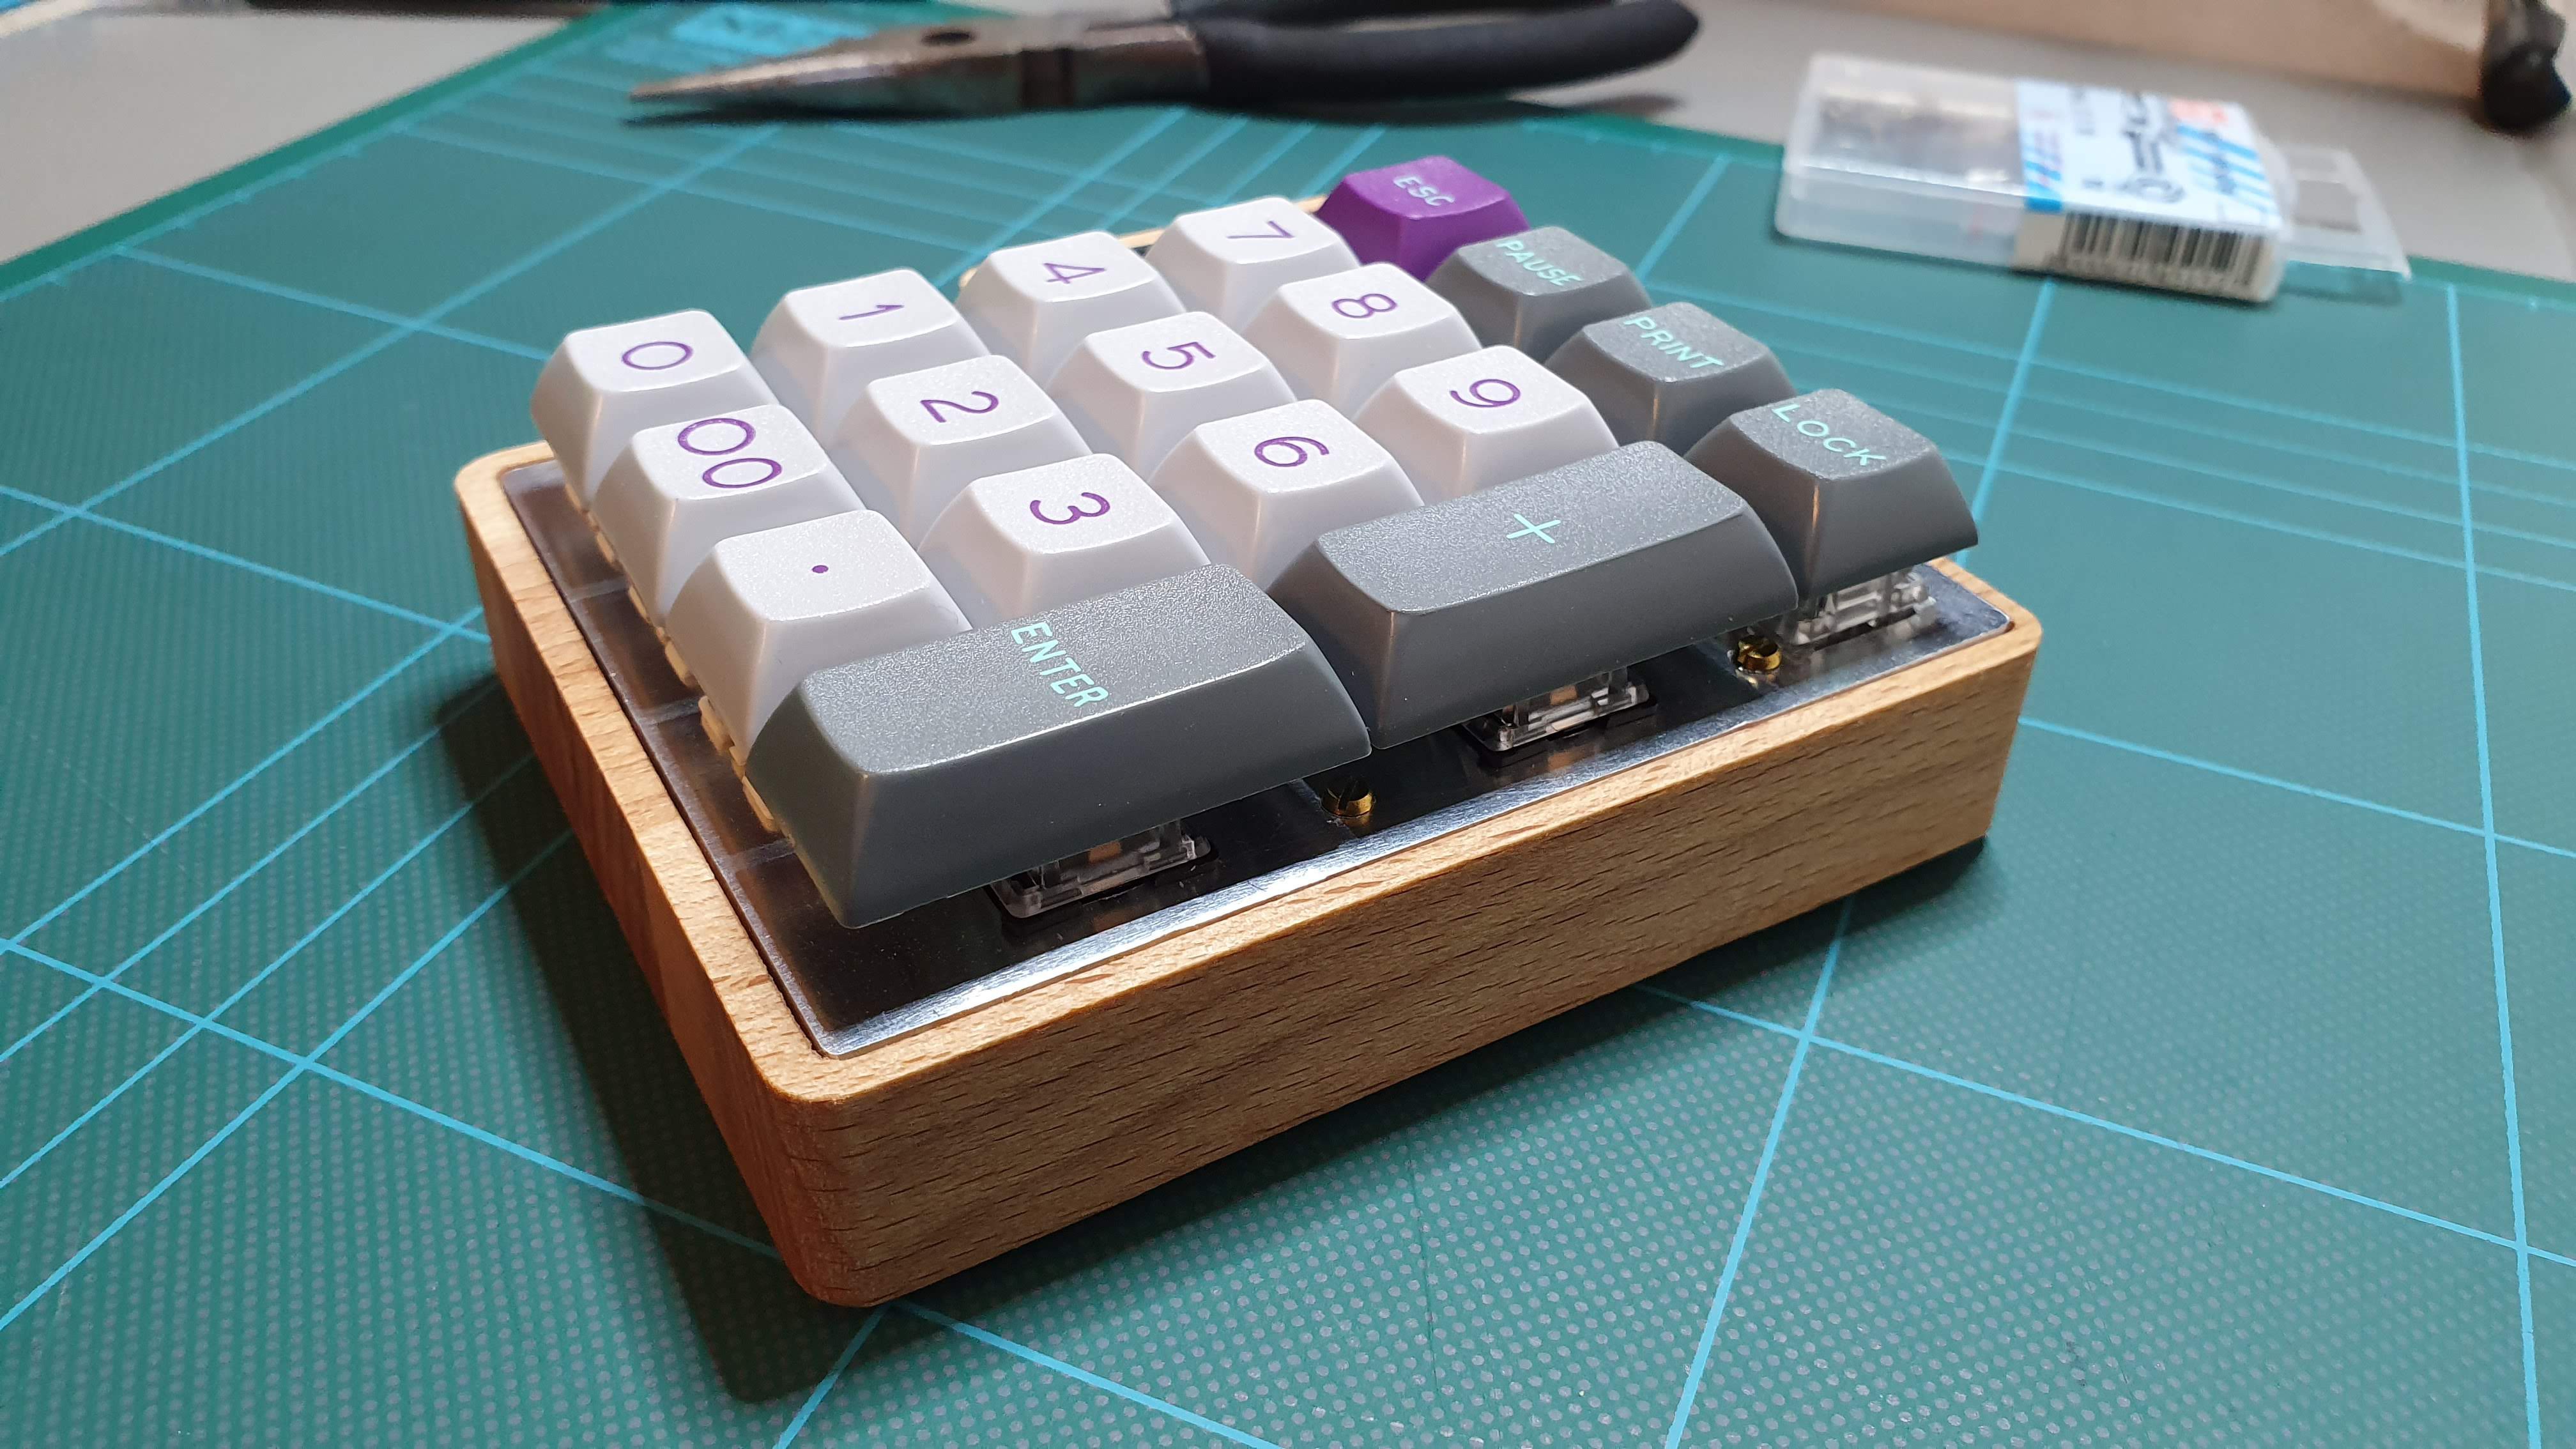
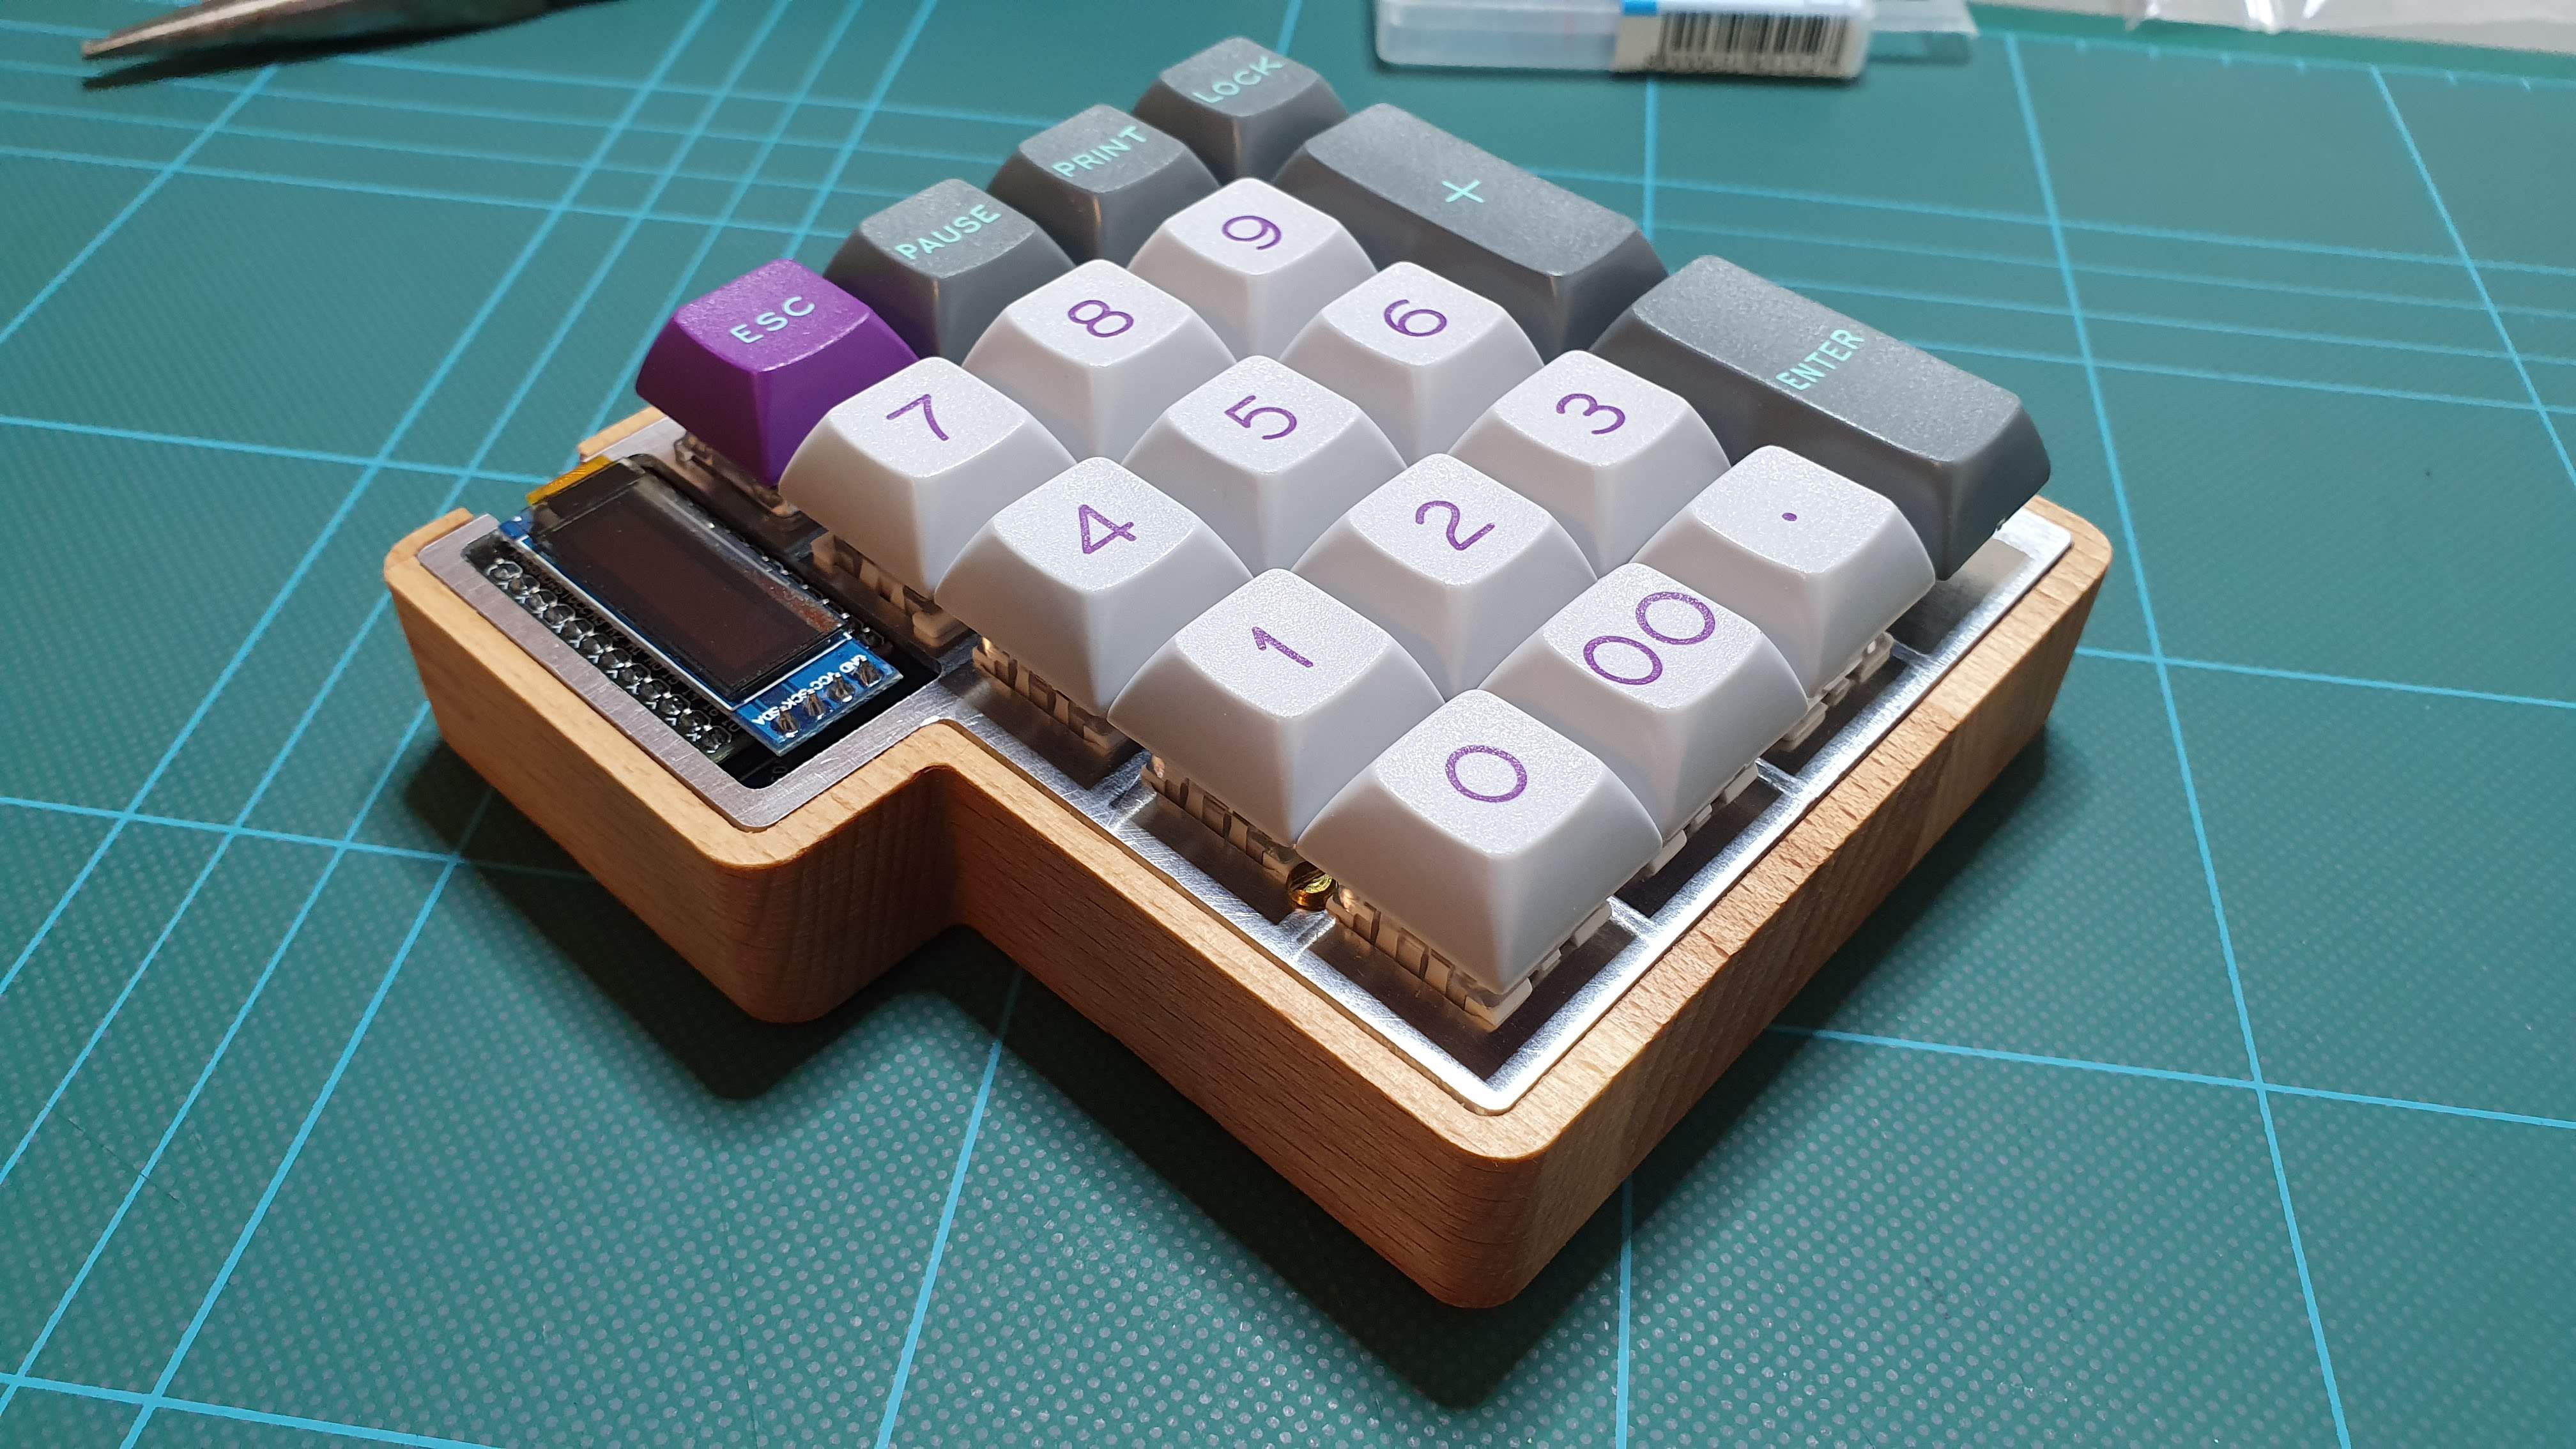
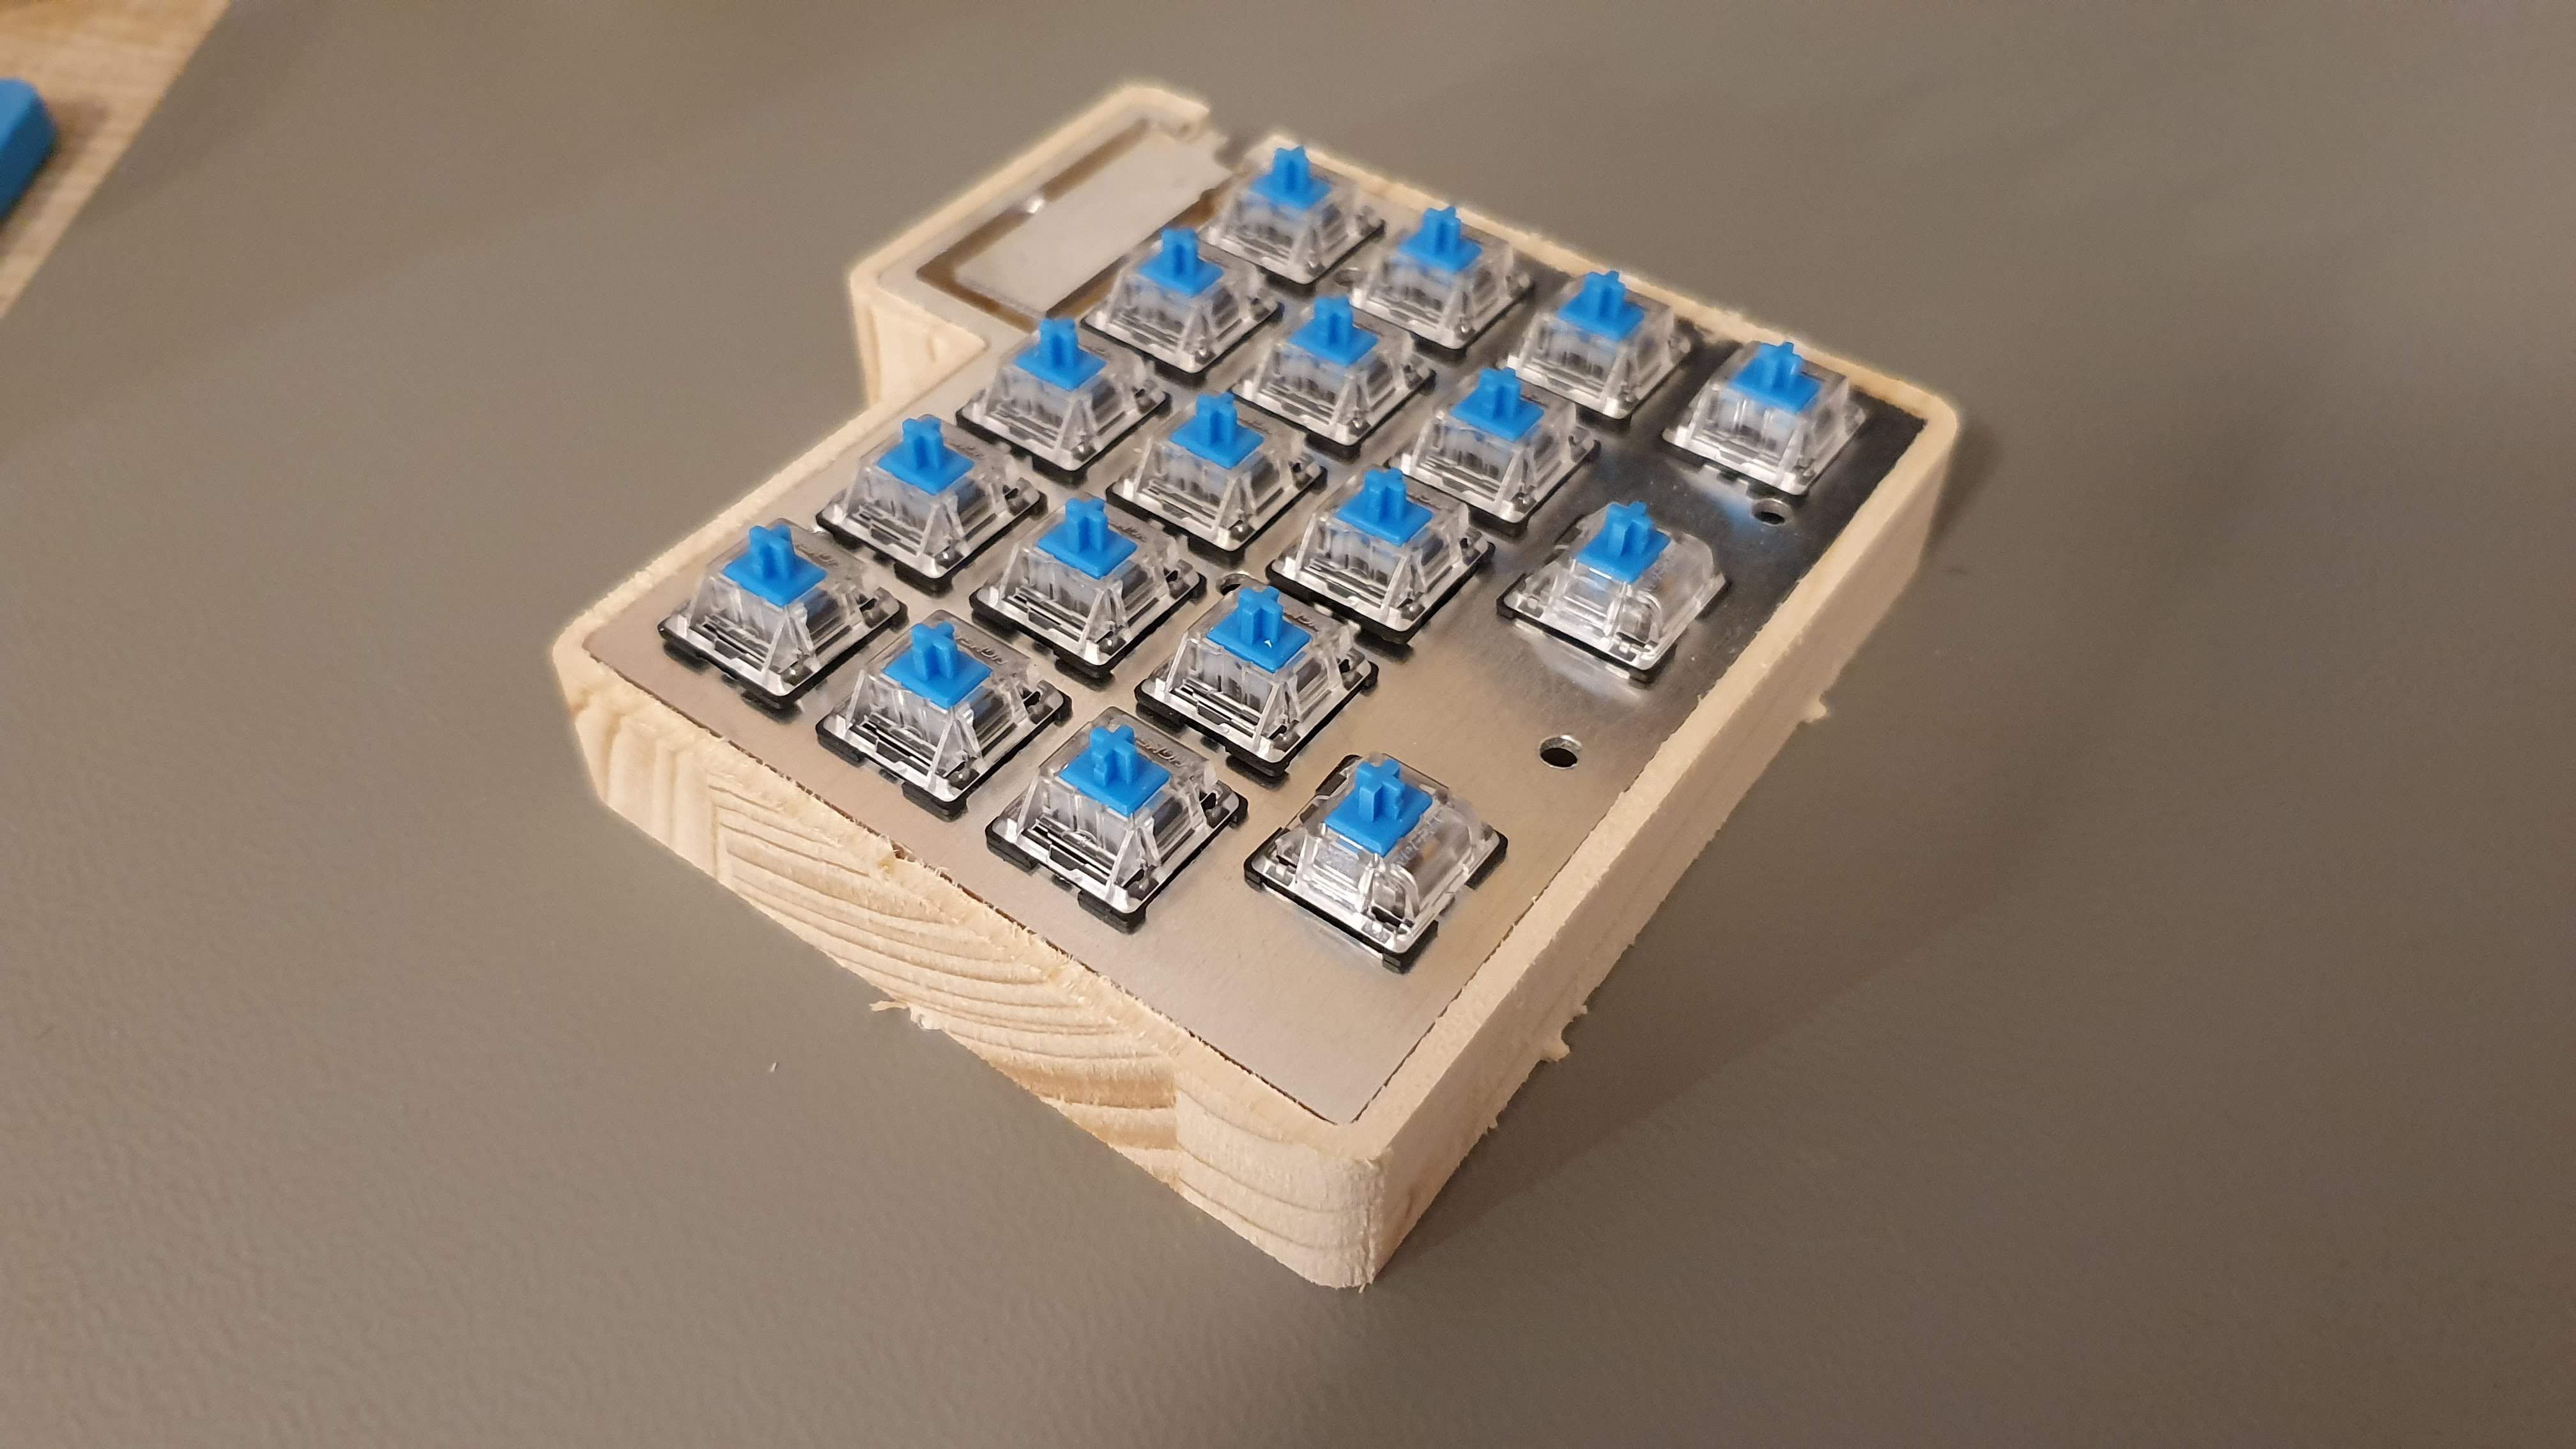
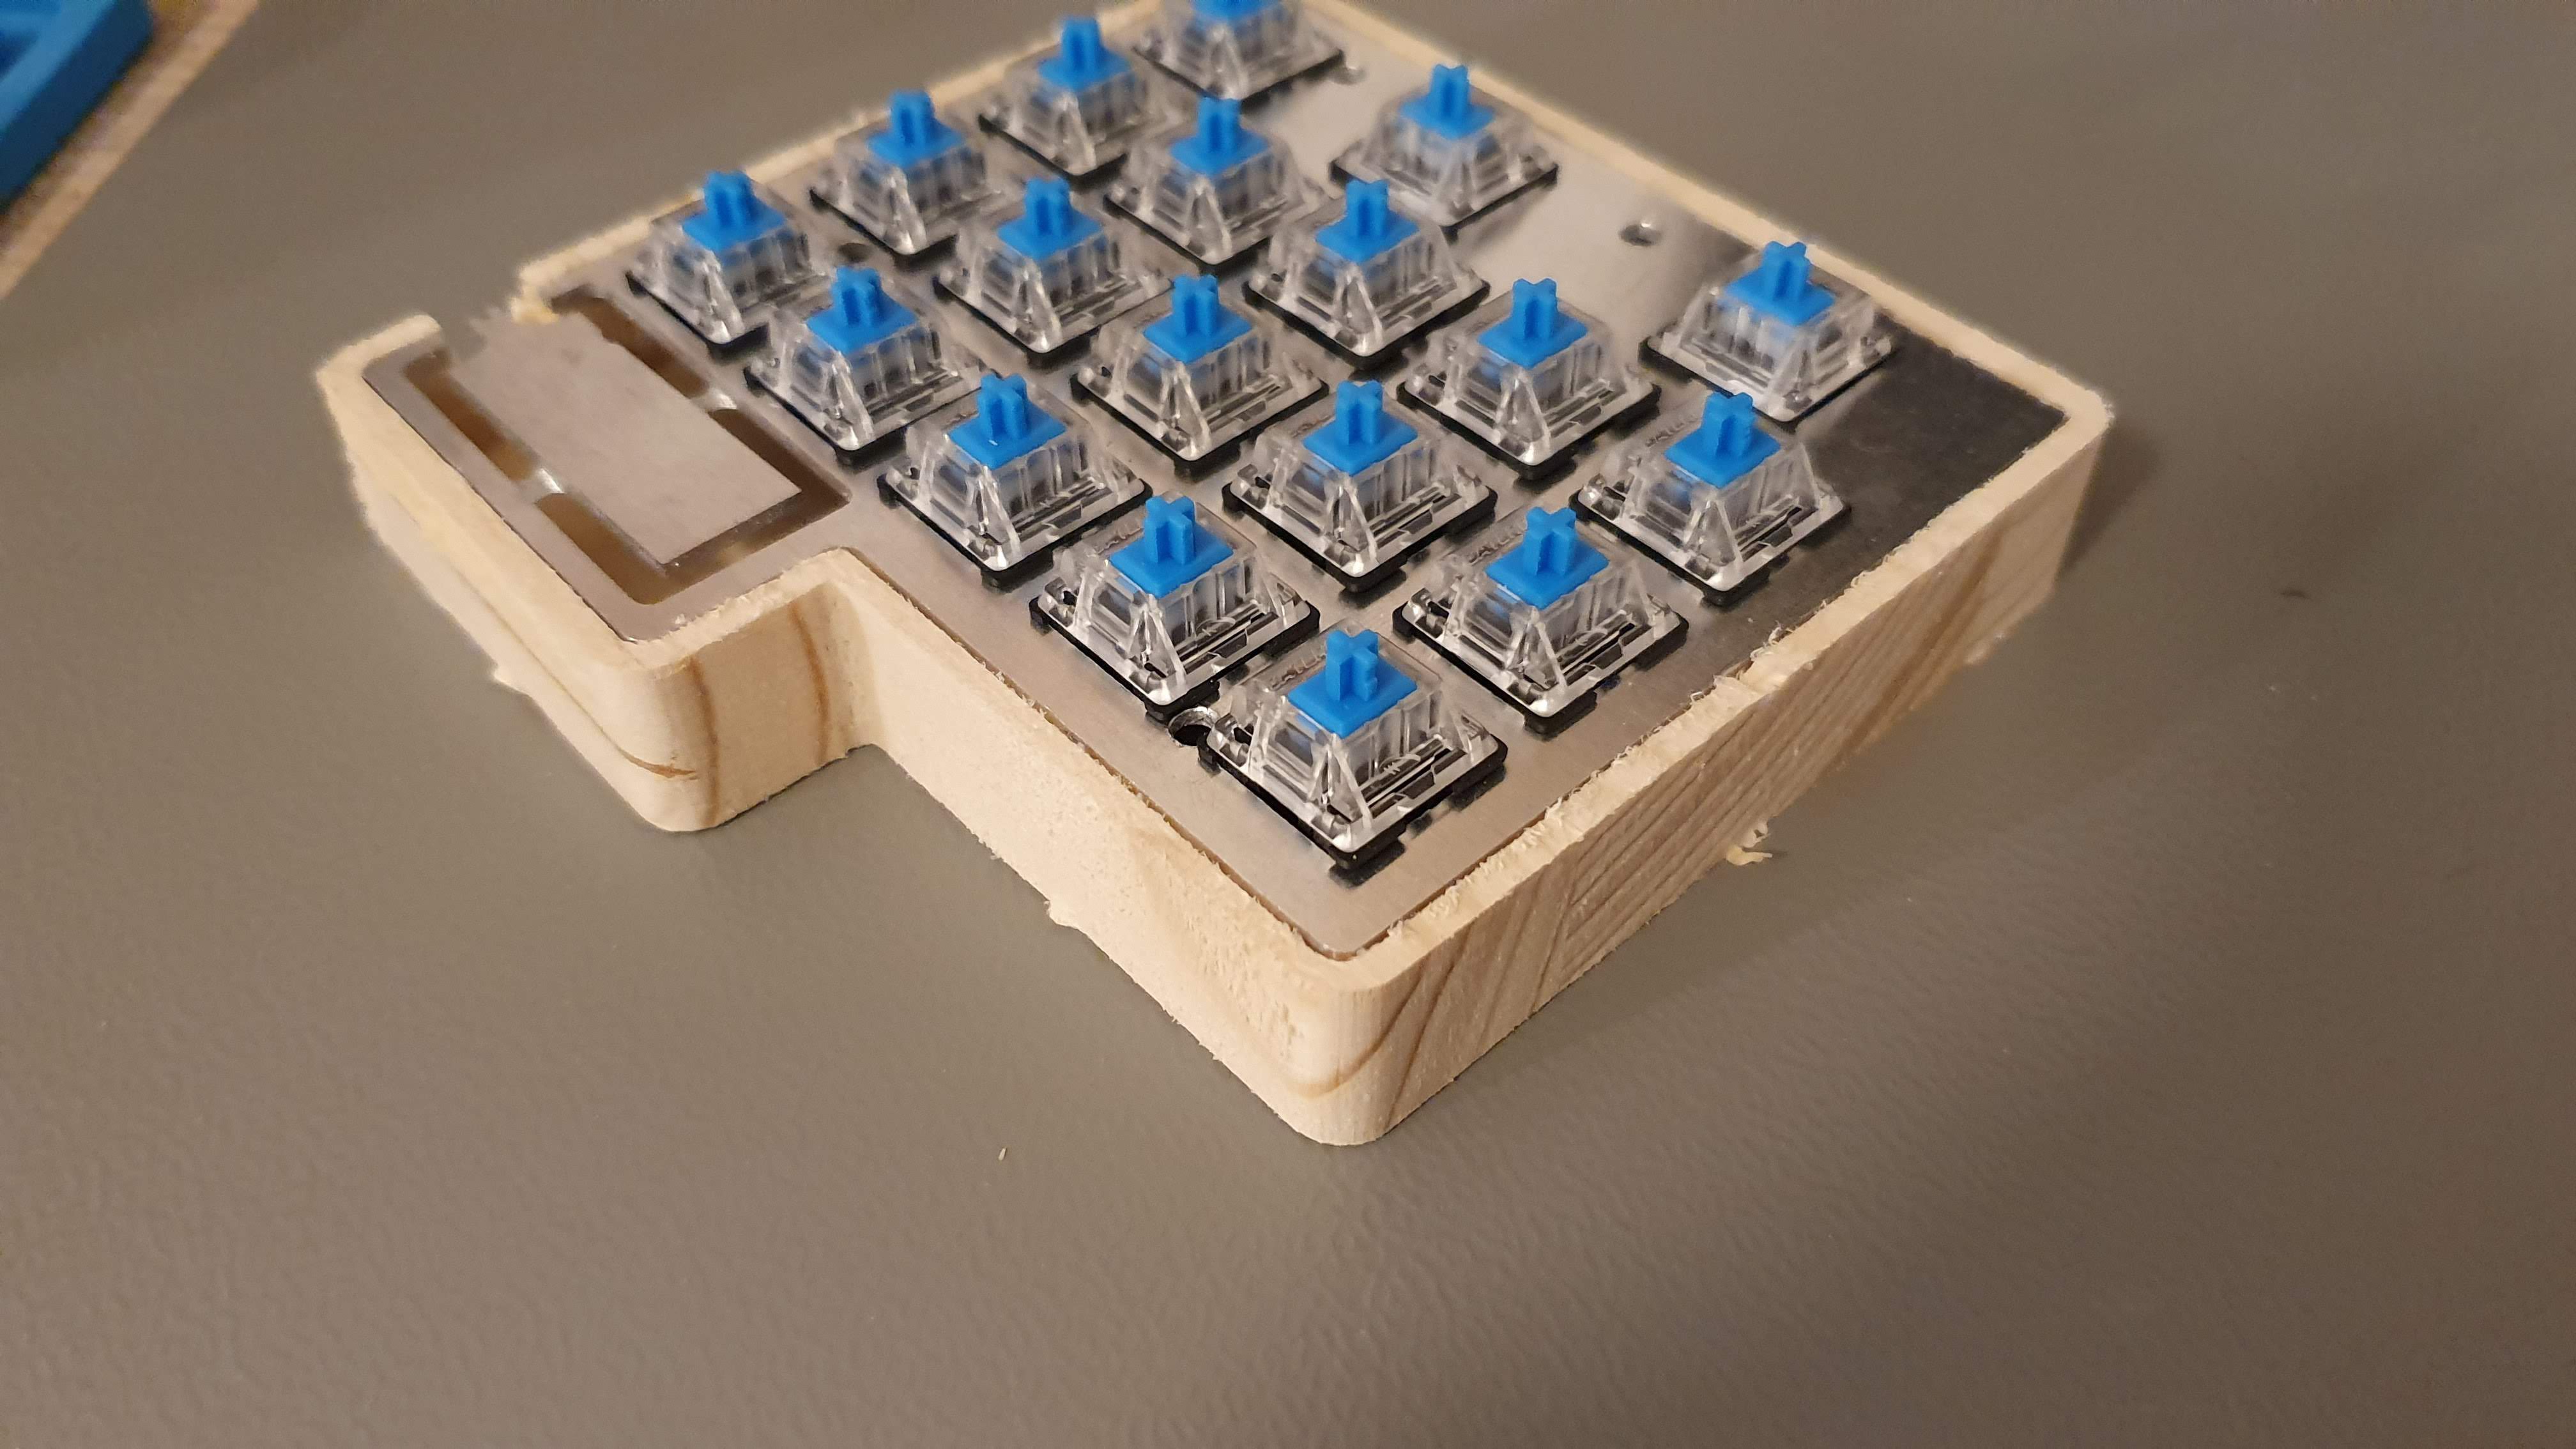
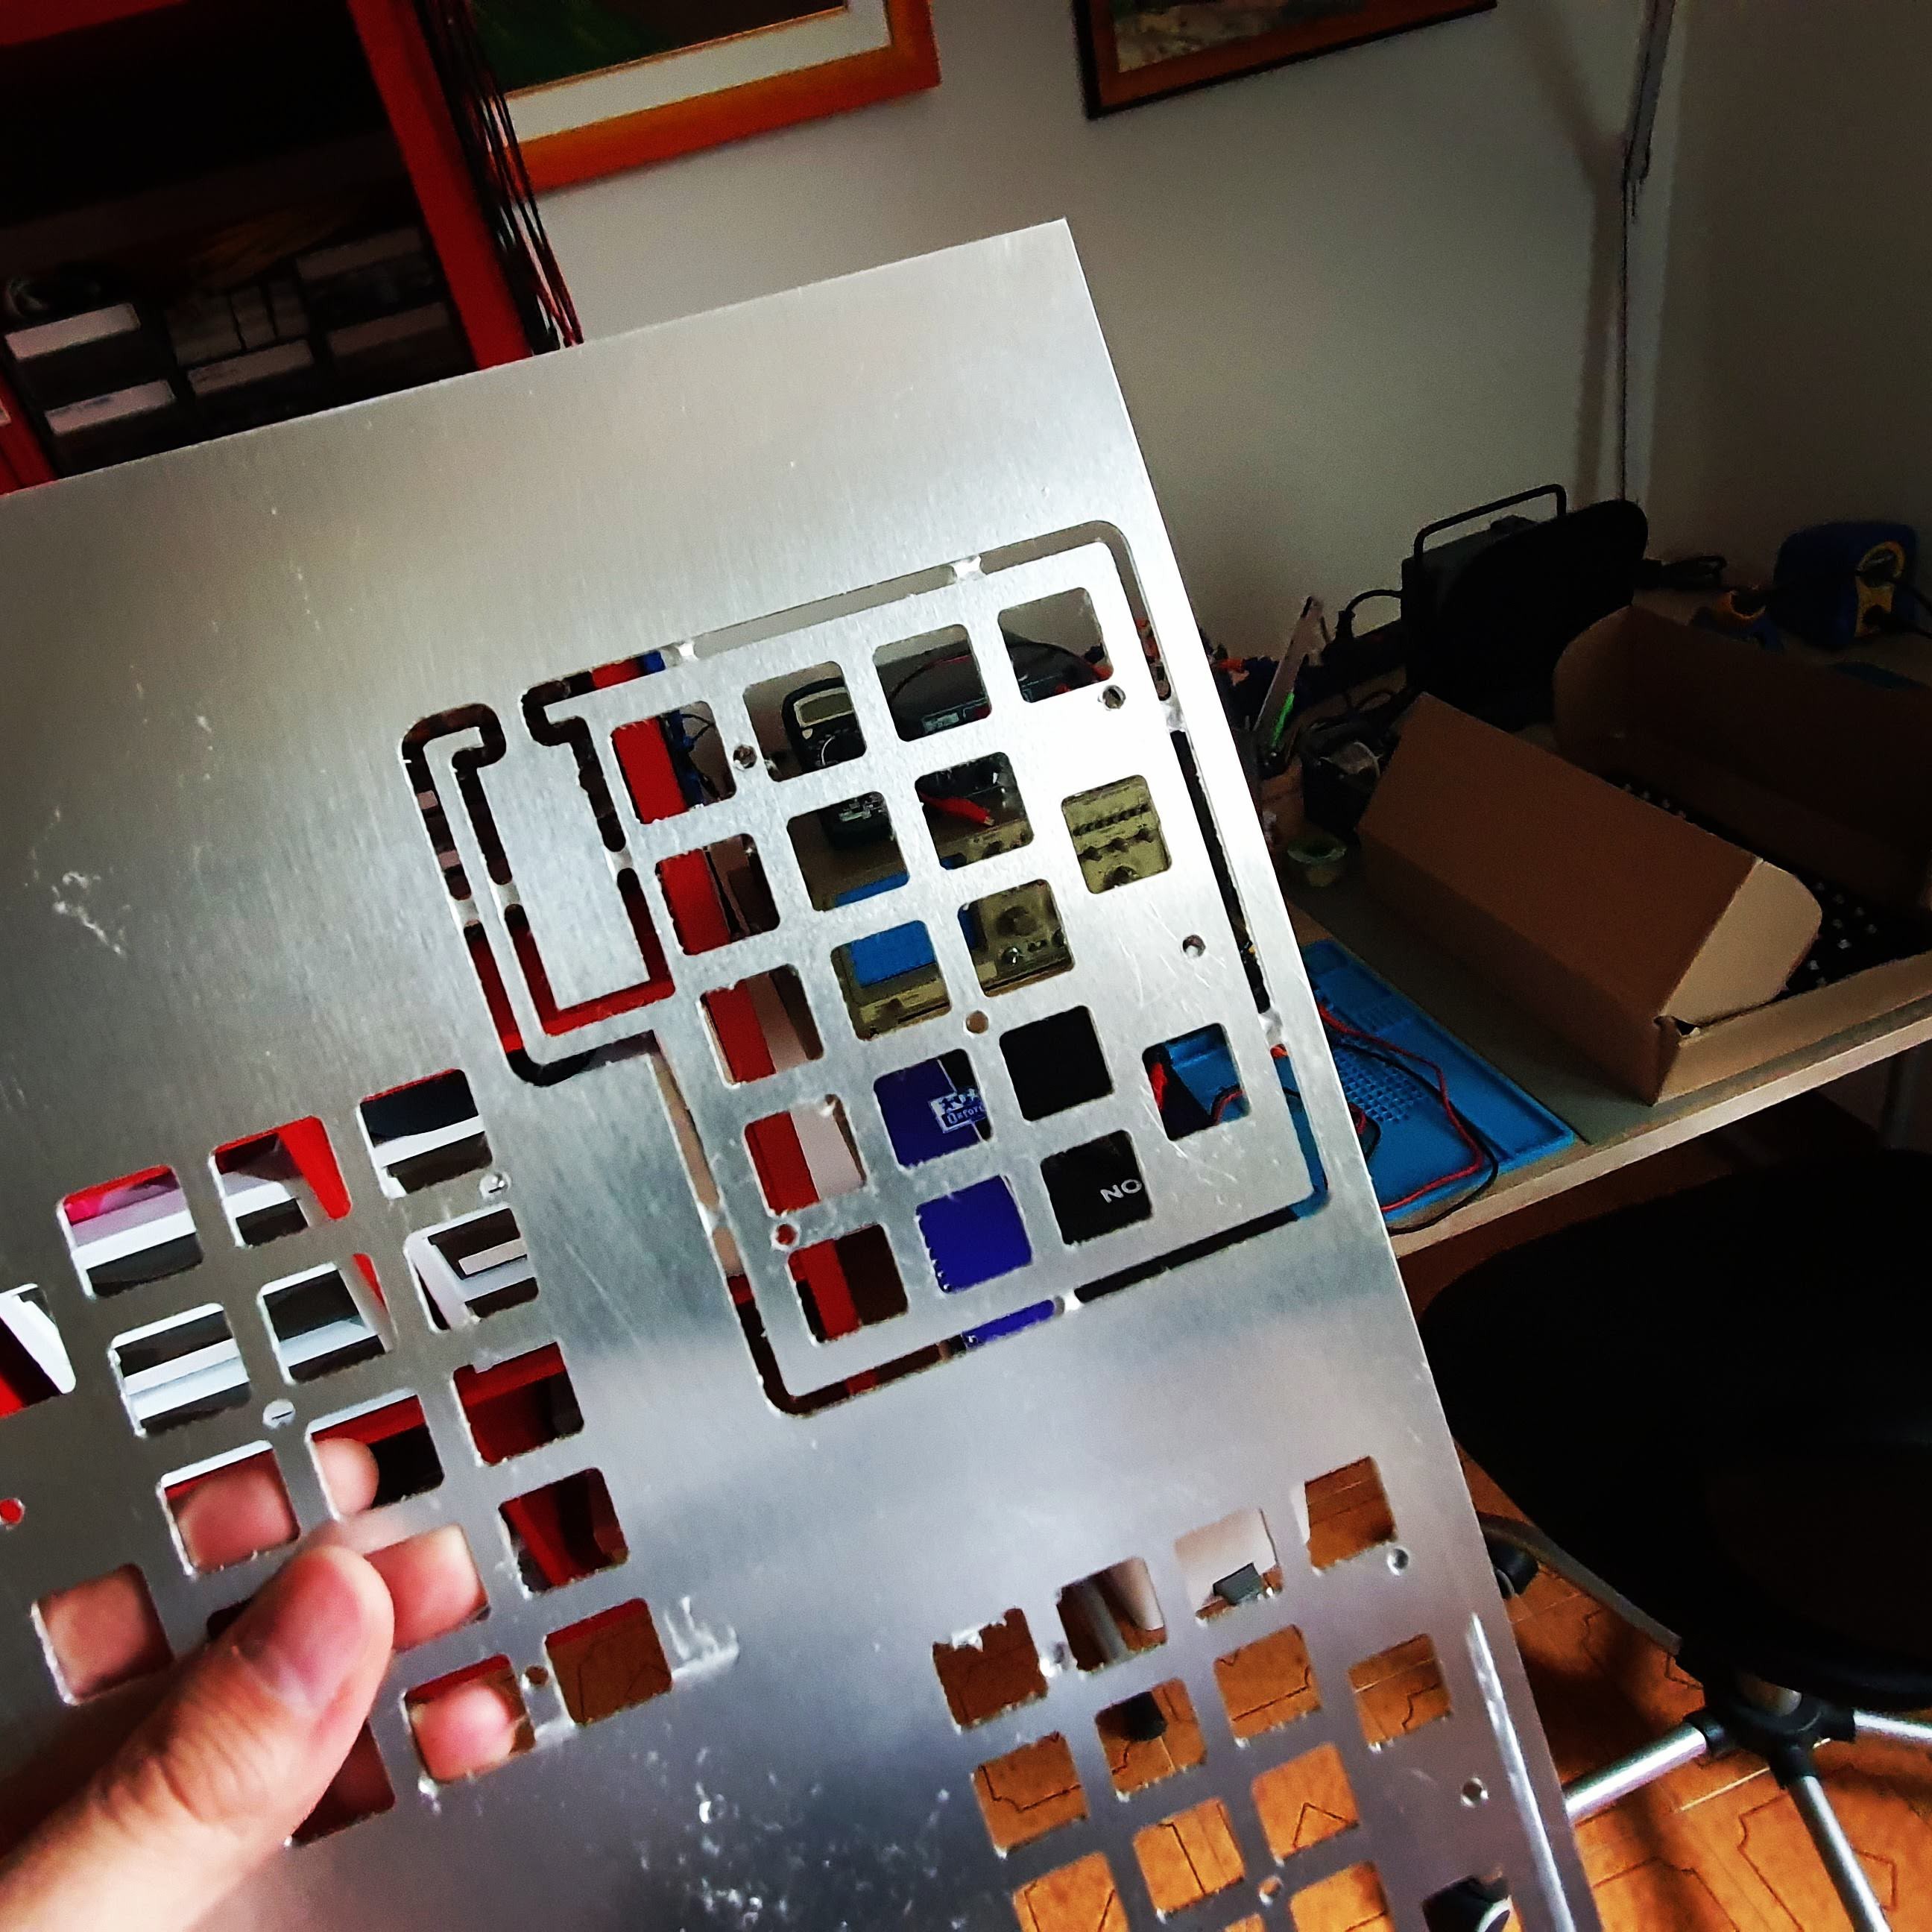
 And now the easy part: plate, screws and keycaps.
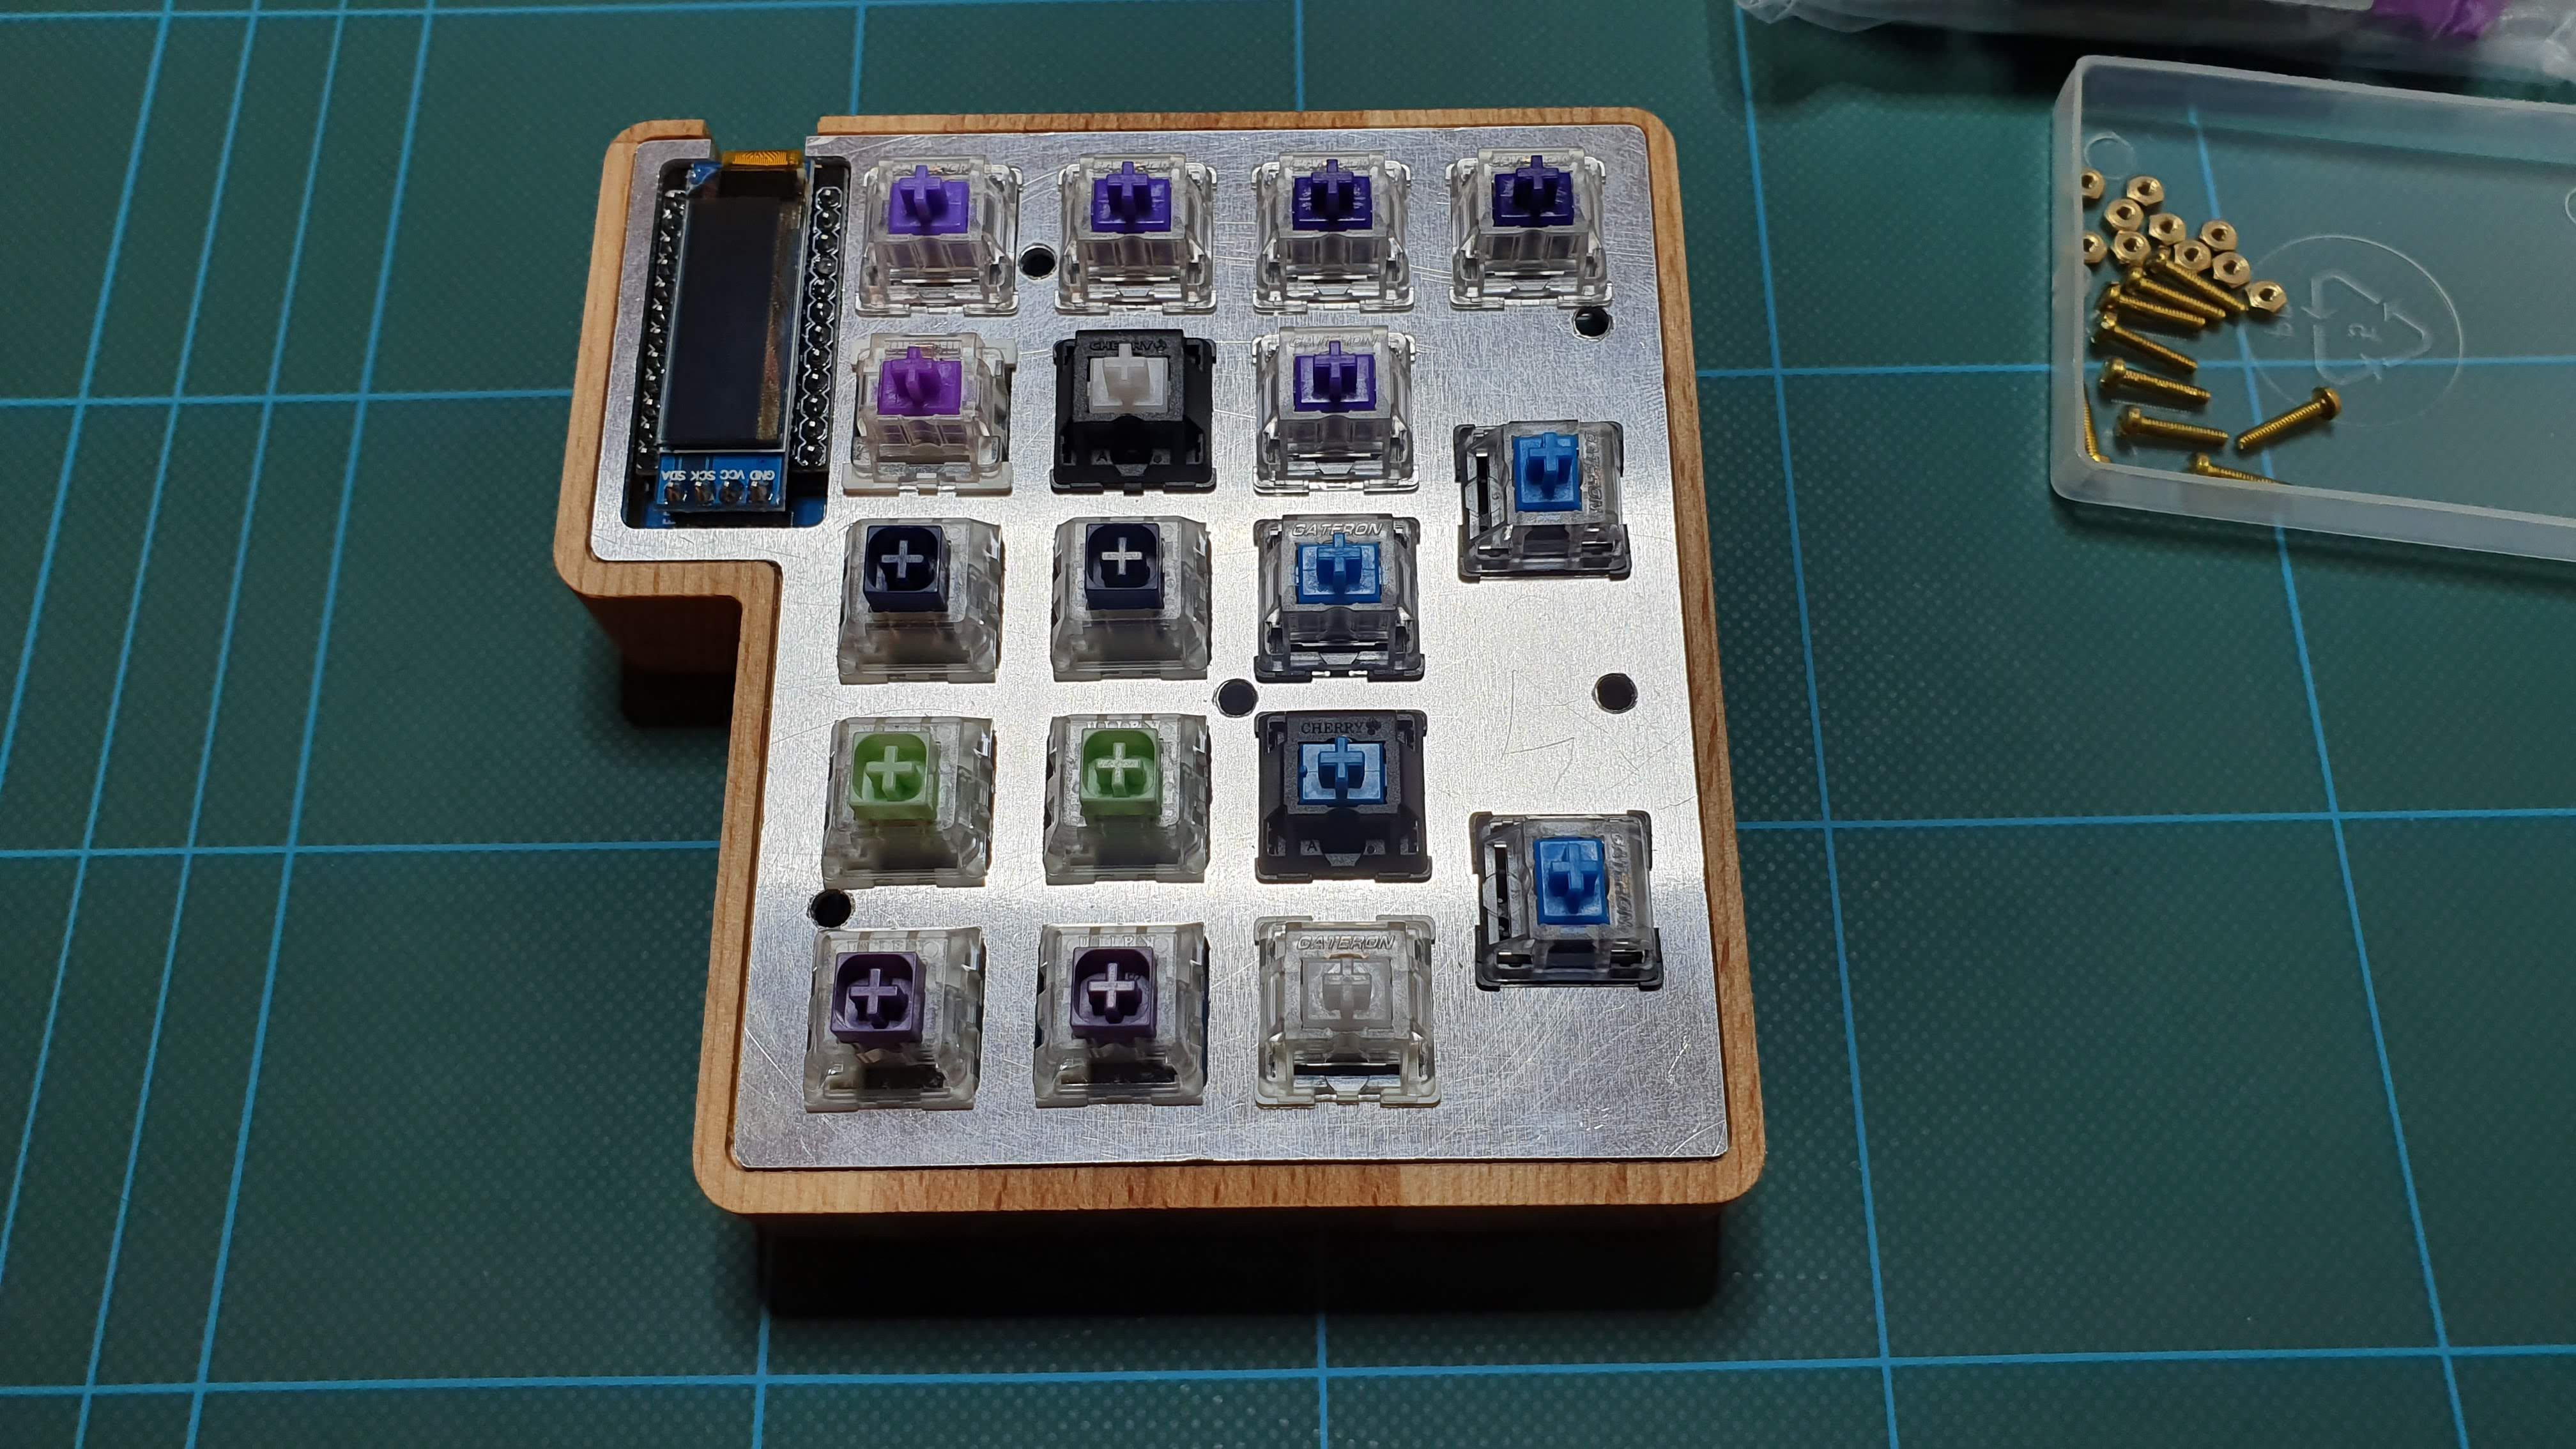

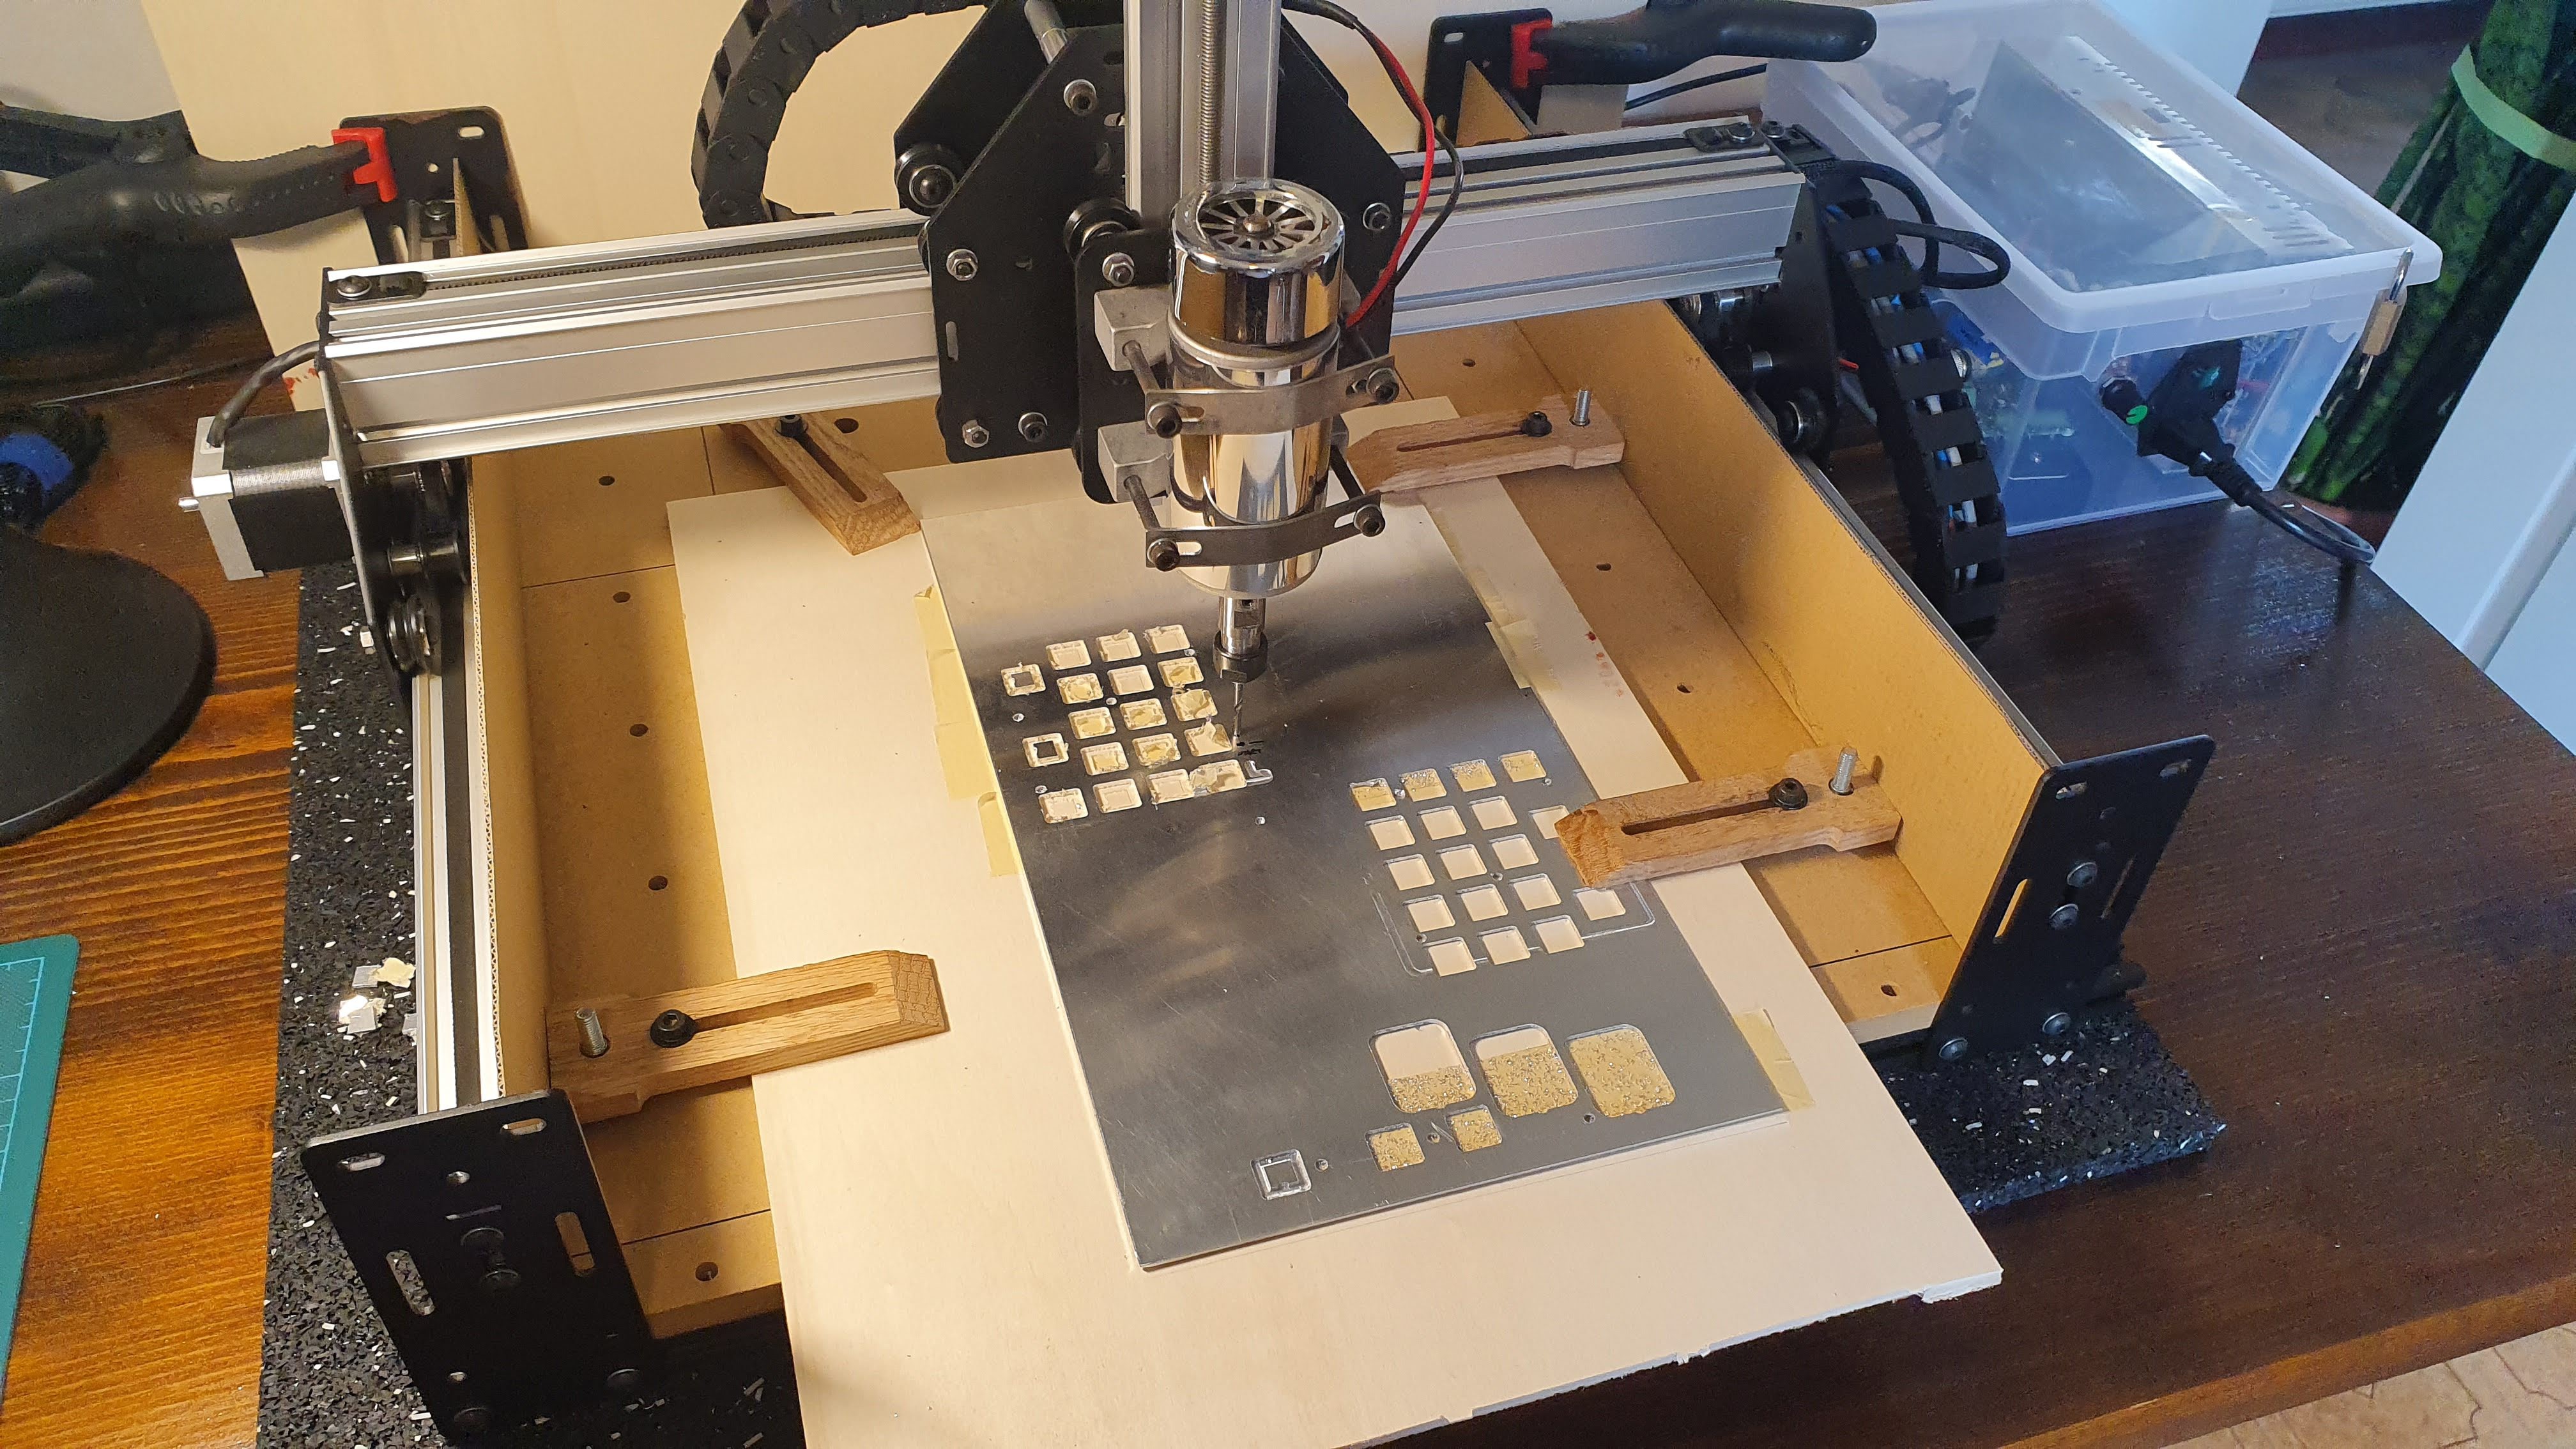
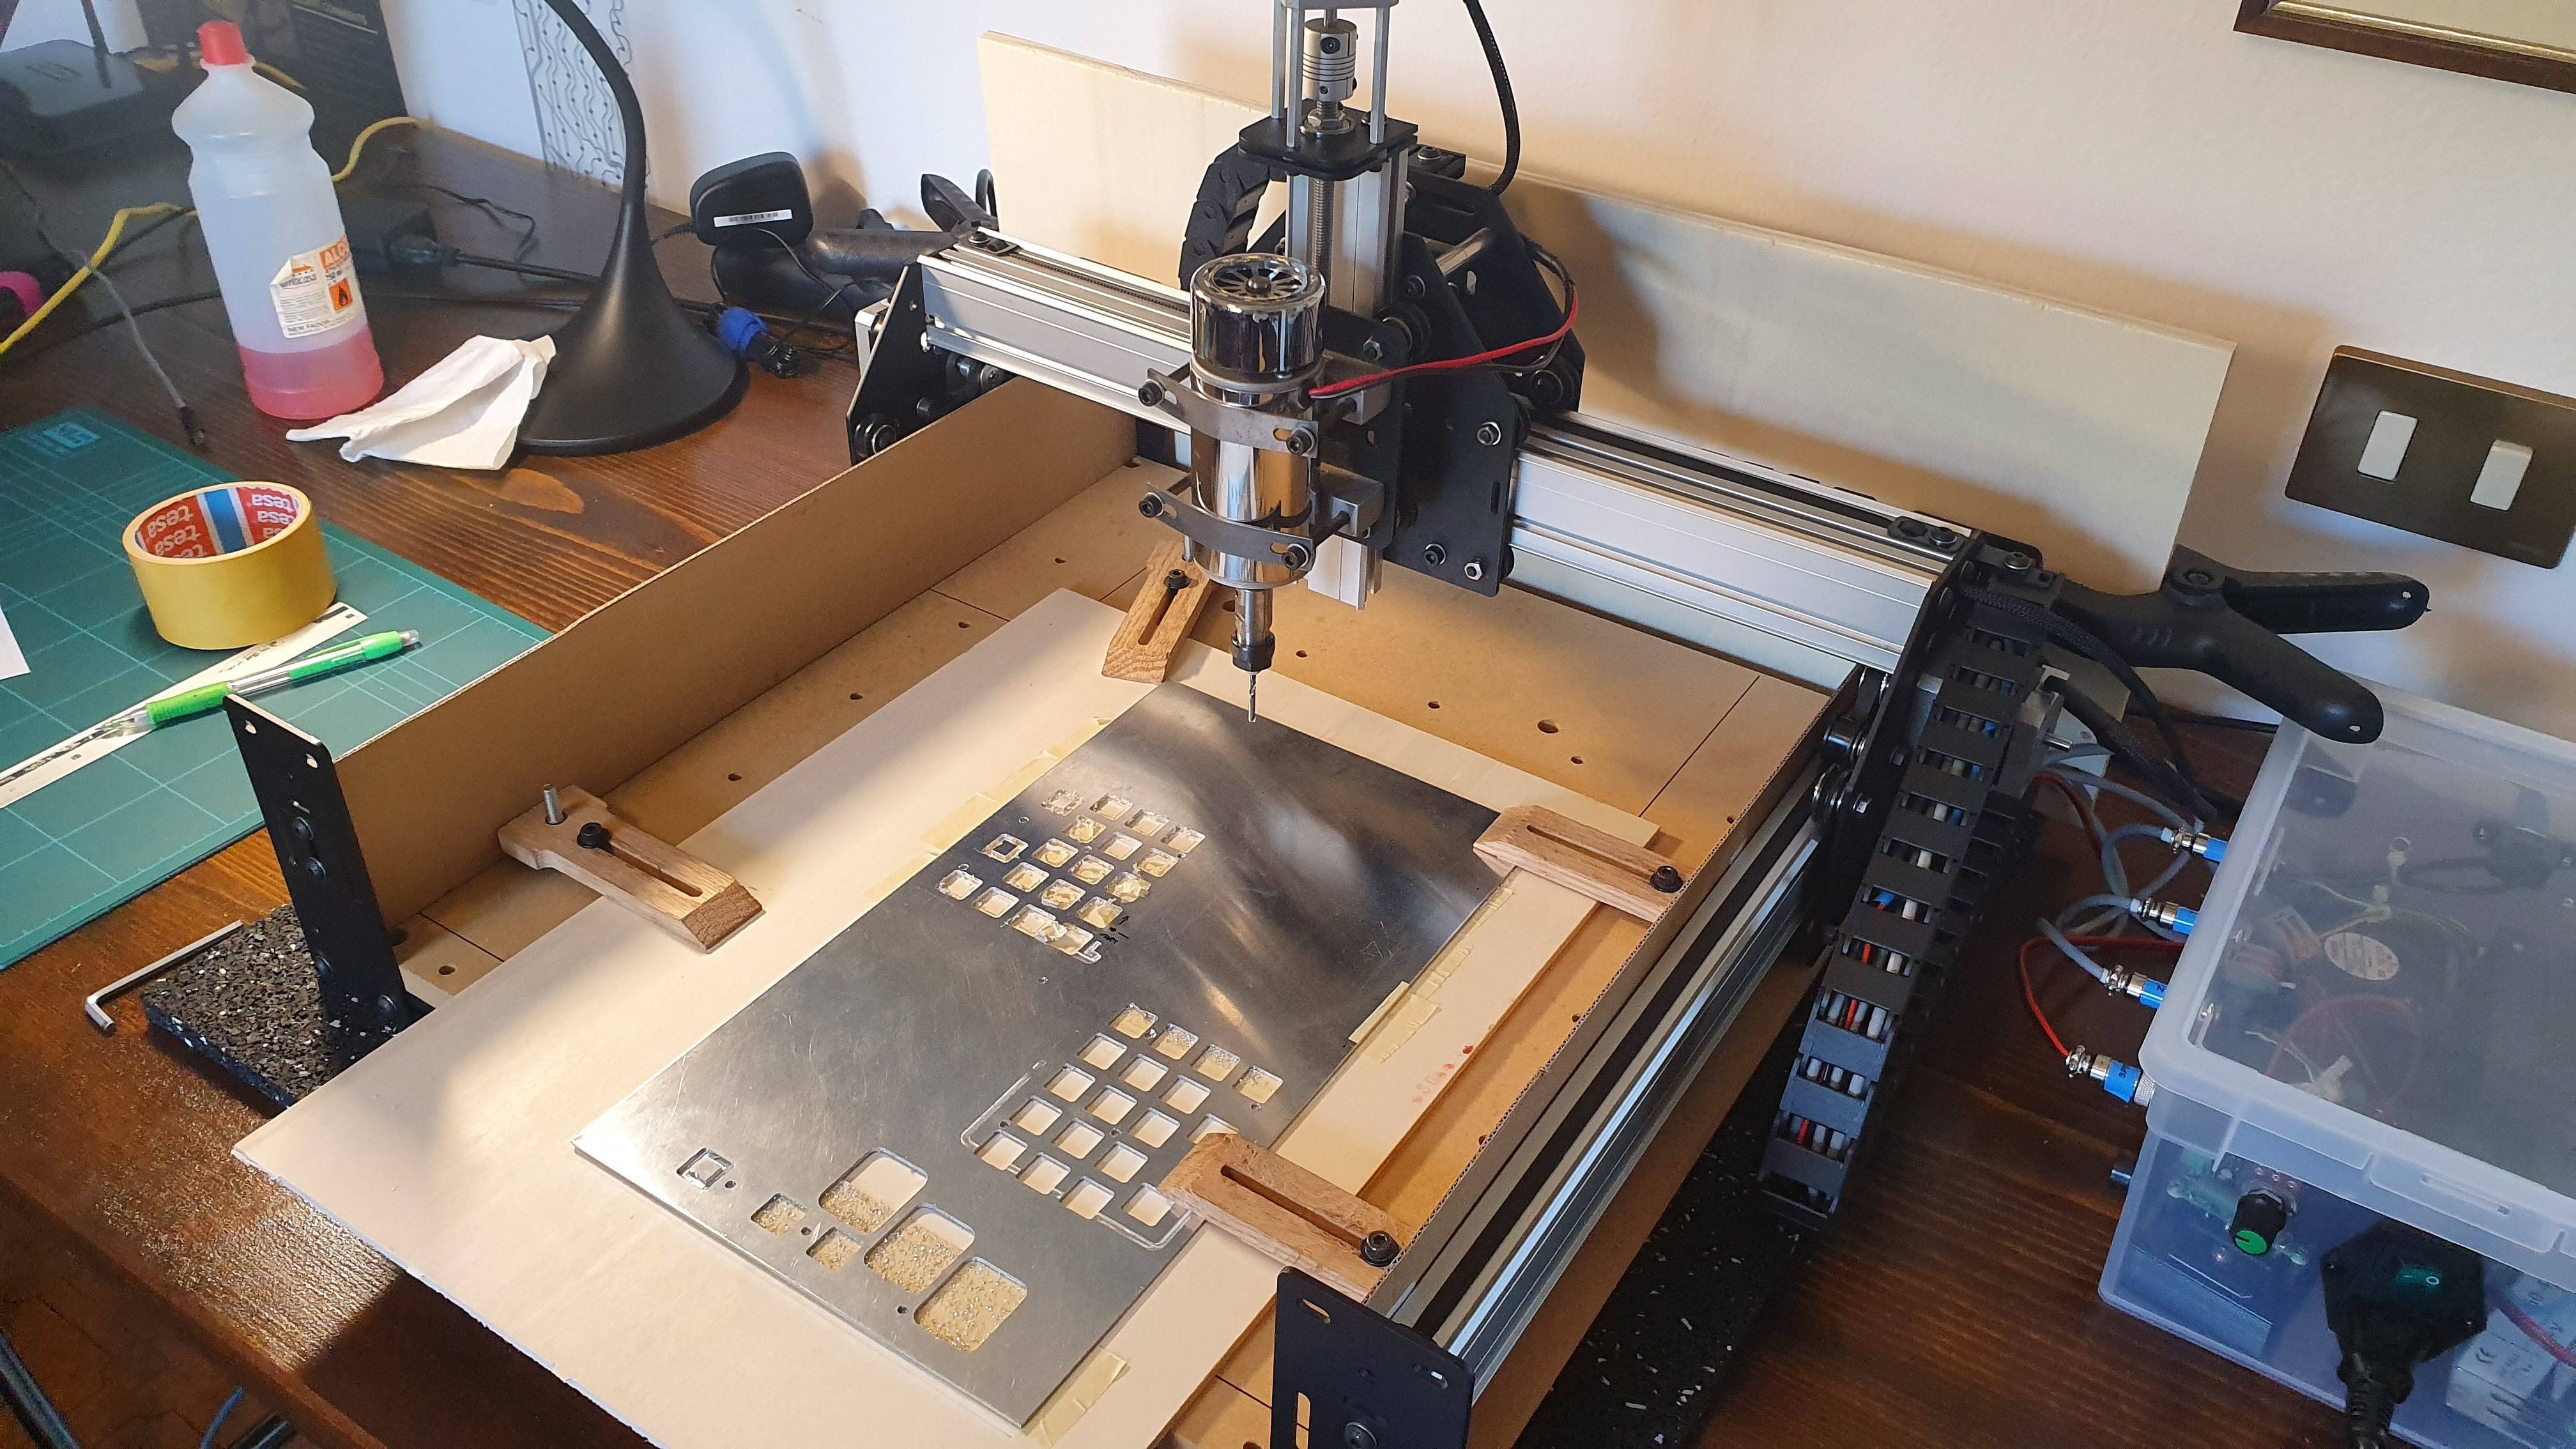
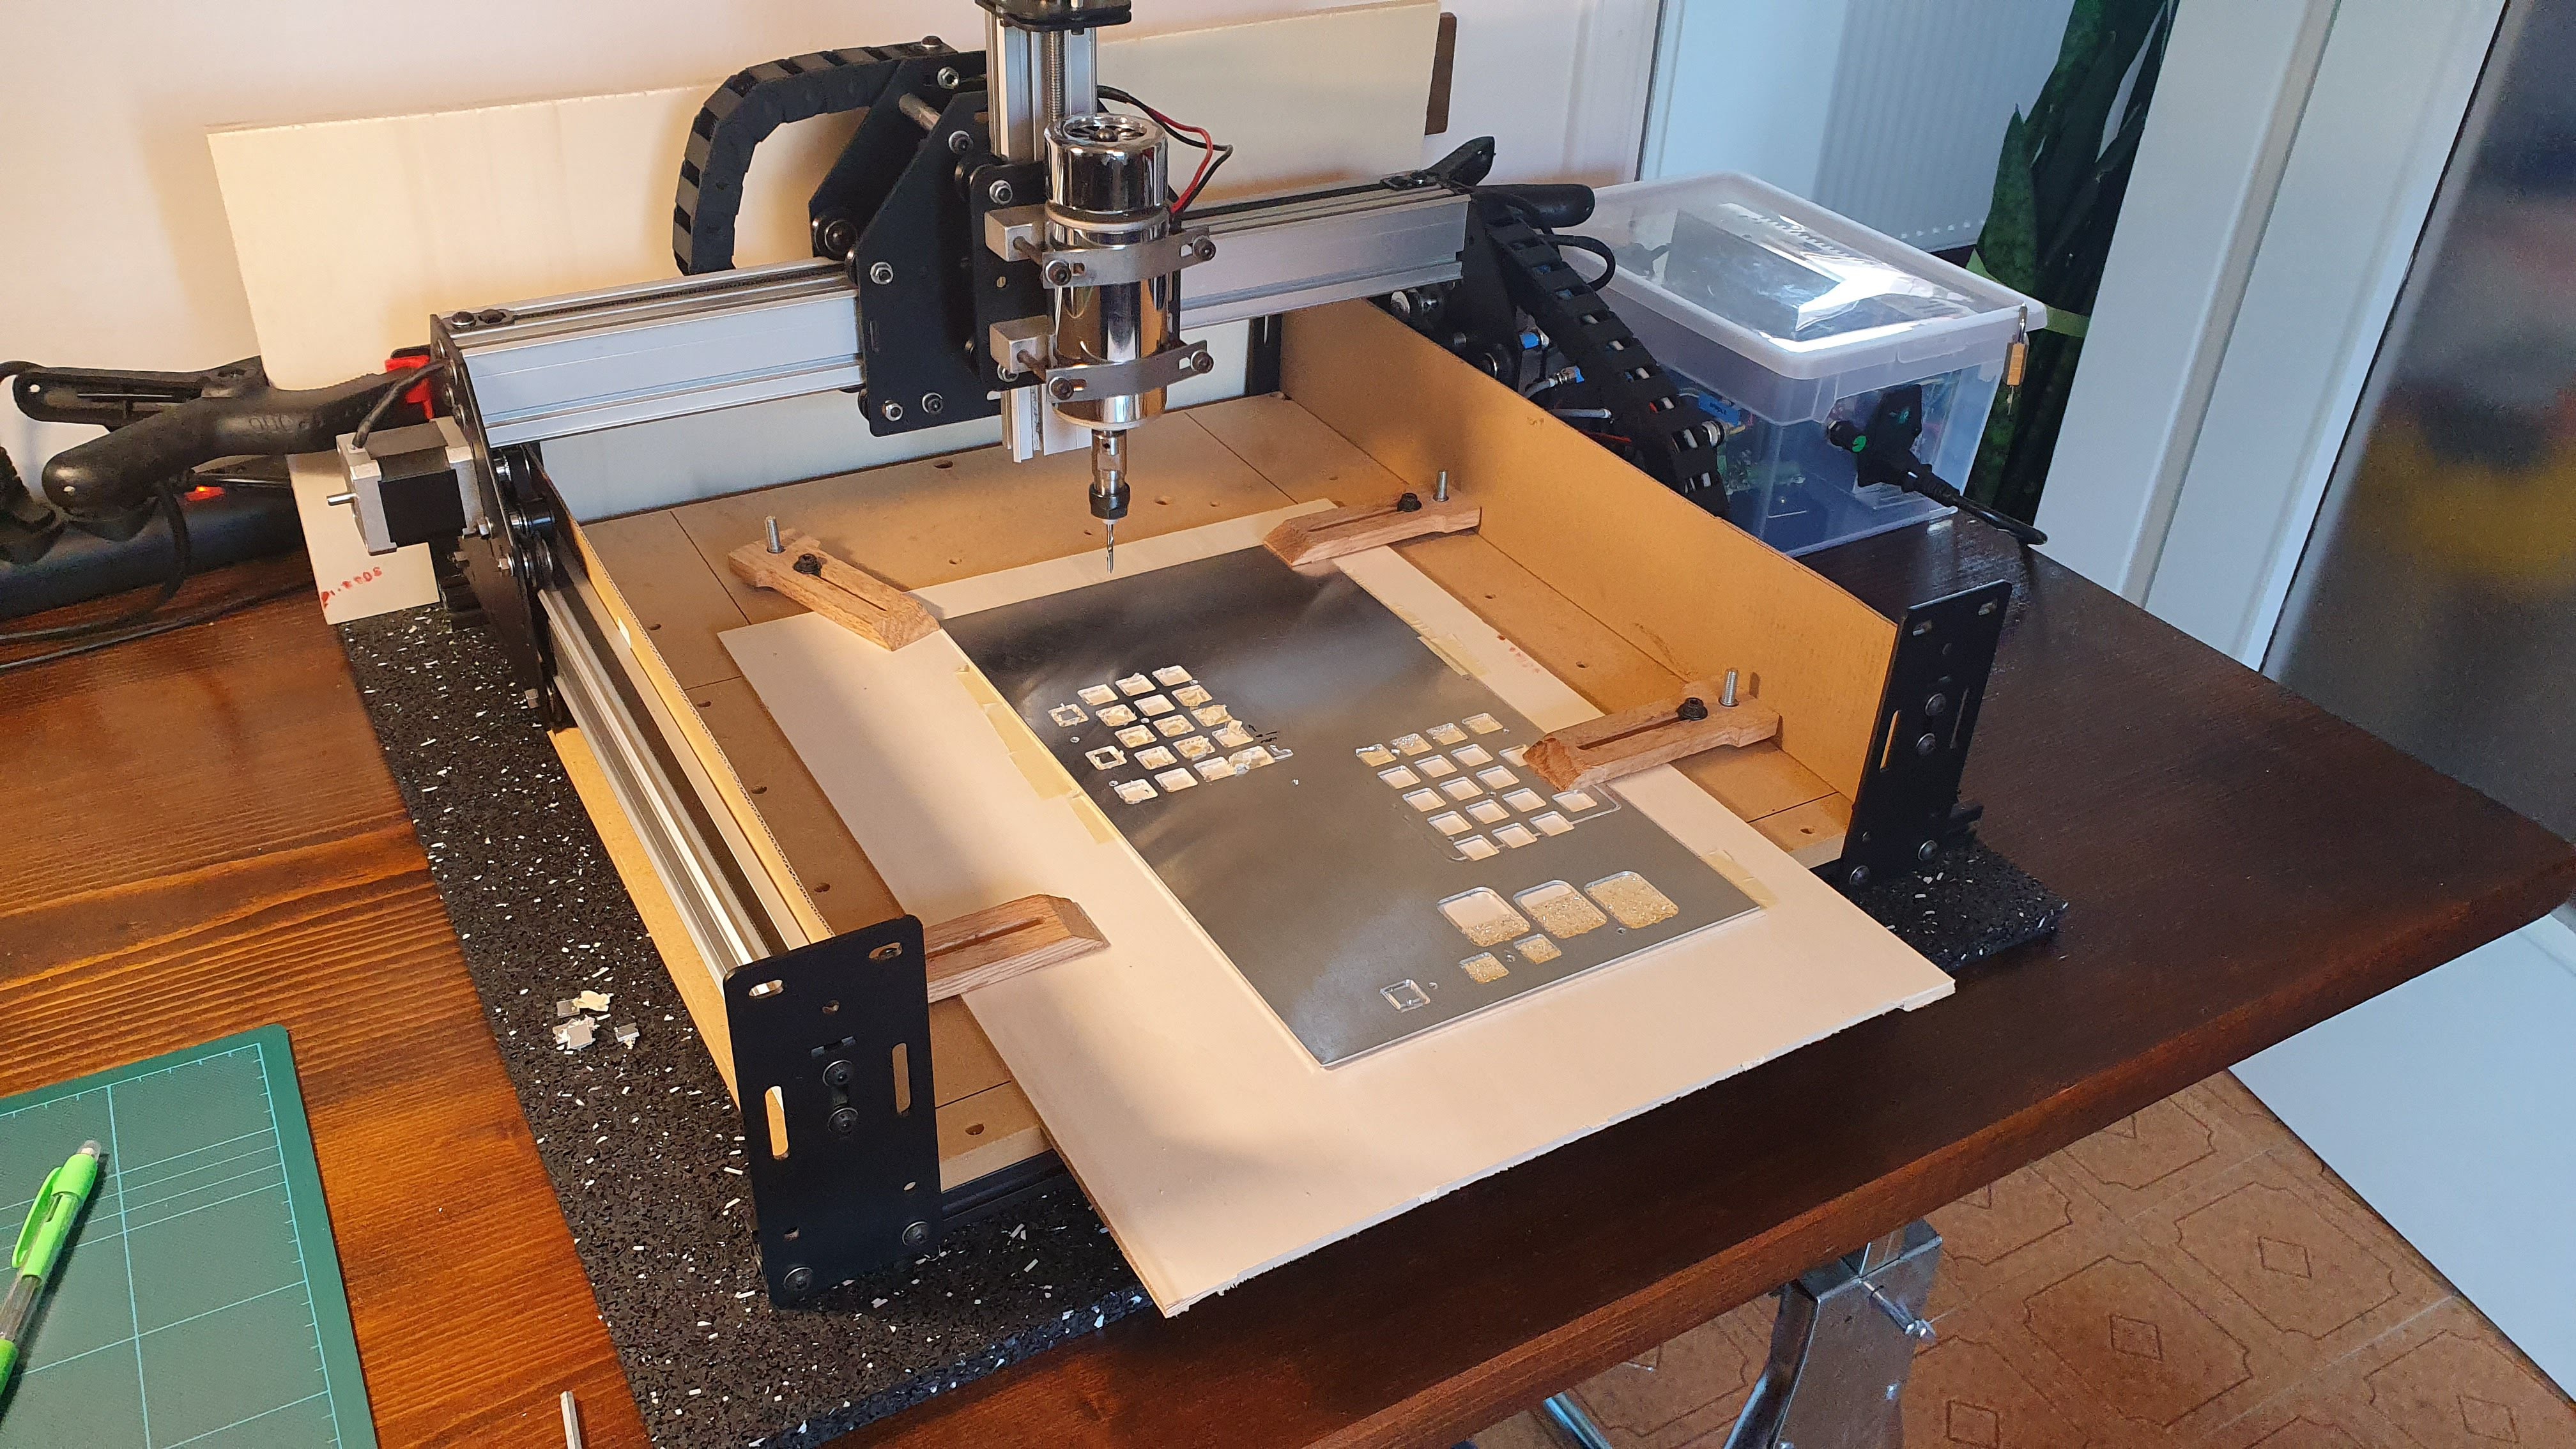
 I really like the contrast between the aluminium plate and the brass screws.
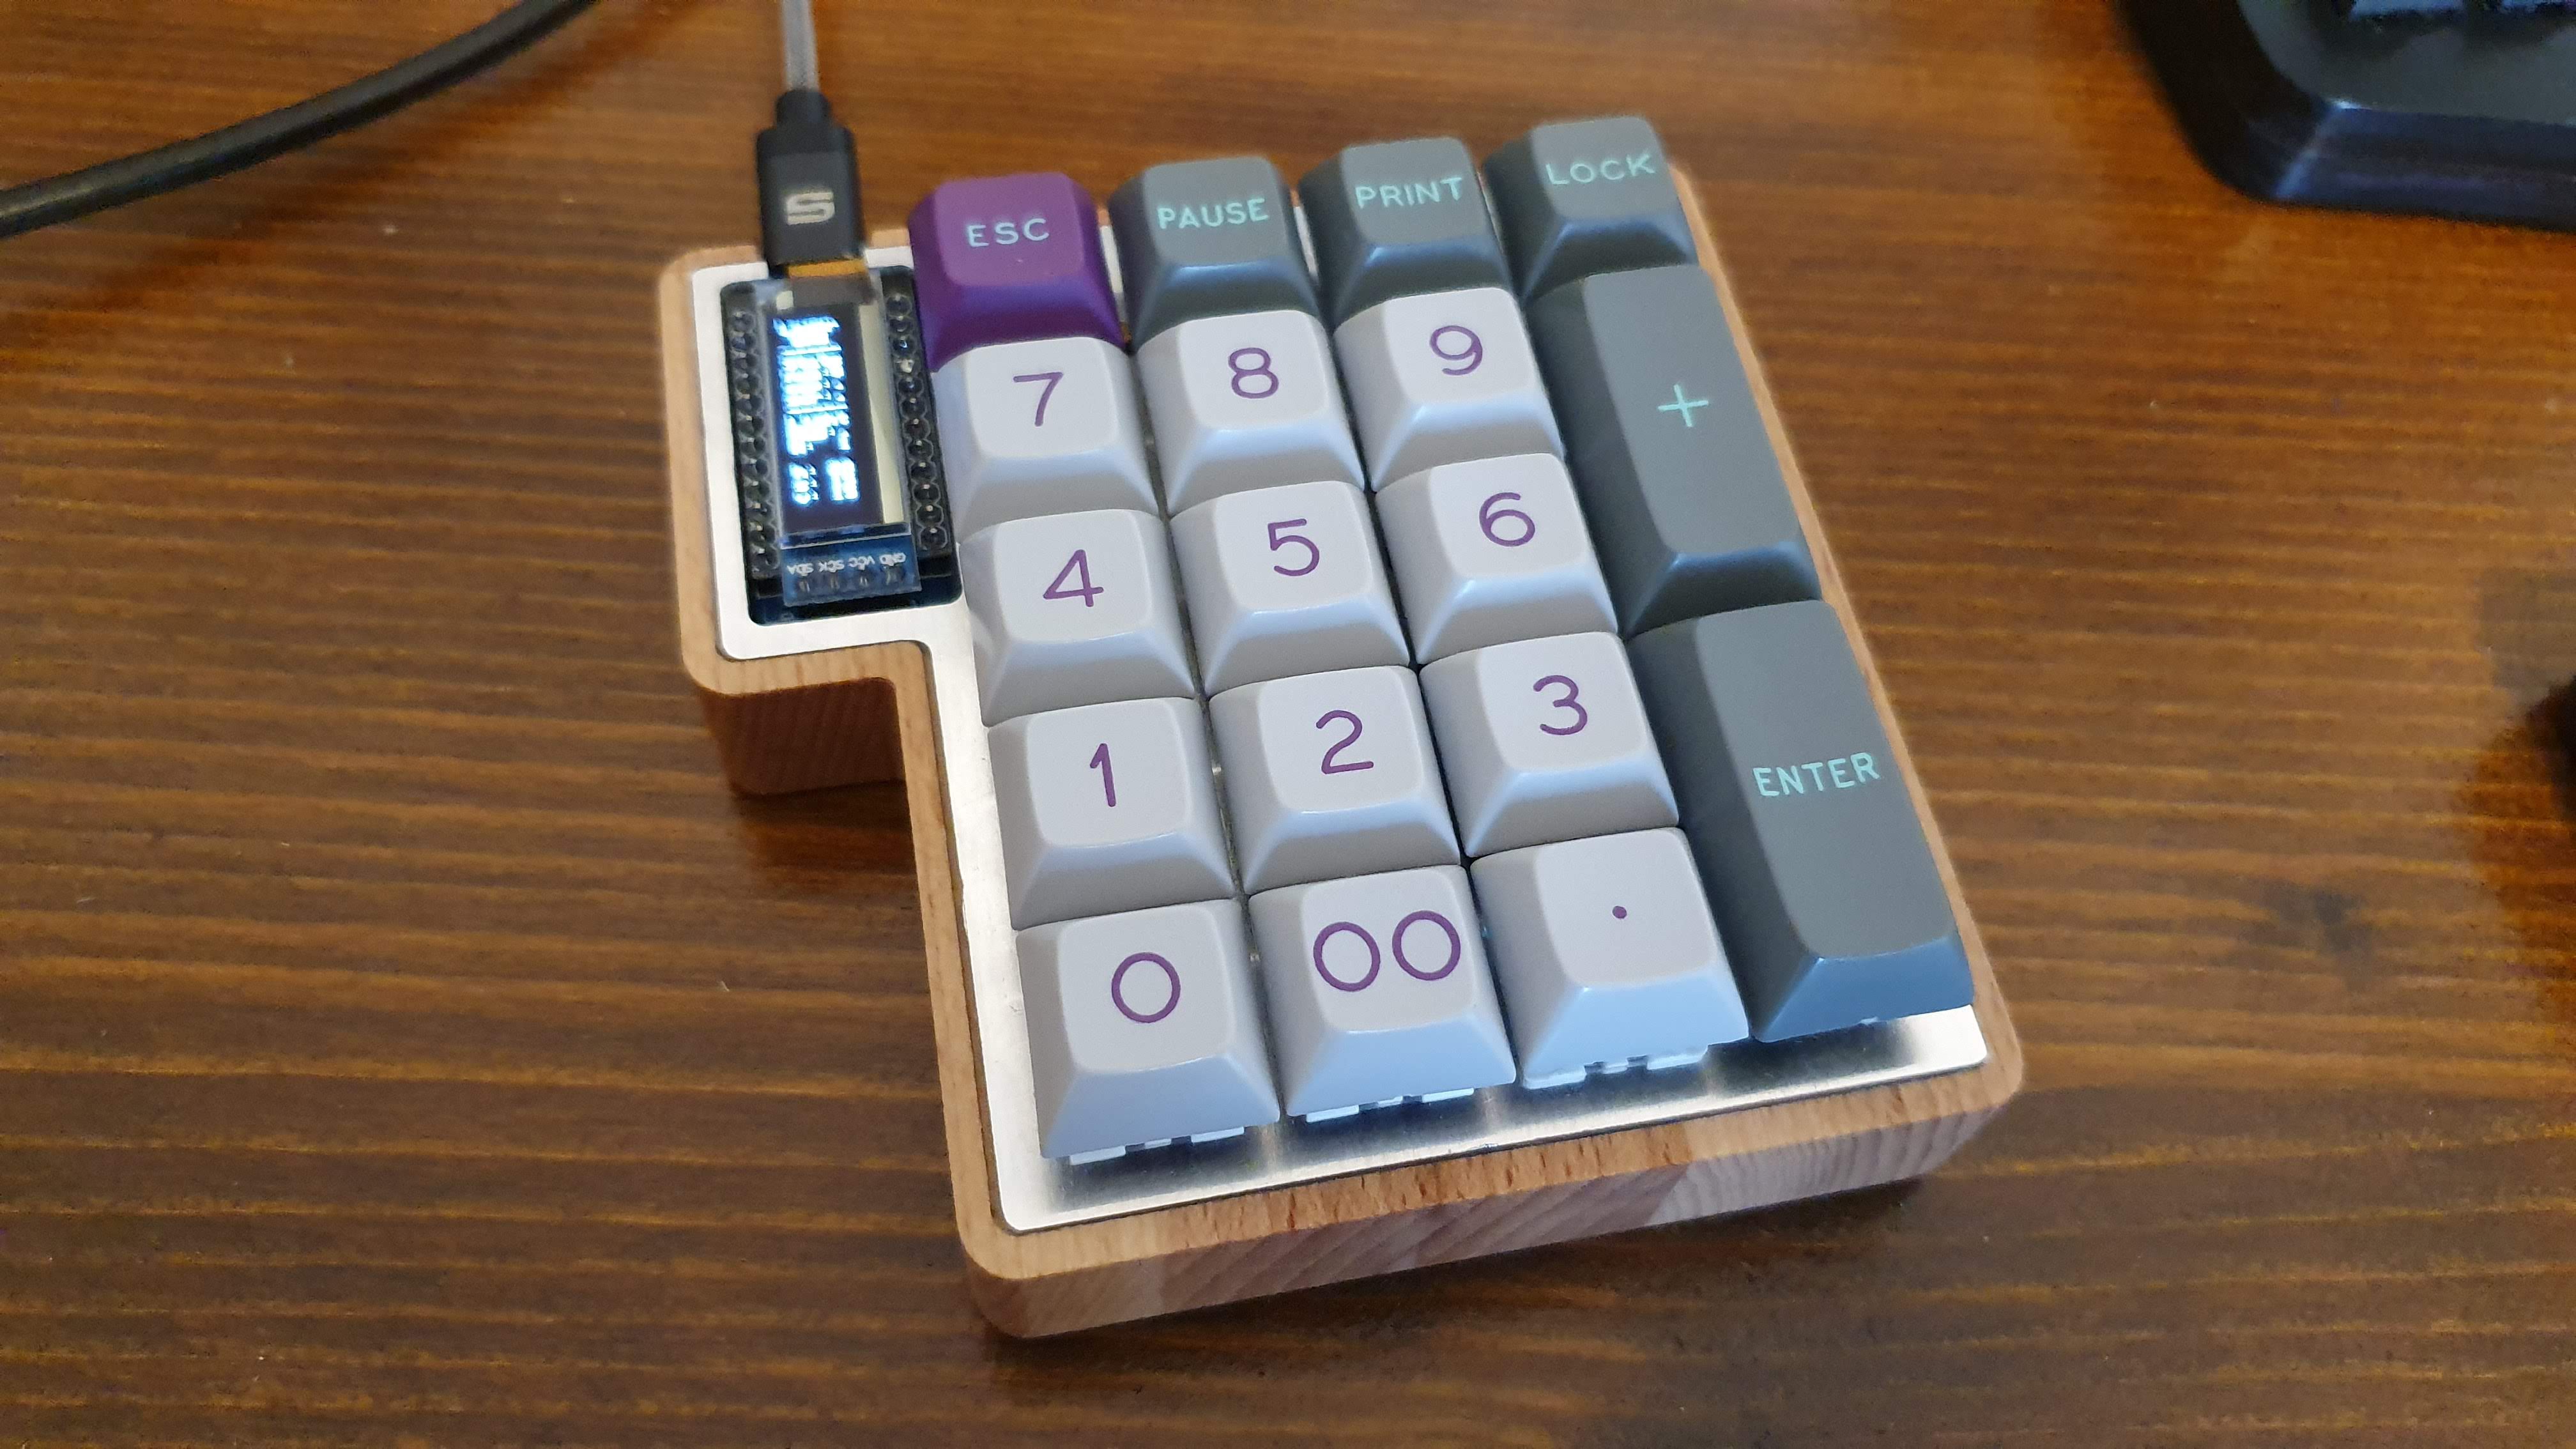
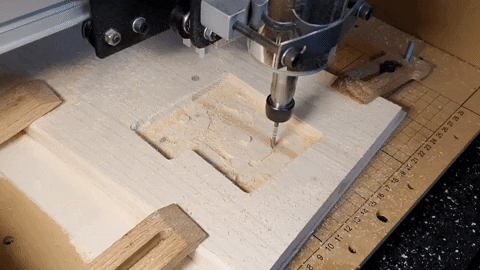
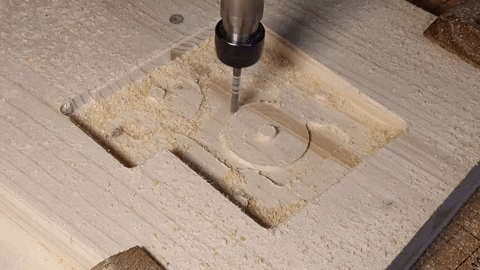
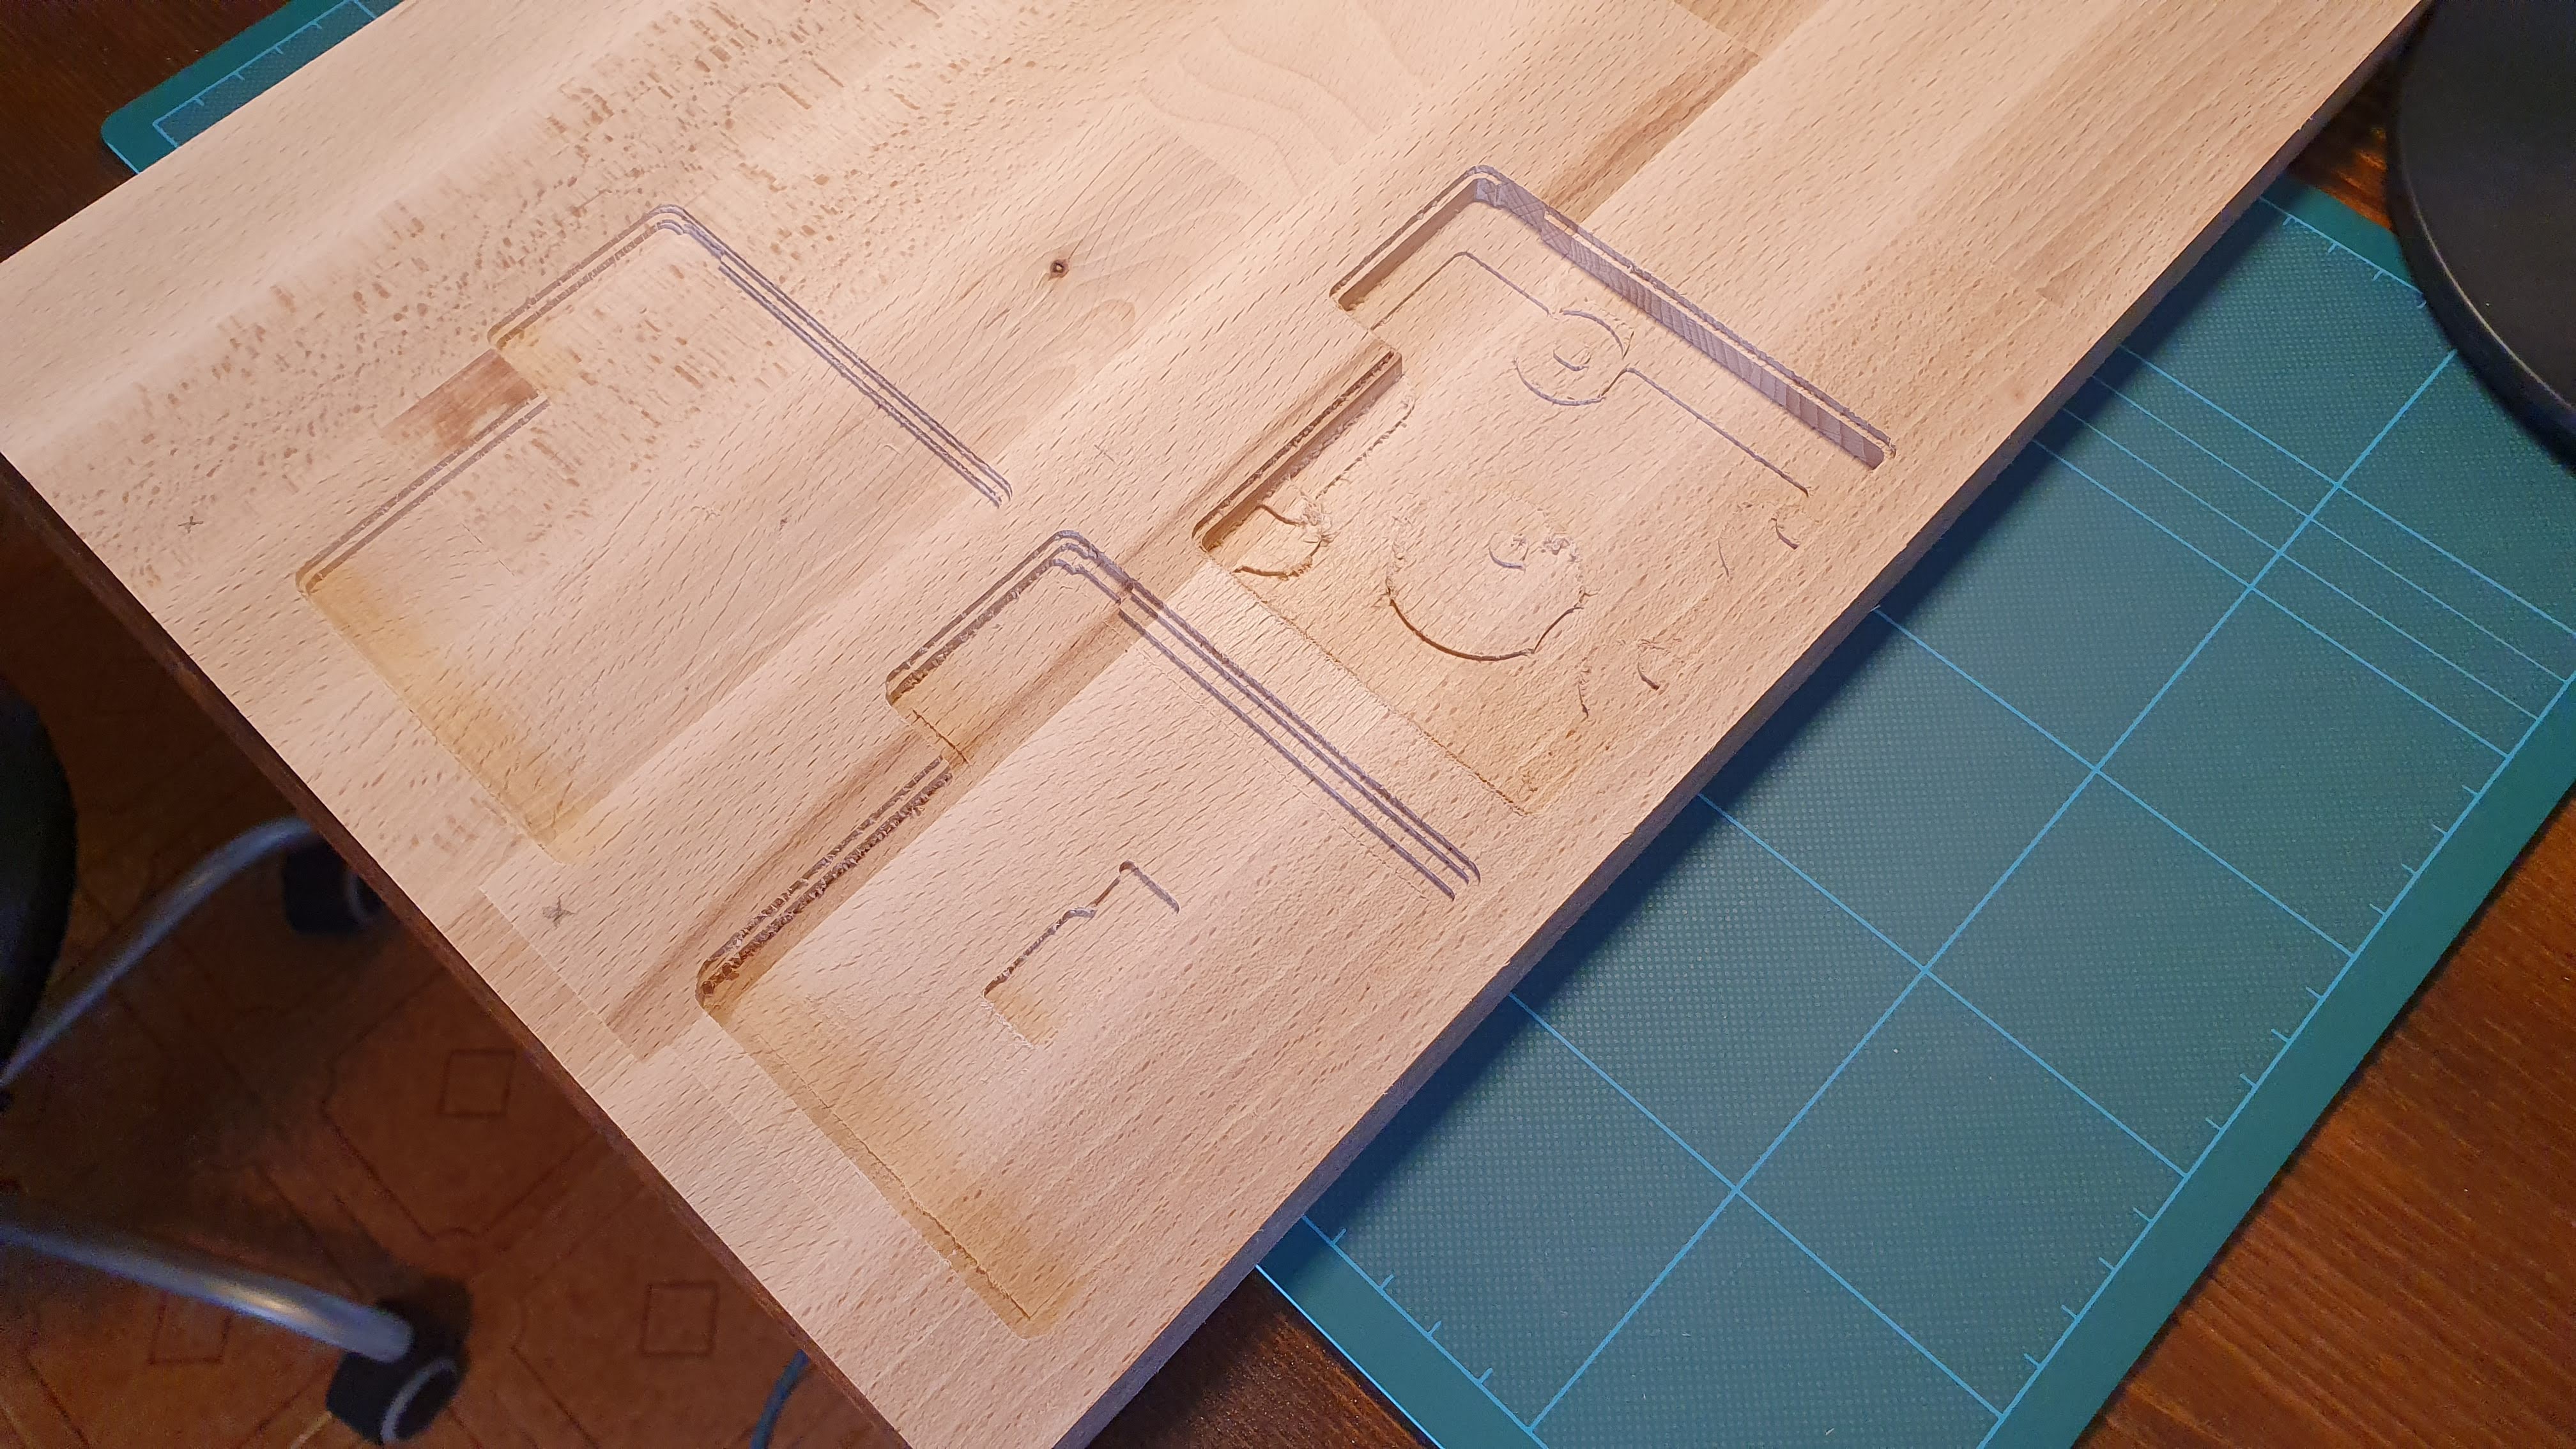
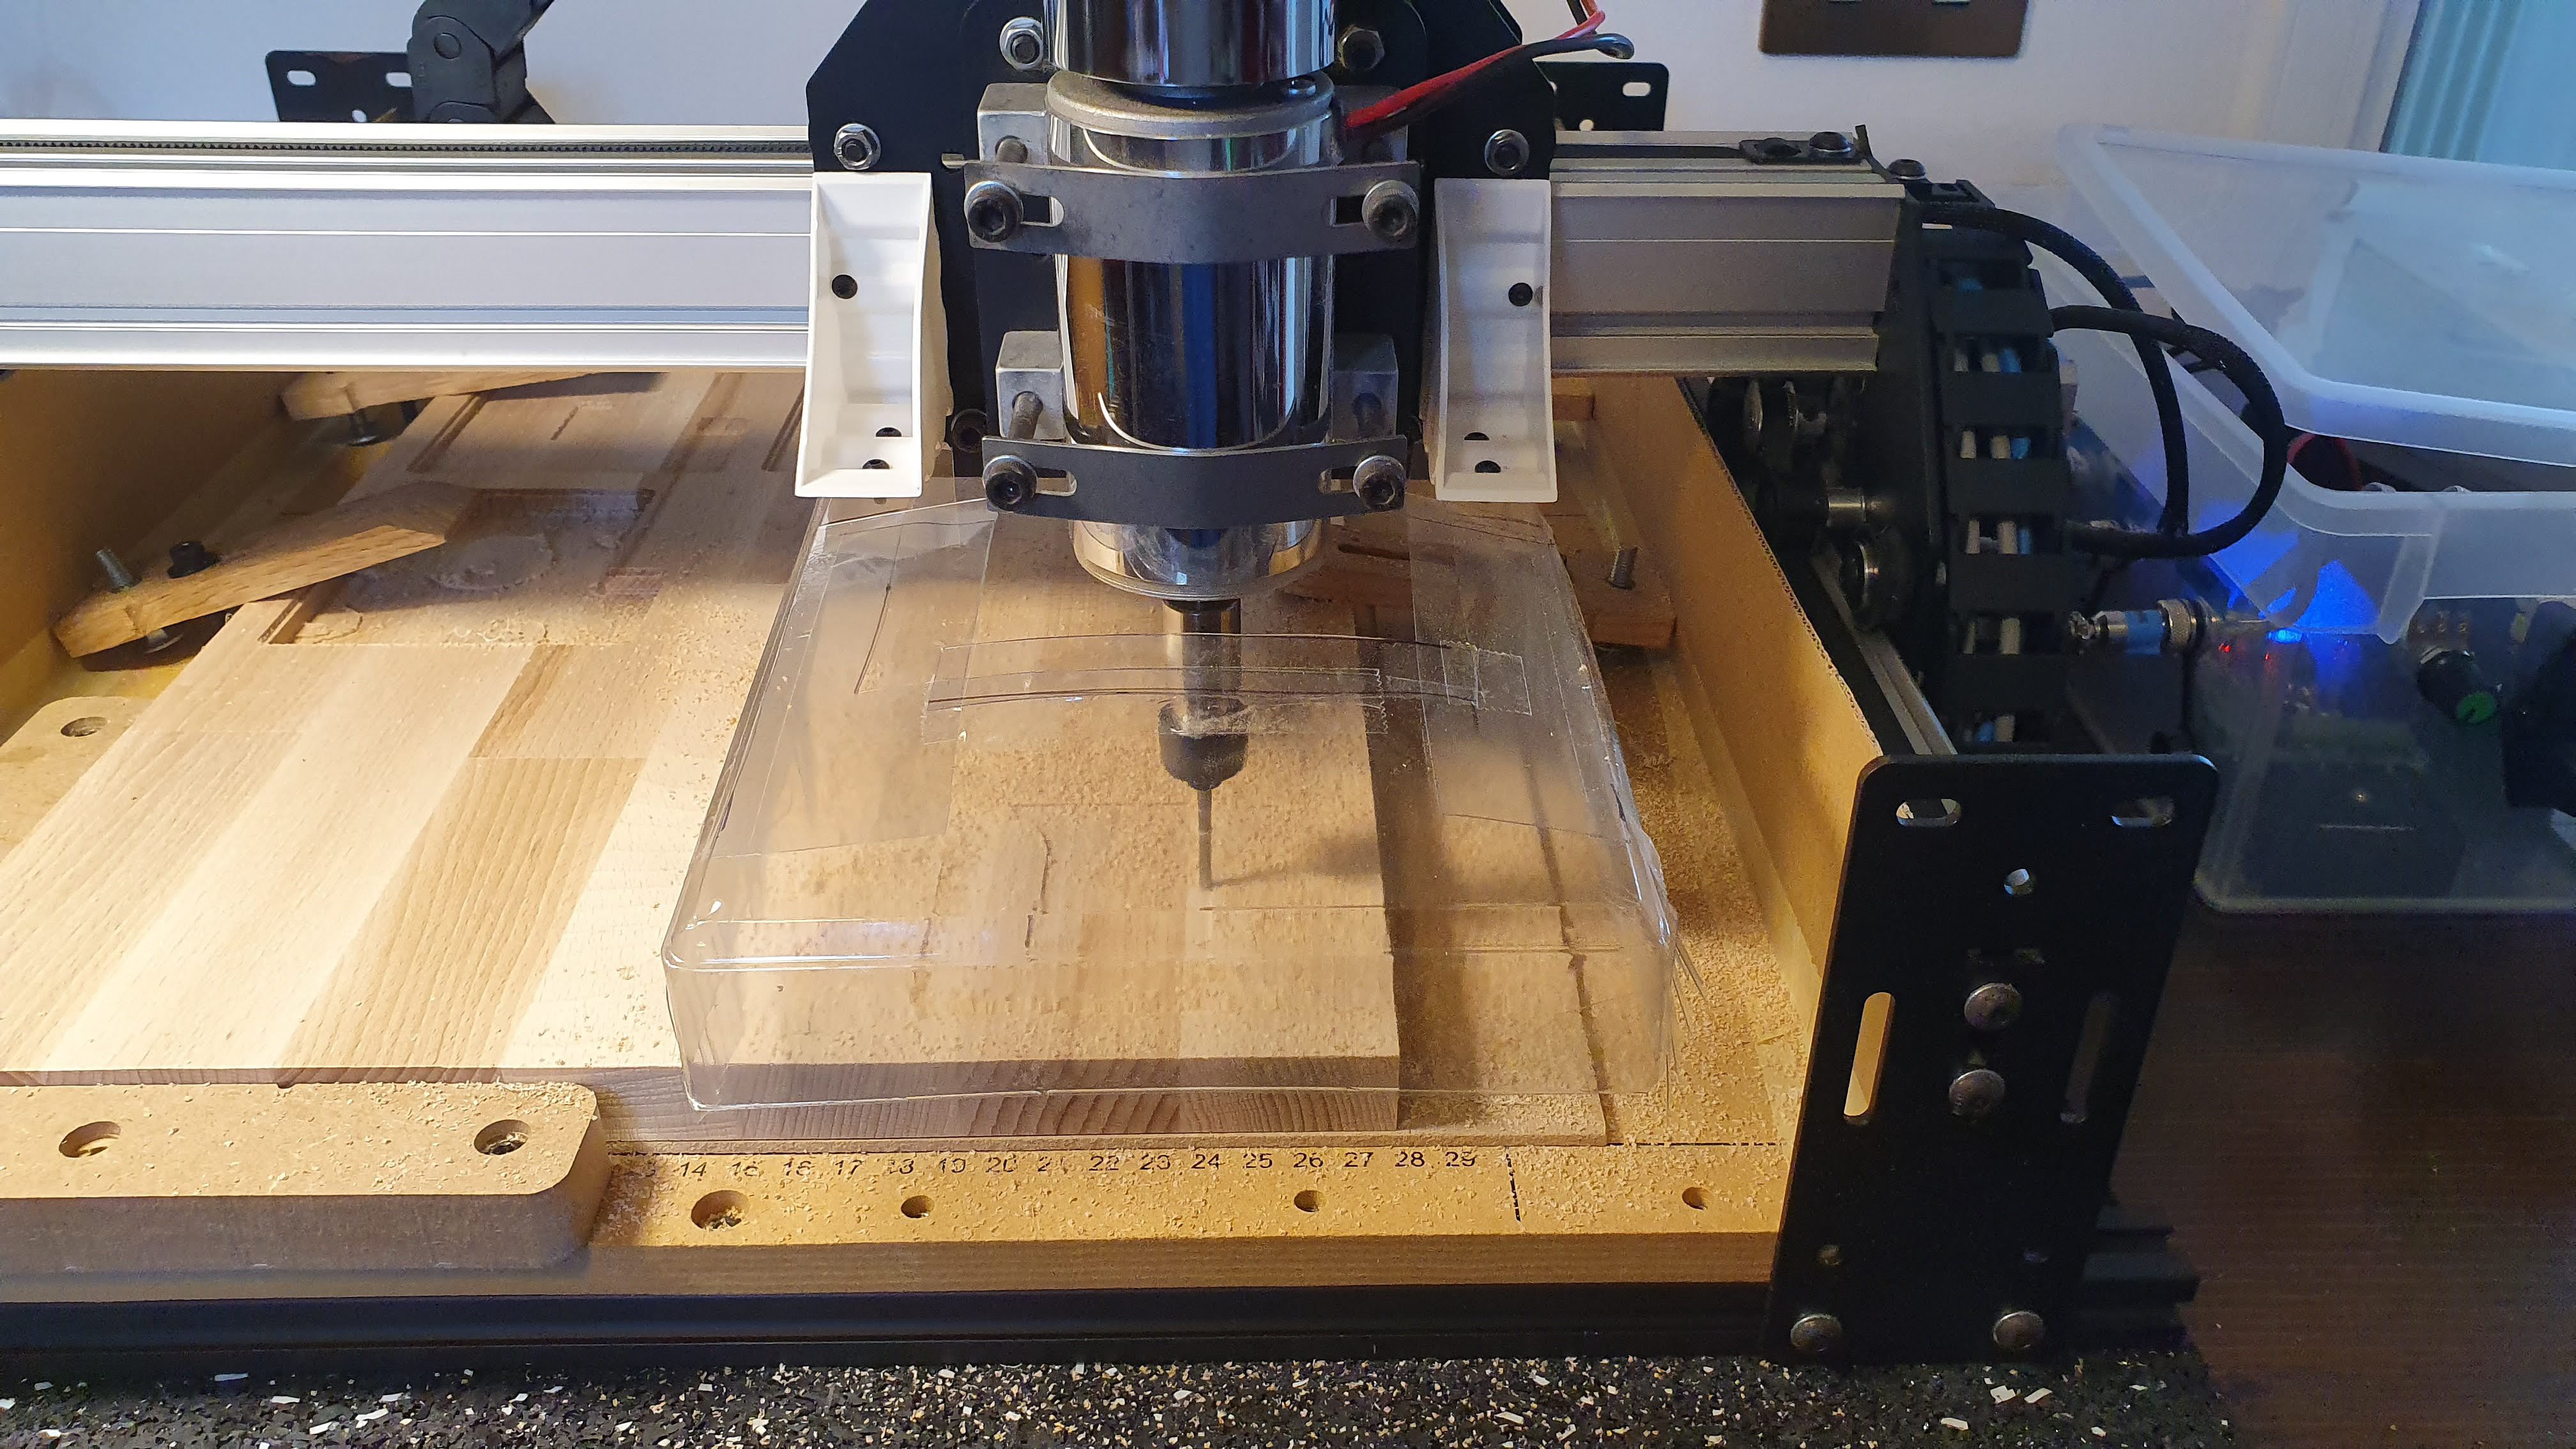
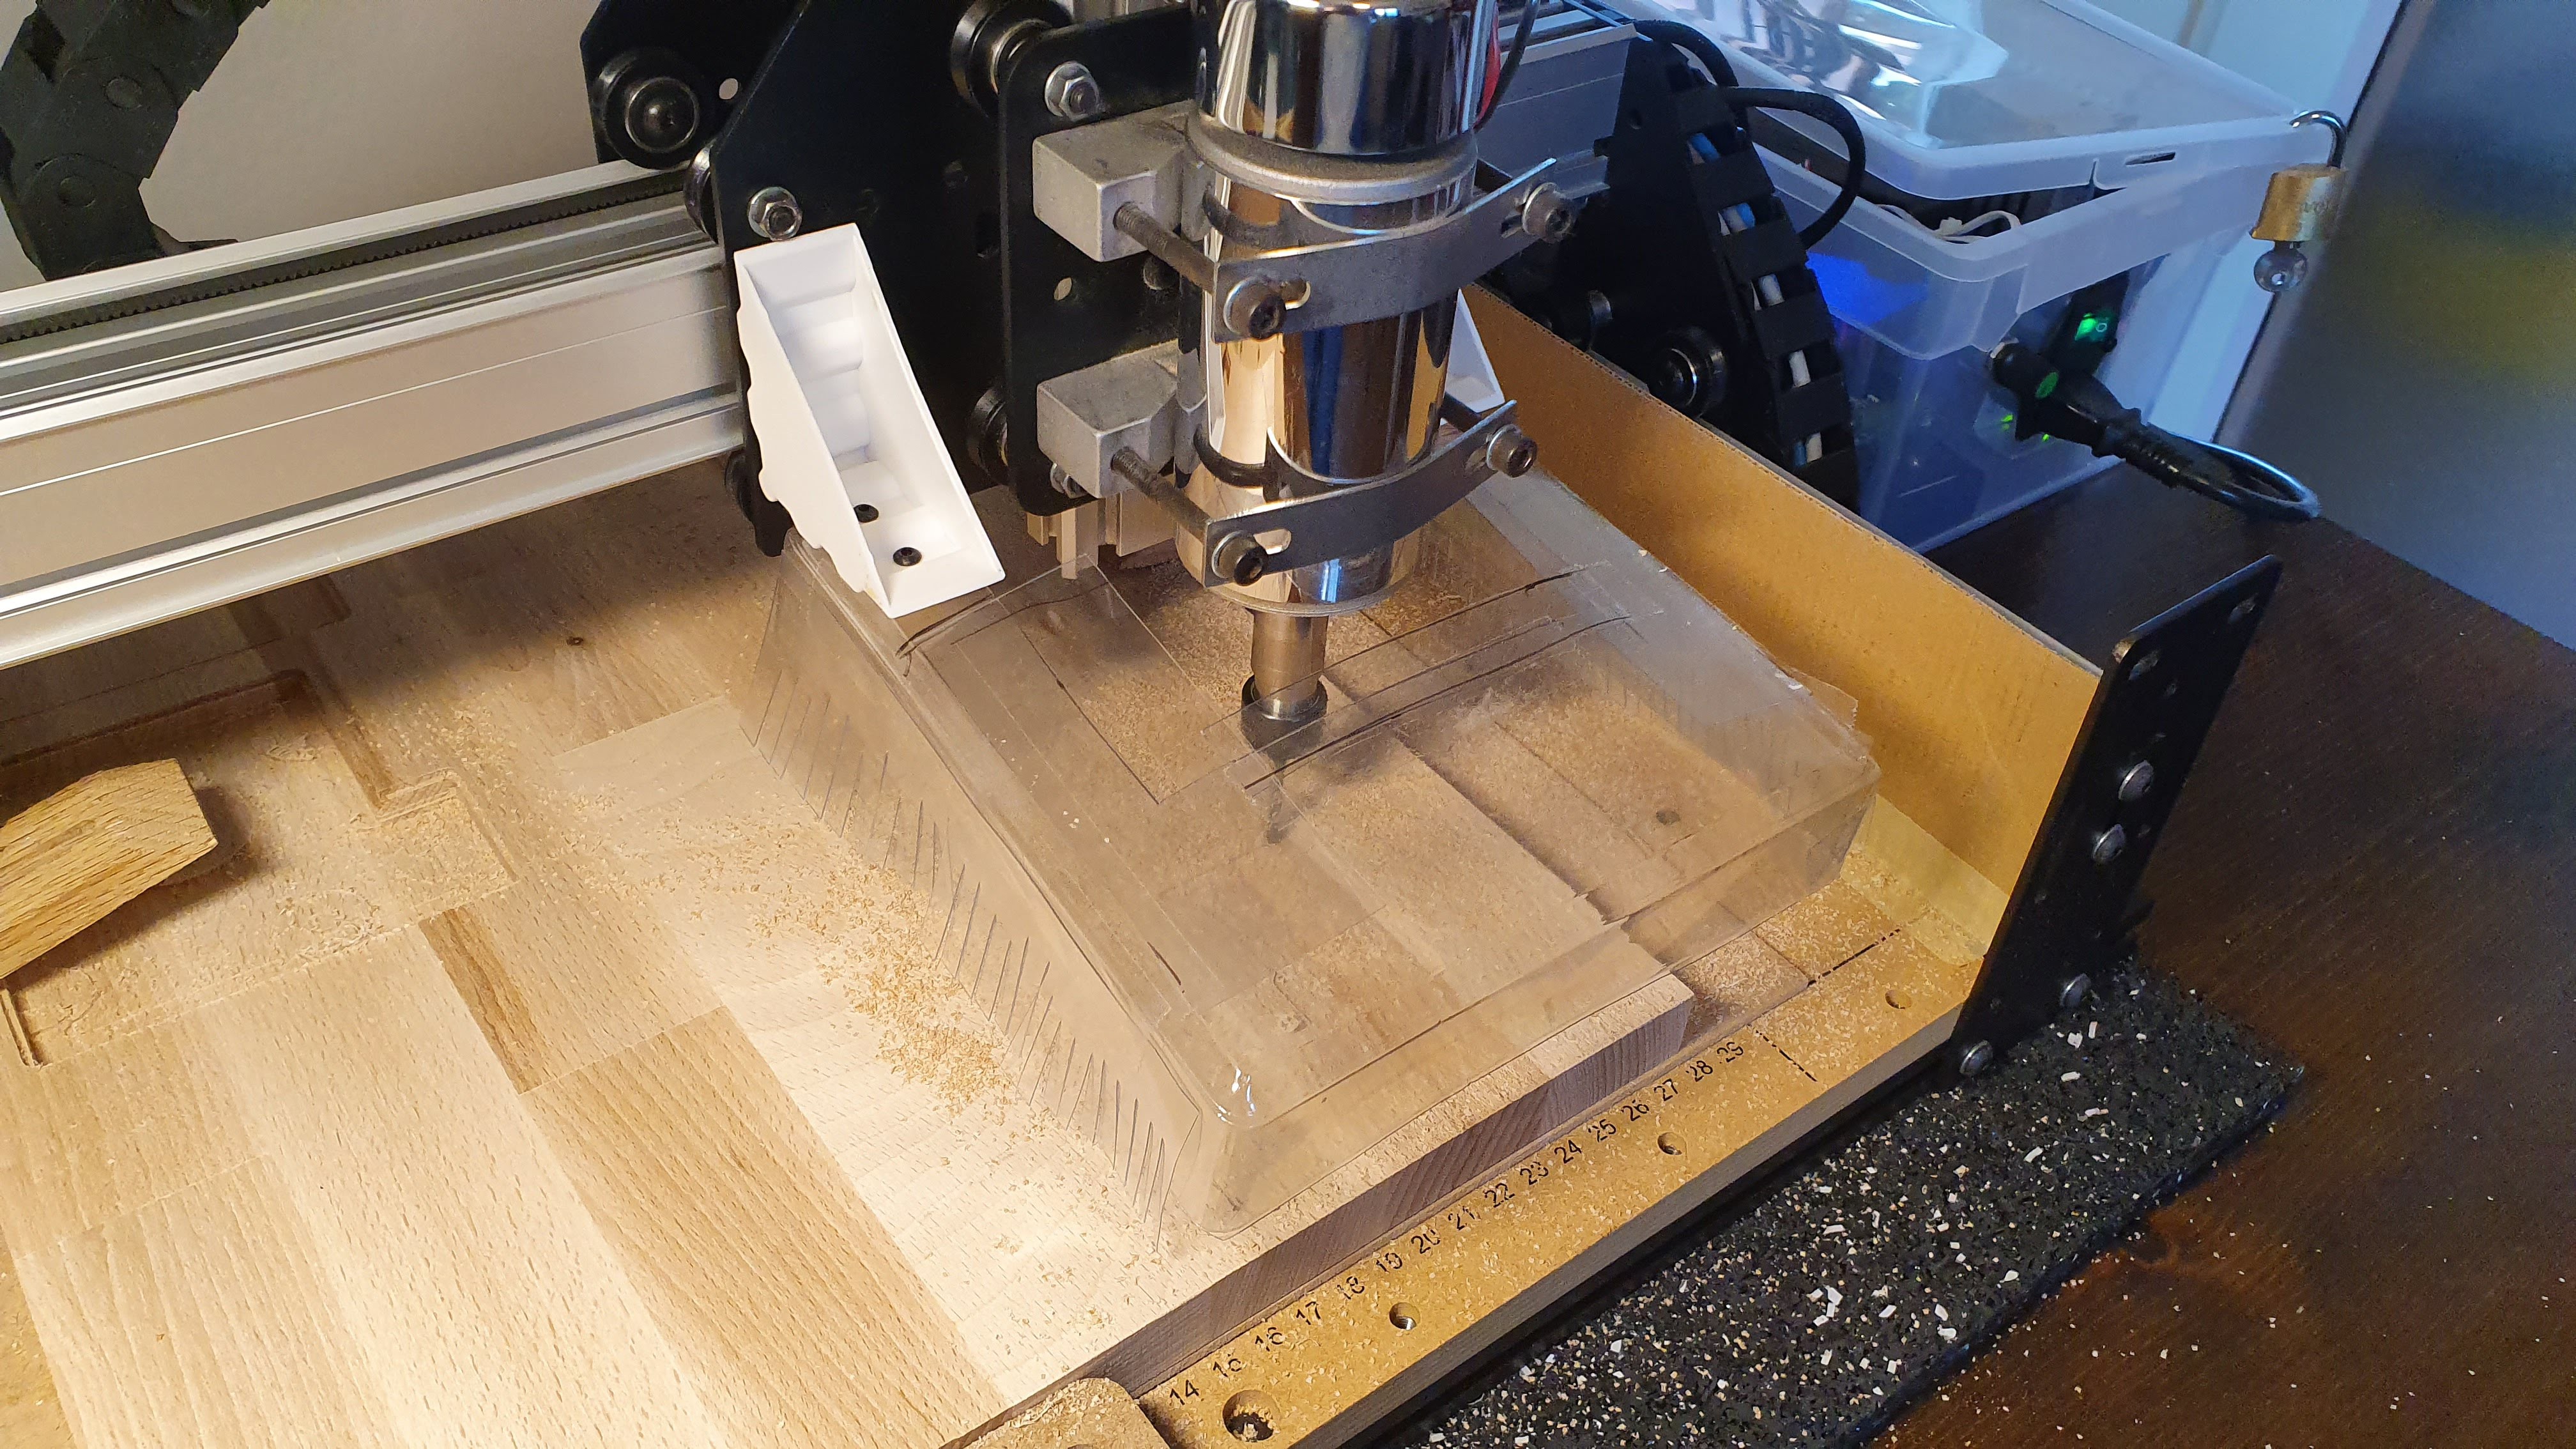
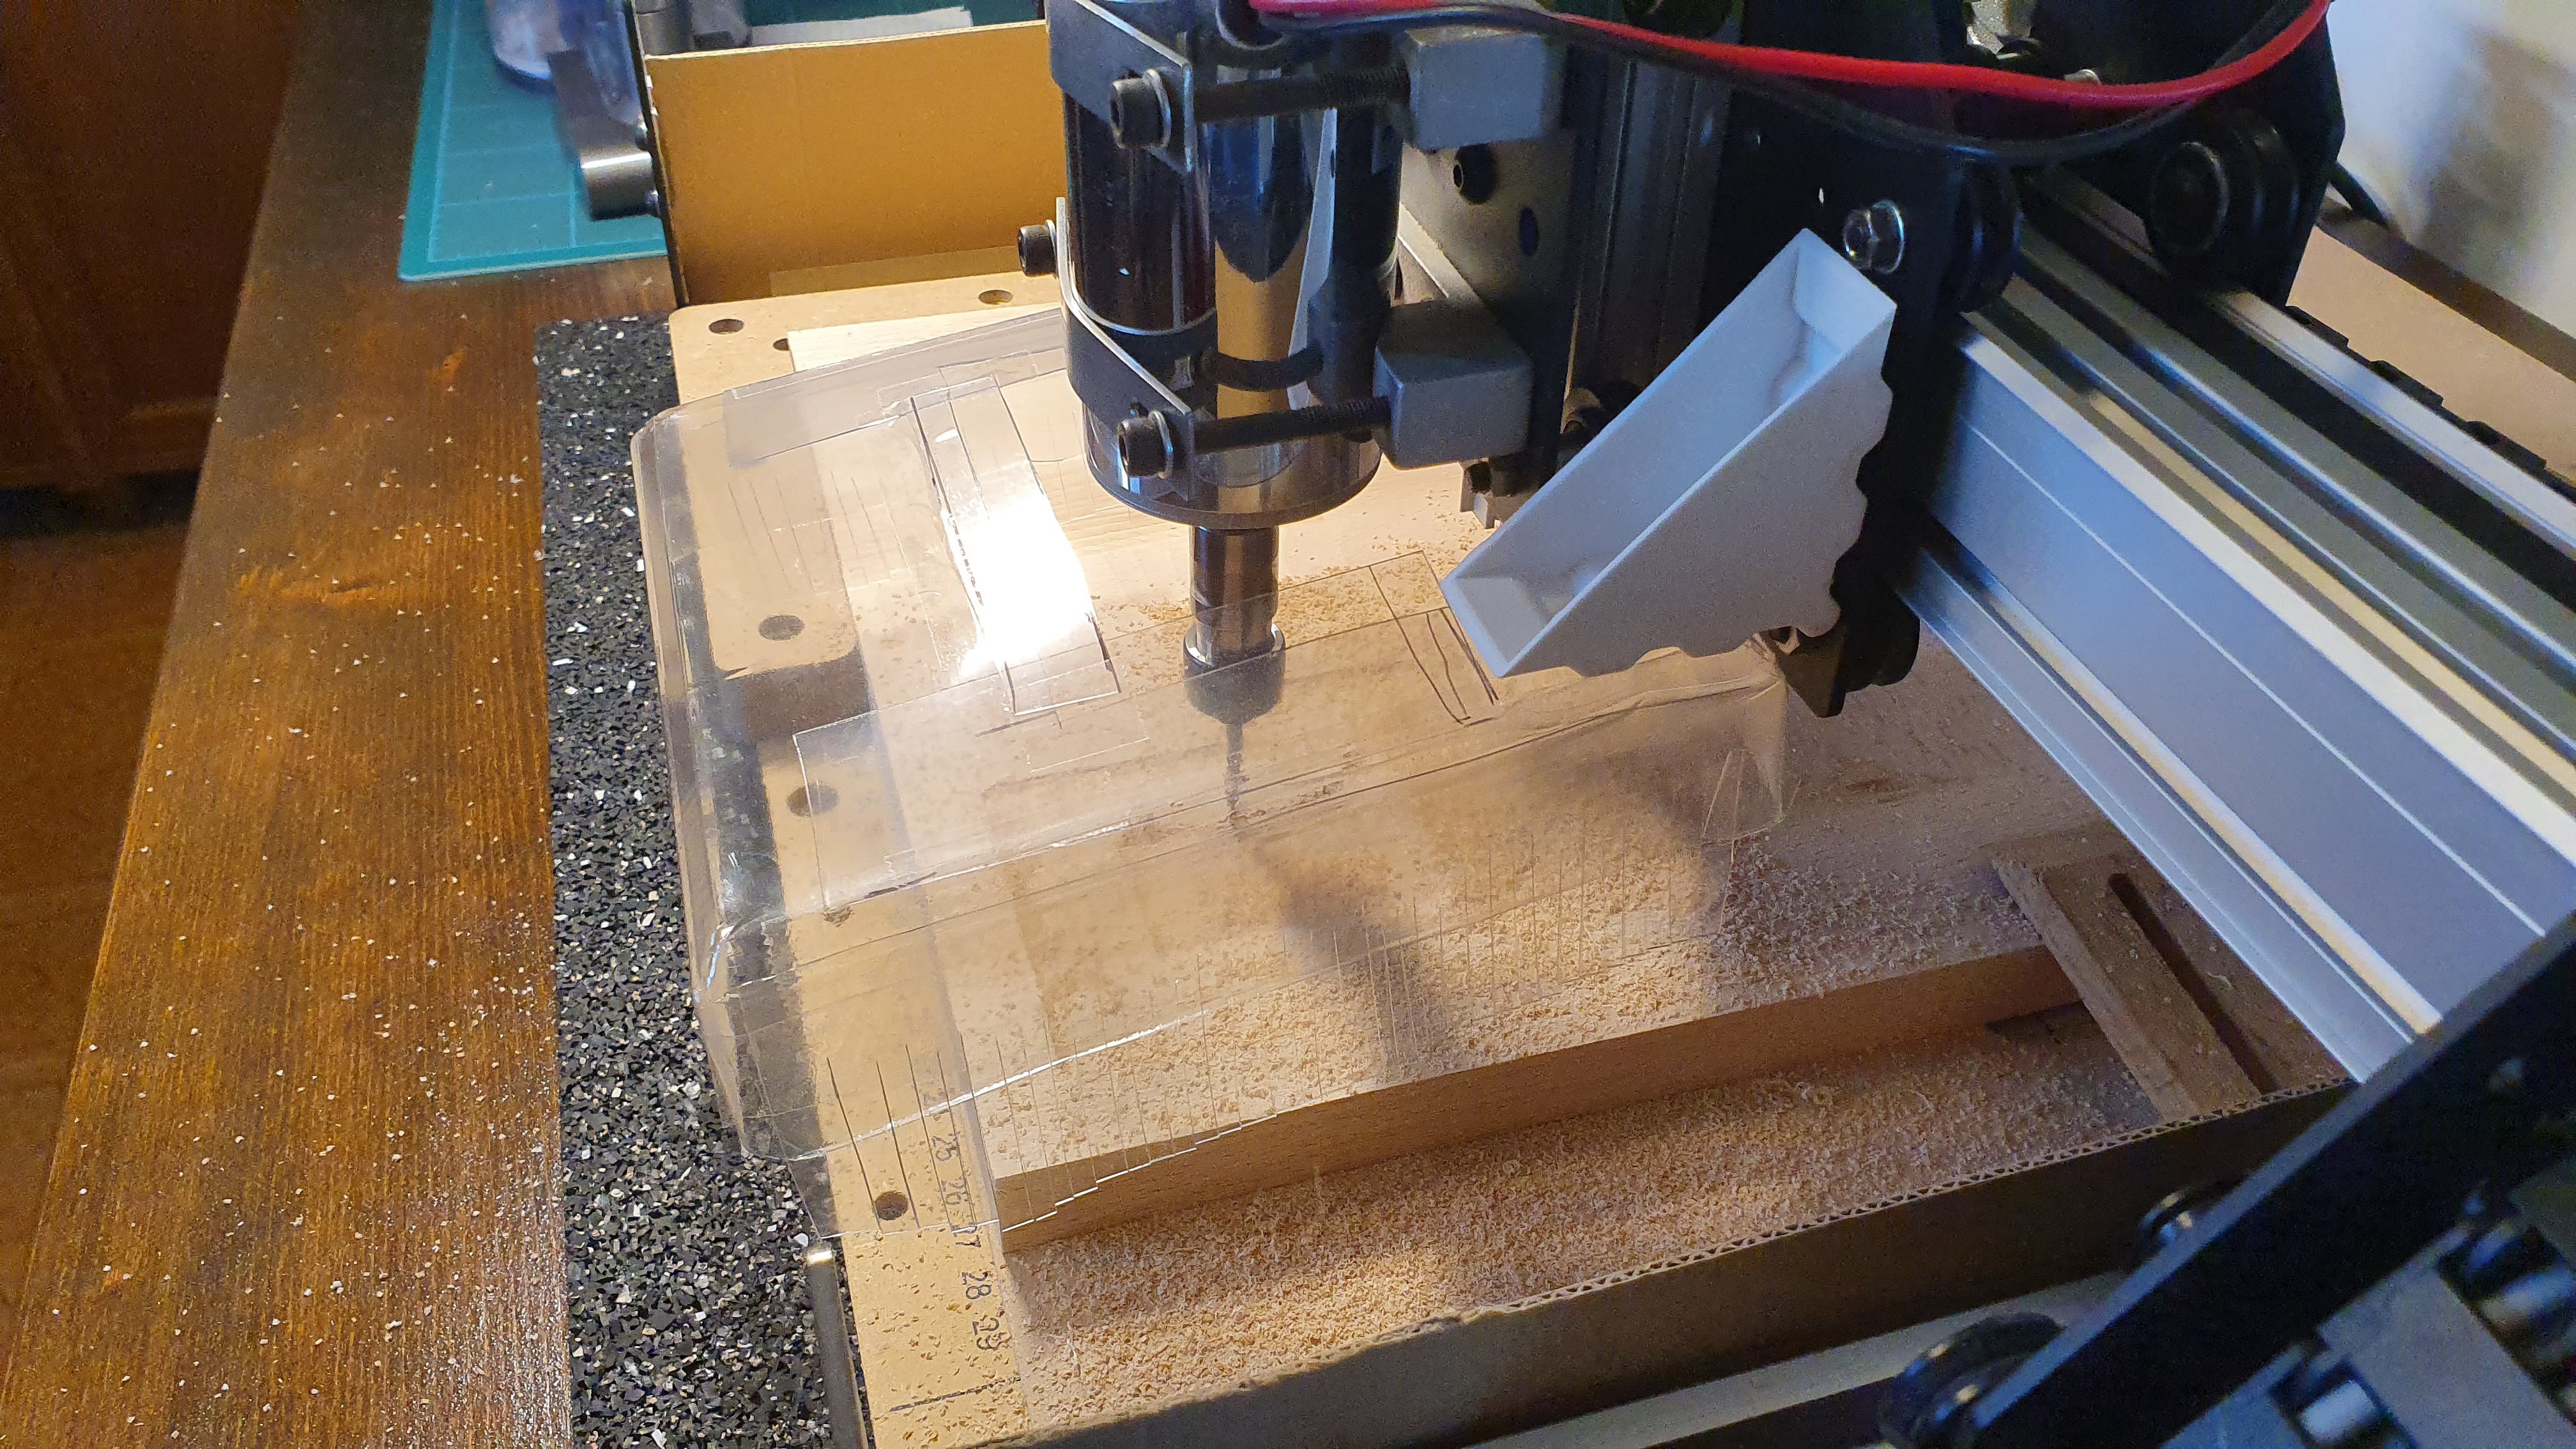
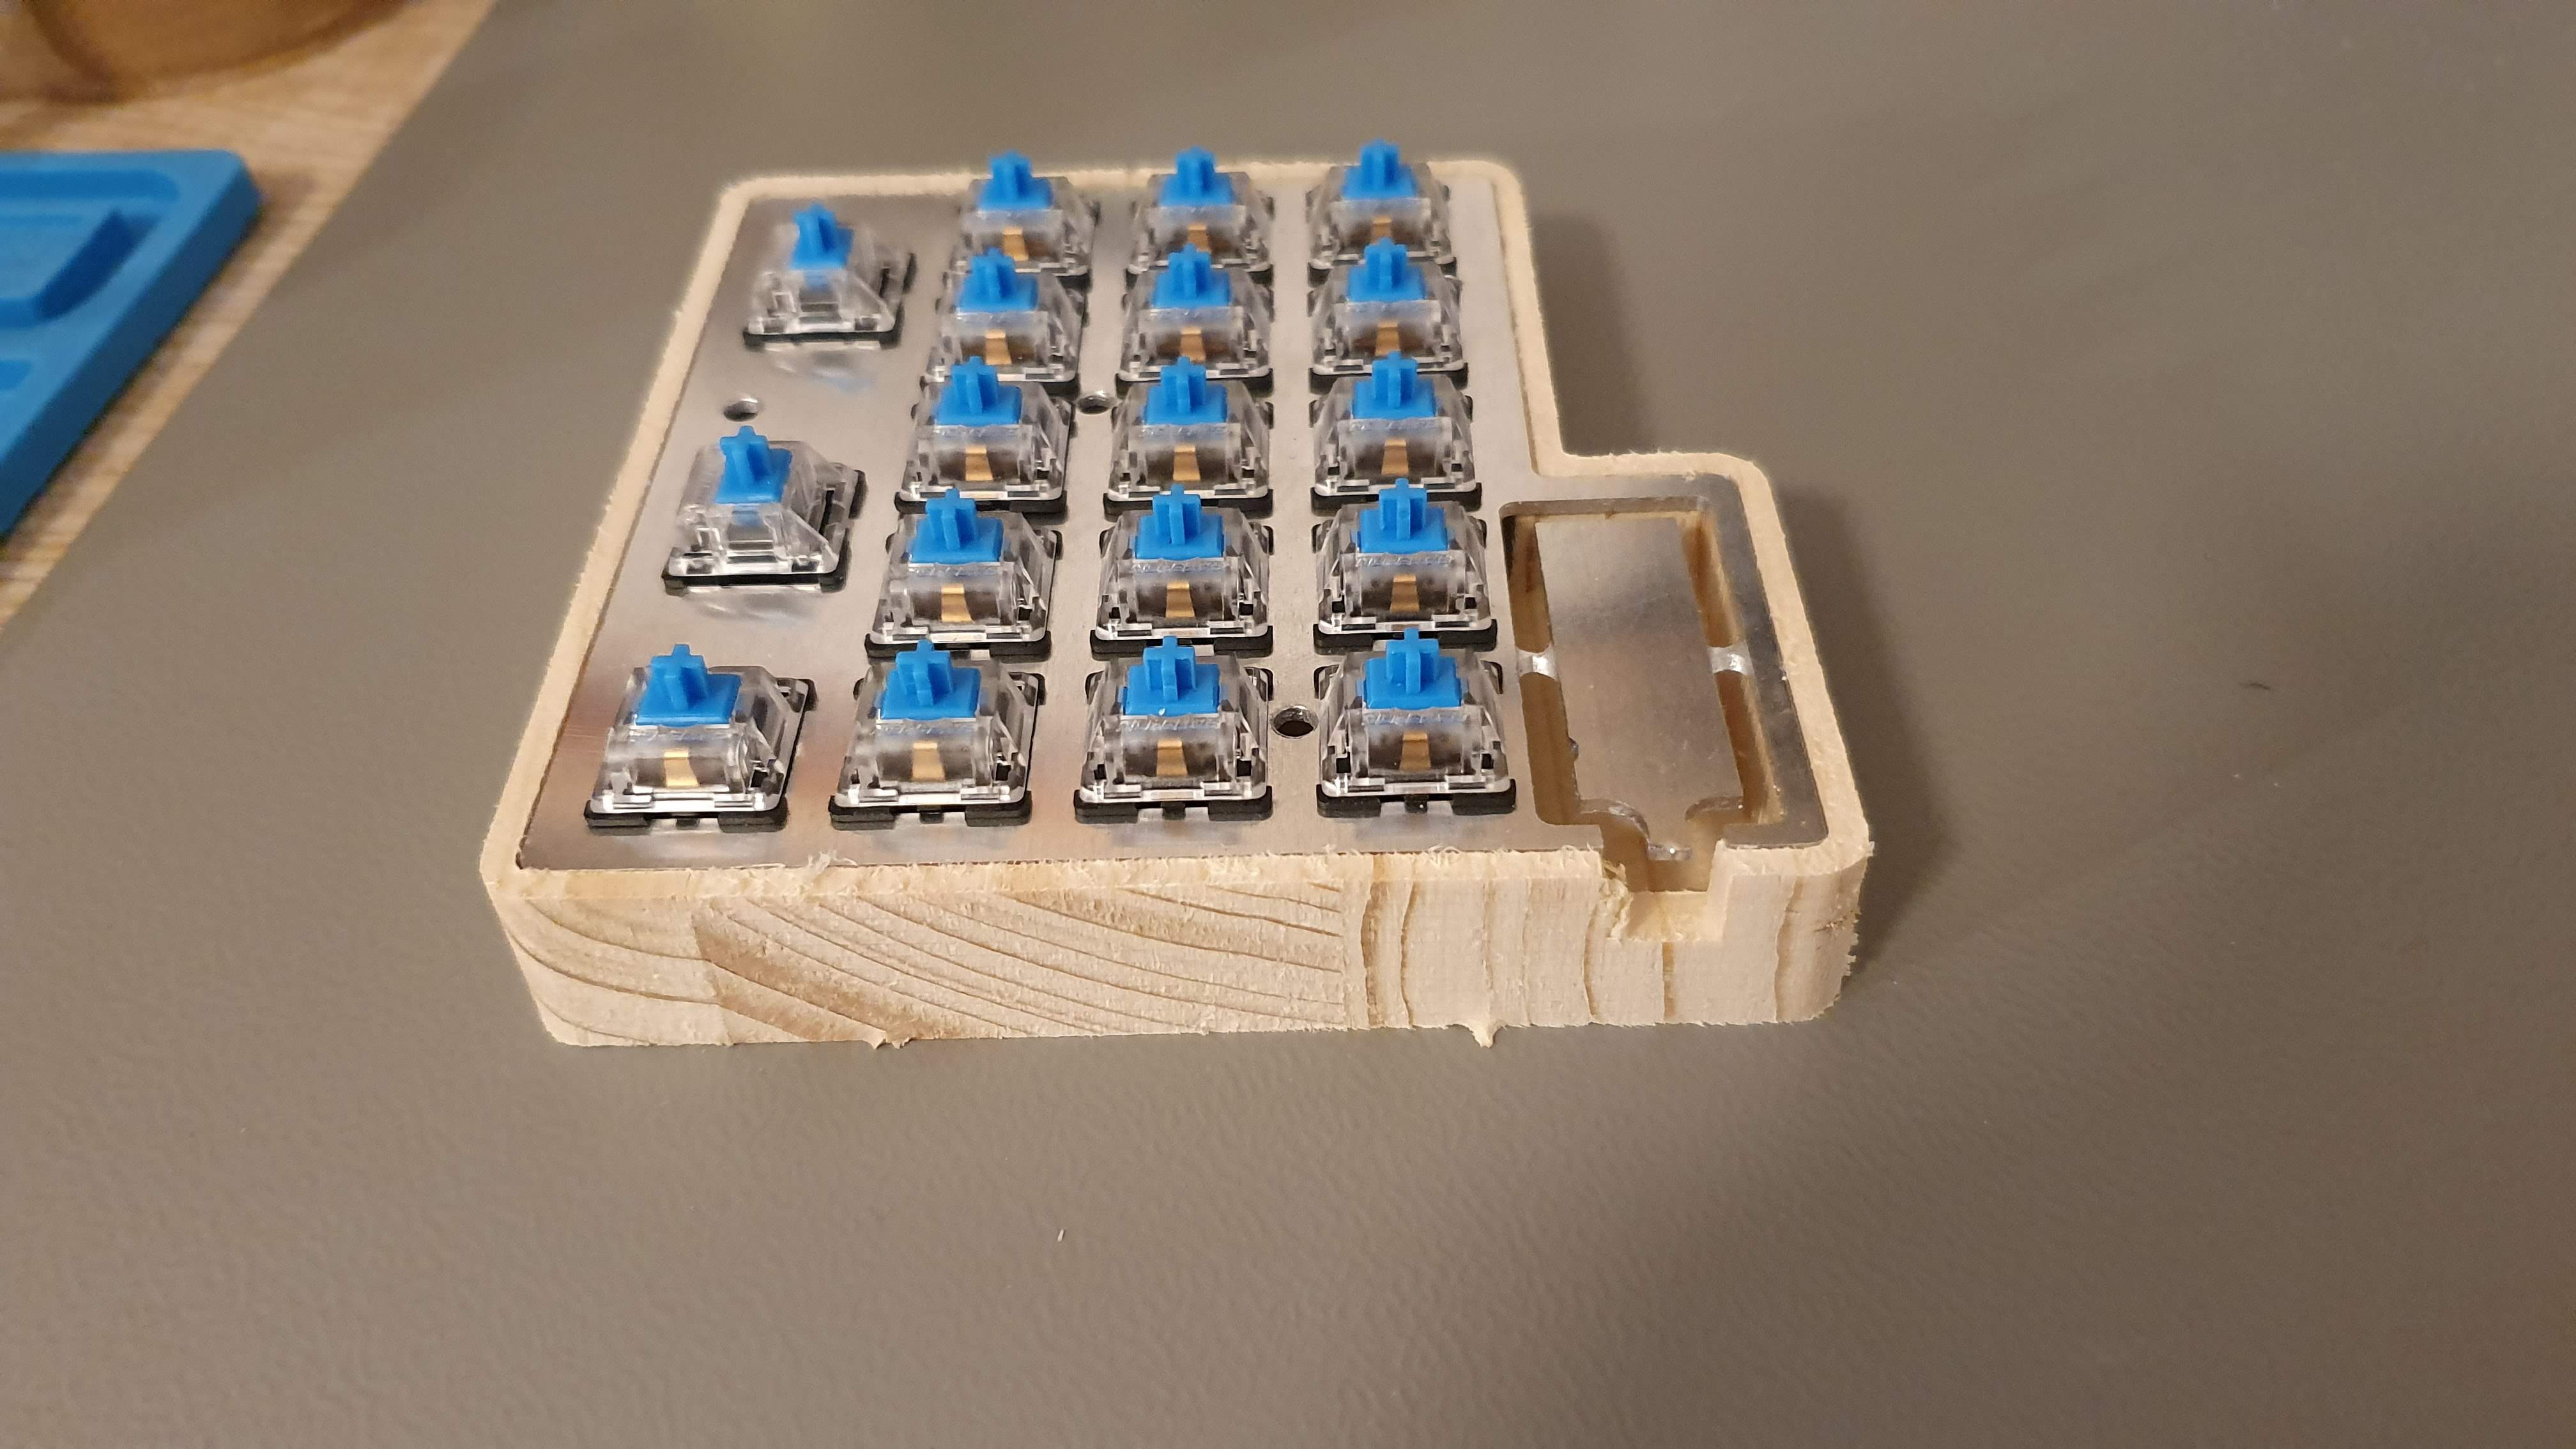


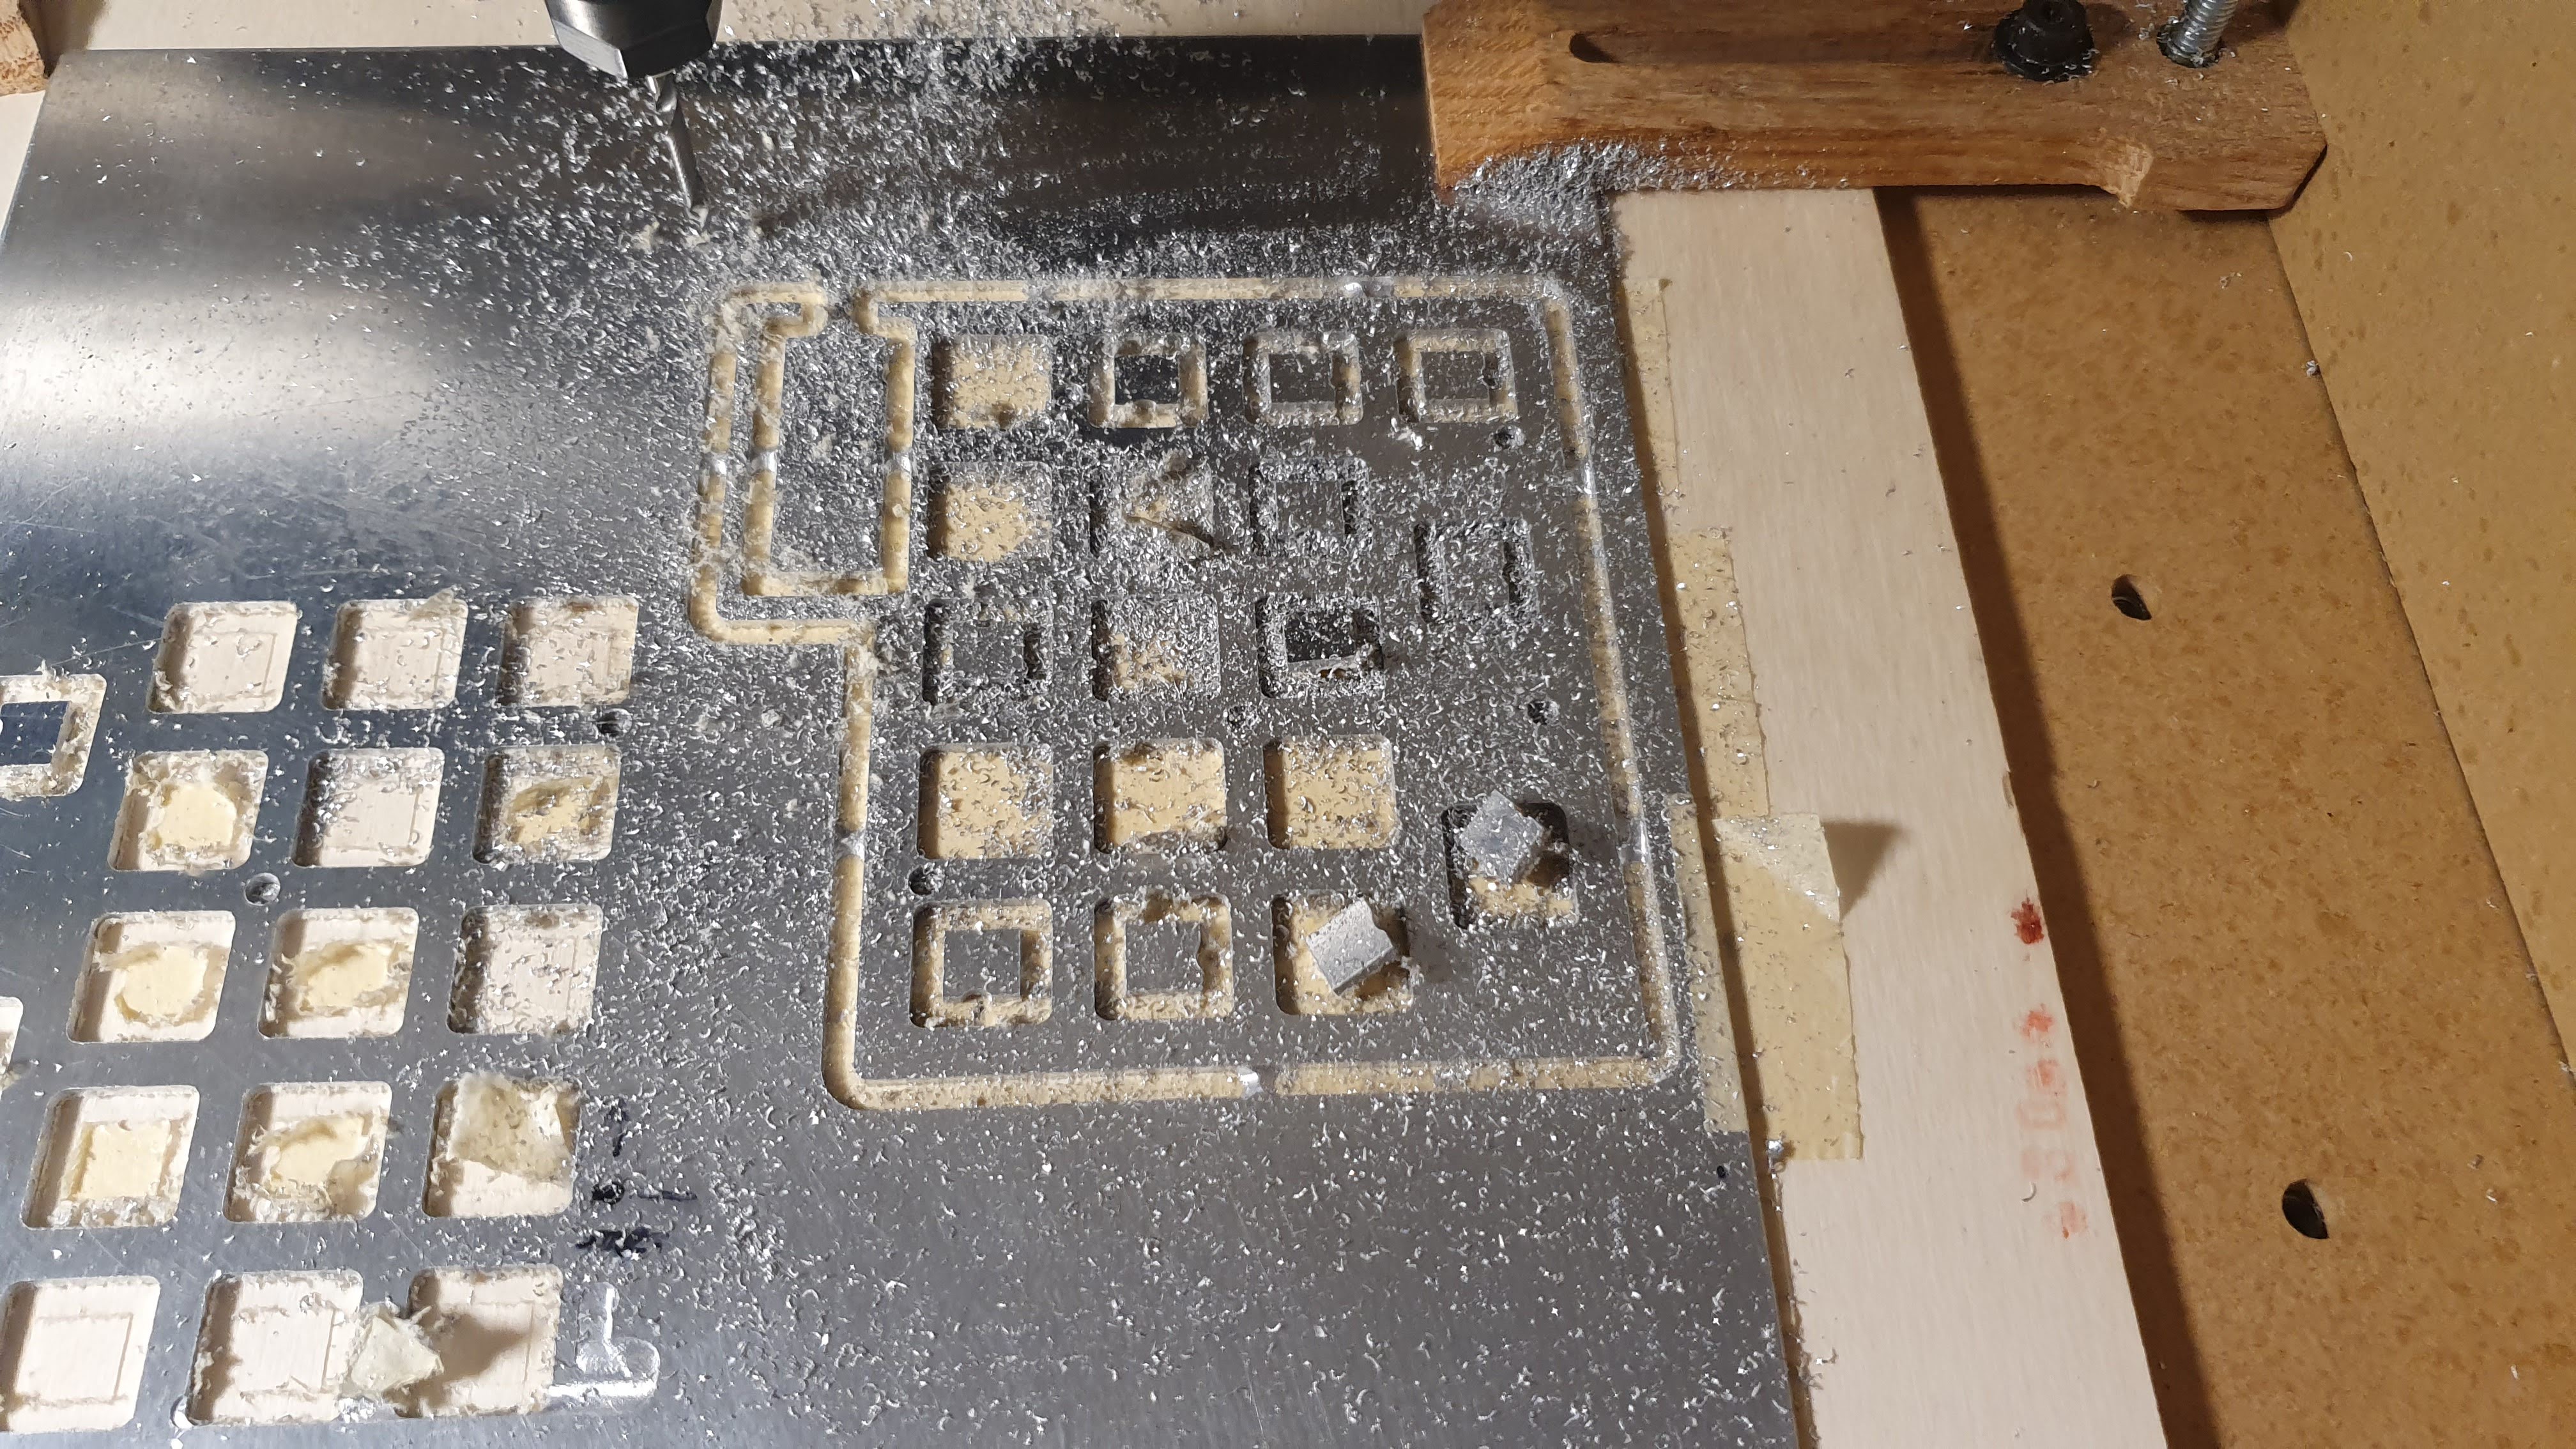
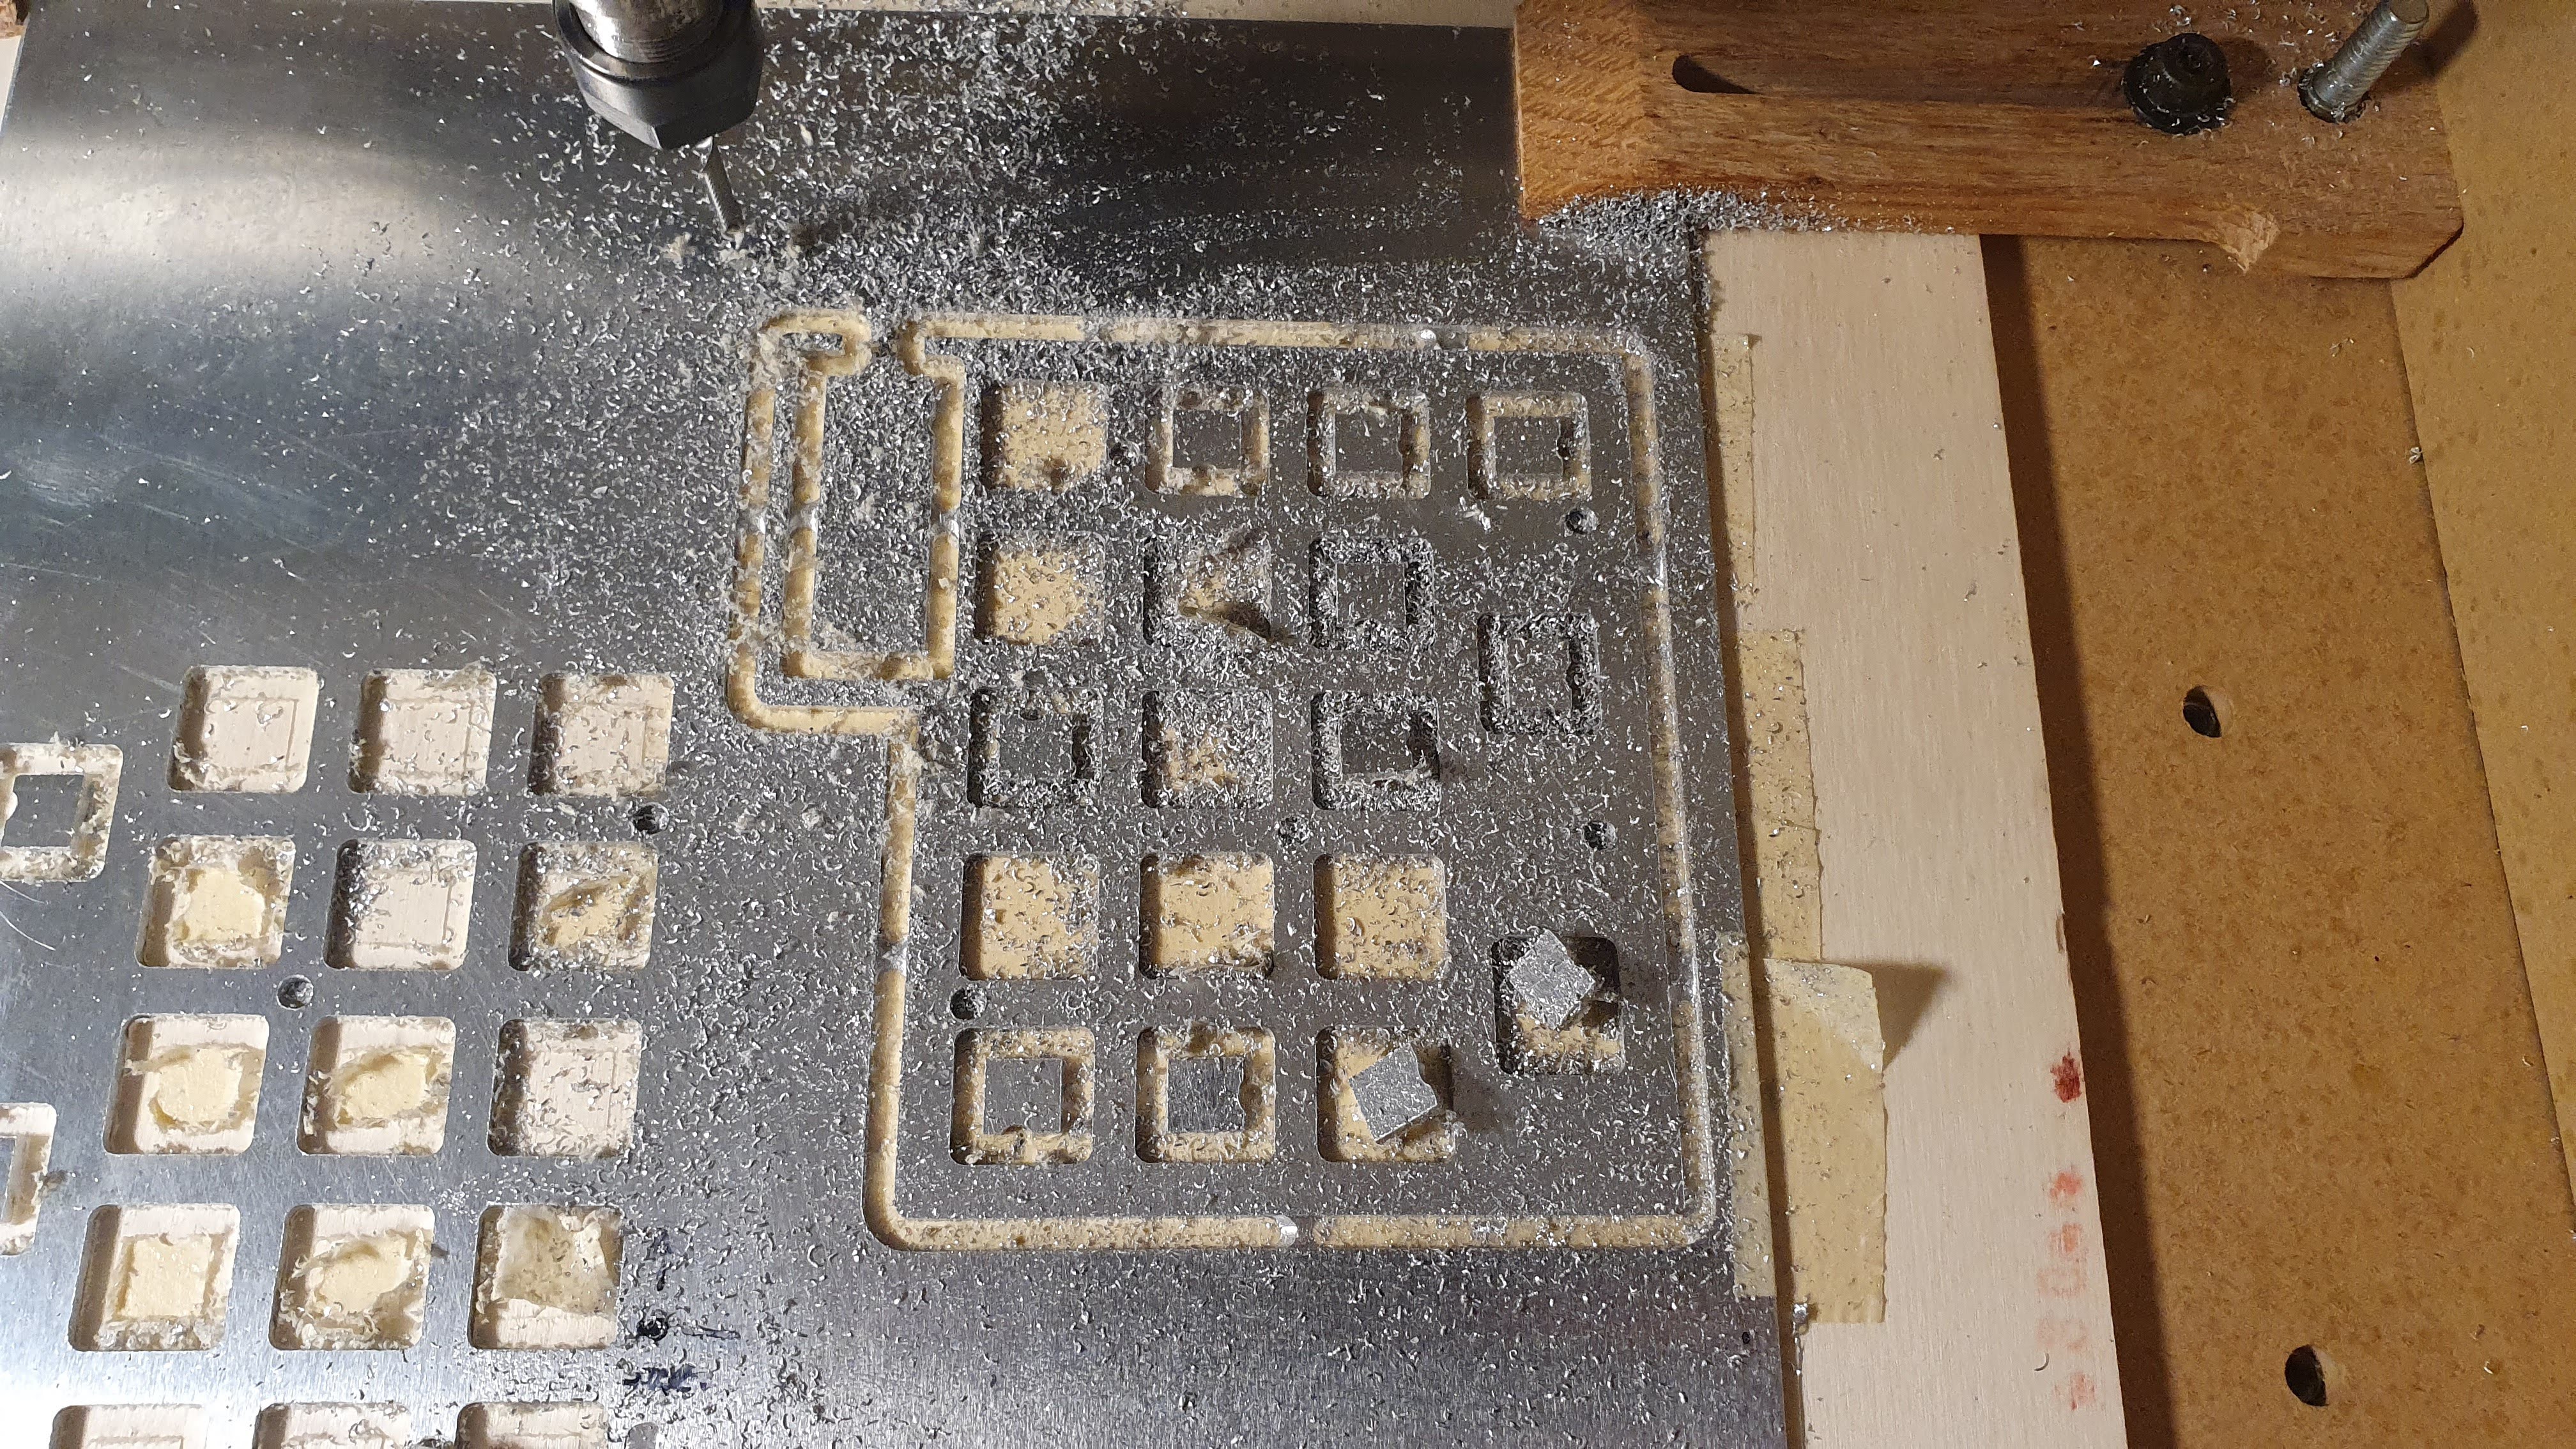
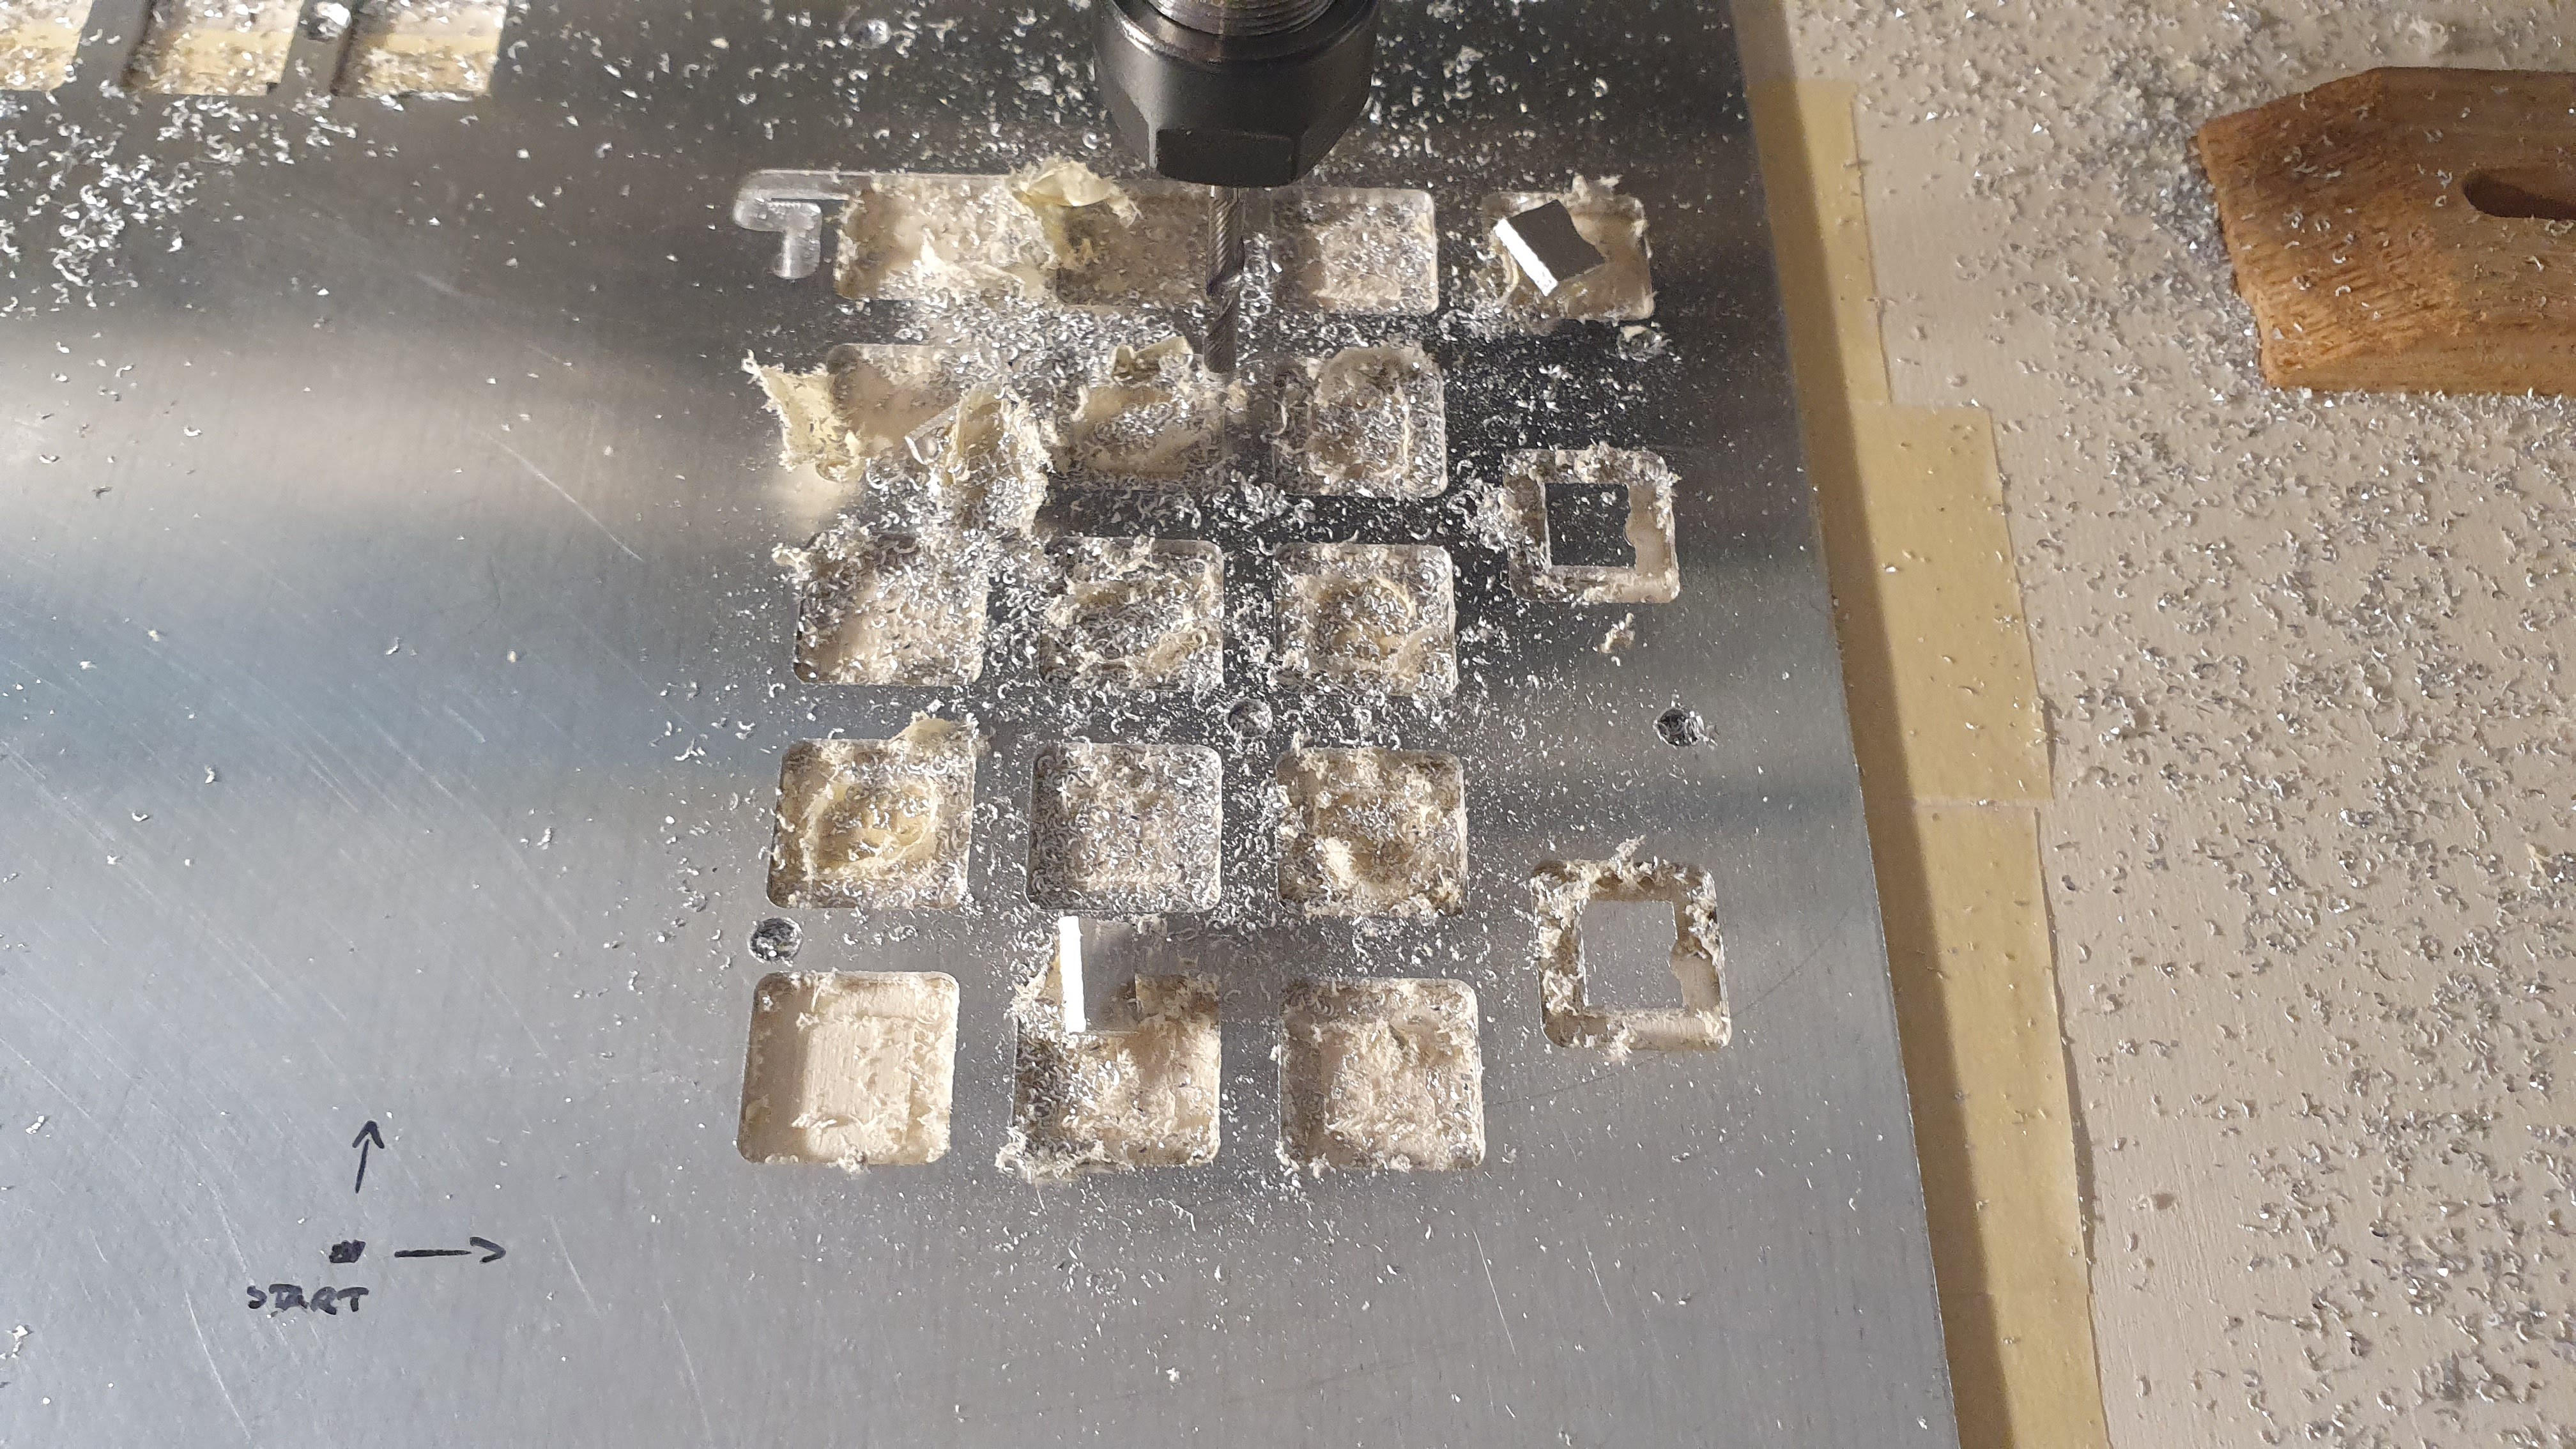
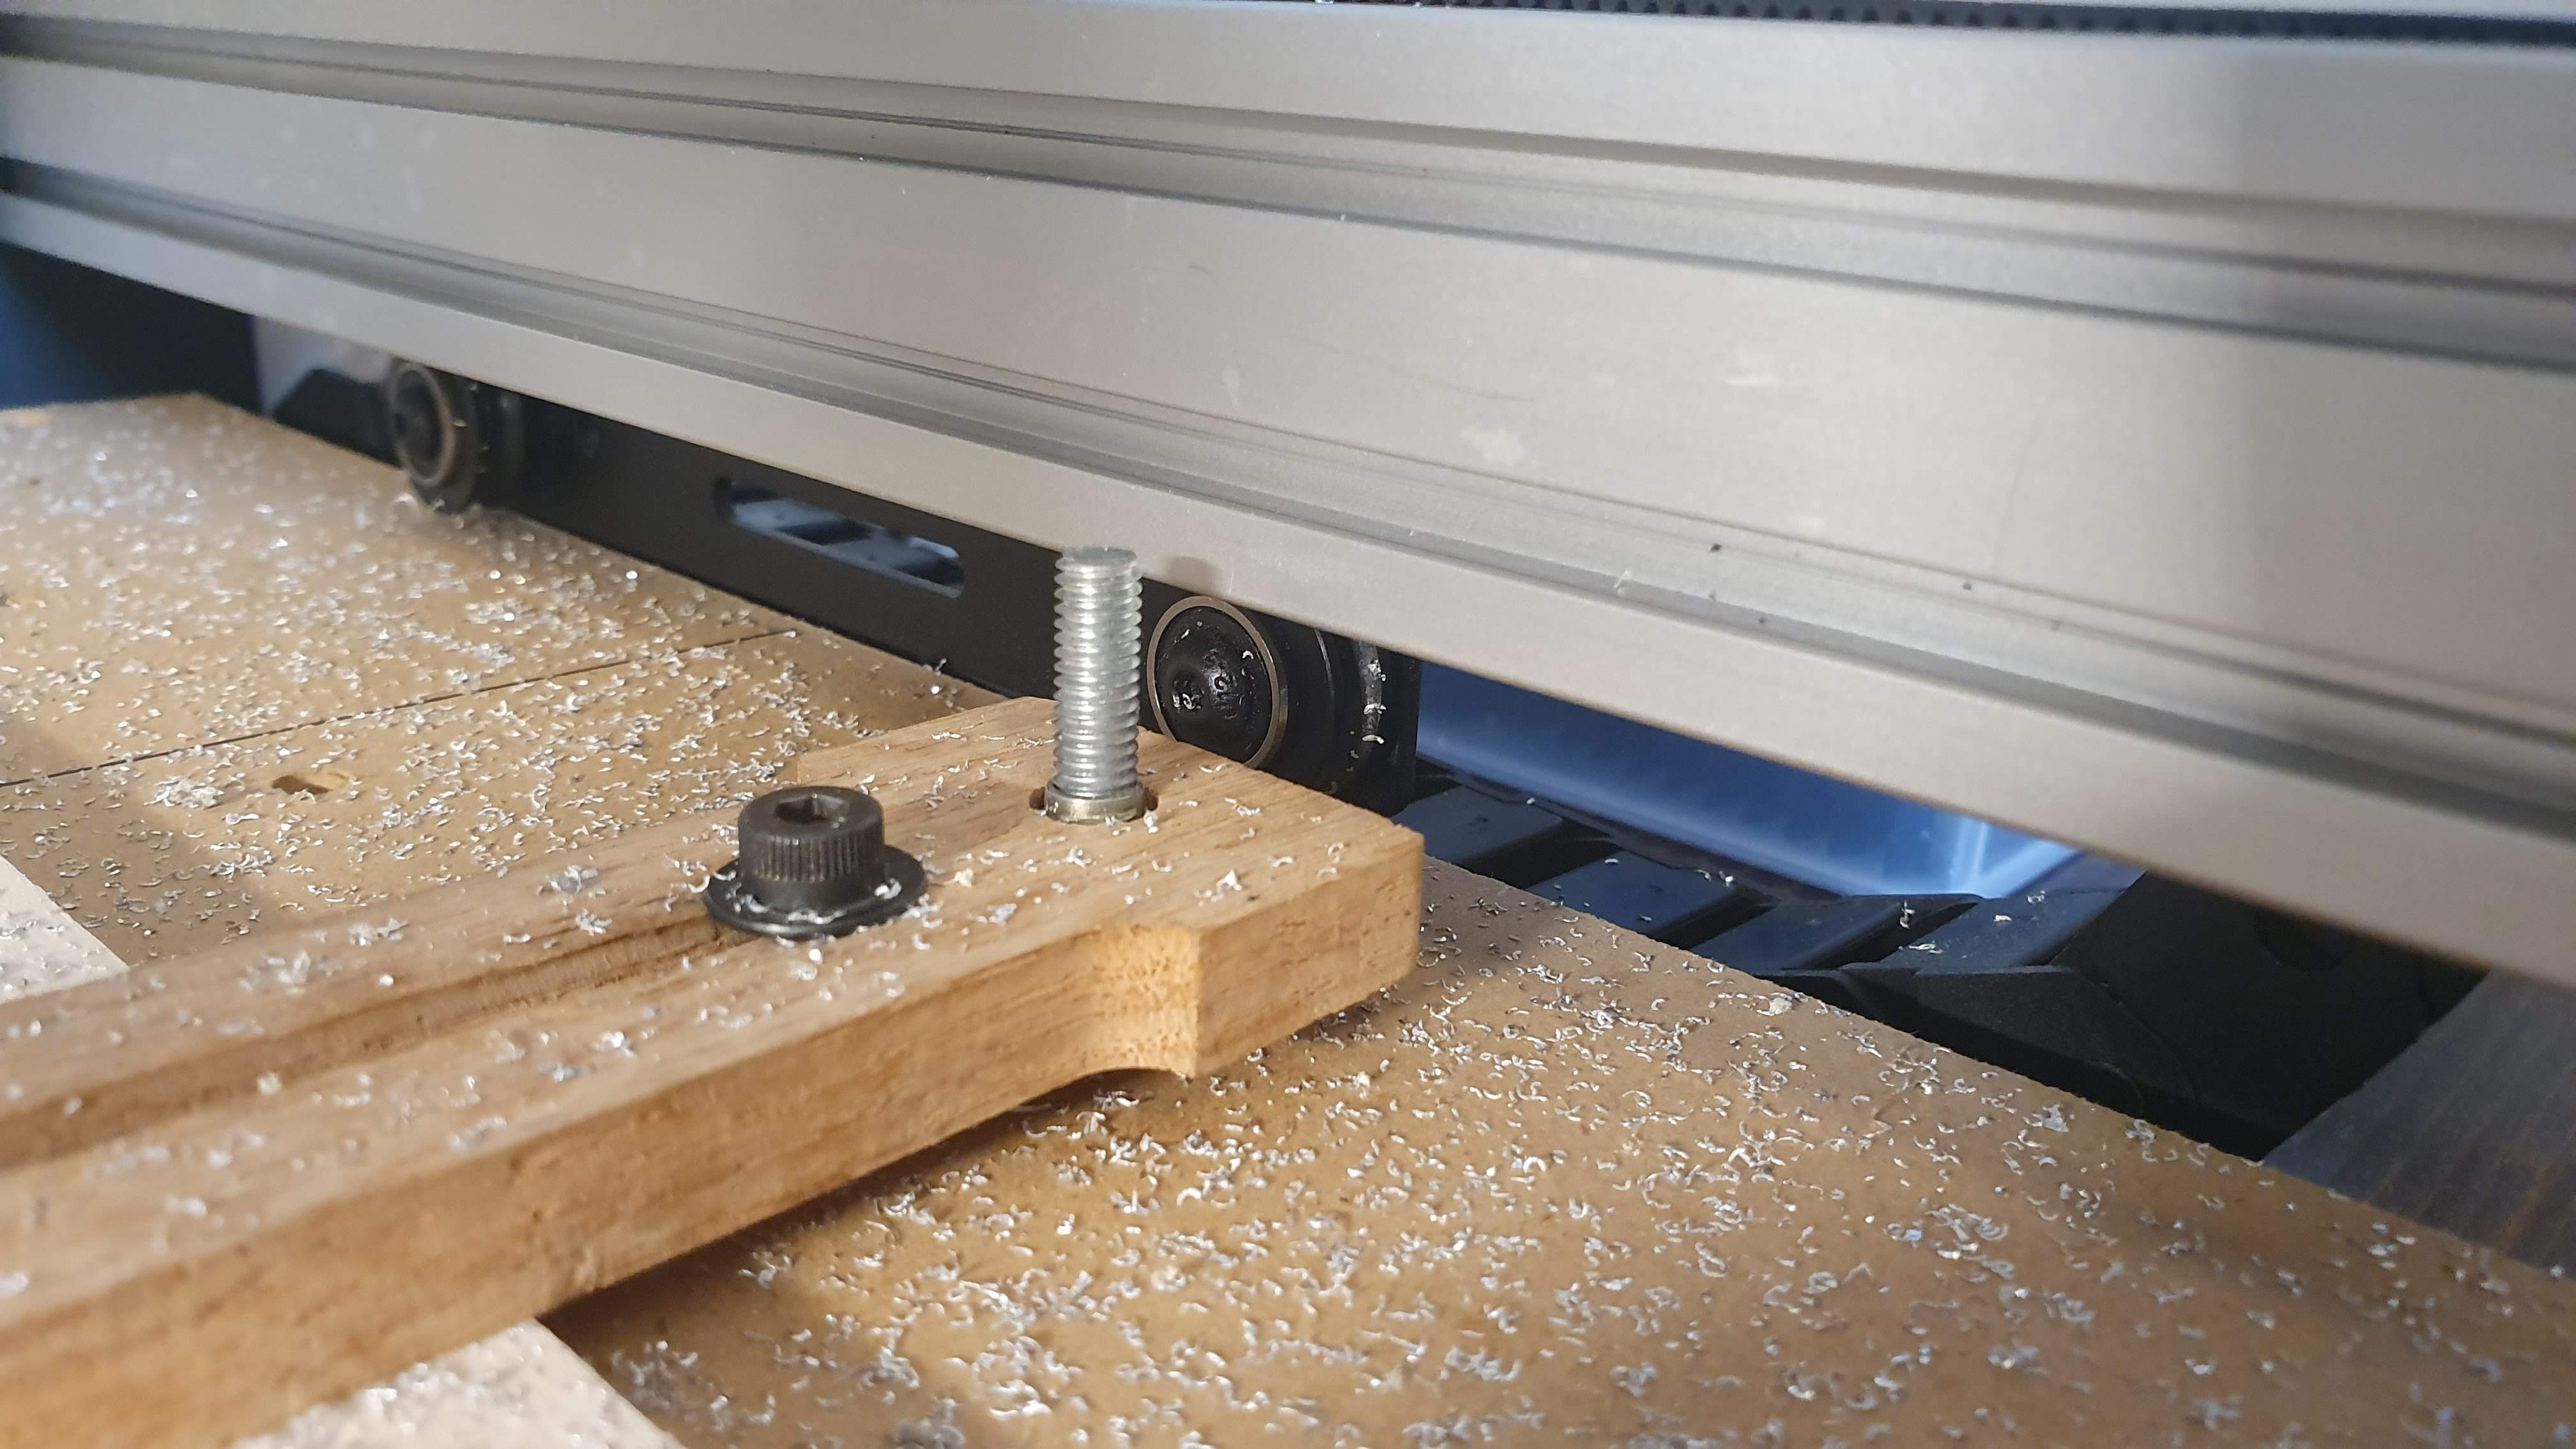
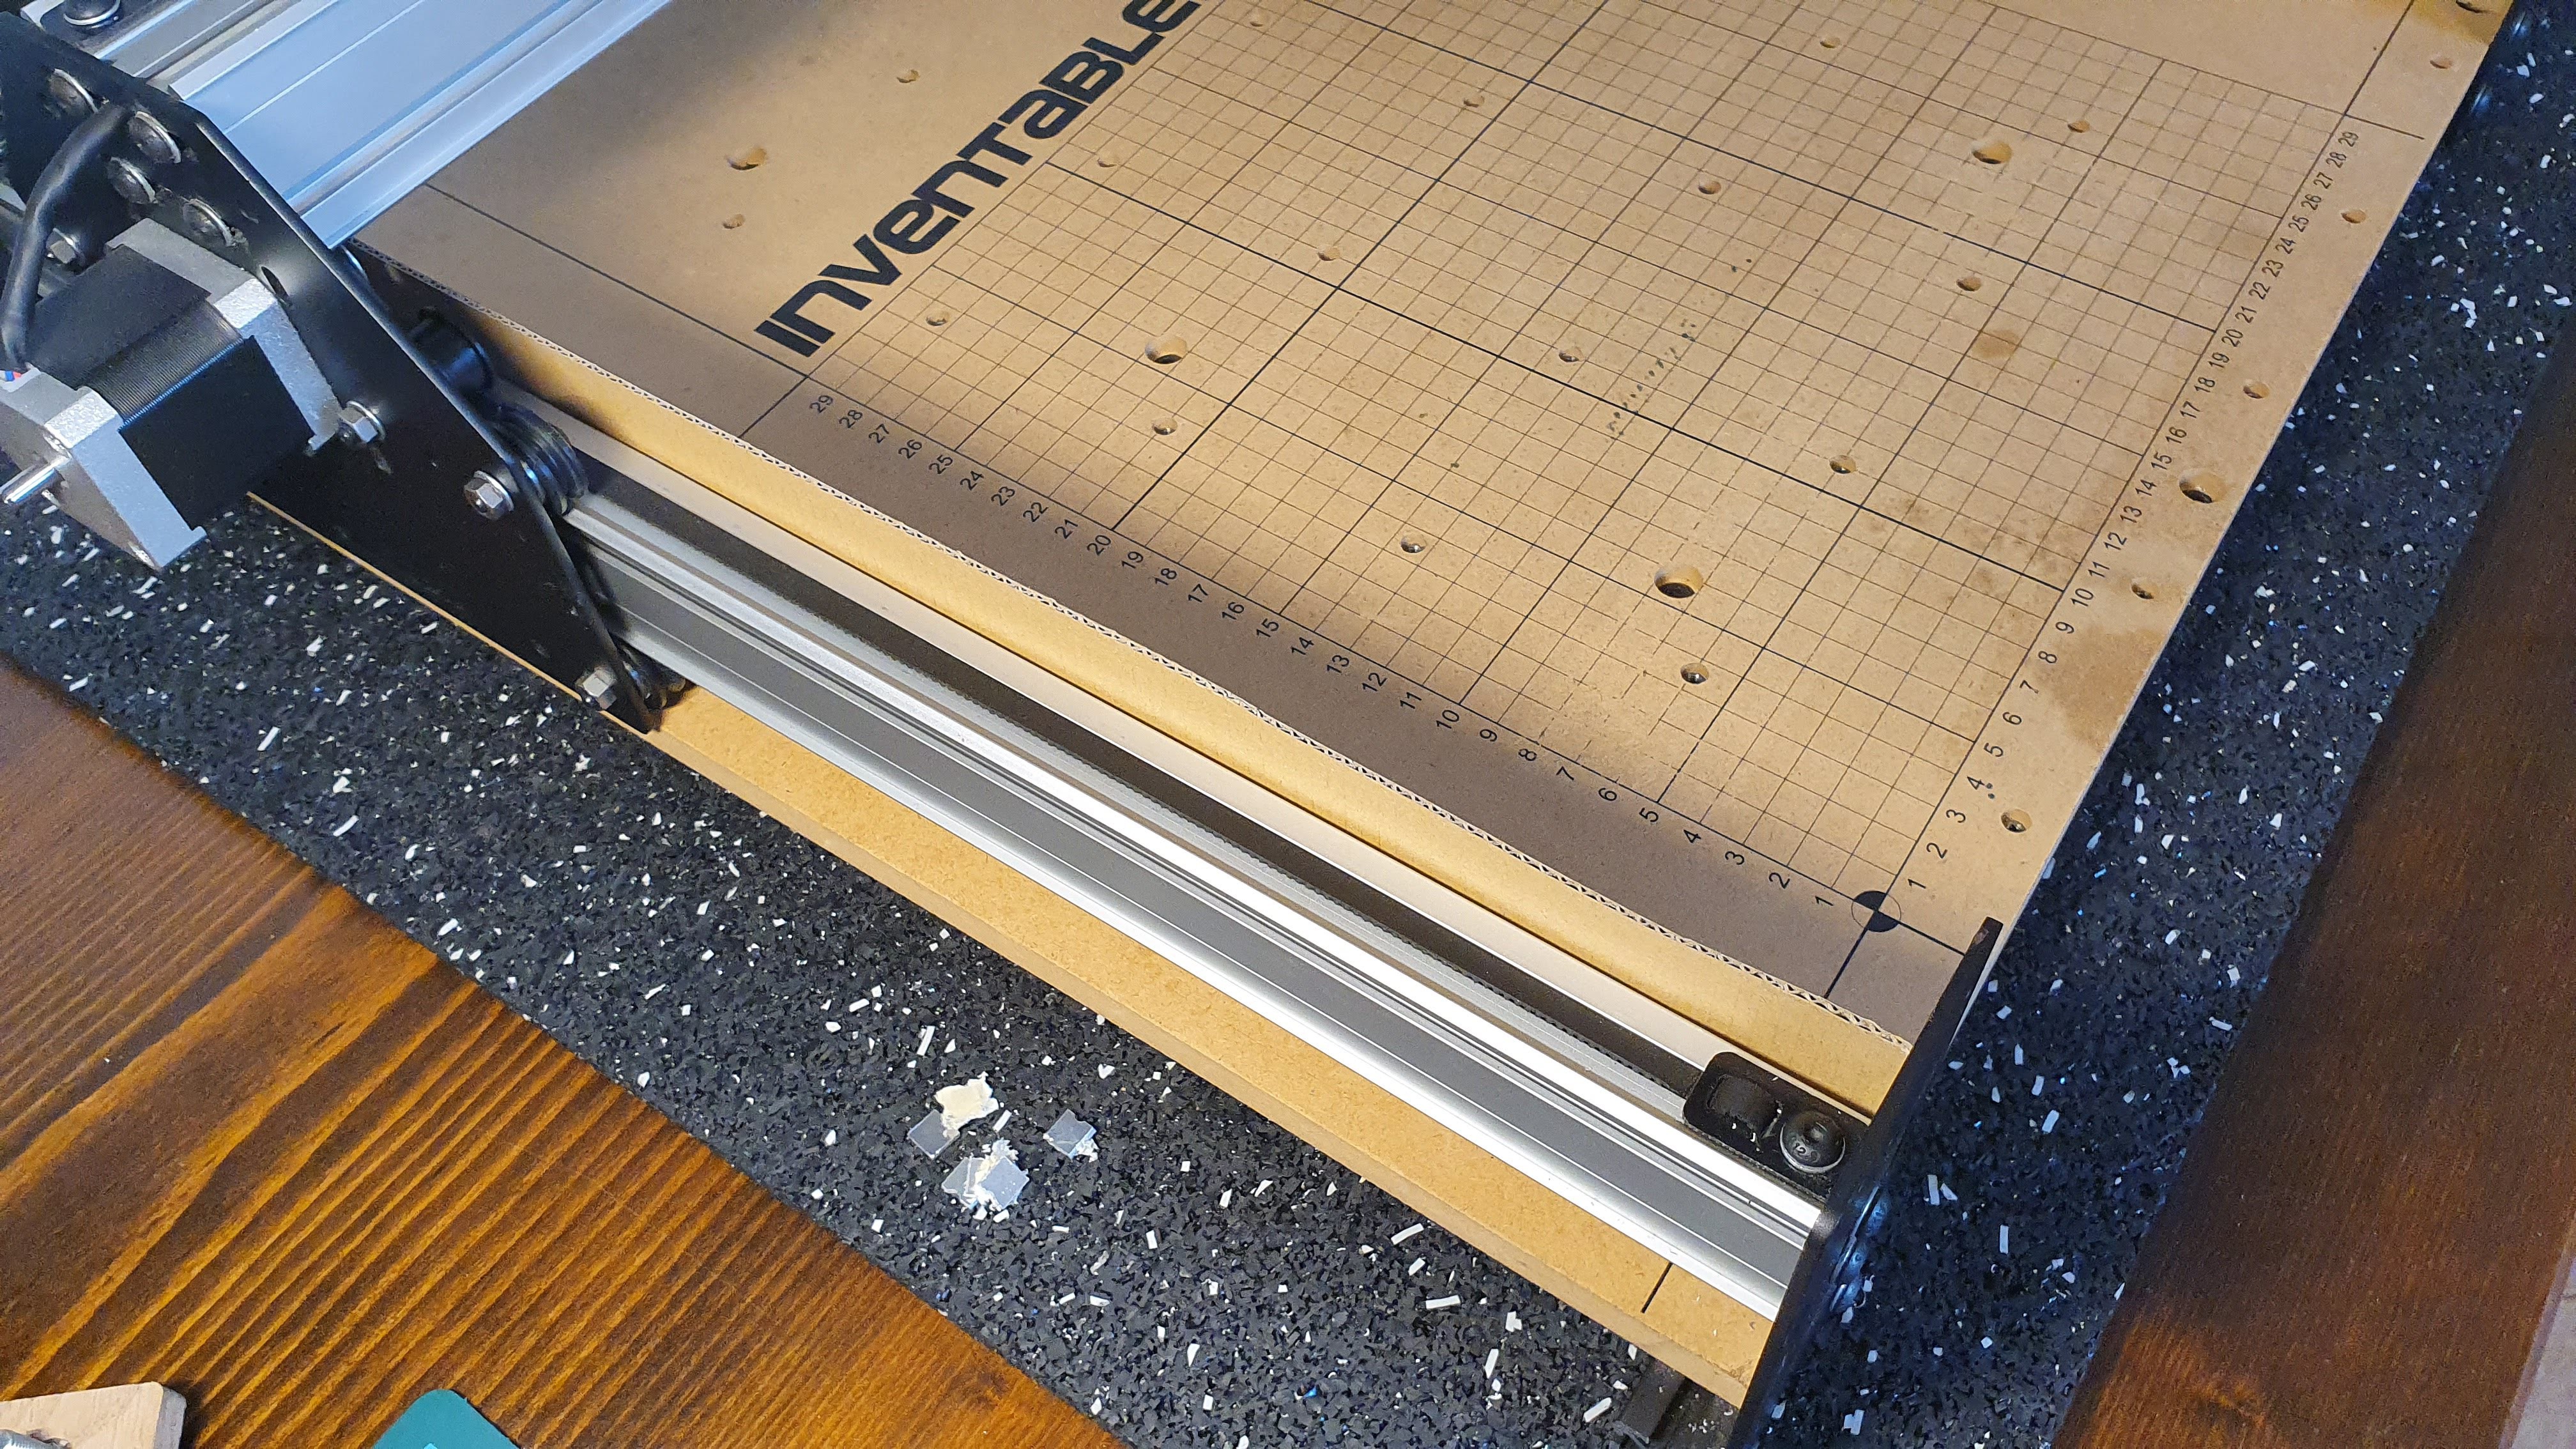
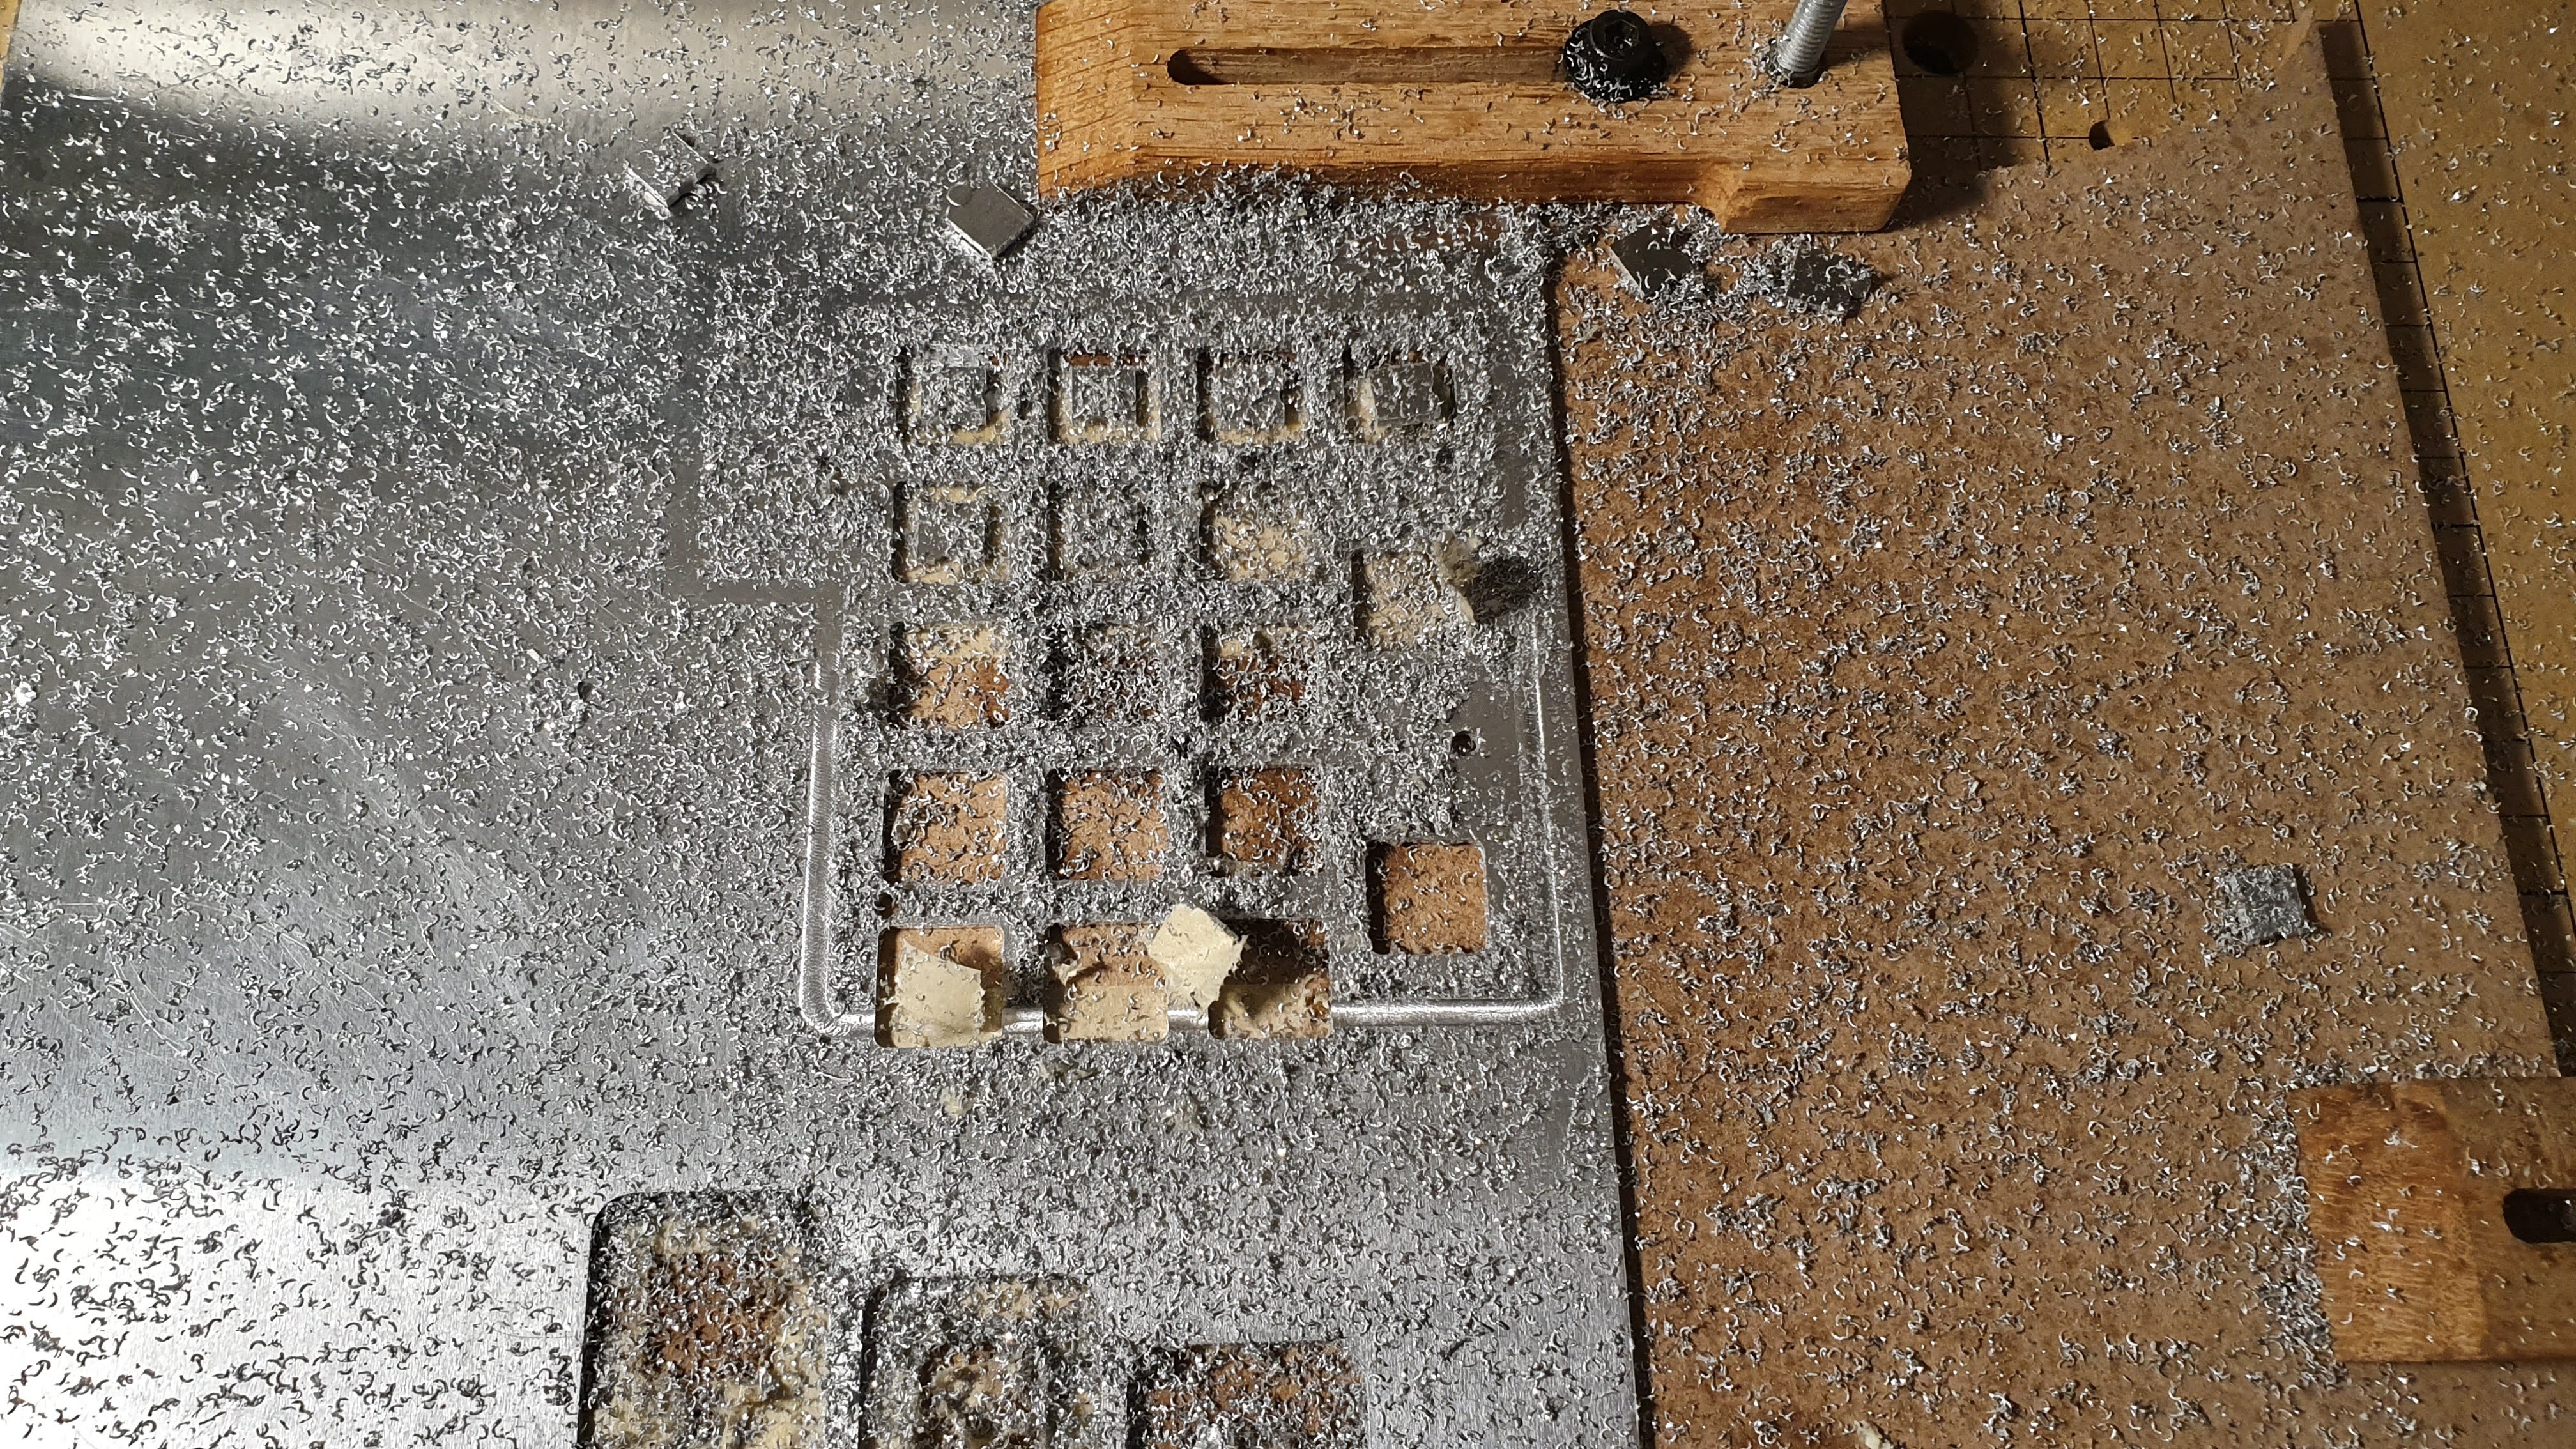
 Everything went smooth. I knew the CNC was capable of cutting aluminium, it was only a matter of debris. All dimensions seems to be ok.
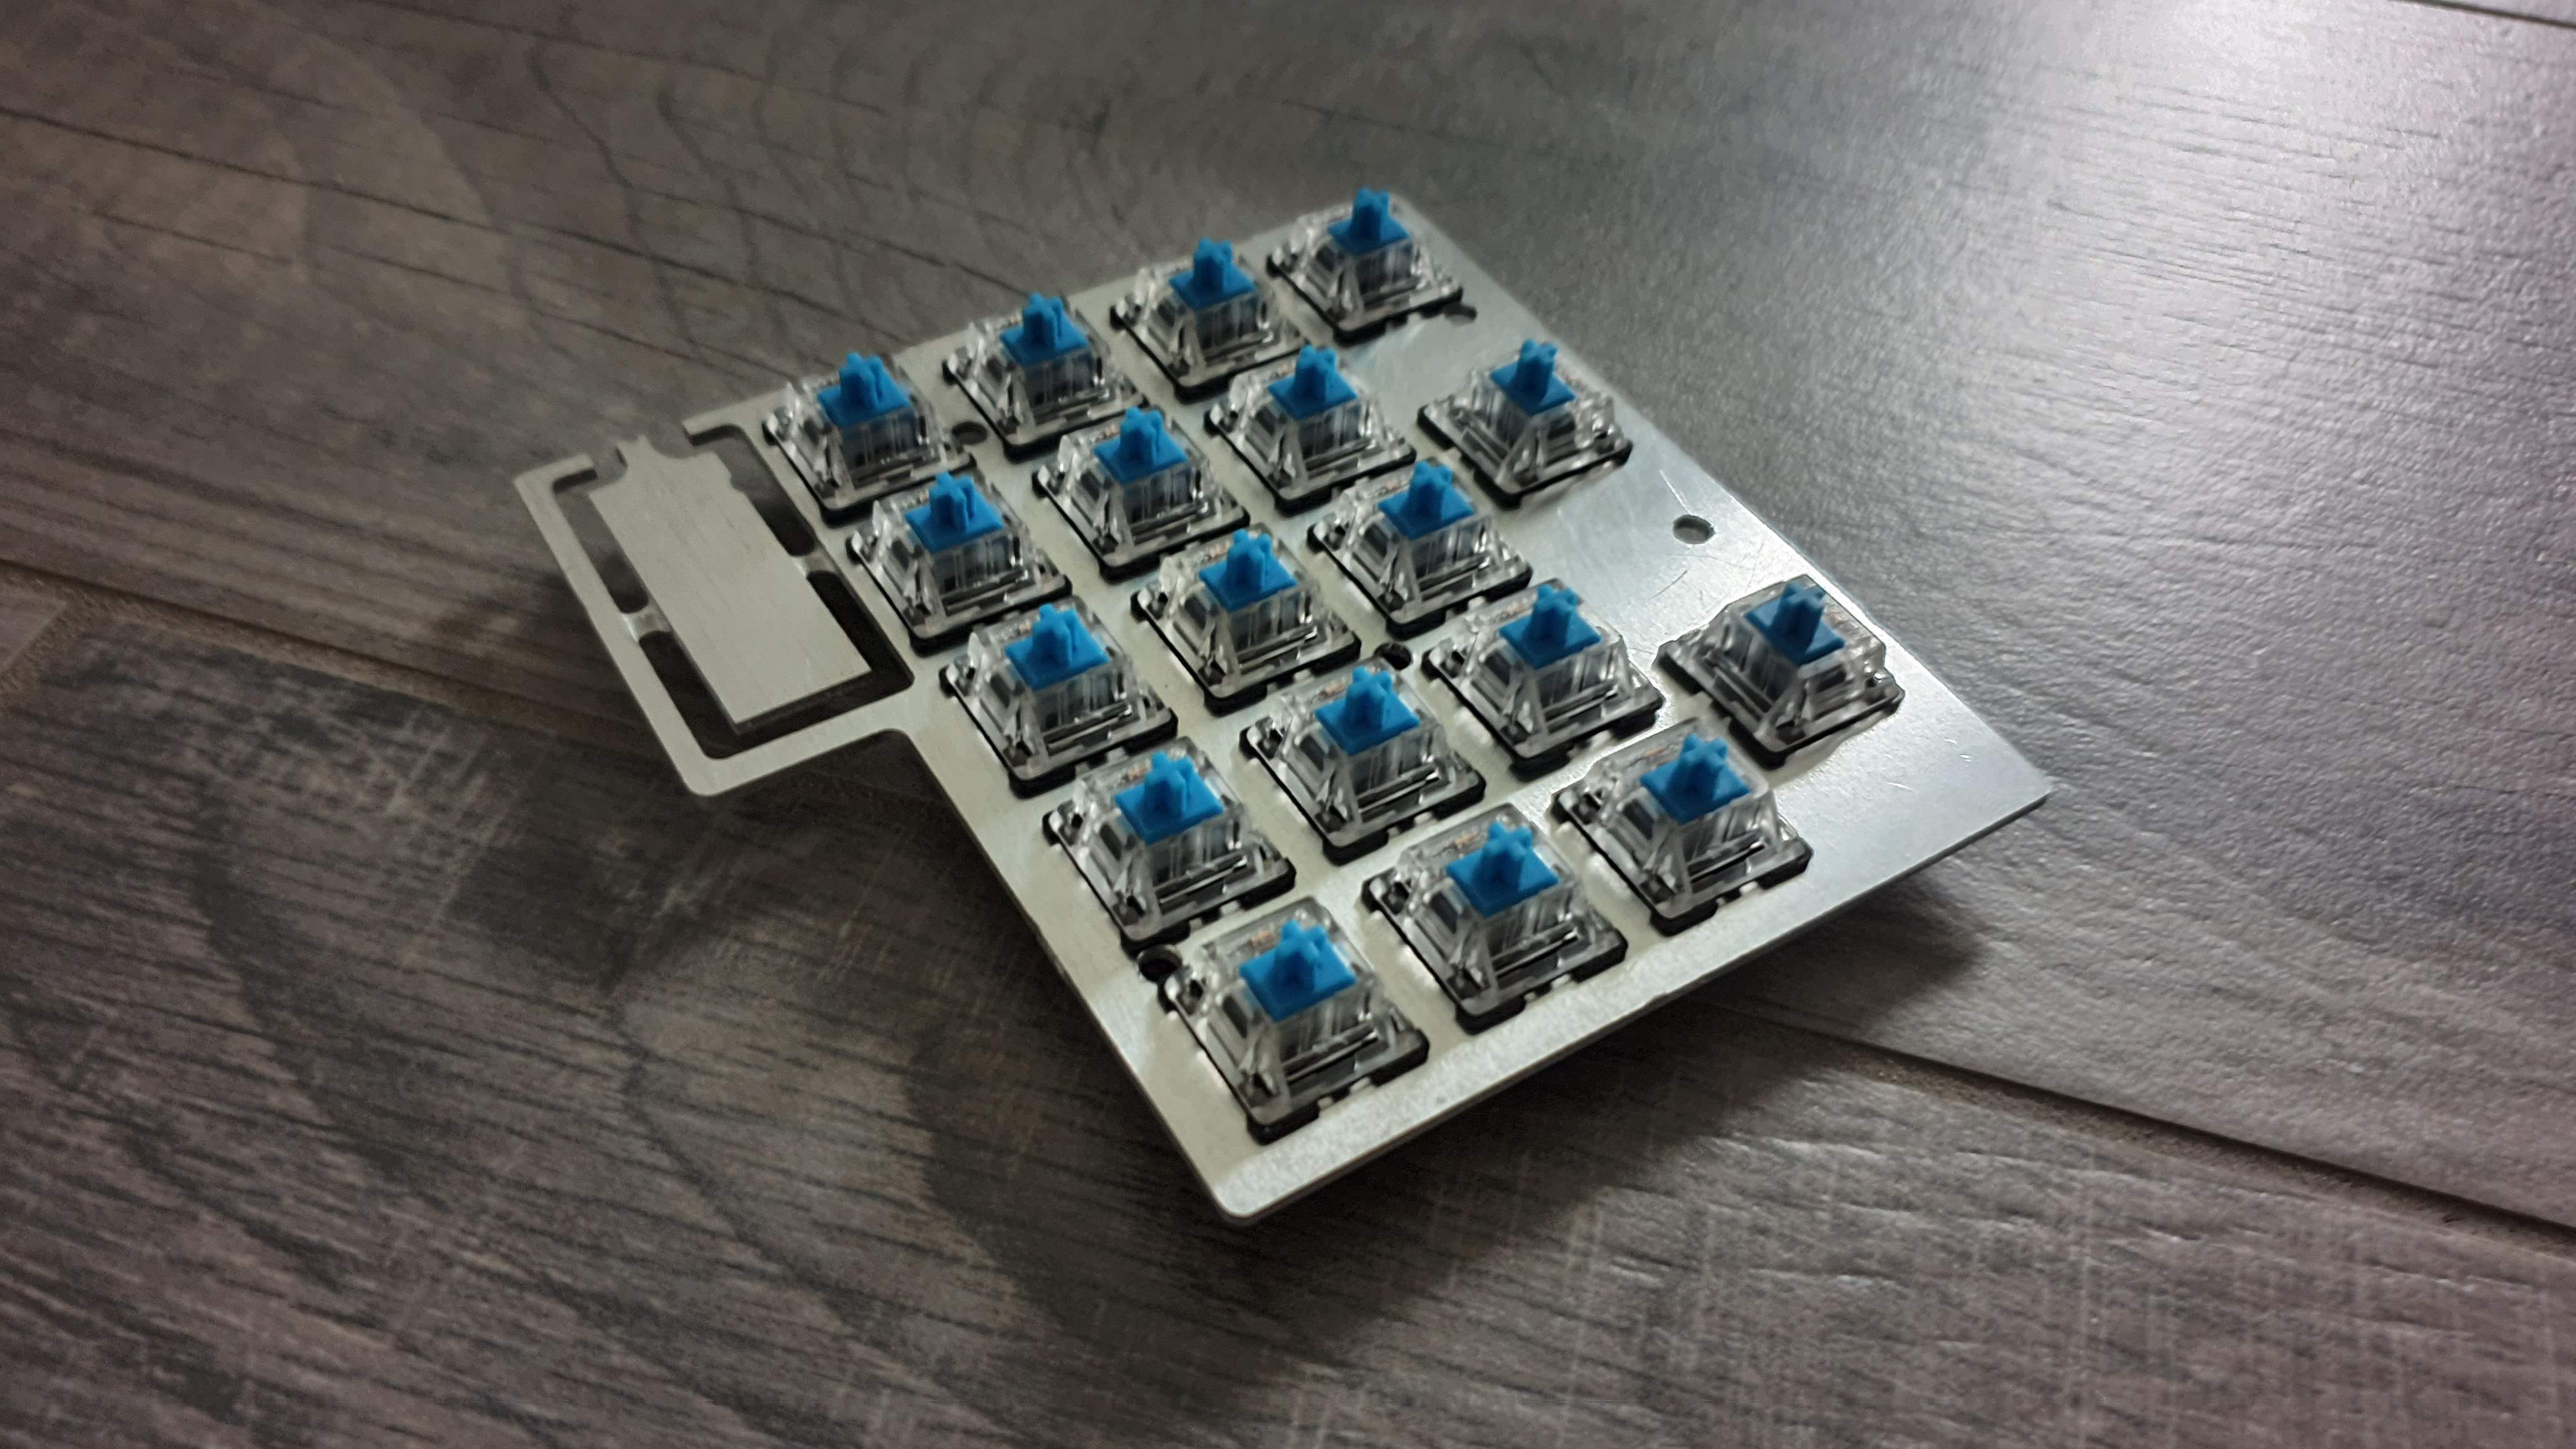


 TraceSpazer
 Nathan Brown
 Christian
 Chaz
Chaz
Hi everybody,
everything was working very fine until I resoldered my pro micro and my oled screen (I had soldered them on male/female hedaer pins), when I wanted to permanently solder the pro micro and the oled screen, but when I type 1 or 4 I have 41, idem for 2 or 5 I've 52 and 3 or 6 I've 63, keys 7, 8, and 9 are ok, my solders seems to be ok under the microscope, it sounds like a problem of row or column ? I need help ! an Idea ?
resolved : the ROW2 pin 10 (7/PE6) and ROW3 pin 11 (8/PB4) where in short circuit !