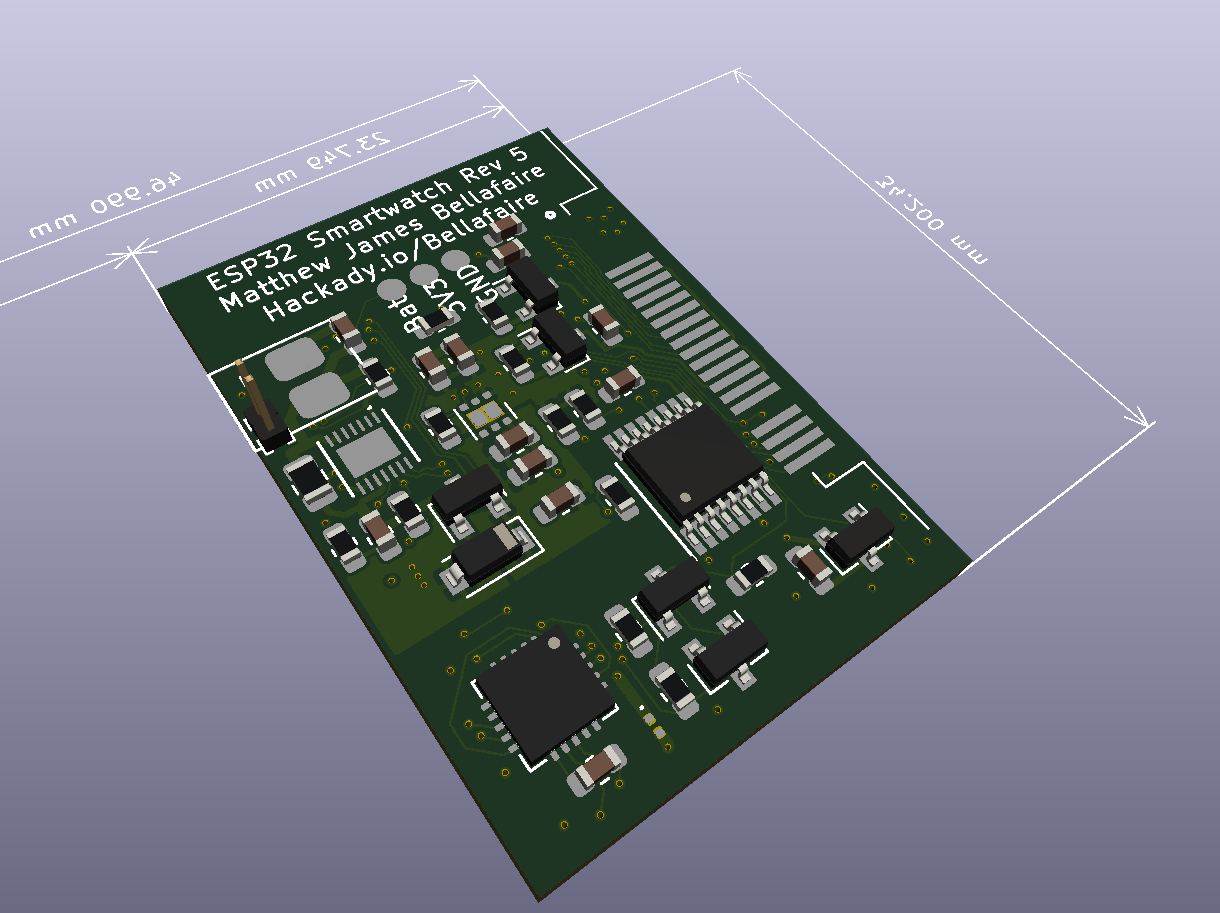
 Matthew James Bellafaire
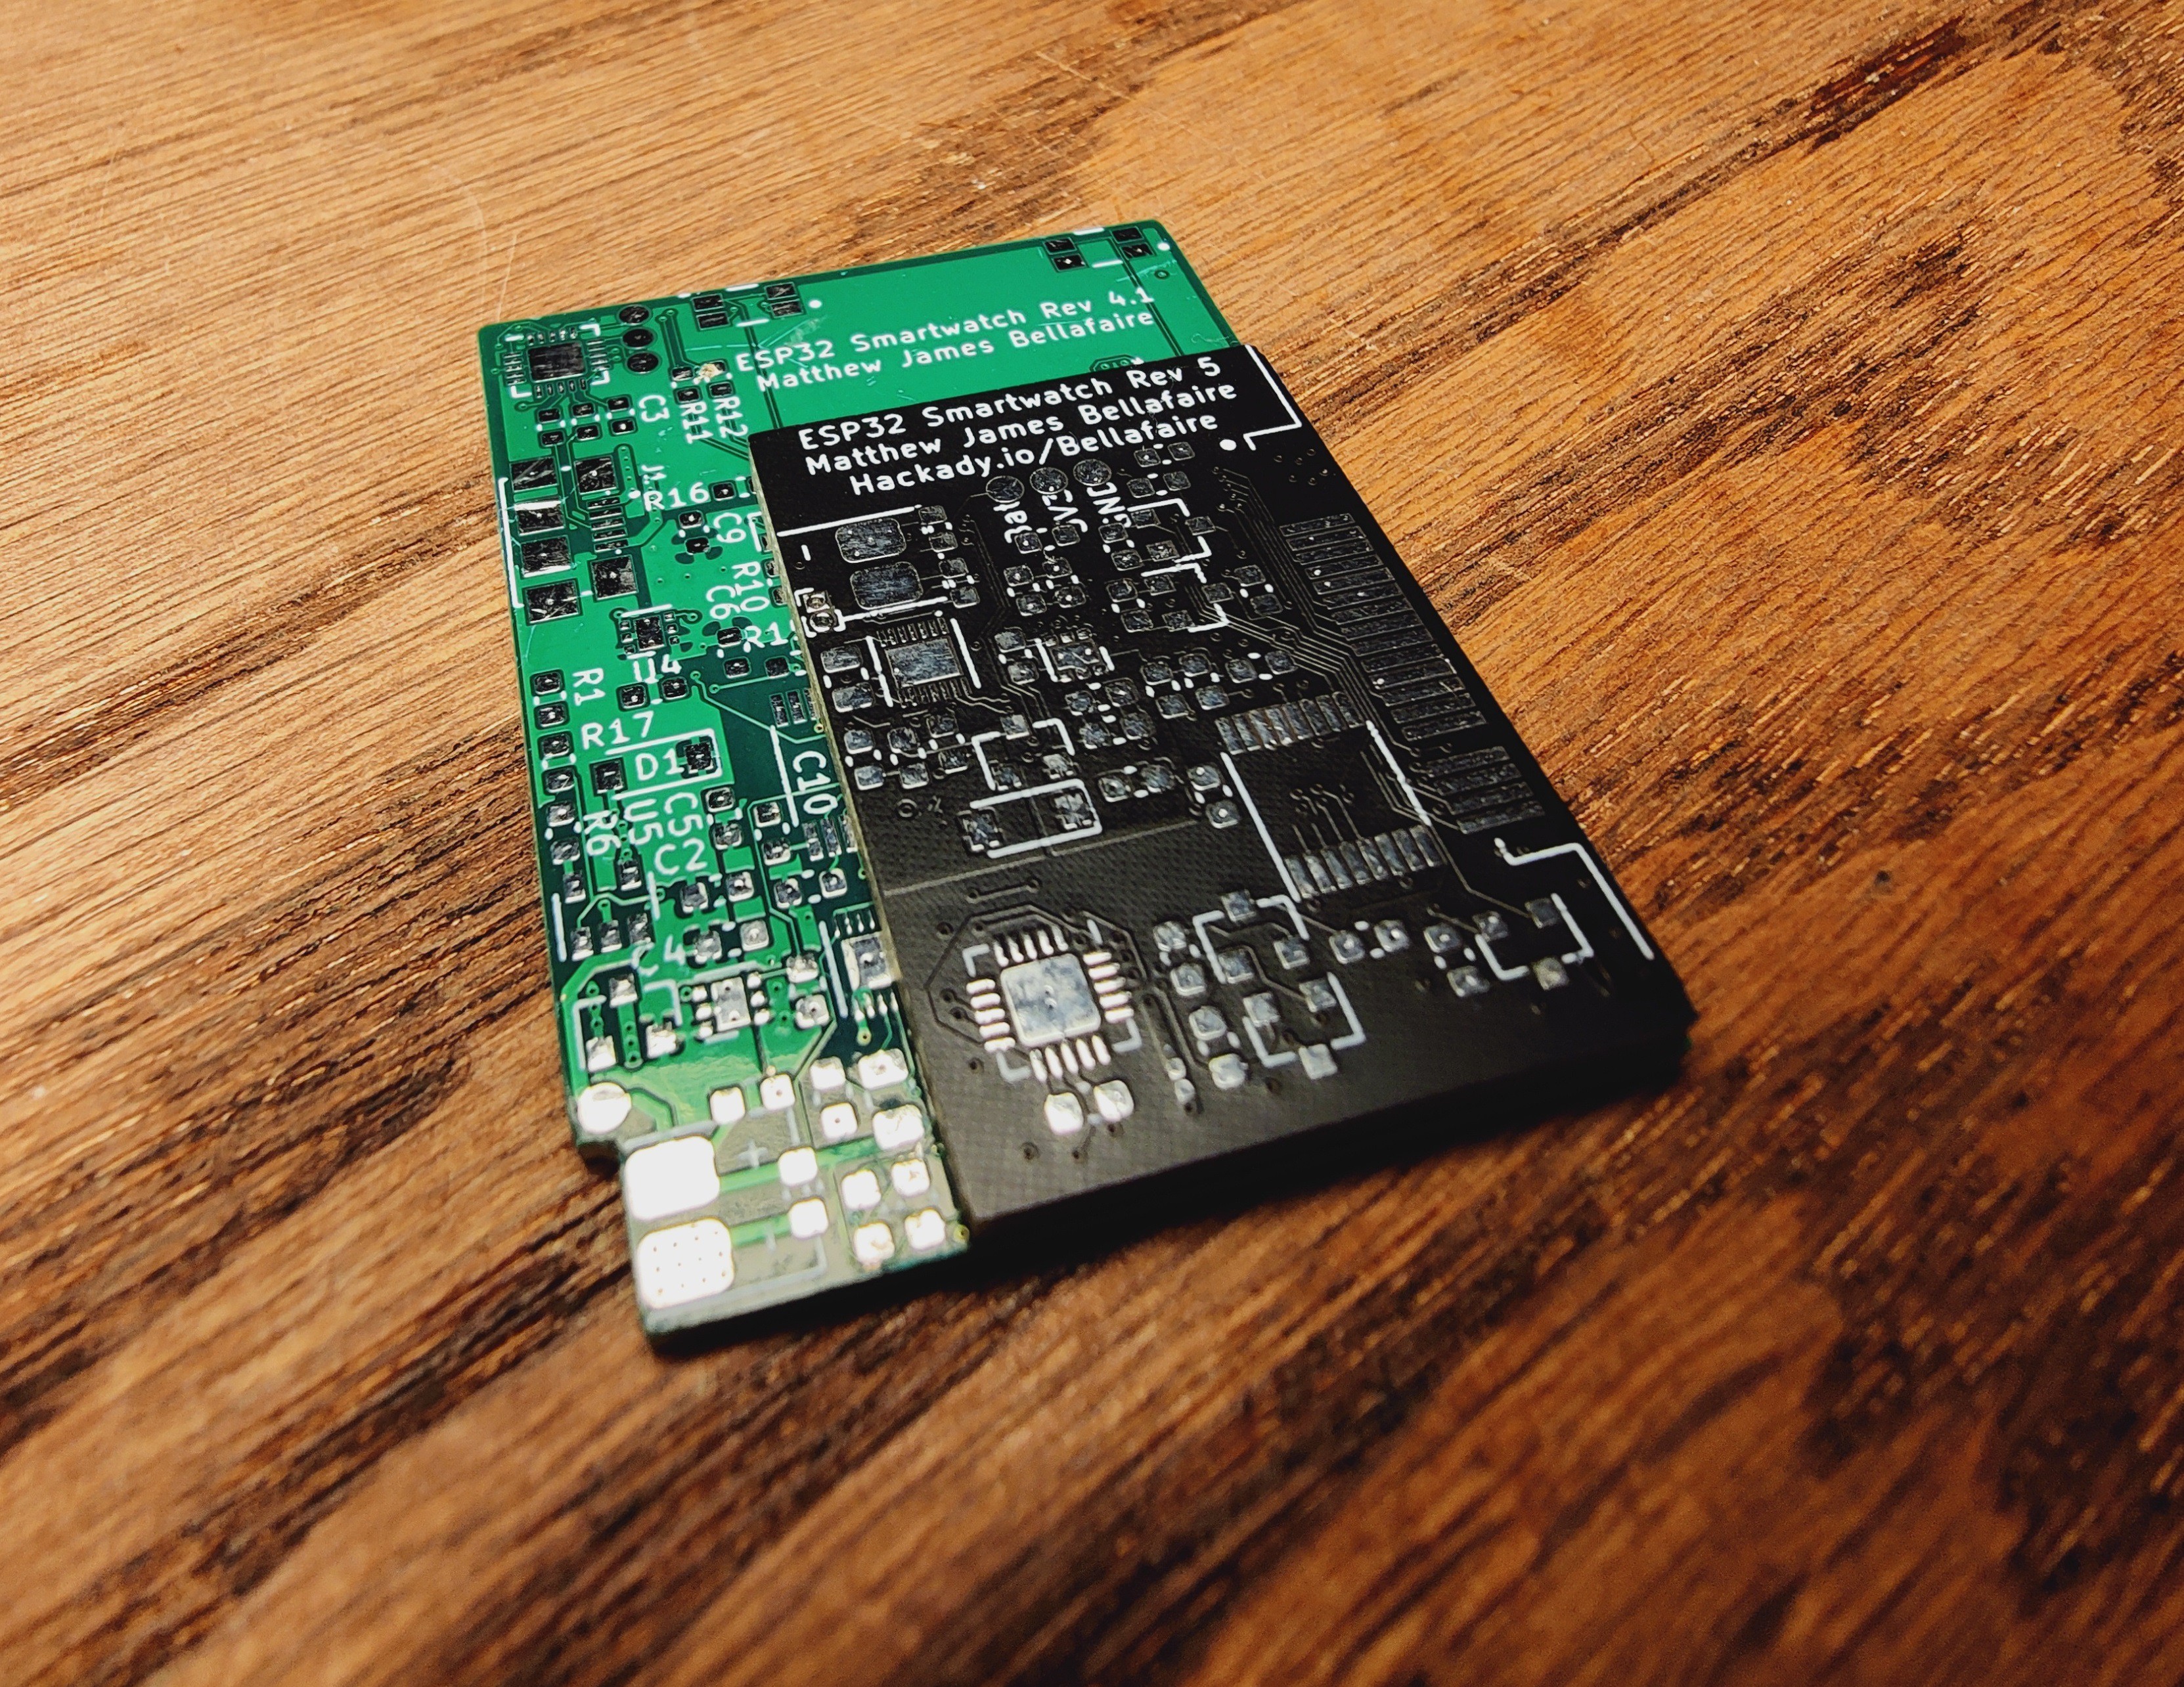
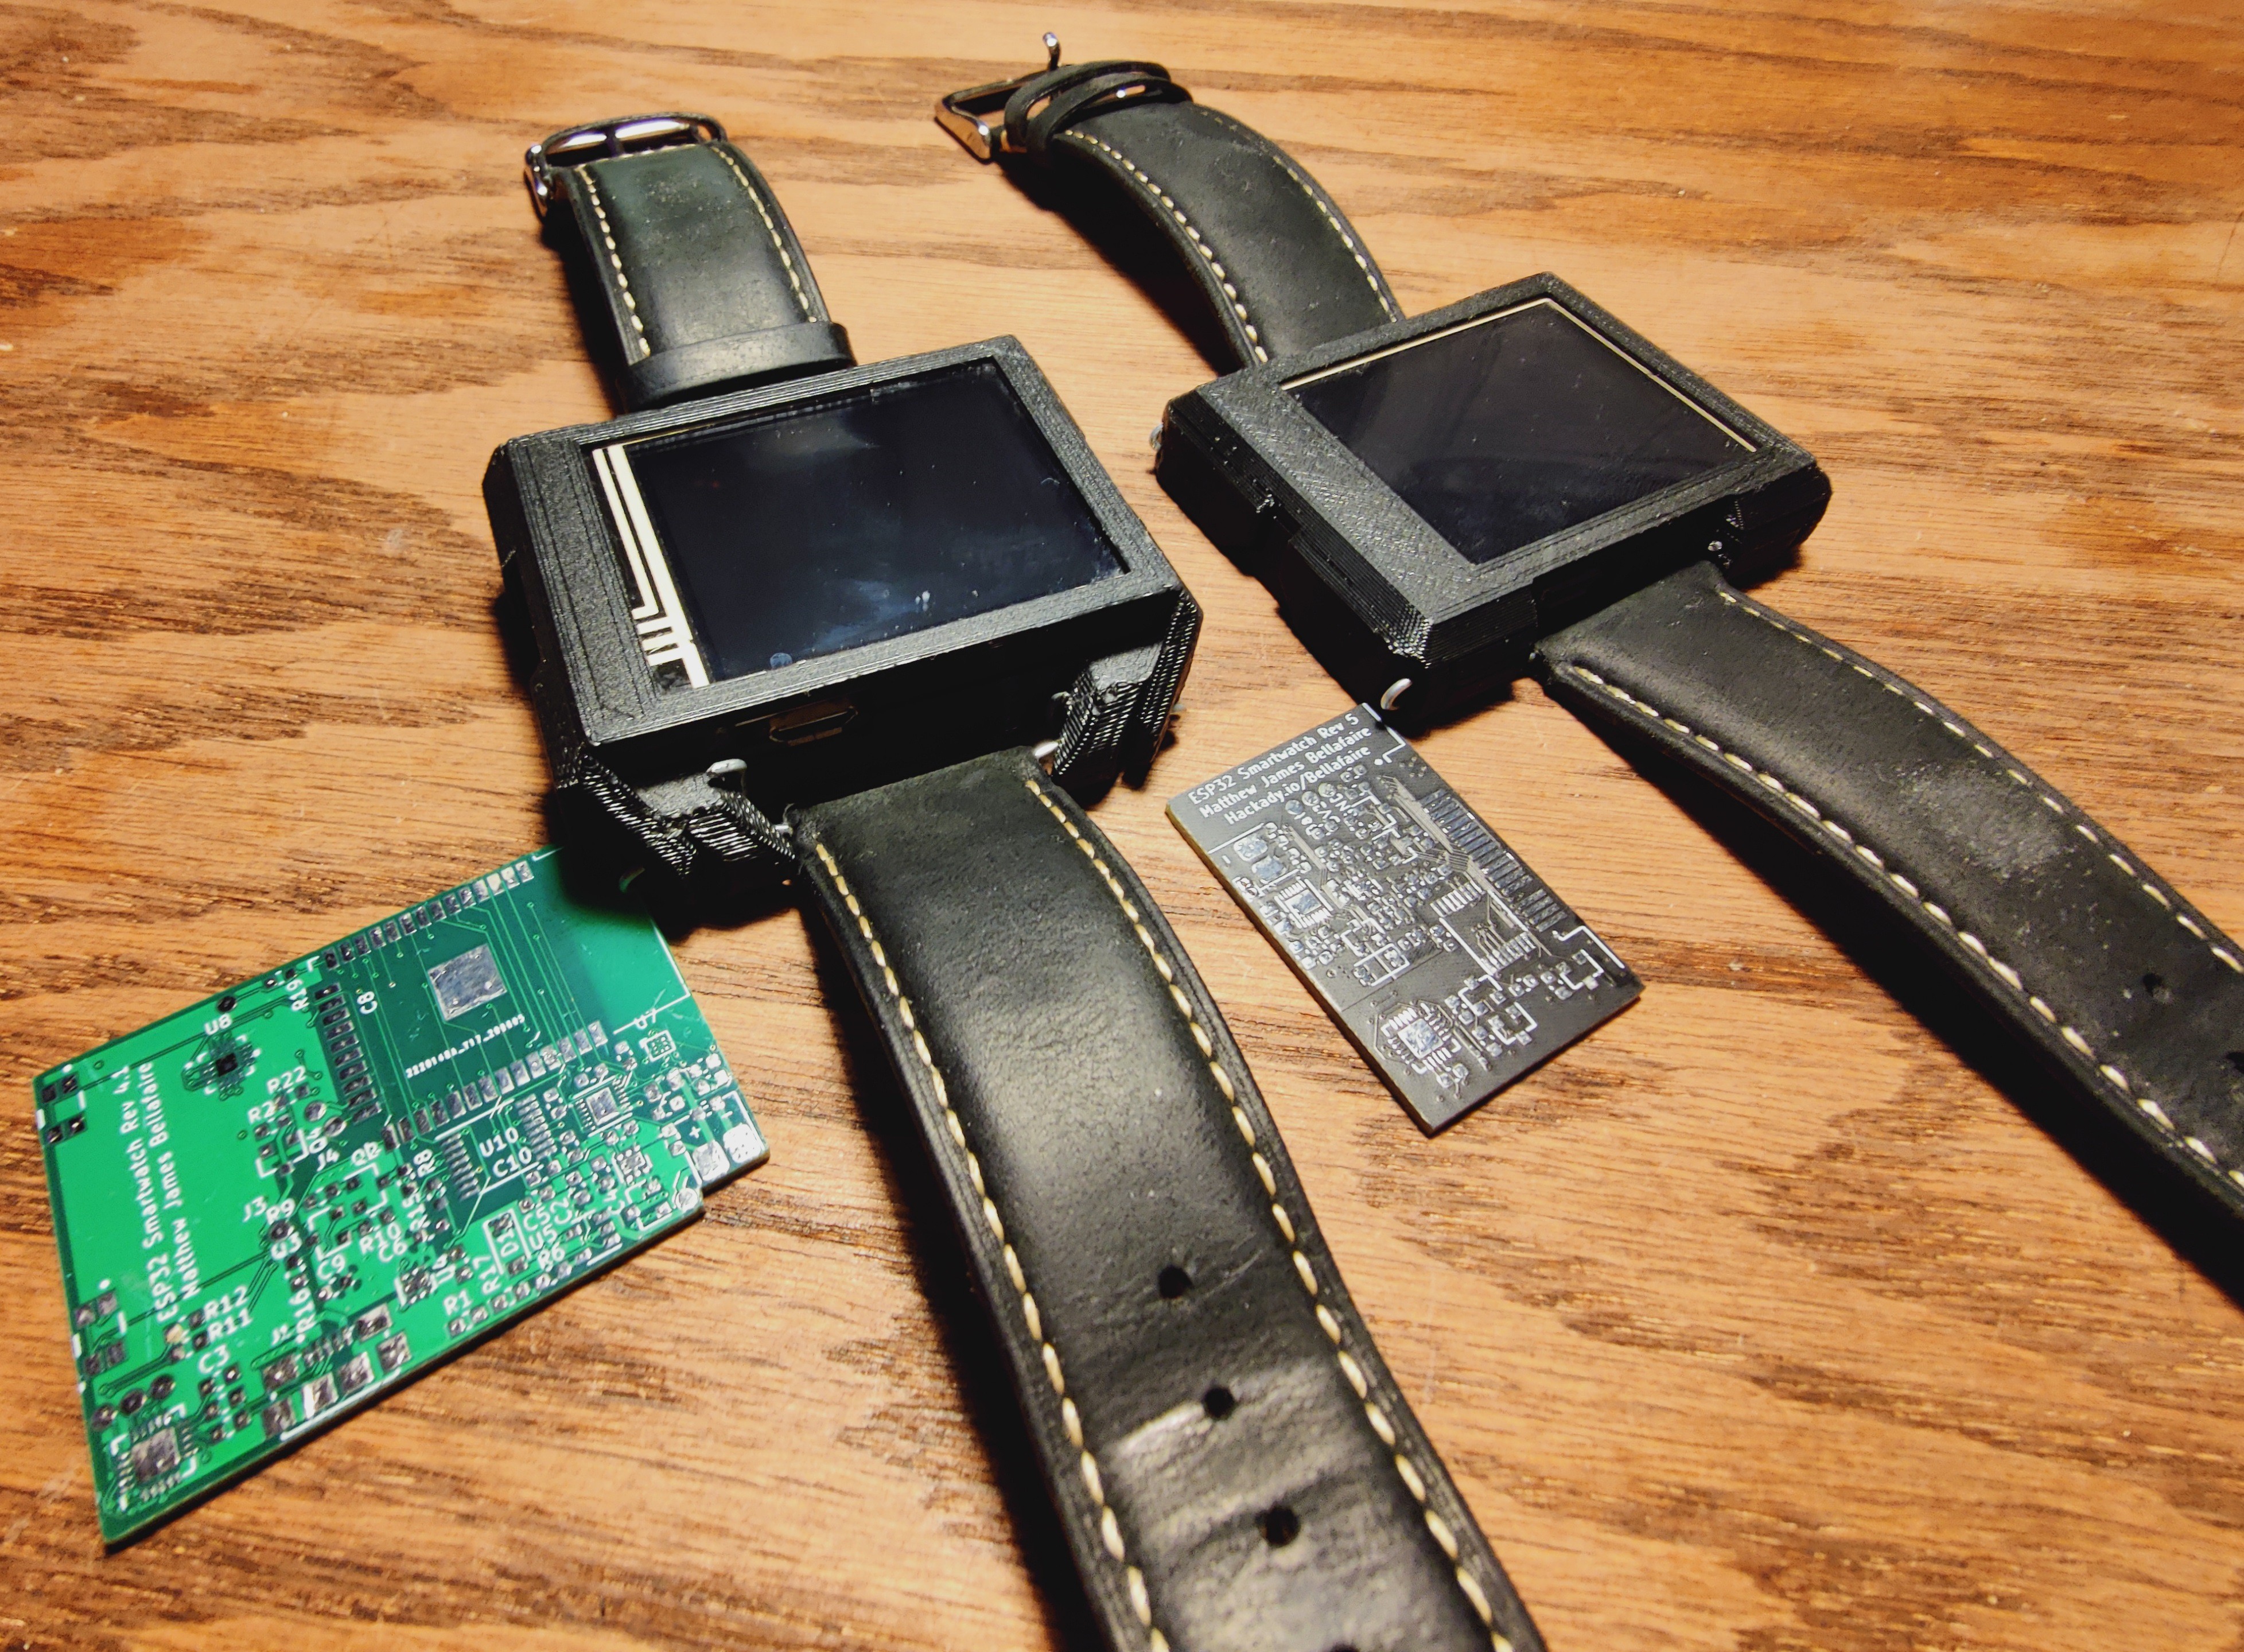
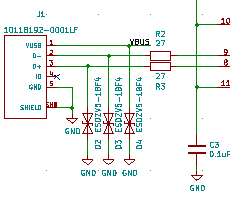
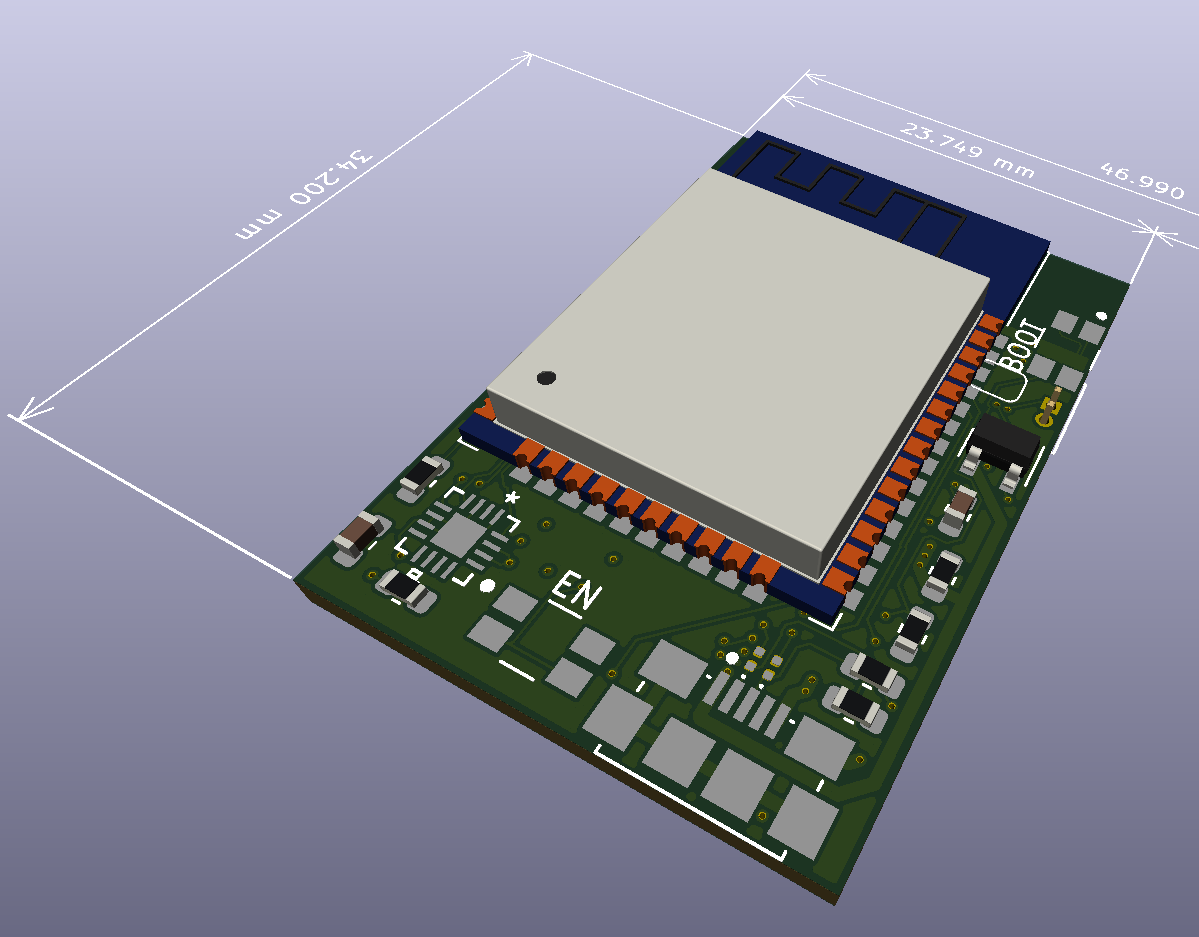
The goal of this project is to create a smartwatch that is easy to reprogram and use as an IOT controller or just as a DIY fashion statement. Serial communication and charging are handled on-board through a single micro-usb connector without any external dock. The watch is built around the ESP32 WROOM module and is programable using the Espressif IDF or Arduino IDE. Using the ESP32 allows for the user to develop their software while leveraging the open-source libraries and examples that are available online for quick development.
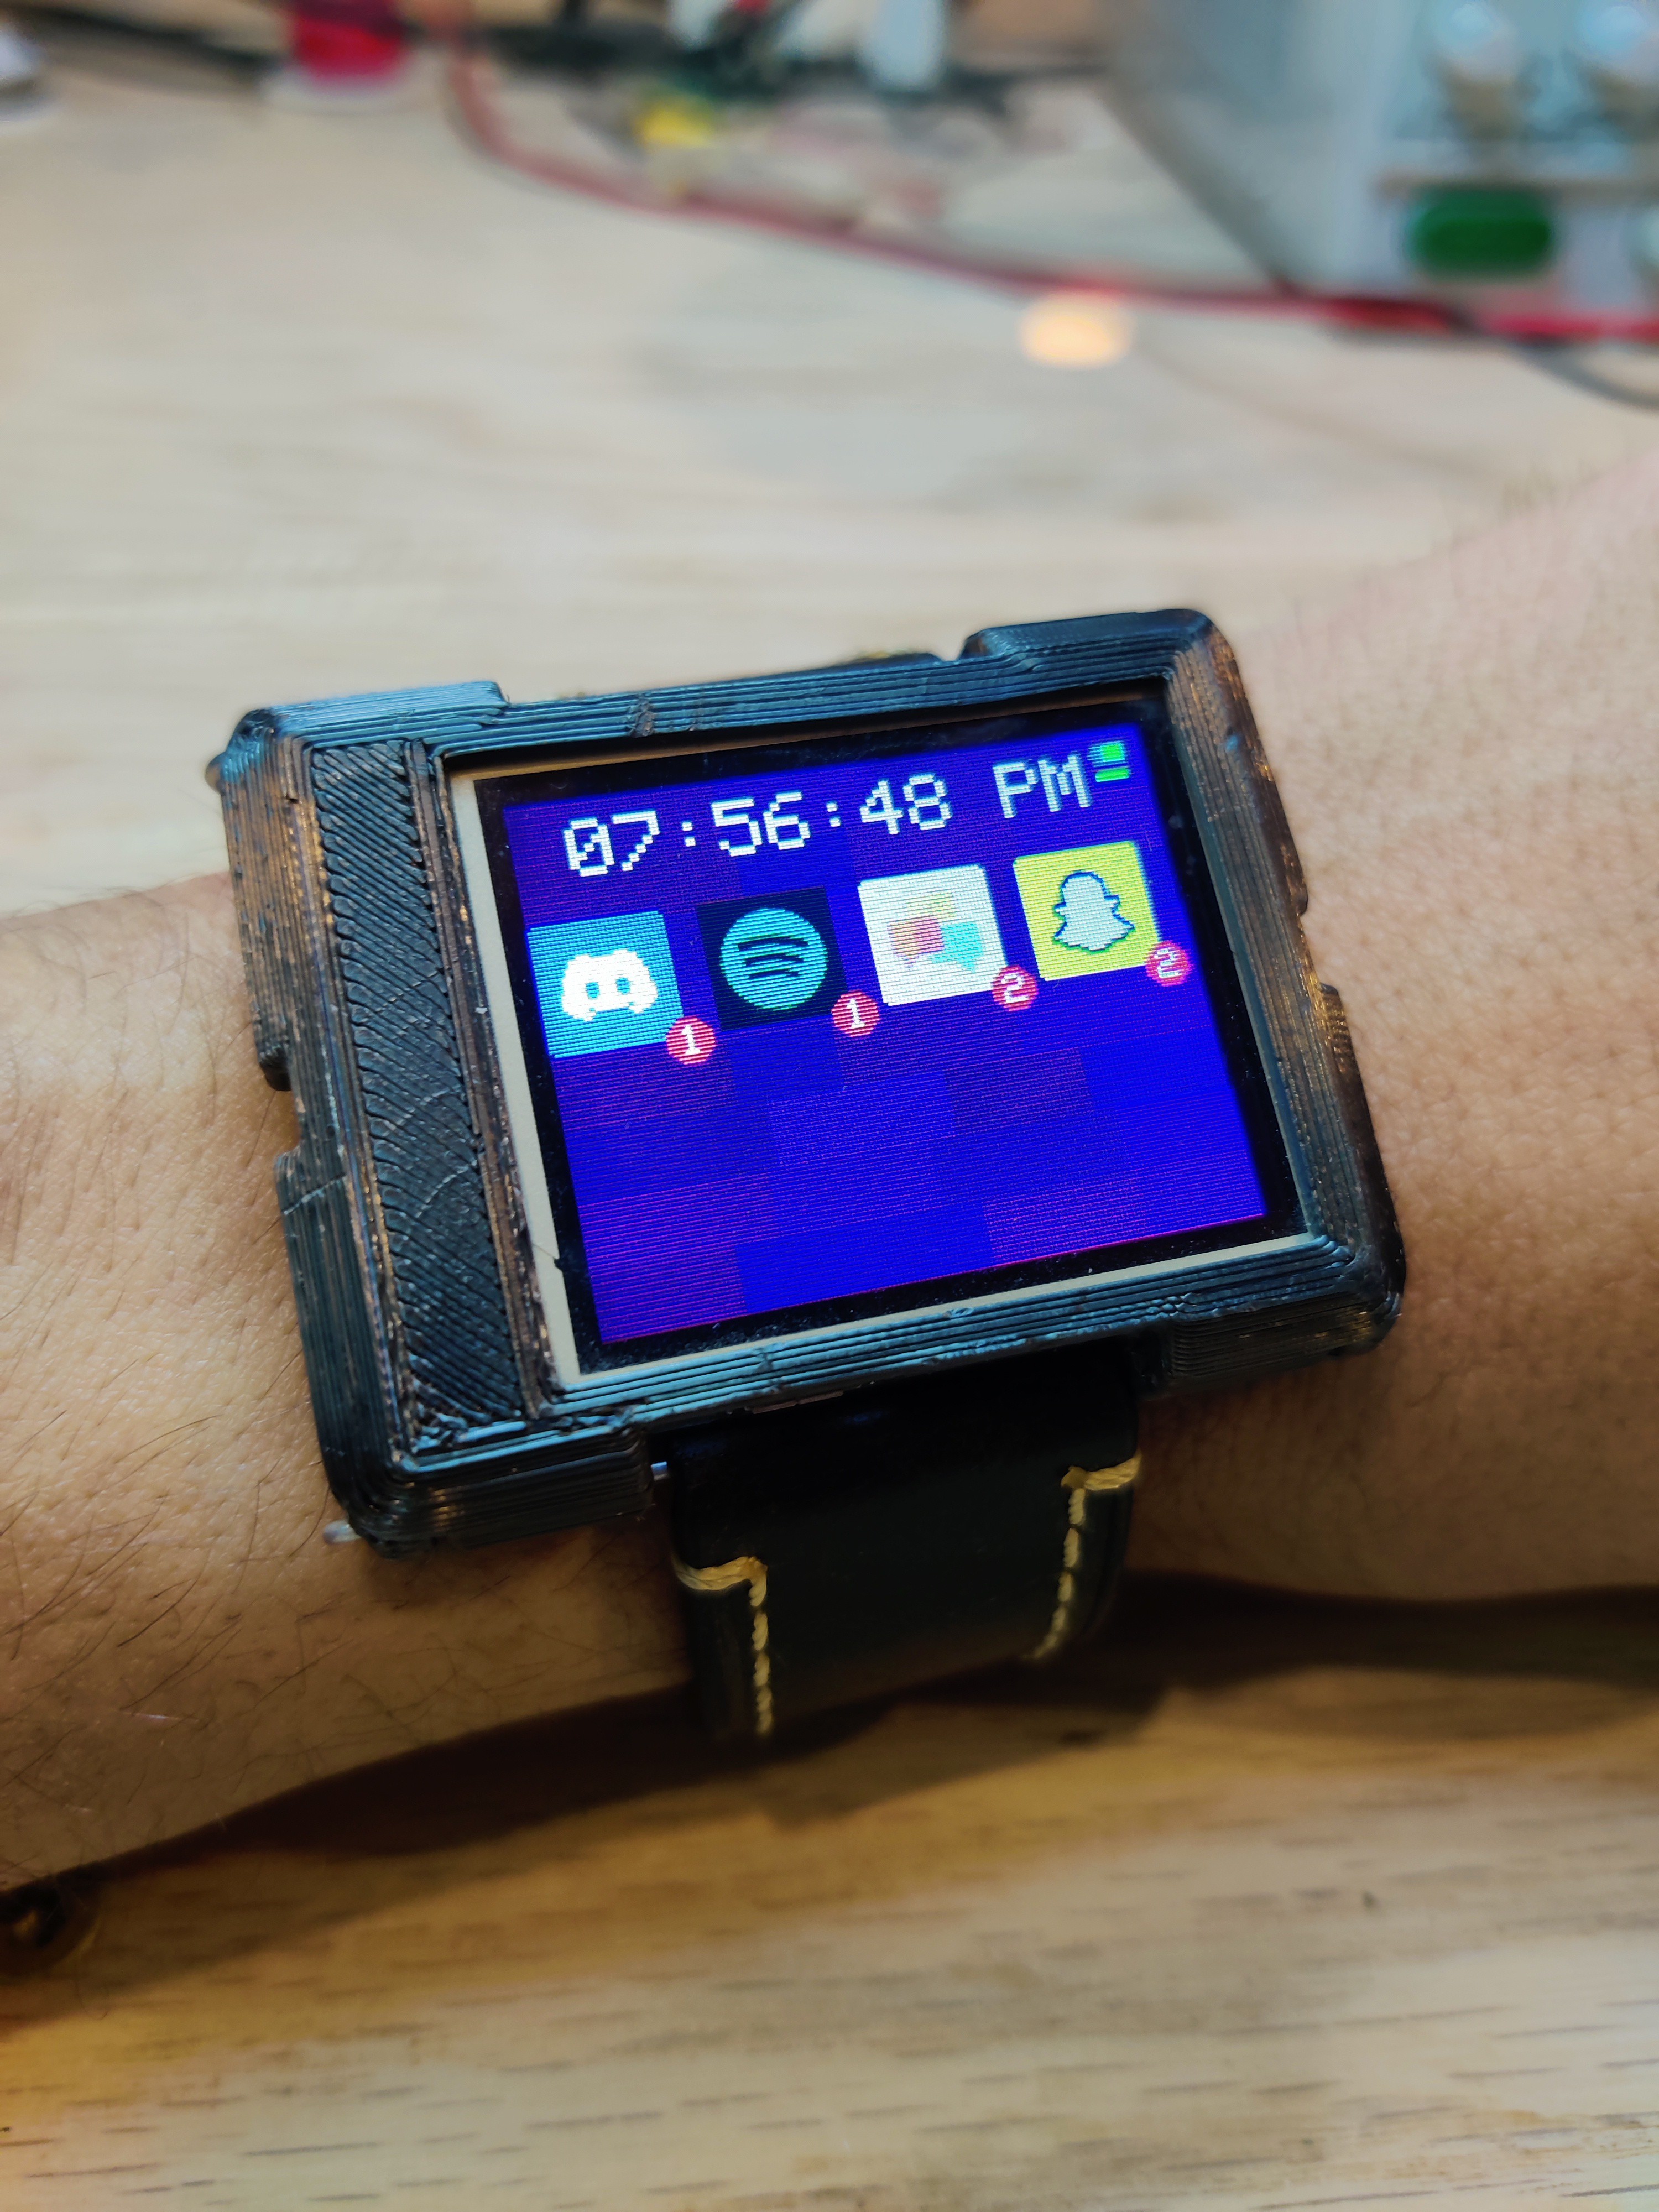
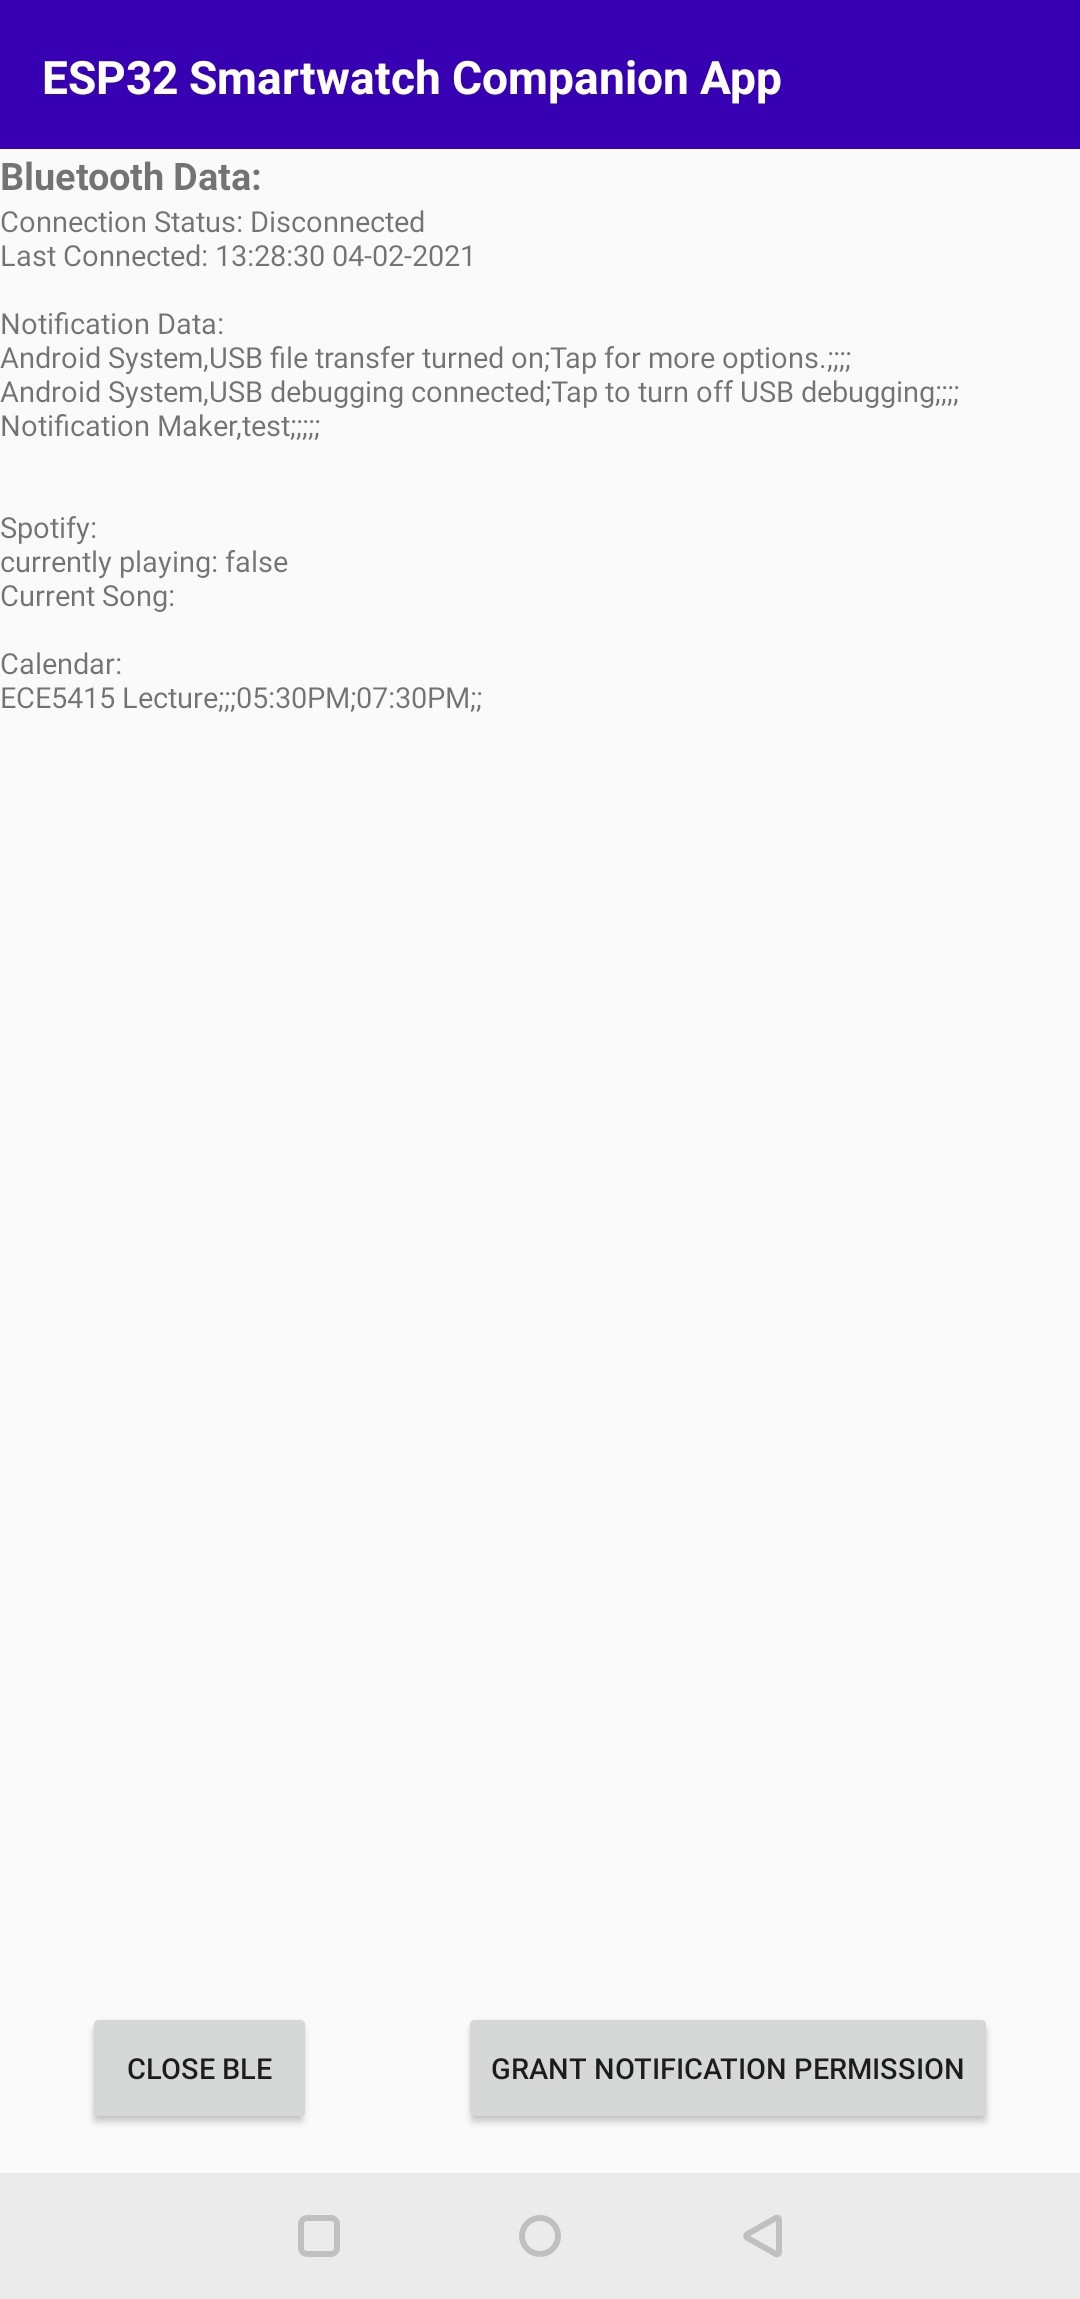
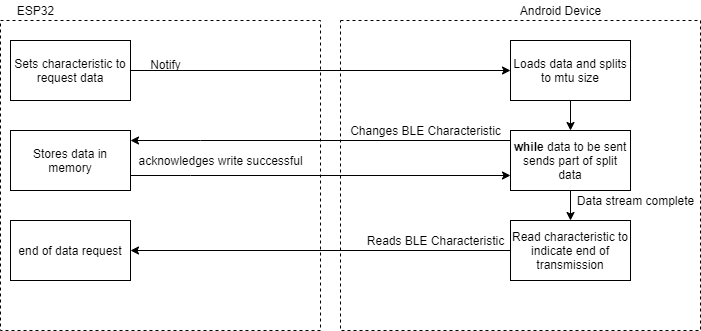
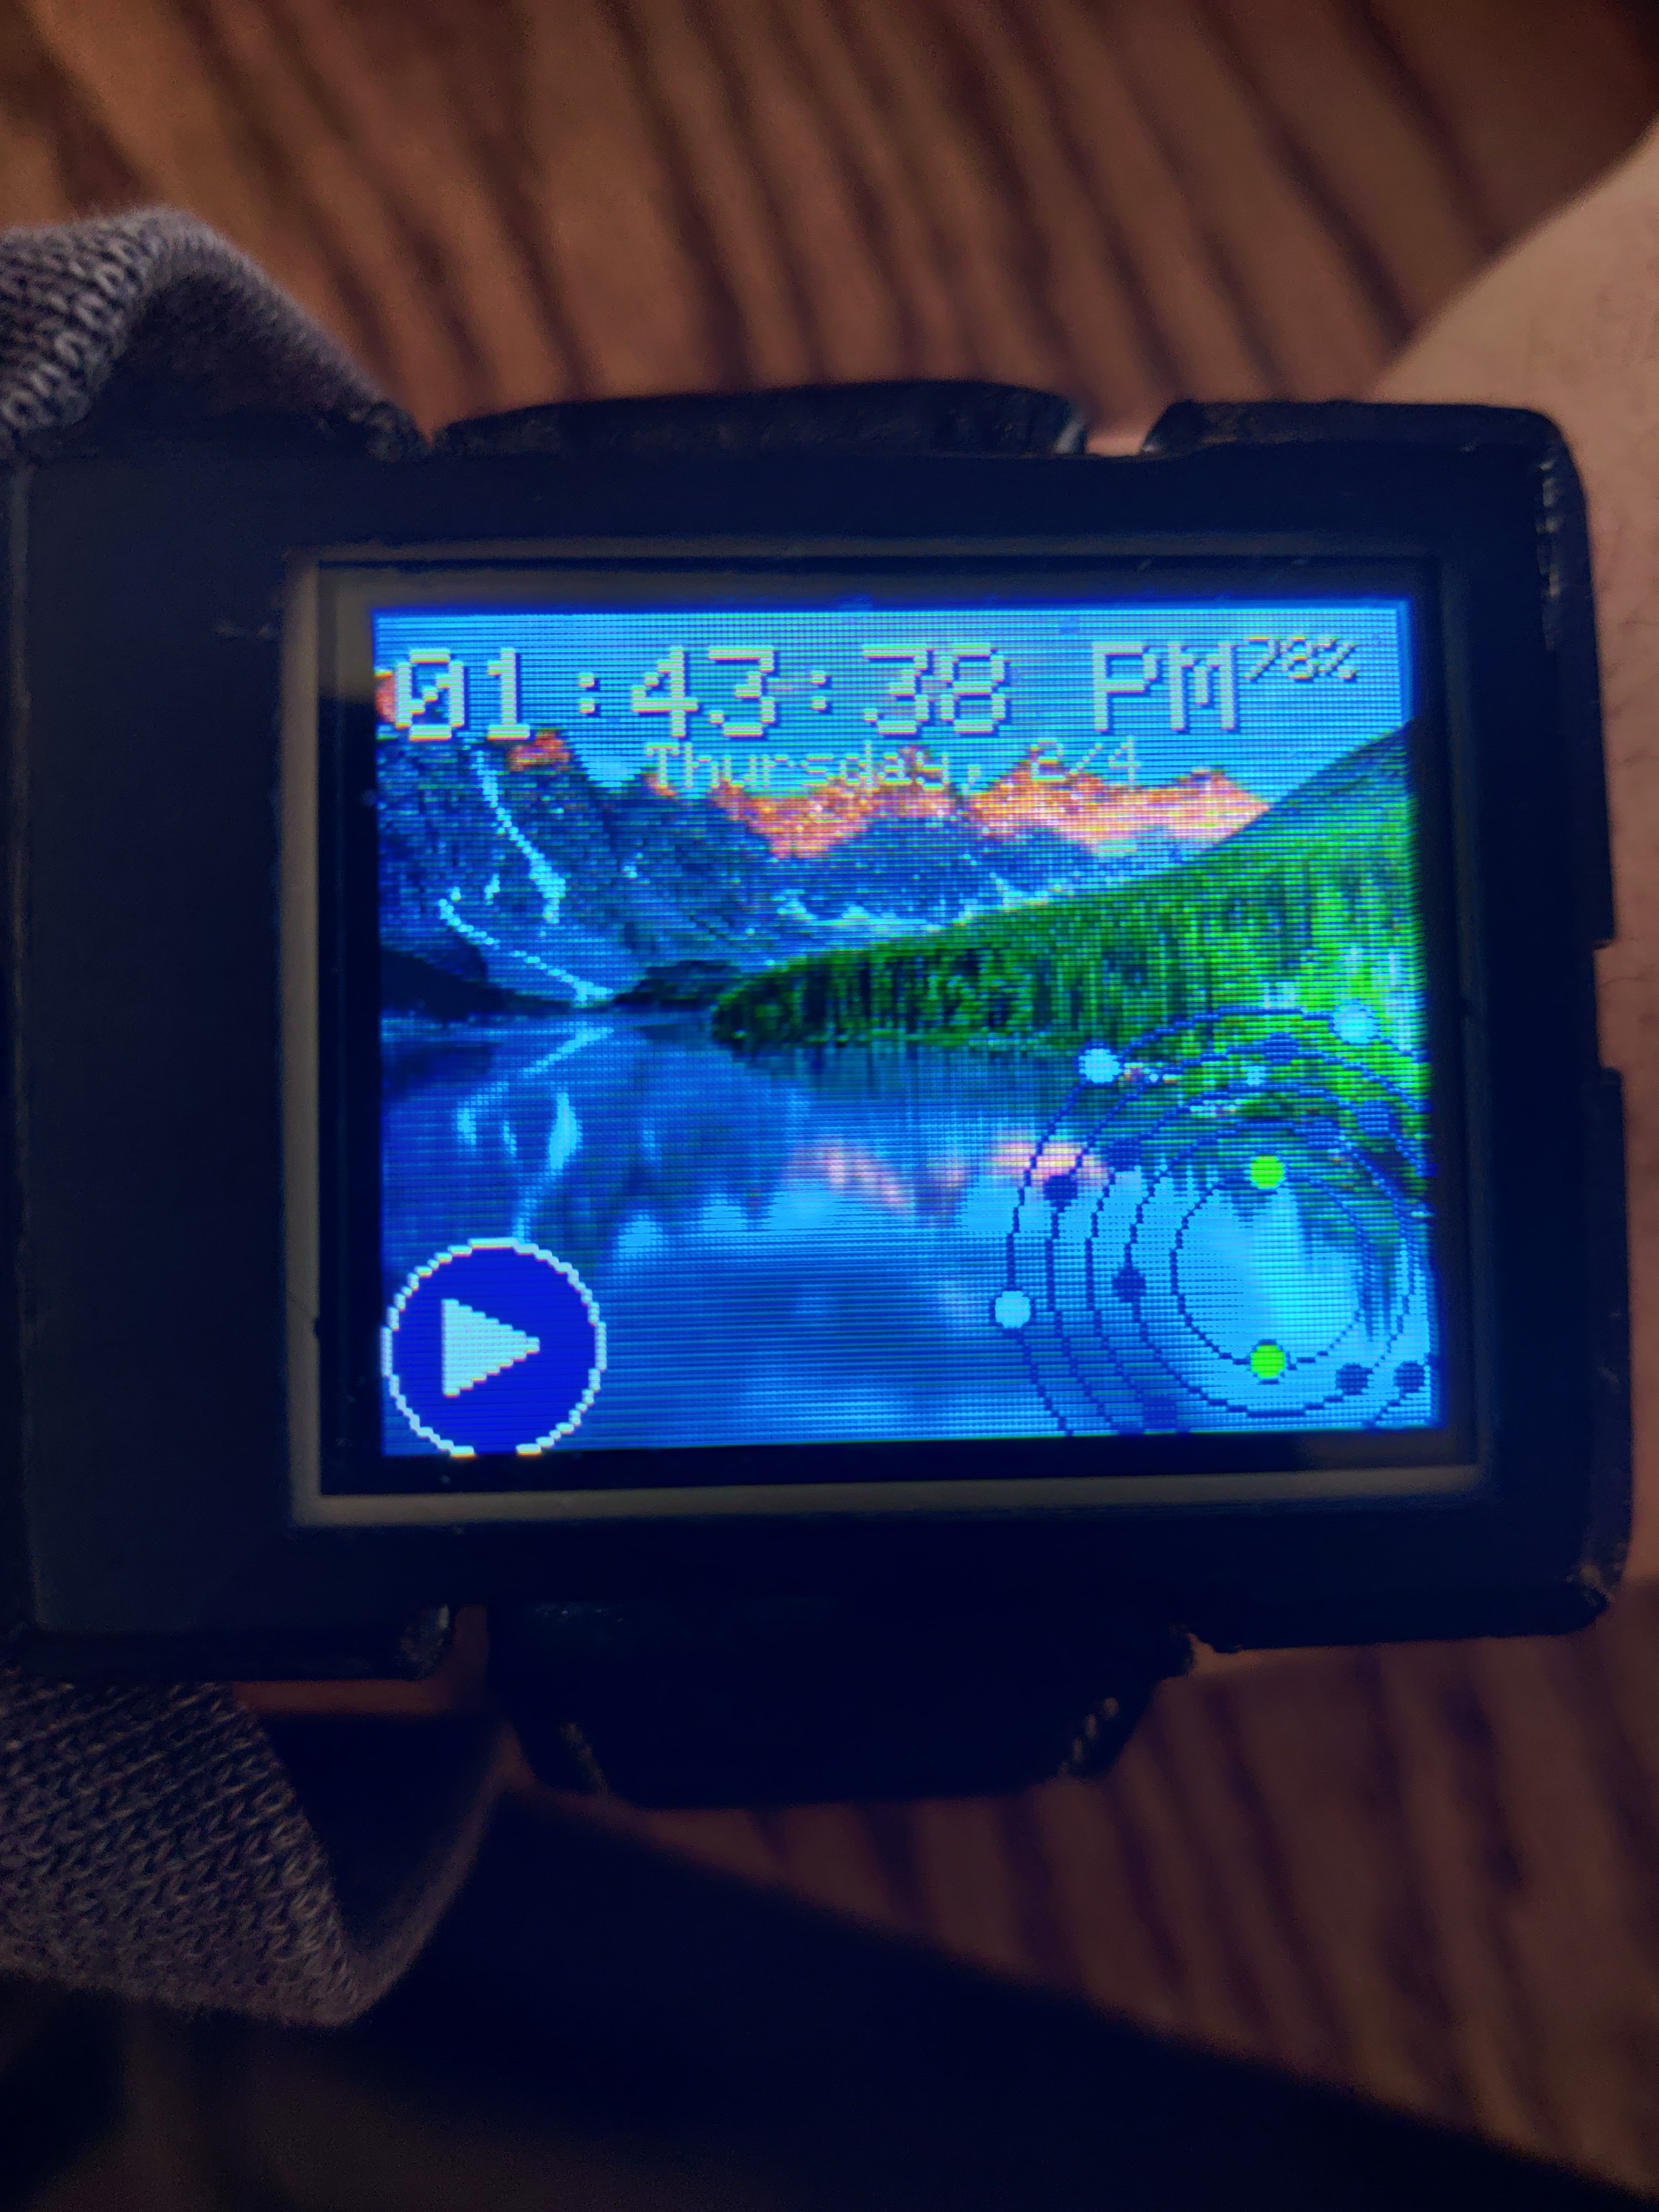
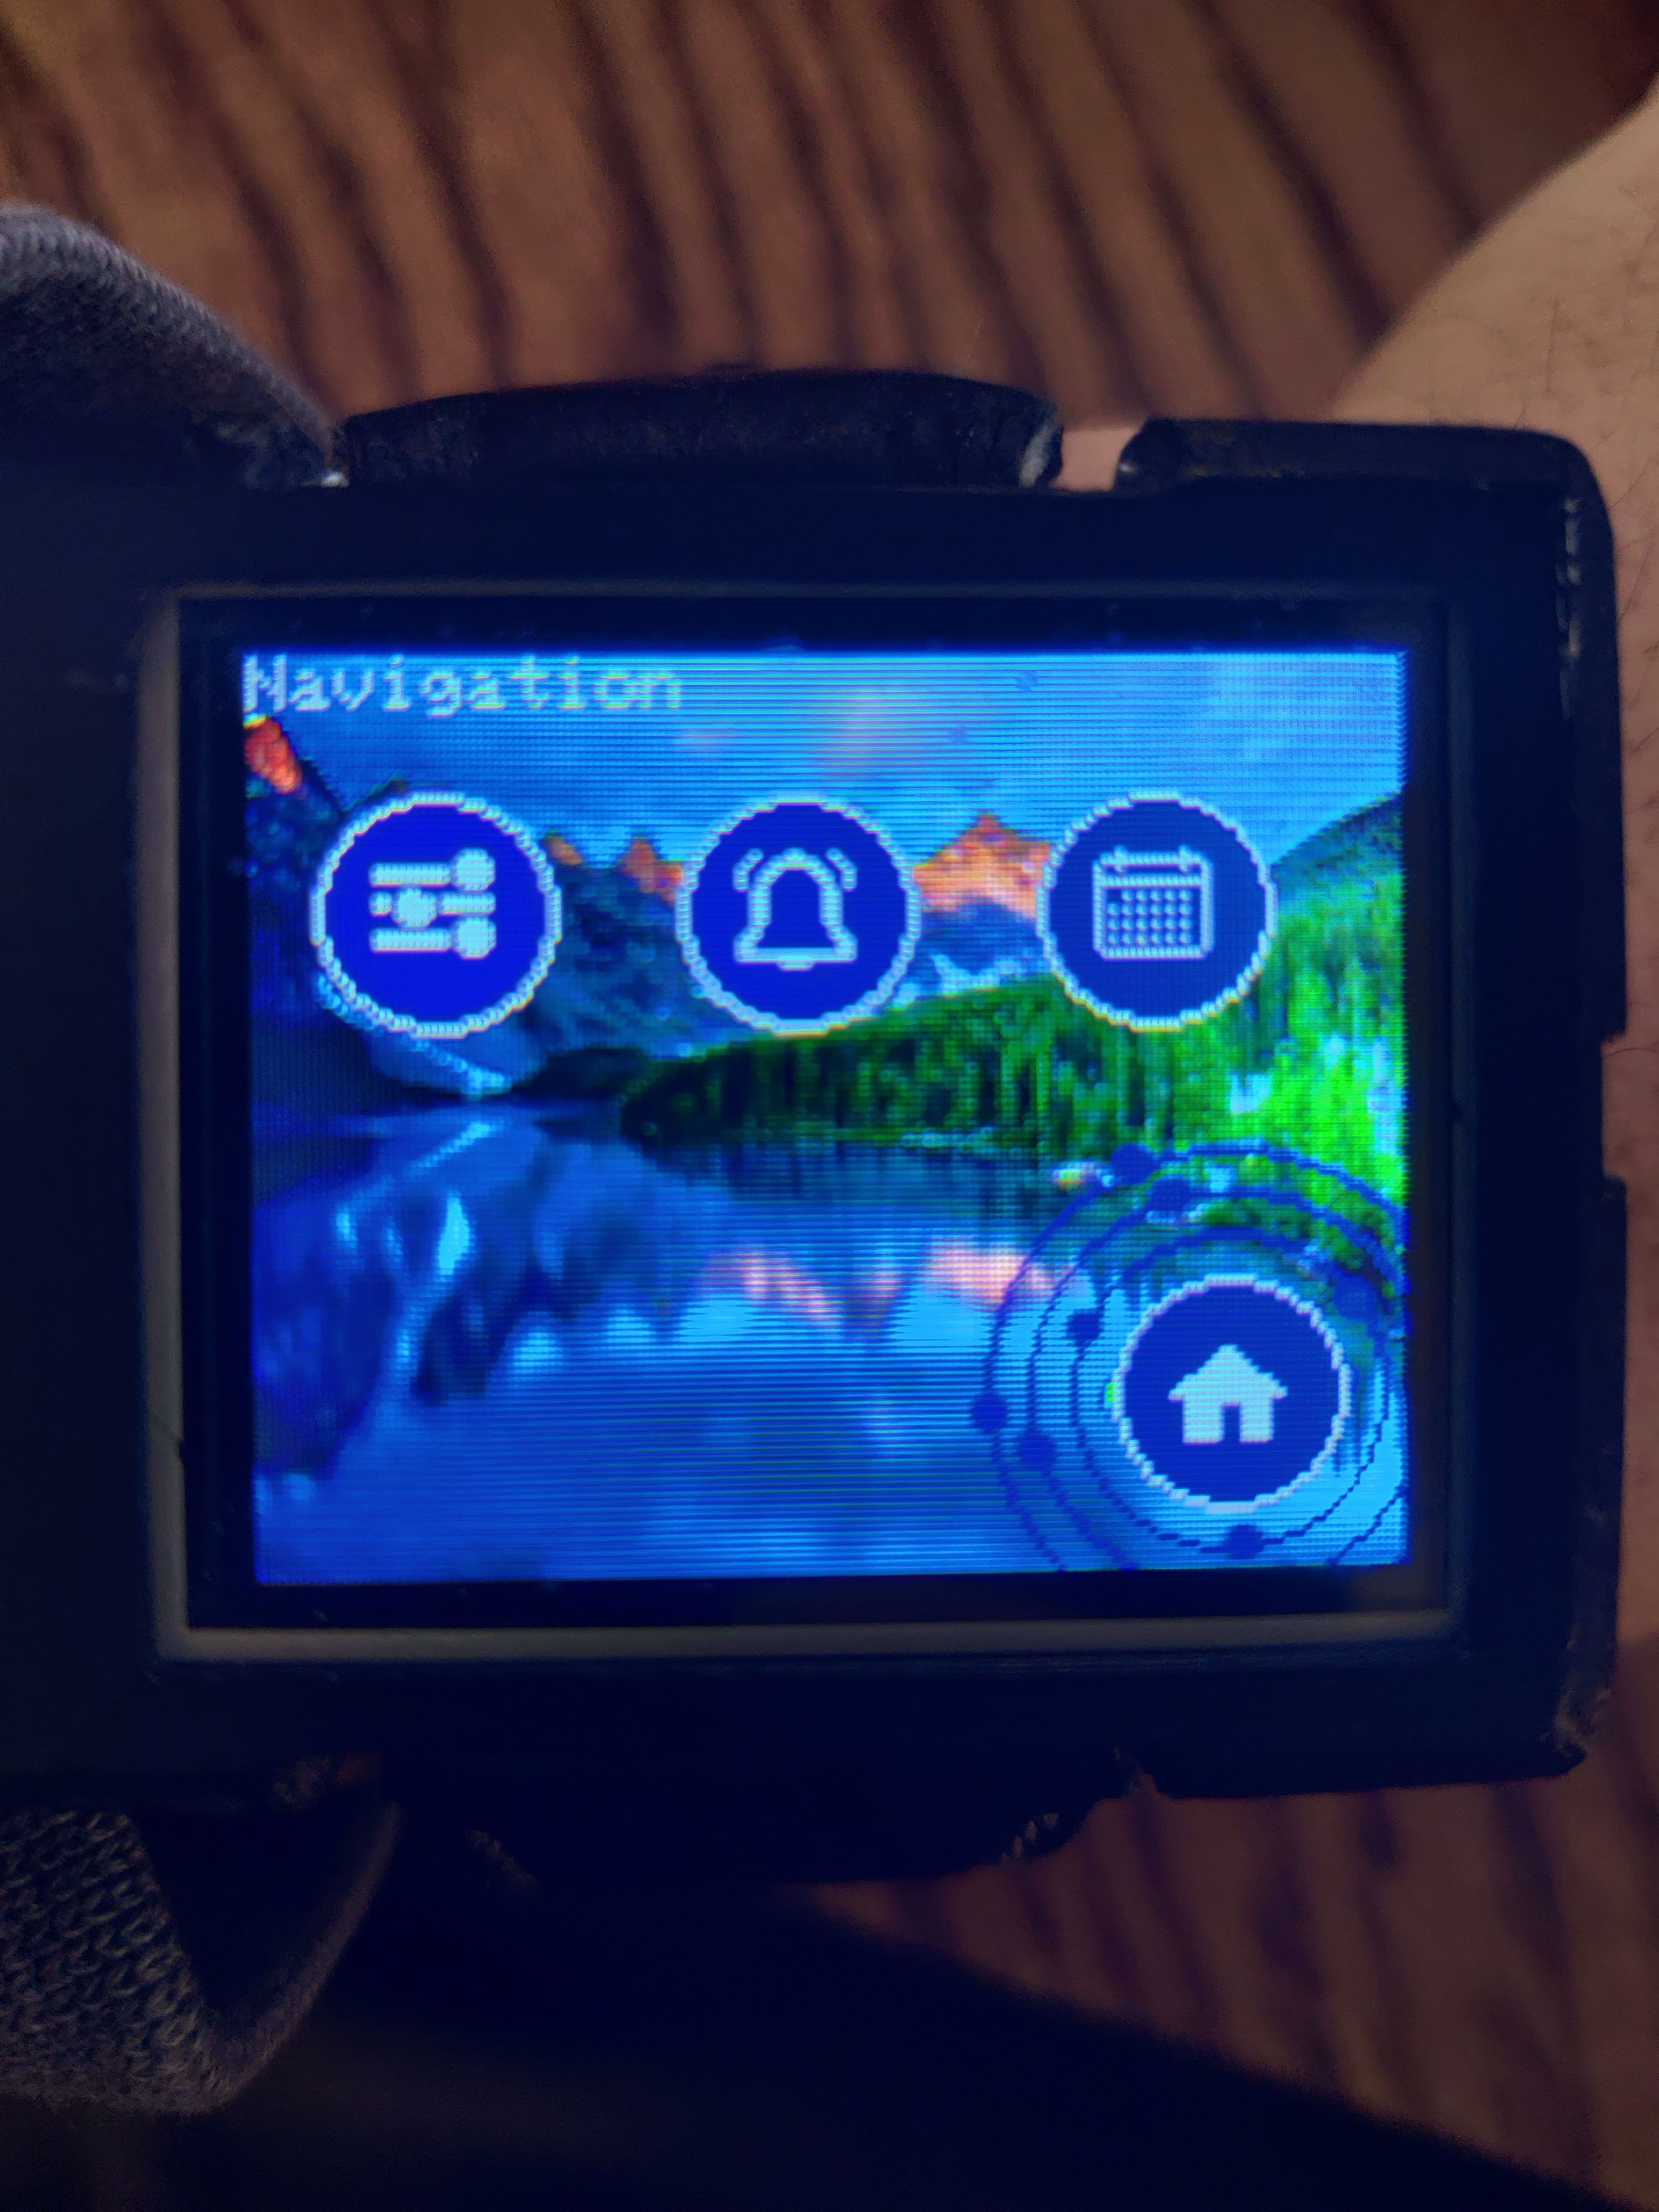
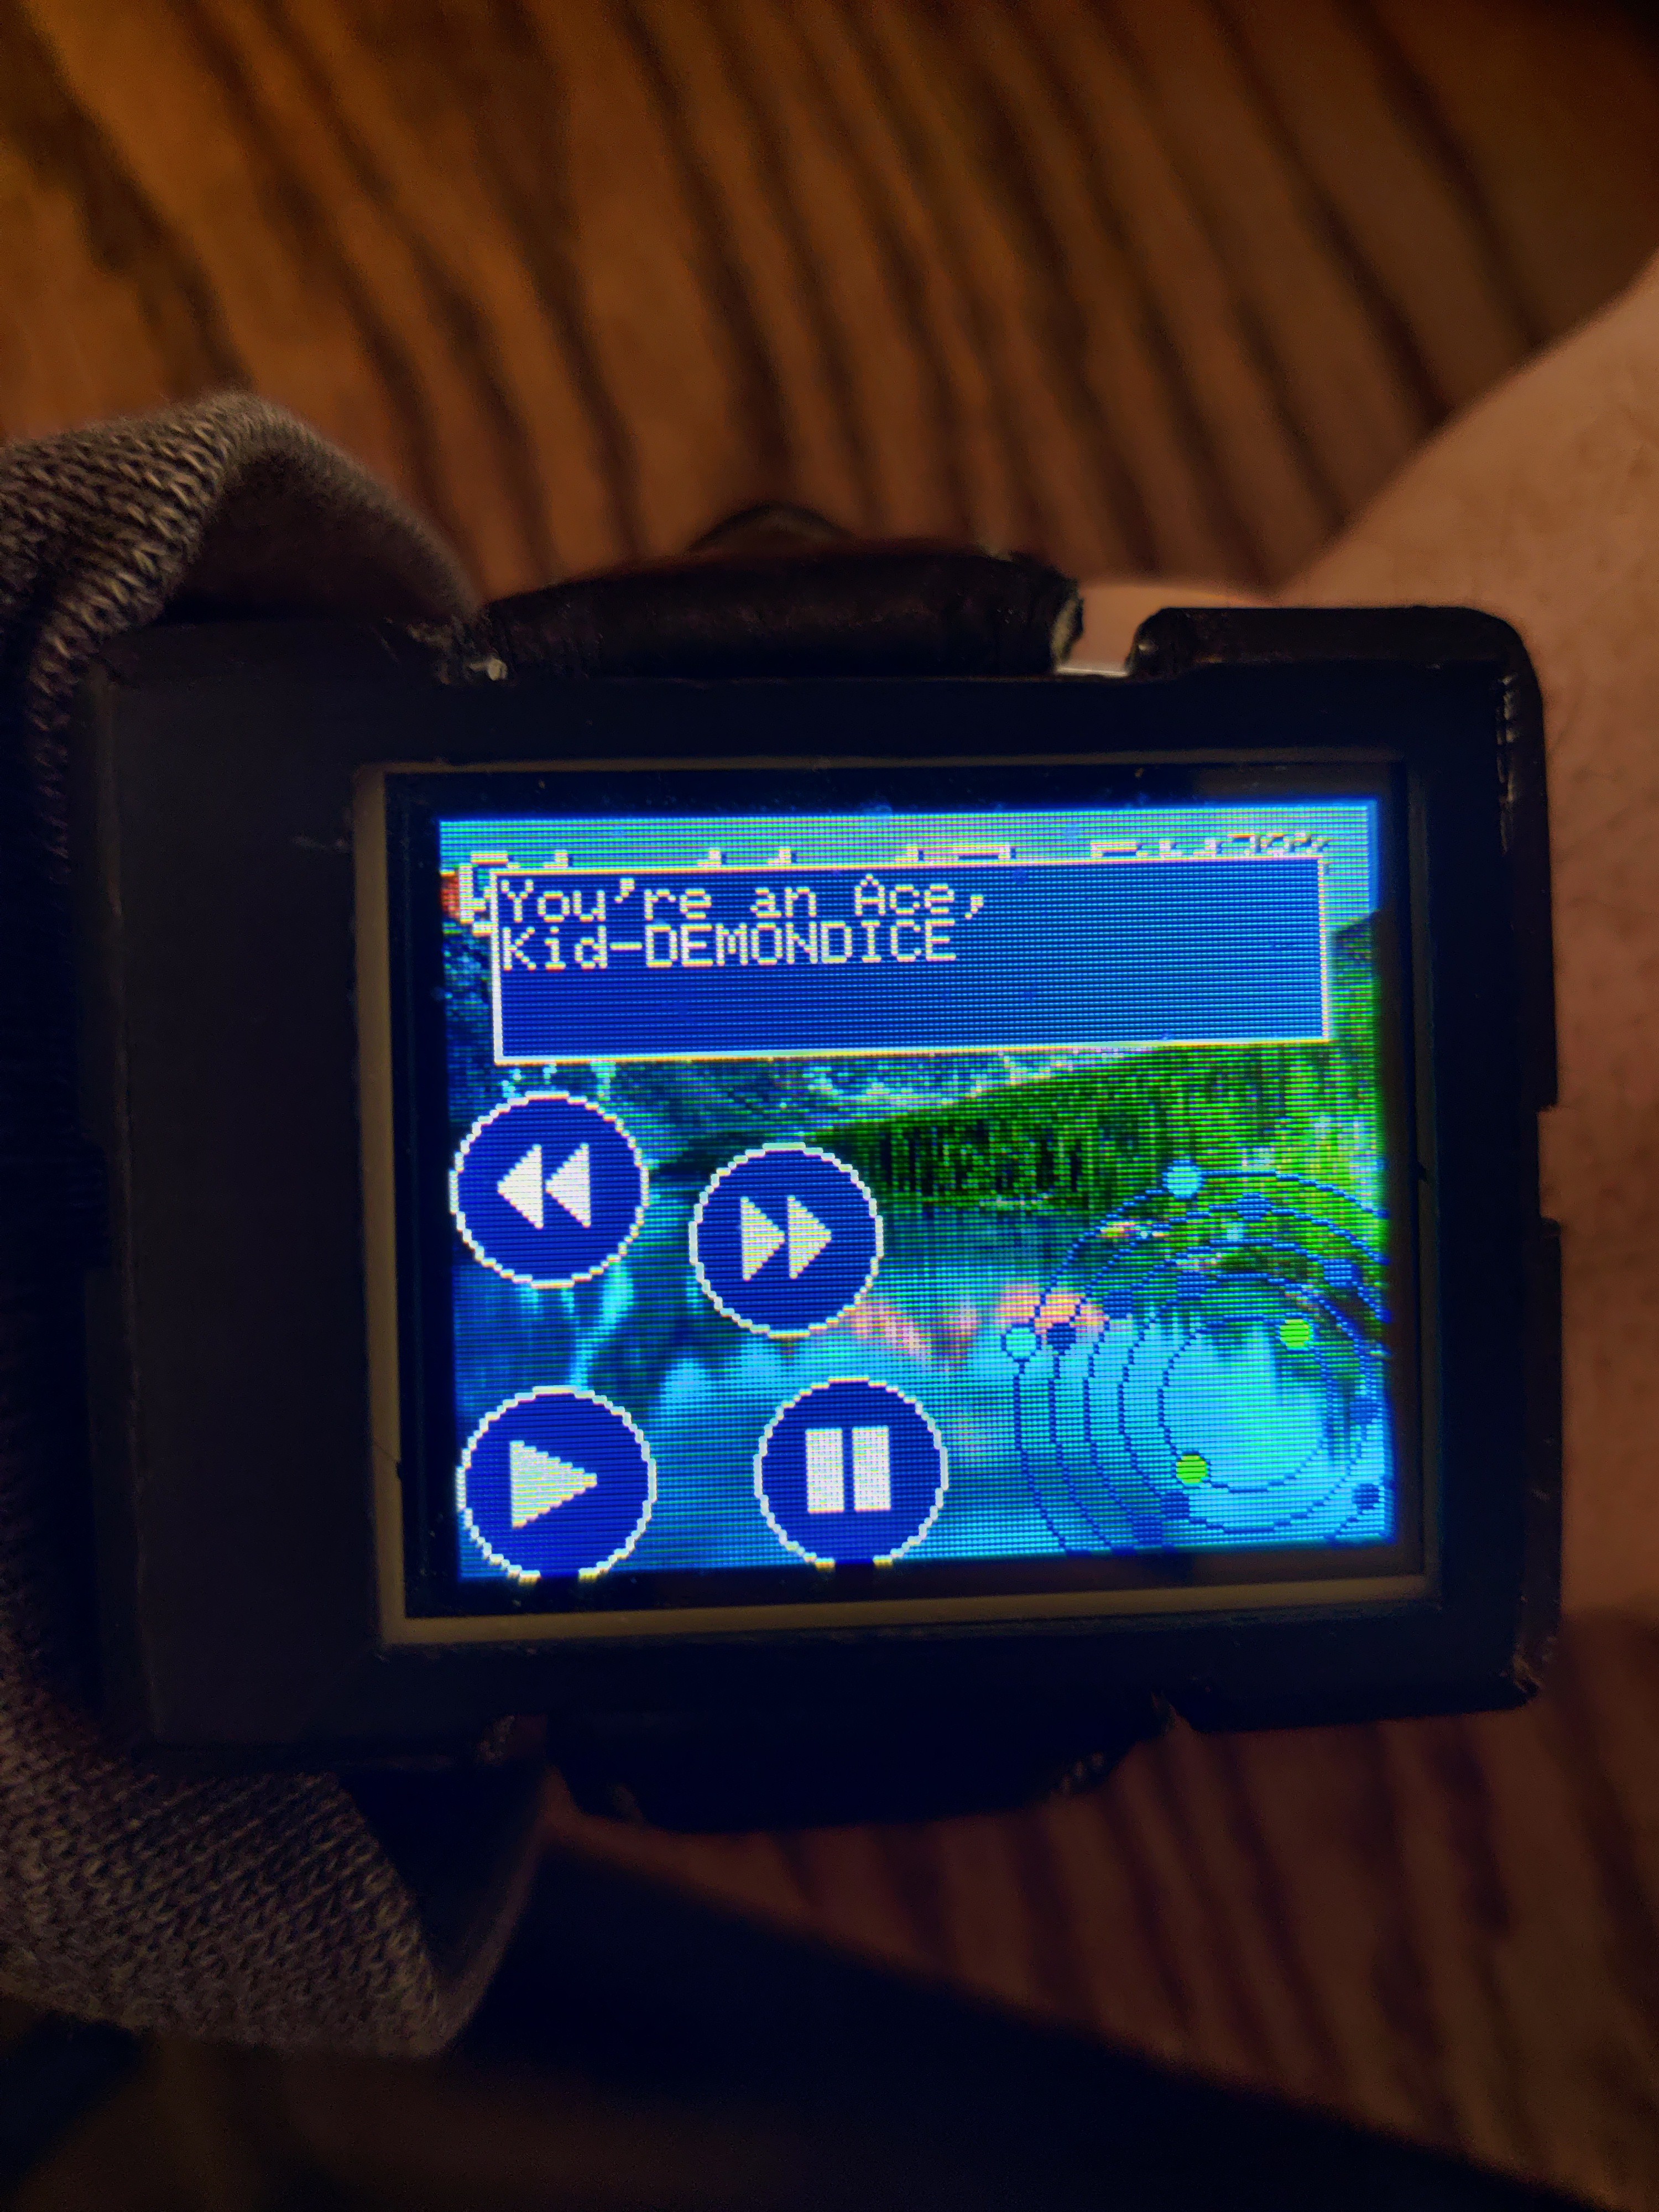
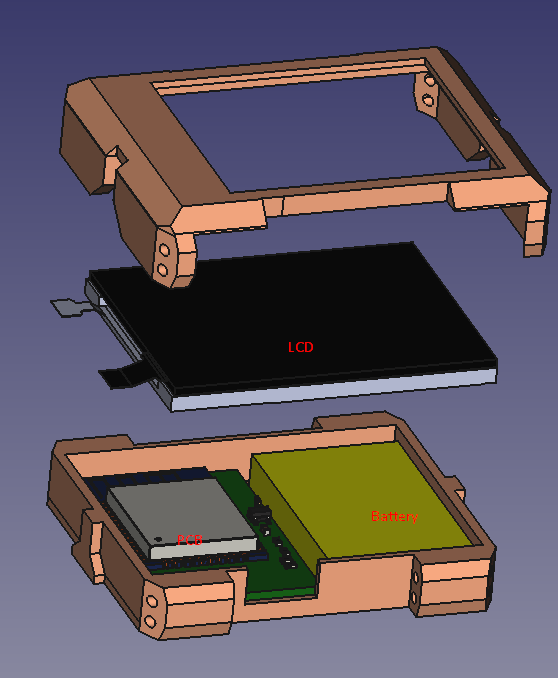
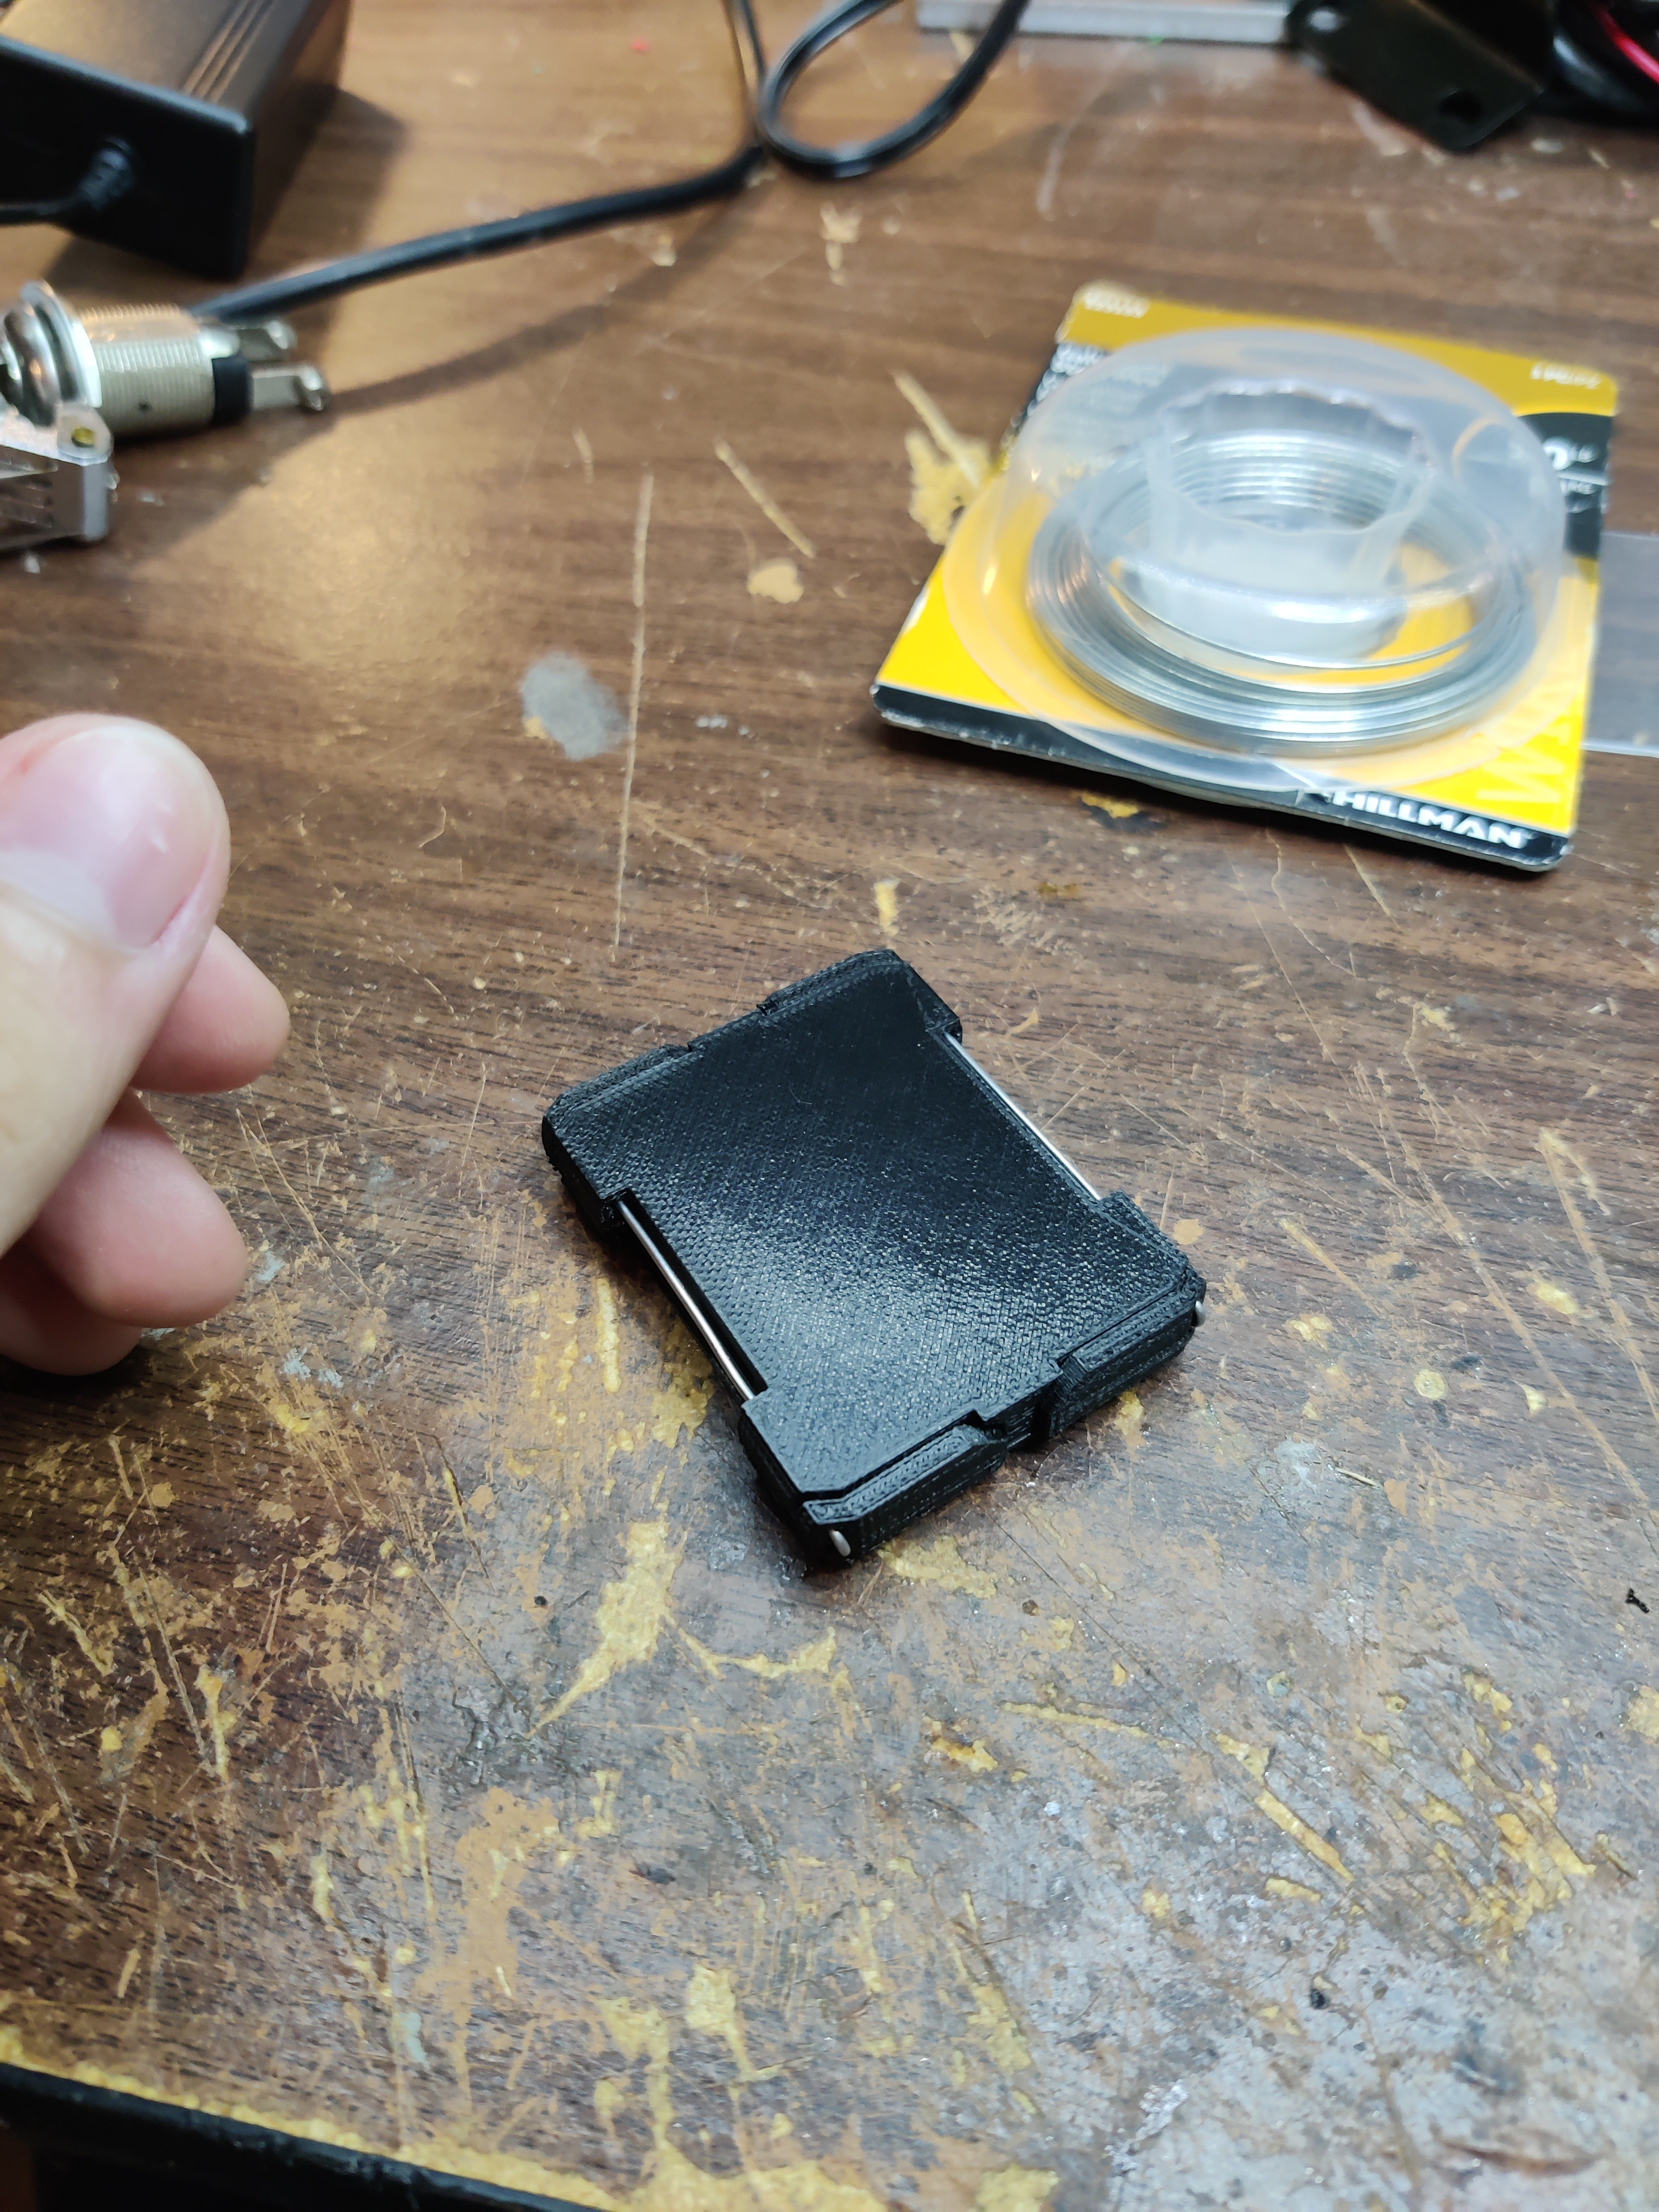
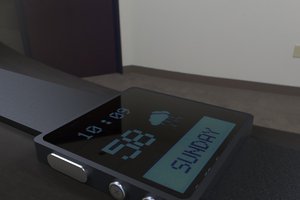
This project involves hardware, firmware, and software with a little bit of 3D printing thrown in. With the firmware developed for this project the watch is able to read status bar notifications, song names played on spotify (and control spotify), current time, and calendar events for the day. This functionality is achieved through the android companion app which sends data to the watch over BLE.
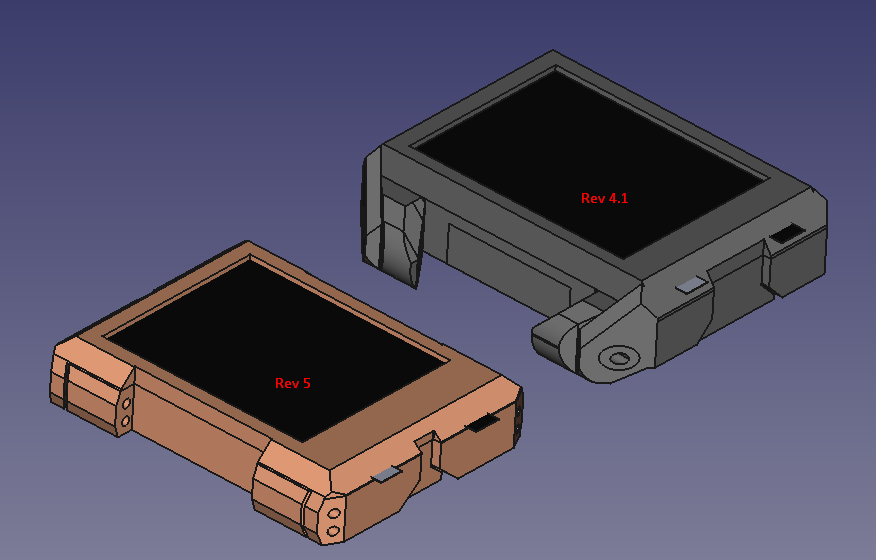
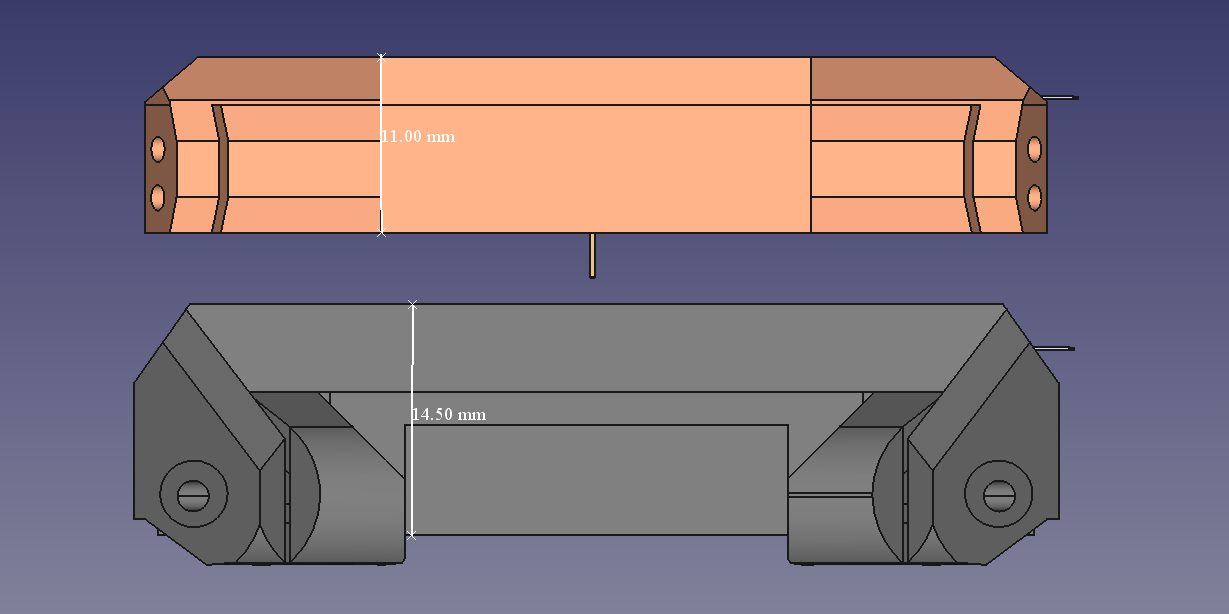
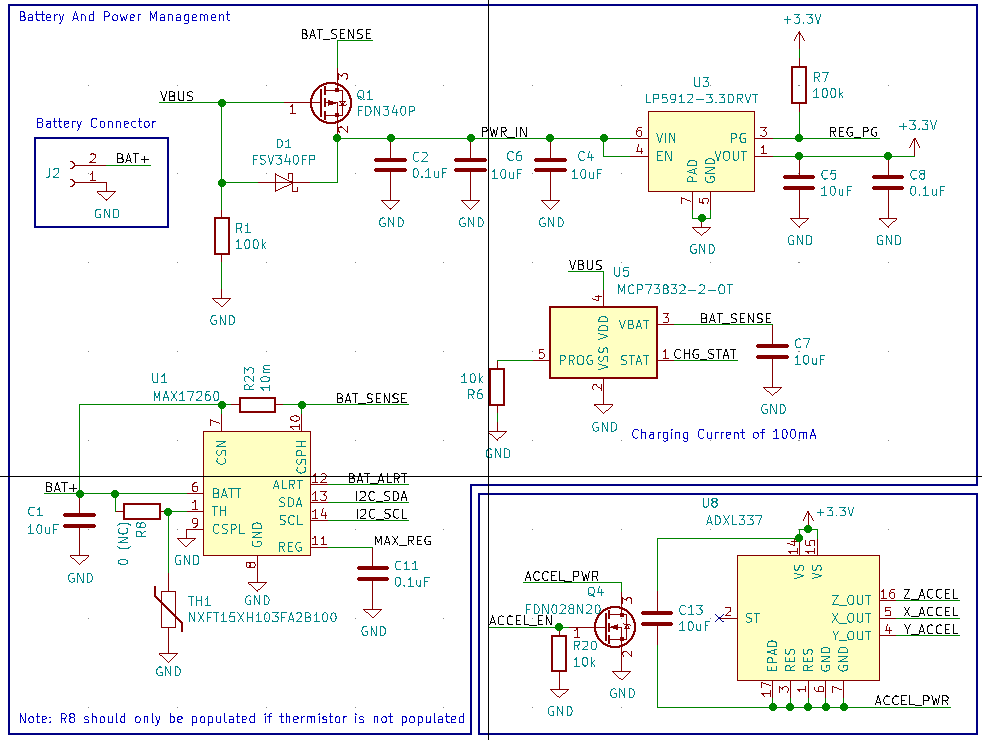
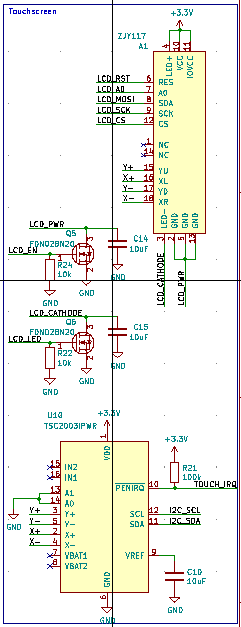
This project is on going and has already gone through quite a few revisions to get to where it is now (it started on 10/30/2019). This project is open source, hardware design files (including a current PDF schematic), 3D printable CAD files, and firmware can be found here (https://github.com/Bellafaire/ESP32-Smart-Watch).
The companion android app has been split off to its own project repo and can be found here: https://github.com/Bellafaire/Android-Companion-App-For-BLE-Devices along with a simple example program to interface an ESP32 with it over BLE
In addition to the longer-format logs on this project where I talk about progress more in depth and elements of the design I've also created smaller updates in video format which run parallel to the project logs. These project logs are intended to be a high-level overview of progress on the project and a demonstration of the features in action. All the video logs for this project are embedded below:


 Montassar
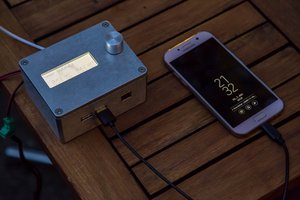
 Lukas Fässler
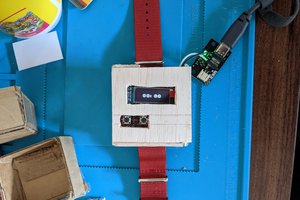
 Maso
Maso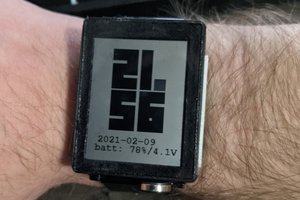
 Jeff Cooper
Hi there, me and my team from school 42 are doing a hackathon project with an external client and we came across your watch project. Our idea is to do something similar but to switch to a simple LED screen and include external buttons for navigation and a vibration mode since the users will most likely wear gloves. The utility will be to receive notifications from an API through WIFI and have a scroll and a back/forth option for navigation. Do you think it makes sense to go for the hardware you used and just adapt it to our needs? We're not super experienced in hardware so any tips are well appreciated. Thanks!