 Steven Roch
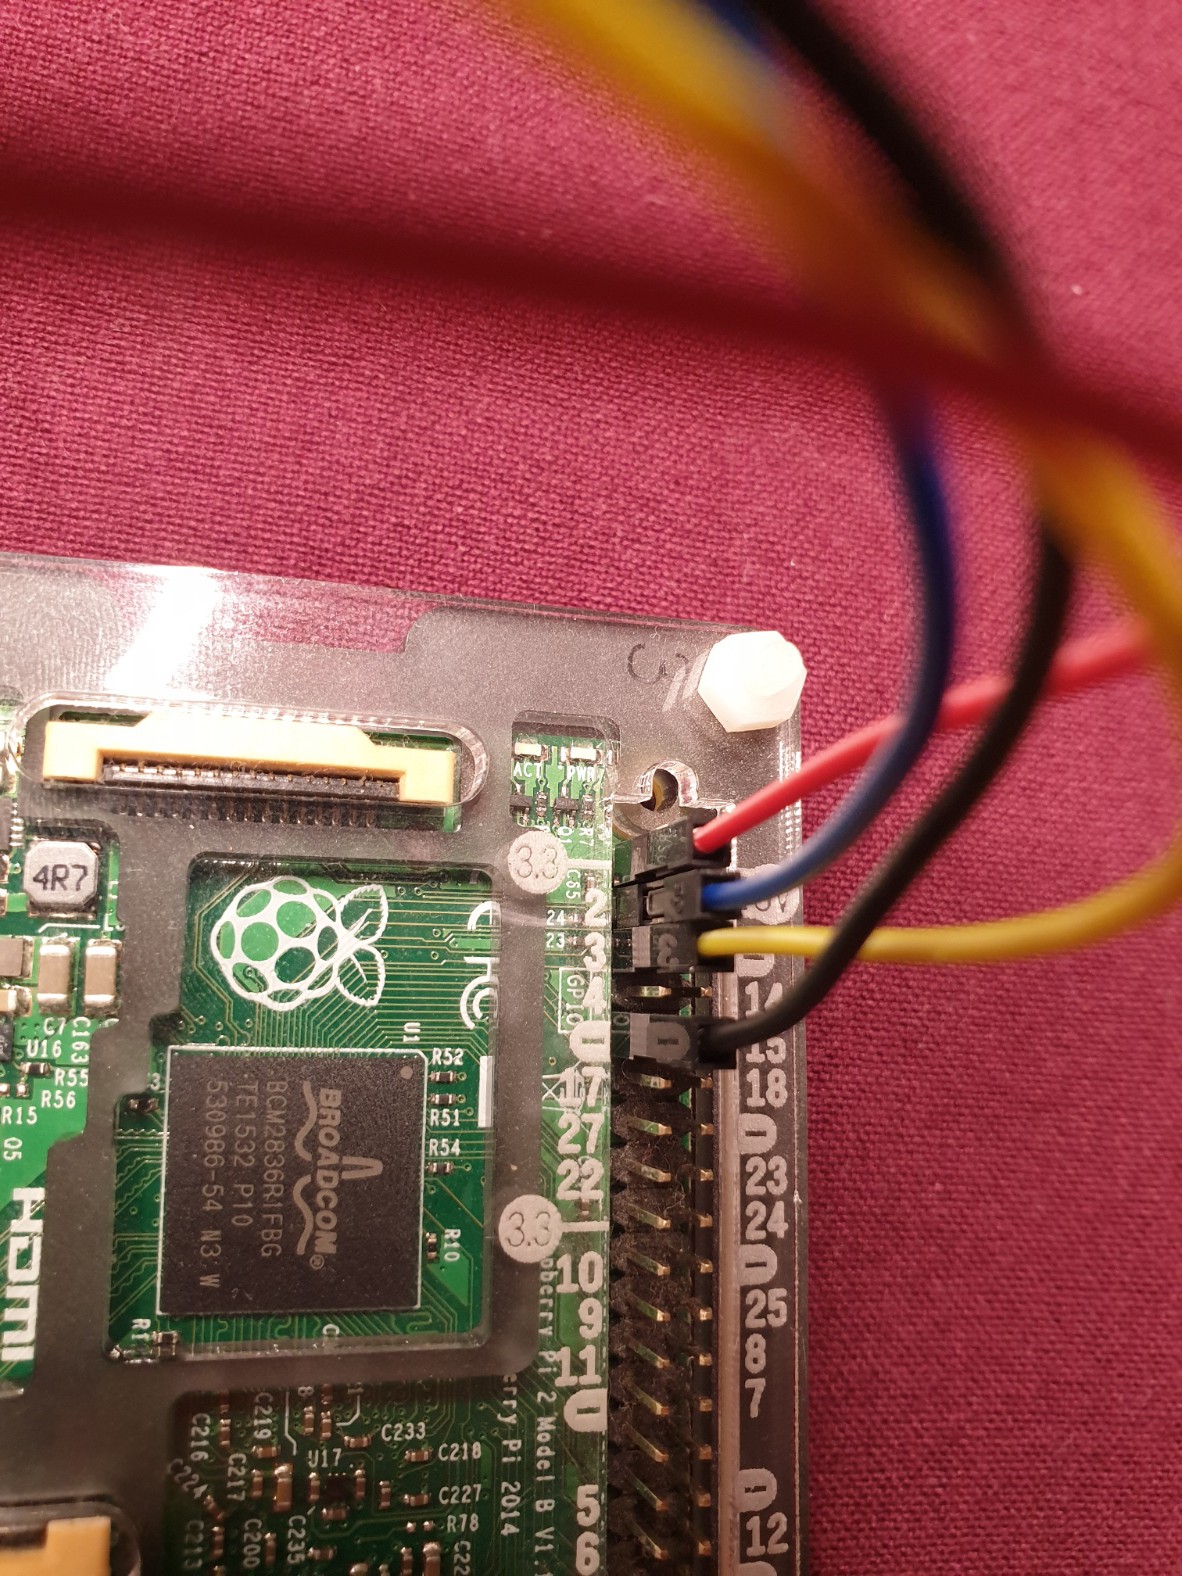
WARNING: Do not use seperate pull-up resistors with a Raspberry Pi. Some microcontrollers (like RPi) have built-in pull-ups on their I²C channels. By adding additional resistors in parallel one would decrease overall resistance by
thus increasing current on SDA/SCL to a possibly damaging level.
Motivation: I use Parsec Game Streaming to stream games from my gaming PC inside my rack in the basement.
Parsec requires to have a monitor attached to be able to stream the display output over the network. Therefore you need to have either a real display attached to your GPU or use a so called HDMI ghost display if you want to go headless like I do.
Issue: But every ghost I bought only offered the common 16:9 or 16:10 resolutions which do not suit my special need for a 21:9 2560x1080 ultra-wide gaming experience I could have with my monitor.
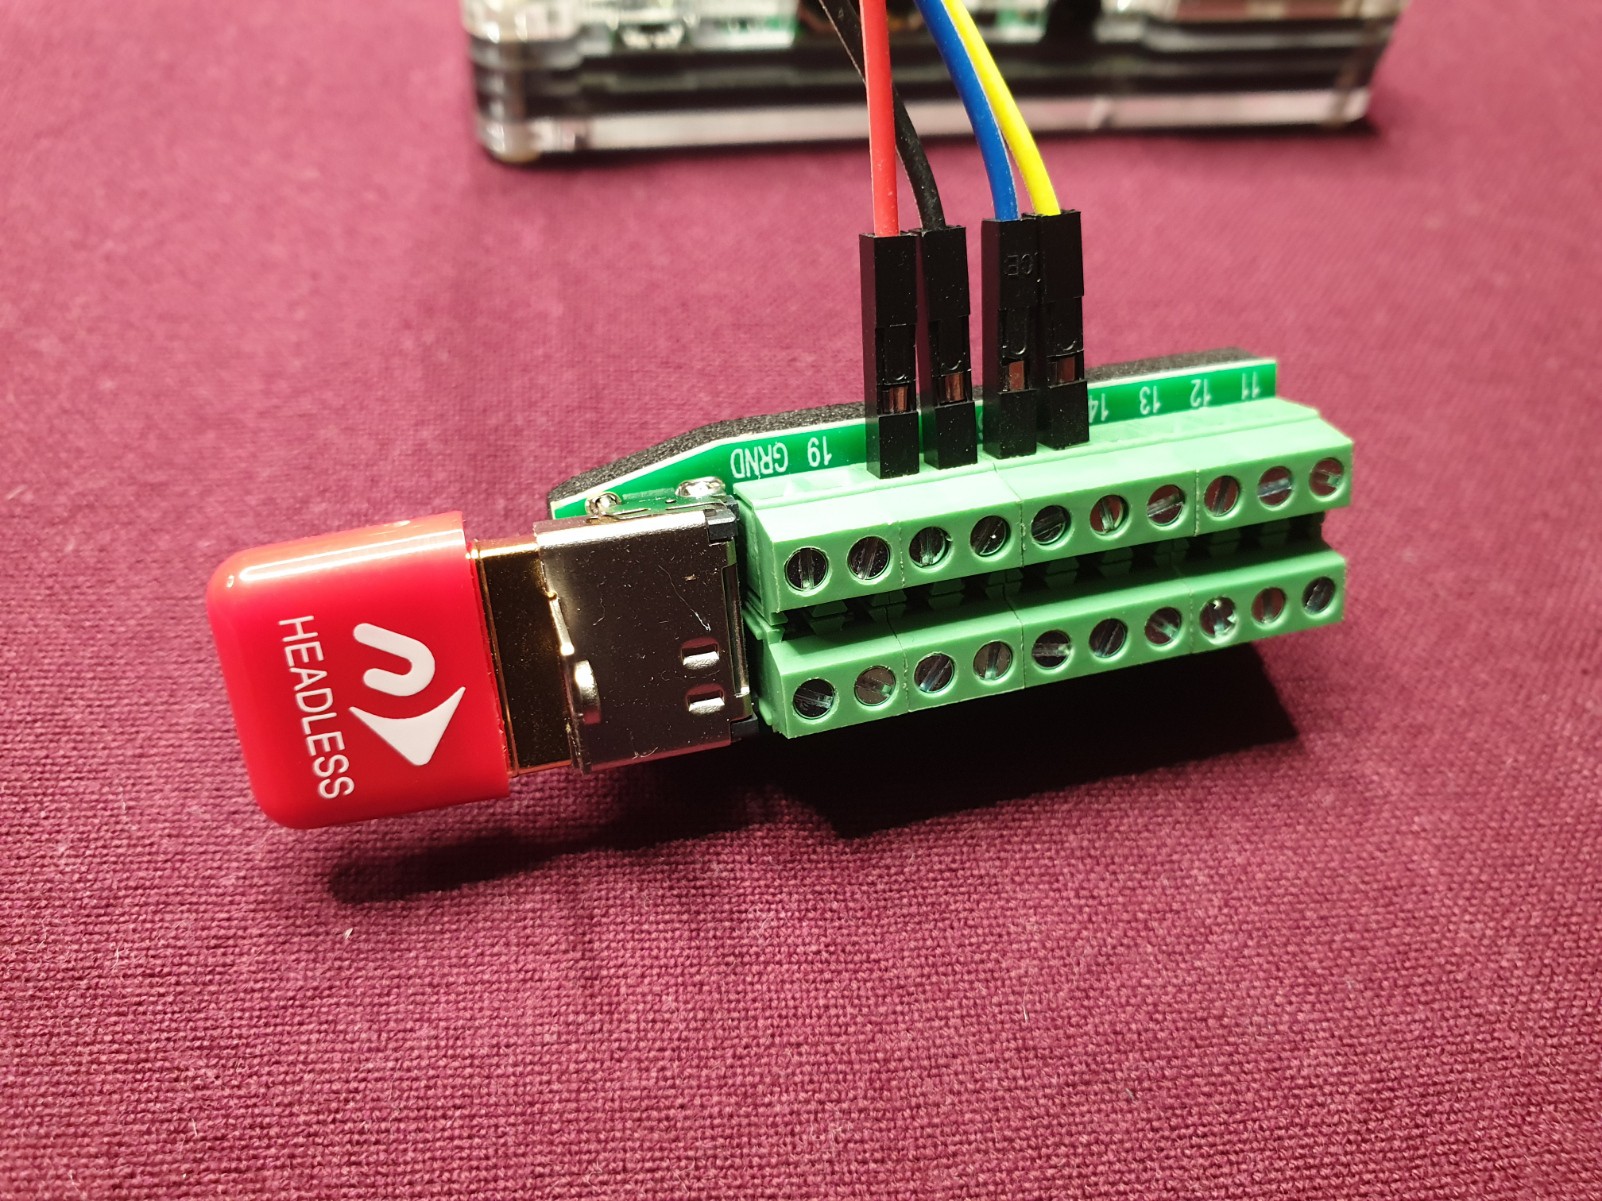
Solution: With further Google research I stumbled upon a Kickstarter project called "Headless Ghost" that promised to offer a programmable HDMI dongle using an E²PROM to store monitor EDID and an I²C interface to program the chip.
 Calebe94
 Jinyu Meng
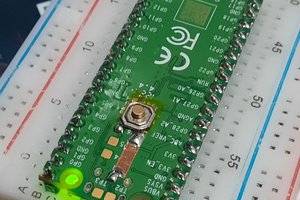
 hessamghani
 Arkadi