 Huang Jin
If you support my project, please buy the steering wheel 3D I designed://cults3d.com/en/3d-model/game/porsche-911-gt3-cup-steering-wheel
My Facebook https://www.facebook.com/SimracingOS
Message on my Discord server:https://discord.gg/JHTkFwJ
Mige Servo Motor Co., Ltd. Customer Service Email
hzmgdjlisa@outlook.com
Mige servo motor co., ltd Facebook customer service
https://www.facebook.com/profile.php?id=100073644768907
MiGE-130ST-M10010https://www.alibaba.com/product-detail/PM-Servo-Motor-130ST-M10010_256097611.html?spm=a2700.shop_pl.41413.32.37e37974fBAbtt
MiGE official website Alibaba storehttps://hzmgdj.en.alibaba.com/productgrouplist-218414670/130mm_series.html?spm=a2700.shop_index.88.48
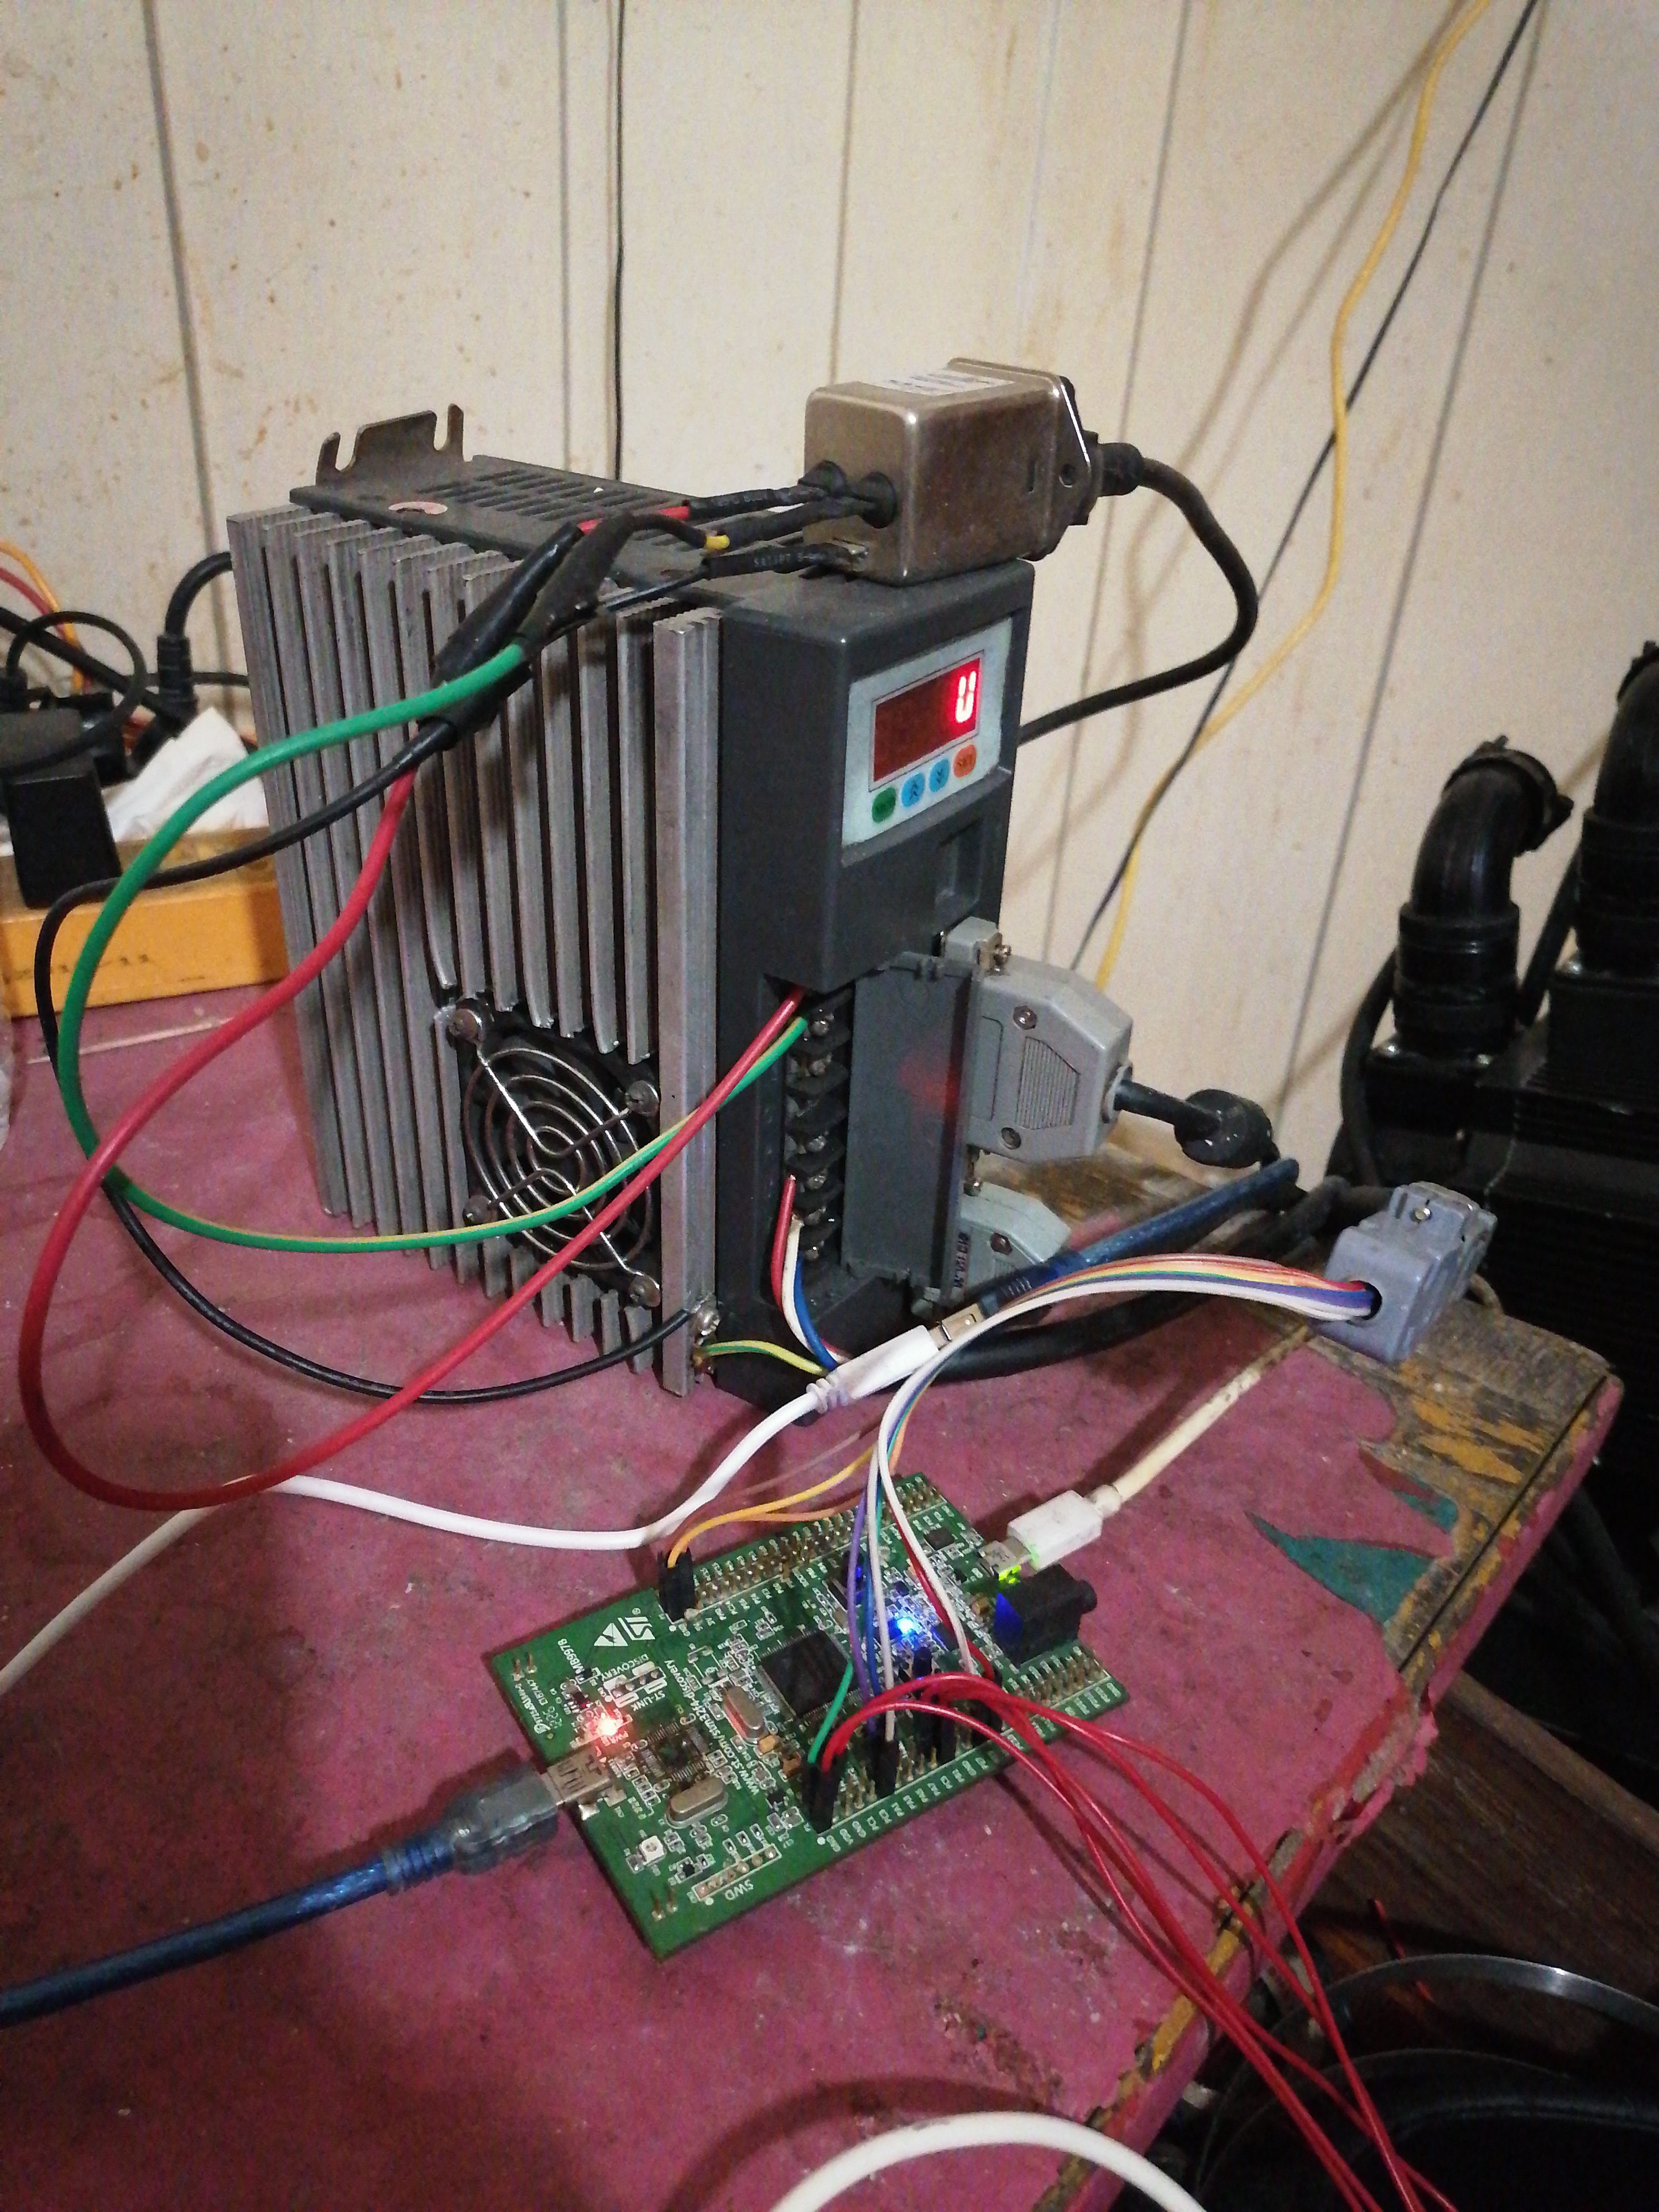
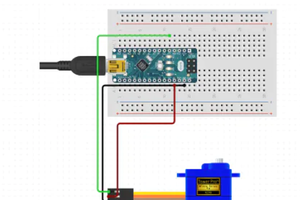
Choose one of TDD Micro-Direct driver board controller and STM32F407G-DISC1
Discovery kit STM32F407G-DISC1 for STM32F407VG MCUSTM32F4DISCOVERY)
STM32F4DISCOVERY(Buy connection)https://www.st.com/en/evaluation-tools/stm32f4discovery.html
Use the firmware flash tool STM32 ST-LINK utility ST website: https://www.st.com/en/development-tools/stsw-link004.html
STM32F4DISCOVERY All settings of the servo drive are as follows
Before plugging in anything, turn on the power and install the driver settings.
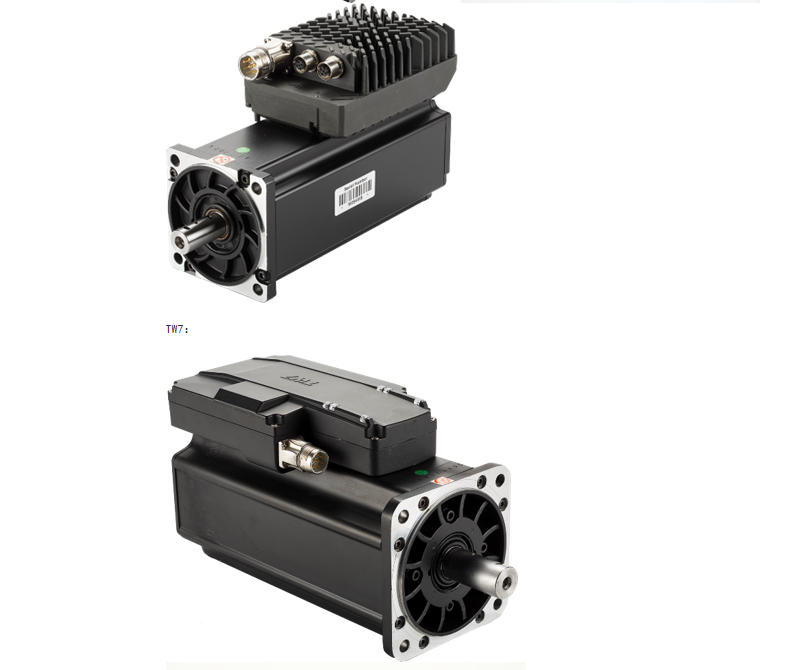
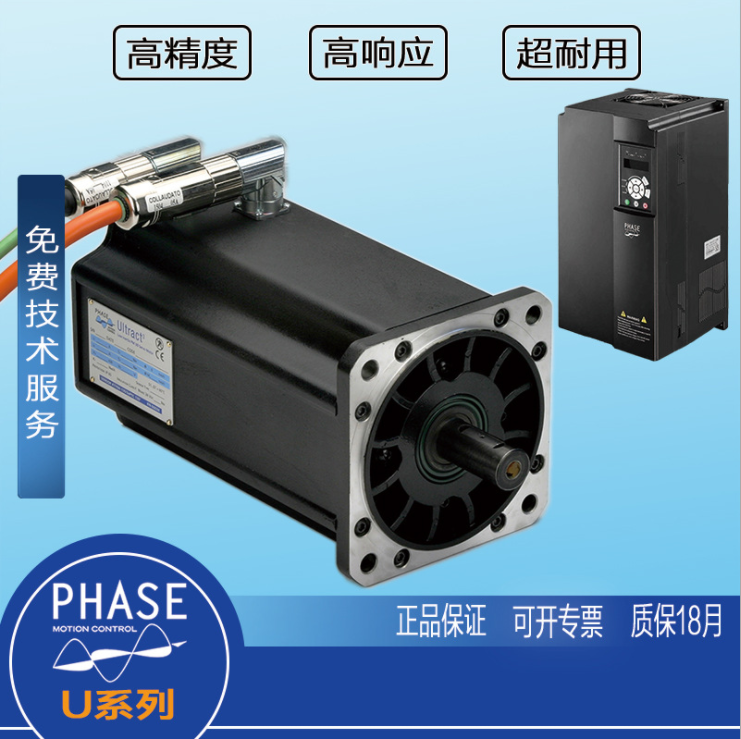
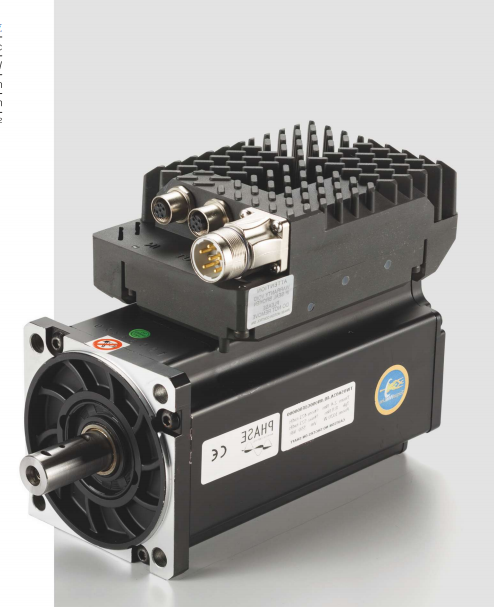
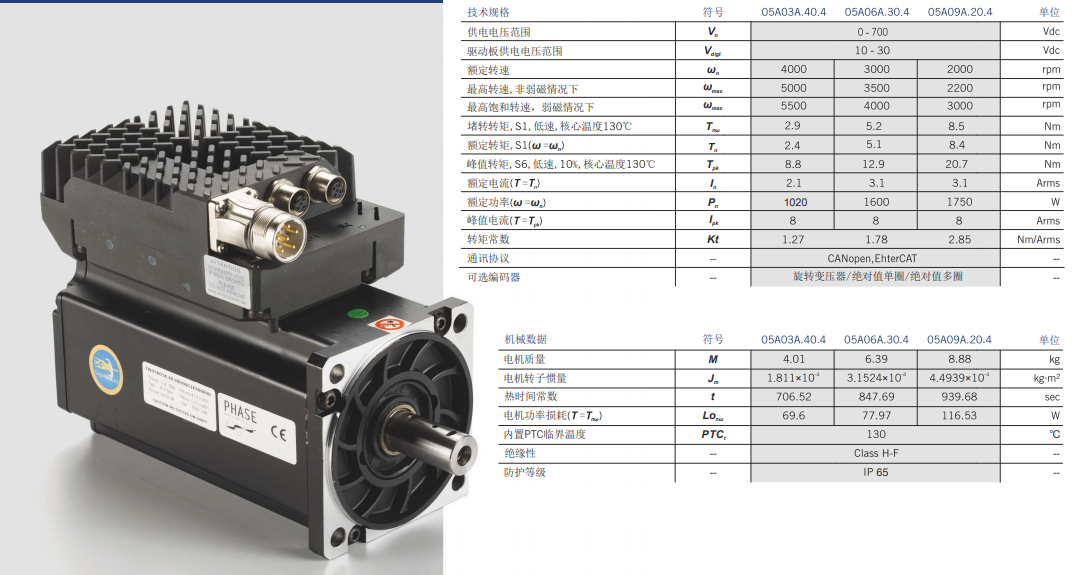
MiGE servo motor 130ST-M10010 set the motor model to 21
Each servo motor model is different according to the servo motor provider's instructions to set the number
PN001 = 21 (motor code, requires restart)5-10 seconds
PN002 = 0 (control mode - voltage mode, requires restart) 5-10 seconds
PN003 = 0 ( Servo enabled? - external)
PN018 = 0 (Take the encoder output pulse AB phase logic - 0-1)
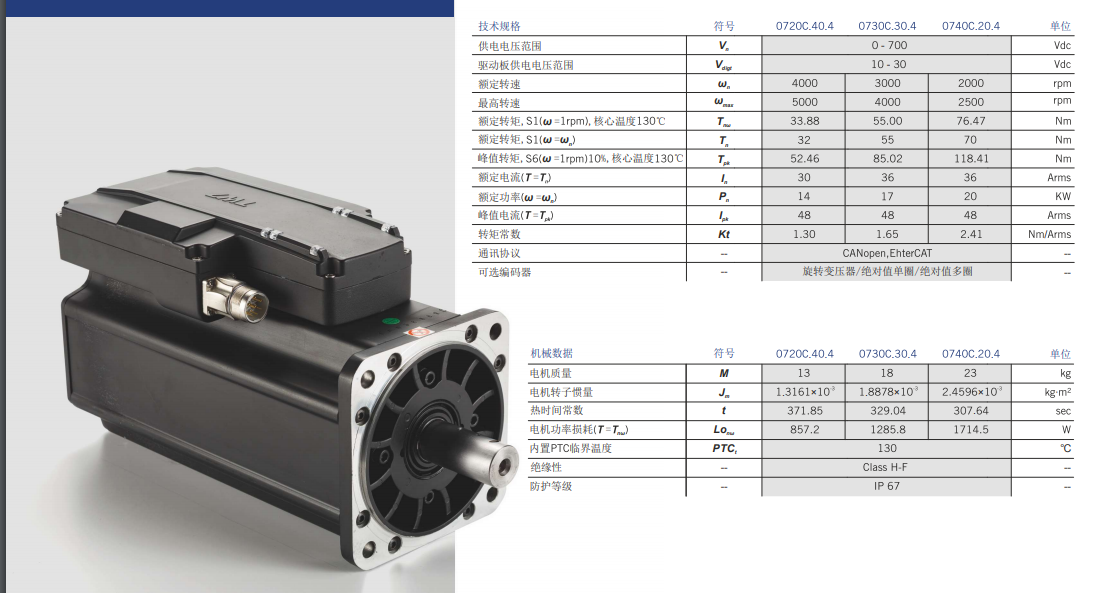
PN051 = 1500 (Motor max RPM - see motor specs)motor specifications
PN053 = 18 (SigIn 2 port functional allocation -27 - 27) - 58? "command reverse" function
PN188 = 159 (Analog torque instruction smooth filtering time - 1-500ms)
PN189 = 39 (Analog torque instruction gain 1-300 %/V)
PN190 = 0 (Analog torque instruction offset adjustment -1.5v - 1.5v)
PN191 = 1 (Simulation of torque command direction - try 0 first)
PN198 = 120 (Torque control speed limit - 0-4500rpm)
Restart according to the settings. If there is no automatic saving, the settings will be saved manually
Save settings manually FN001 Save all settings manually
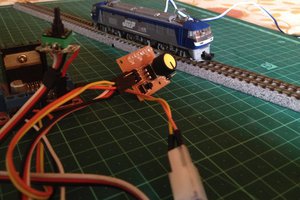
Connect STM32, motor and encoder to the drive
Use setting 16.8khz, 10000CPR to run MMOS, use encoder index, simulate axis -3
Use the App to see if the wheels are spinning in the correct way.
PN191 = 0-1 to change the direction as needed; and
Switch encoder wiring (encoder A + <-> PA0) (encoder B + <-> PA12)
You cannot reverse the encoder in MMOS
PN188 = 120-150 (analog torque command smoothing filter time-0-500ms)
Use the firmware flash tool STM32 ST-LINK utility ST website: https://www.st.com/en/development-tools/stsw-link004.html
Motion4sim servo motion controller 6DOF seat running dynamic simulation purchase link
https://www.tindie.com/products/motion4sim/advanced-servo-motion-controller/
YouTube video test
rfactor 2 and Assetto Corsa testing
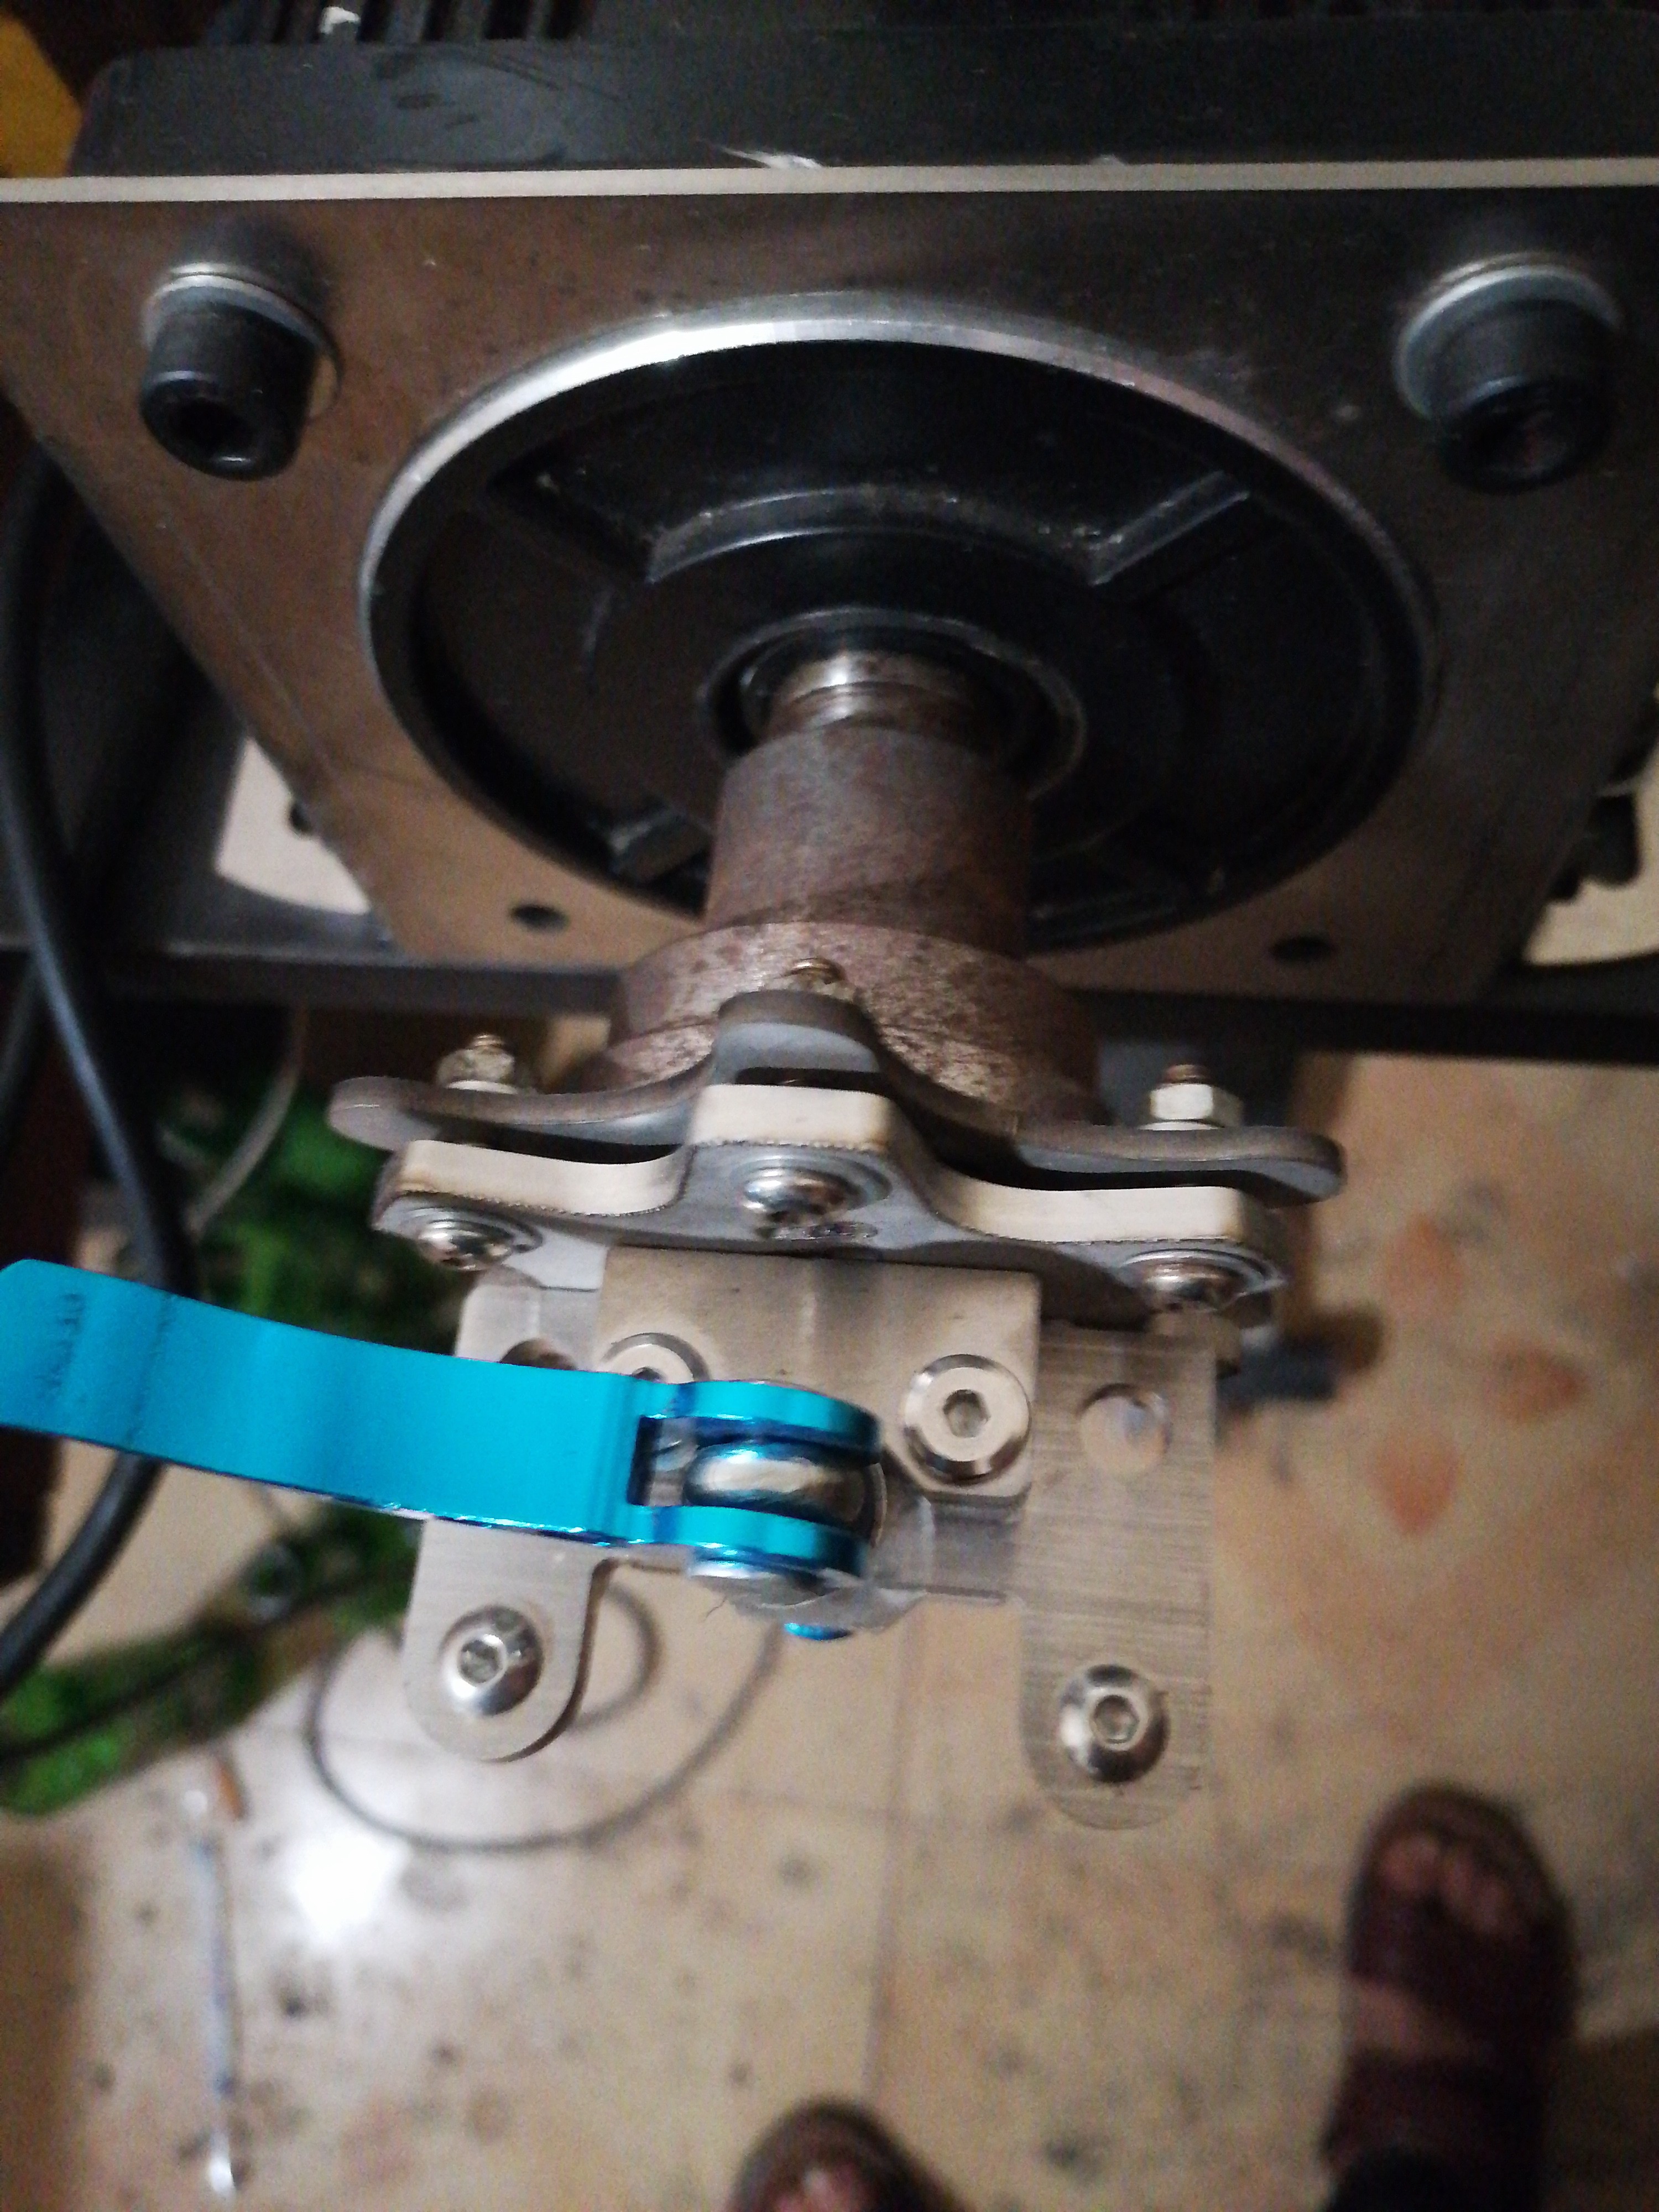
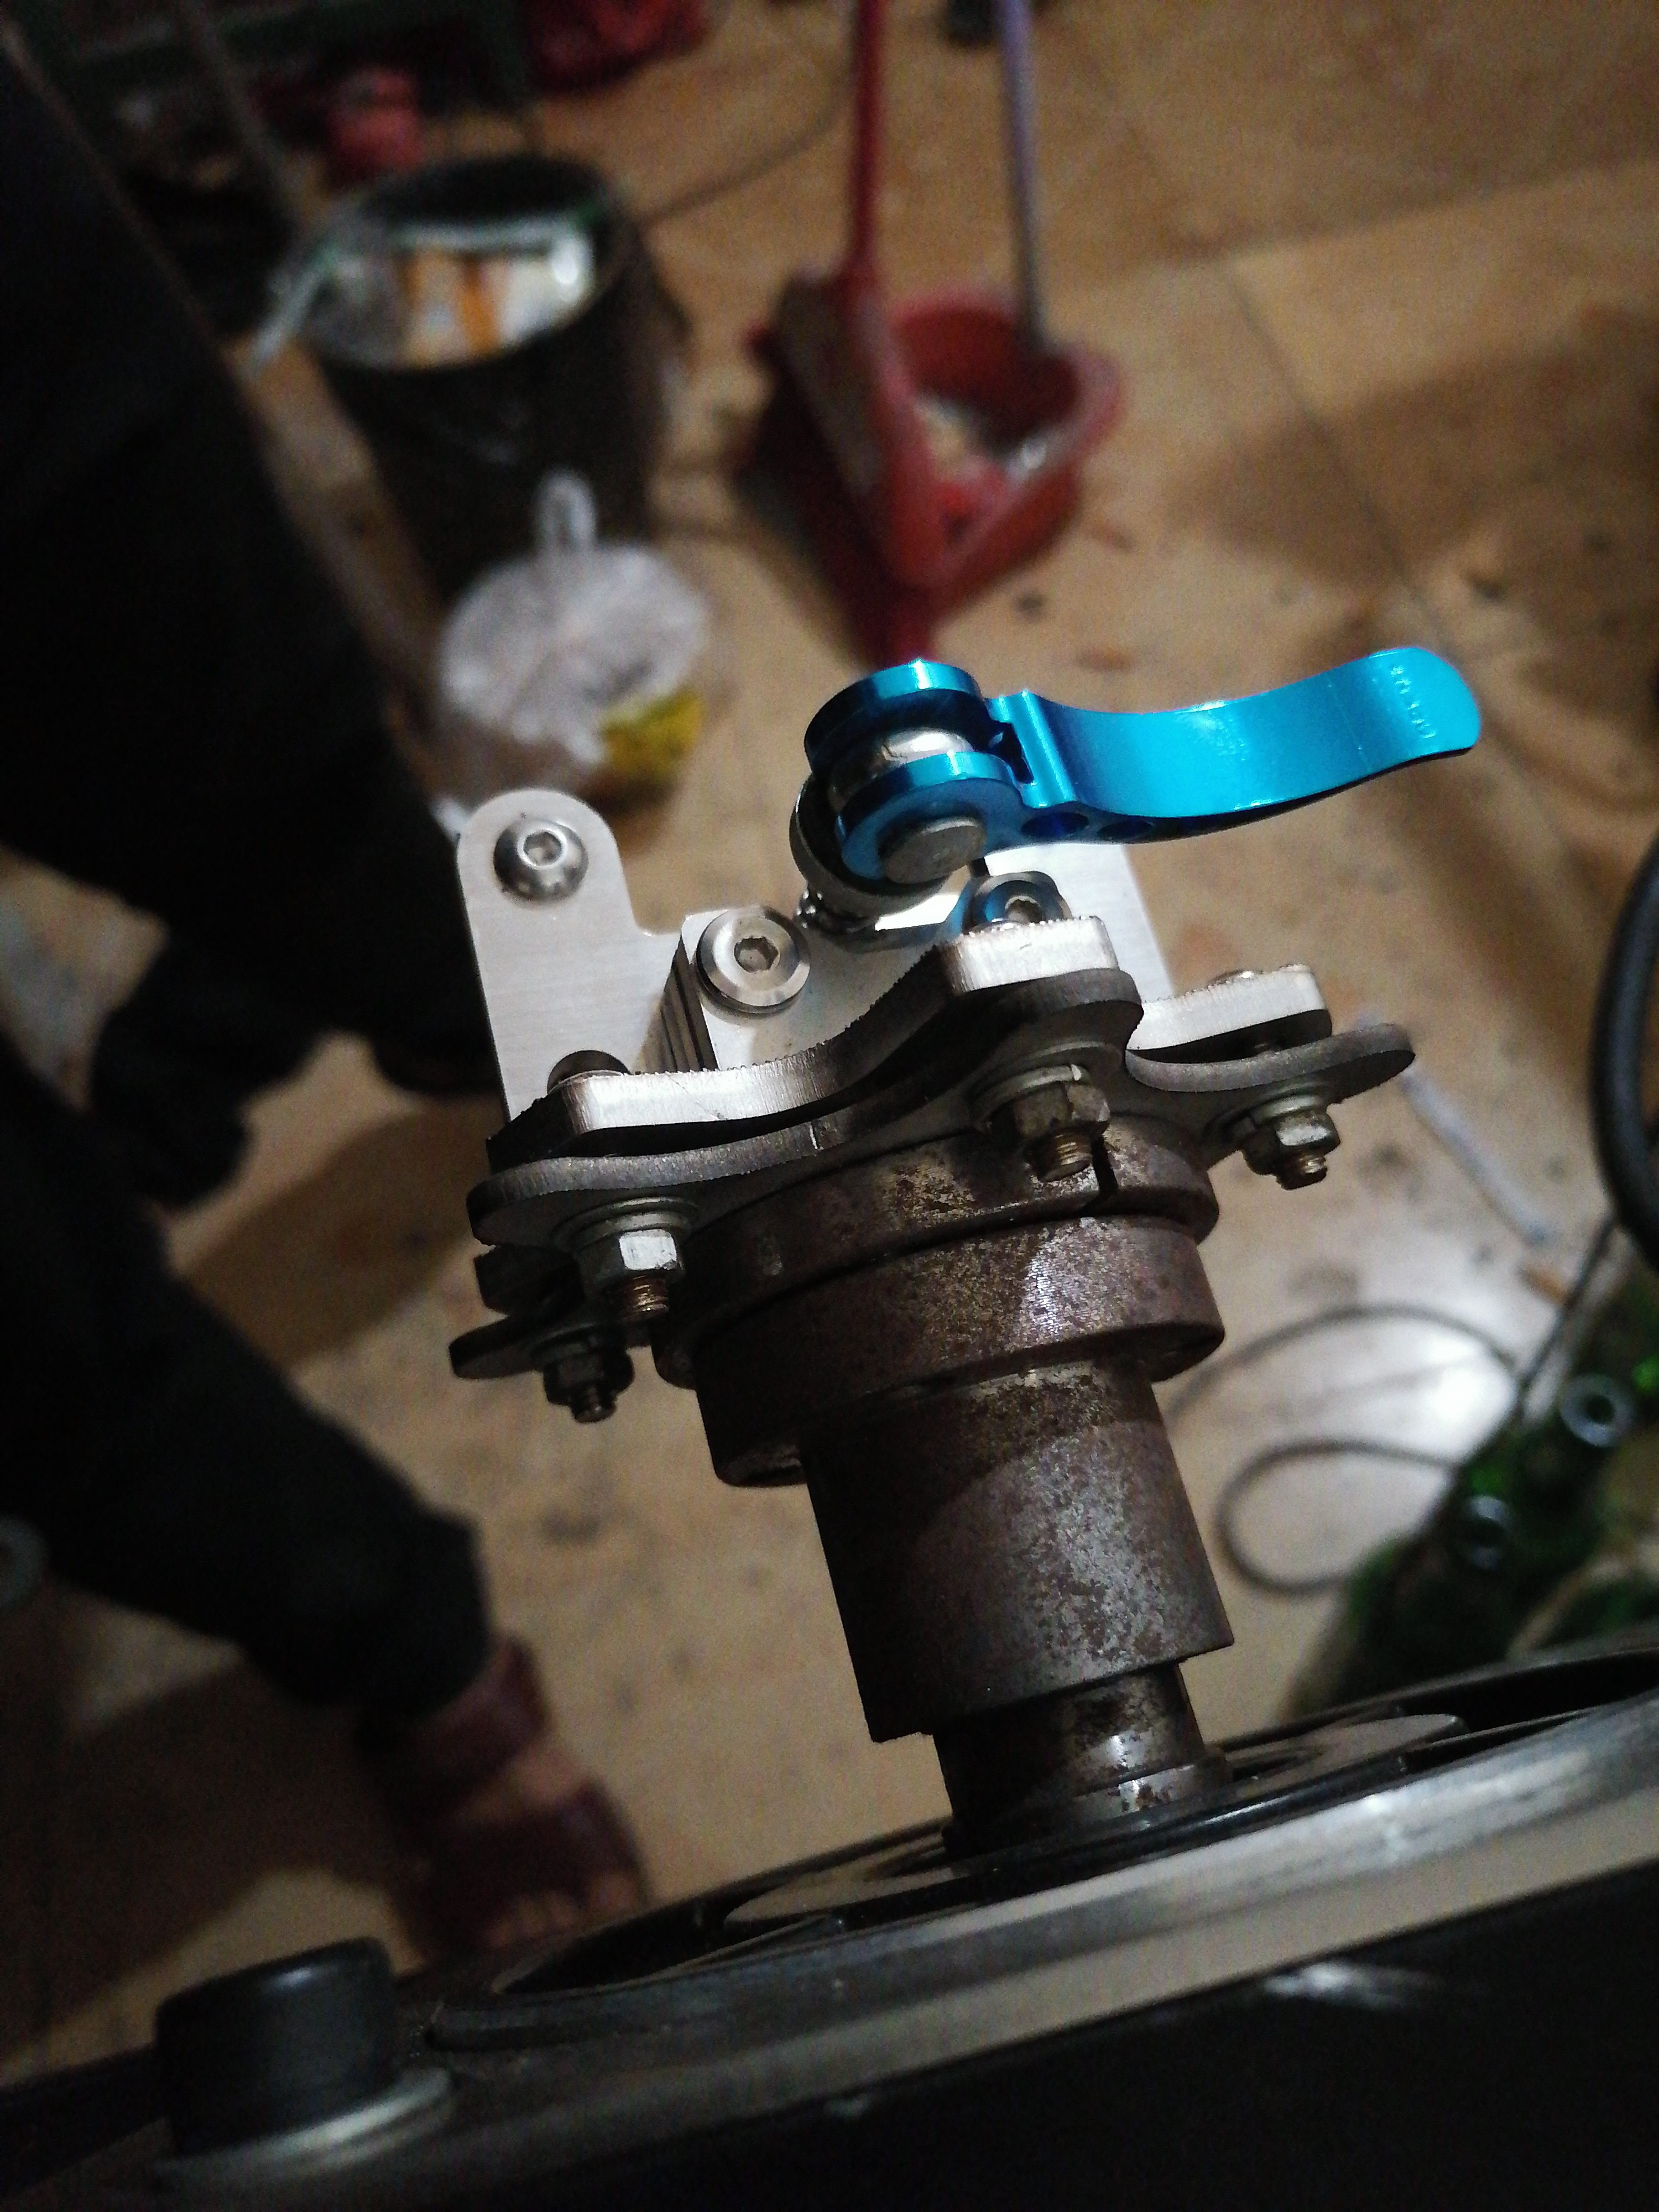
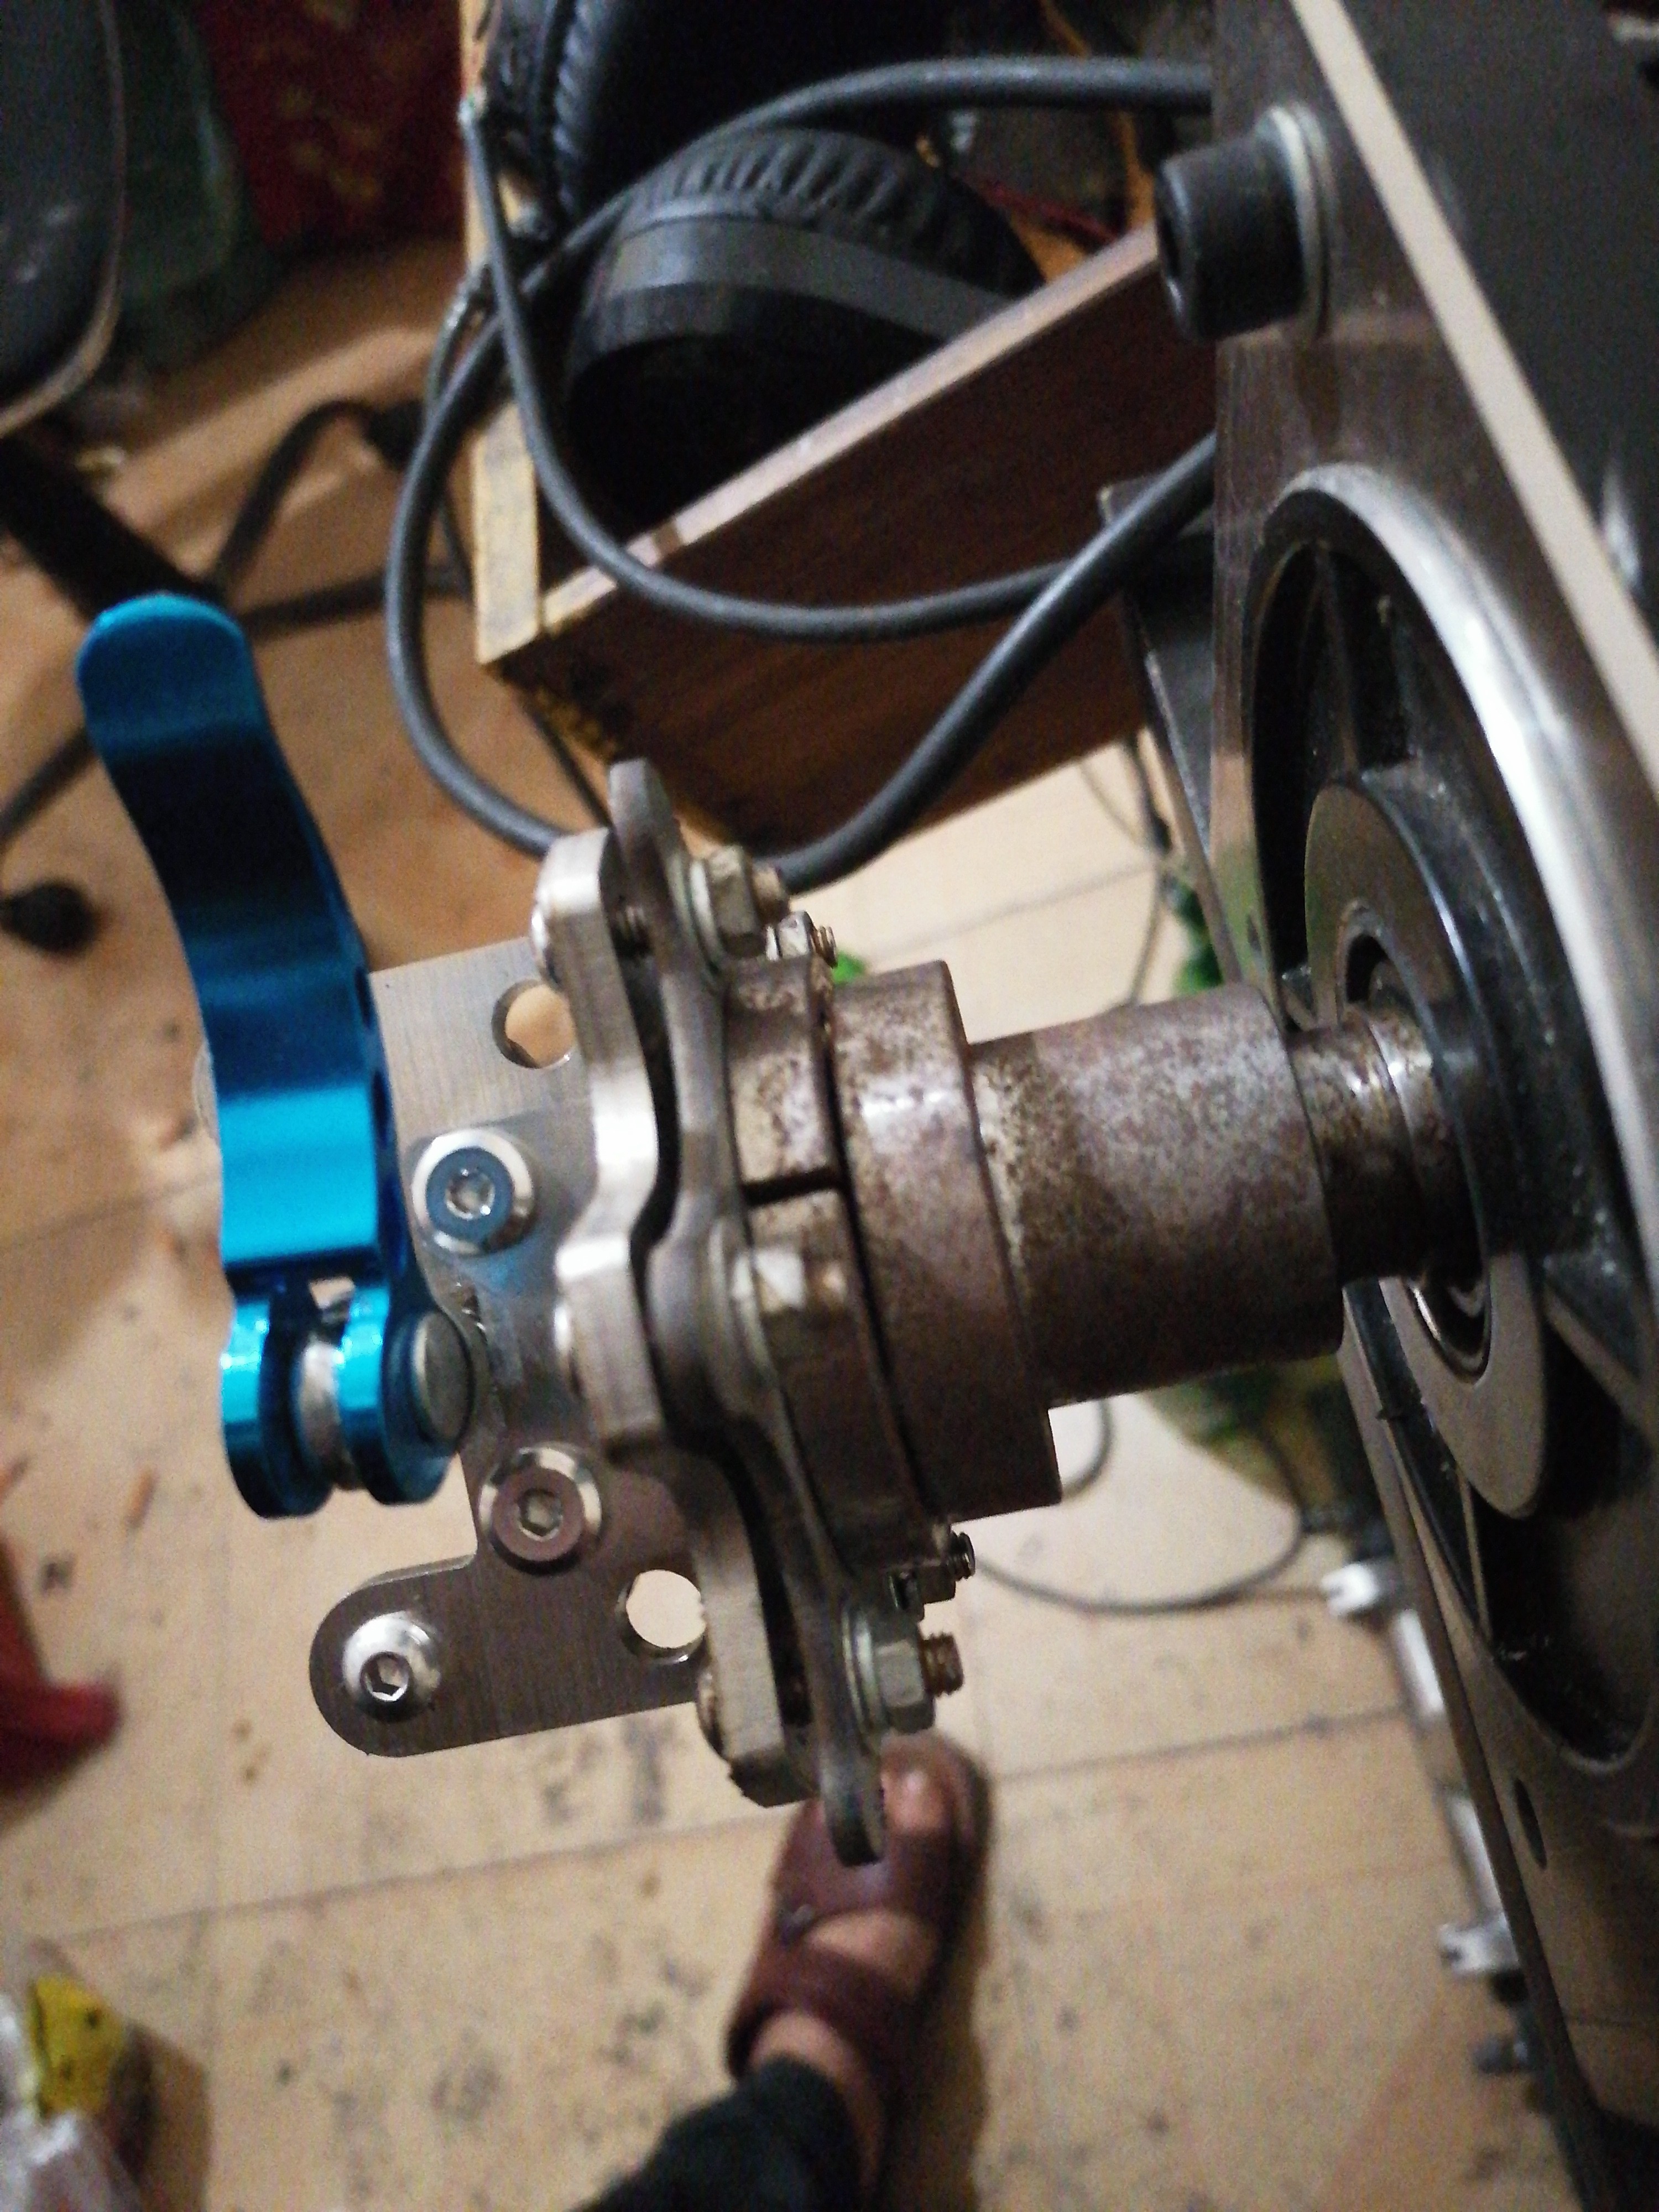
Servo motor shaft jacket MIGE-stainless steel
https://de.aliexpress.com/item/4000468585072.html
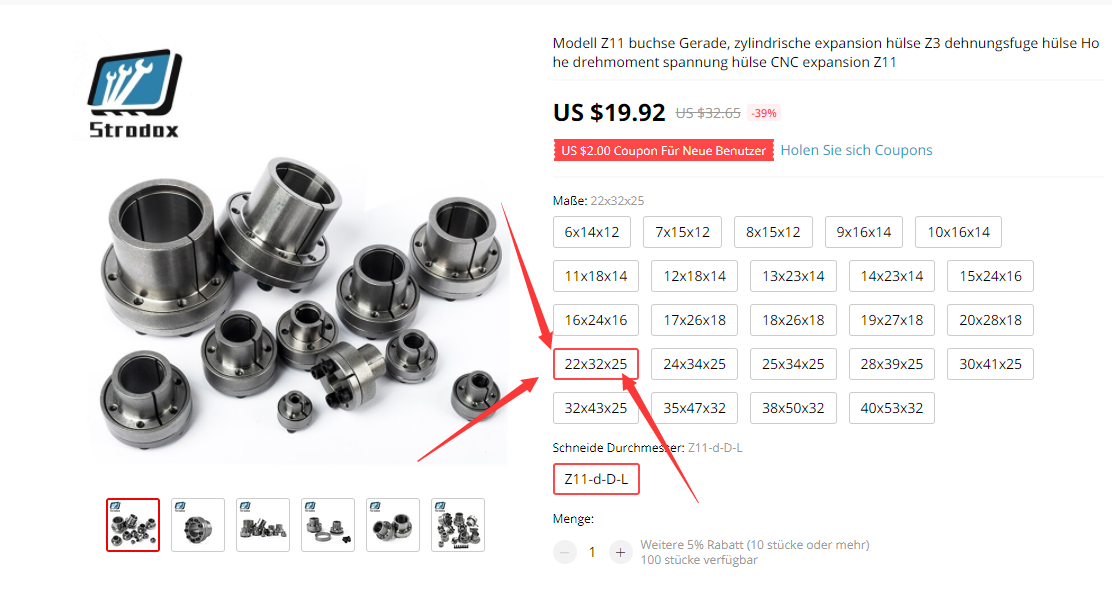
https://de.aliexpress.com/item/4000465168125.html
Clamp bushing MIGE – Billet Aluminium
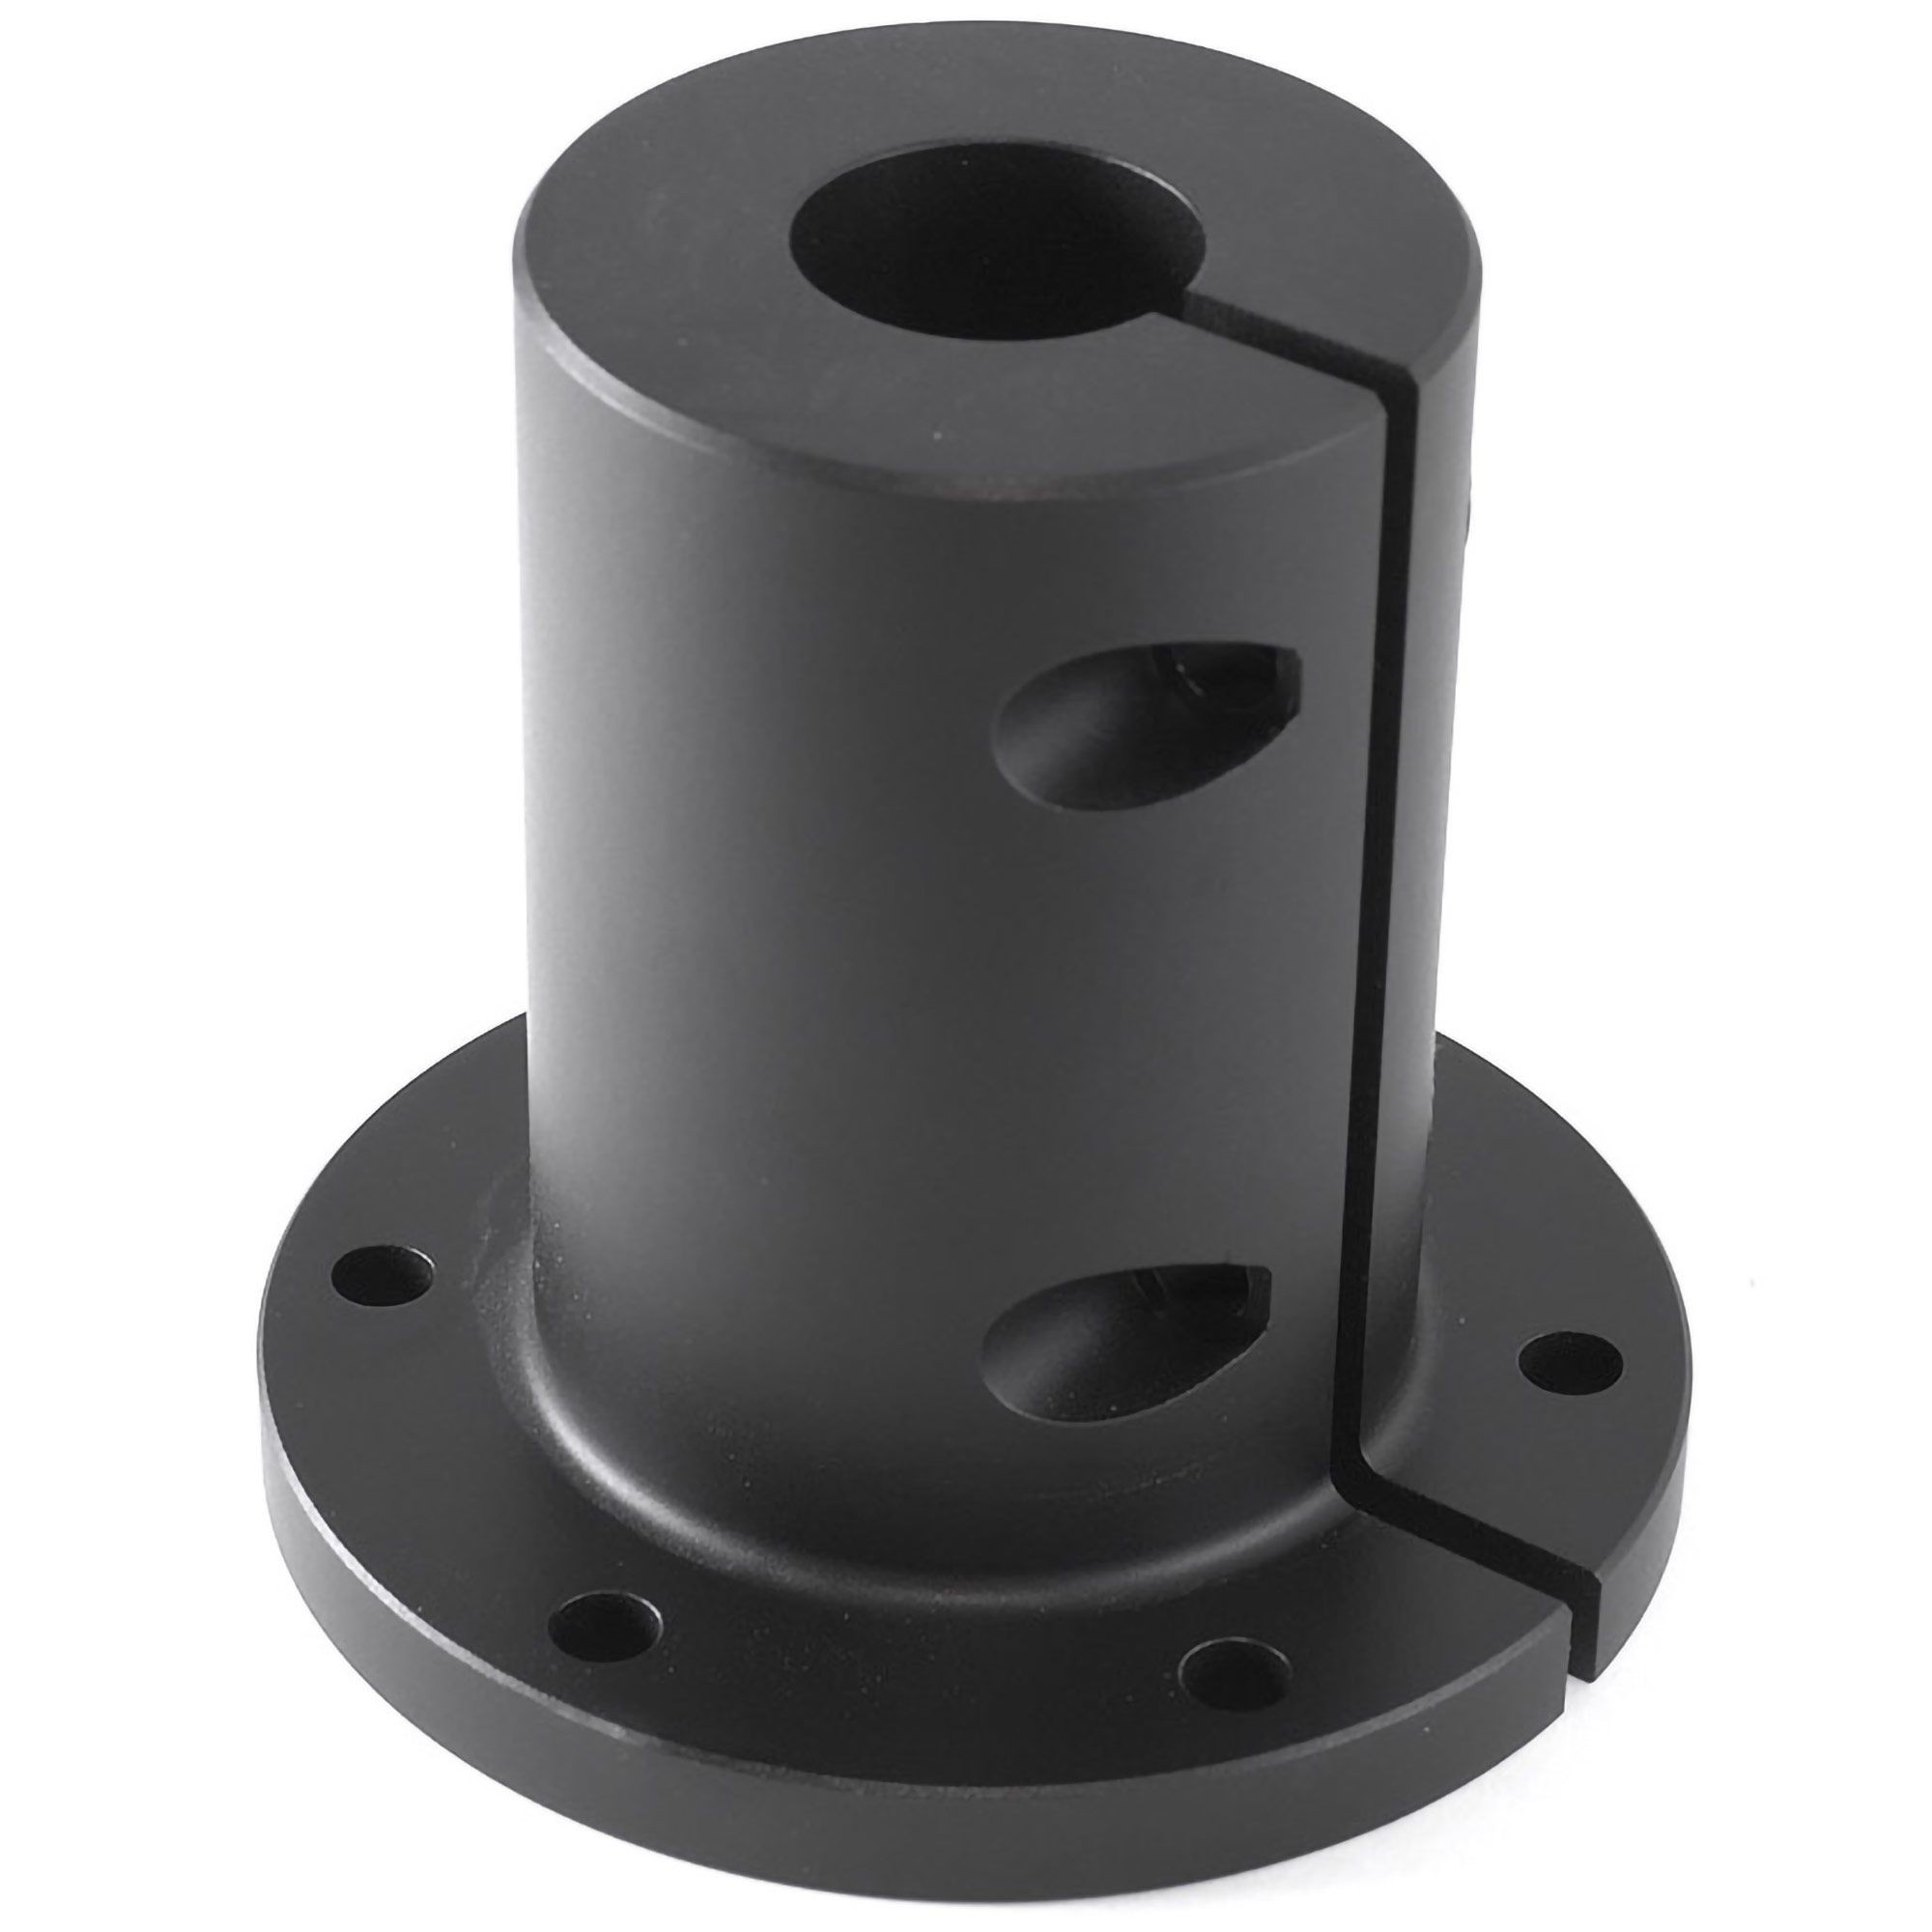
Clamp bushing MIGE – Billet Aluminium
https://sim-lab.eu/shop/product/sla009-clamp-bushing-mige-billet-aluminium-417?category=2#attr=
https://www.demon-tweeks.com/sim-lab-mige-wheel-adaptor-slbsl1220/


 hIOTron
 KushagraK7
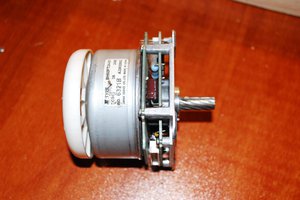
Hello everyone! It seems I made a big mistake and bought the wrong bundle of equipment. Since I have to use a 1: 6 ratio, can I use a third party encoder?
Do I have to use a driver from Thanos?
Please help