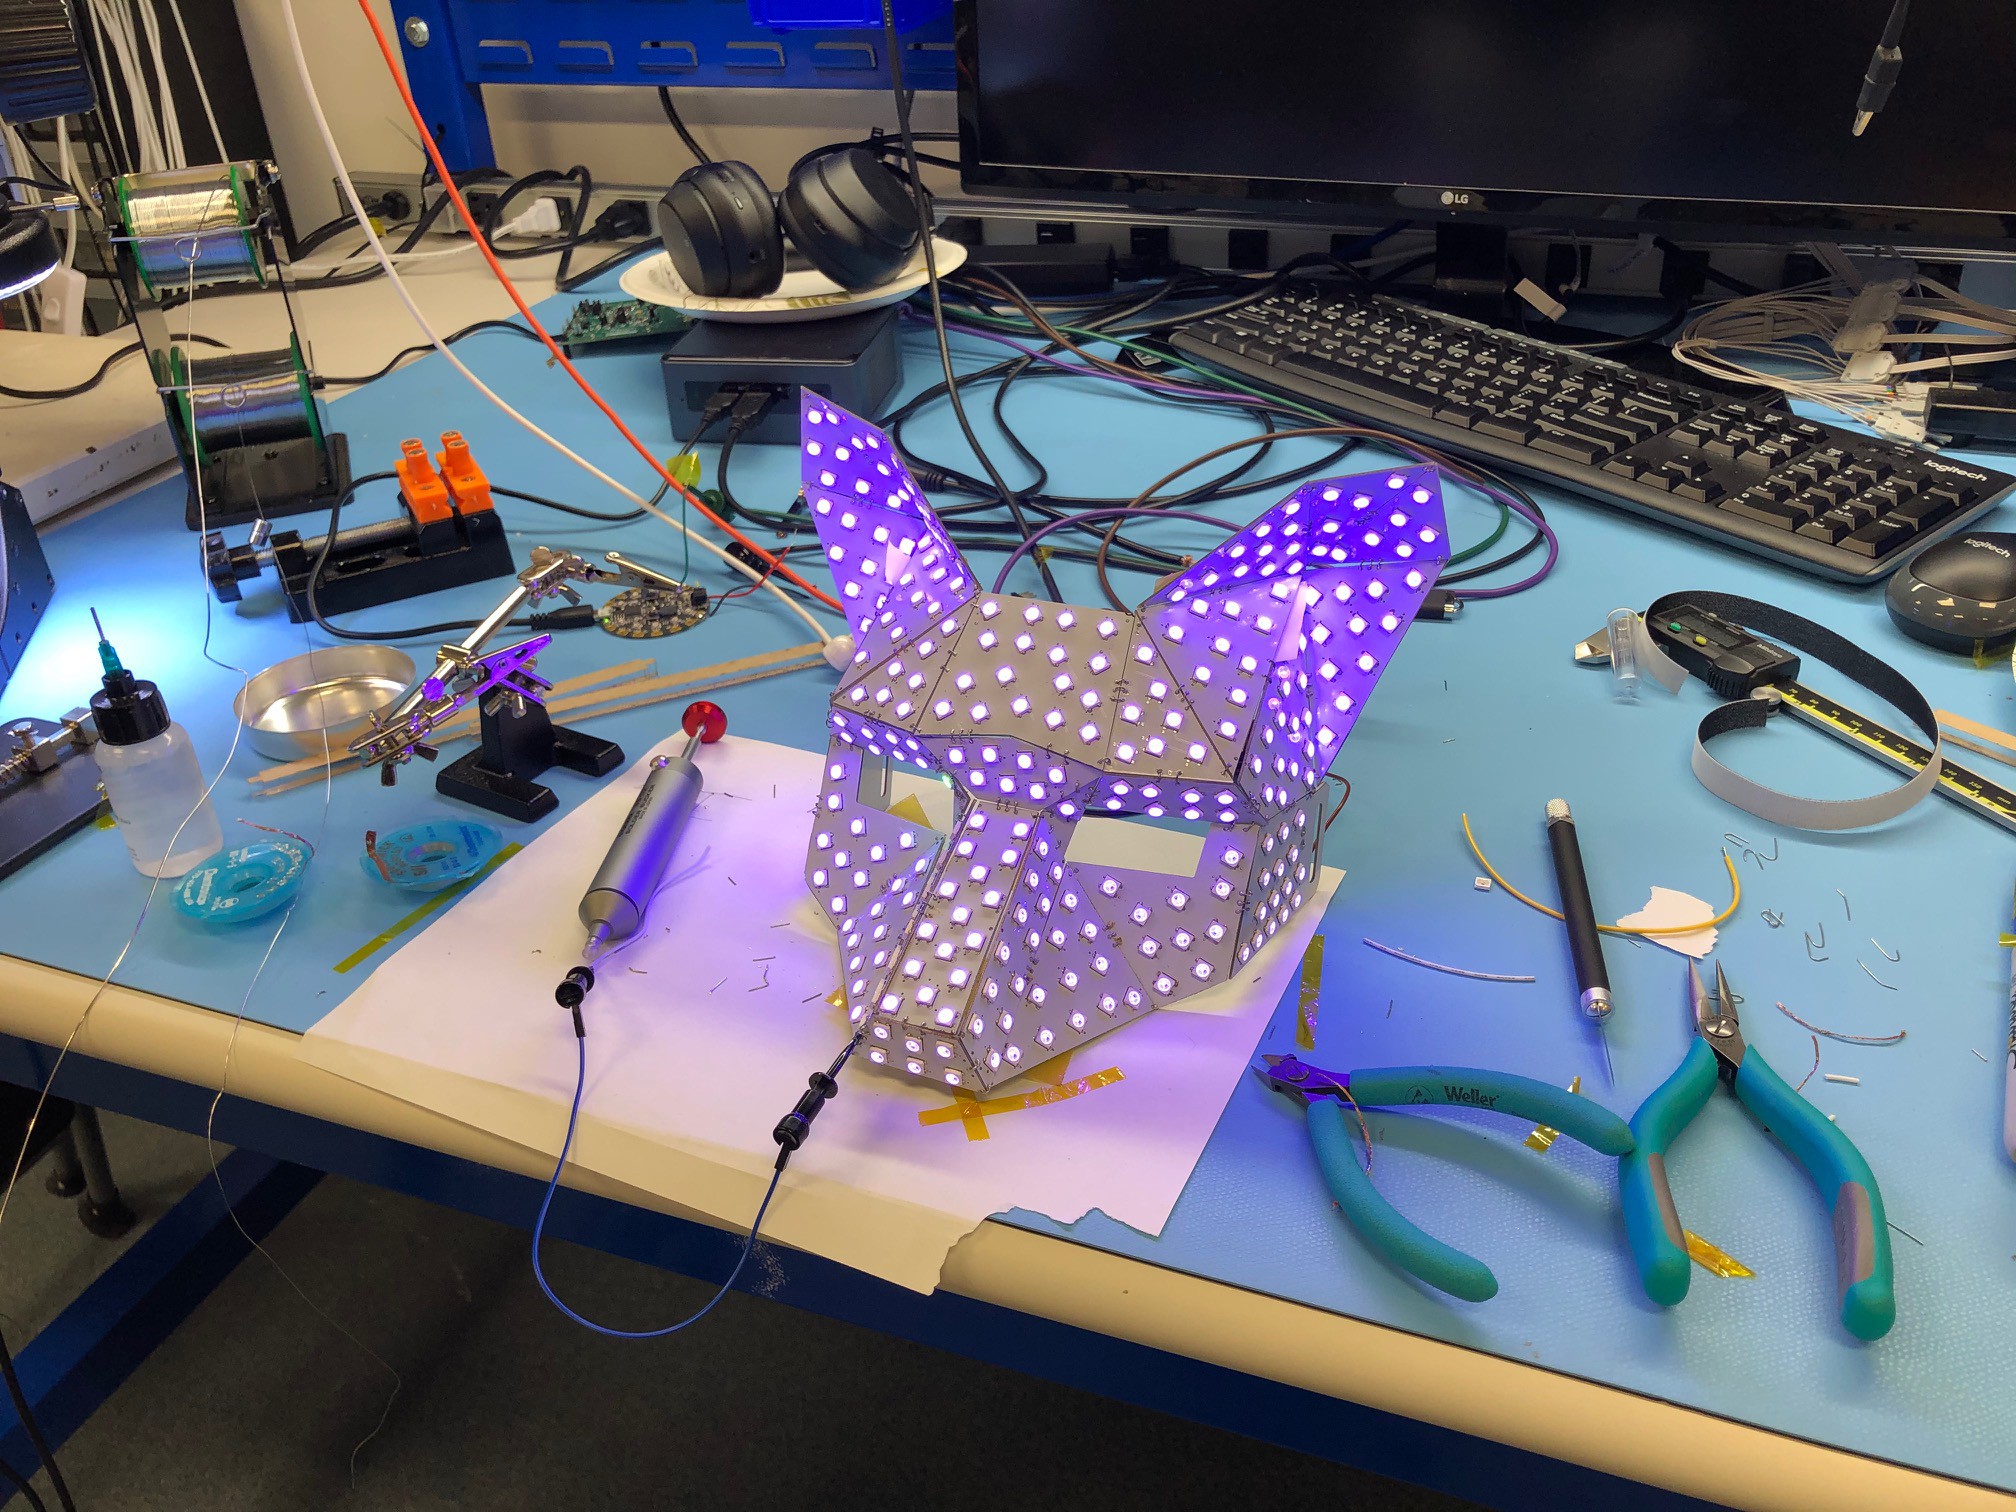
A mask covered in around 300 programmable RGB LEDs
Draws about 5A at full blast
Glowing Low Poly Mask ..... for raves and such
Already have an account? Log in.
To make the experience fit your profile, pick a username and tell us what interests you.
A mask covered in around 300 programmable RGB LEDs
Draws about 5A at full blast
I didn't like how the LEDs were so visible so I decided to make a diffuser to hide them when they are off and blend the light a bit.
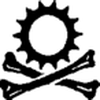
My original plan was to use the same pattern out of laser cut polypropylene (chosen for its bendiness). This proved difficult because it is hard to glue polypropylene. I was able to weld it with a soldering iron but it was too hard to align everything in place. I then realized the best thing to do would be to vacuum form a shell directly on the mask. I learned first hand that vacuum forming over the mask without additional support would result in it breaking (fortunately only by a little). To give it support I filled the (foil covered) mask in expanding foam.
After trimming off the excess I vacuum formed it with 1/16 PETG. This ended up being too thin/soft and captured the outline of the LEDs. I applied another layer but it wasn't any better.
Not sure how to fix this, perhaps ABS or even thicker sheets would work.
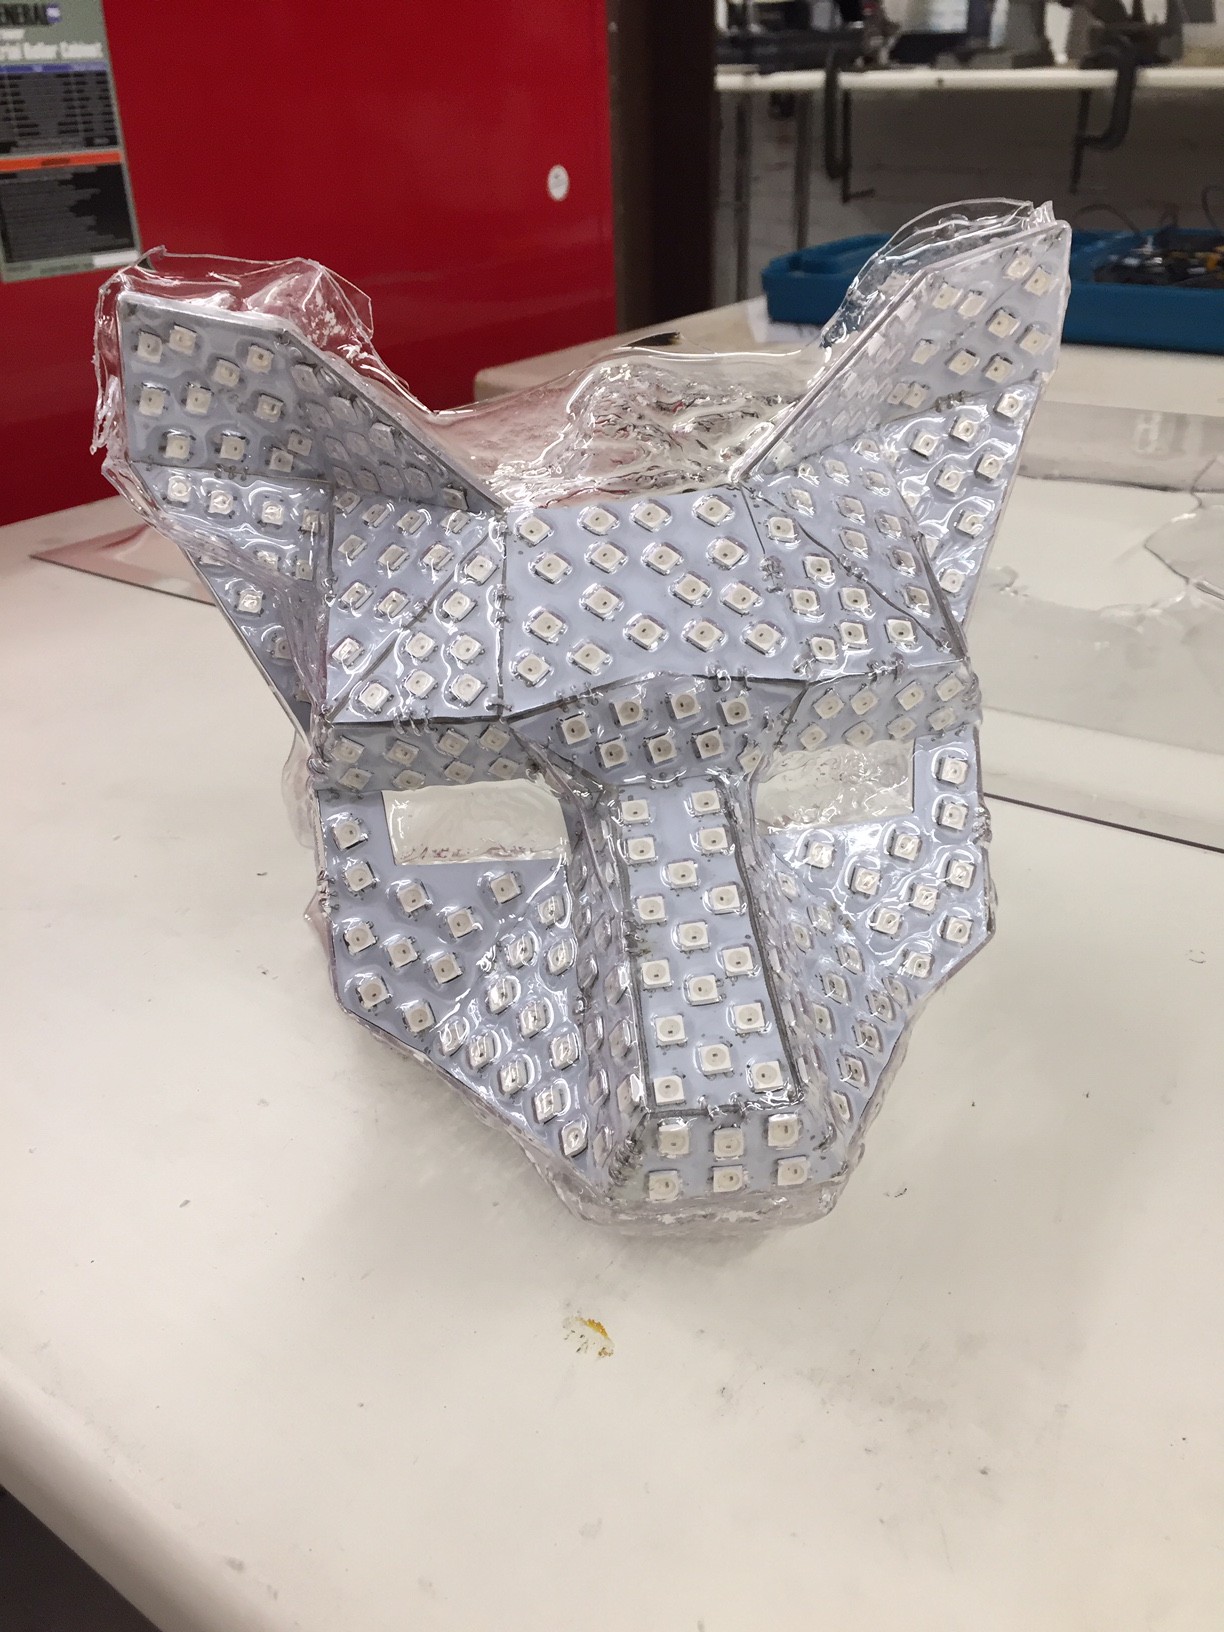
After some trimming (soldering iron hot knife worked great) and spray paint:
Next is to work on the control board...
Didn't get any pictures of the assembly process, but you can think of it a bit like stitch and glue boat building. I looped a piece of wire through each pair of holes. As I connected adjacent pairs, the mask pulled itself in to the right 3D shape. It was a bit of a pain to get all together, but I found keeping the loops tight and using tape hinges to constraint the orientation of each panel helped a lot. Once it was all together, I soldered everything in place.
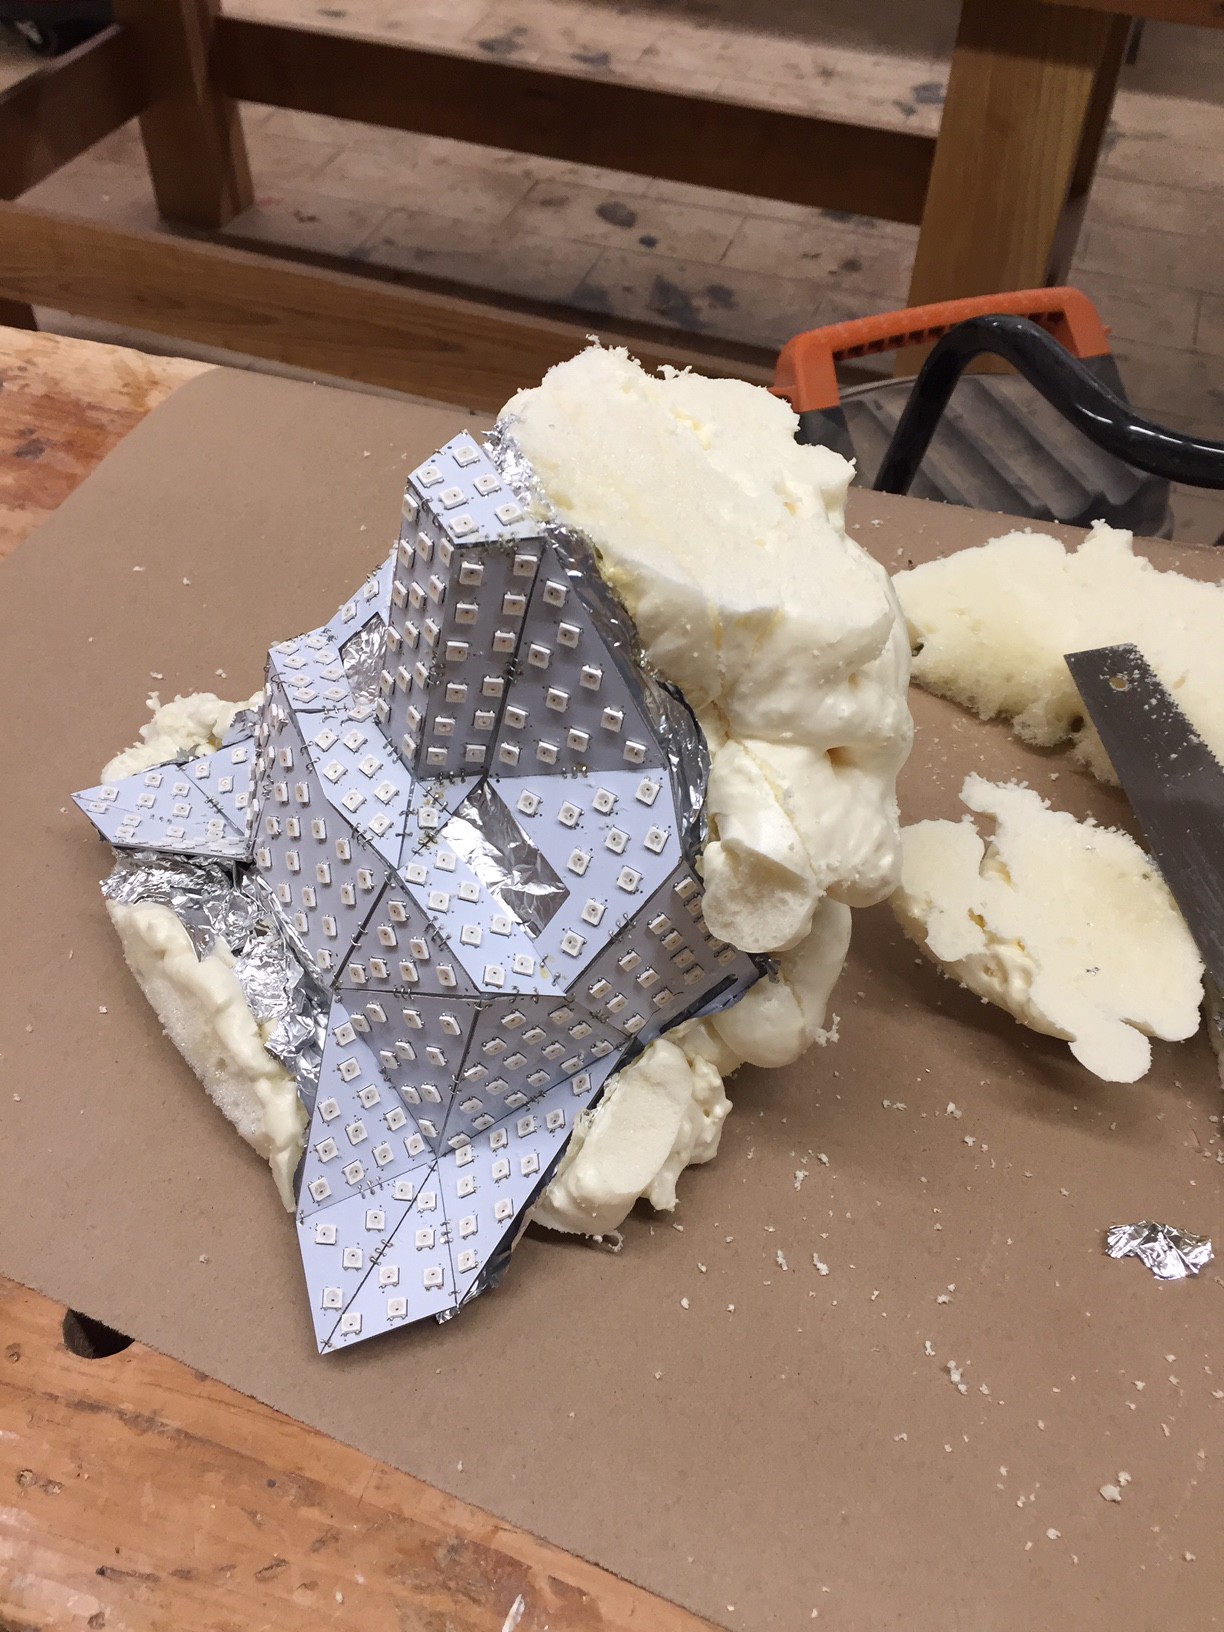
Of course there was a short and I had to go through the rather fun debugging exercise of performing a hardware binary search to see which edge was causing it. Turns out I had flipped one of the most symmetrical panels. Since everything else was locked in place it was fairly easy to cut out the offender and solder it back in the right when. Once I was able to get this picture:
I epoxied over each edge with helped a lot for structural support. I also added some stick on foam to make it tolerable to actually wear.
So one day my friend show'd me some paper-craft masks she made from wintercroft templates. I immediately thought I had to make one covered in LEDs.
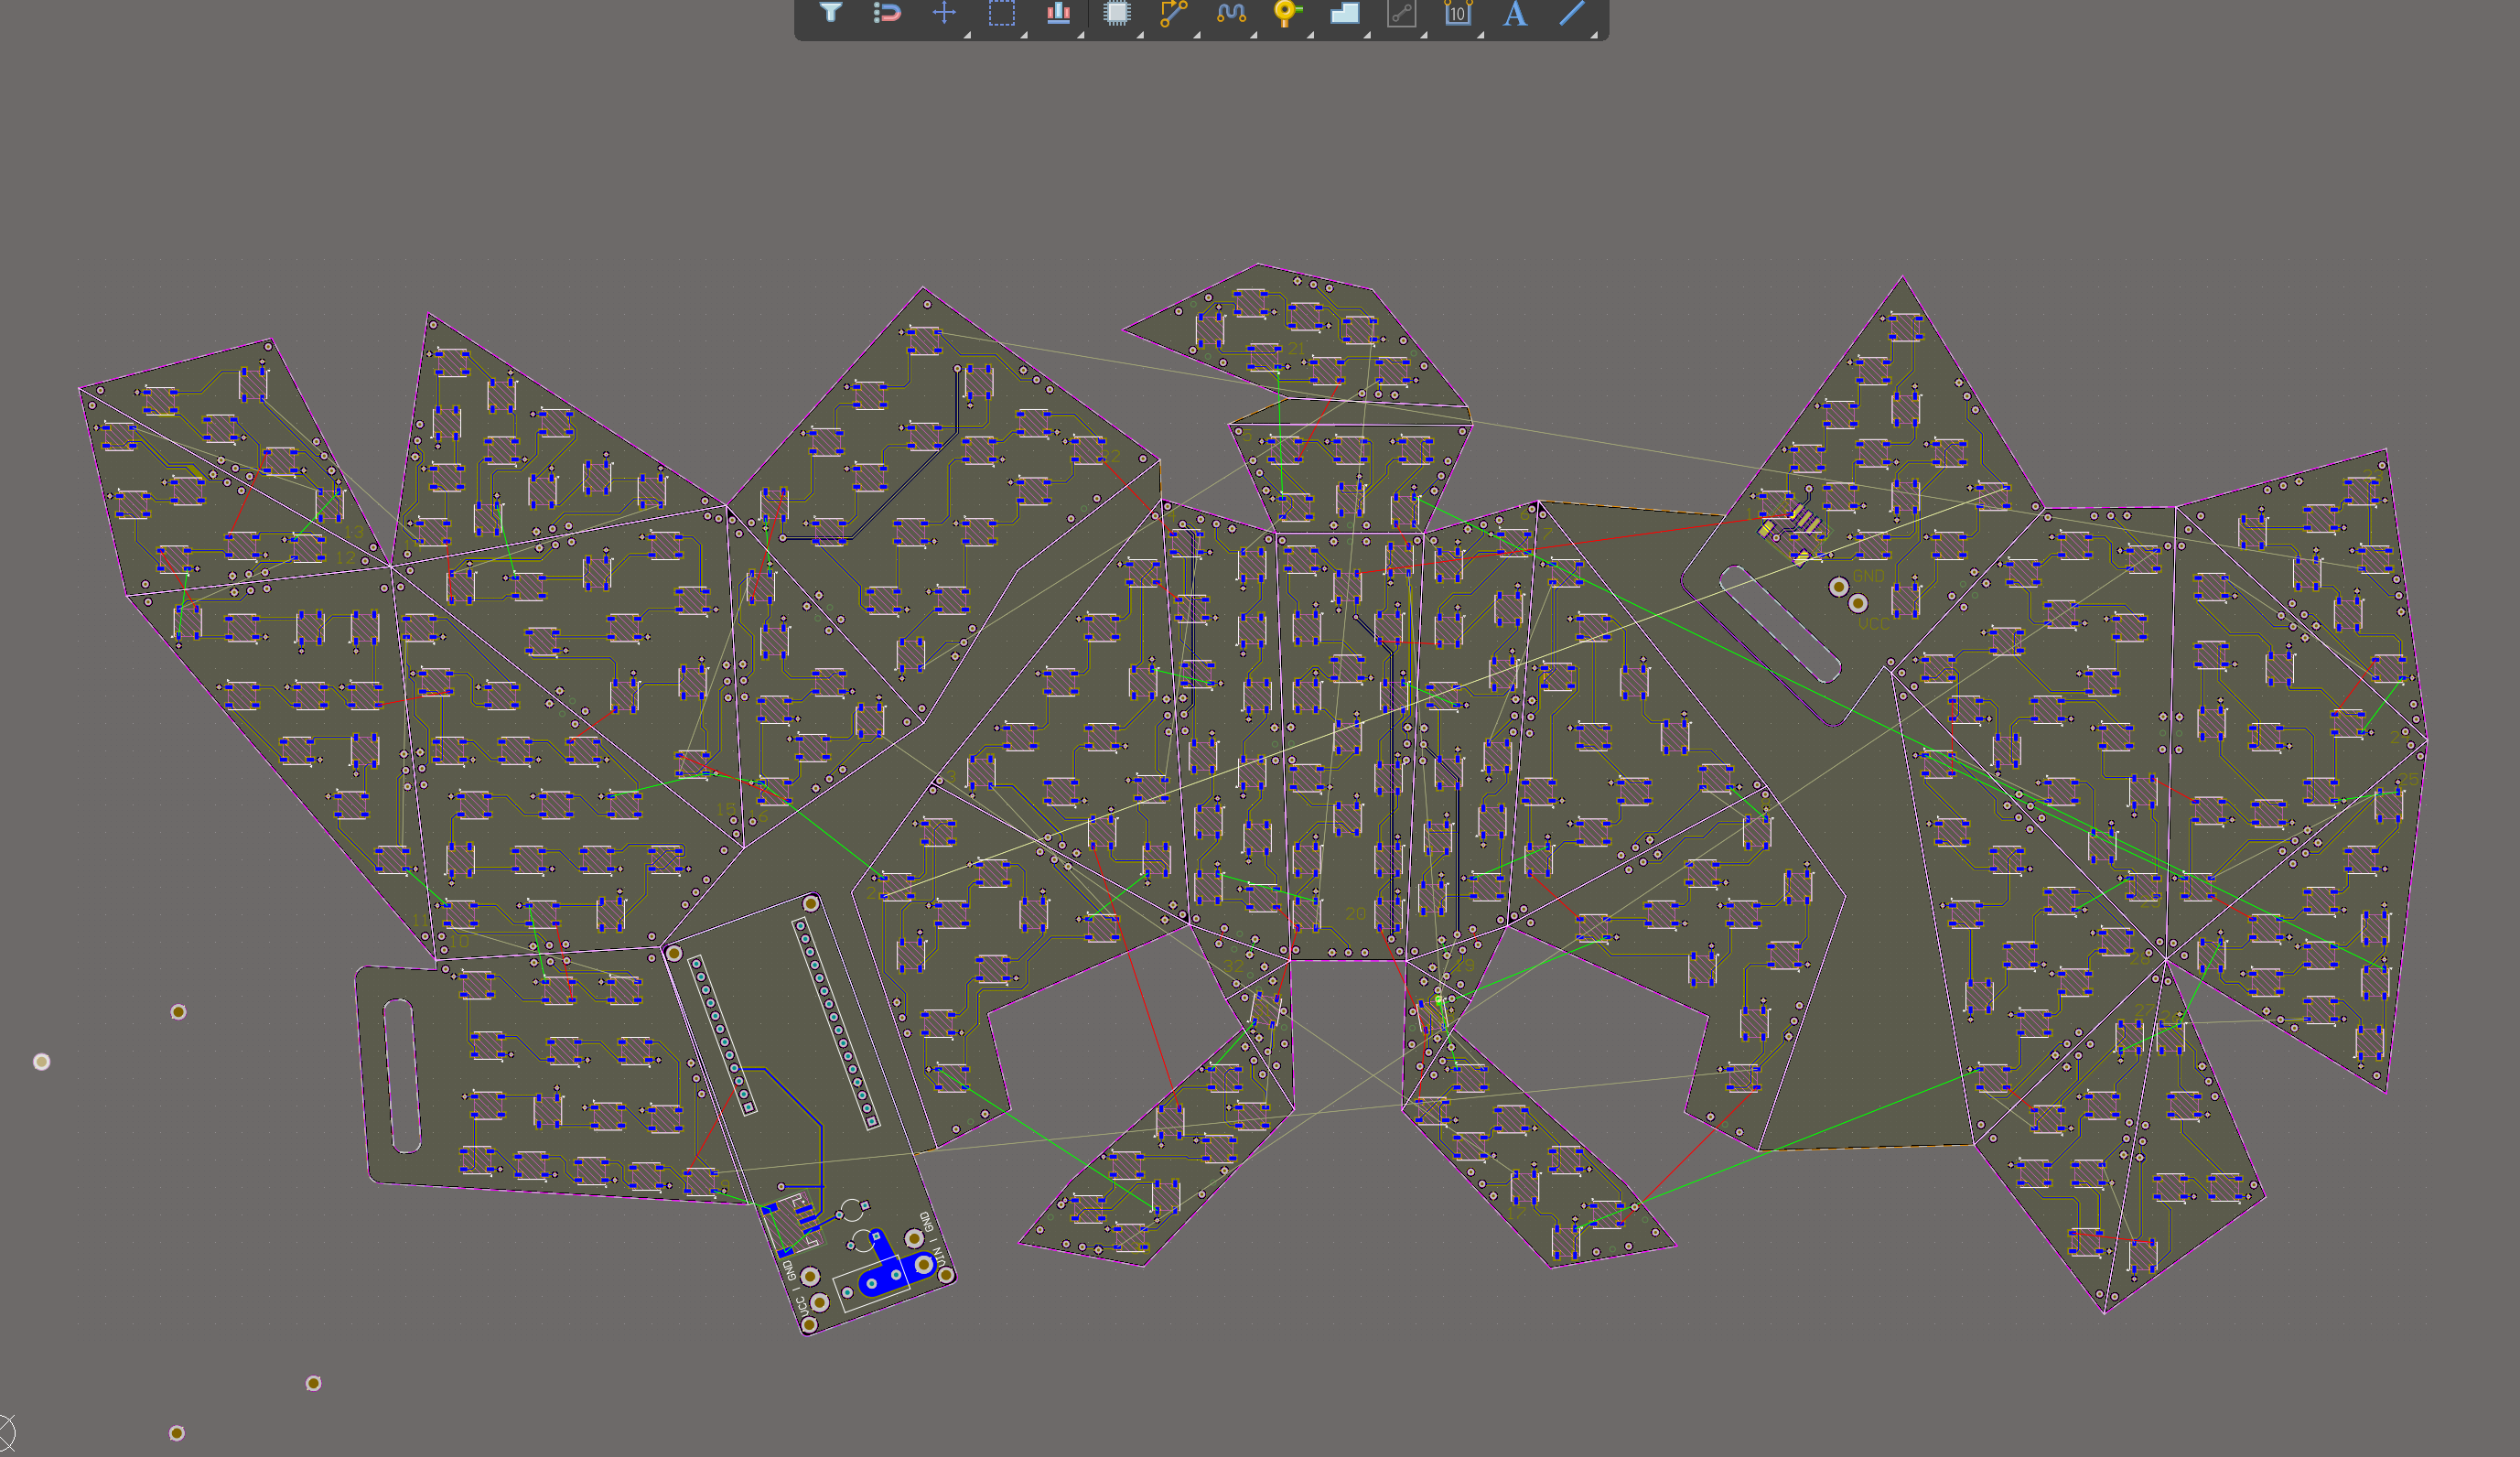
After downloading their design for the Fox Half Mask I opened it in Fusion360 so I could copy the outline for each polygon in to a DXF before transferring that to Altium. I thought for a while if there was a more efficient way to layout approximately 300 LED's, but since each polygon was different I ended up just doing it by hand while watching the entire second season of Succession. Each edge is flanked 3 holes on each side for power, signal and ground (plus some extras for strength). The idea is to place a loop of wire across each pair, transferring current while also making a hinge. Once everything is hooked together I can fold the mask in to its final shape and solder everything down.
In order to make things slightly simpler, I sourced the 5th version (with integrated bypass caps) of the WS2812B directly from World Semi.
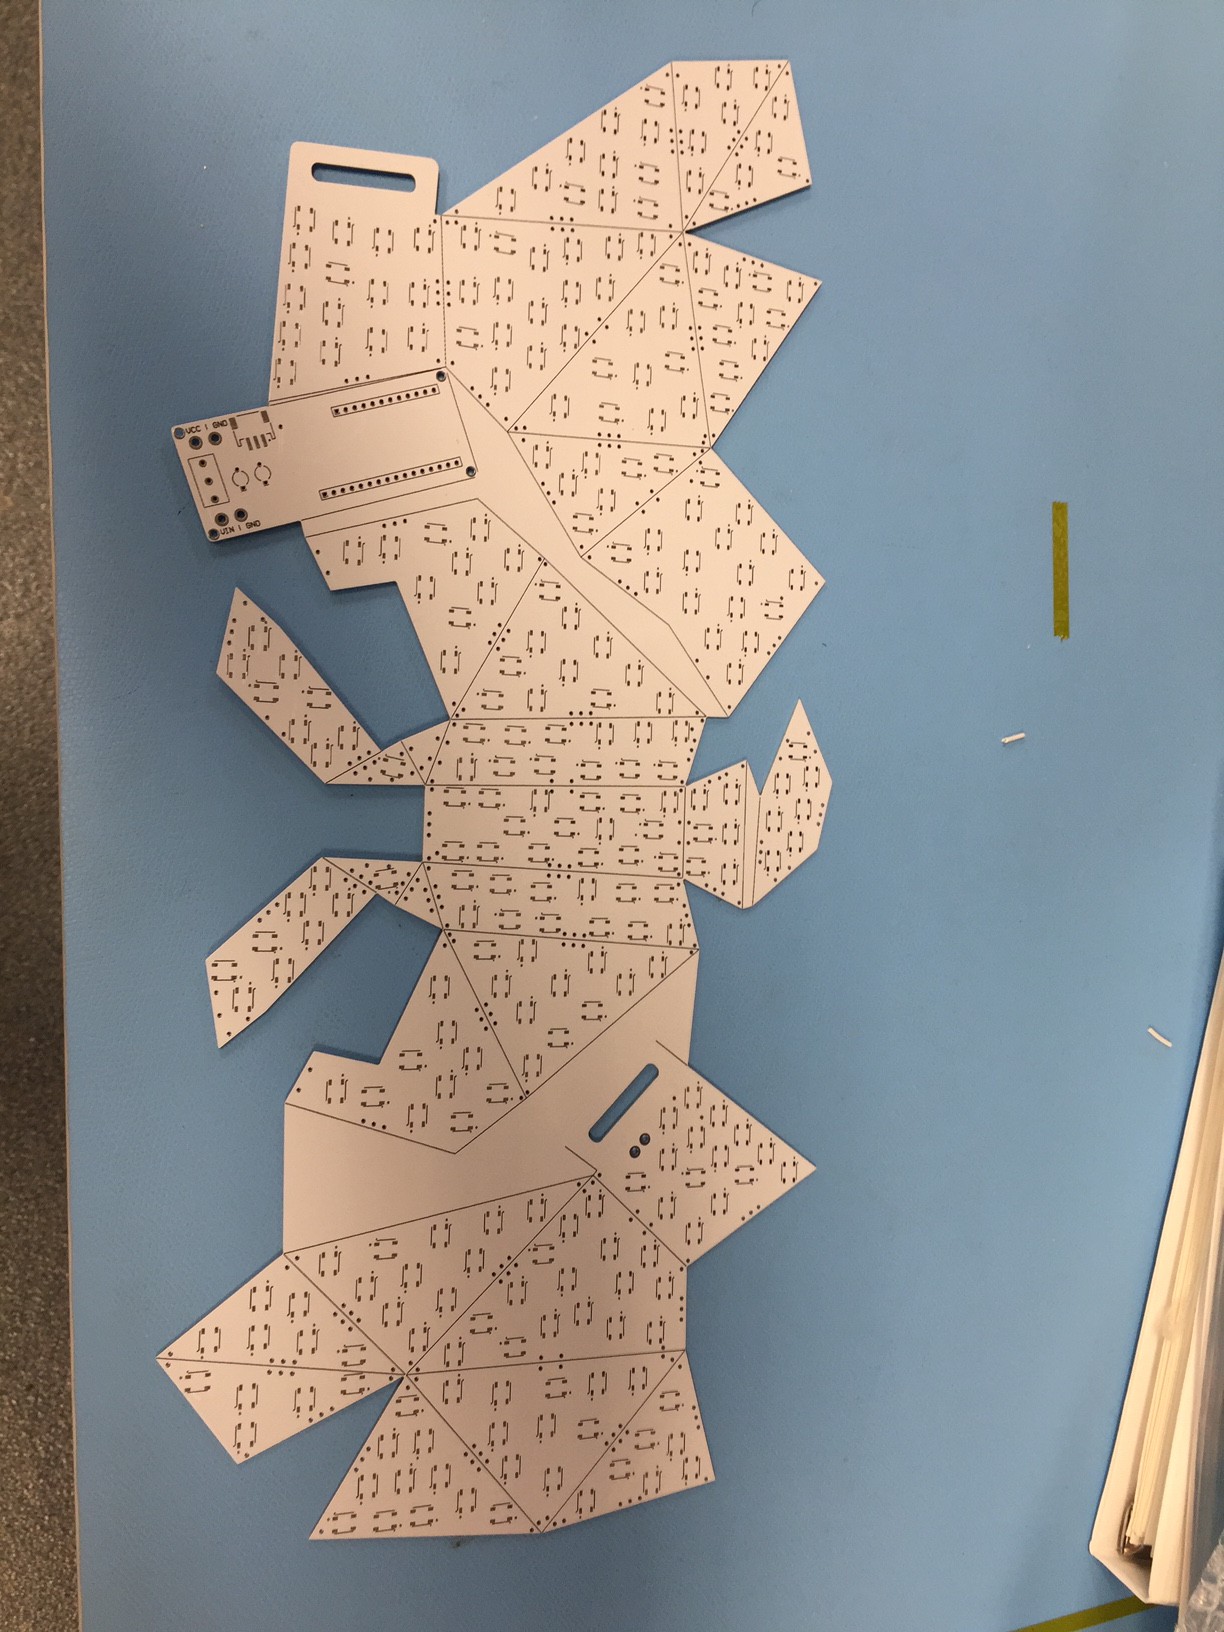
Many hours later I fired off an order to JLC. A few days after that I got these guys:
I didn't take many progress pics, but I laser cut a kapton stencil, did the whole reflow thing and then singulated each polygon with a bandsaw. In the future I'd pull the ground and power pours further back from the edge so they don't get exposed when cut.

Super cool, I've been wanting to do the Dragon Masks from Skyrim in this style but hadn't got to it. Nice work
That's a really interesting way of stitching the boards together at the edges with loops of wire. Almost reminds me of making chain mail. Can you give some more insight on how you did it?
I can get better pictures when I make the next one, but basically I laid all the panels out next to each other and taped the edges to make hinges. Then I cut and bent a bunch of wires in to 'U' shapes, fed one through each pair of holes and then twisted to close it in. The tape was just to help keep the whole thing from getting too tangled as it came together.

 zittware
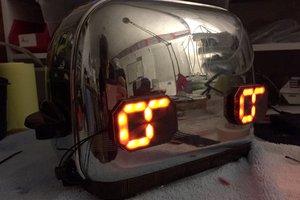
 Sarah Petkus
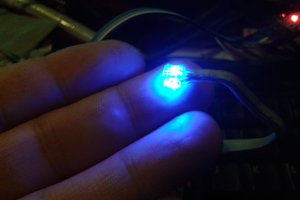
 Morning.Star
 todbot
Wow, great updates. The vacuum forming of the diffuser is a neat technique!