To make the experience fit your profile, pick a username and tell us what interests you.
We found and based on your interests.
I made a quick video to show off a bit more about this synth for folks that are into visuals / audio for learning.
https://diode.zone/w/2onodSXxjpuVyNCV715uzE
Also, I got reverb working after I made this video, so here is a tune with reverb
Since my last post ... many things have happened:
I shared a prototype with a friend and got some good feedback. This was a huge milestone for me.
I discovered that I really don't like the buttons! So many indie electronics projects use them, but I found that they could tear off quite easily, with just a little bit of lateral force. I did a test board to try out ninja flex clear buttons - this feels like close to the correct solution - I love the brightness, and the feeling is pretty good. And most importantly, they feel much more solid than the existing buttons.
The downside of course is that its more cost per unit, but I'm ok with that trade off. The second downside is slightly less front panel lableling space, but that's probably ok.
I've mostly done work on the firmware since the last update. I feel like I'm closing in on a feature set now:
The above is more or less working. Below are things that I'd really like to finish before the next hardware rev
I'm also planning on cutting some features, in particular the onboard speaker / amp. I don't feel like it really makes the unit that much better, and folks will either have headphones or some other speaker. If they want a PO quality speaker, they can buy a PO, they are cheap.
I'm 90% sure that I've figured out the horrible noise that I'm getting from the addressable LEDs, its just a matter of throwing a little RC filter on the power for them, and it goes away. Unfortunately this also means a voltage drop, but in testing I've found that I can lower the noise a sufficient amount and still keep the lights on. I'm a bit worried that when I put this on the actual unit, it won't actually work, but we will see.
In October 22, I spent some time making loops with the unit, just to play around with it some. Not all the loops on this page use it, listen to the ones labeled TDM. Try out loop 1 (for a silly sampler workout), 7, and 16.
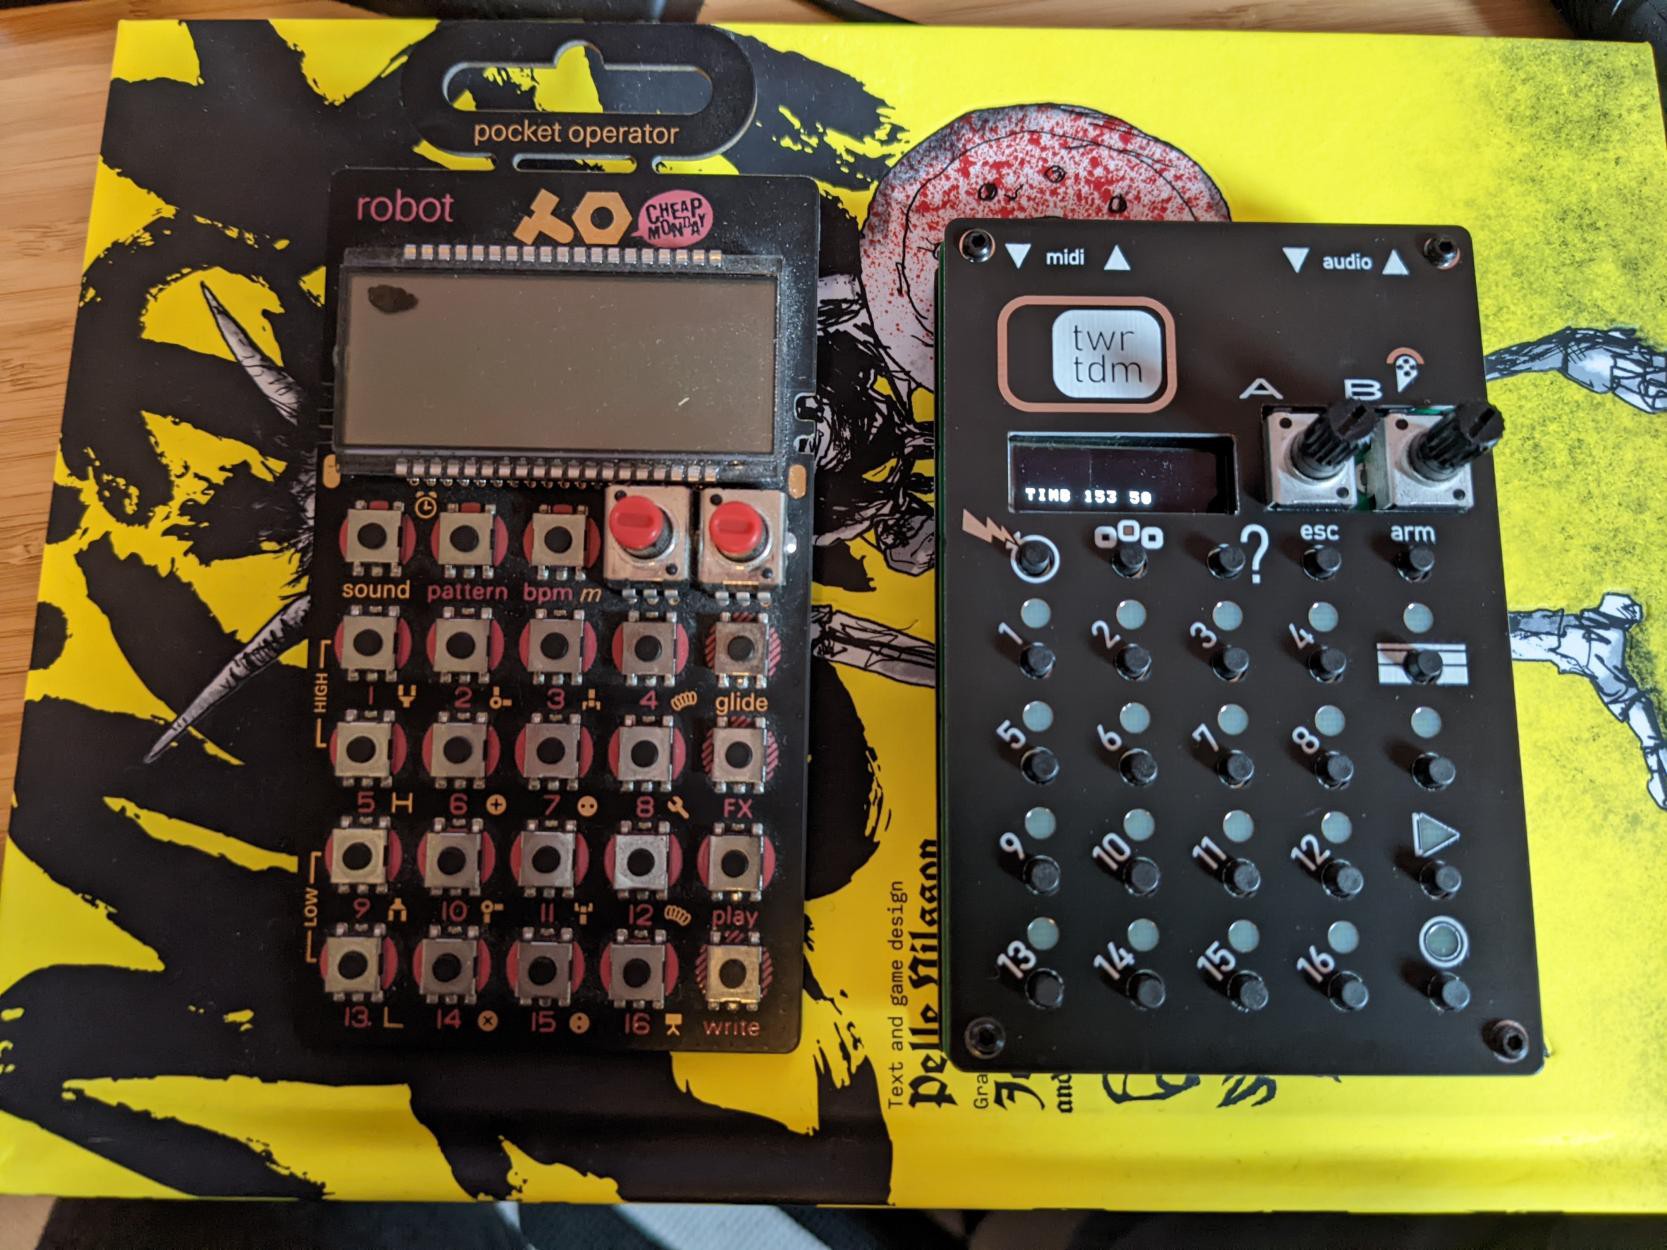
Low effort project log. New enclosure, more streamlined assembly (rp2040 direct onboard). Pocket Operator for scale. Been working on firmware a bunch as well.
This is a short update - projects not dead. Rev 5 has been built and is functional. Quick video here: https://www.instagram.com/p/CRMyKk9BBYB/
I made the git for the project public, and uploaded schematics for rev 6.
update 11/2/2022 I've now made the project on git not public. The reasons are: that I don't want people ordering these boards with all the issues, I'd like to sell a few of them first before people start ordering them, and I'm unsure exactly the level of opensource I want to be on.
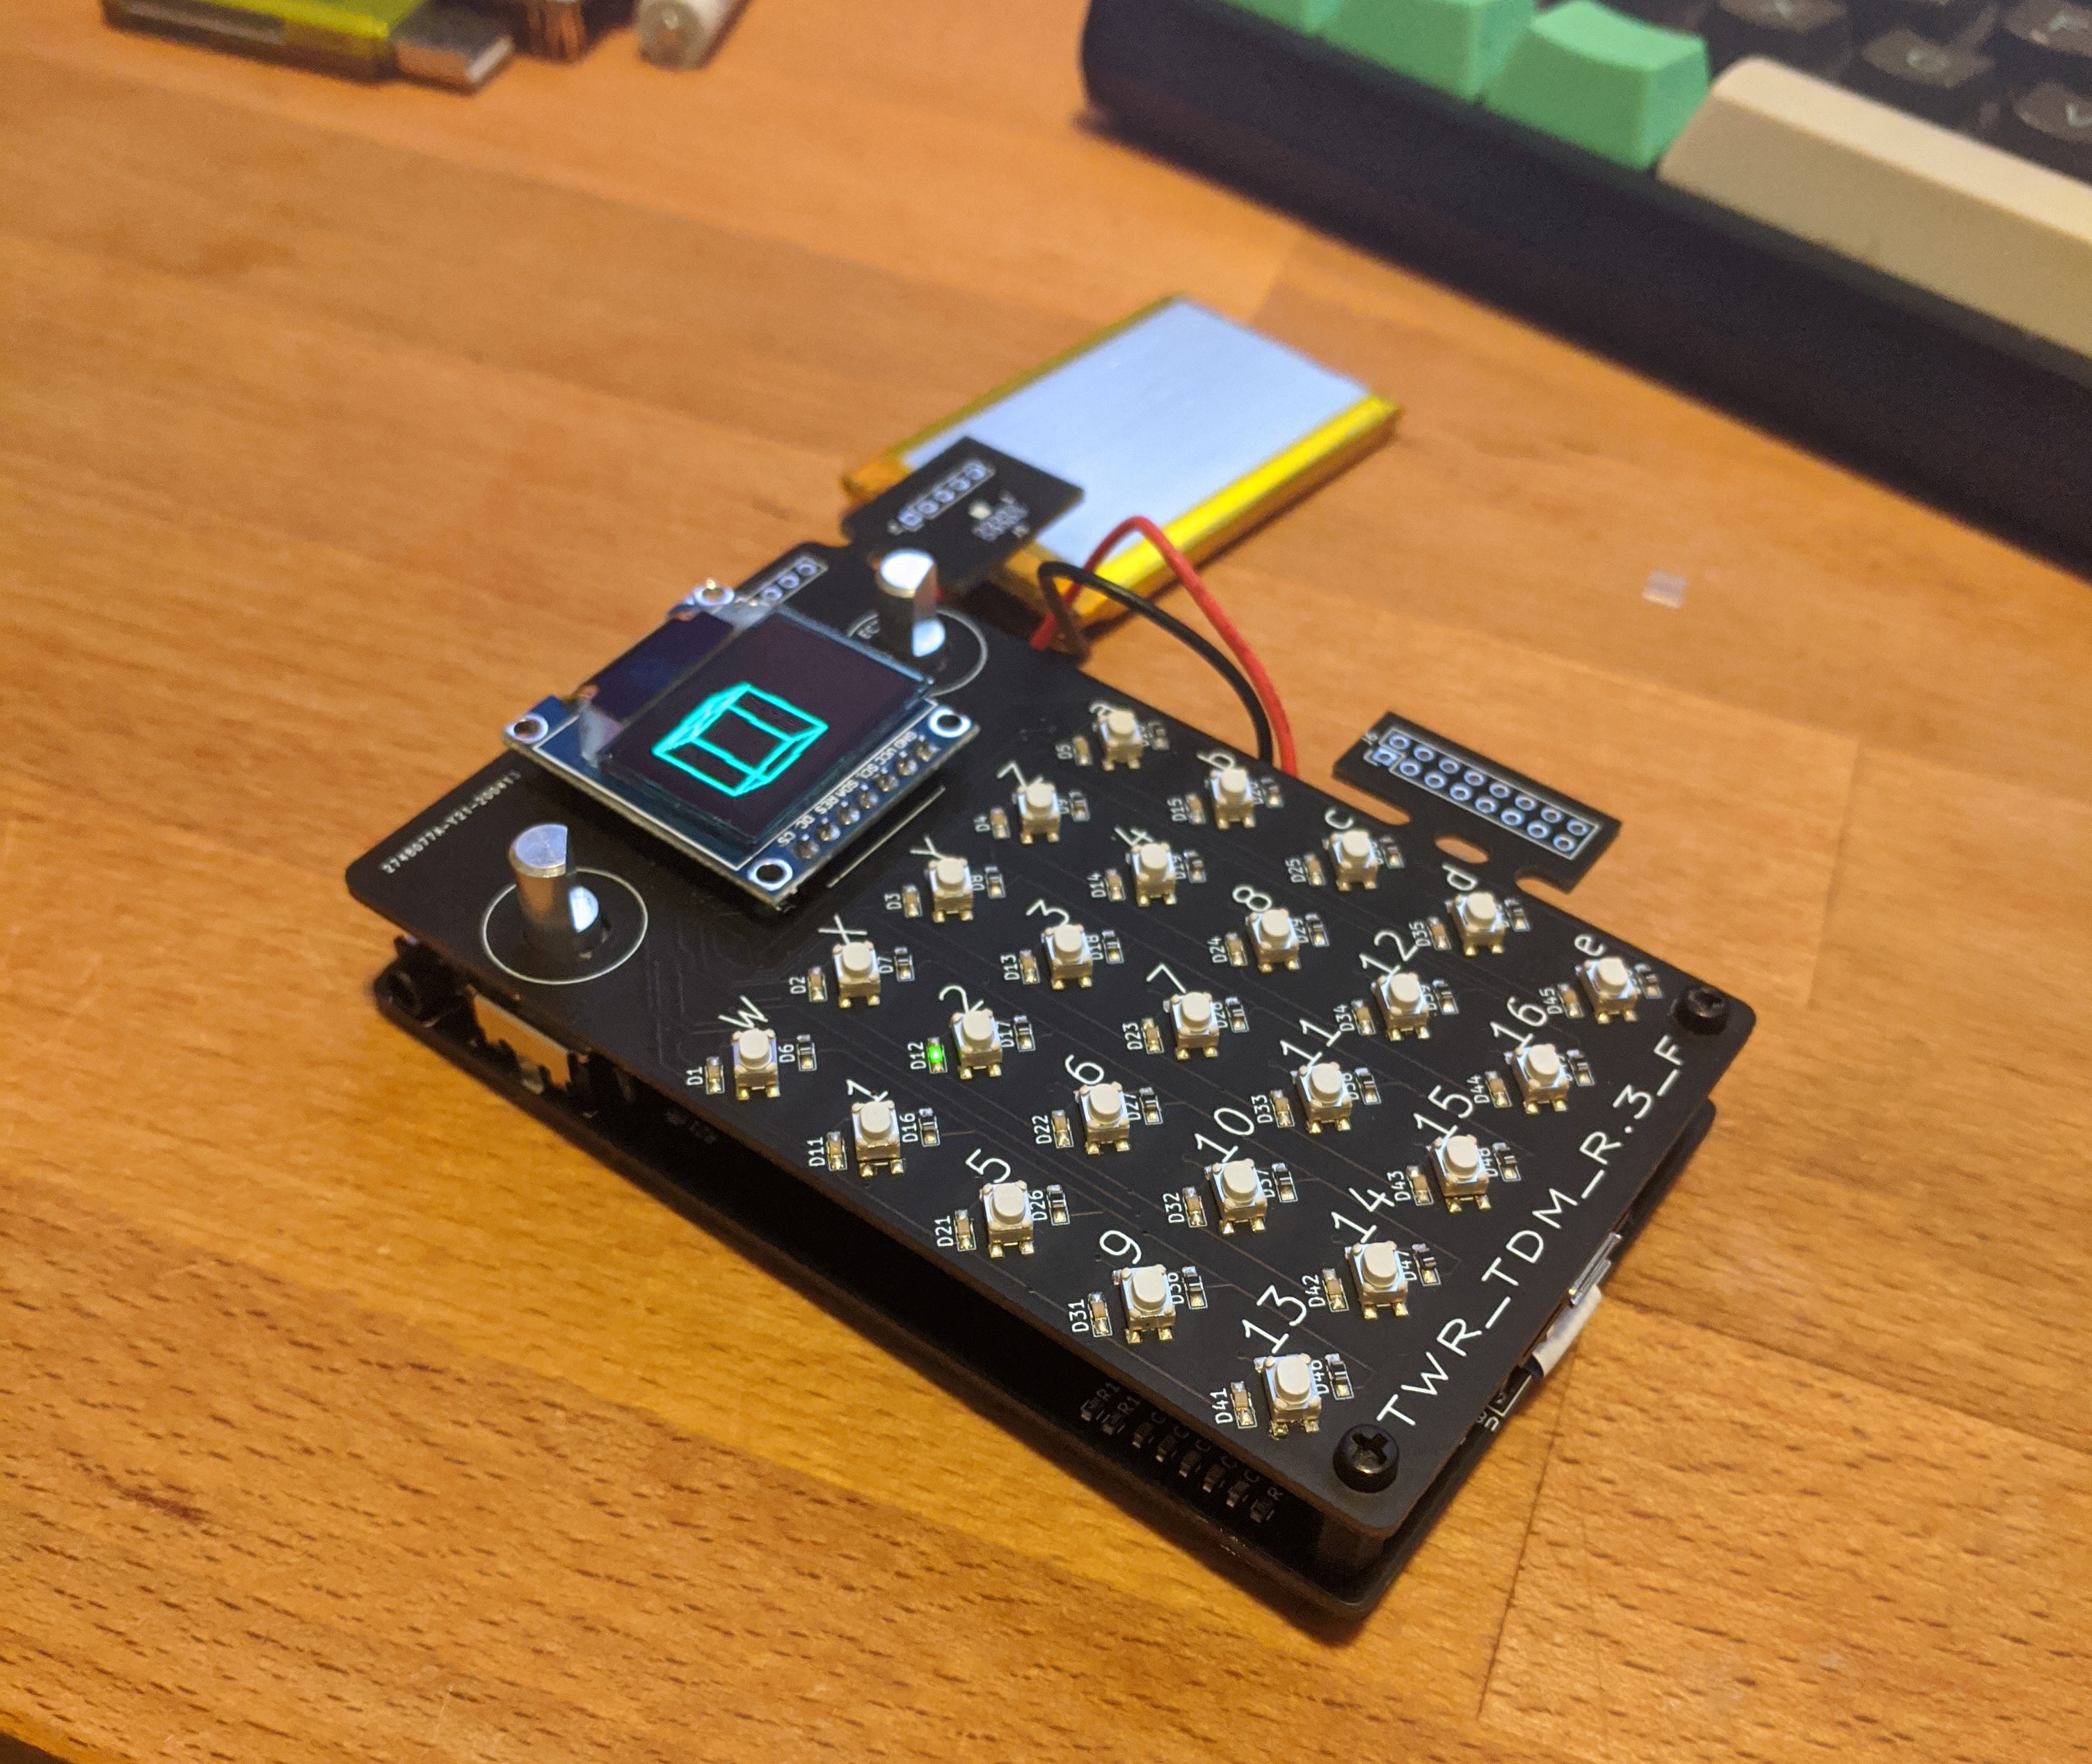
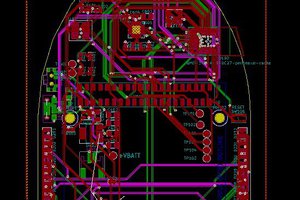
Assembled rev 3 over the course of the past three days - this one makes some pretty major changes:
This time I bit the bullet and actually soldered stuff in, rather than putting female headers everywhere so I could rescue the expensive bits. This let me mostly assemble it, with two execeptions. I stacked up the two ffc connectors that are underneath the teensy, rather than offsetting them. Also the ffc connector doesn't actually fit underneath the battery, so I can't fit it inside the sandwich.
I think both of these issues are fixable.
The larger question I'm up against is if I want to take a hard turn away from teensy, and just make this an stm32 board. It would majorly lower the complexity in some ways, and definitely lower the cost. I could potentially also make it a single board, rather than this sandwich stackup.
I think in need to grind on that question for a few more days, while I'm working on the firmware. Luckily the work that I'm doing on the firmware is transferable to whatever arm chip I end up slotting into the thing, so that isn't a huge issue.
The Basics
This project started because I thought it would be interesting to build my own pocket operator. There are a few other projects diy projects that come do this as well, the Teensy Beats Shield, the Wee Noise Maker, and the polaron in particular are pretty nice!
The core was going to be a teensy 4, since it is wildly overpowered as an embedded audio platform, and I expect I can get a bunch of synth channels running at once. Outside of that, the goal is to make everything battery powered, pocket sized, and with a similar ui layout to the pocket operator.
Rev 1
The initial revision had the following modules:
I also build an io board that had
This io board just broke all the various parts out to a giant pin header, and I ran the matrix from an arduino pro mini clone I had lying around. The arduino pro mini was communicated with over i2c from the teensy 4. This was the part of the project that actually worked! I got nice pwm control of the LEDs, I could get fast button responses, all sorts of nice stuff.
The part that didn't work so well was the back board. I got the boost chip working, and the amp seemed to work (when I fed it external audio) but I irrecoverably messed up the power supply for the codec, so I couldn't get it dumping audio out. I tried changing the configuration of the codec (its a big blob of i2c nonsense you send it) but there was no audio no matter what I did. Turns out the issue was elsewhere.
You may notice this revision is dusty as heck. The front board was ordered in september, and the backboard was from november.
Rev 2
I didn't make a ton of changes to the main board on this one, other than fixing the issue with the power supply for the audio codec. Once I had that up and running though, I discovered that the audio still wasn't working. I went digging, and found that the in and out lines for the i2s interface were flipped. I had copied the schematic from the teensy audio shield, and those had them flipped. Luckily I was able to easily bodge a fix for this.
you will notice the front board is listed as r.1, I started numbering them at zero, but then changed it. Bad version control, whoops.
The front board went through more changes. I decided not to bring the pro mini onto the board, but rather use an i2c gpio expander. I didn't do the calculations up front, but it turned out that I couldn't push data to it fast enough to accomplish pwm brightness control of the LEDs.
I messed up the pin header for the oled, so I couldn't actually solder it into place, and due to the fact that I was adding female headers to socket the teensy, that meant it was too tall for me to mechanically assemble the sandwich anyways. I also ordered the wrong amp chip, it was a class a/b instead of a class d. I don't know that this really affected the output a ton, but I couldn't get a clean sound out of my speaker.
The good news was that the buttons and lights basically worked, the oled basically worked, and I could write software for it. I started building a sampling drum machine for it, but got kinda bored of writing dsp code I knew had been written a million times before. A few months passed while I worked on other projects, and then I came back to it and decided to port mutable instruments plaits so I could quickly get a ton of really nice sounds.
View this post on InstagramPlaits on teensy snare rush workout #synthdiy #mutableinstruments
A post shared by Jonathan Brodsky (@jonbro5556) on Apr 12, 2020 at 10:28am PDT
I also started thinking about what rev 3 for the hardware would look like. I have the hardware on hand now, and will post...
Read more »
Create an account to leave a comment. Already have an account? Log In.
no, not yet! I'm trying to figure out what level of "open source" this will be on. My guess is that it will be open code & schematics, with gerbers coming down the line at some point.
ah thanks! yeah, all my hobby electronics stuff is in storage right now, but hopefully I'll be able to get back to this project shortly :)
I am, but the other thing I've done is ported mutable instruments plaits to the teensy so I can use that as drum modules. The audio library I'm just using as a dsp graph basically, so I don't need to write my own.
Become a member to follow this project and never miss any updates
 John Adams
 Michael R Colton
git project not available?