Close
0%
0%

Raspberry Pi 0 HQ USB Webcam

Raspberry Pi 0 W + High Quality Camera = High-quality USB Webcam!

Public Chat
Similar projects worth following
A firmware that enables the Raspberry Pi 0 W to be used as a High Quality USB Camera. An open-source, low-latency, fast-to-boot, high-quality webcam based on the buildroot project. You can use whatever lenses you want. No more fiddling with expensive DSLRs and capture-cards!

Motivations

I've been thinking about webcams for a while after I read about numerous pieces about how terrible laptop built-in webcams are in the day and age of zooming-from-home. People seem to have problems with laptop built-in webcams on the following aspects:

There are a couple of remedies people came up with for the built-in webcam quality:

  • Buy an external webcam. Cons: They only give marginally better results on picture quality.
  • Use your phone to do meetings. Cons: Small phone screen, impossible to see shared meeting screens well, impossible to share screens, impossible to access work documents at the same time, limited by the functionalities that the mobile app provides.
  • Use your phone as a webcam. Cons: Cumbersome software setup, lags.
  • Use a professional camera + HDMI capture card as a webcam.

Many "professional" streamers choose the last solution, and I have tried to do it myself too. It took me two months to wait for my $50 capture card from China to arrive. Then when it finally came, I realized this is a very cumbersome setup. First, my camera (a Sony NEX-5R) cannot output a "clean" HDMI output (i.e. without the GUI elements). The only way to get rid of that stupid overlay is to buy another newer camera (say, a Sony A7 is $500+ used). Second, the camera does not charge or stay charged on USB, so I have to buy another dummy battery that feeds from a DC source. Third, this setup is not portable.

Moreover, none of the above solutions allow us to trust, control, and improve on them (At least, physically disconnecting them solves the privacy concern, which isn’t something you can do with a laptop built-in camera).

Raspberry Pi as a webcam?

So I set out to build a webcam of my own. Recently, I noticed that the Raspberry Pi Foundation released a high-quality camera, which is a fantastic candidate. It's a professional camera with a very big sensor and an assortment of interchangeable lenses. Being in the right hands, this can be a very powerful tool to achieve many things. Can it be a webcam to use with my ordinary computer though?

I know it is possible to stream the webcam over the network, and then use a computer to turn the network stream back to a virtual webcam. However, because this setup depends on the operating system, the setup is not portable. It also introduces lags which makes the voice trails behind the images.

So in short, I want the Pi Camera to appear as just an ordinary USB webcam to my laptop.

Challenges

With a bit of googling, I learned that it is possible to make the Pi appear as a USB webcam! There is a mode on the Pi 0 USB port called USB gadget mode, which makes that port a guest port for the system it's plugged in to. I got a good start with Dave Hunt's post. However, there are things to be desired with his software solution. First, it uses Raspbian as a base, which means you have a writable root, and an abrupt disconnection of power (we will do that with a webcam) will cause filesystem corruption. Second, the camera takes a long time to start. Those are the two main barriers to this approach: It works as a hack, but it works less well as a solution you'd depend on. And what you need your webcam to do? To work every time when you need it, right?

Making the webcam boot quickly is a challenge: You'd have to build a dedicated linux system that can boot as quickly as possible. This makes using just Raspberry Pi OS a unviable choice. It needs to, also, makes unclean shutdowns not corrupt the filesystem. That means the filesystem needs to be read-only.

So, I set out to build a more robust firmware for the project. The following is the documentation of what I did to get the firmware working, and I think what I went through can be helpful if you want to roll your firmware...

Read more »

  • 1 × Raspberry Pi 0 W or WH
  • 1 × Raspberry Pi 0 Camera Ribbon
  • 1 × Raspberry Pi Camera or Raspberry Pi High-Quality Camera
  • 1 × Micro SD card

  • Too dark? Too bright? Tweak it!

    Huan Truong10/04/2020 at 02:26 0 comments

    I am currently testing v1.30 of the new firmware. It allows you to tweak all factors related to the webcam if your image is too dark or too bright. It can even do some unimpressive emboss filters to your webcam... if you're crazy enough to do it.

    Customizing camera settings

    Override camera settings temporarily:

    Log in to the debug interface. Then list all tweakable parameters:

    /usr/bin/v4l2-ctl -L | less

    Then you can directly apply parameters on the fly:

    /usr/bin/v4l2-ctl -c auto_exposure_bias=15
    /usr/bin/v4l2-ctl -c contrast=0
    

    Override camera settings permanently:

    Mount the SD card on your computer, and create a file called camera.txt in /boot and put all parameters you want overridden, e.g:

    #Tweak the auto exposure bias
    auto_exposure_bias=15
    #Tweak the contrast
    contrast=0
    

    You can edit camera.txt on-target by remounting /boot read-write:

    mount -o remount,rw /boot

  • Now the webcam works on macOS too!

    Huan Truong09/04/2020 at 05:24 0 comments

    Woohoo! It turns out that an incorrect USB speed setting caused the webcam to not work with macOS. Thanks to the excellent suggestion from Leonti, the issue is now fixed. As you can see, we are looking at the webcam on QuickTime. Excellent!

    Now the webcam should work in all major operating systems.

    With version 1.21, I also tweaked the auto-exposure so it doesn't over-exposure the object resulting in a more overally pleasant picture. 

    Happy Zooming!

    Get V1.21 at: https://github.com/showmewebcam/showmewebcam/releases

  • How to tweak your camera settings

    Huan Truong08/27/2020 at 00:31 0 comments

    For debugging, a 115200 baud serial interface is provided as a ttyACM device:

    • Please use screen or minicom to connect to it.
    • Use username: root, password root.

    Also, there is a untested serial interface on the serial 40-pin header: https://pinout.xyz/pinout/uart

    If you want to modify the image content the quick-and-dirty way (not recommended):

    Tweaking your camera settings

    After you get into the pi by the debugging ttyACM interface, you'll see:

    # cat /opt/uvc-webcam/start-webcam.sh
    #!/bin/sh
    
    
    /opt/uvc-webcam/multi-gadget.sh
    /usr/bin/v4l2-ctl -c auto_exposure=0
    /usr/bin/v4l2-ctl -c auto_exposure_bias=15
    /usr/bin/v4l2-ctl -c contrast=0
    /usr/bin/v4l2-ctl -c video_bitrate=25000000
    
    /opt/uvc-webcam/uvc-gadget -f1 -s2 -r1  -u /dev/video1 -v /dev/video0

    Now, you can change the v4l2 parameters on the fly and preview their effects on your camera output.

    To get the list of tweakable parameters:

    # /usr/bin/v4l2-ctl -L

    This is how I tweaked the settings for V1.1. I think it's possible to squeeze even more performance out of this camera.

  • V1.1 released - better auto exposure settings

    Huan Truong08/26/2020 at 07:33 0 comments

    I just released V1.1 with some tweakings to image quality. This release should make your camera do a more agressive auto-exposure and thus improve the image quality in less-than-ideal lighting situations.

    Sample image (1x1200 lumens light front, 1x1200 lumens light back):

    V1.0

    V1.1

    Get it while it's still hot: https://github.com/showmewebcam/showmewebcam/releases

  • Comparison between Pi 0 and other solutions

    Huan Truong08/26/2020 at 01:16 0 comments

    Got some rough comparison, excuse the model, that's me.

    Dell XP 13 2019 Webcam

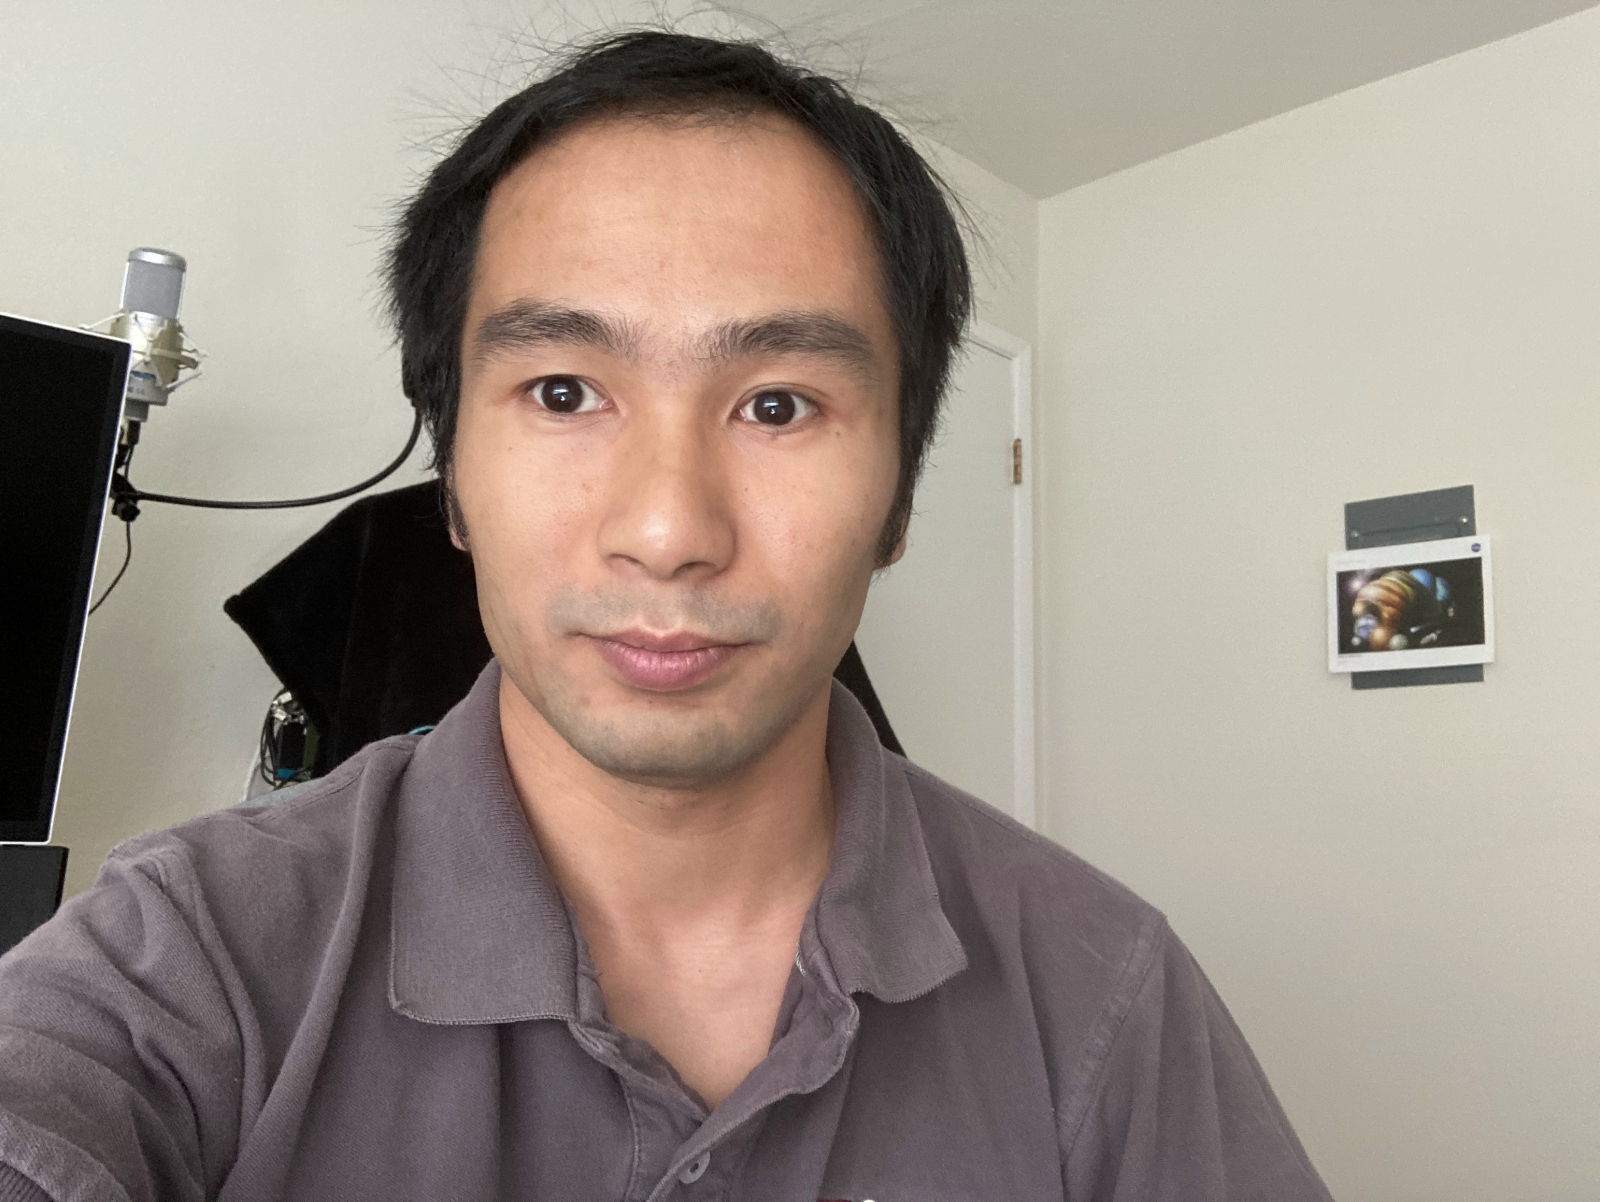
    iPhone SE 2020 front camera
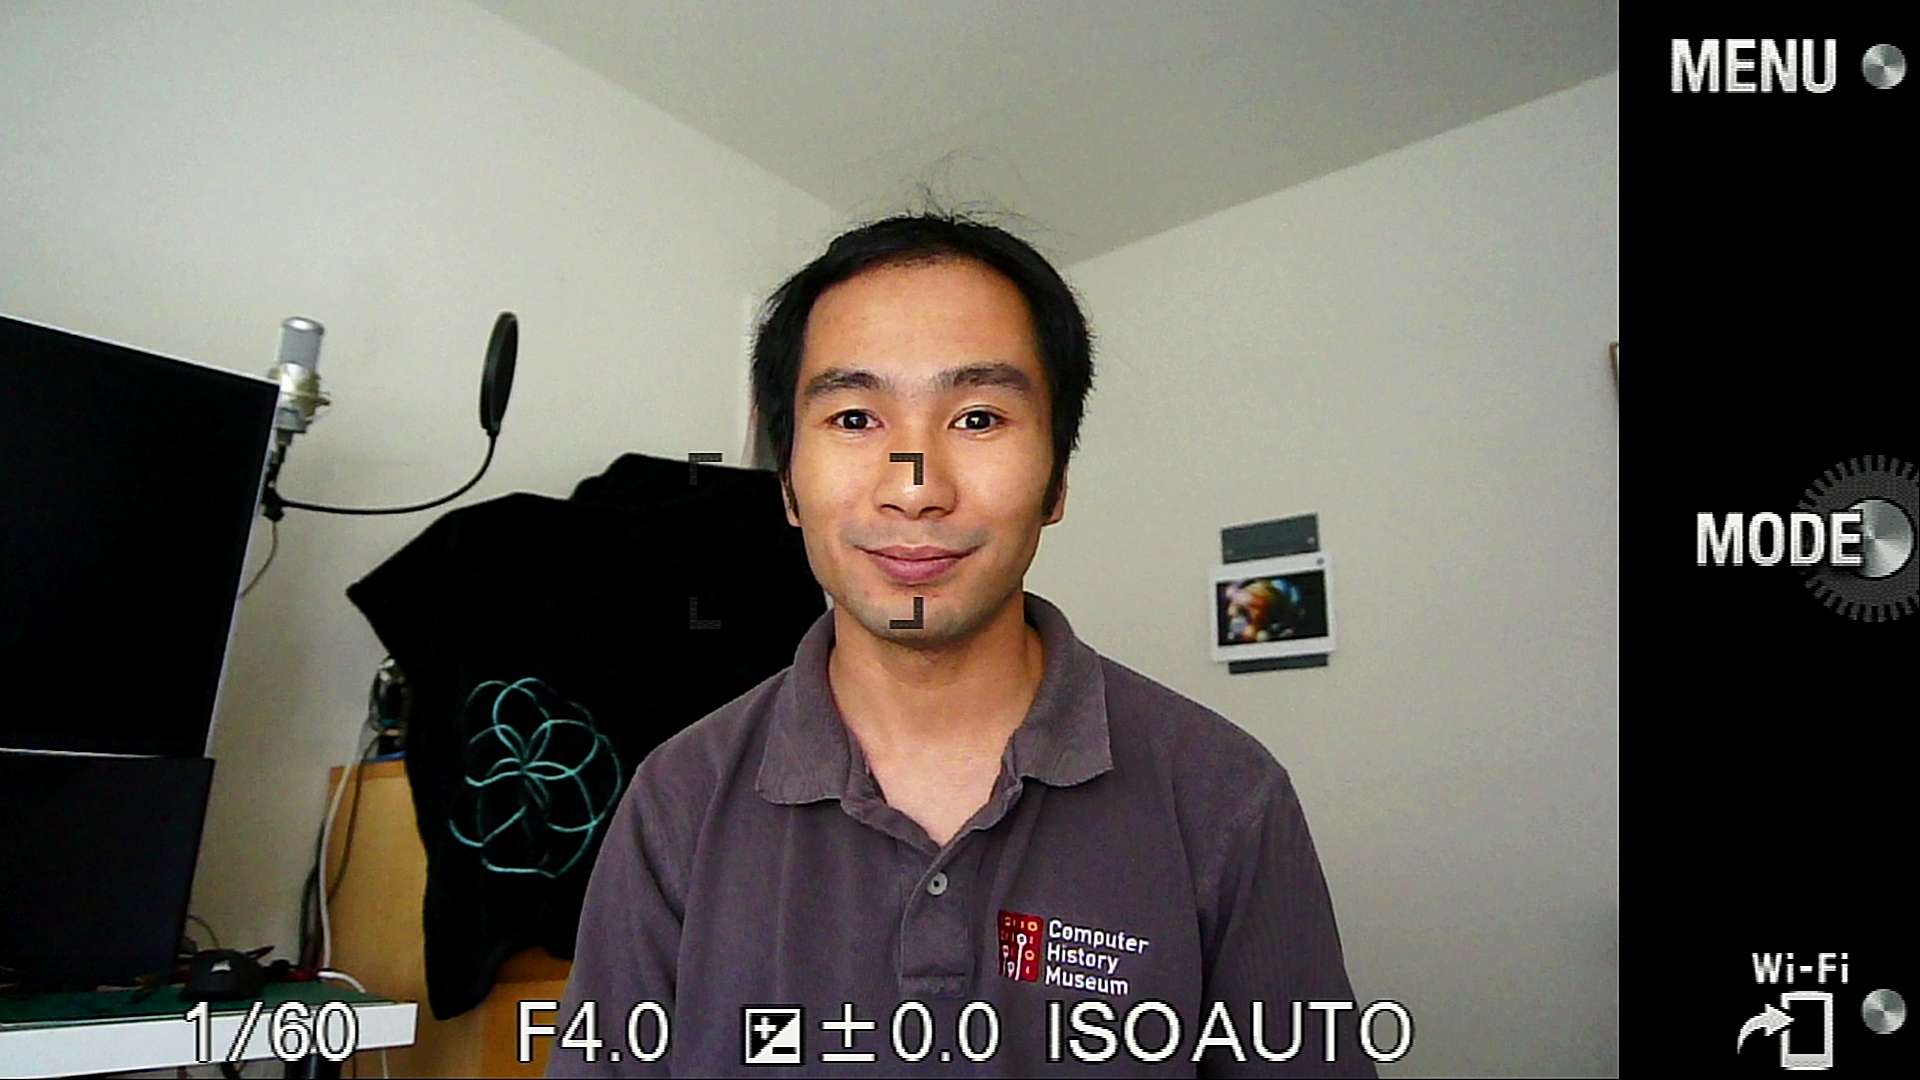
    DSLR (Sony NEX 5R)

    Show-me-webcam Pi 0 Cam + HQ Camera

    For my untrained eyes, the quality of the Pi cam is way better than a laptop webcam but a little bit worse than a dedicated camera. It does bokeh very well and has a fixed focus so I would consider it a plus rather than a minus. The camera outputs a consistent 30fps on Windows and Linux, but it does not work on macOS for some reason.

    I suppose it is possible to improve the firmware/software even more. For example, we can make it so the webcam auto-pans to the face. Or maybe we can warn the user when the webcam is out of focus. Or maybe we can even replace the background. However, those are the niceties that can be added later.

View all 5 project logs

  • 1
    Assemble the hardware
  • 2
    Download firmware

    Download the firmware at https://github.com/showmewebcam/showmewebcam/releases and use Etcher to write the firmware to the sd card.

  • 3
    Plug the Pi to the computer

    Use the USB data port (the one in the middle of the Pi, not the one on the edge) to connect to a computer.

View all 4 instructions

Enjoy this project?

Share

Discussions

Tobias Reaper wrote 11/15/2021 at 19:46 point

Love this! Has made my rpi webcam project so much easier.  Everything was working great until the other week when I updated my machine to the new MacOS.

Has anyone been able to get this to work with MacOS Monterey?

  Are you sure? yes | no

Florian wrote 02/03/2021 at 13:09 point

This is awesome, thanks! I was wondering if it would be possible to get a "clean" camera output on the HDMI port as well so I could connect it to my HDMI mixer/grabber device (ATEM mini)?

  Are you sure? yes | no

fab1o978 wrote 11/20/2020 at 08:33 point

This is awesome! I had my HQ camera unused since months, because using it attached on the RPi4 was a bit uncomfortable to use, and being able to use it on my laptop is exactly what I wanted! Super easy setup, very fast boot and it works great with minimum lag!

  Are you sure? yes | no

Oliver Schlüpmann wrote 11/16/2020 at 14:57 point

Hello,

i also flashed my microsd with your image and connected my pi zero w (with the HQ cam)  with the USB-Port of my Windows 10 PC. Unfortunately no UVC cam is detected, the device manager only show a "BCM2708 boot" device. This happens with the newest firmware V1.5 for the 0 w. There is also no green led during (or after boot).

I also tried the older versions of the firmware, a different sd-card and a second pi zero w. Do you have any idea were to look?

Thank you very much in advance for your work and efforts!

Best regards,


Oliver

Ok. Obviously it was a problem with the flashing software. Instead of balena etcher I used the flashing software from the raspberry pi foundation and that did the trick!

  Are you sure? yes | no

jlmyra wrote 11/11/2020 at 22:55 point

Awesome! I downloaded the image, wrote it to an SD card(I used the Raspberry Pi imager instead of etcher), put the SD in a PI0W with a Raspi 8MP V2 camera then plugged into my Mac and it works! Thanks!!!

  Are you sure? yes | no

Leonti Bielski wrote 11/08/2020 at 07:22 point

I've designed a simple enclosure for the project, maybe someone else will find it useful:
https://github.com/Leonti/rpi-hq-camera-case

  Are you sure? yes | no

Leonti Bielski wrote 09/04/2020 at 06:00 point

Thanks for the awesome project!
This is exactly what I was looking for - have a hackable high-quality webcam :)

I'm trying to build and run it on Raspberry Pi 0 (W version is out of stock everywhere in Australia).

I modified `board/raspberrypi0cam/genimage-raspberrypi0cam.cfg` and replaced `bcm2708-rpi-zero-w.dtb` with `bcm2708-rpi-zero.dtb`
I also set `BR2_LINUX_KERNEL_INTREE_DTS_NAME="bcm2708-rpi-zero"` in configs/raspberry0cam_defconfig

I got a successful build and flashed the image. It seems like the system starts (led is blinking for about 10 seconds), but I see no devices using `lsusb` on Ubuntu 20.04

Just wanted to cover the basics:

1. I can use a normal Micro-Usb cable to connect to "USB" (J10) port on my RPi Zero
2. If everything works well I should be seeing a webcam USB and a USB serial port on my system?
3. Anything else I need to adjust to make it work on a Rpi Zero?


  Are you sure? yes | no

Huan Truong wrote 09/04/2020 at 06:17 point

I actually don't have a 0 non-W so I can't test. I have inspected the genimage file for the 0 and 0W: They are different in the dtb file and the overlay folder (it is non-present on the 0).

When the Pi is booted, it should be solid green. Or at least my 0W is.

1. Normal USB cable on USB port (middle) should work.

2. Yeah, if you use Linux, watch the `dmesg -w` message on your computer, it should say something of this tune: 

```

usb 1-9: new high-speed USB device number 32 using xhci_hcd
usb 1-9: device descriptor read/64, error -71
usb 1-9: new high-speed USB device number 33 using xhci_hcd
usb 1-9: New USB device found, idVendor=1d6b, idProduct=0104, bcdDevice= 1.00
usb 1-9: New USB device strings: Mfr=1, Product=2, SerialNumber=3
usb 1-9: Product: Show-me-webcam Pi Webcam
usb 1-9: Manufacturer: Show-me-webcam Project
usb 1-9: SerialNumber: 100000000d2386db
uvcvideo: Found UVC 1.00 device Show-me-webcam Pi Webcam (1d6b:0104)
uvcvideo 1-9:2.0: Entity type for entity Processing 2 was not initialized!
uvcvideo 1-9:2.0: Entity type for entity Camera 1 was not initialized!
input: Show-me-webcam Pi Webcam: UVC C as /devices/pci0000:00/0000:00:14.0/usb1/1-9/1-9:2.0/input/input118
cdc_acm 1-9:2.2: ttyACM0: USB ACM device

```

3. Nothing I can think of. Please send me an email, I can help you generating a 0 image to test (I just can't test it myself). To aid with debugging you can look at the HDMI output, but I doubt your Pi 0 booted to the point you can see it.

  Are you sure? yes | no

Leonti Bielski wrote 09/04/2020 at 06:46 point

Thanks!

That helps a lot, now that I know that it's not my cable and that I should see dmesg messages  I can keep digging 🙂

I've ordered a mini HDMI adapter to see if it outputs any messages. The LED is blinking first and then it's solid green, so I'm hoping it's booted 😉

  Are you sure? yes | no

Leonti Bielski wrote 09/04/2020 at 07:00 point

Just looked at dmesg and this is what I see:

```

[12710.196589] usb 1-7: new high-speed USB device number 7 using xhci_hcd
[12710.596657] usb 1-7: device descriptor read/64, error -71

```

and nothing after that :(
It's almost as if systemd never started.


  Are you sure? yes | no

Leonti Bielski wrote 09/04/2020 at 12:35 point

I managed to connect to the serial console via GPIO pins and have some logs:
Bootup logs:
https://gist.github.com/Leonti/ba564e47bcae7d901c9d5814bcf08367
Dmesg logs:
https://gist.github.com/Leonti/c4c239bb6b20598700f7cf6bab0f0bde

Seems like it boots up just fine, but it's still not recognized as an usb device on my host computer.

One caveat: I'm still waiting for the camera to arrive, so I commented out everything in `start-webcam.sh` except for

/opt/uvc-webcam/multi-gadget.sh which I assume should at least create a serial usb device, but there is none.

Any commands I can execute from the RPi console to debug why it's not working?

  Are you sure? yes | no

Similar Projects

Does this project spark your interest?

Become a member to follow this project and never miss any updates