 Pansee Atta
-
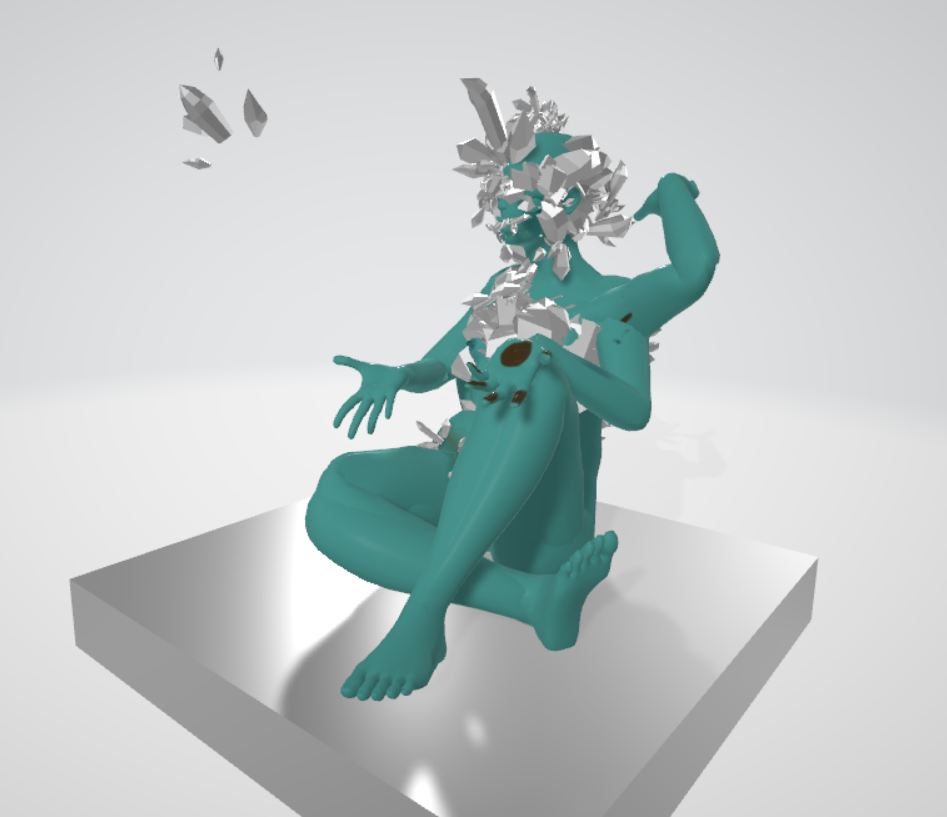
13d sketch
Create a 3d model to use as a reference for the figure.
![]()
-
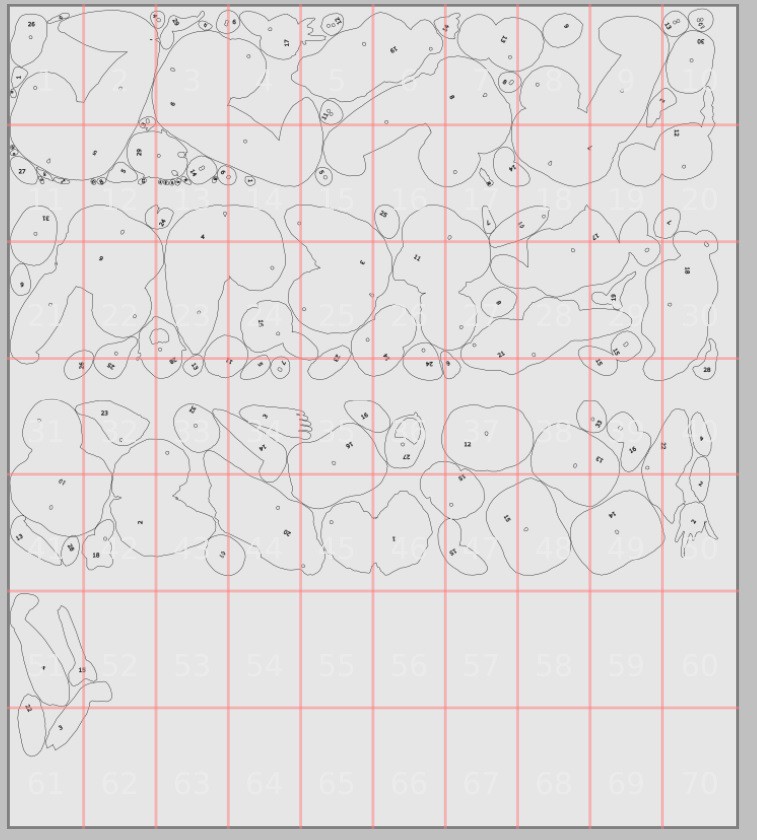
2'Slice' the model
I used IceSL-Slicer to 'slice' the 3d model into 1" thick flat pieces.
![]()
-
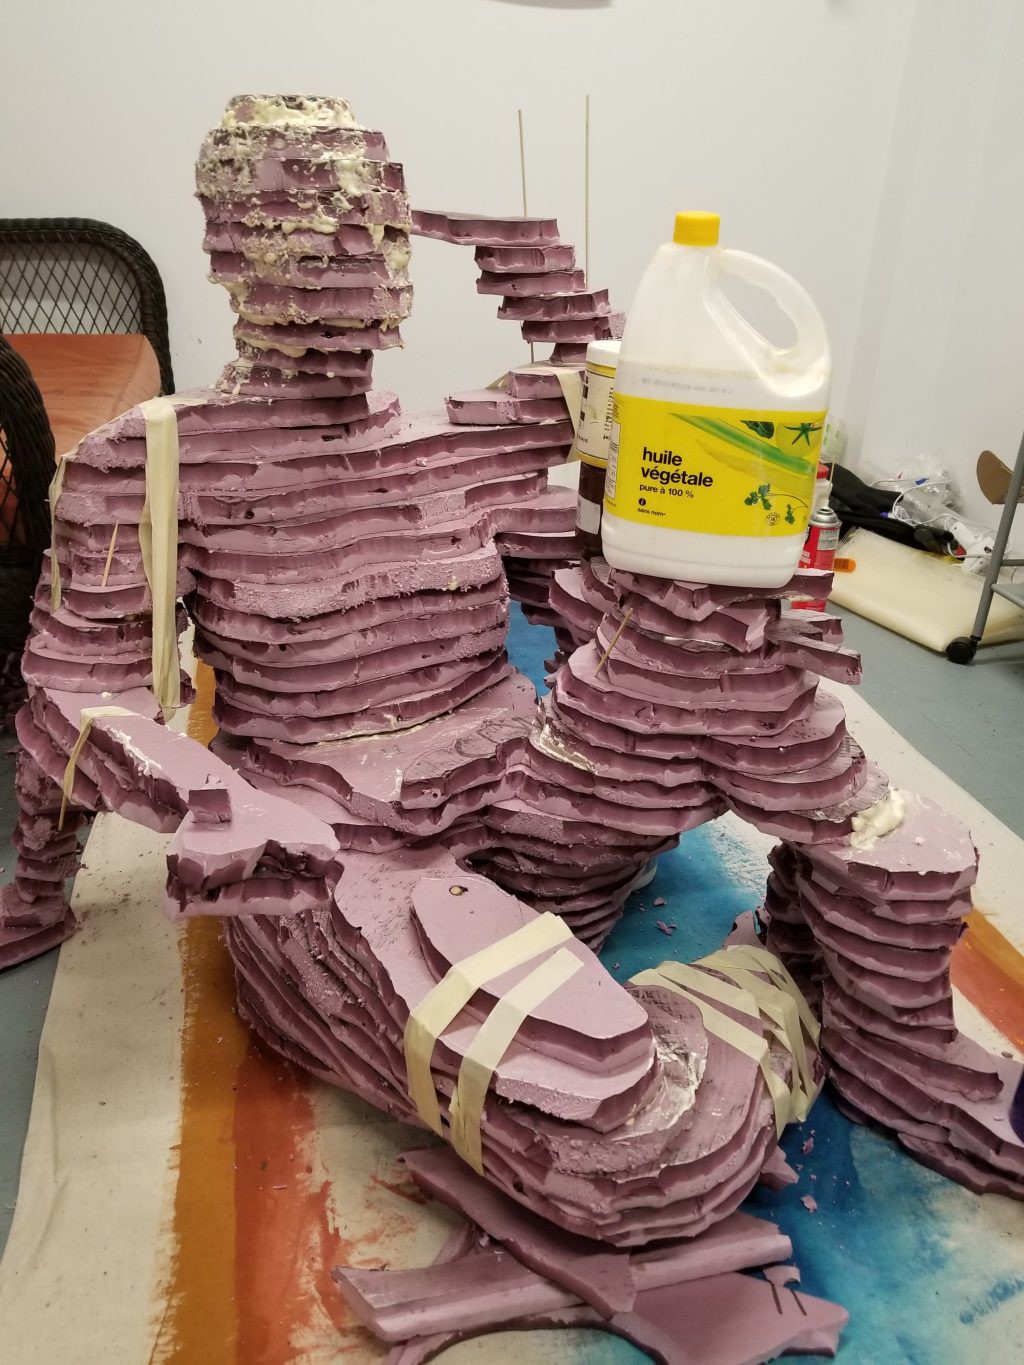
3Cut out of foam
I then cut these pieces out of foam, stacked and glued them.
![]()
-
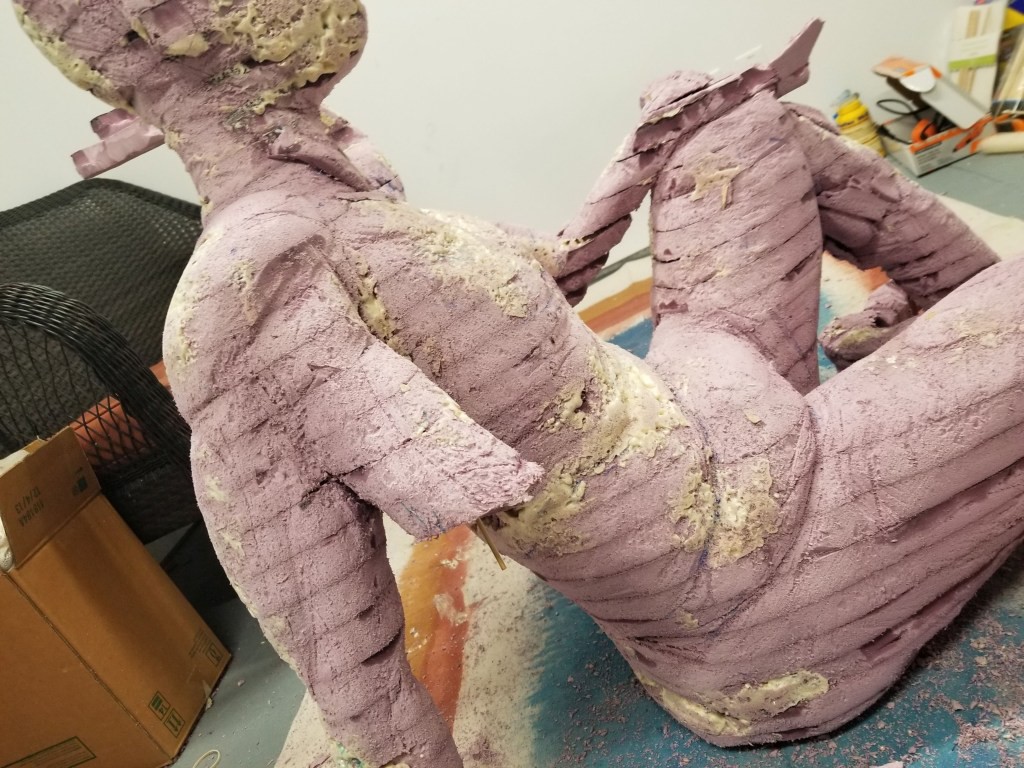
4Carving
Carve the foam down to shape.
![]()
-
5Coating
Coat with something strong and solvent-resistant. I chose a combination of HWFF Create Coat and concrete from Home Depot.
![]()
-
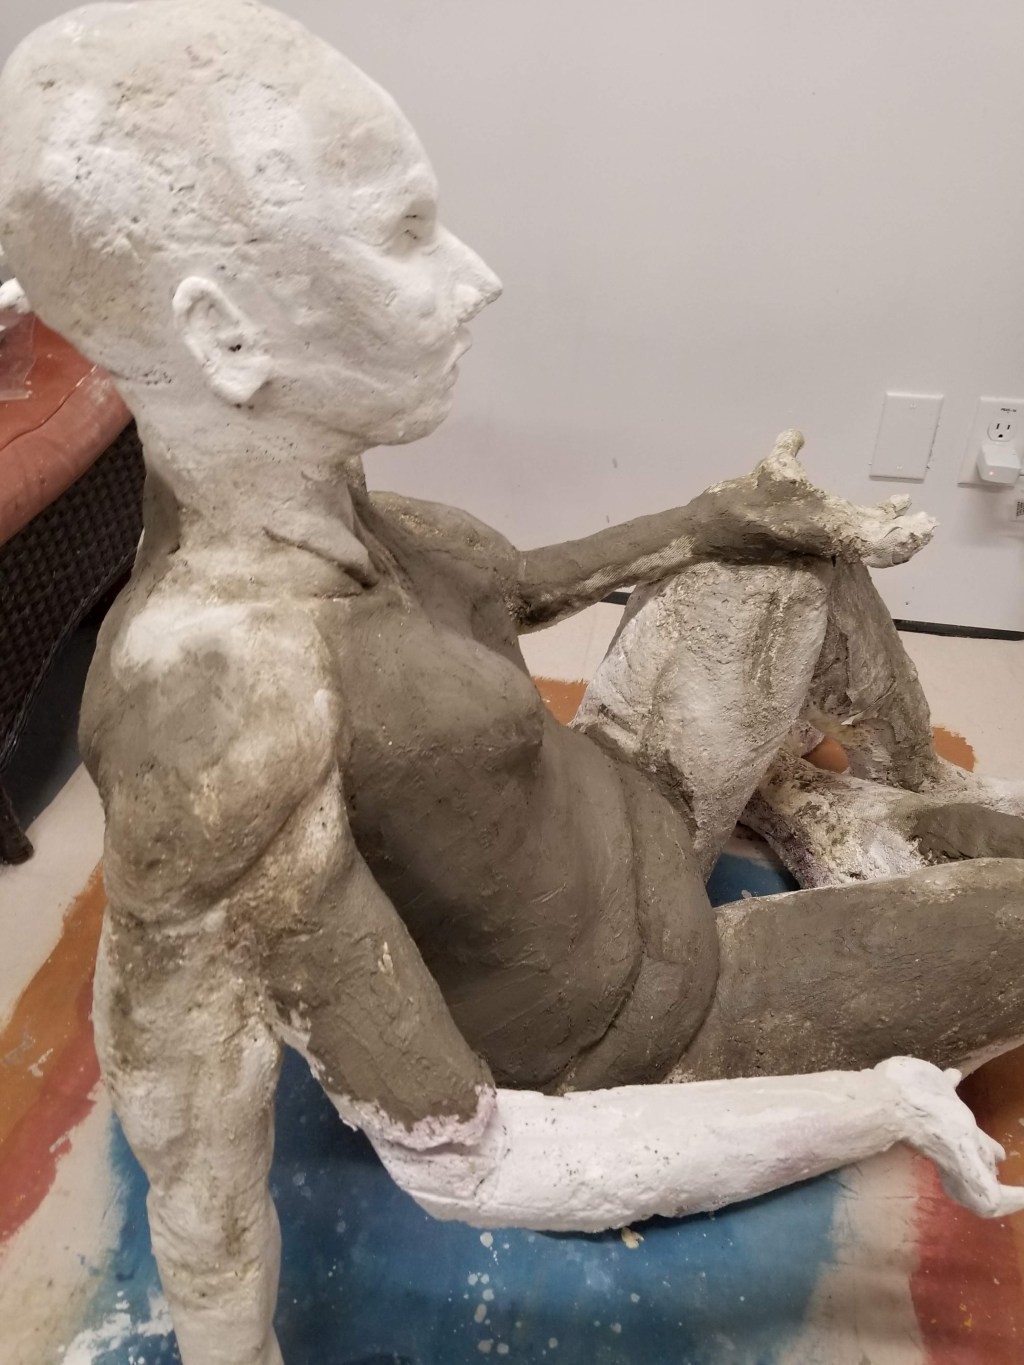
6Strengthening/smoothing
The previous coat needed to be solvent resistant because we'll be coating the whole thing with "Rondo" -- a mixture of fiberglass and bondo -- which would eat right through the foam core if it touched it.
(Also; this is a good stage to make the fingers out of silicone+starch+pigment!)
![]()
-
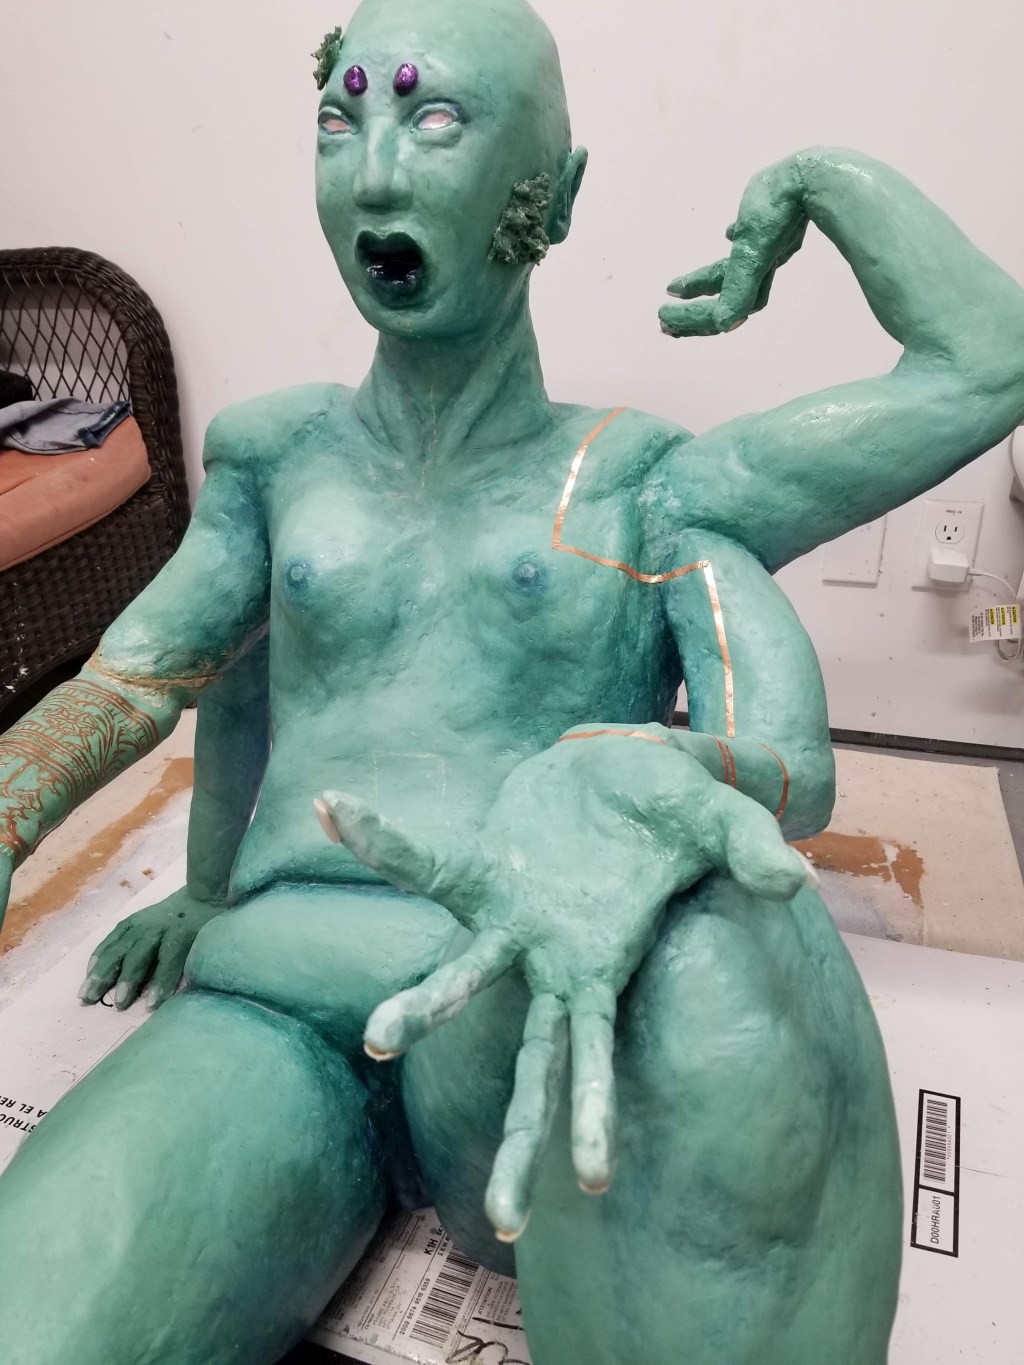
7Prime + paint
Once the "rondo" layer is dry, sanded, and smooth, start painting + shading.
I also added the conductive tape to the arms at this stage, and cast some small crystals out of fiberglass.
![]()
-
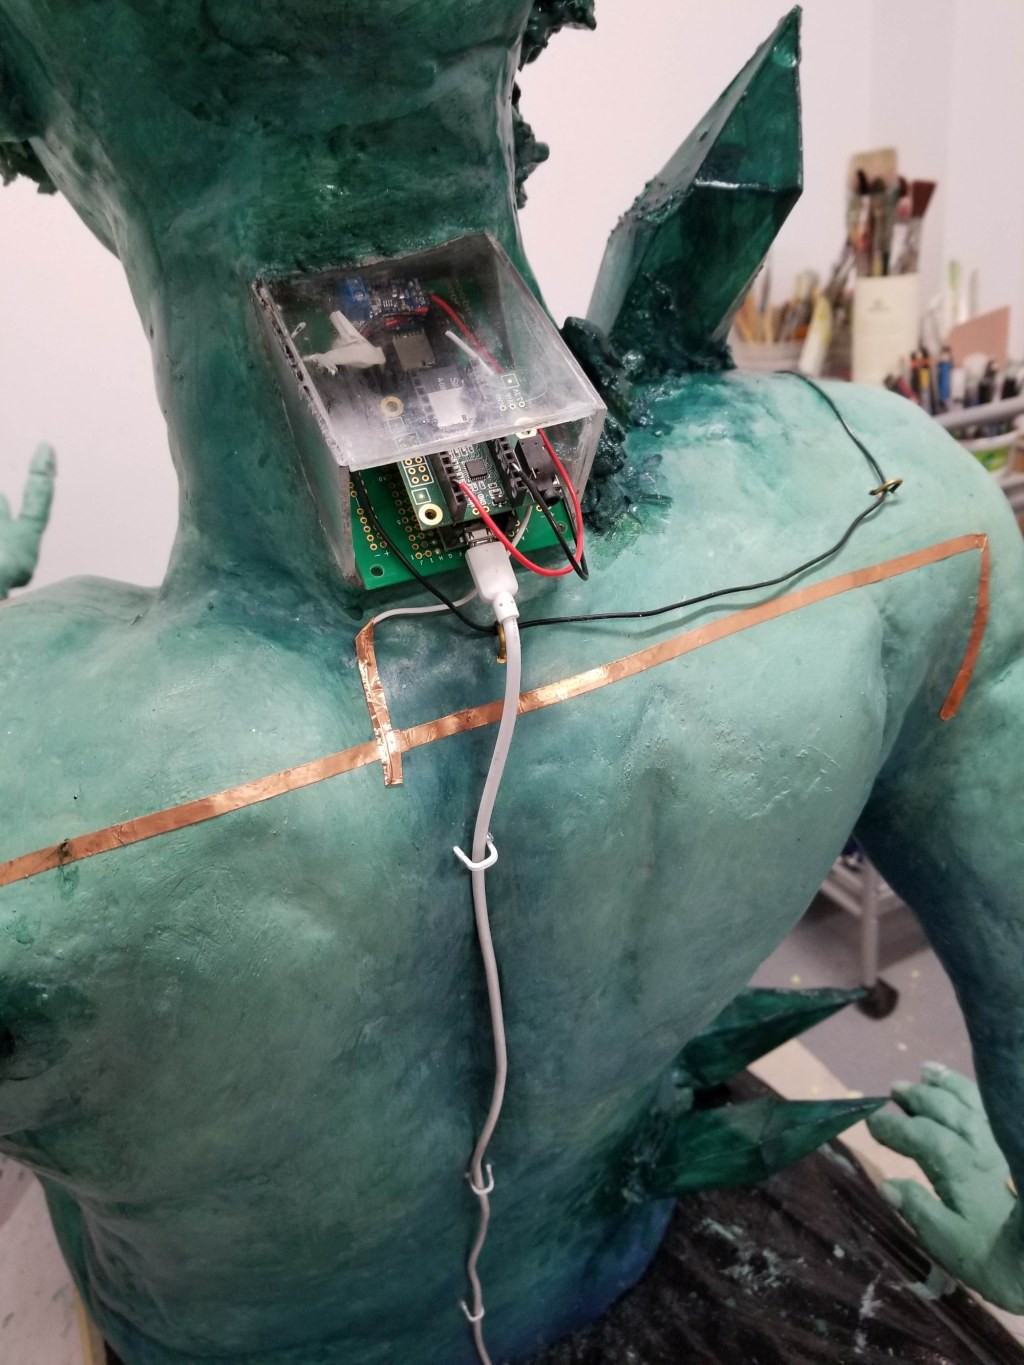
8Electronics
Carve a space in the back for the electronics, make them a plexiglass case, and glue it in place. Screw the PCB to the case. (I also eventually made it a lil' door and a hinge so I could get in there easily.)
![]()
![]()
-
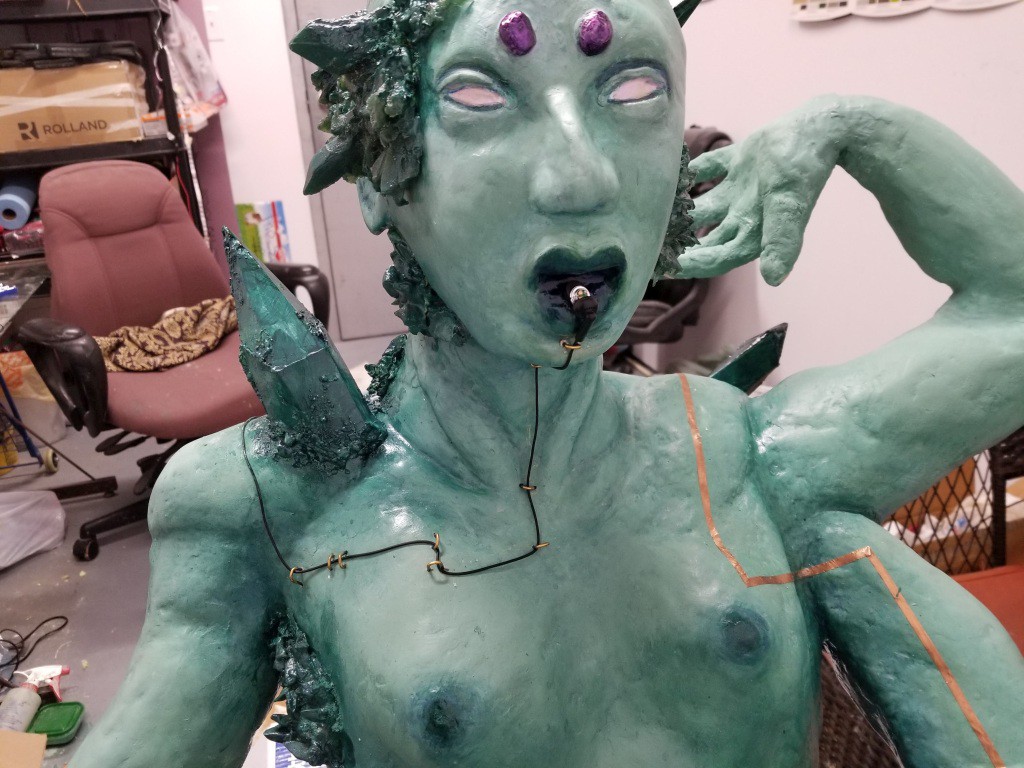
9Crystals!
I made the big crystals out of cardboard, which I filled with expanding foam, then coated in pigmented fiberglass.
![]()
![]()
-
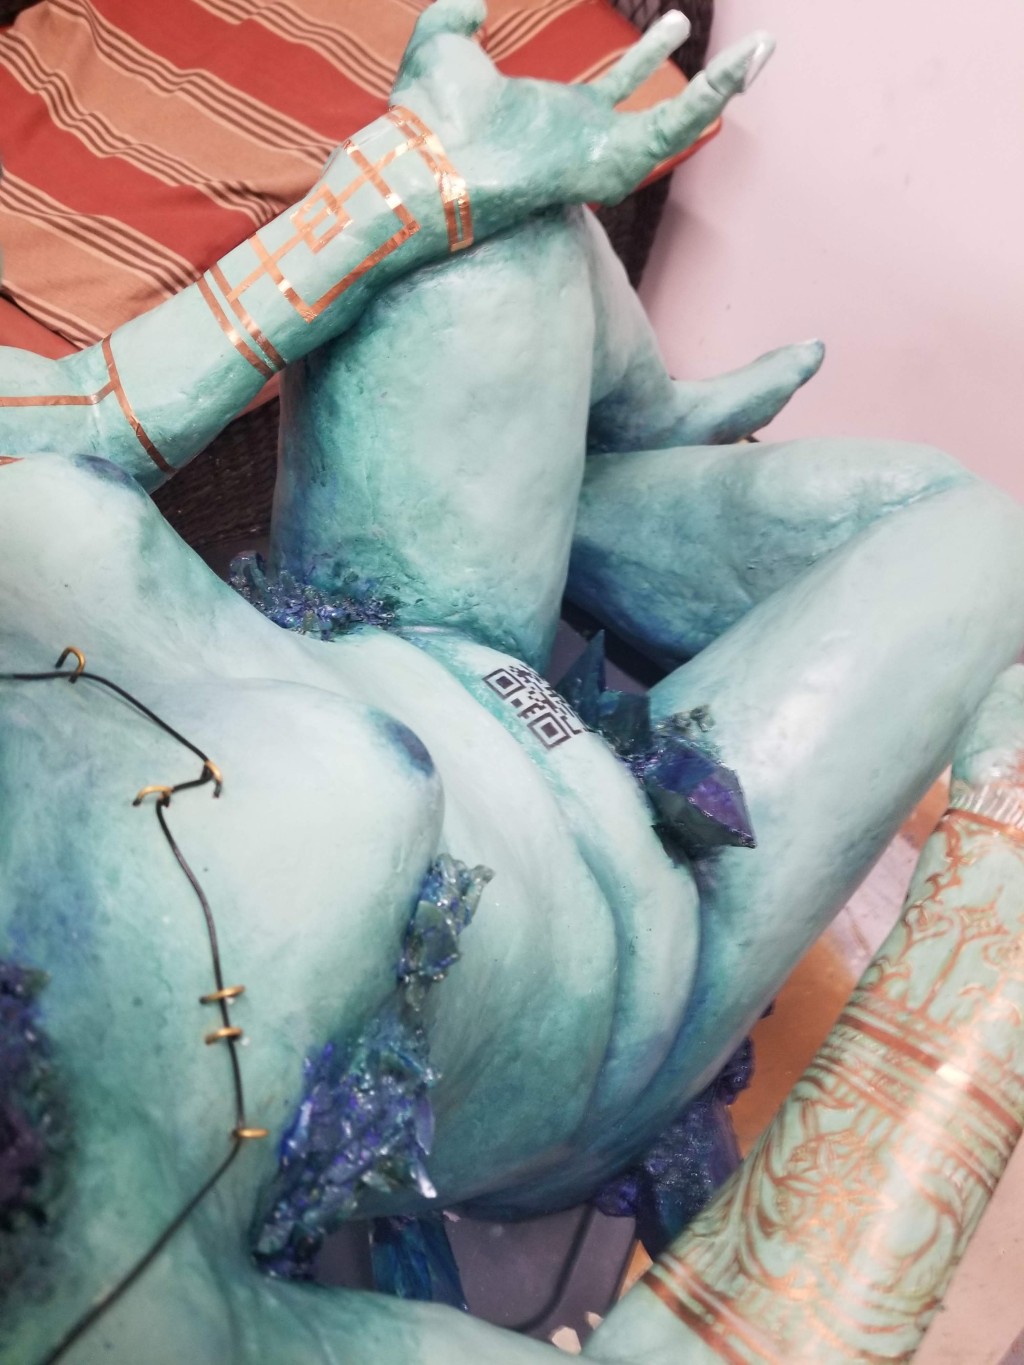
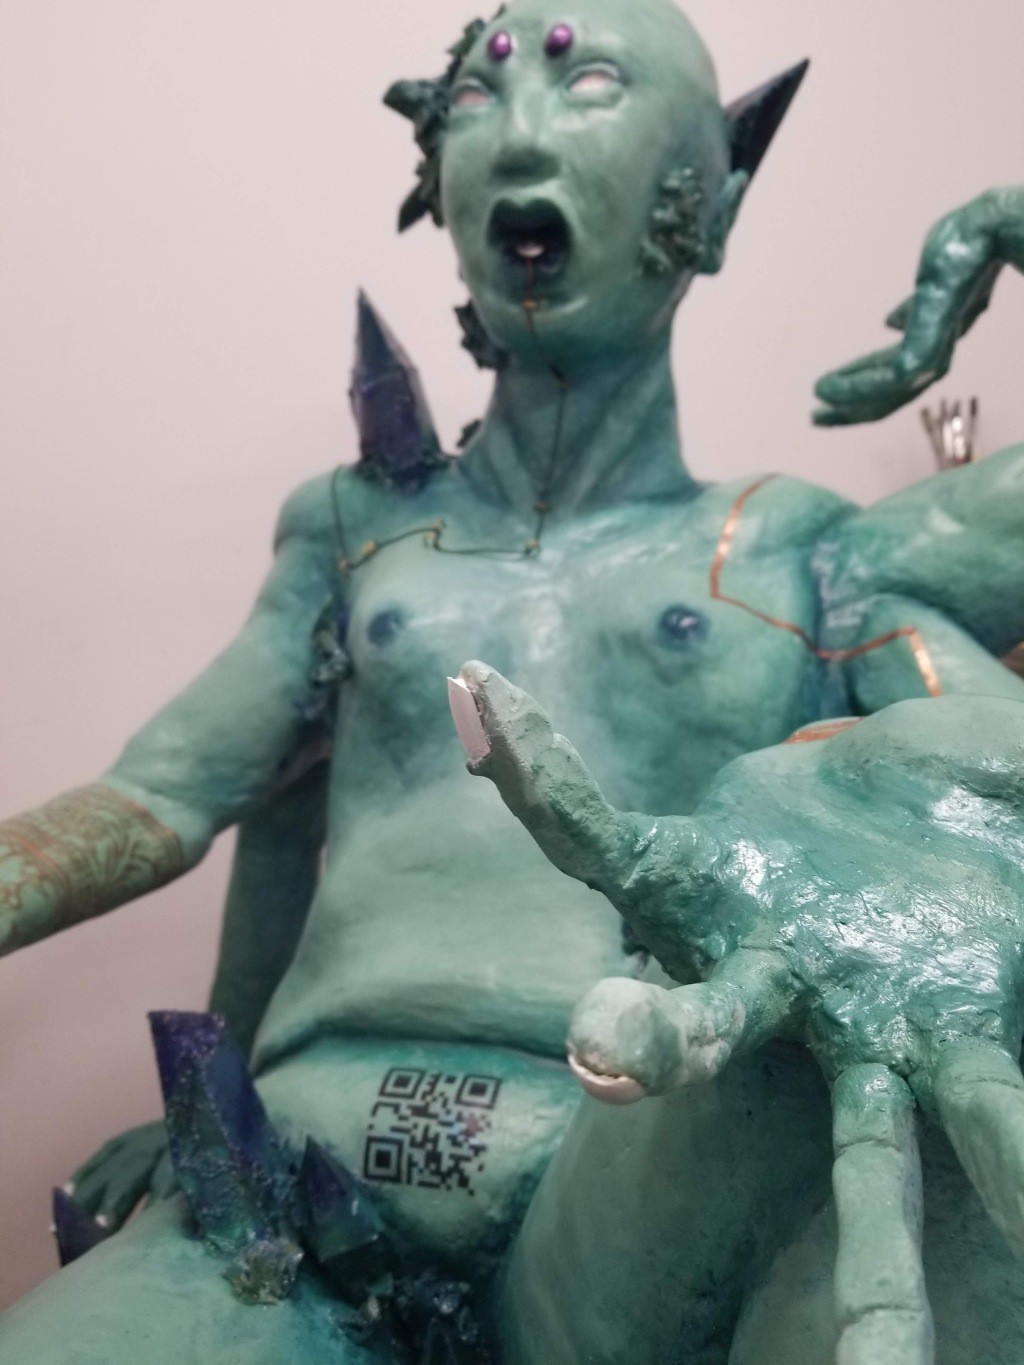
10QR code
Last step was painting more details, coating the whole thing in clear acrylic to protect it, and putting the QR code on the front using an acrylic transfer.
That's it!
![]()
![]()
The moon upon its fourteenth night
An interactive, life-sized sculpture with embedded audio components that plays a story from the 1001 Nights when a person approaches.


Discussions
Become a Hackaday.io Member
Create an account to leave a comment. Already have an account? Log In.