 Rob Ward
The initial aim of this project was to not throw out my Robox printer as e-junk and try to recycle it. This will be an ongoing challenge to many environmentally committed 3-D printer enthusiasts. The Robox design had been brilliant, but as it aged I found it hard to justify paying for maintenance. High cost of spares and proprietry software. Undeniably it was a really good, but expensive, option to learn 3D printing on. It was pretty much a point and click system with so many good features it would take another article just to list them. I got a lot of use from it and learned heaps, but eventually parts wore out and there was no service any longer in Australia. Too expensive to ship to the UK for servicing. It had an ARM chip on the motherboard so CEL was selling 32Bit 3D printing right back in 2016. A very smooth system. I was emotionally attached, and could not just chuck it out. I knew I was risking money on an unproven (and no doubt uneconomical) project, but what I learned was invaluable.

Above: The unmodified Robox, including filament wiper, fibre glass, removable adhesion board, nozzle sensing Z-Axis limit switch, automatic filament reel recognition, filament distance sensor, opposing gears on filament drive, heated chamber, easy filament load and unload and expandable to dual filament. Just to describe some, not all...
In the end I chose to gut the printer of the electronics, just keeping the case, the limit switches and the mechanical parts (motors, belts, rails etc). I was not at all hopeful when I began, and at first simply tried to discover how to drive the motors that controlled the system. I had a RAMPS 1.4 board and Mega2560 from another project, so I rigged up the XYZ motors to move them around. After some success I then traced the limit switches and figured out how to make use of them. This involved some considerable trace cutting and PCB hot wiring but allowed me to do a G28 using MARLIN. It was fun at this stage, but not particularly promising. The challenges looked like fun.
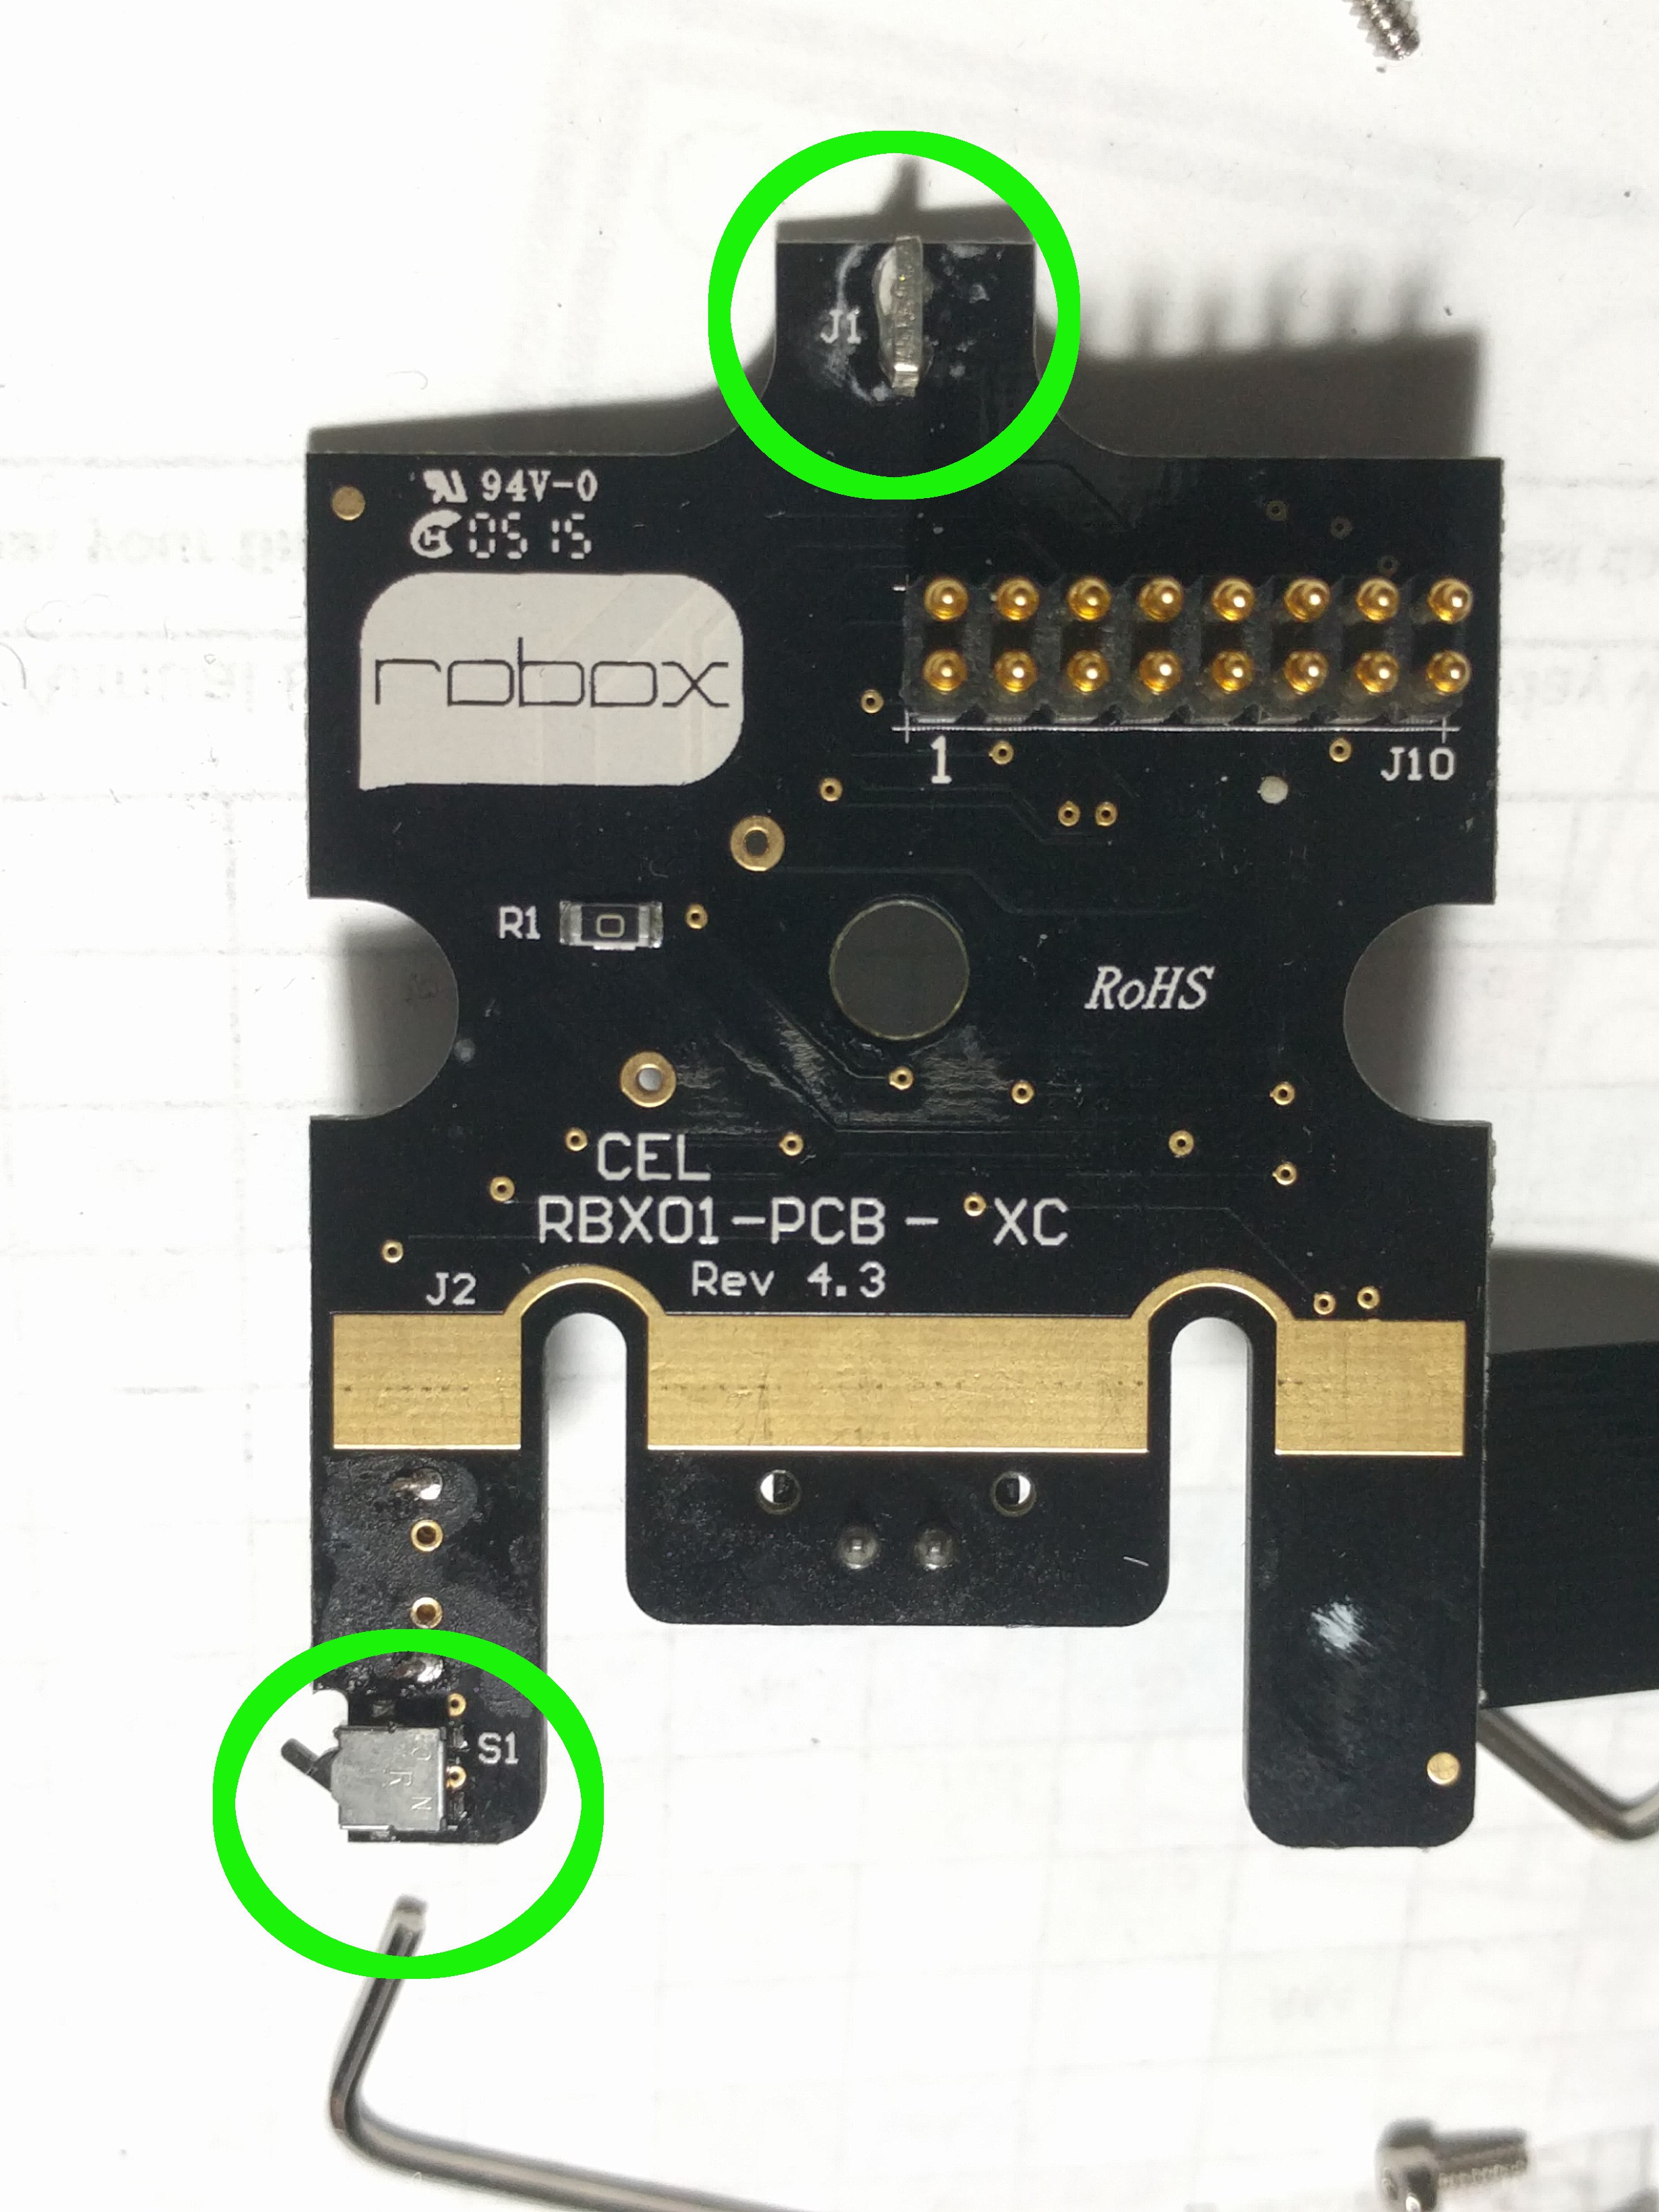
Above: This shows the Z-Axis limit switch that presses against the top rail and the X-Axis limit switch on the lower left. The tracks to these were isolated and "hotwired" out to the new mother board.
The next challenge was to test out the Bowden filament driver motor. (A nice design with a geared motor, opposing drive gears on the filament, filament detector, and an optical travel wheel.) Pushing filament proved easy, but the next part of the process was going to be the big challenge. I got a quick extruder calibration. A CR-10 hotend module was sourced off eBay along with a 12V 30A PS. The hot-end was an early design that eBay dealers were unloading and I mistakenly thought it was good value for the risk of the whole project probably being a lemon. I was able to adapt the fittings for the Bowden tube connection to be able to get the un-mounted hot-end extruding molten plastic. So far so good. A fairly unique feature of the Robox was the way the filament came into the original hot-end at the back and entered parallel to the build board. This was then heated and extruded downwards at right angles towards the build board. There was no way I was going to be able to mimic this straight off. I could mount a fan on the front of the print head to cool the filament feed.
Fortunately the Robox heads are interchangeable so I took it out, and apart, and cut a section off the heat sink and made a flat plane that I could screw the CR-10 hotend onto. The geometry of the nozzle from the X-Axis gantry was pretty close to the original and looked ok. The Robox setup has the Z-Axis limit switch acting on the rotation of the print head when it contacts the build board. So the nozzle itself becomes the "sensor tip" for the Z-Axis limit switch. This would prove to simplify some things but make others very much more complicated. With just a couple of 3mm bolts the new printhead was attached to the remains of the old...
Read more »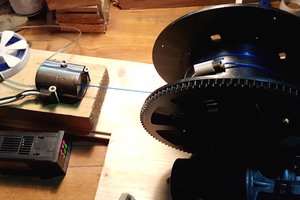
 JP Gleyzes
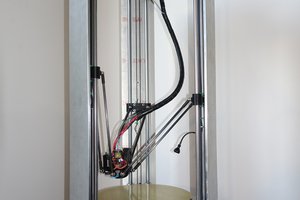
 cprossu
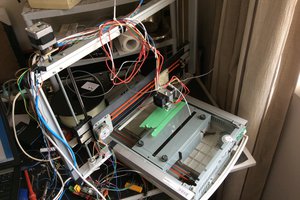
 Saabman