Matthew Begg
-
The inspiration for this project
02/01/2021 at 15:46 • 0 commentsHere is my original CASIO FX-730P pocket computer from back in the day!
Still works!
![]()
I can see there are 5 programs already on there with 5,247 bytes of storage free. Program 9 is the classic Horse Race game which I must’ve typed in from the original Casio manual. Place your bets!
![]()
-
Fritzing diagram
02/01/2021 at 15:31 • 0 commentsHere's the current setup that's working
![]()
-
Future plans
02/01/2021 at 14:21 • 0 commentsDon't want to get ahead of myself considering the eMBee ONE isn't even working yet, but thought I'd keep a log of ideas for future plans:
Hardware- Adafruit RFM69 radio transceivers so that eMBee ONEs can communicate with each other
Software
- BEEP command (so you can easily do stuff with the buzzer on pin 5)
- CHR$ support
- User defined graphics? Change character sets to make text-based games more interesting
-
Getting the hang of GitHub
02/01/2021 at 07:54 • 0 commentsRather than keeping the altered Arduino BASIC code to myself, I’ve officially forked the original code and will now maintain my version on GitHub. This is my first proper foray into using the service and I’m impressed so far.
-
Photos so far
01/29/2021 at 15:51 • 0 commentsHere are some photos showing the project at various stages...
![]()
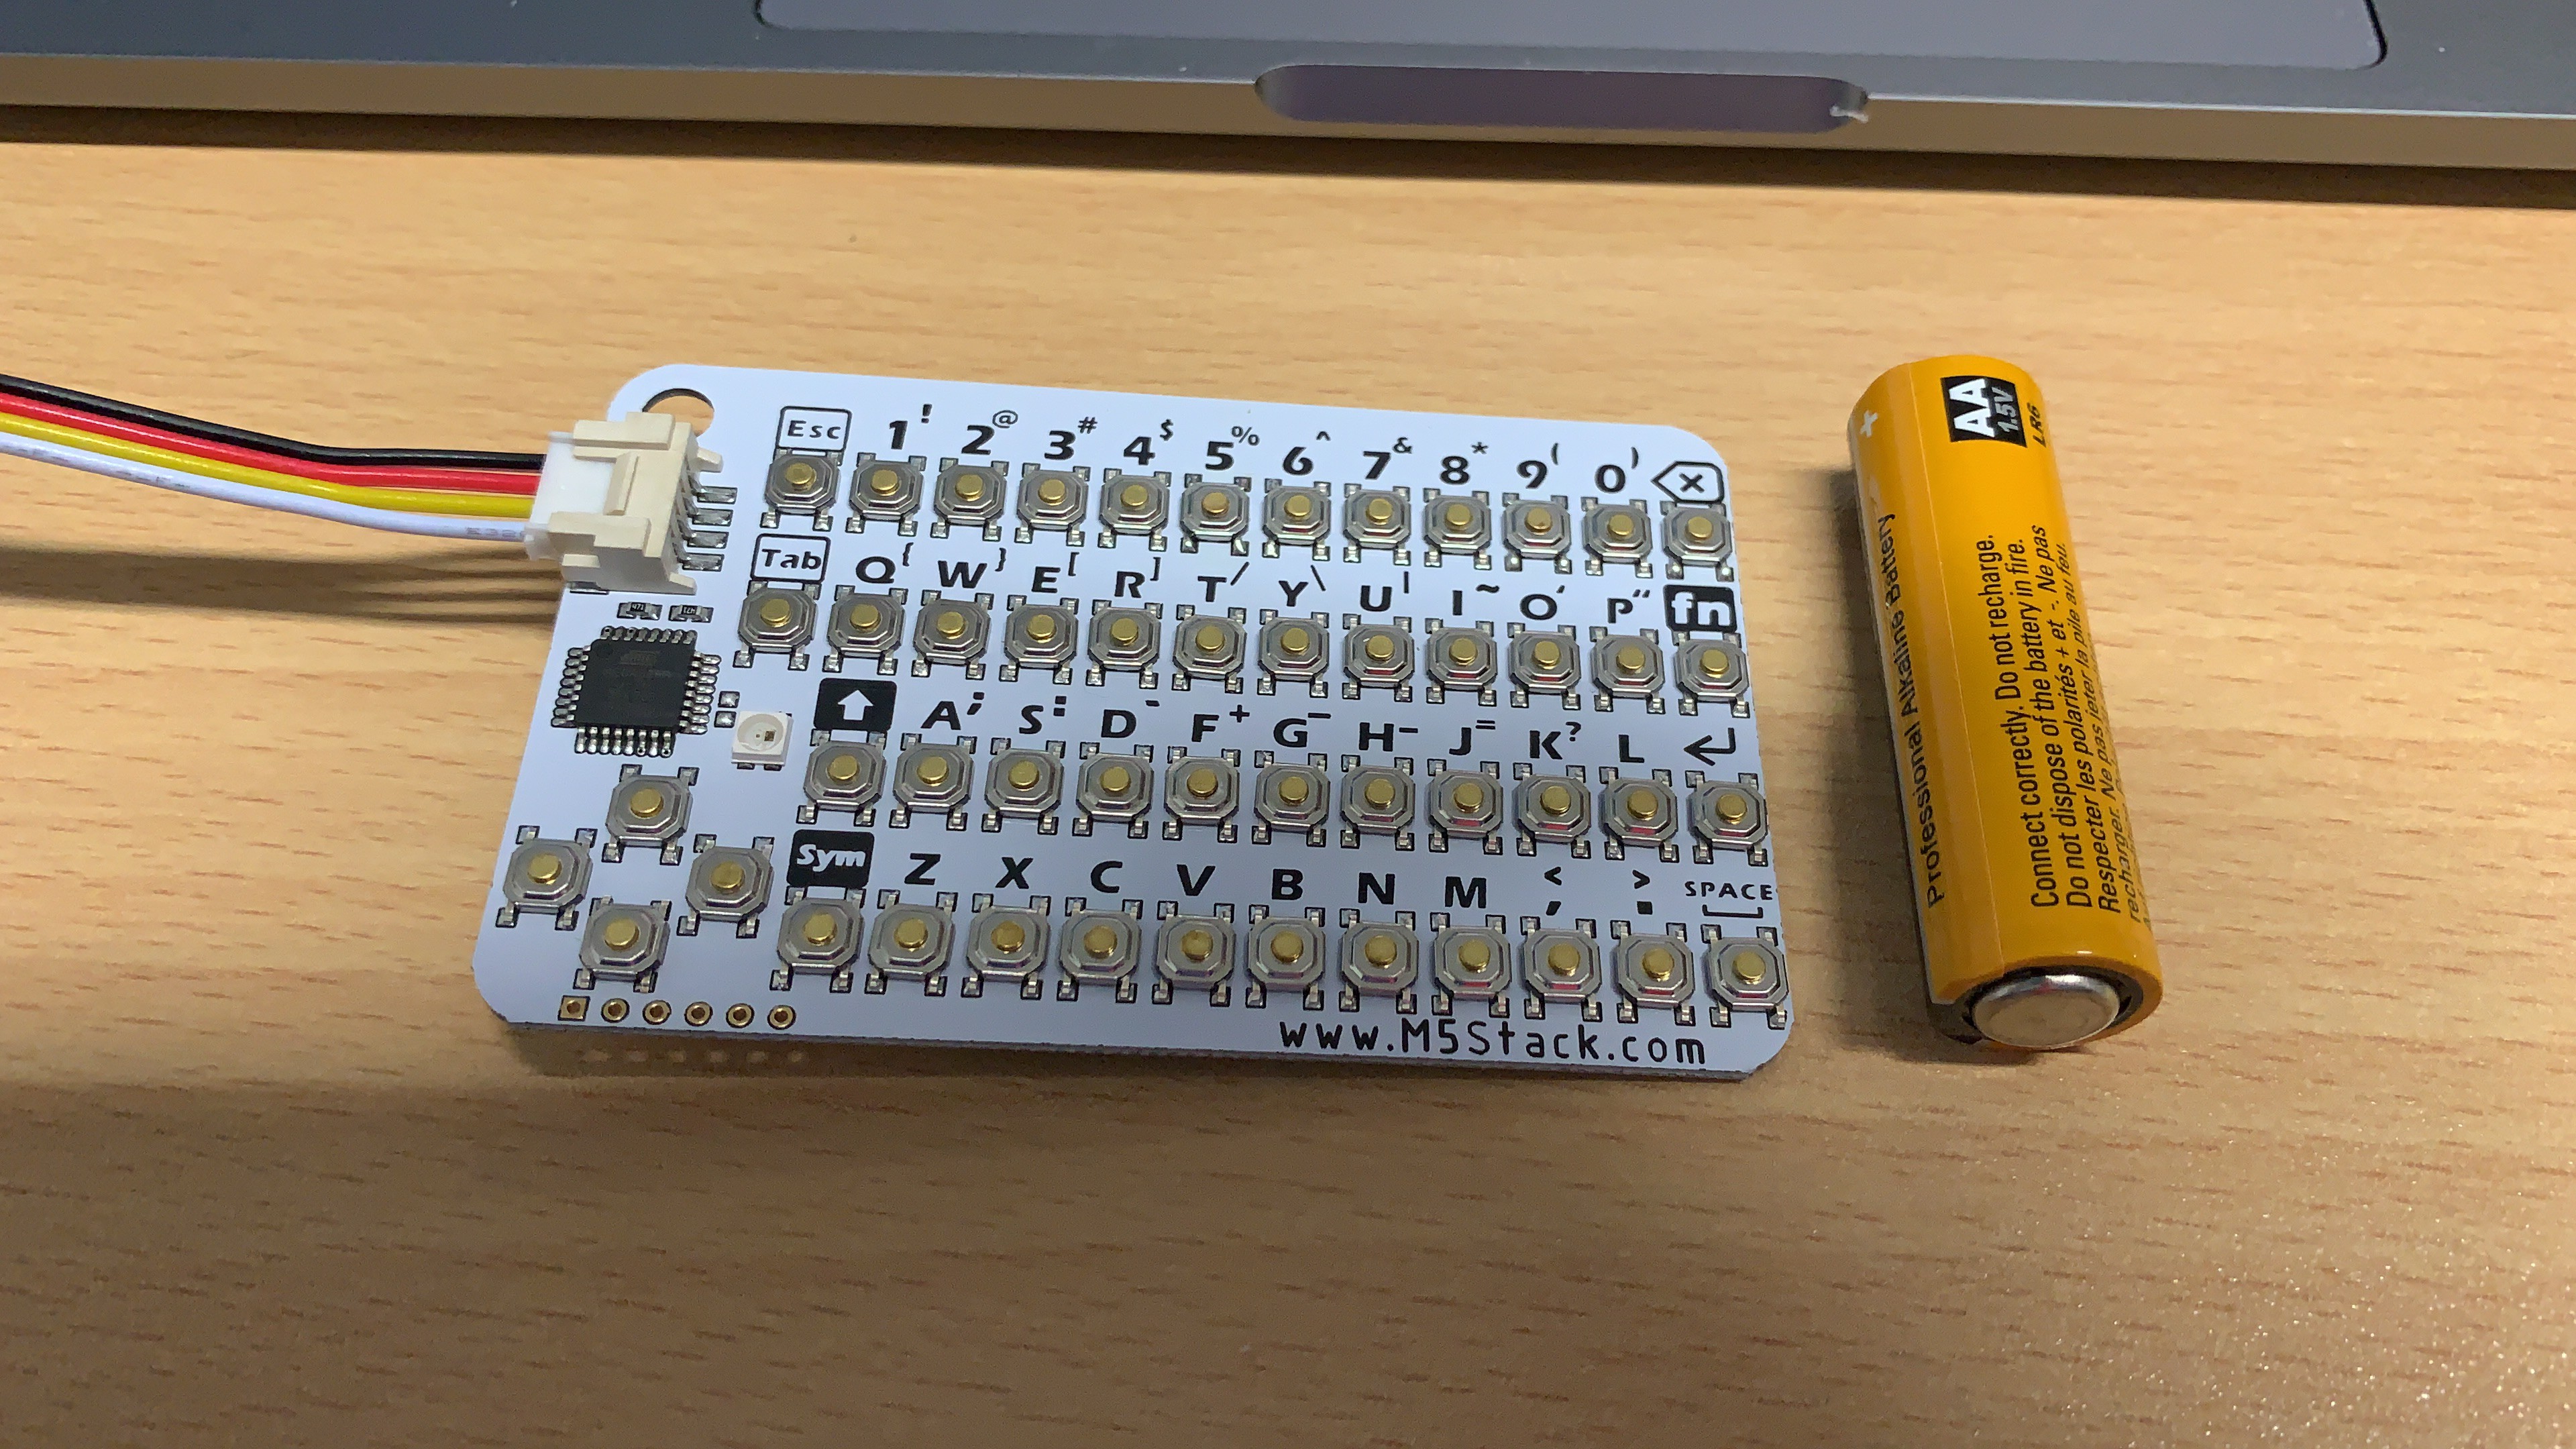
This is the CardKB keyboard next to an AA battery for scale. Basically it is the same size as a standard credit card, and fits perfectly edge-to-edge in the Altoids tin.
![]() The first time I actually got Arduino BASIC to run. This was with the original 2.42 inch OLED that ended up having a dimming fault. Notice everything is hard soldered.
The first time I actually got Arduino BASIC to run. This was with the original 2.42 inch OLED that ended up having a dimming fault. Notice everything is hard soldered. ![]()
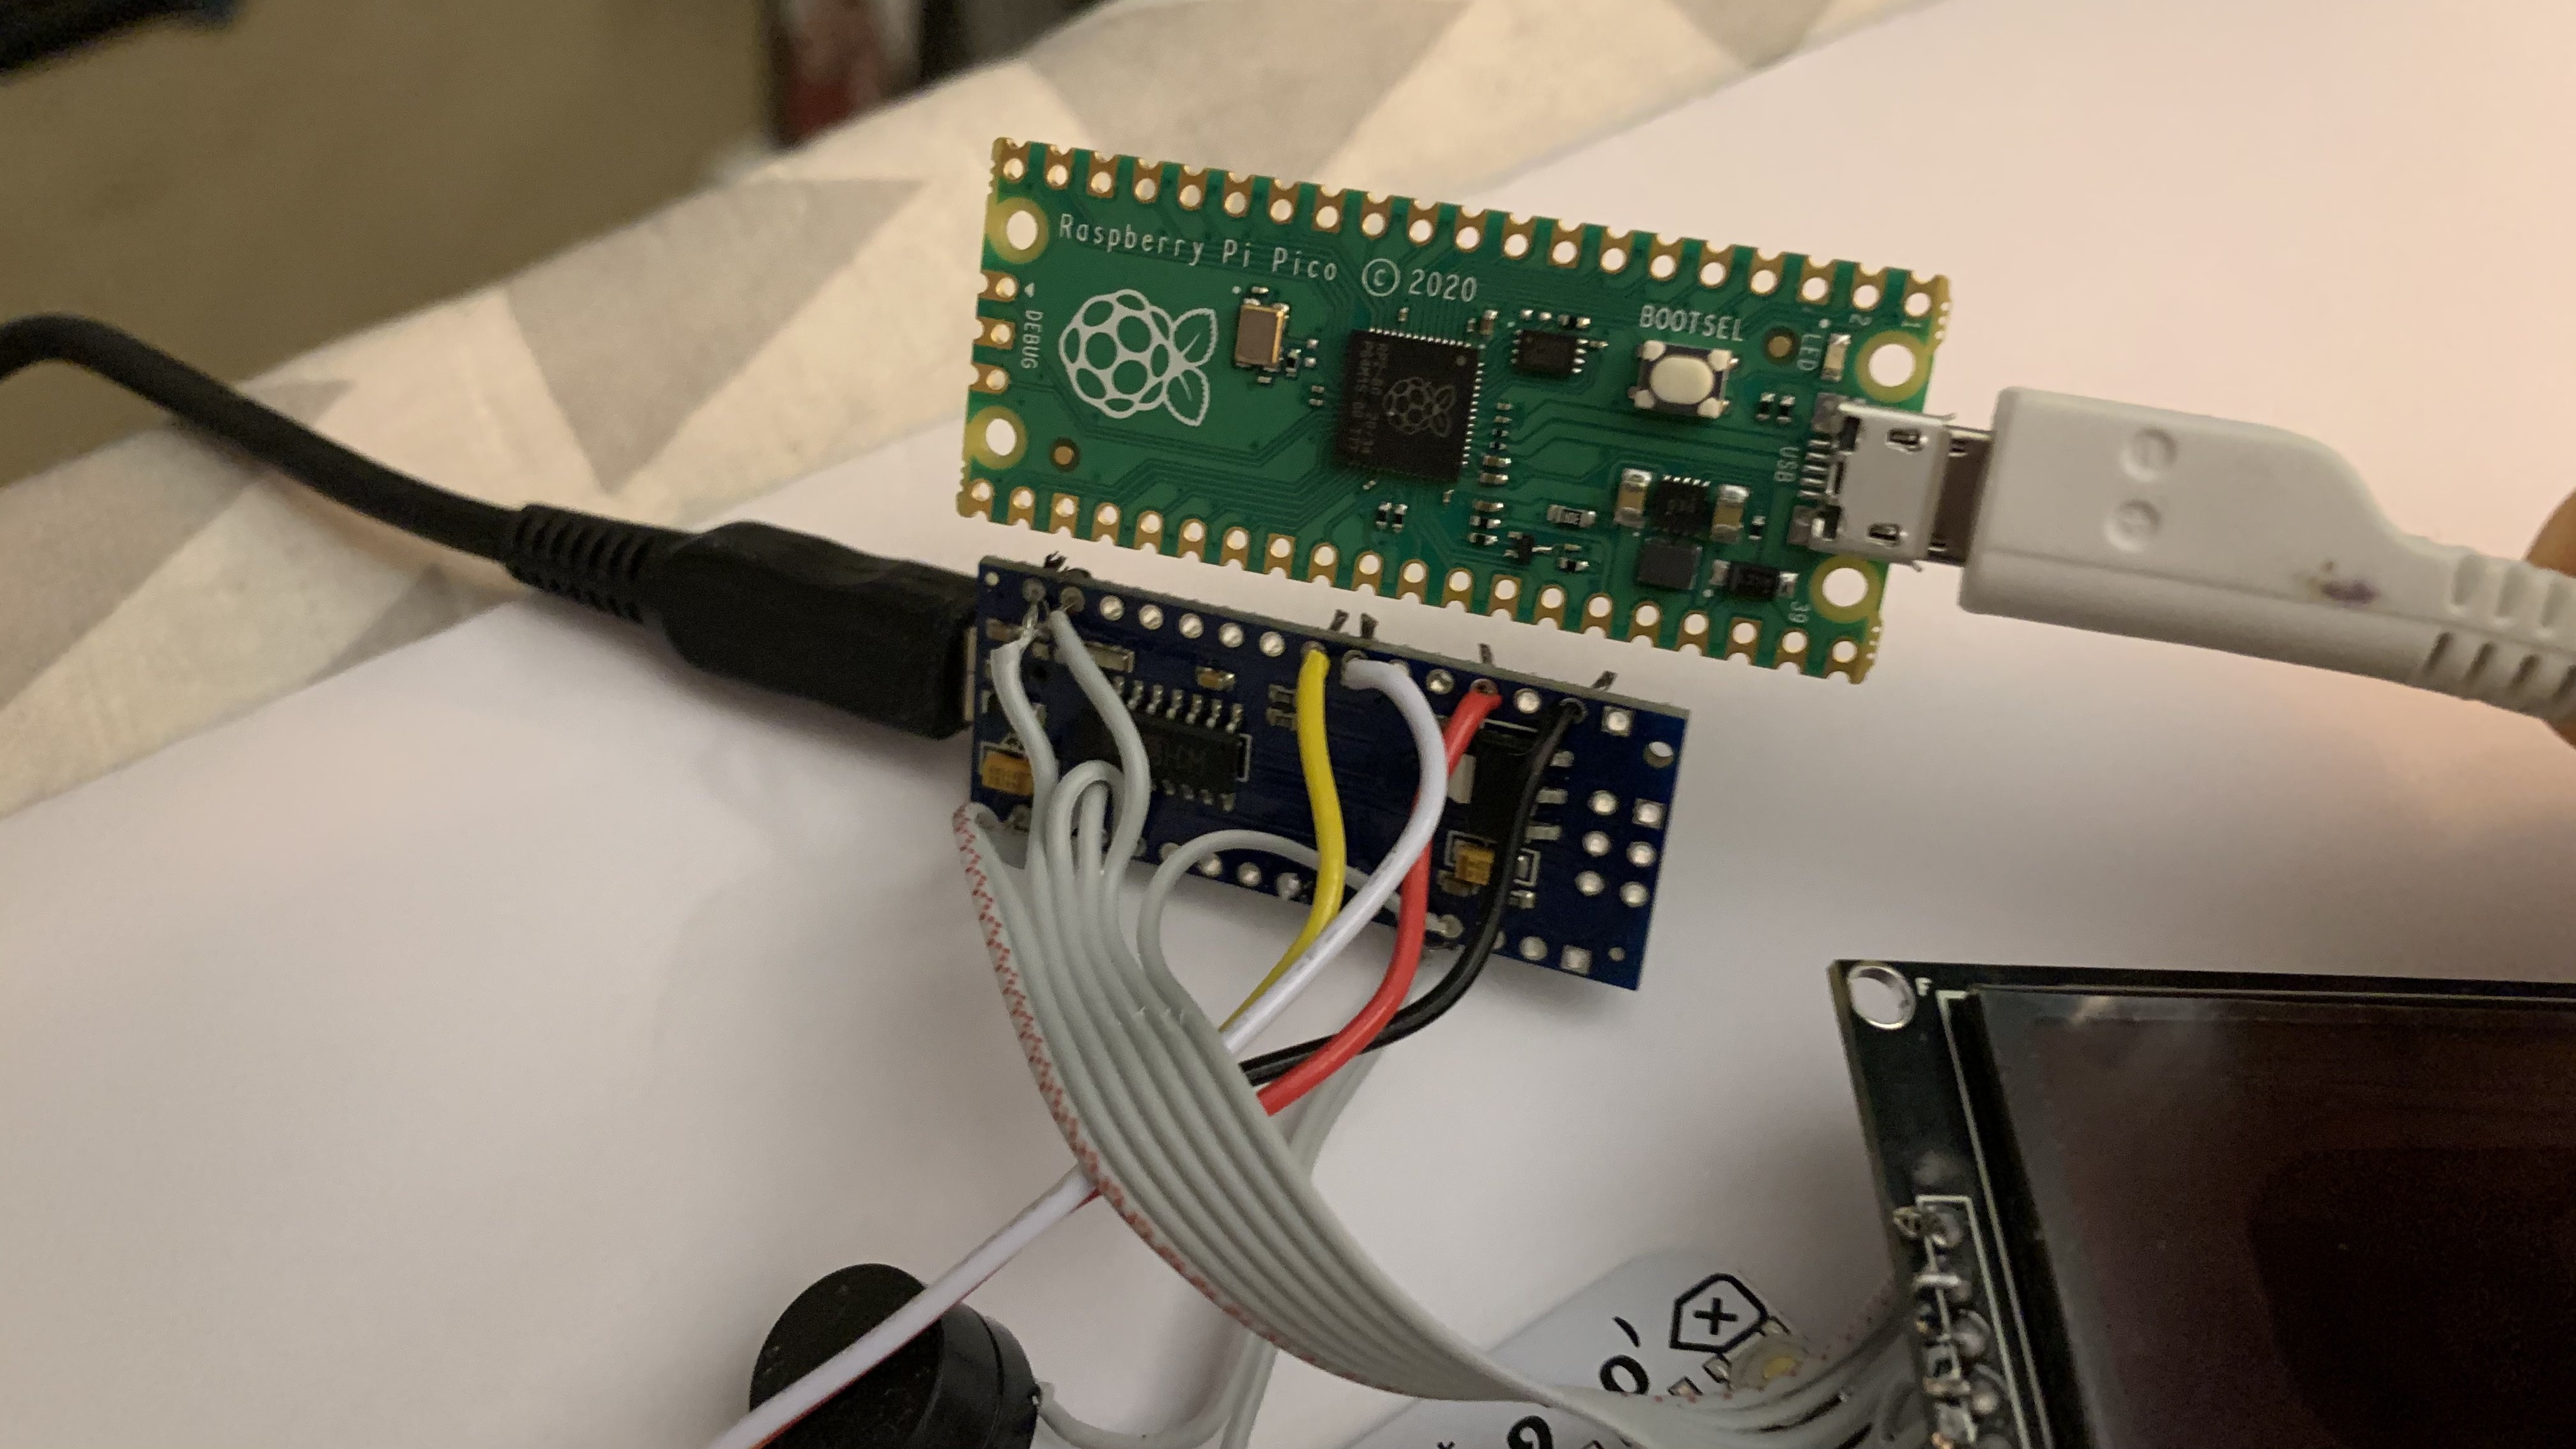
Here’s the Arduino Nano clone (bottom) next to its potential successor the Raspberry Pi Pico (top). A lot more powerful but perhaps not as much fun trying to get it to work!
![]()
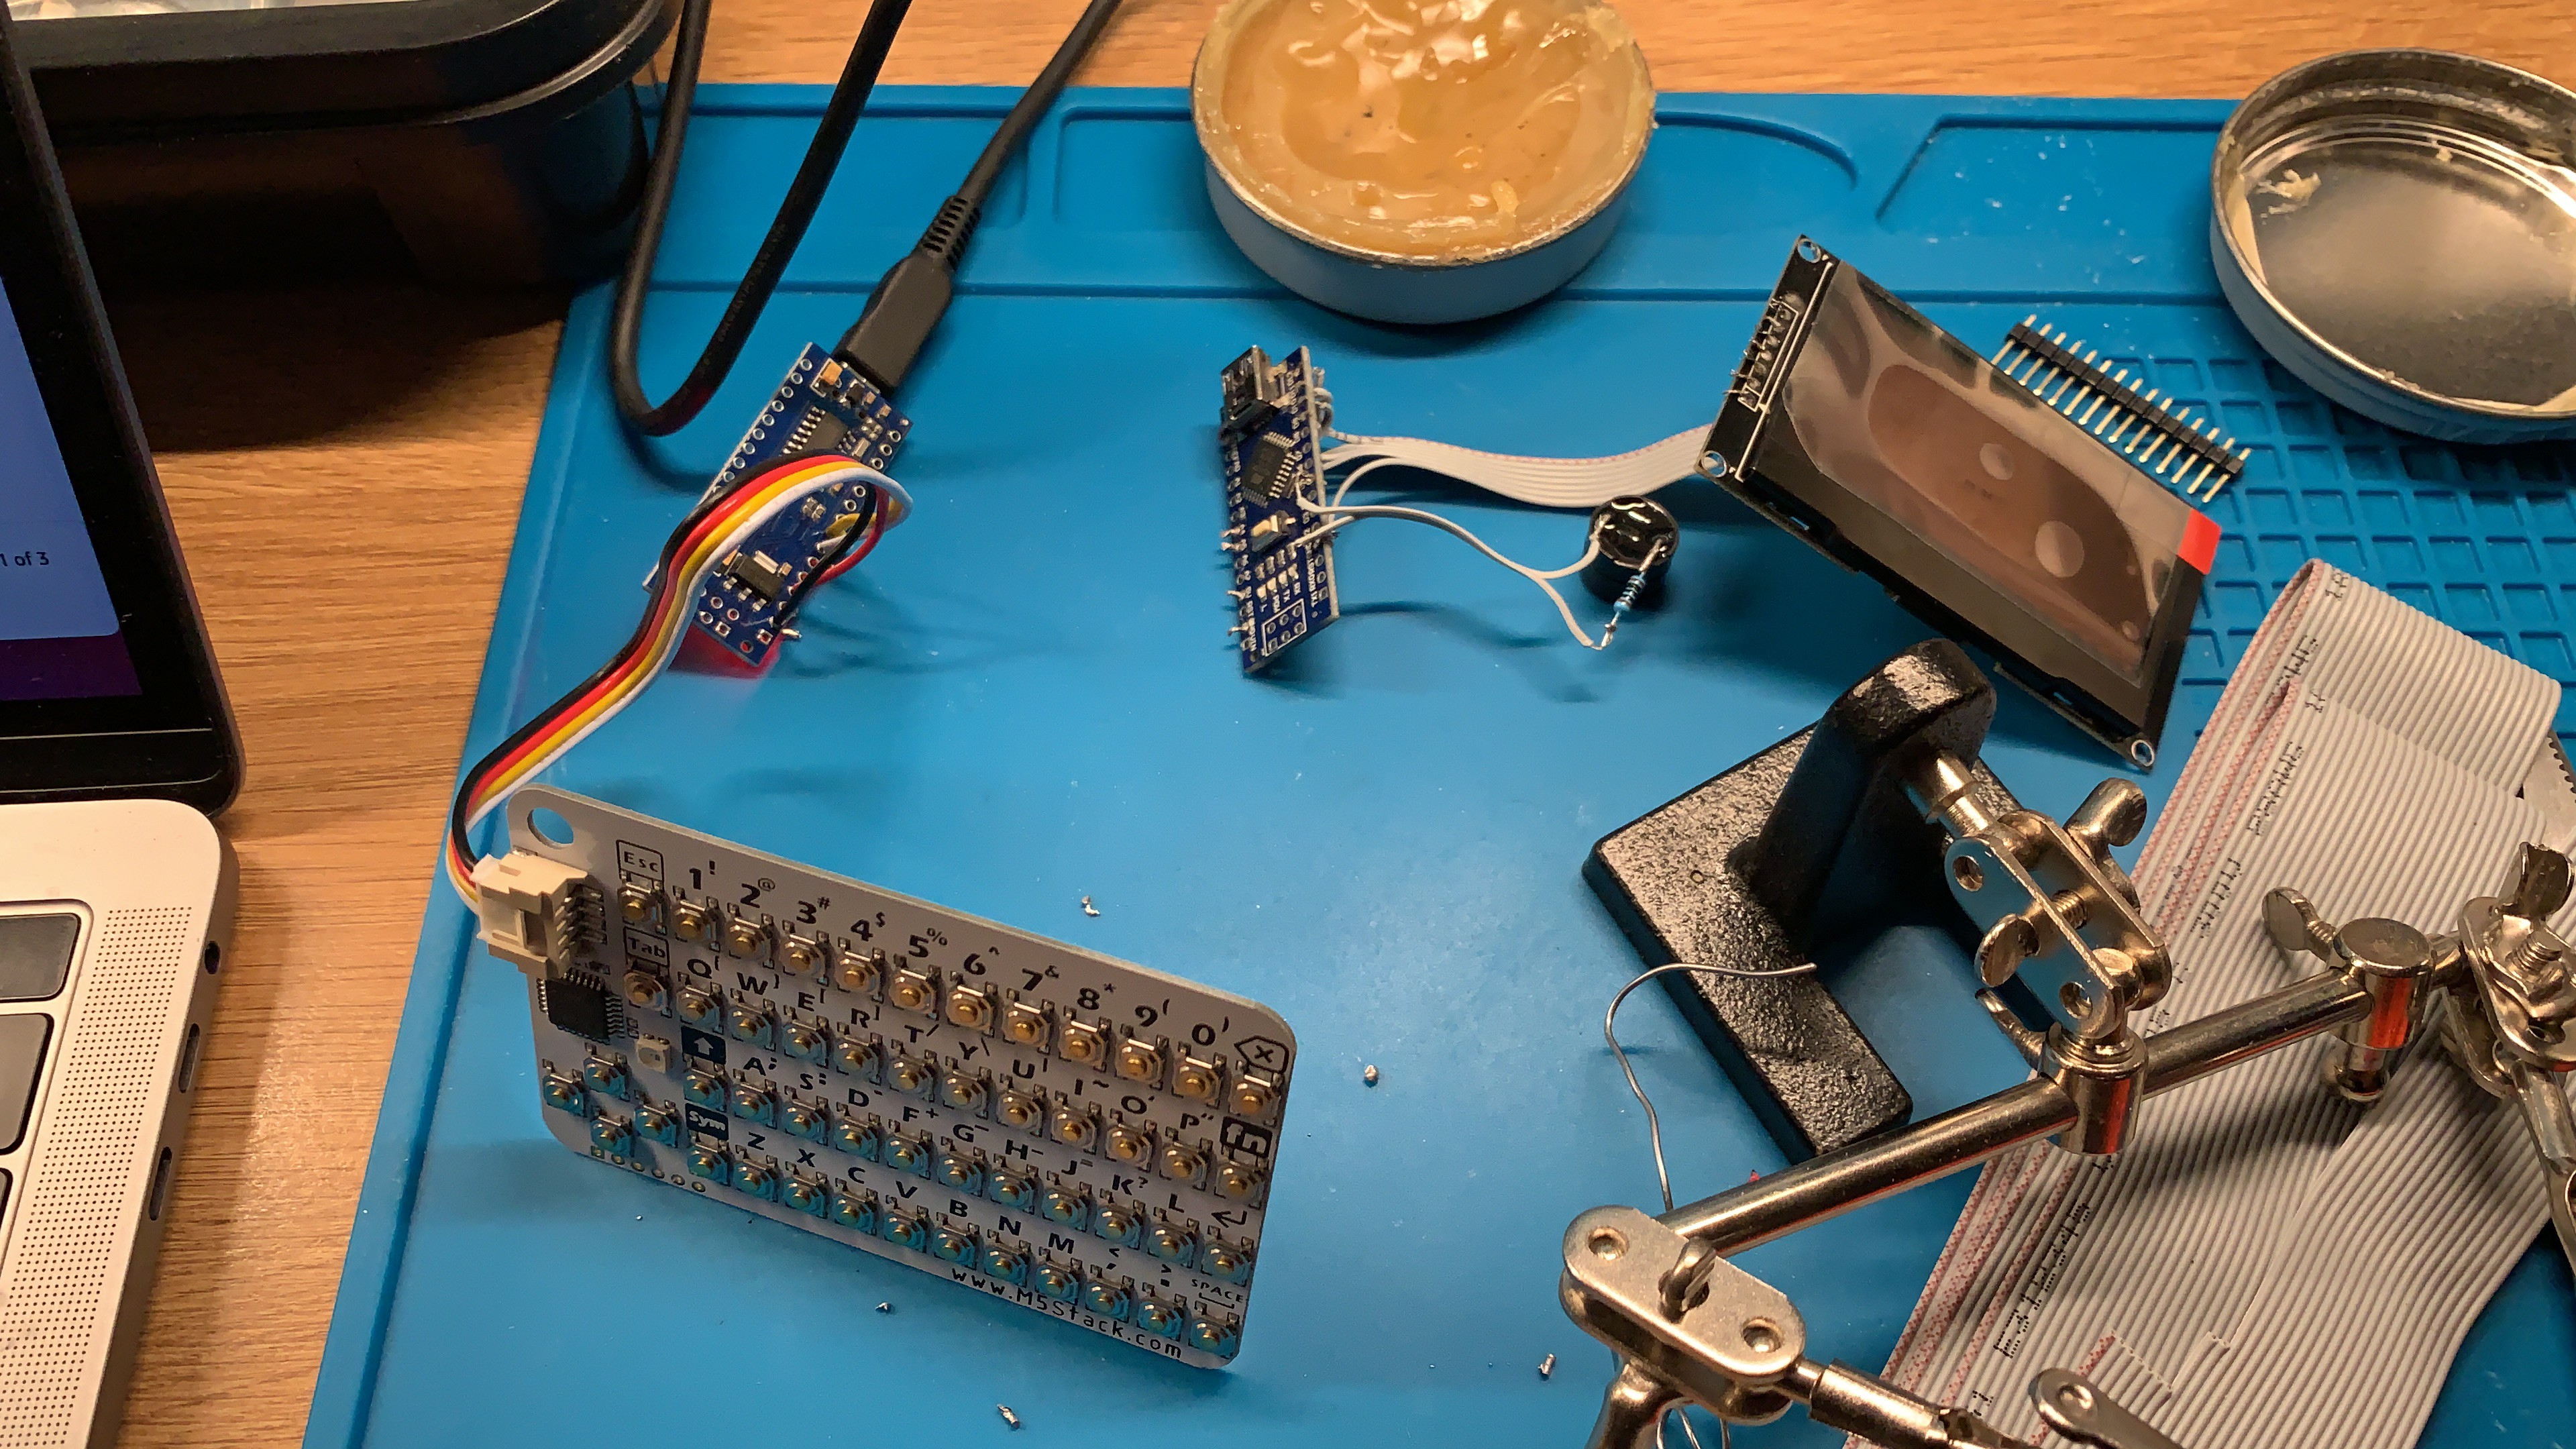
An early attempt that actually used TWO Nanos - one for the display and one for the keyboard. They were then connected via serial. A bit overkill really just to get around the limited SRAM problem. Abandoned that idea and went back to one Nano.
![]()
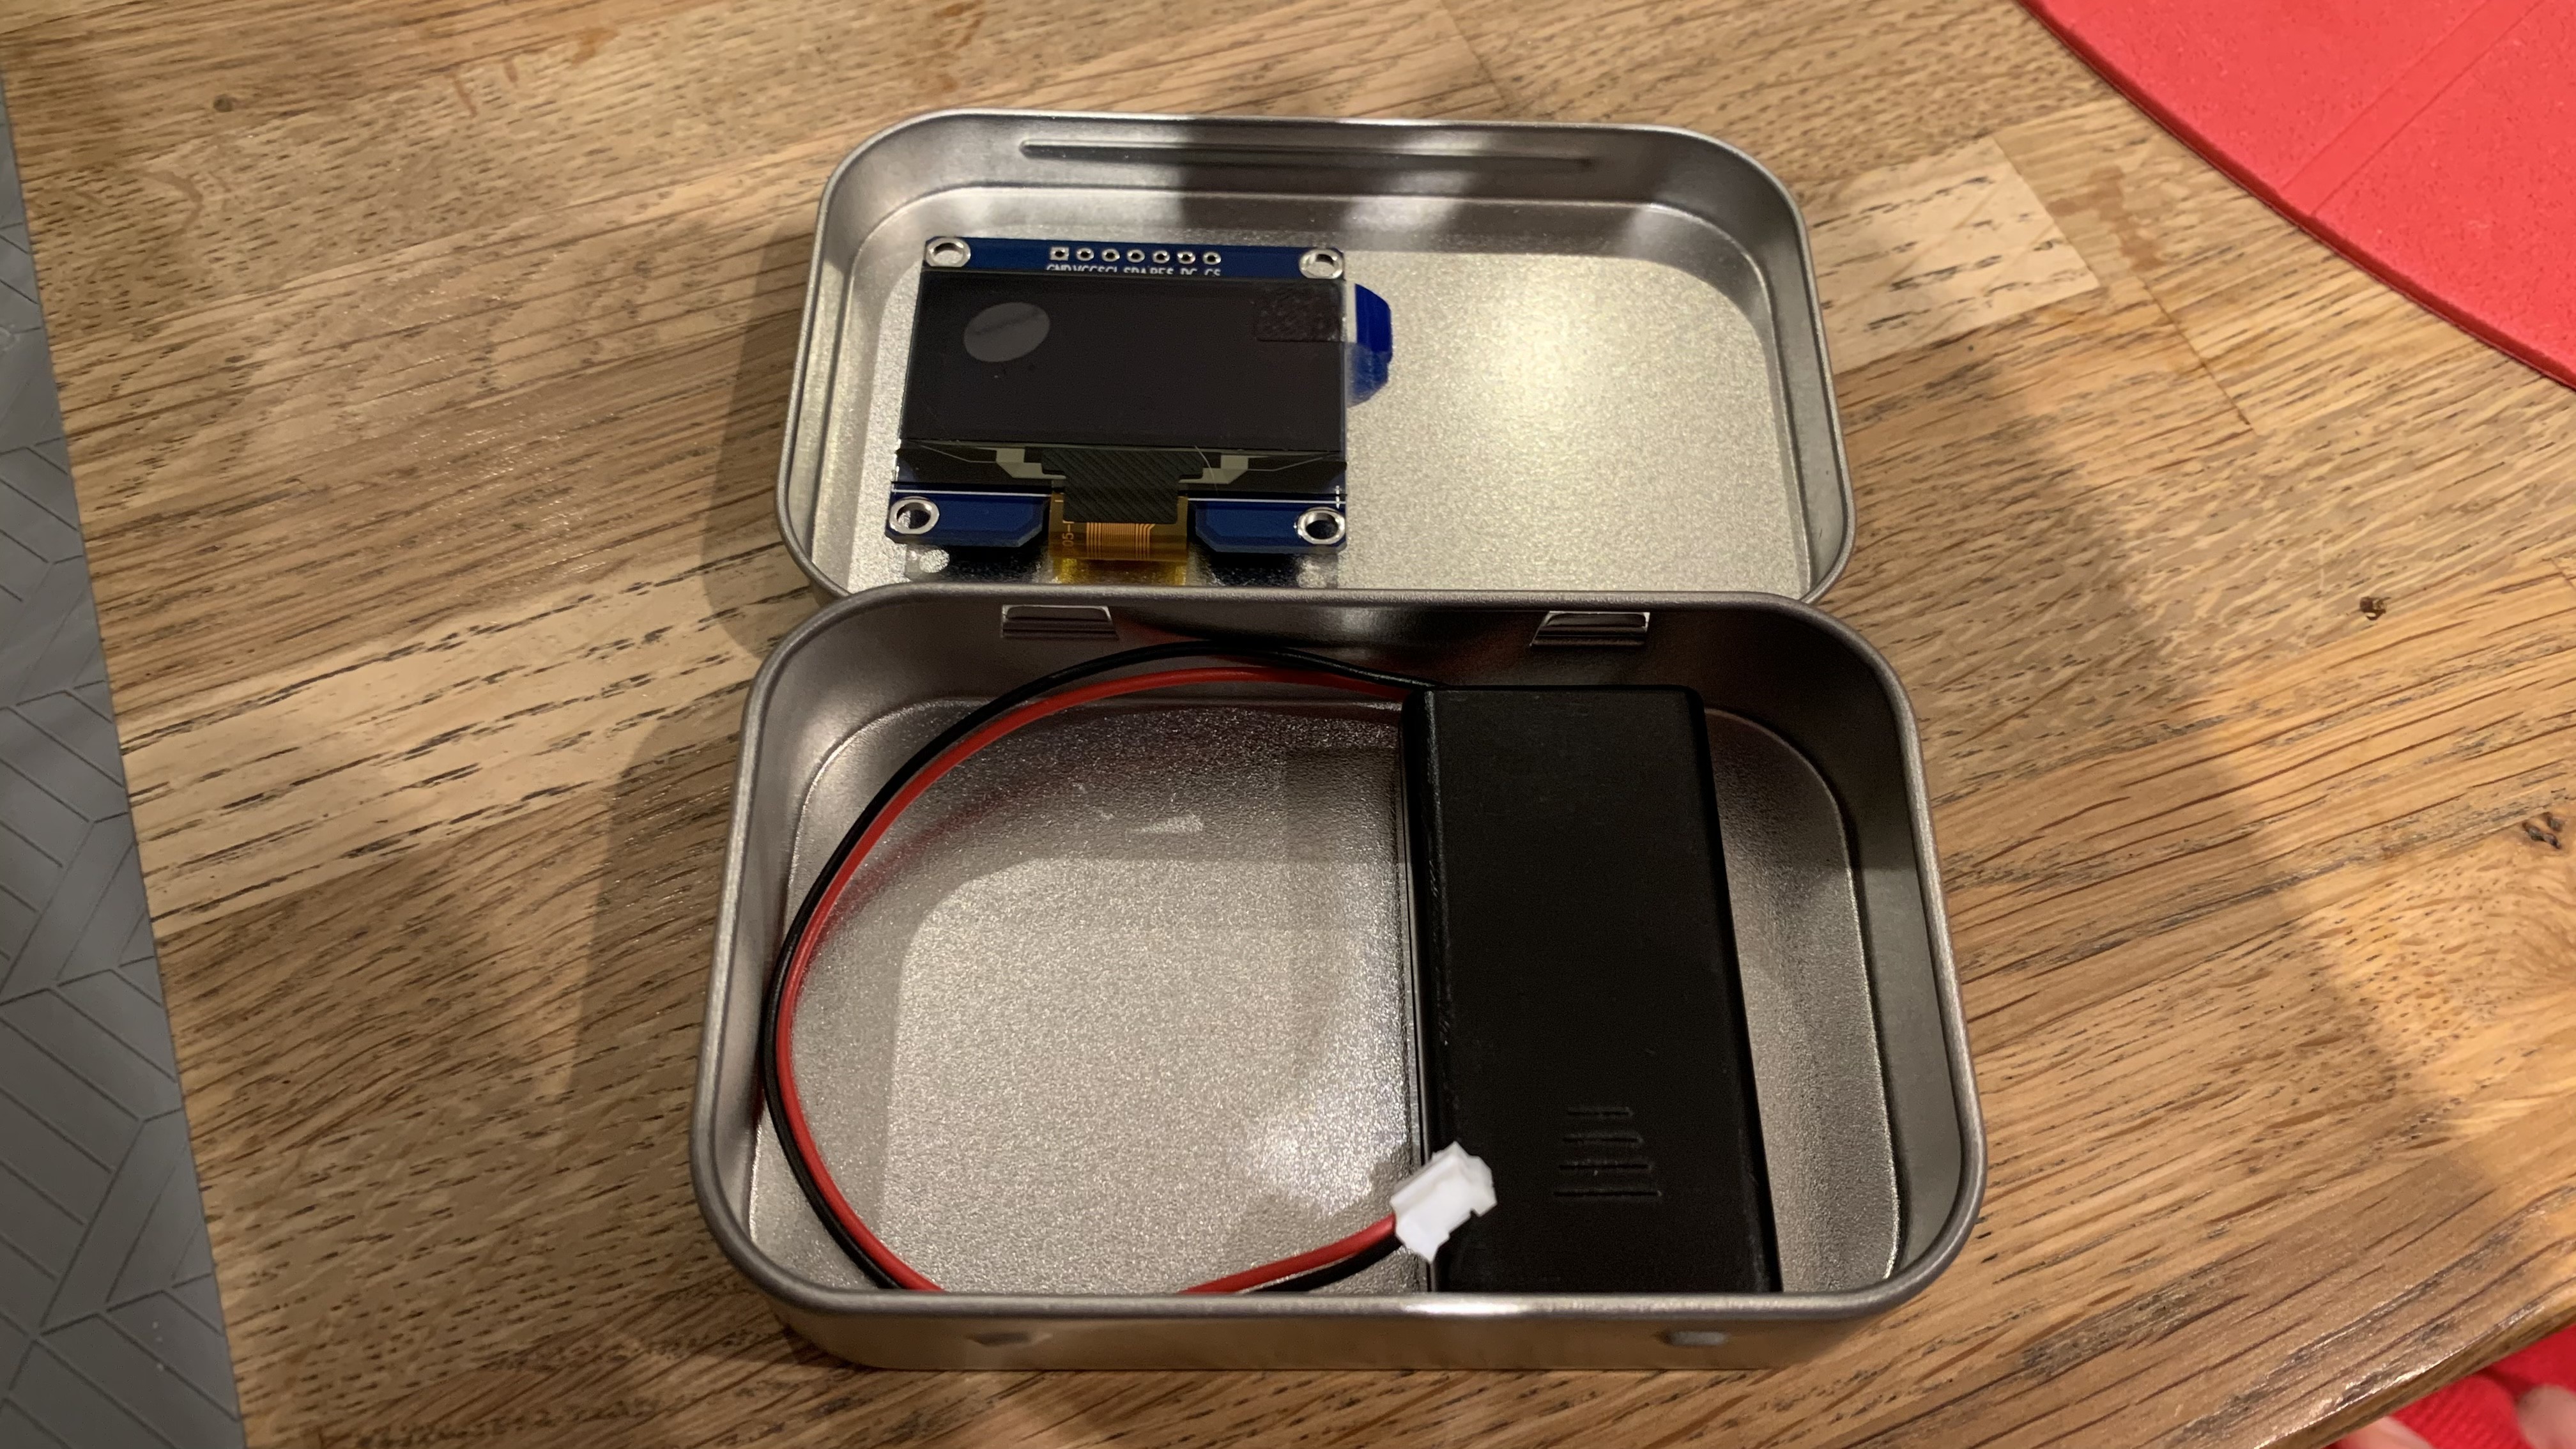
A first look at the new smaller OLED display and the 2xAAA battery box in their potential final positions within the tin. You can see this opens up possibilities for a mini breadboard to the right of the display, and lots of space for the Nano, PowerBoost board and spare components in the bottom of the tin. The CardKB keyboard goes on top of the battery box and can be removed for access to everything.
-
Getting the basics right
01/29/2021 at 15:46 • 0 commentsSo far, I've managed to get Arduino BASIC running with a 2.42 inch OLED SPI display and the CardKB keyboard. But for some reason, the display keeps dimming after a random period of time. Not sure if its a fault with the display but rather than get stuck on this point, I've decided to swap it for a 1.54 inch display I have instead. I should be able to try this out next week. Moving to the smaller display actually gives me more scope to fit more into the tin, specifically one of those mini breadboards next to the display so that the user can do some physical computing. There should even be space under the keyboard to store spare components and jumper wires. I also realised the benefits of building the Arduino and display onto breadboards too. So there will be 3 mini breadboards all inside one tin. My previous attempts of soldering components directly looked so messy - this will be much neater and can give me more flexibility as the project progresses.
eMBee ONE Pocket Computer
A 1980s style 8-bit computer running BASIC. Includes OLED screen and a QWERTY keyboard. Oh, and the whole thing fits in an Altoids tin.


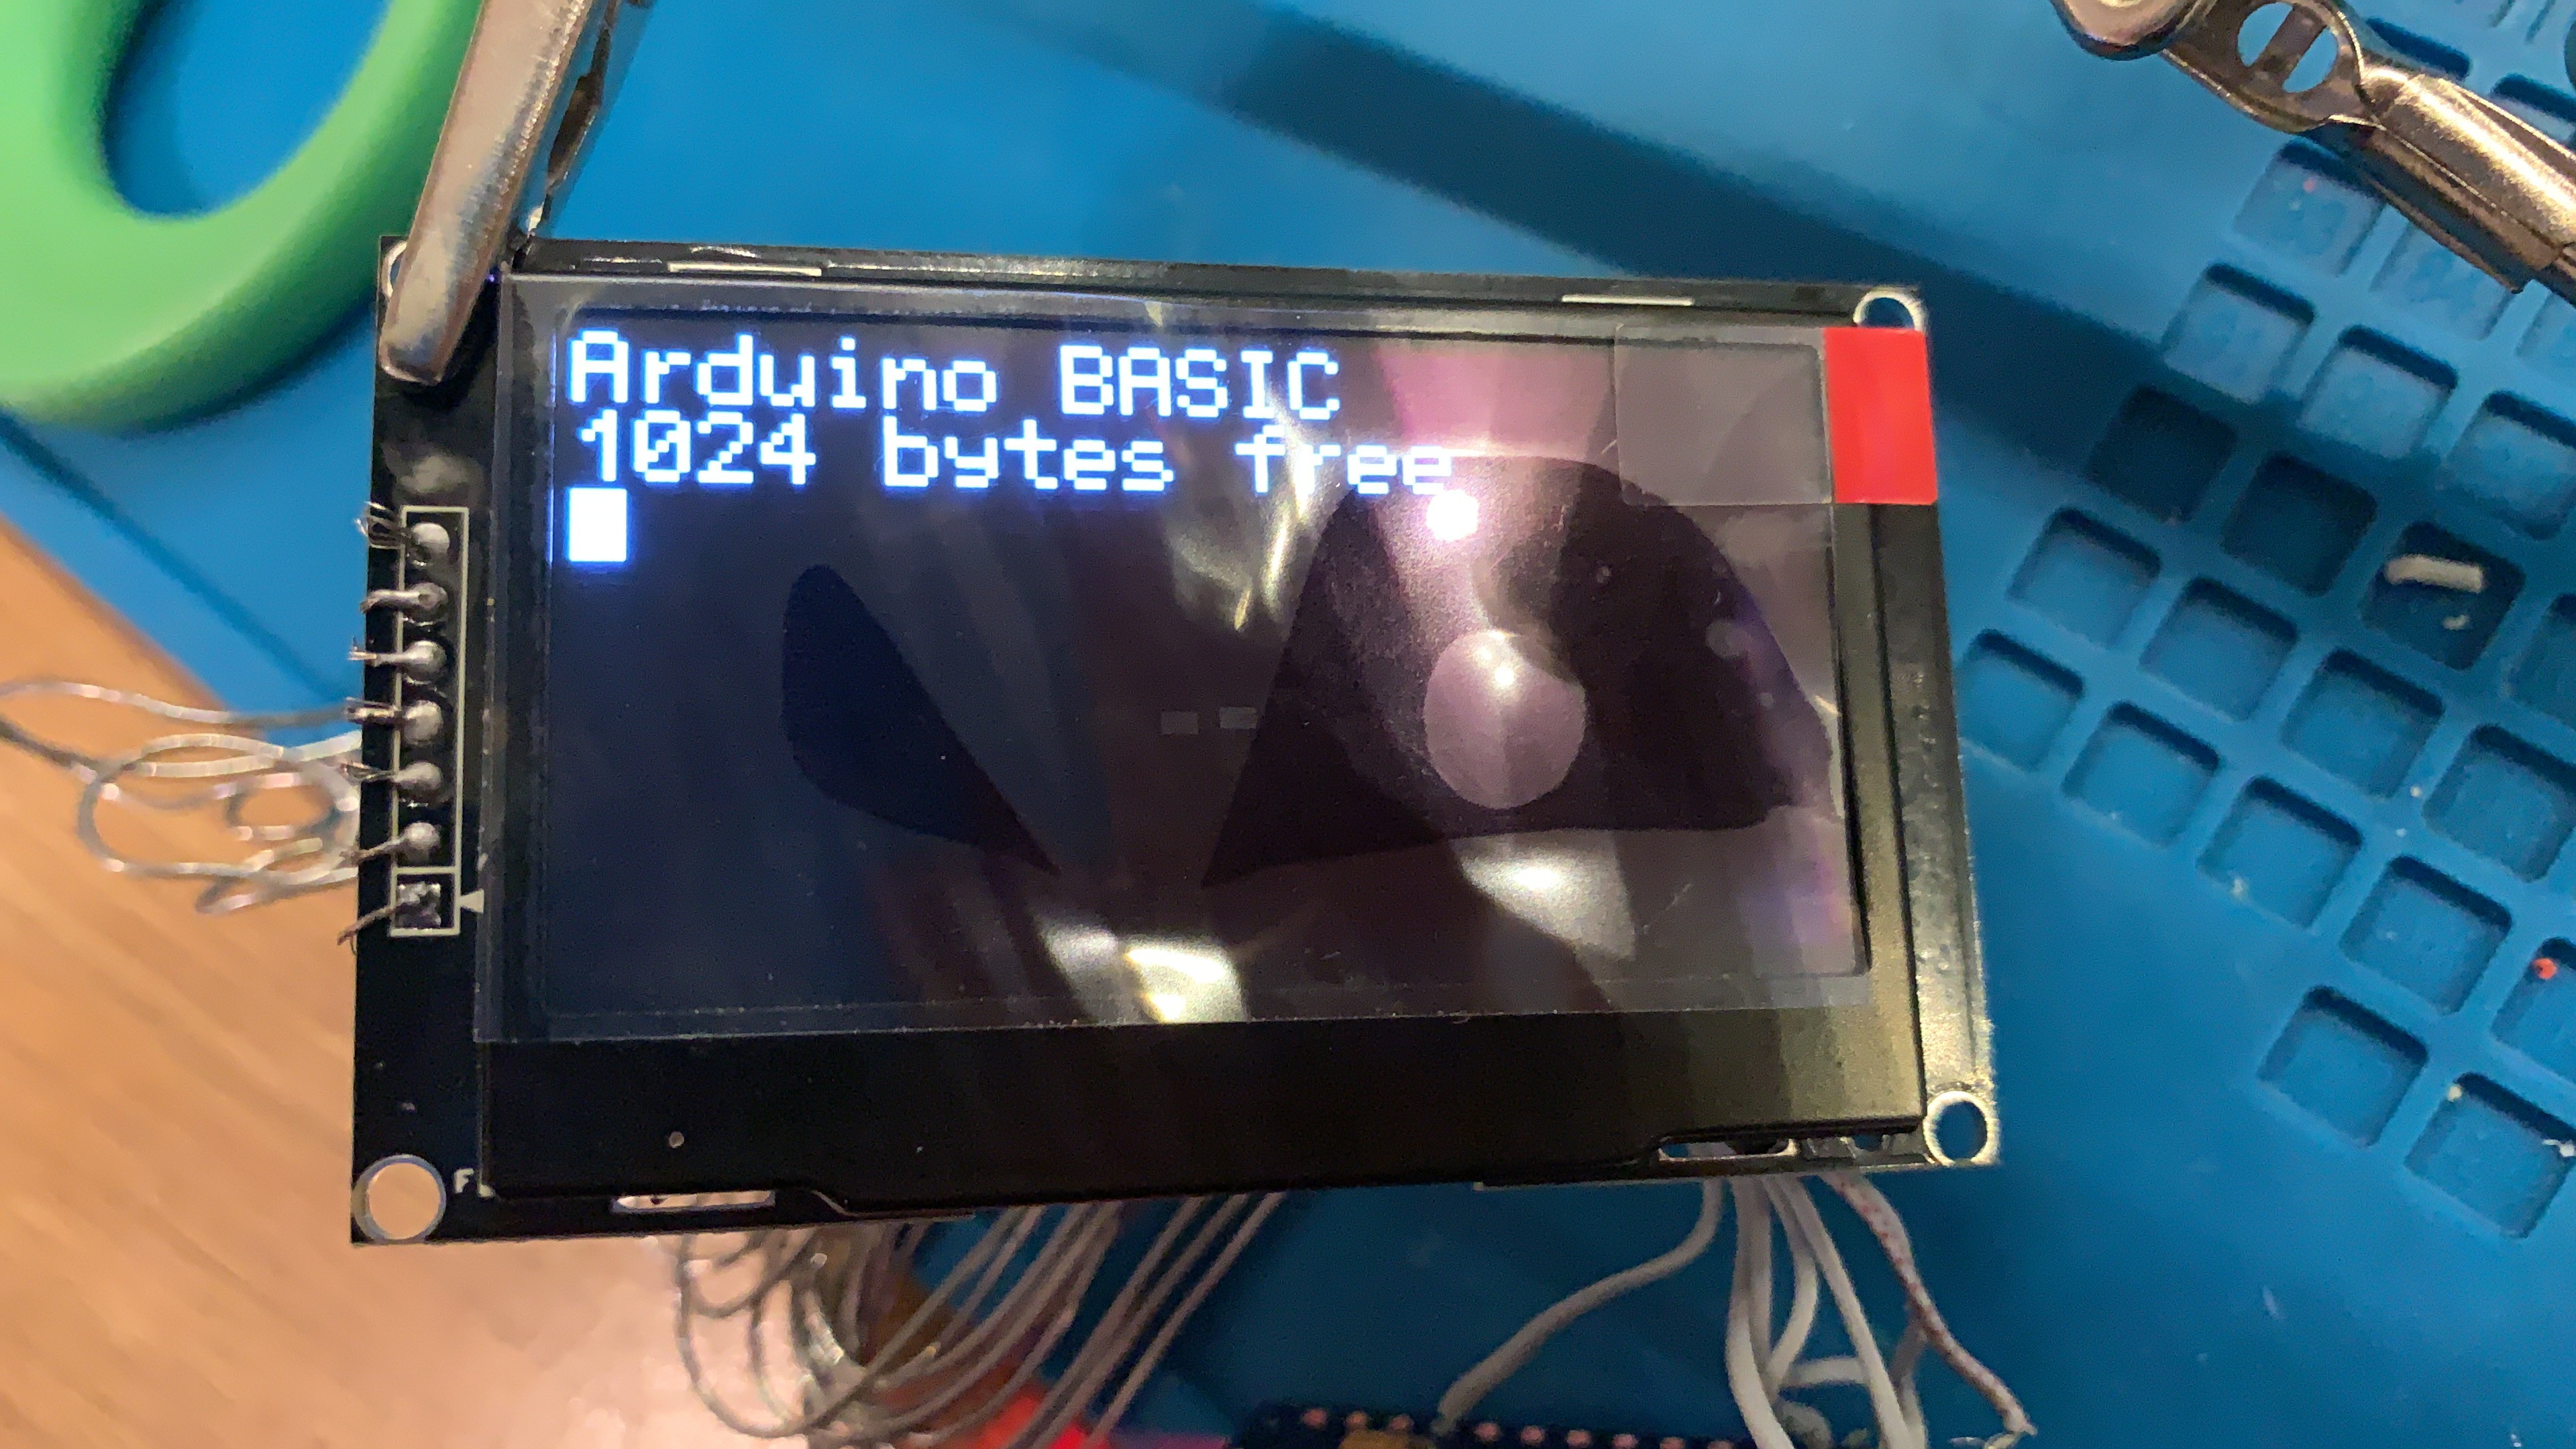 The first time I actually got Arduino BASIC to run. This was with the original 2.42 inch OLED that ended up having a dimming fault. Notice everything is hard soldered.