Close
0%
0%

Amplifier input select, pre-amp and tone control

A fully digitally I2C-controlled input selector, pre-amplifier and tone controller based around the TDA7439.

Public Chat
Similar projects worth following
In my search to make the volume in my amplifier digitally controllable I came across the TDA7439DS from ST.
This IC packs many features including volume and tone control. The IC can be controlled through an I2C-interface.

I developed a board around this IC to be used in my amplifier. This allows me to control the volume through an app or rotary encoders.
Here I will document my journey of making the hardware and writing the software to do this.

My previous tone control/pre-amplifier board was based around a cheap PCB from AliExpress. It worked well, but as everything in my amplifier started to be controllable through a smartphone application, I wanted this to change too.

The biggest reason too make every digitally controllable was the volume control. The volume on the cheap AliExpress board was done through a simple potentiometer. But having to walk up to your amplifier every time the volume is too loud, is often annoying. Especially when watching TV.

So first I started looking at digital potentiometers. There are many variants out there, even ones which save their last state to an EEPROM. At first I thought this was the ideal solution, until I came across tone control ICs.

These ICs are sparse as I think many of them are ASICs not really available to the general public anymore. They are mostly used in cars as far as I can see.

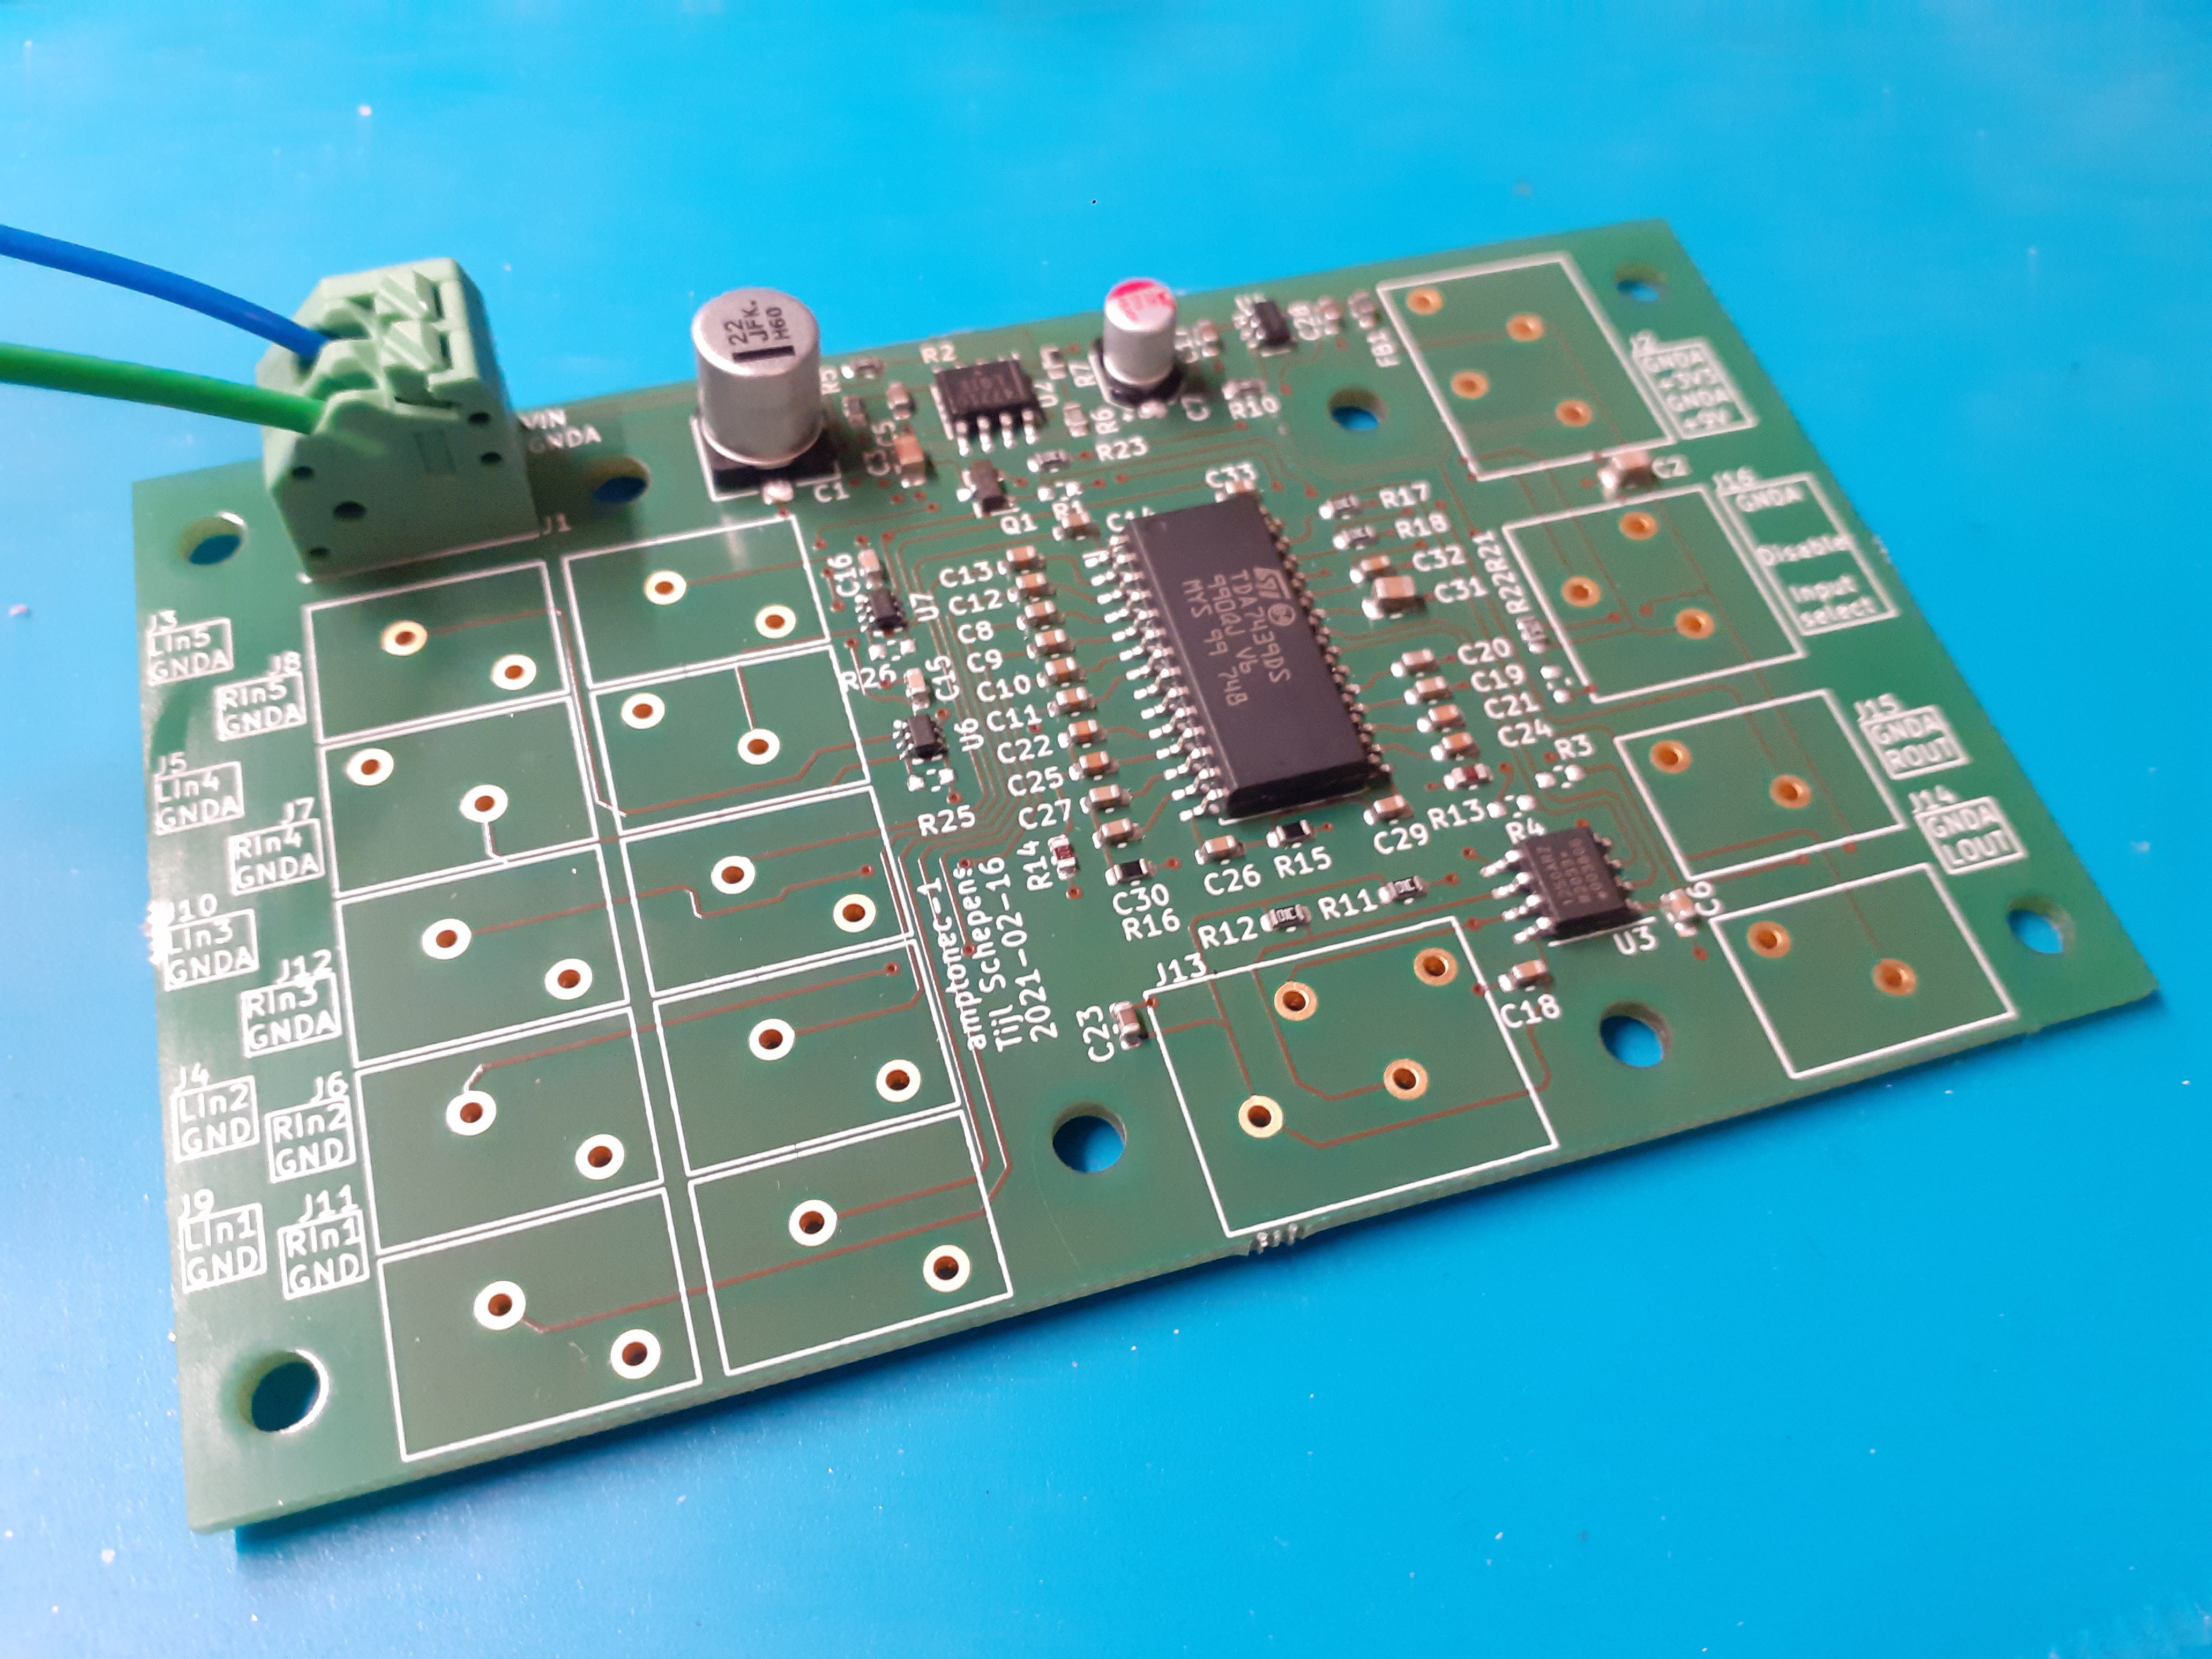
One such IC that is fairly easy to get, is the TDA7439DS from ST.

Adobe Portable Document Format - 93.78 kB - 02/28/2021 at 10:29

Preview
Download

  • The board in action

    Tijl Schepens05/20/2021 at 18:19 0 comments

    I've integrated the board into my Raspberry Pi amplifier and adjusted the code to work with the tone control board.


    As you can see in the video it is working nicely! Bass treble and volume work properly and respond very quickly. I did not implement a balance control as I don't see any value in that. I've never used that in the past.

    The app is still a bit hacked together as the sliders are not working properly :-/ But with some extra work it can probably be fixed rather easily.

  • Writing Python software

    Tijl Schepens03/29/2021 at 18:56 0 comments

    I've started writing the software to control the board in Python. The goal is to control the board using a Raspberry Pi.

    To control the board over I2C I started using the smbus2 module. It is popular for the Raspberry Pi and has good documentation.

    When I started writing the software I did not notice that the TDA7439 does not support reading out its registers. So I was trying to read out the registers to see if it was working and everything just returned 1. But as the device does not support read out this is quite normal.
    So then I removed all the software I wrote for read out and started testing writing to the device.

    The software I've written seems to be working, but I still need to test all the functionality. For now I've only tested the input selection and the volume control. The other functions are all similar so I assume they will be working fine.

    https://gitlab.com/piamplifier/python-tda7439

  • Supplies are operational!

    Tijl Schepens03/18/2021 at 19:45 0 comments

    So today I finally got around soldering the board.
    A first power-up shows that the 9 V and 3.3 V LDOs are working as expected. It also shows that I made a stupid mistake...

    I added R23 in the schematic and populated it thinking that if the gate of the transistor is pulled to 3.3 V, the regulators would be disabled by default. Of course that cannot work as you cannot generate 3.3 V if you disable the regulator (duh!).
    So instead either R1 has to be populated to enable all regulators by default, or an external pull-up from another 3.3 V supply needs to keep the gate high to disable the regulators.

    So now that the board is soldered and the regulators are ok, I can fire up my Raspberry Pi and see if the I2C is working. Fingers crossed!

  • Arrival of the goods!

    Tijl Schepens03/02/2021 at 17:32 0 comments

    Today the board and the component arrived. The boards were produced at Aisler.

    The components are one giant bag! I better start sorting them out.

  • PCBs in production

    Tijl Schepens02/28/2021 at 10:31 0 comments

    The schematic and PCB design are finished. You can find everything on my GitLab page.

    Currently the PCBs are in production at Aisler. They should arrive somewhere next week.
    Let's hope I did not make too much mistakes!

View all 5 project logs

Enjoy this project?

Share

Discussions

Similar Projects

Does this project spark your interest?

Become a member to follow this project and never miss any updates