 pkElectronics
There it is - we are live on Kickstarter
exactly as planned the campaign launched a few minutes ago. Make sure to grab your board as long as the early birds are available.
It´s official - we´re going to make it happen
Over the last few weeks I received lots of awsome and motivating feedback and after double checking a few things and collecting some prices from potential suppliers, I can now announce that we are on track for a crowdfunding campaign to get this board into production. Planned start date of the campaign is July 1st so mark that day in your calendars. Stay tuned :)
How it started...
When I first got the idea of an all integrated 3D printer control board the only option available were the Raspberry Pi Compute Modules in SODimm format but I could not wrap my head around it so it was basically discarded before becoming a concept.
Then in 2019 I visited a workshop from ST about their all new STM32MPU1 and I was: hey, this could actually work. I even started designing the hardware from scratch and then somebody with the same idea came and killed the project because the MPU was not powerful enough to run OctoPrint. So it was postponed again.

But than came the release of the Raspberry Pi Compute Module 4 with it´s all new formfactor and I was back on track because I knew it would not get better anytime soon. So I once again started working on it with a result I´m still absolutely amazed of.

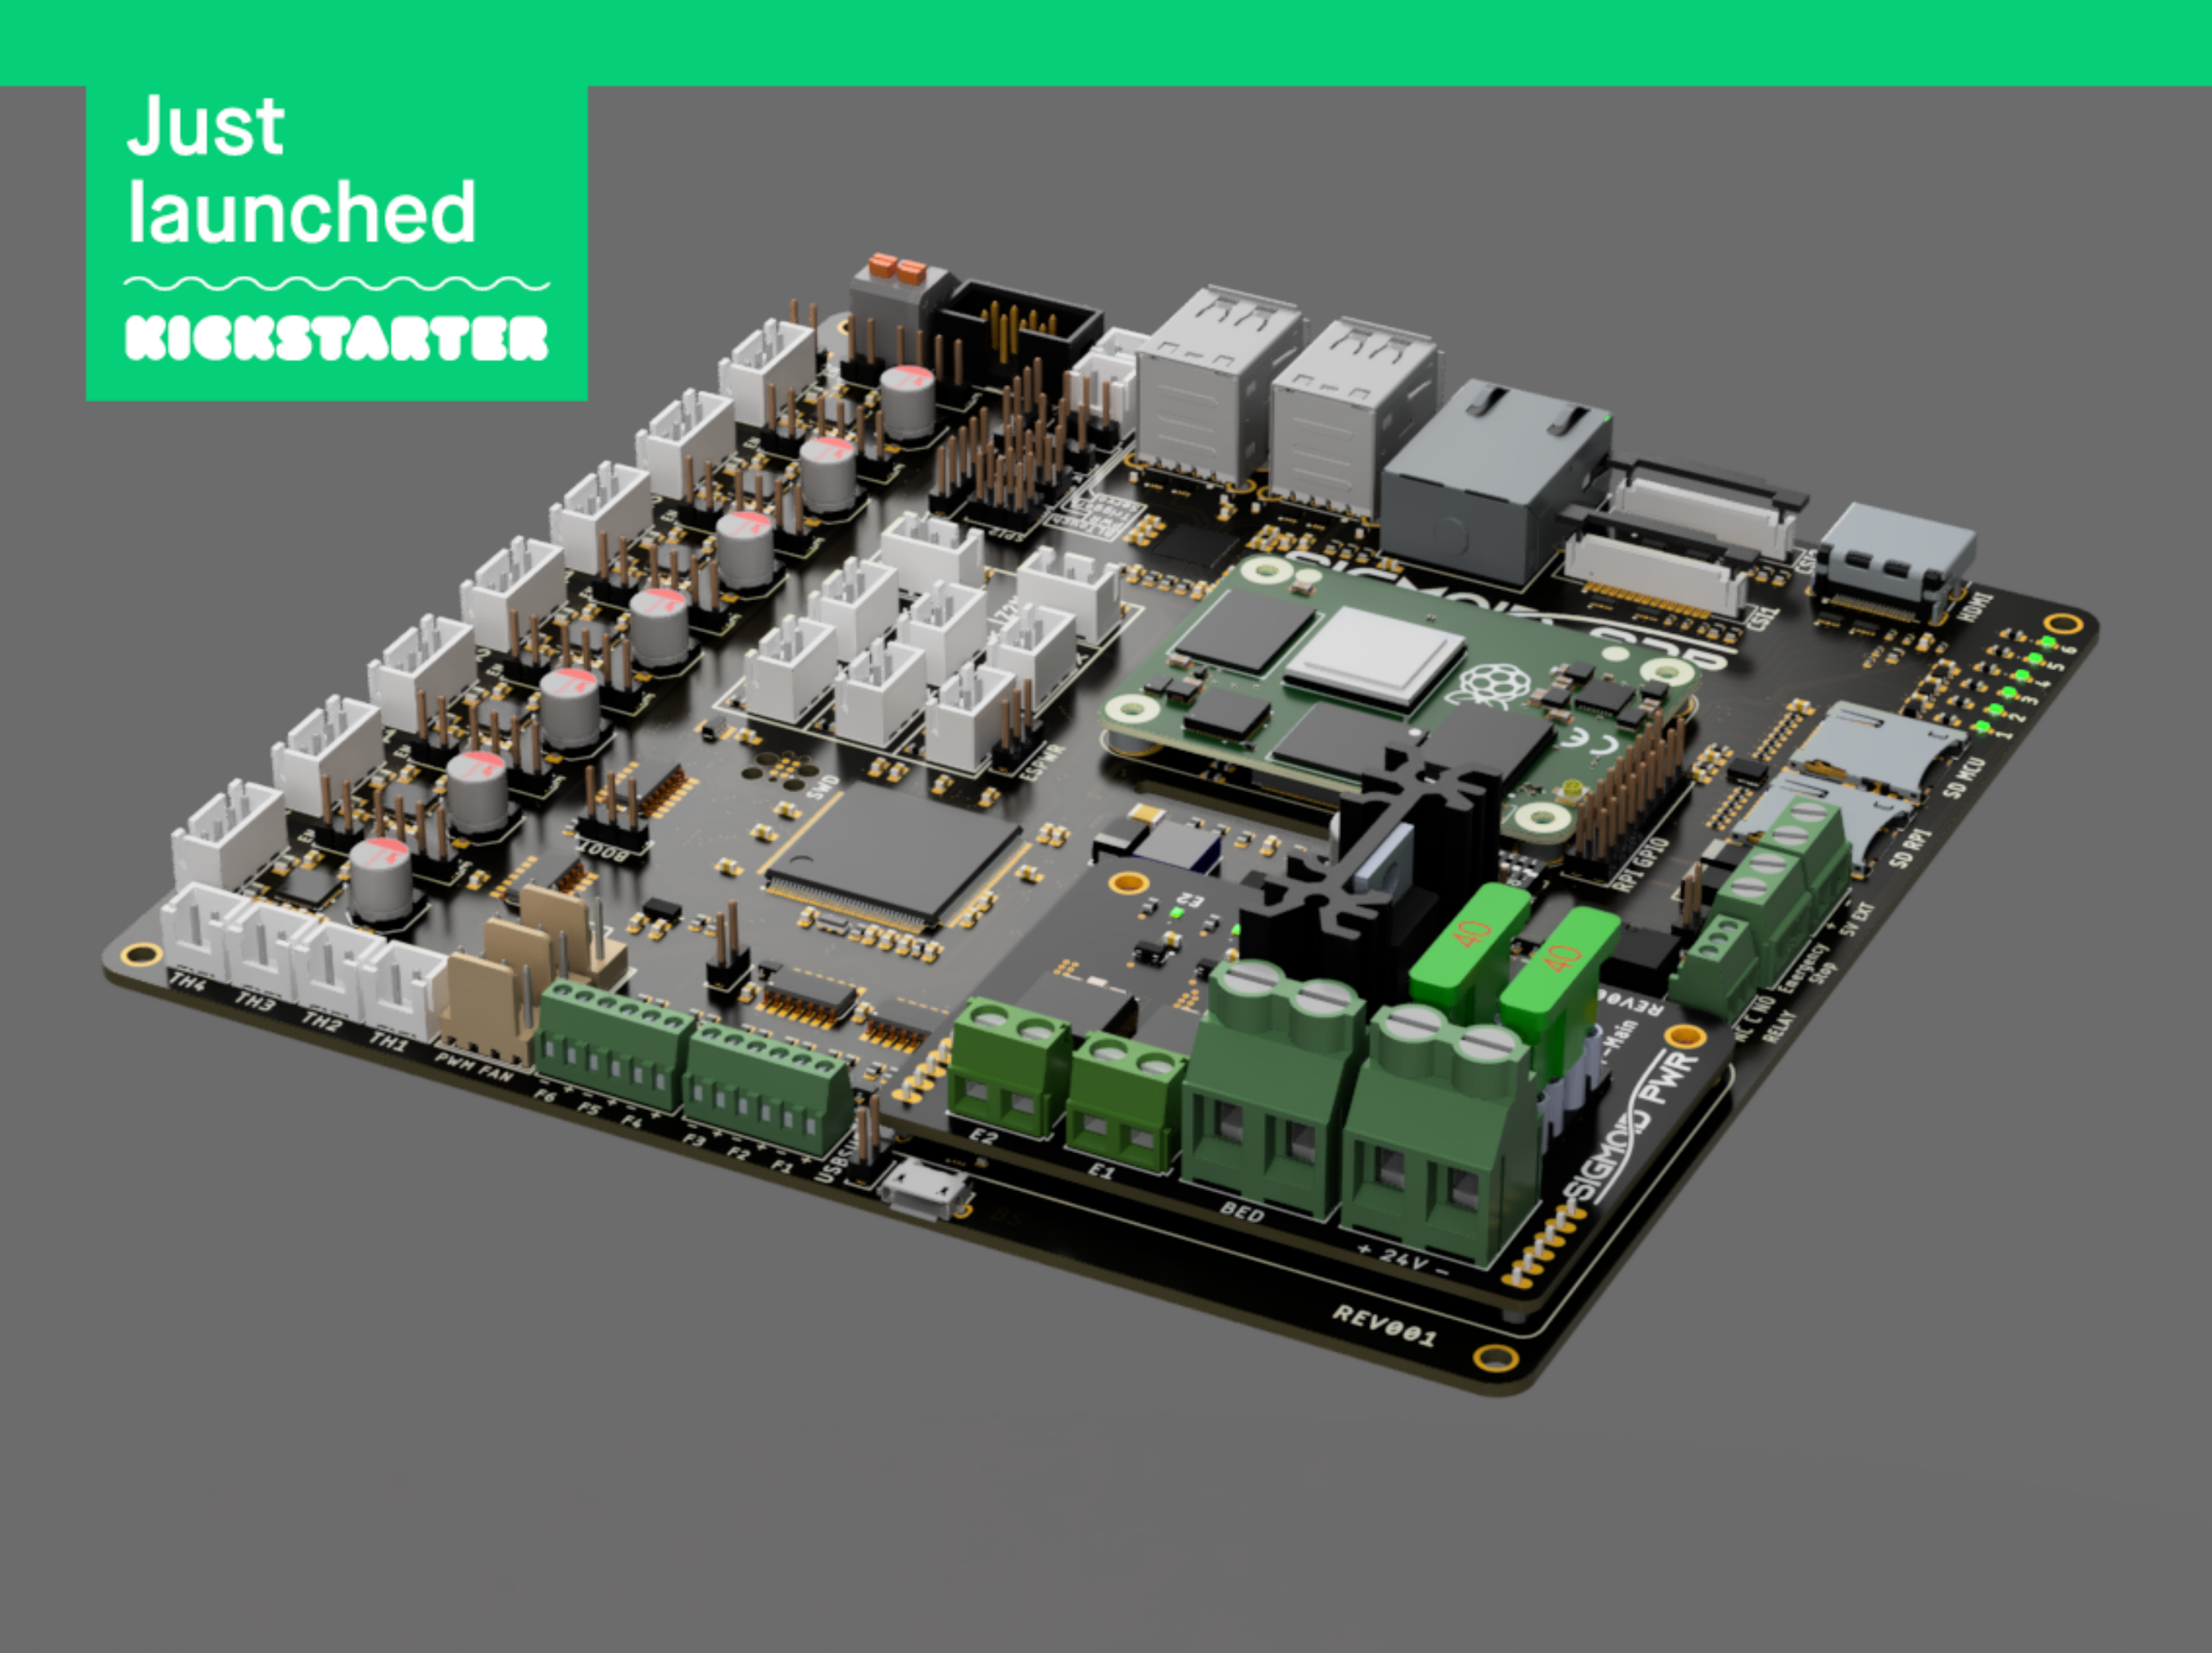
How it was designed
Working together closely with a few friends from the Voron community I figured out the necessary featureset to eradicate most compromises of the boards available today. With the biggest feat being the integrated Raspberry Pi which has almost all GPIO either used or broken out to connectors I put in everything a Voron could benefit of (cause I want one too) and everything I personally didn´t want to miss.
The schematic and board design were done completely in Autodesk Fusion360 within several weeks of sporadic latenight sessions. Several renderings were showcased to german 3D printing communities to check for feedback and additional ideas. Although being something I started for the sole purpose of doing it, I just couldn´t keep it a secret.
As the nature of the Compute Module requires the developer to handle the highspeed signals like HDMI or CSI by himself and break them out to connectors, impedance and length matching becomes crucial. To get the impedances under control I opted for a four layer pcb and choose the JLCPCB controlled impedance stackup as a design point. The JLC2313 stackup has a prepreg as thin as 0.1mm between the inner and outer copper layers allowing for really thin differential traces even at 90 Ohms impedance.
The power switch board was built as a separate PCB so I could get it manufactured with only two layers and with more copper on those layers (e.g. 2 oz. instead of 1) .
Somewhere during the layout and rendering phase I started to heavily dislike the working title of the board. Progress R2 just doesn´t sound good and neither does it written on a PCB, after quite a while of thinking about this I came up with the Sigmoid name and a 3 letter description of the board. The Sigmoid or S-function as eponym to the board acutally makes sense as well. With the Sigmoid function describing the traversal between to equilibrium values, the Sigmoid board basically traverses between the low-level mcu firmware and the high-level software on a Raspberry Pi.
What it can do
| Printing | Connectivity | Misceallaneous |
|---|---|---|
| 7 TMC2209 Stepper Driver | HDMI | Hardware Emergency-Stop circuit |
| 4 Thermistor channels | 2x CSI for Raspicam | User controllable relay with NO and NC contacts |
| 8 Endstop channels | 4 USB 2.0 Ports | 1 CAN bus channel |
| 30A Power MosFET | Gigabit Ethernet | expansion connectors with UART, I2C and SPI |
| 2 Extruder heater channels | WiFi | Car fuses for system protection... |


 ABrugsch
 Poyu Chen
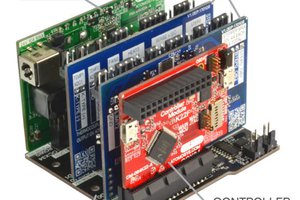
 Jon Buford
 julien
Ohh i love to stare at 3d printer motherboards. And your is awesome!