Quinn
QuinnGenerally I have one project log per plane, indexed here for easy reference. As I'm often working on multiple at a time, the log dates may be out of order. (I use draft mode as I work, and publish when "done")
Background/Reference
- My background, interests
- Gear
- Techniques
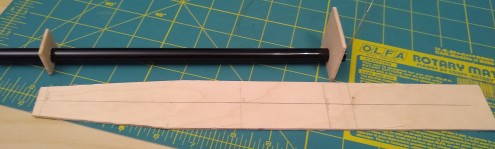
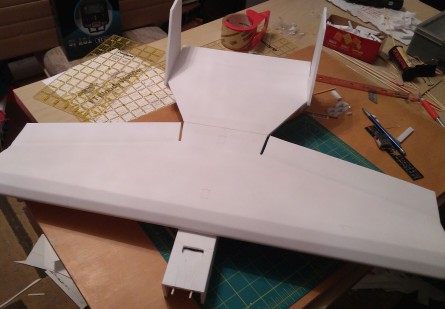
- Hot wire foam cutter
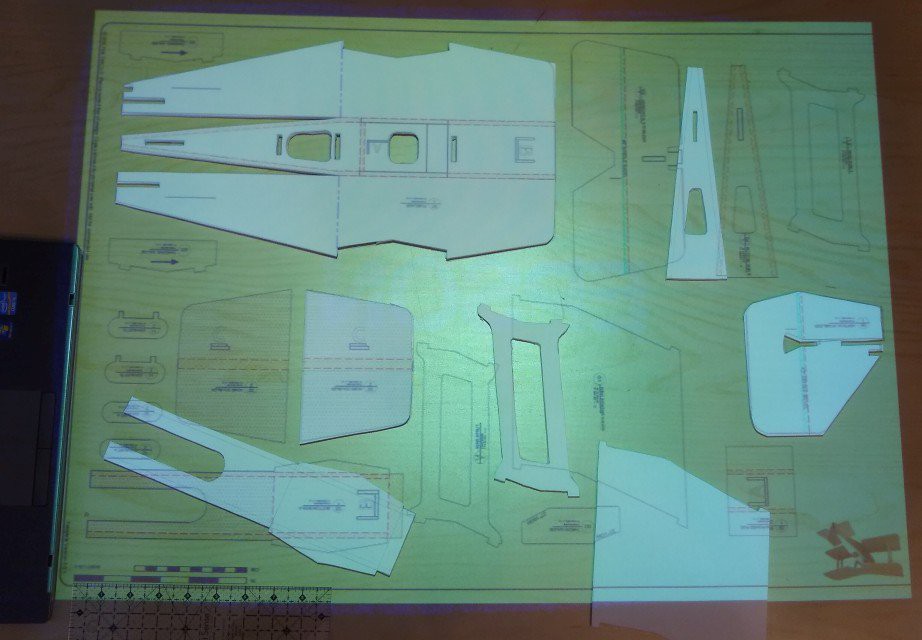
- Pattern/Plan Projector
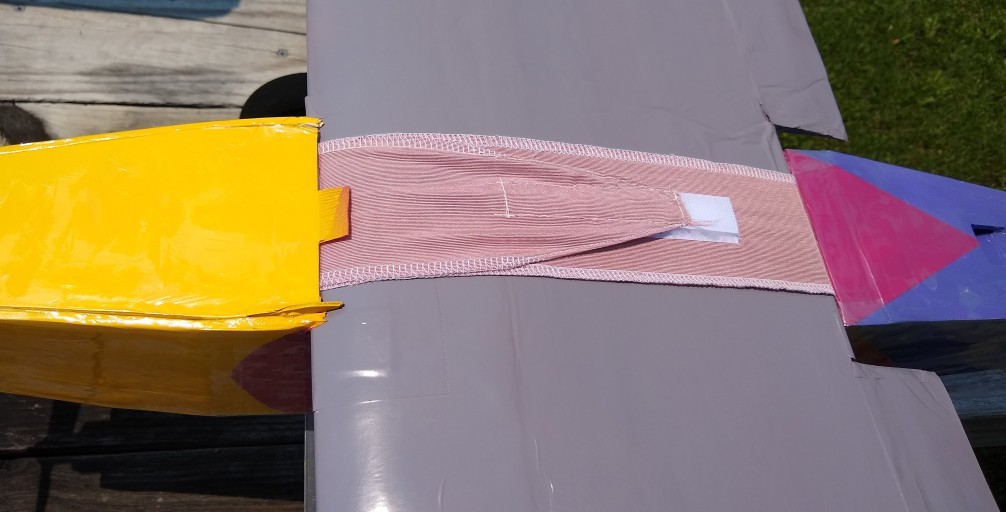
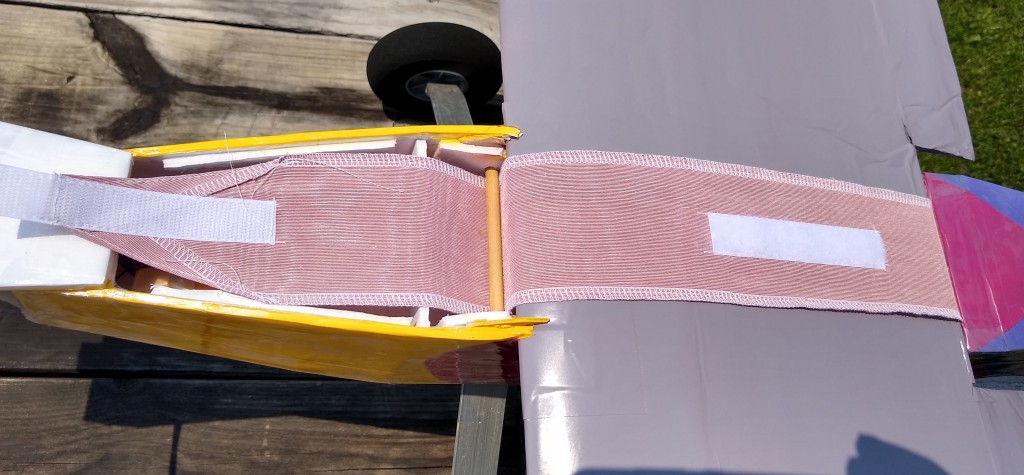
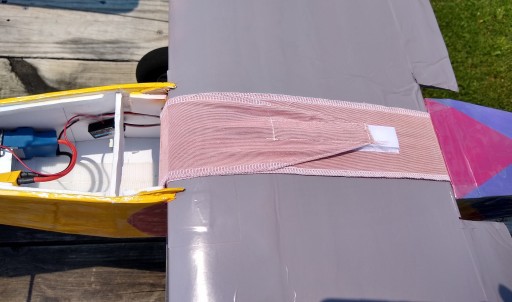
- Simple Wing Strap
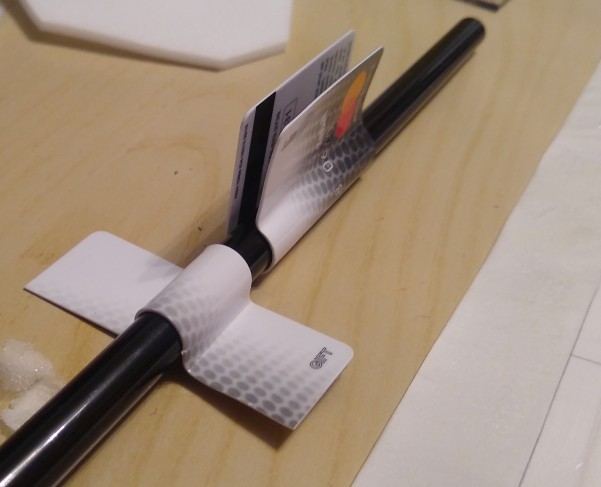
- Wrap storage for piano wire and tubes
- Radiomaster TX16s to Flysky trainer cable (coming soon)
Planes
| Sapphire/Ruby (Flitetest Simple Cub) |  |
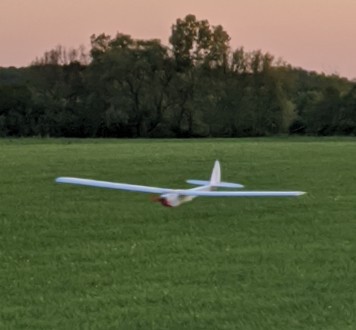
| Pearl (Flitetest Simple Soarer) |  |
| Connie (Flitetest Sparrow) |  |
| Lapis ( Flitetest Bloody Wonder) | 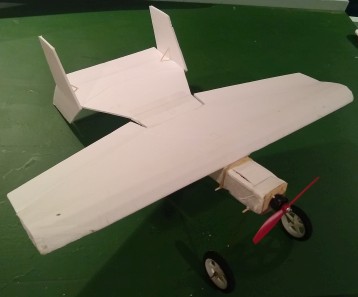 |
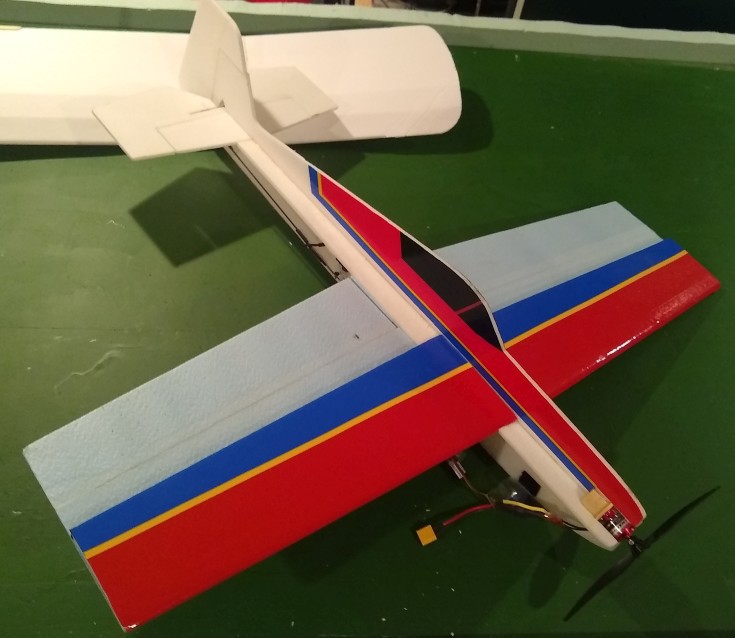
| Garnet (Flitetest Mighty Mini SE-5) | (Construction paused) |
| Rose (Flitetest Stortch) (Flight video included) | 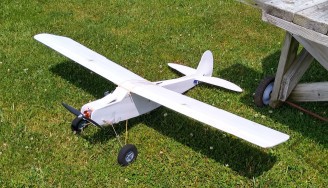 |
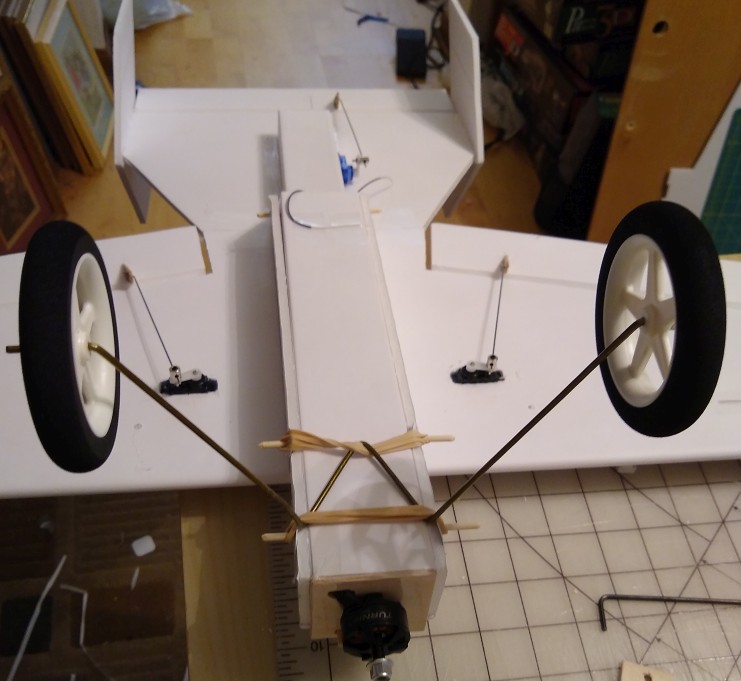
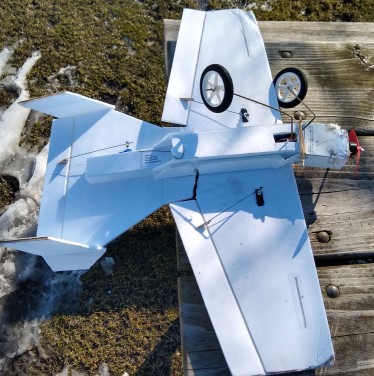
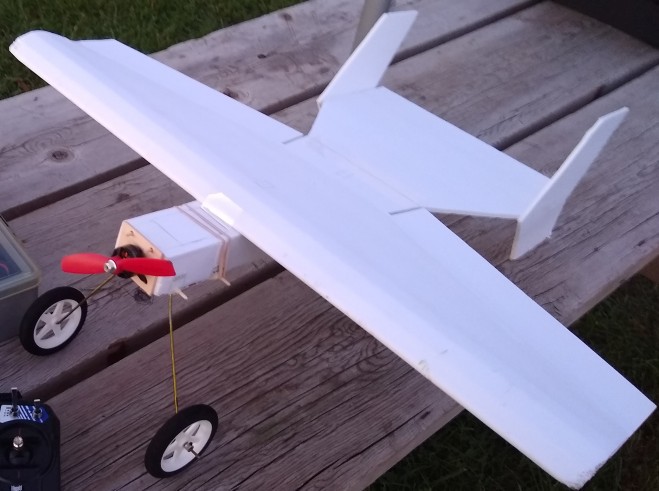
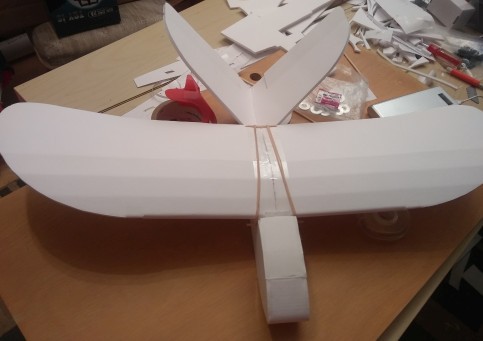
| Sadie (Custom 3-D) |  |
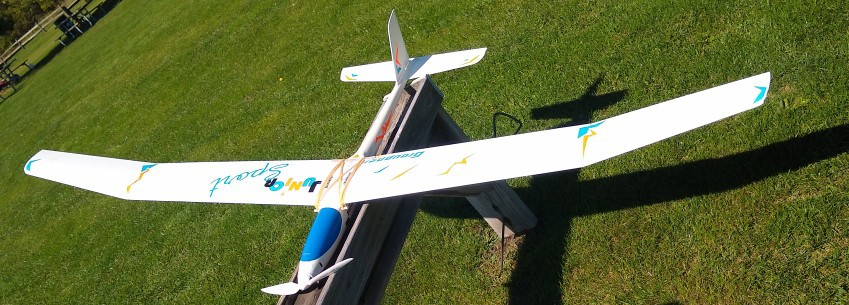
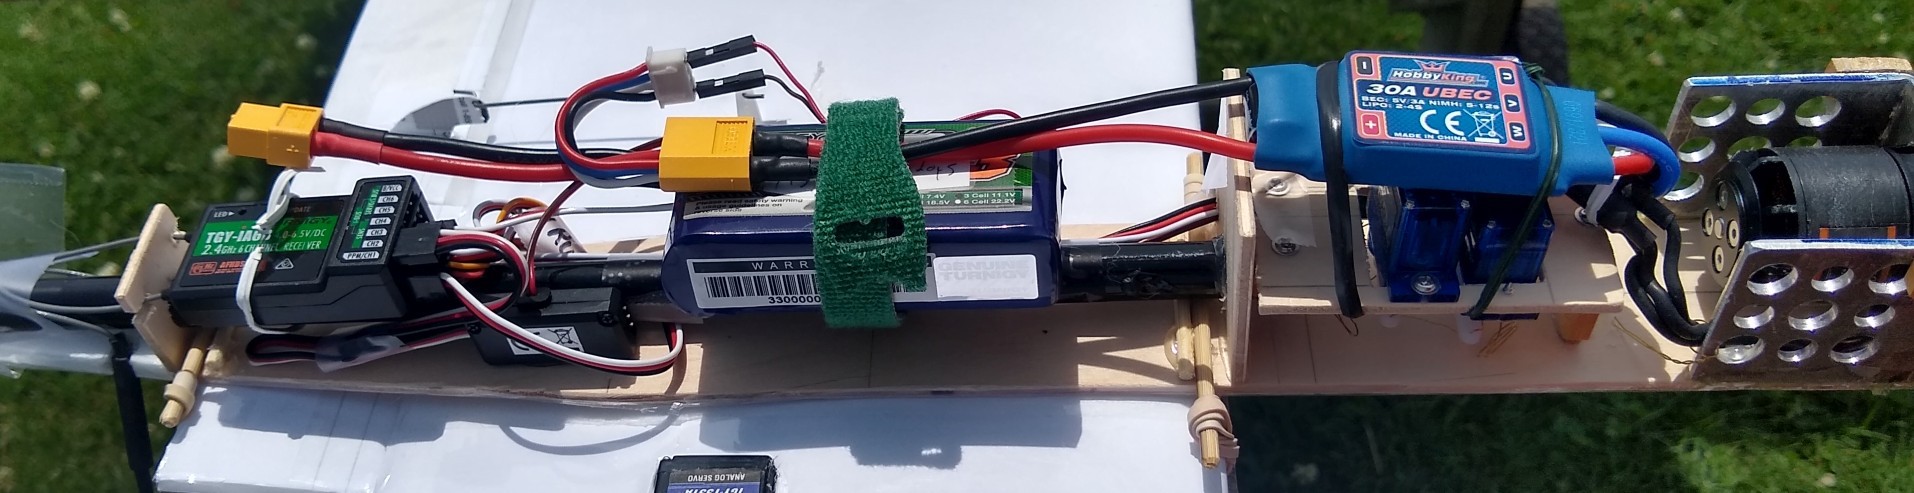
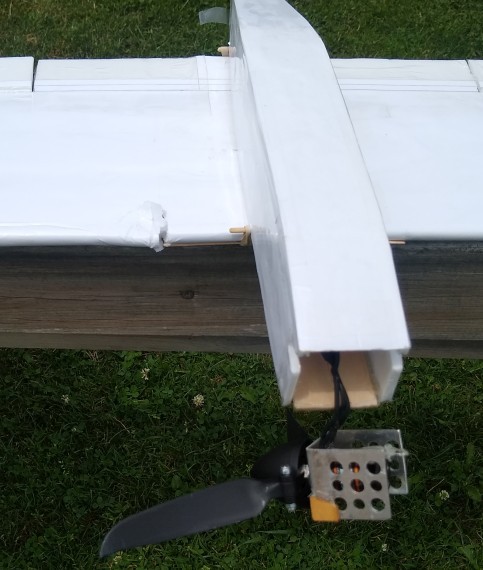
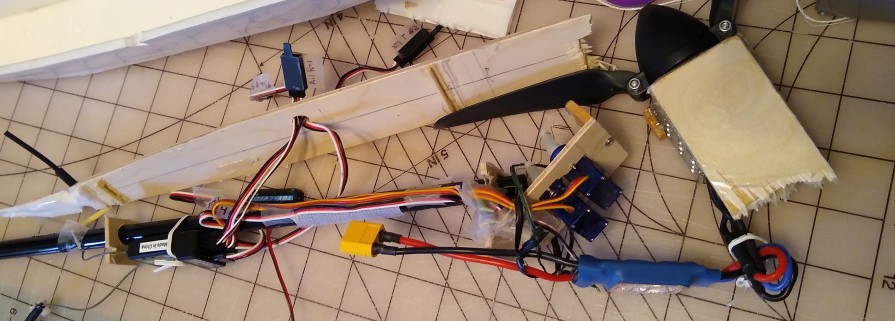
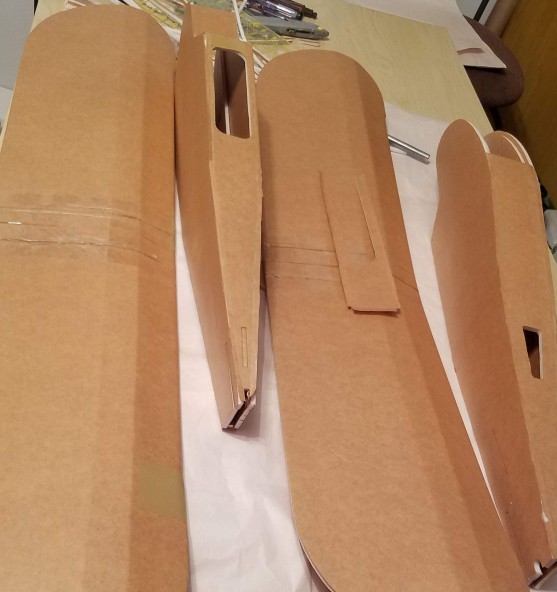
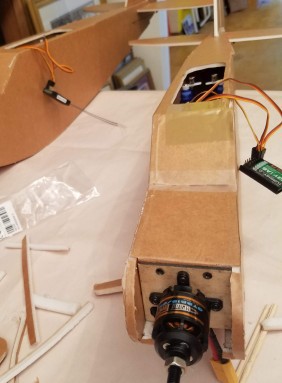
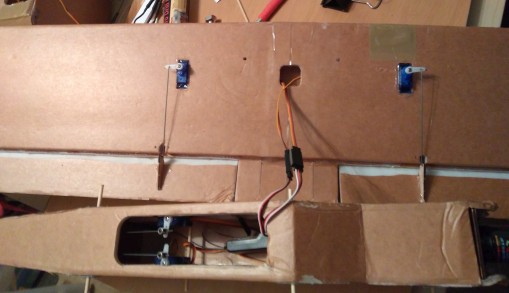
| Opal (Full custom performance/glider) |  |
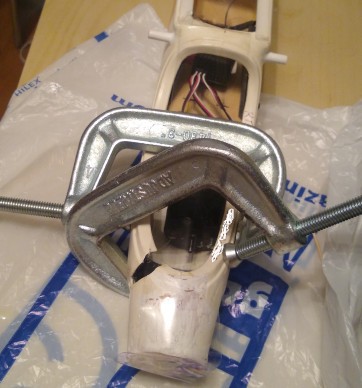
| Kiki (Graupner glider) Custom transport case (coming soon) |  |
| Rainbow Quartz (Custom Ultrastik) (coming soon) | |
| Nephrite (Custom DLG) (In construction) | |
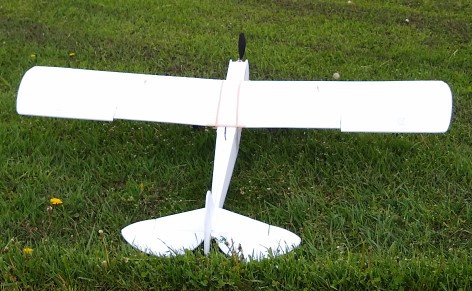
| Peridot (Flitetest simple scout) (coming soon) | |
| Lion (Full custom high speed sport) (In planning) |


 Will F.
 zakqwy