andriy.malyshenko
I spend some time figuring out how to make board flashing as easy as possible.
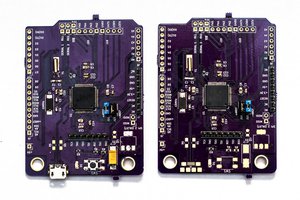
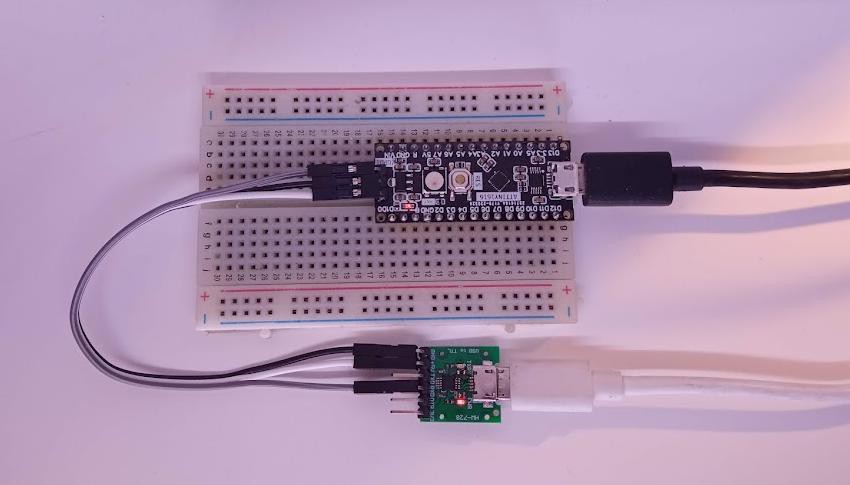
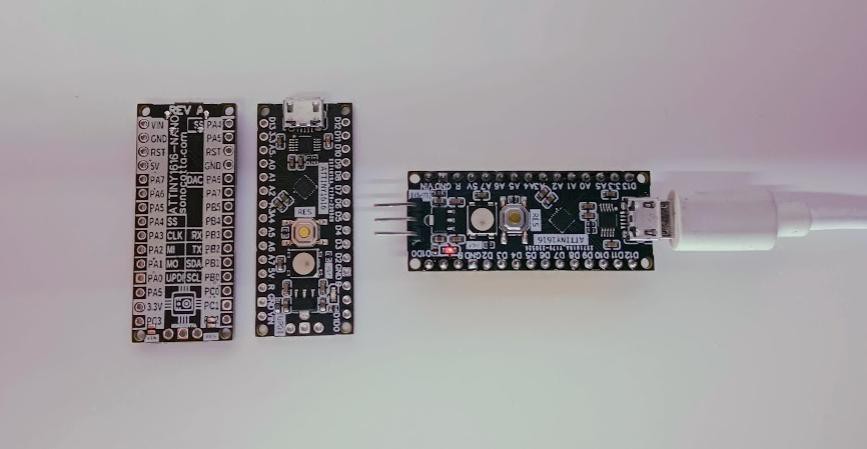
First revision of the board exposed only UPDI header, so you'd need external programmer to flash it. It is as easy as adding single diode to the USB-Serial adapter, but still require soldering.
Second revision incorporated diode on the board, so you can just connect USB-Serial adapter with plain cable and have it done.
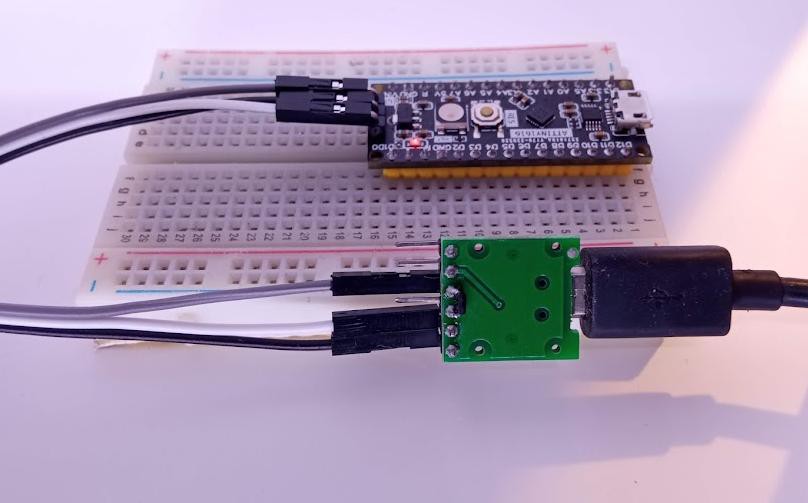
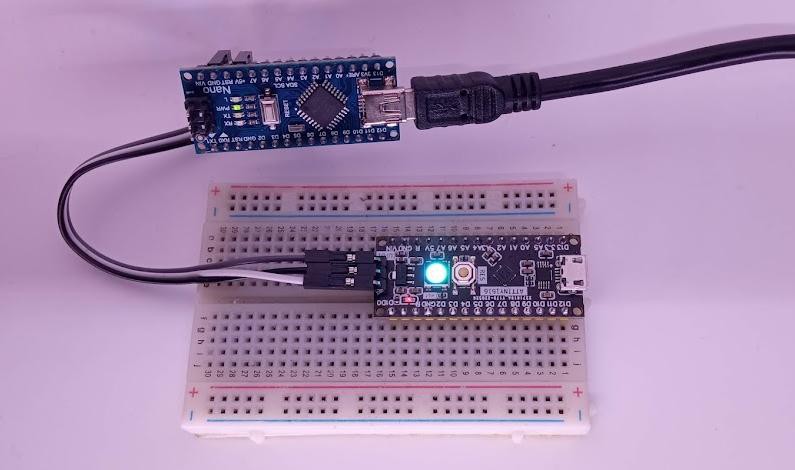
Working on one of the projects, it came to me, hey, there is already USB-Serial adapter on the board, serving Serial communication. Why not to use it right away. So third revision came, no programmer needed, plug-n-play. Drawback is that you lose Serial communication via built-in USB.
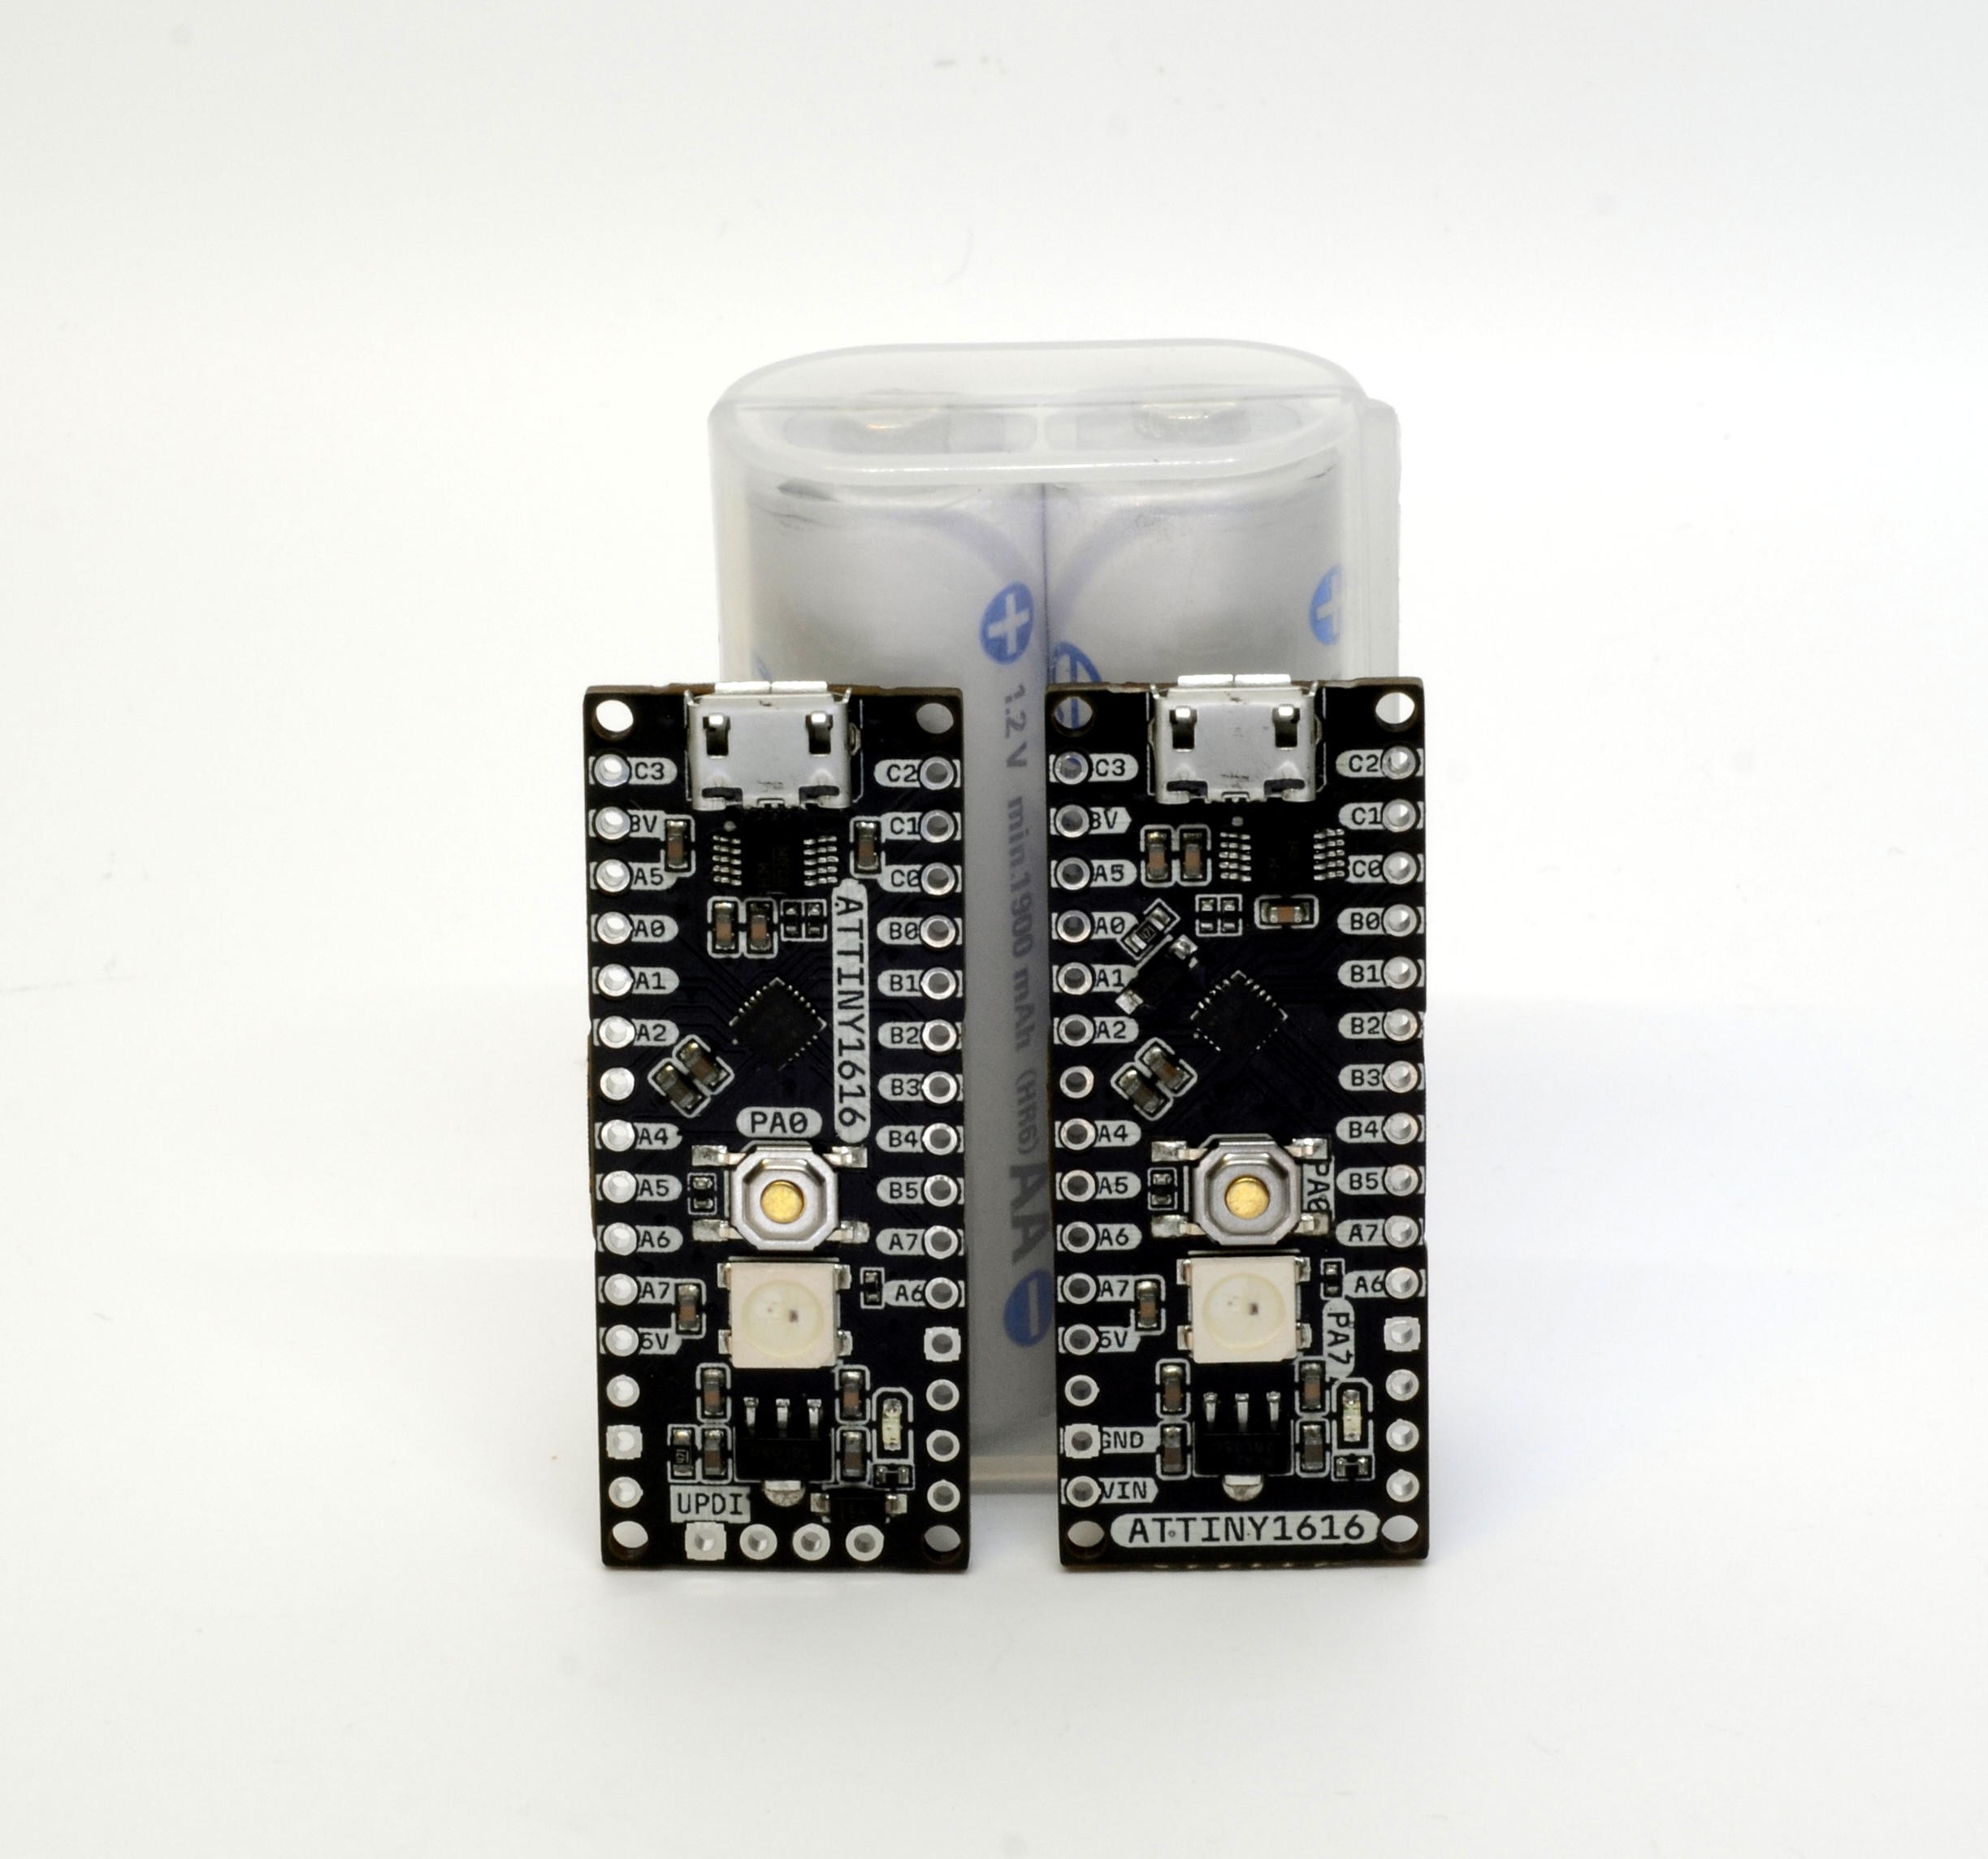
So finally I've decided to offer two versions - (a) with serial communication via USB and external one for flashing, and (b) with built-in programmer, but serial communication is only exposed on bare pins
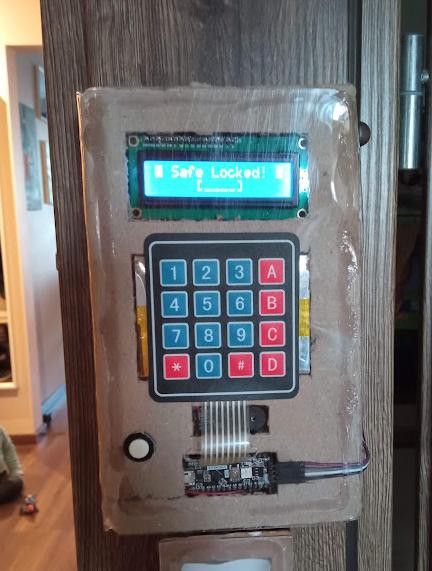
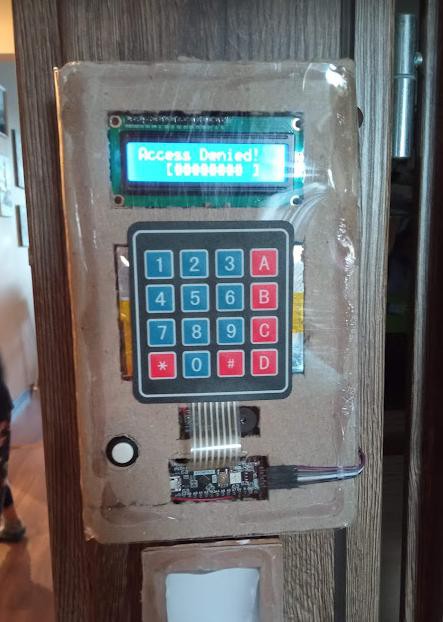
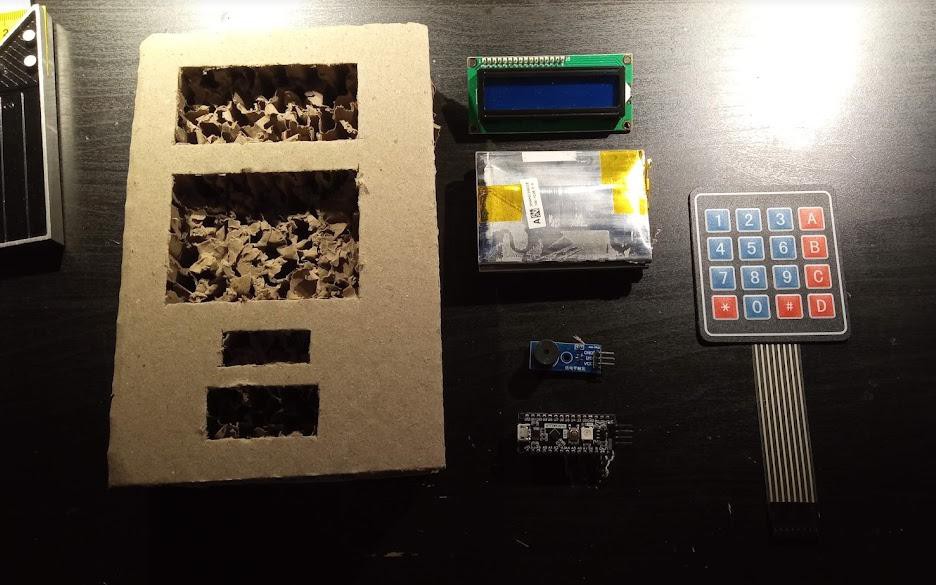 It is easy to cut and shape with paper knife. Final result is a bit bulky, but looks neat and strong.
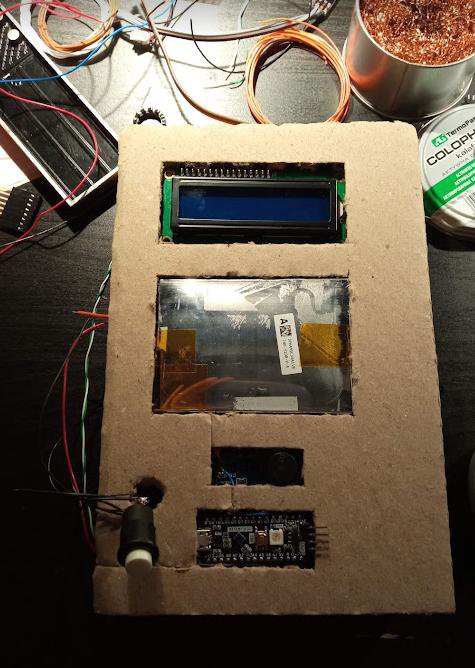
 doctek
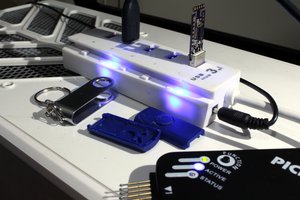
 Jarrett
 Michele Perla