 andriy.malyshenko
If you want to start working on modern ATtiny series chips, you need two fundamental materials contributed by Spence Konde. First being the flashing instructions (much more than that actually) and second Arduino core description. Both will give you more than enough to get started and litle extra knowledge to fit your expectation to the reality around these chips.
Short summary on flashing part
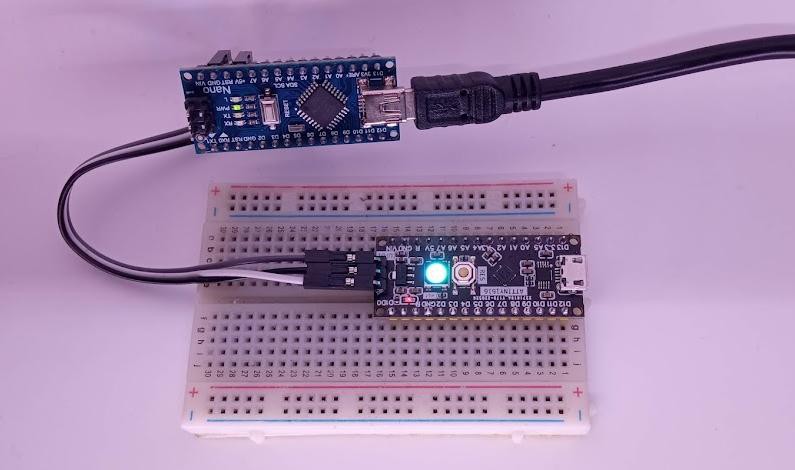
- (a) Legacy way is to take any Arduino Nano board and use jtag2updi project to make yourself programmer.
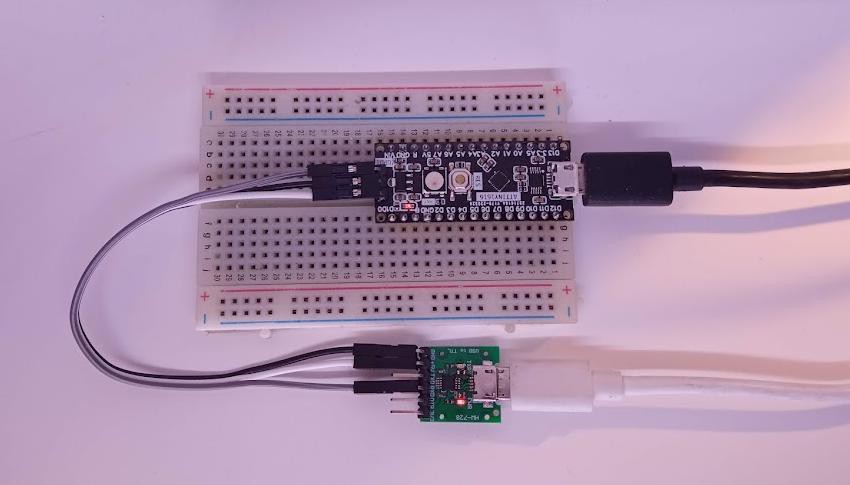
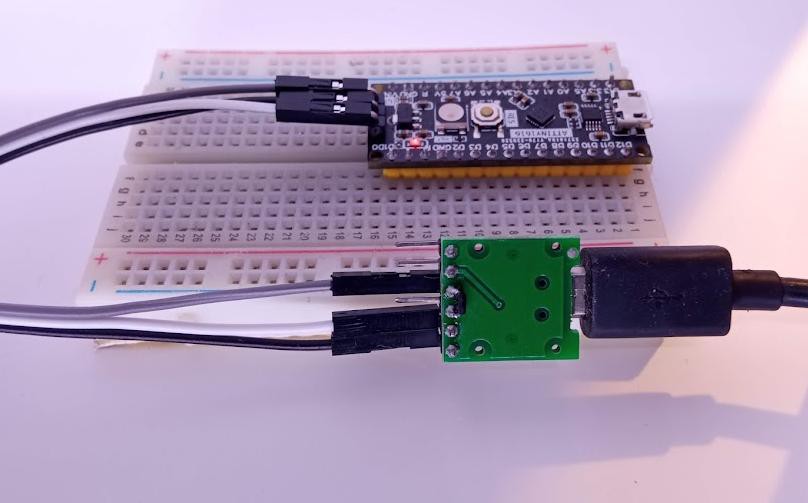
- (b) Better (read recommended) way is to use SerialUPDI tooling with hardware modified serial programmer
- (c) Alternative is to use Optiboot bootloader and Serial programmer interface like on Arduino boards
Method (c) is disqualified on 1-Series chip because of RESET/UPDI pin collision, and both (a) and (b) work equally well, difference being what is easier for you: (a) dedicate Arduino Nano board for programming or (b) do solder job on your usb-serial adapter.
Having this said, you ready to write your own code. Changing pin states is rather lacking drama, using built-in libraries like SPI or I2C also seems simple.
Troubles come however when you try to use community libraries, driving TFT screens for example. Since those are usually optimized and hardwired to specific supported architectures, you're getting build errors, complaining that your avr is different.
I guess this is the same for every new product, same situation for RP2040 after it went live, community support came later. Not sure if modern Tiny series will gain same momentum eventually, probably not.
Discussions
Become a Hackaday.io Member
Create an account to leave a comment. Already have an account? Log In.