How could it be used?
Initially there were no practical reasons for this project. But…
1. You could make a souvenir or an original geek gift with some photo or other image. For example, burn the Discworld map. :)
2. Alternatively you could make an item for your quest or escape room with some riddle. You could supply your participants with CD Player for misdirection and make them figure out that they should look, not listen.
3. I’m not sure but maybe some holographic applications are possible. However, we are likely speaking about the infrared, not visible spectrum.
4. It might be possible to implement a copy protection algorithm. Since all compact discs are slightly different, you should be able to use timeouts between particular areas readings to ensure that a compact disc is the original one. Even an exact copy is not exact geometrically speaking. I believe such algorithms have existed during the CD era. Maybe this trick is possible with modern optical discs.
If you have other ideas, let me know.
Project's Origins and Credits
I know of at least two successful attempts to implement a similar technique. One was accomplished about 15 years ago by [argon] Instructables user. That code was more proof-of-concept than the universal method, but it was impressive! I suppose there was a huge amount of work behind it. Another attempt was made by a user with nickname [unDEFER] (no English documentation unfortunately). These two projects inspired me some time ago. And in fact my coordinate conversion code is mostly based on [unDEFER]’s implementation (distributed under GNU GPL). I also used geometric parameters of some compact discs from that project. I acknowledge and am grateful to these developers for their contributions.
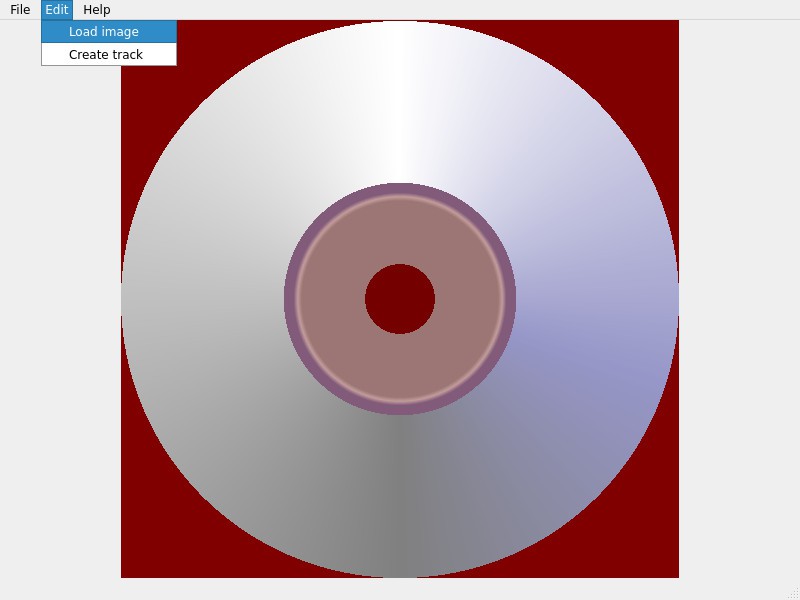
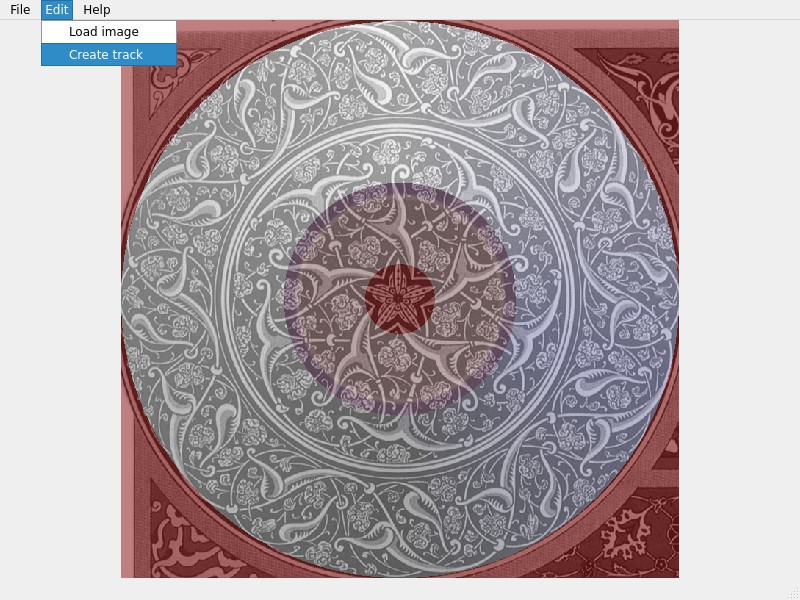
I played with color shades and different compact discs with moderate success and created a GUI with visual preview mode. I tried to implement a user-friendly solution but finally abandoned the project in 2008 due to a problem of calibration for every particular brand and type of compact disc that will be described further. Recently I found my old code and decided to share it. More as a tribute to the compact disc era, as I said. But maybe you will make some use of it. I brushed the code up a little and ported it to modern Qt6. I considered porting to Python, but I still need C++ because audio track generation takes some time even on modern hardware. This project is distributed under GNU General Public License v3.0, so feel free to modify the code for your purpose.
A couple of my early experiments (sorry for bad quality, photos are from 2008):
 |  |
The Short Story
The short story is that compact discs are optical volumes. Data is encoded in areas with different optical properties and organized in spiral. You might have noticed a visual rim on a compact disc surface between written and unwritten areas. So by generating specific data that will form darker and lighter areas it is possible to burn visible images on a compact disc surface. Sounds easy, isn't it? Just convert an image to polar coordinates and here you are.
The Long Story
You may skip this section if you are not interested in technical details.
The long and real story is more complicated. If you really want to understand the concepts, I suggest that you read the so-called “Red Book” which describes all technical specifications. I am not going to retell the entire boring standard here, just name some key points.
Did you know? Compact disc formats specifications are called Rainbow Books. The first one considered Digital Audio Compact Discs and was named "Red Book".
The surface consists of “pits” and “lands”. They differ in light reflection properties. But it does not mean that “pit” is 0 and “land” is 1 or vice versa. In fact NRZI code is used to prevent long series of “pits” and “lands”. Which is good for data...
Read more »


 Les Hall
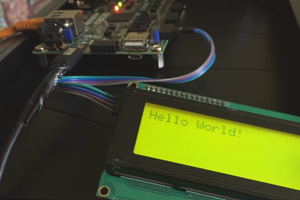
 andrew.powell
 ziggurat29
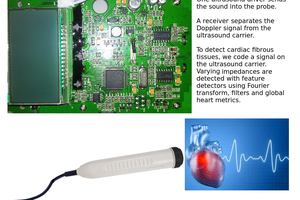
 Jean Pierre Le Rouzic
I appreciate your suggestion, and I may consider trying it out if I come across more compact discs to experiment with. Nevertheless, I have concerns that it might not yield a significant contrast.