 Owen Trueblood
The PCBs are for this project: https://hackaday.io/project/183758-babel-in-reverse
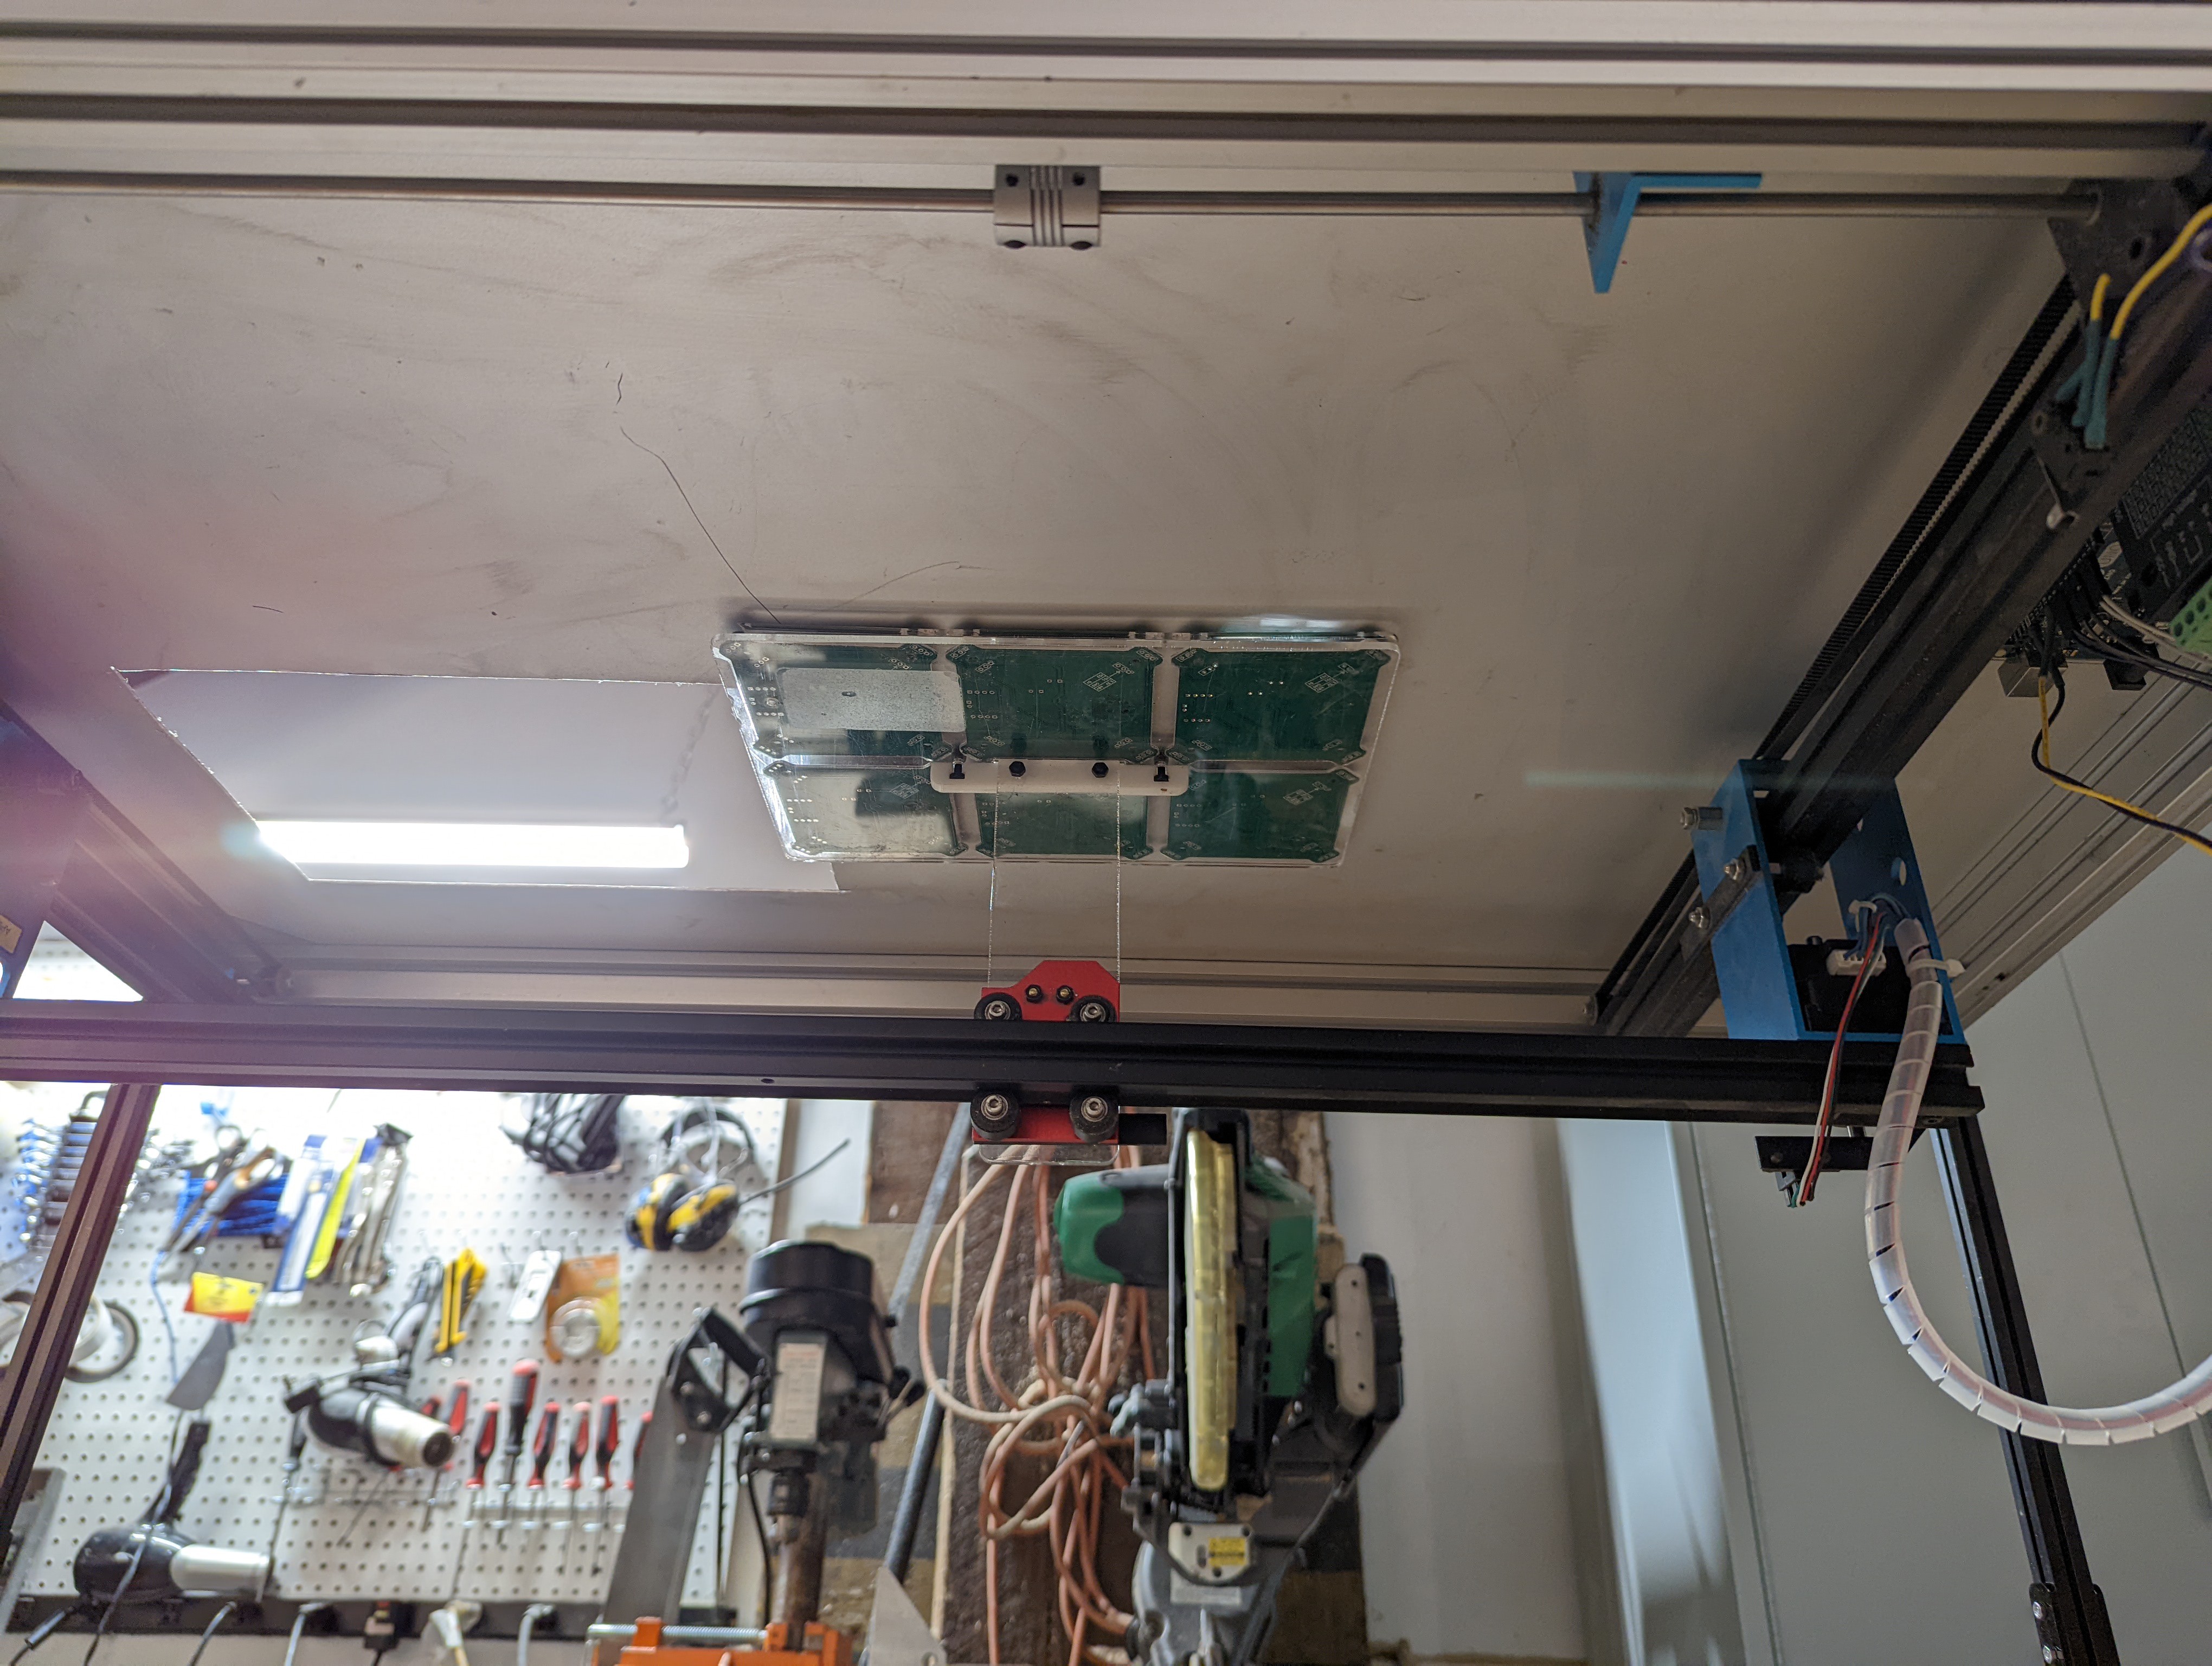
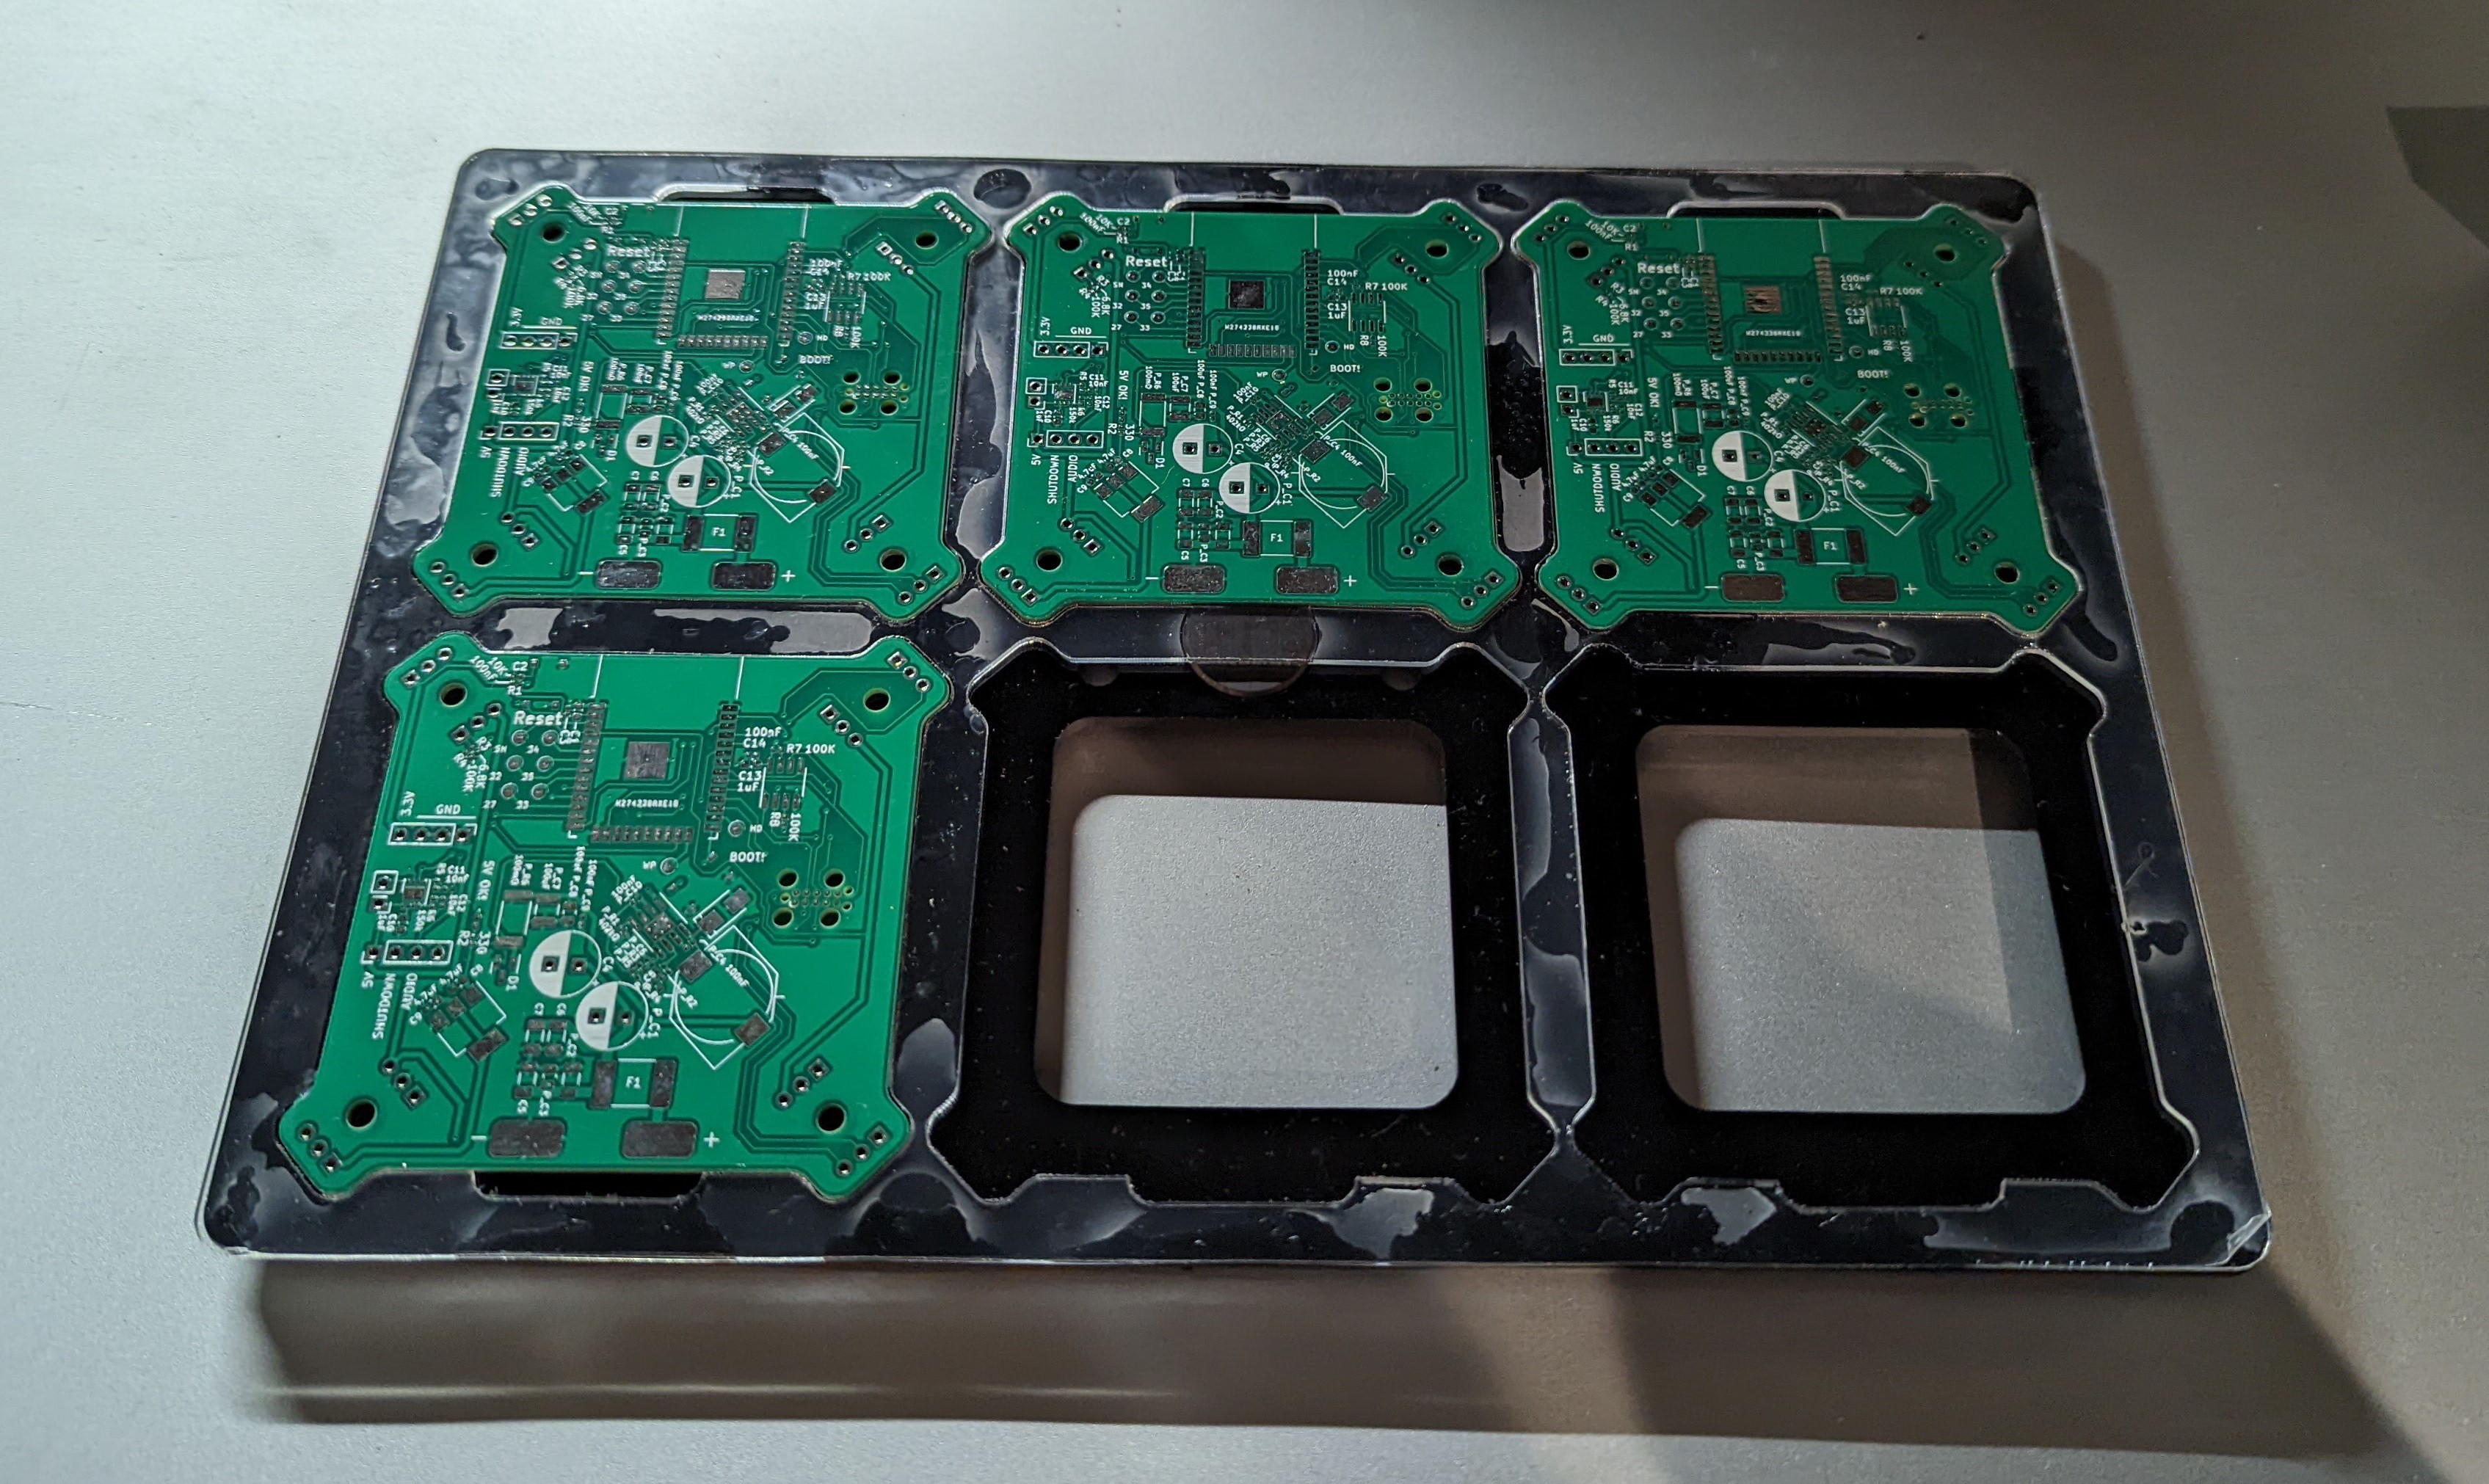
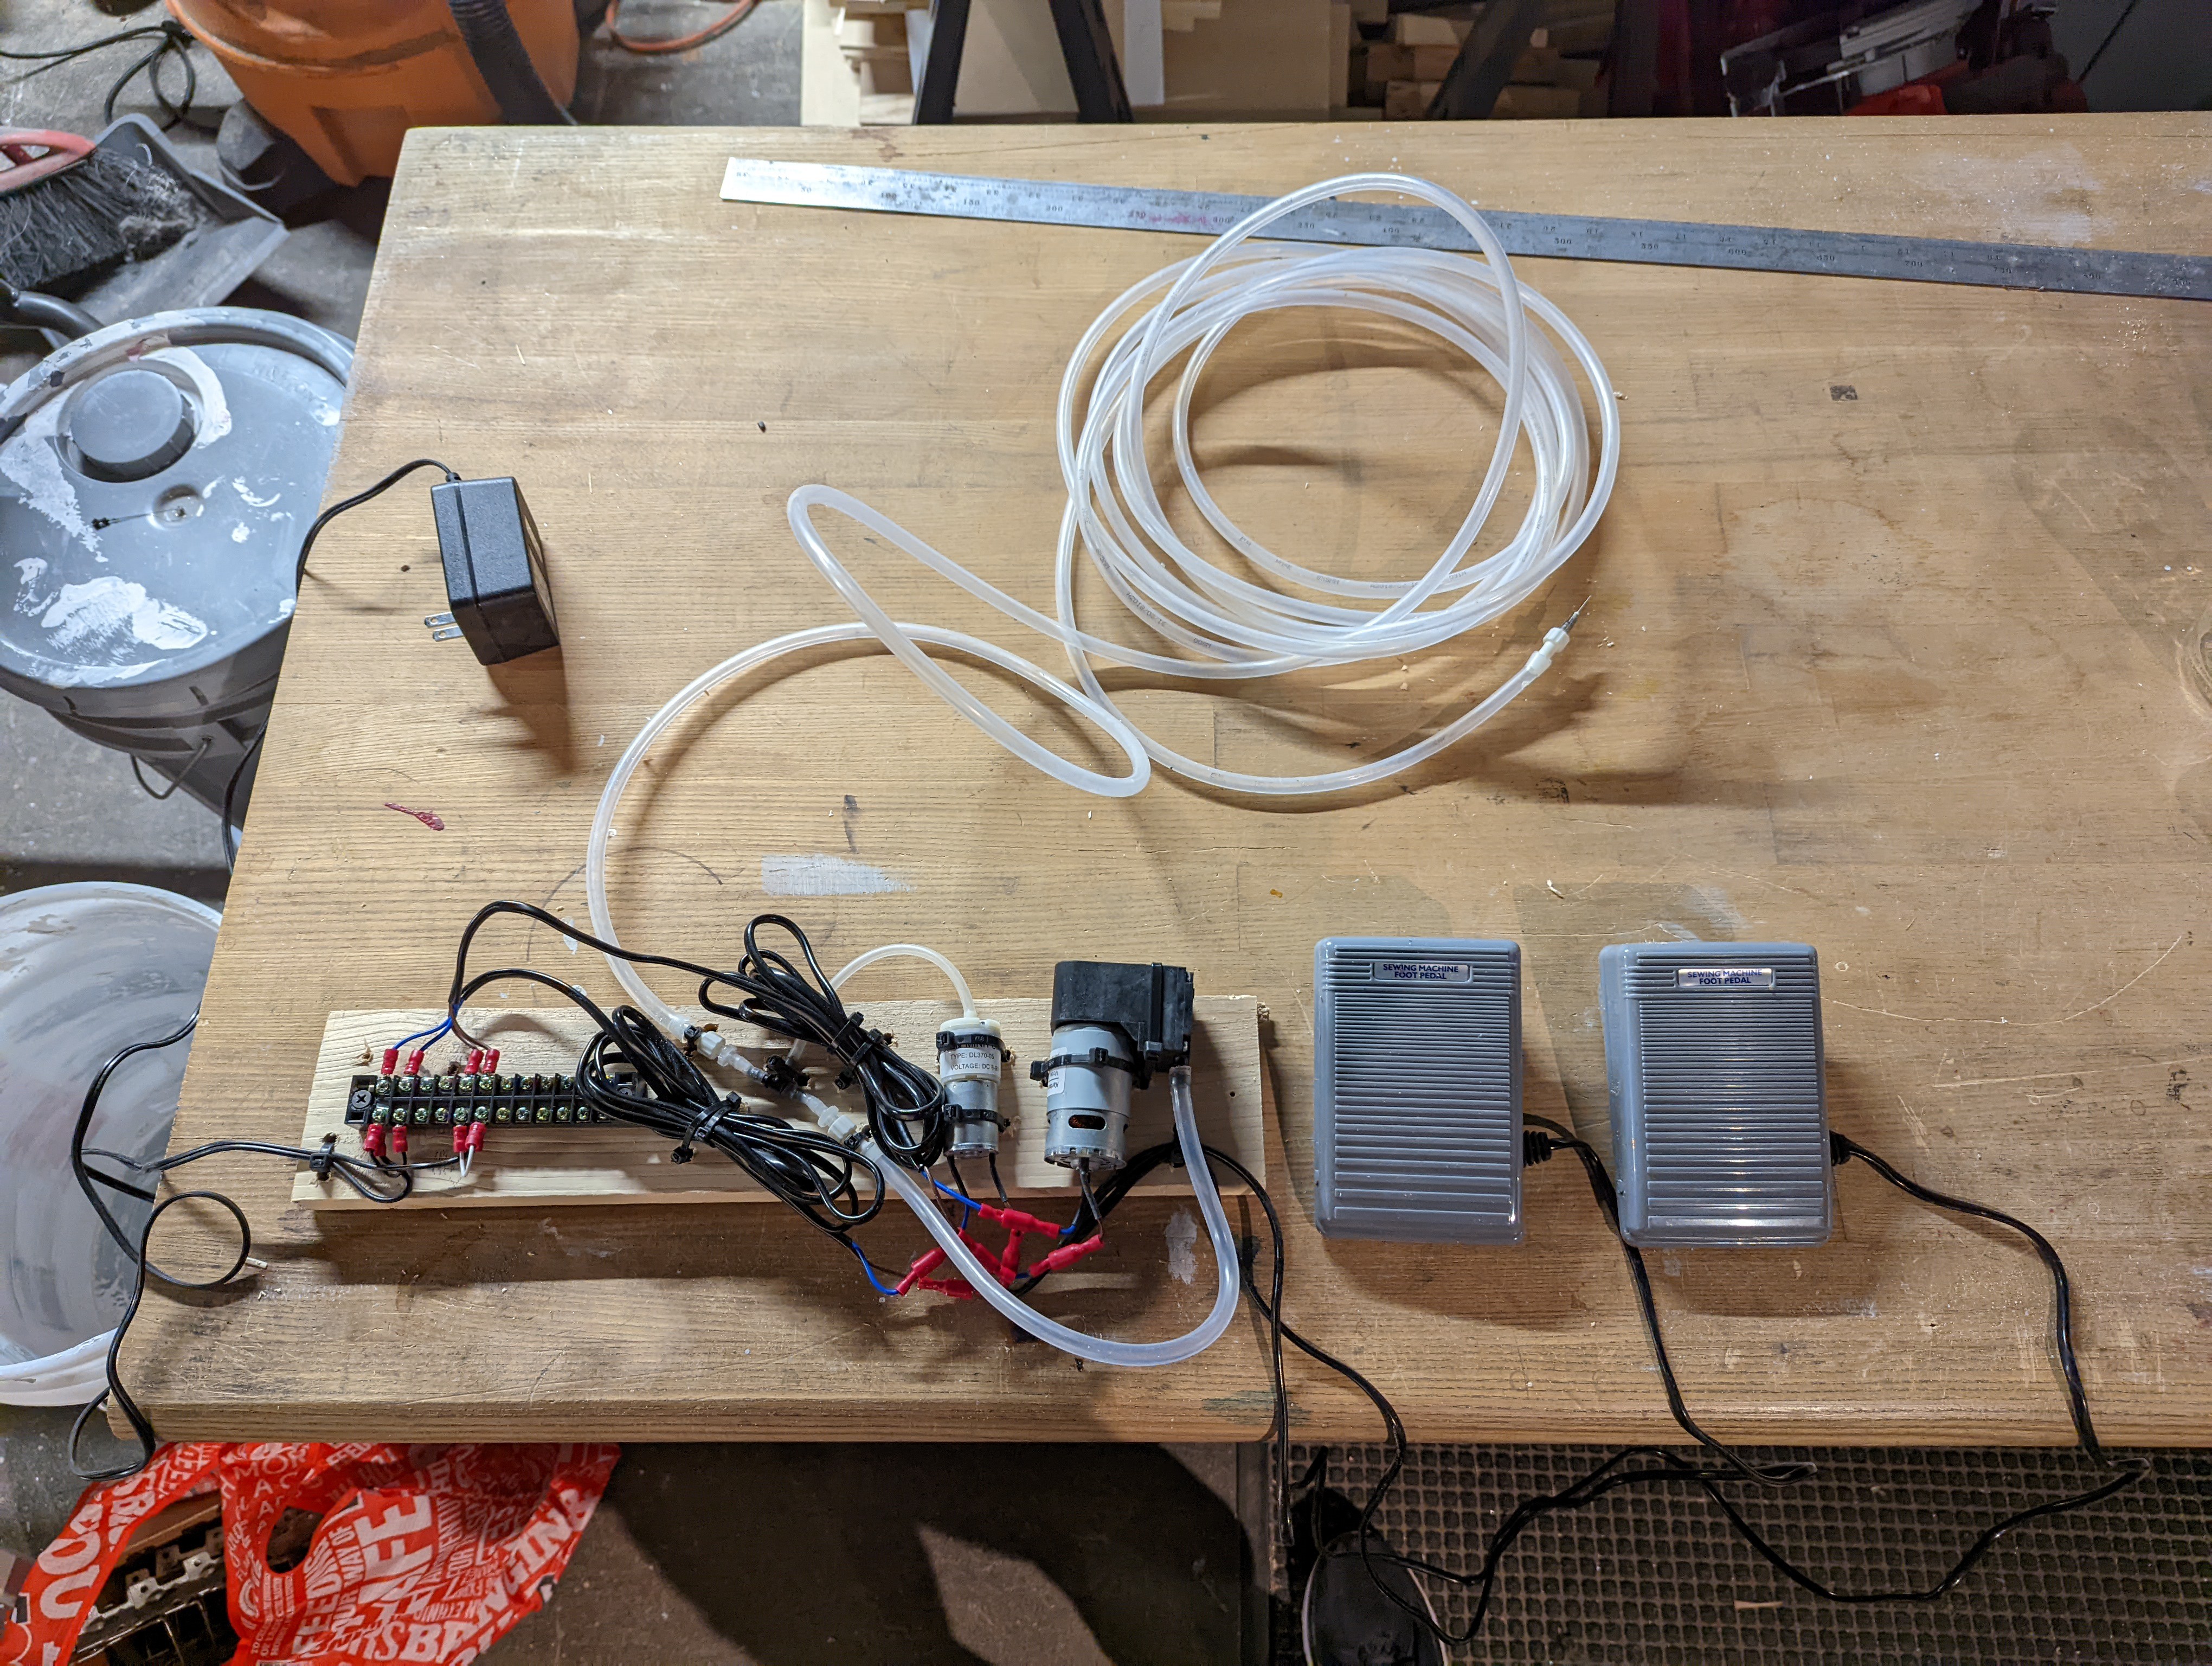
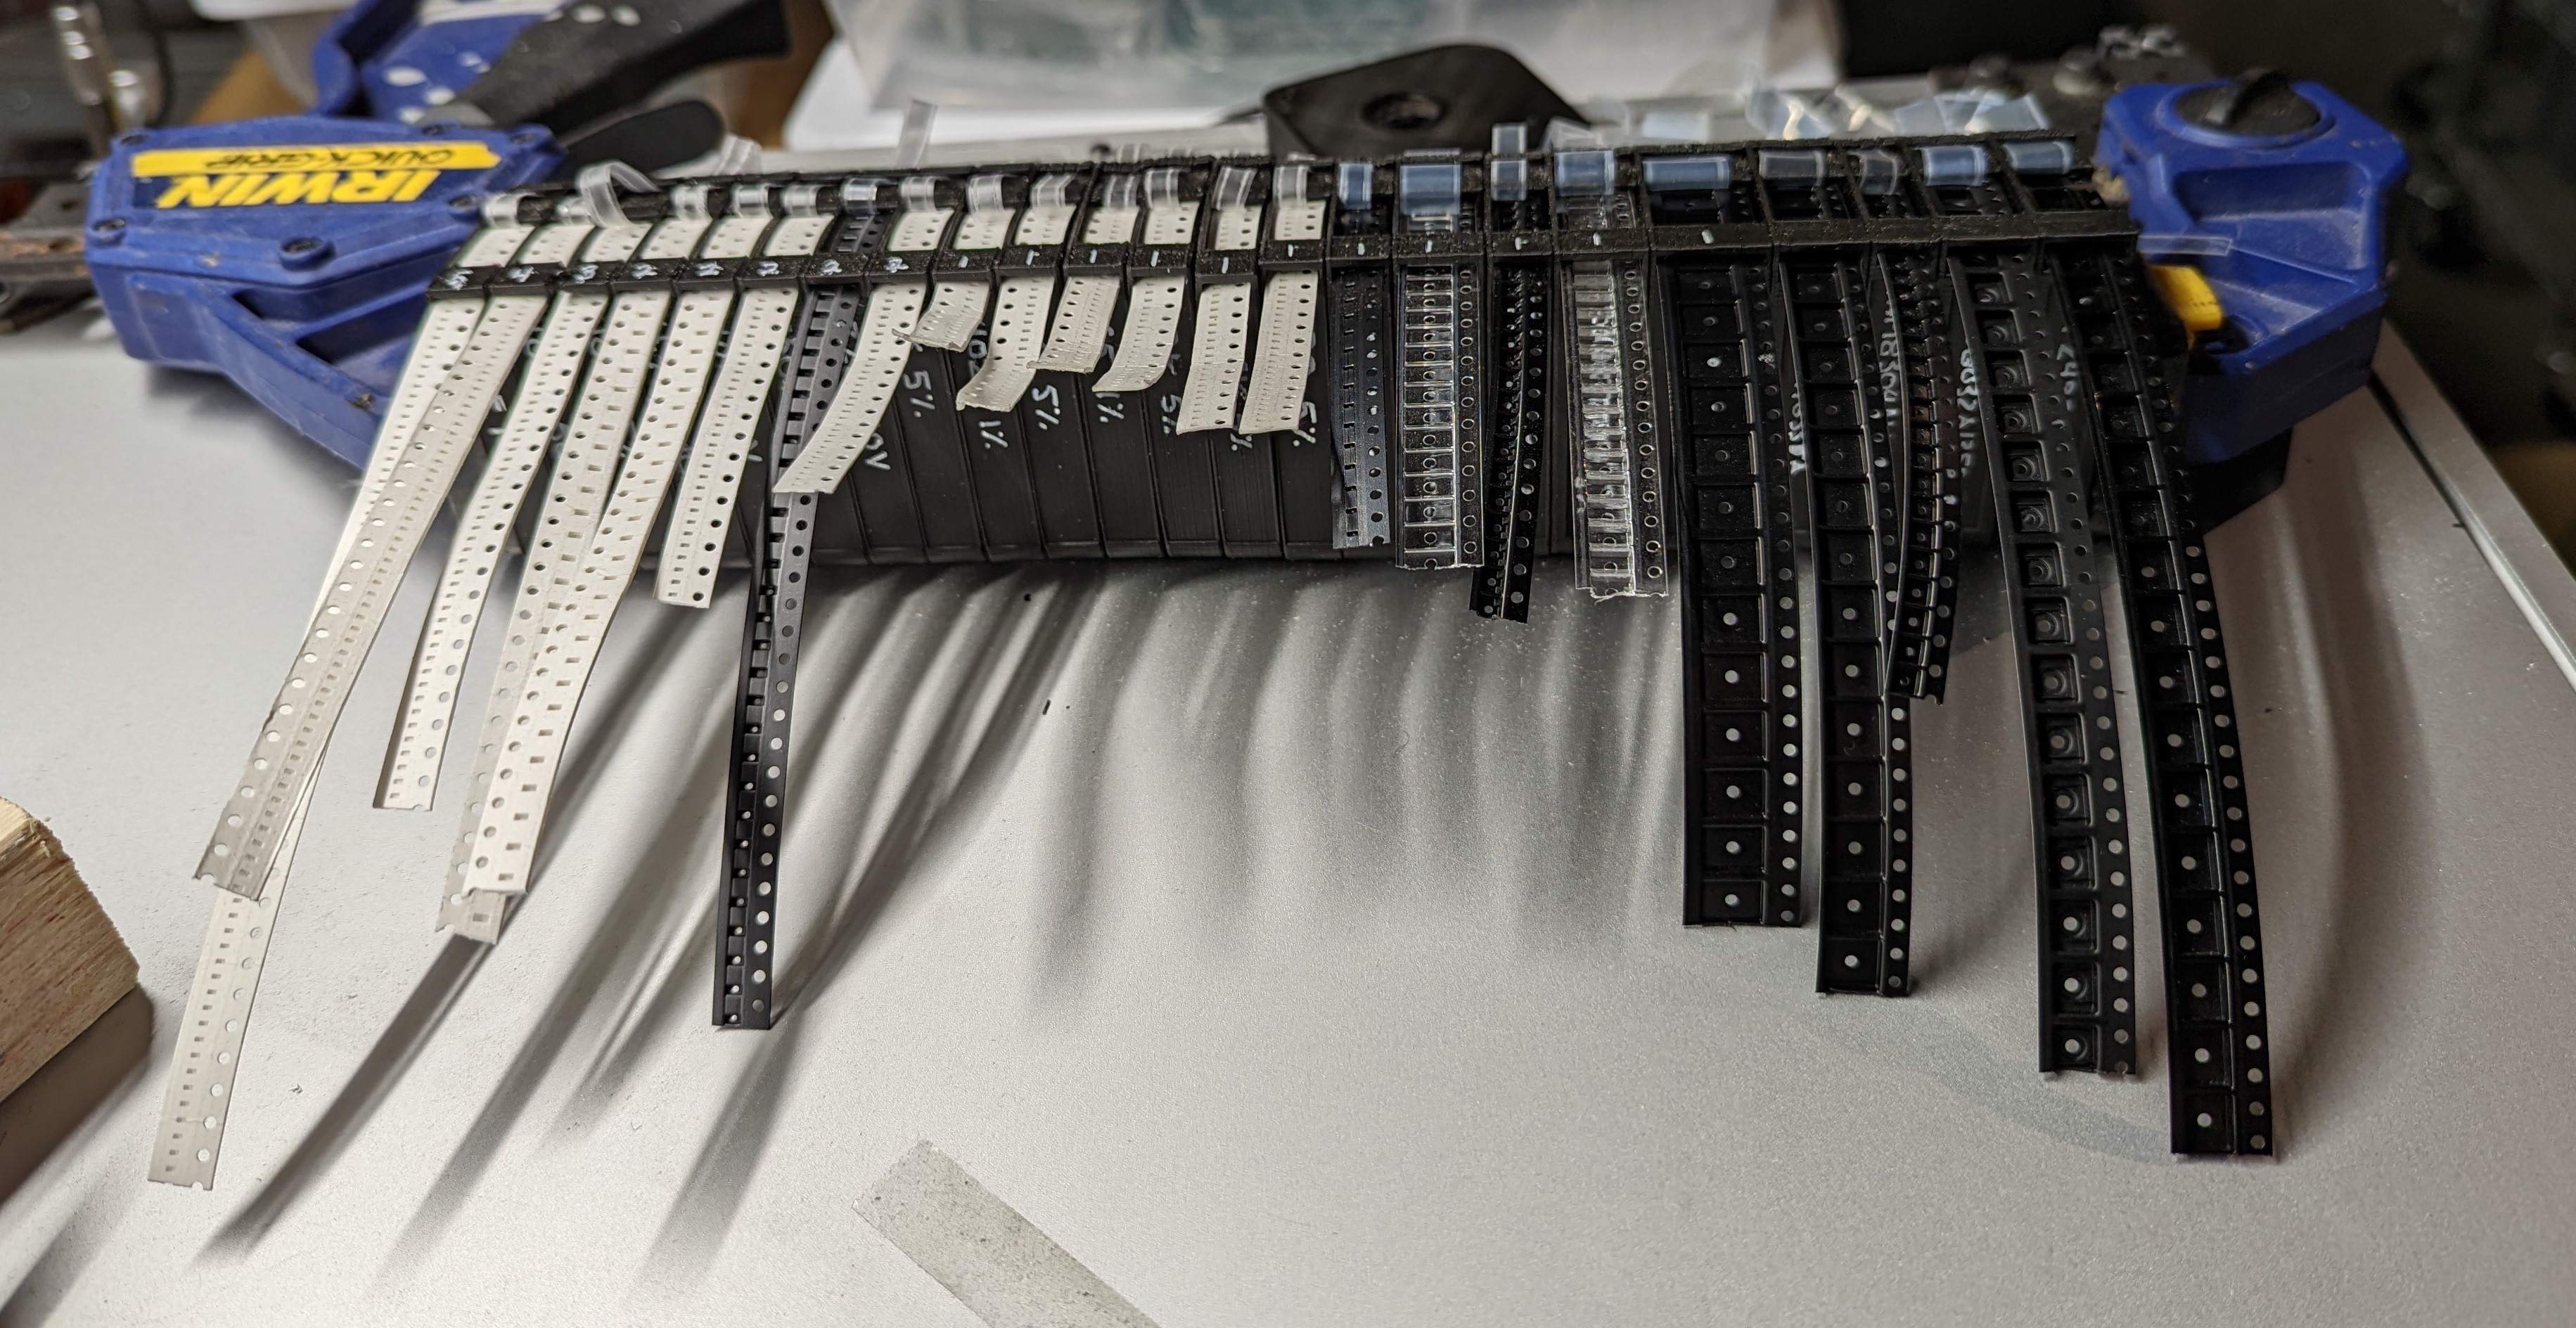
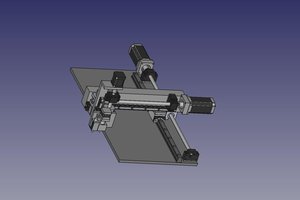
Because of the chip shortage I had to redesign the electronics 6 times and buy parts piecemeal when I could and ship them to my apartment. The cost to ship the parts to a fab house for assembly is too much relative to the modest art project funding we have. And I am nervous about sending out the parts anywhere because if they disappeared I would have no way to complete the project. So I am doing the assembly in my studio with the help from many friends and any hacky tools I can build or buy.
 ZeptoBit
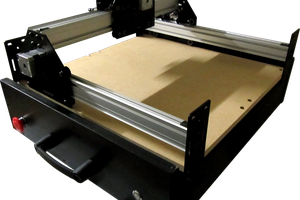
 Alex
Alex
 BrownDogGadgets
 Sam Griffen