 WJCarpenter
I only plan to use a total of 5 ventbots in my house, but I've printed more than a dozen copies of my custom 3D printed case. That's not including a few more failed prints for various reasons. A few of the extra prints were because of tweaks I made to the design, but most were done to try to get things just right.
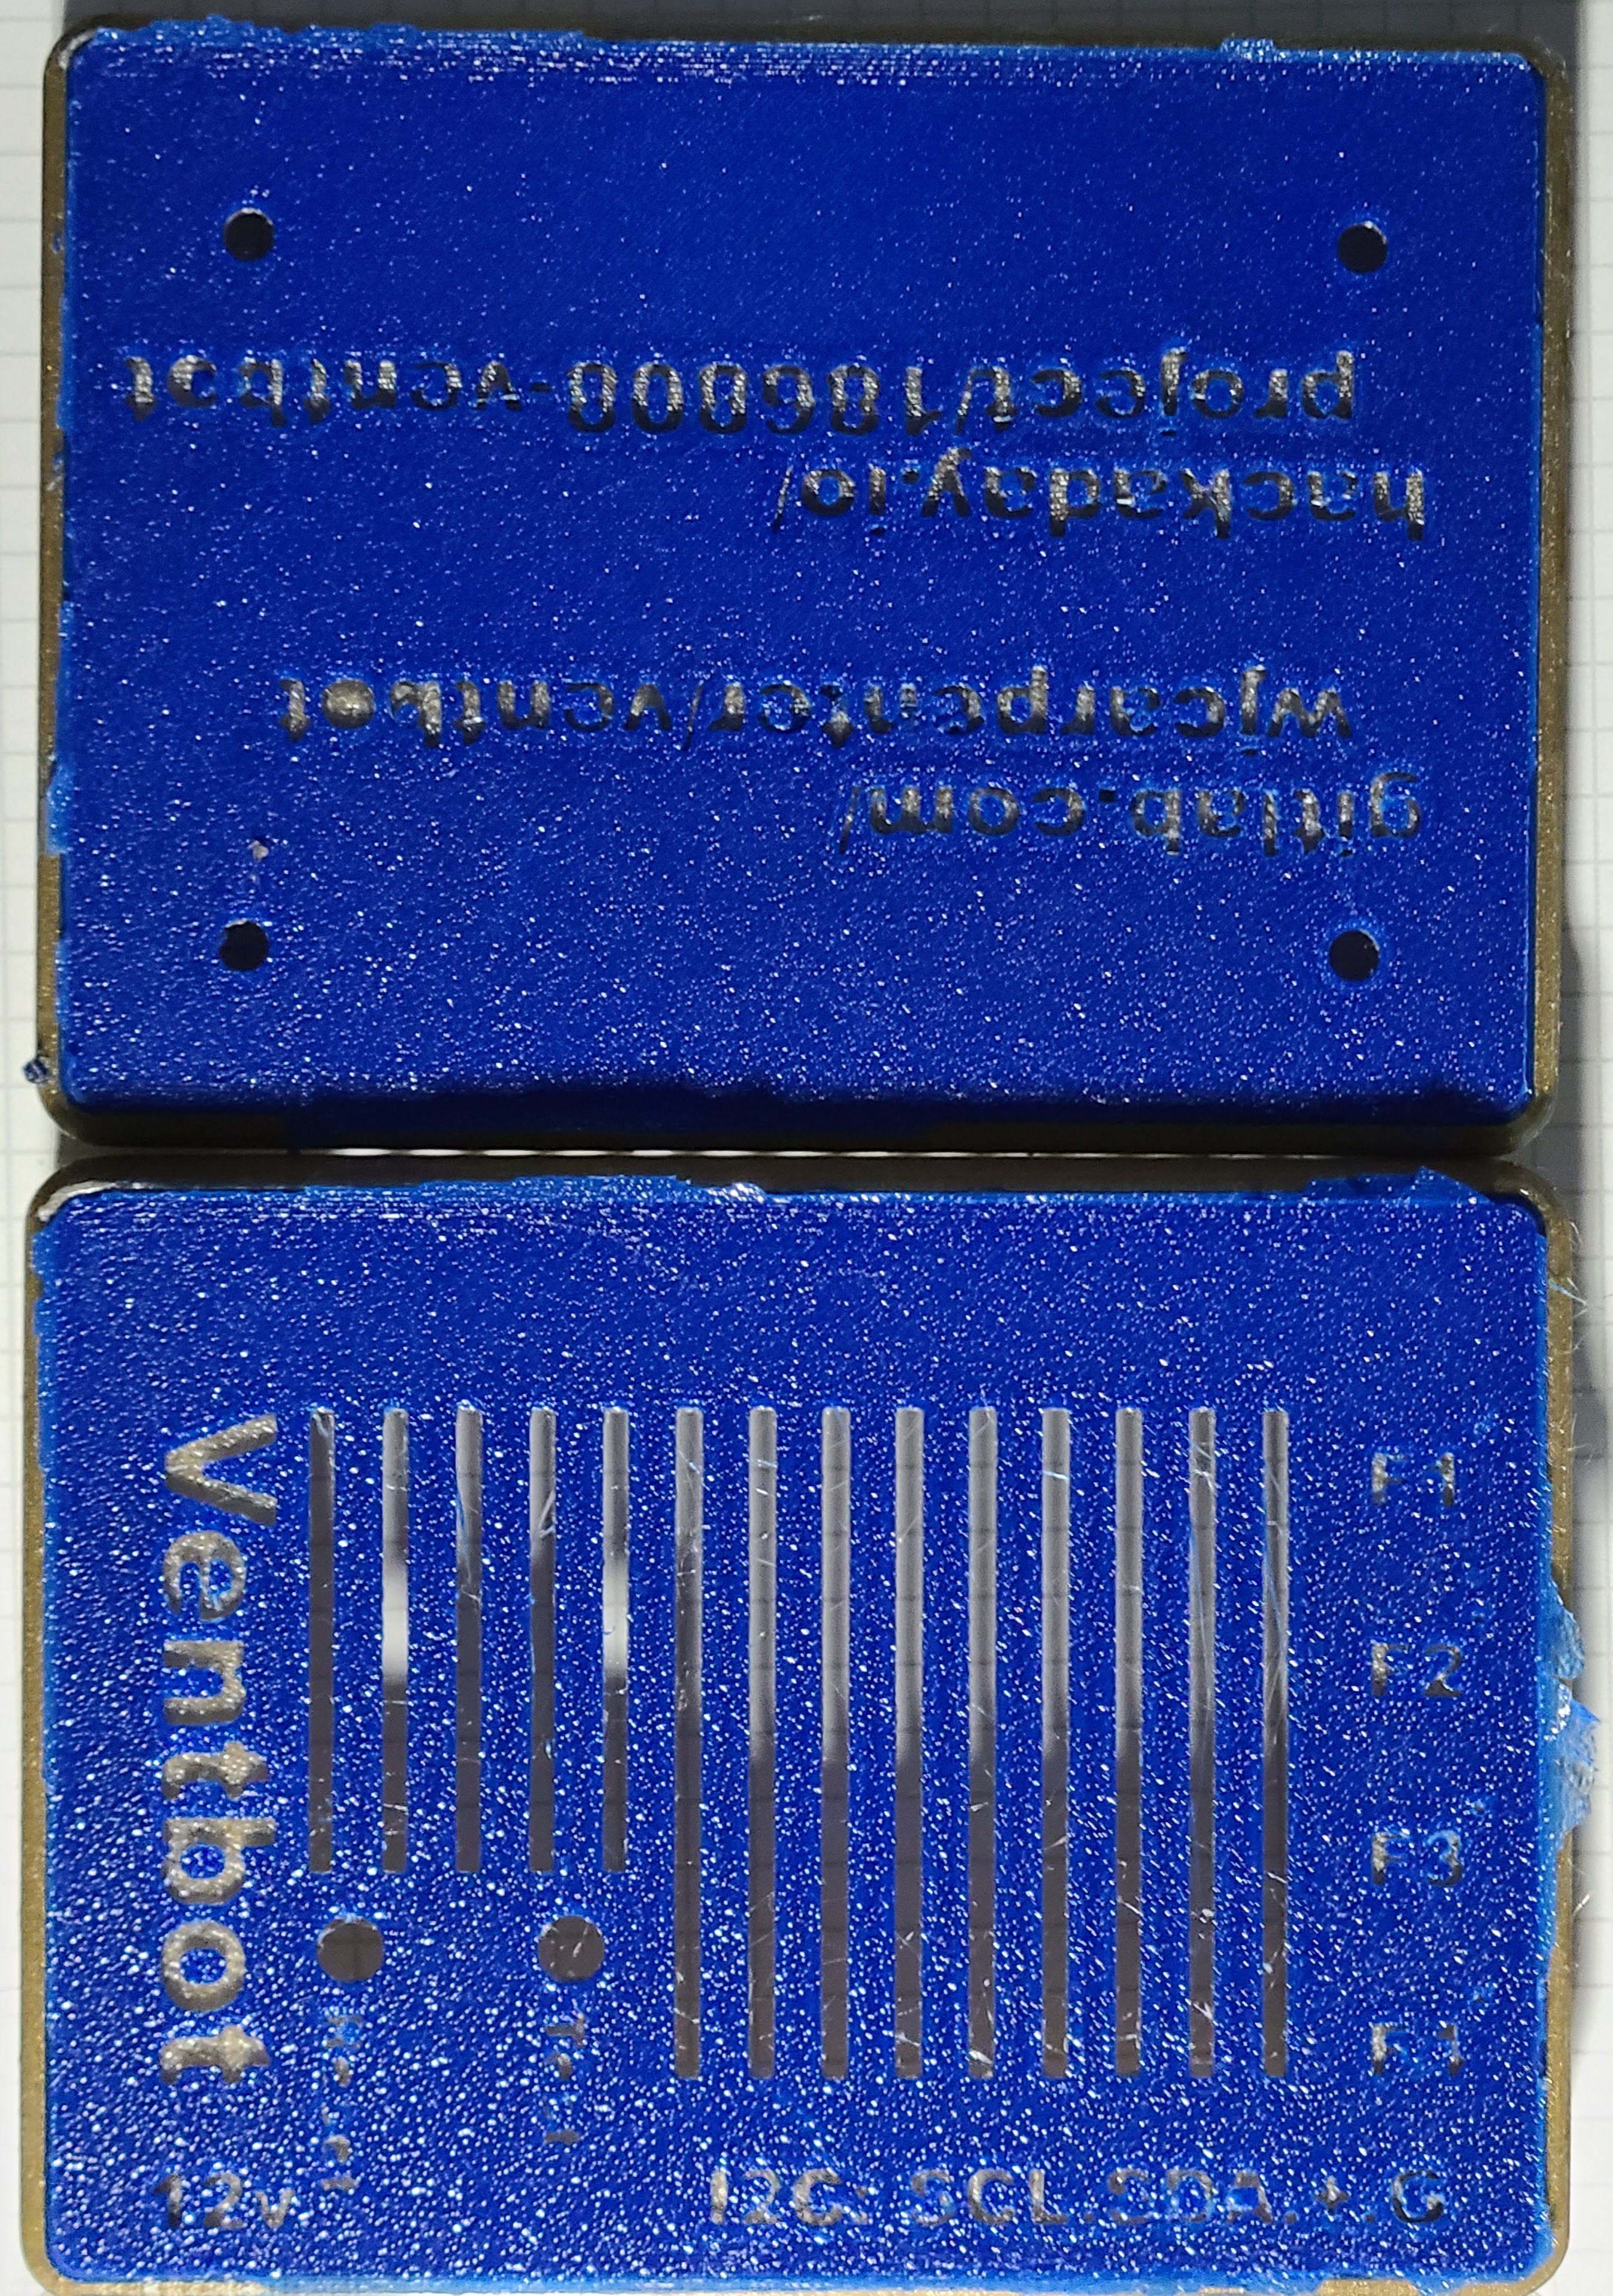
Both the top and the bottom of the enclosure have engraved lettering on them. The bottom just has a couple of URLs pointing to this project. That's a convenience for anyone who comes across one of these gadgets and wonders what the heck it is. The URLs are also silkscreened on the PCB. The top of the enclosure is a little more complicated, with some handy reminders for some of the connections and labels for the holes that lead to the two on-board ESP32 buttons. Getting the lettering to be readable on a 3D printed surface is quite a challenge.
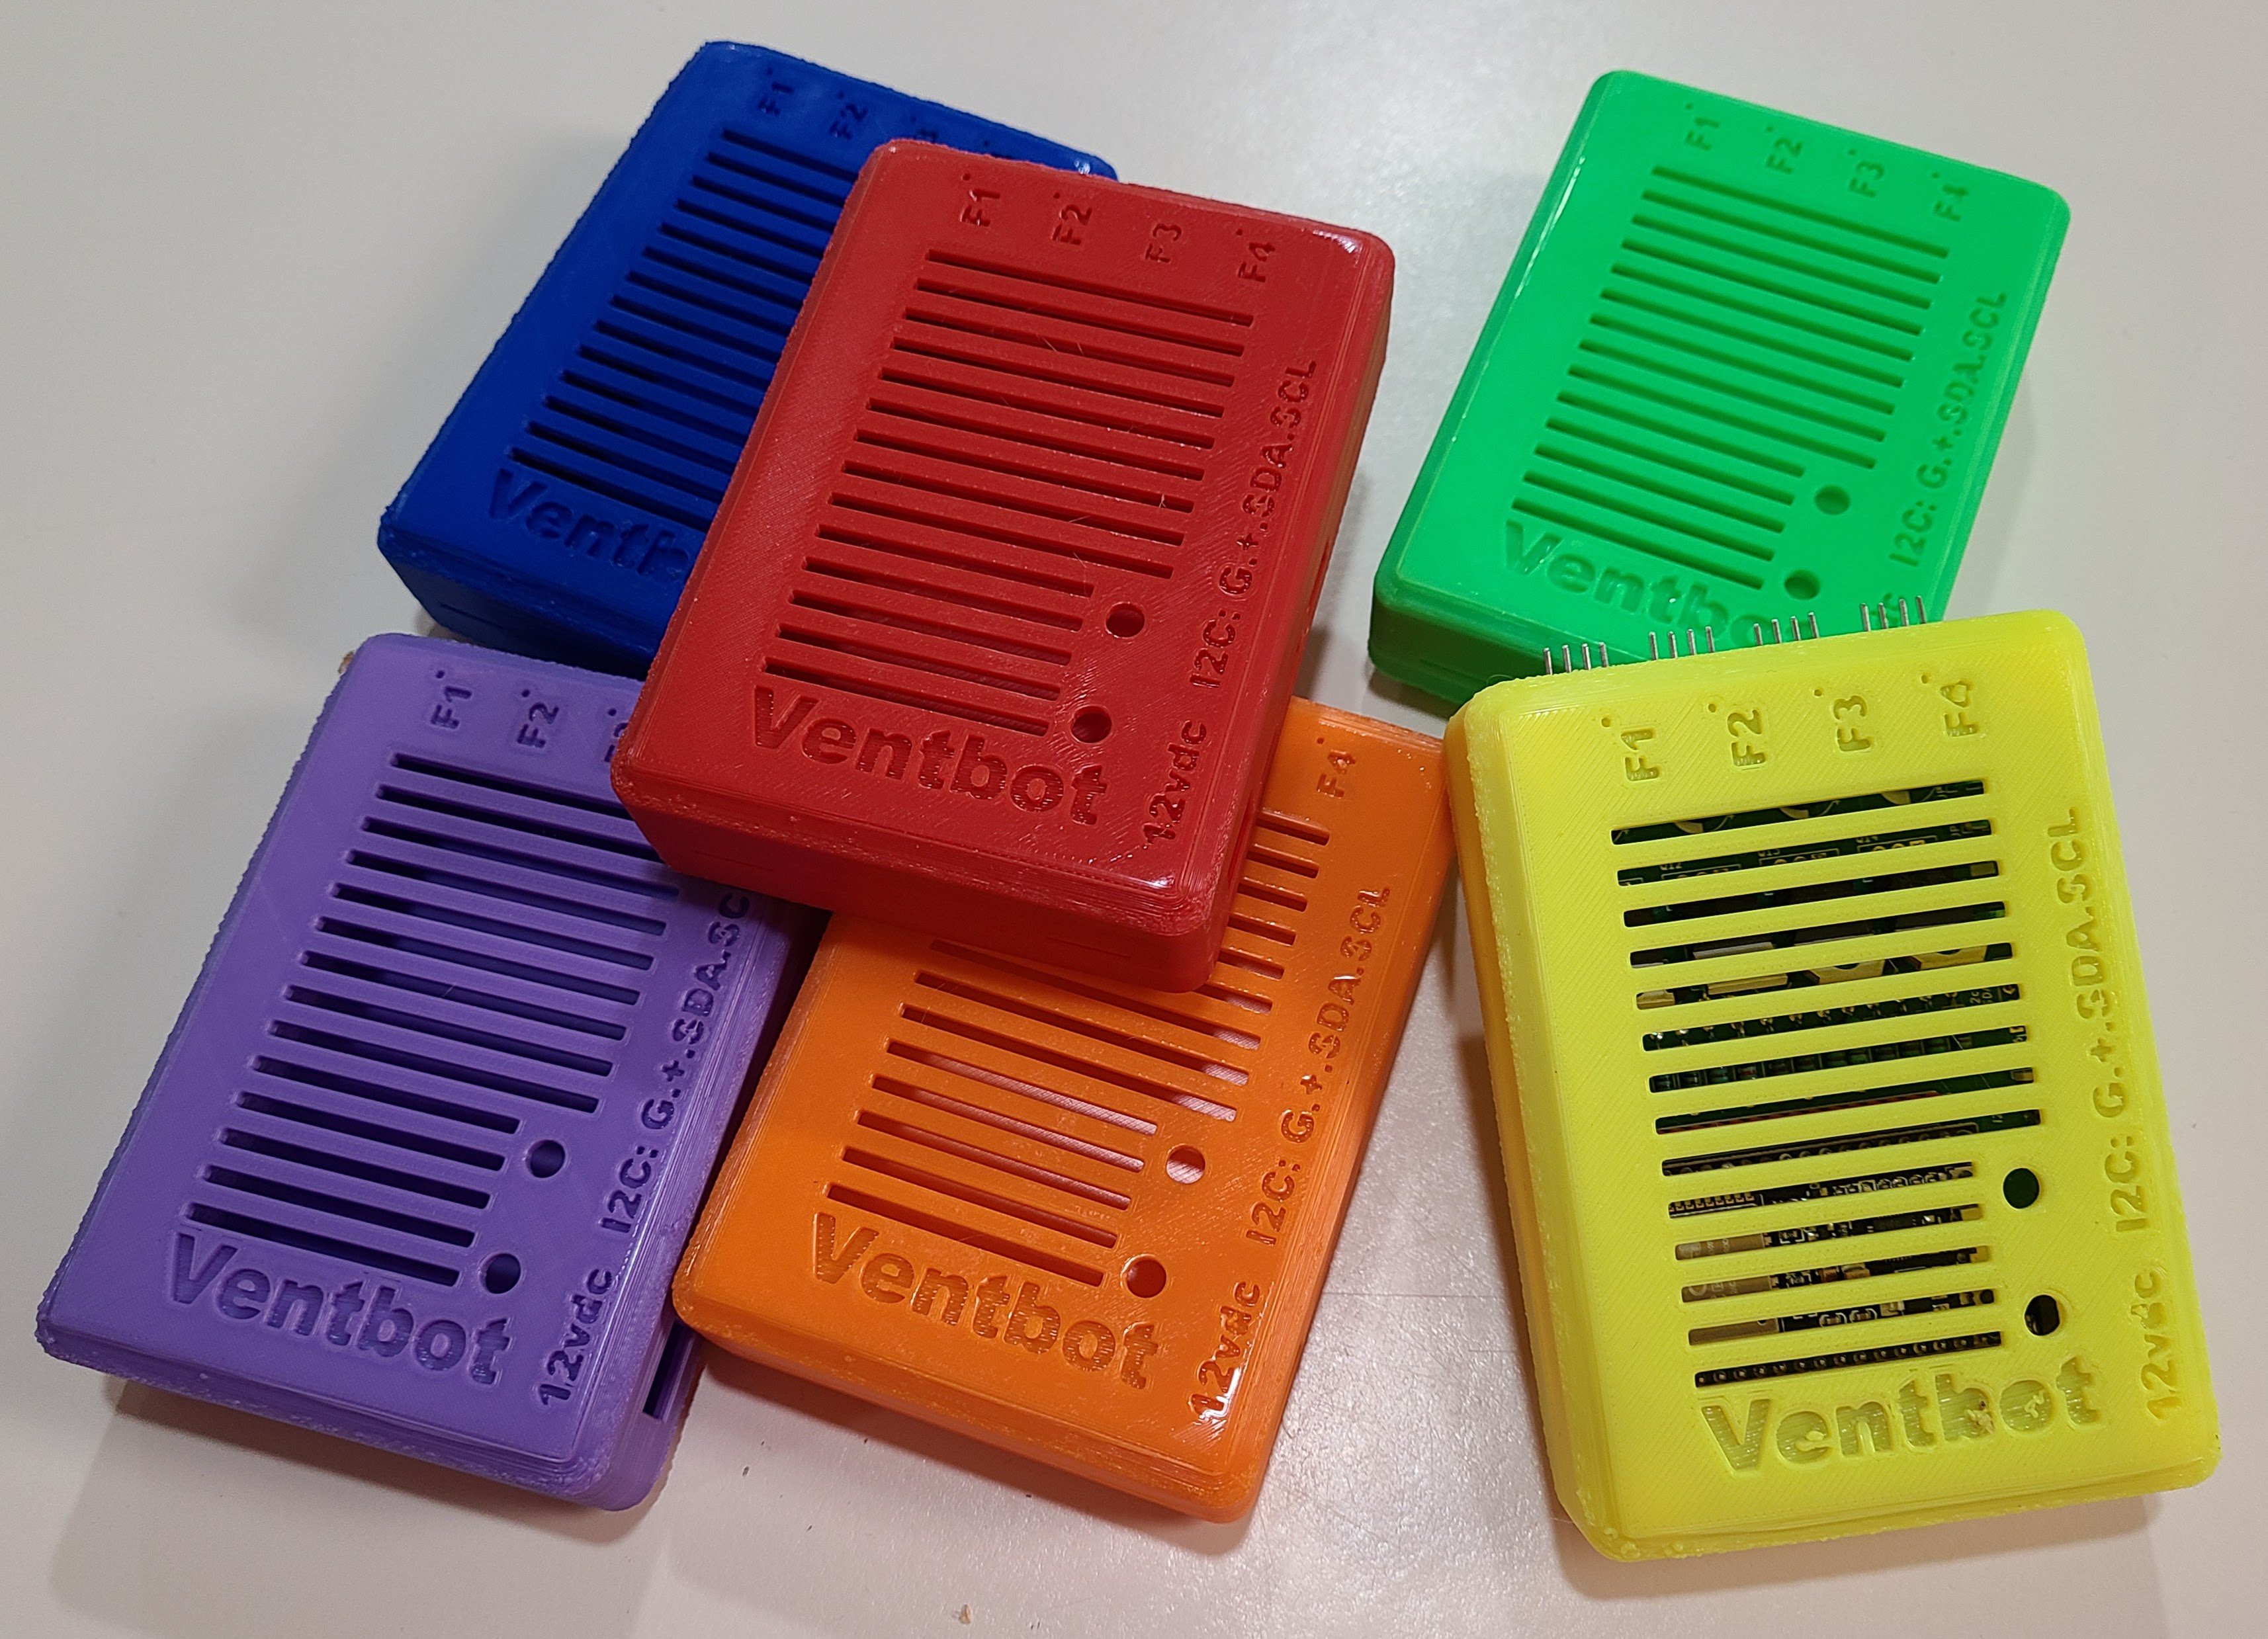
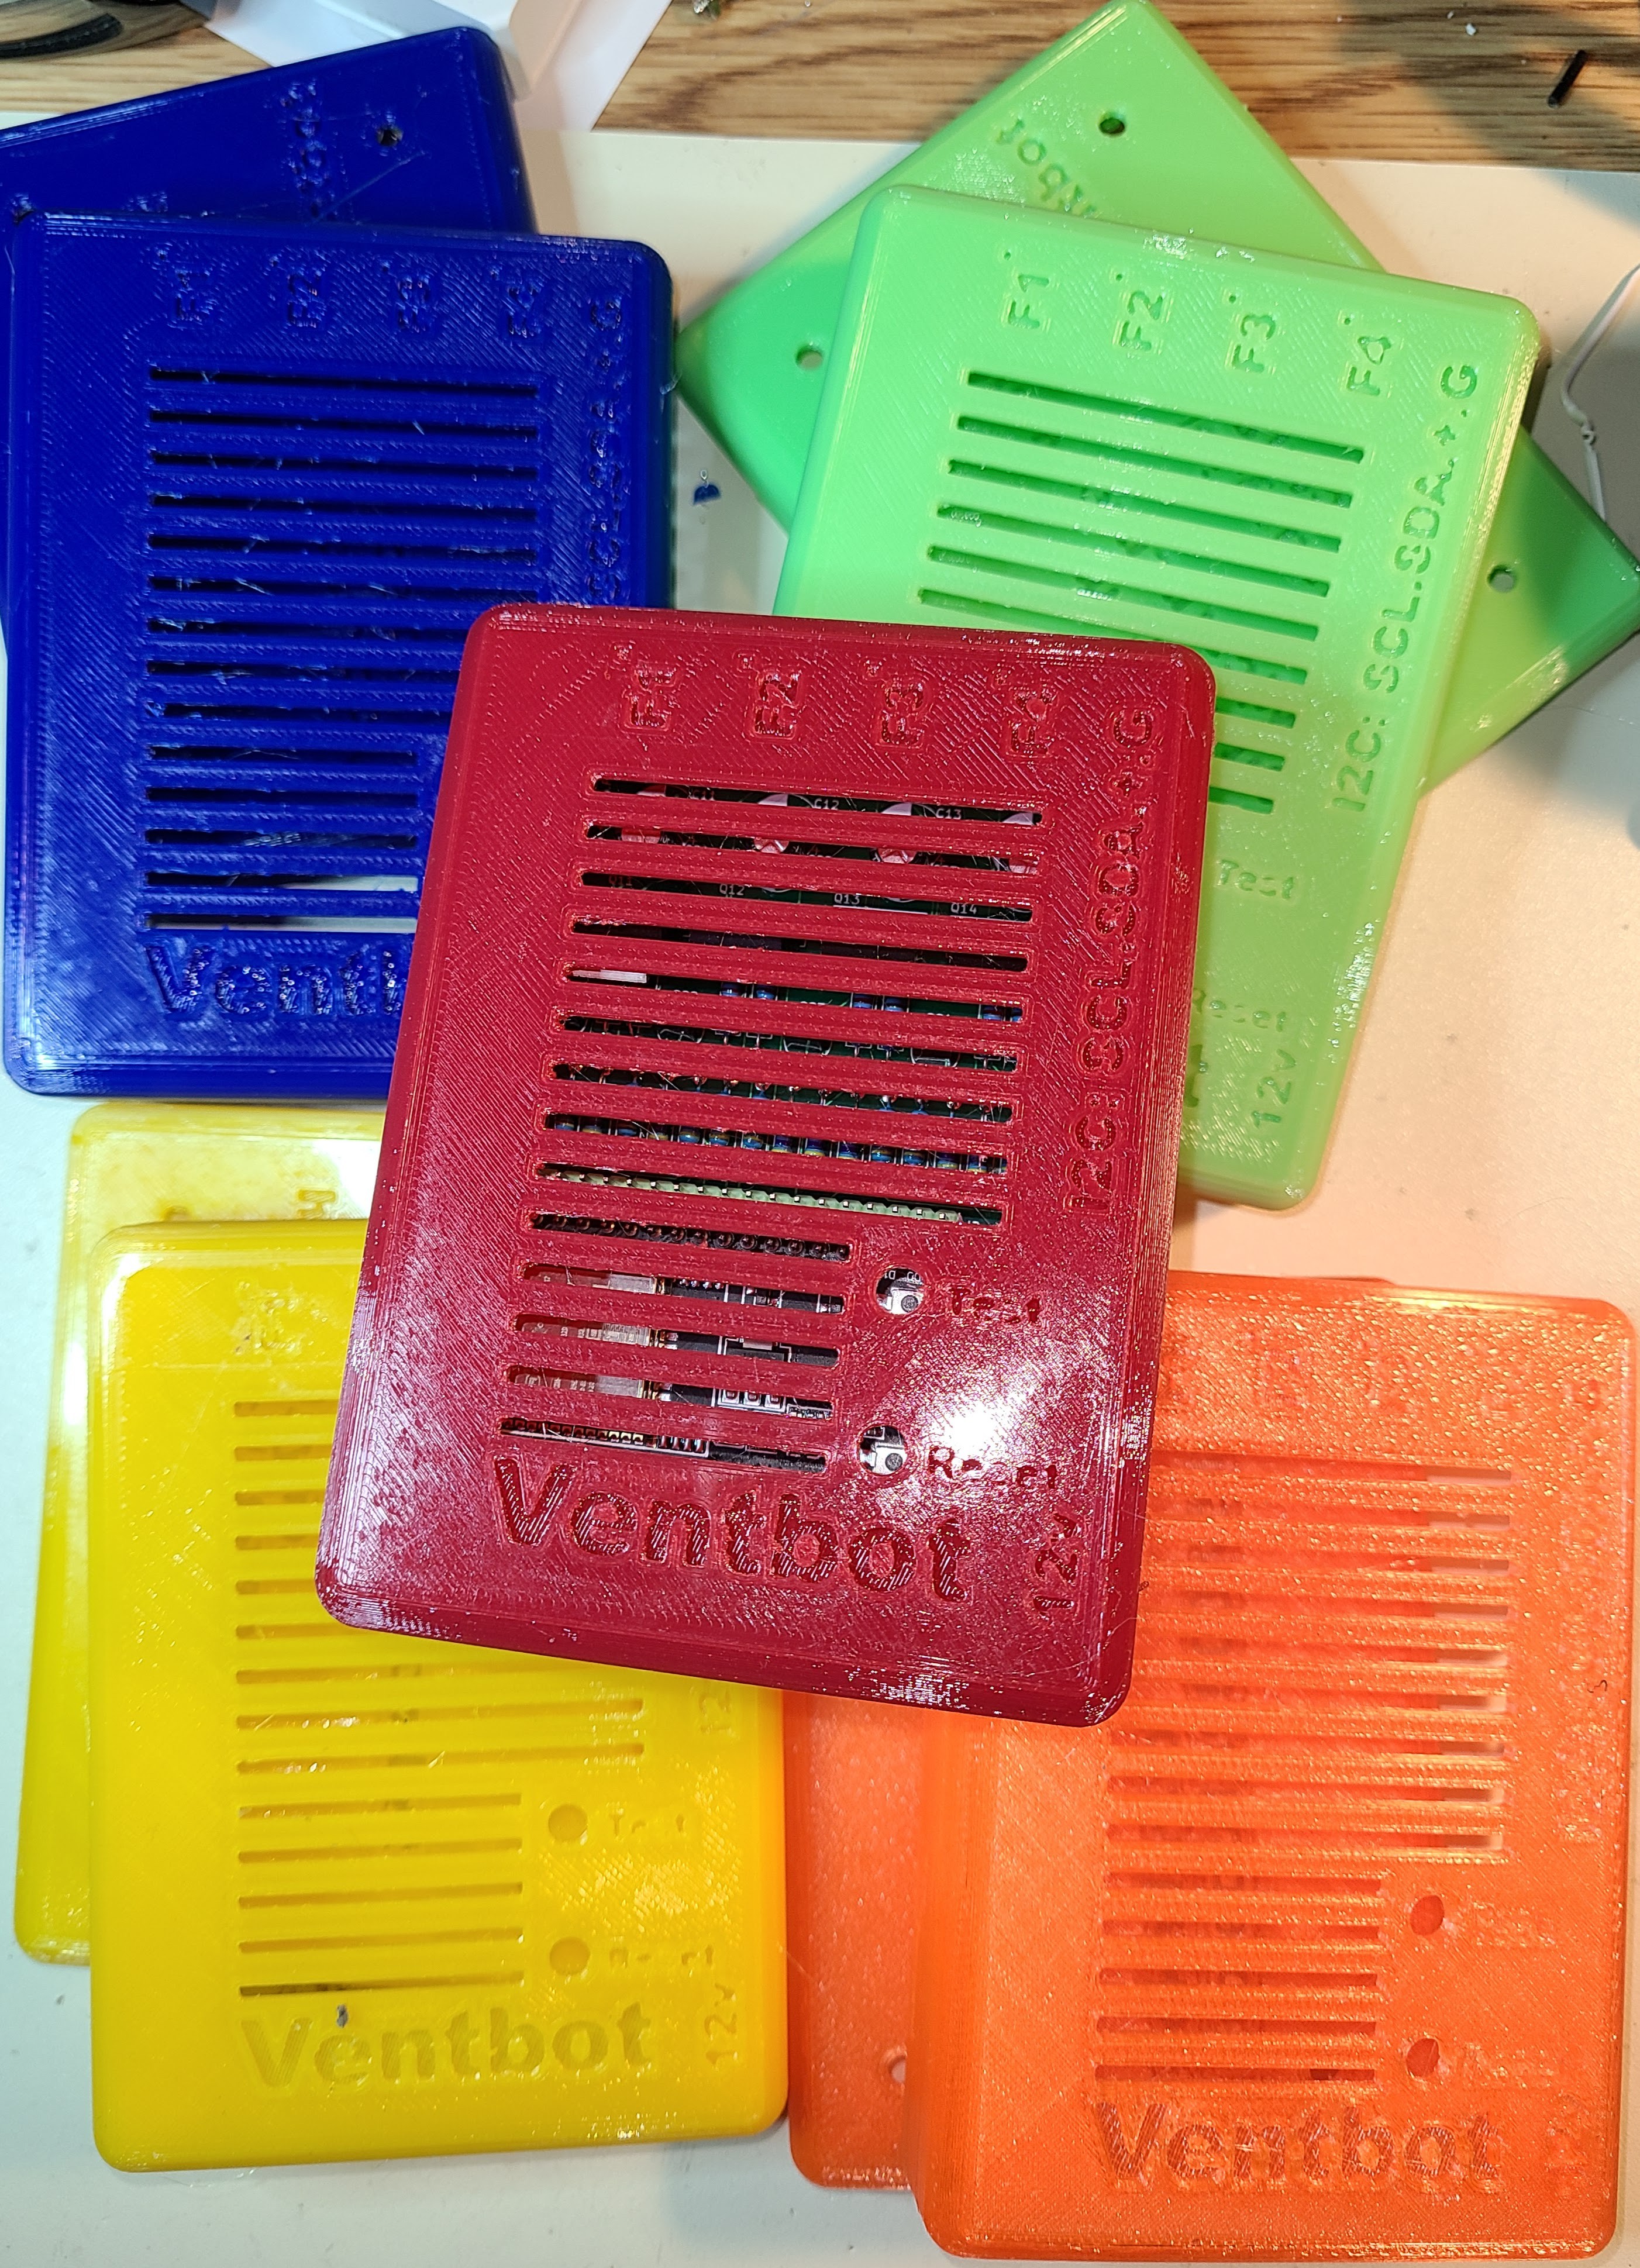
Everyone knows the most common 3D filament is PLA. The ventbots will live inside furnace ventilation ducts. The temperatures of 100F or so is well below any interesting temperature for PLA, but I'm not quite so sure of the long-term stability of it with a lot of thermal cycling. I put one into a vent for a few days and didn't see any degradation, but that's hardly a fair longevity test. Even though I printed my original set of enclosures with a fortified flavor of PLA, I'm recommending that they be printed with PETG instead. So, I've got some of each. The photo above is my original collection (before some design tweaks) of fortified PLA prints, which look pretty nice.
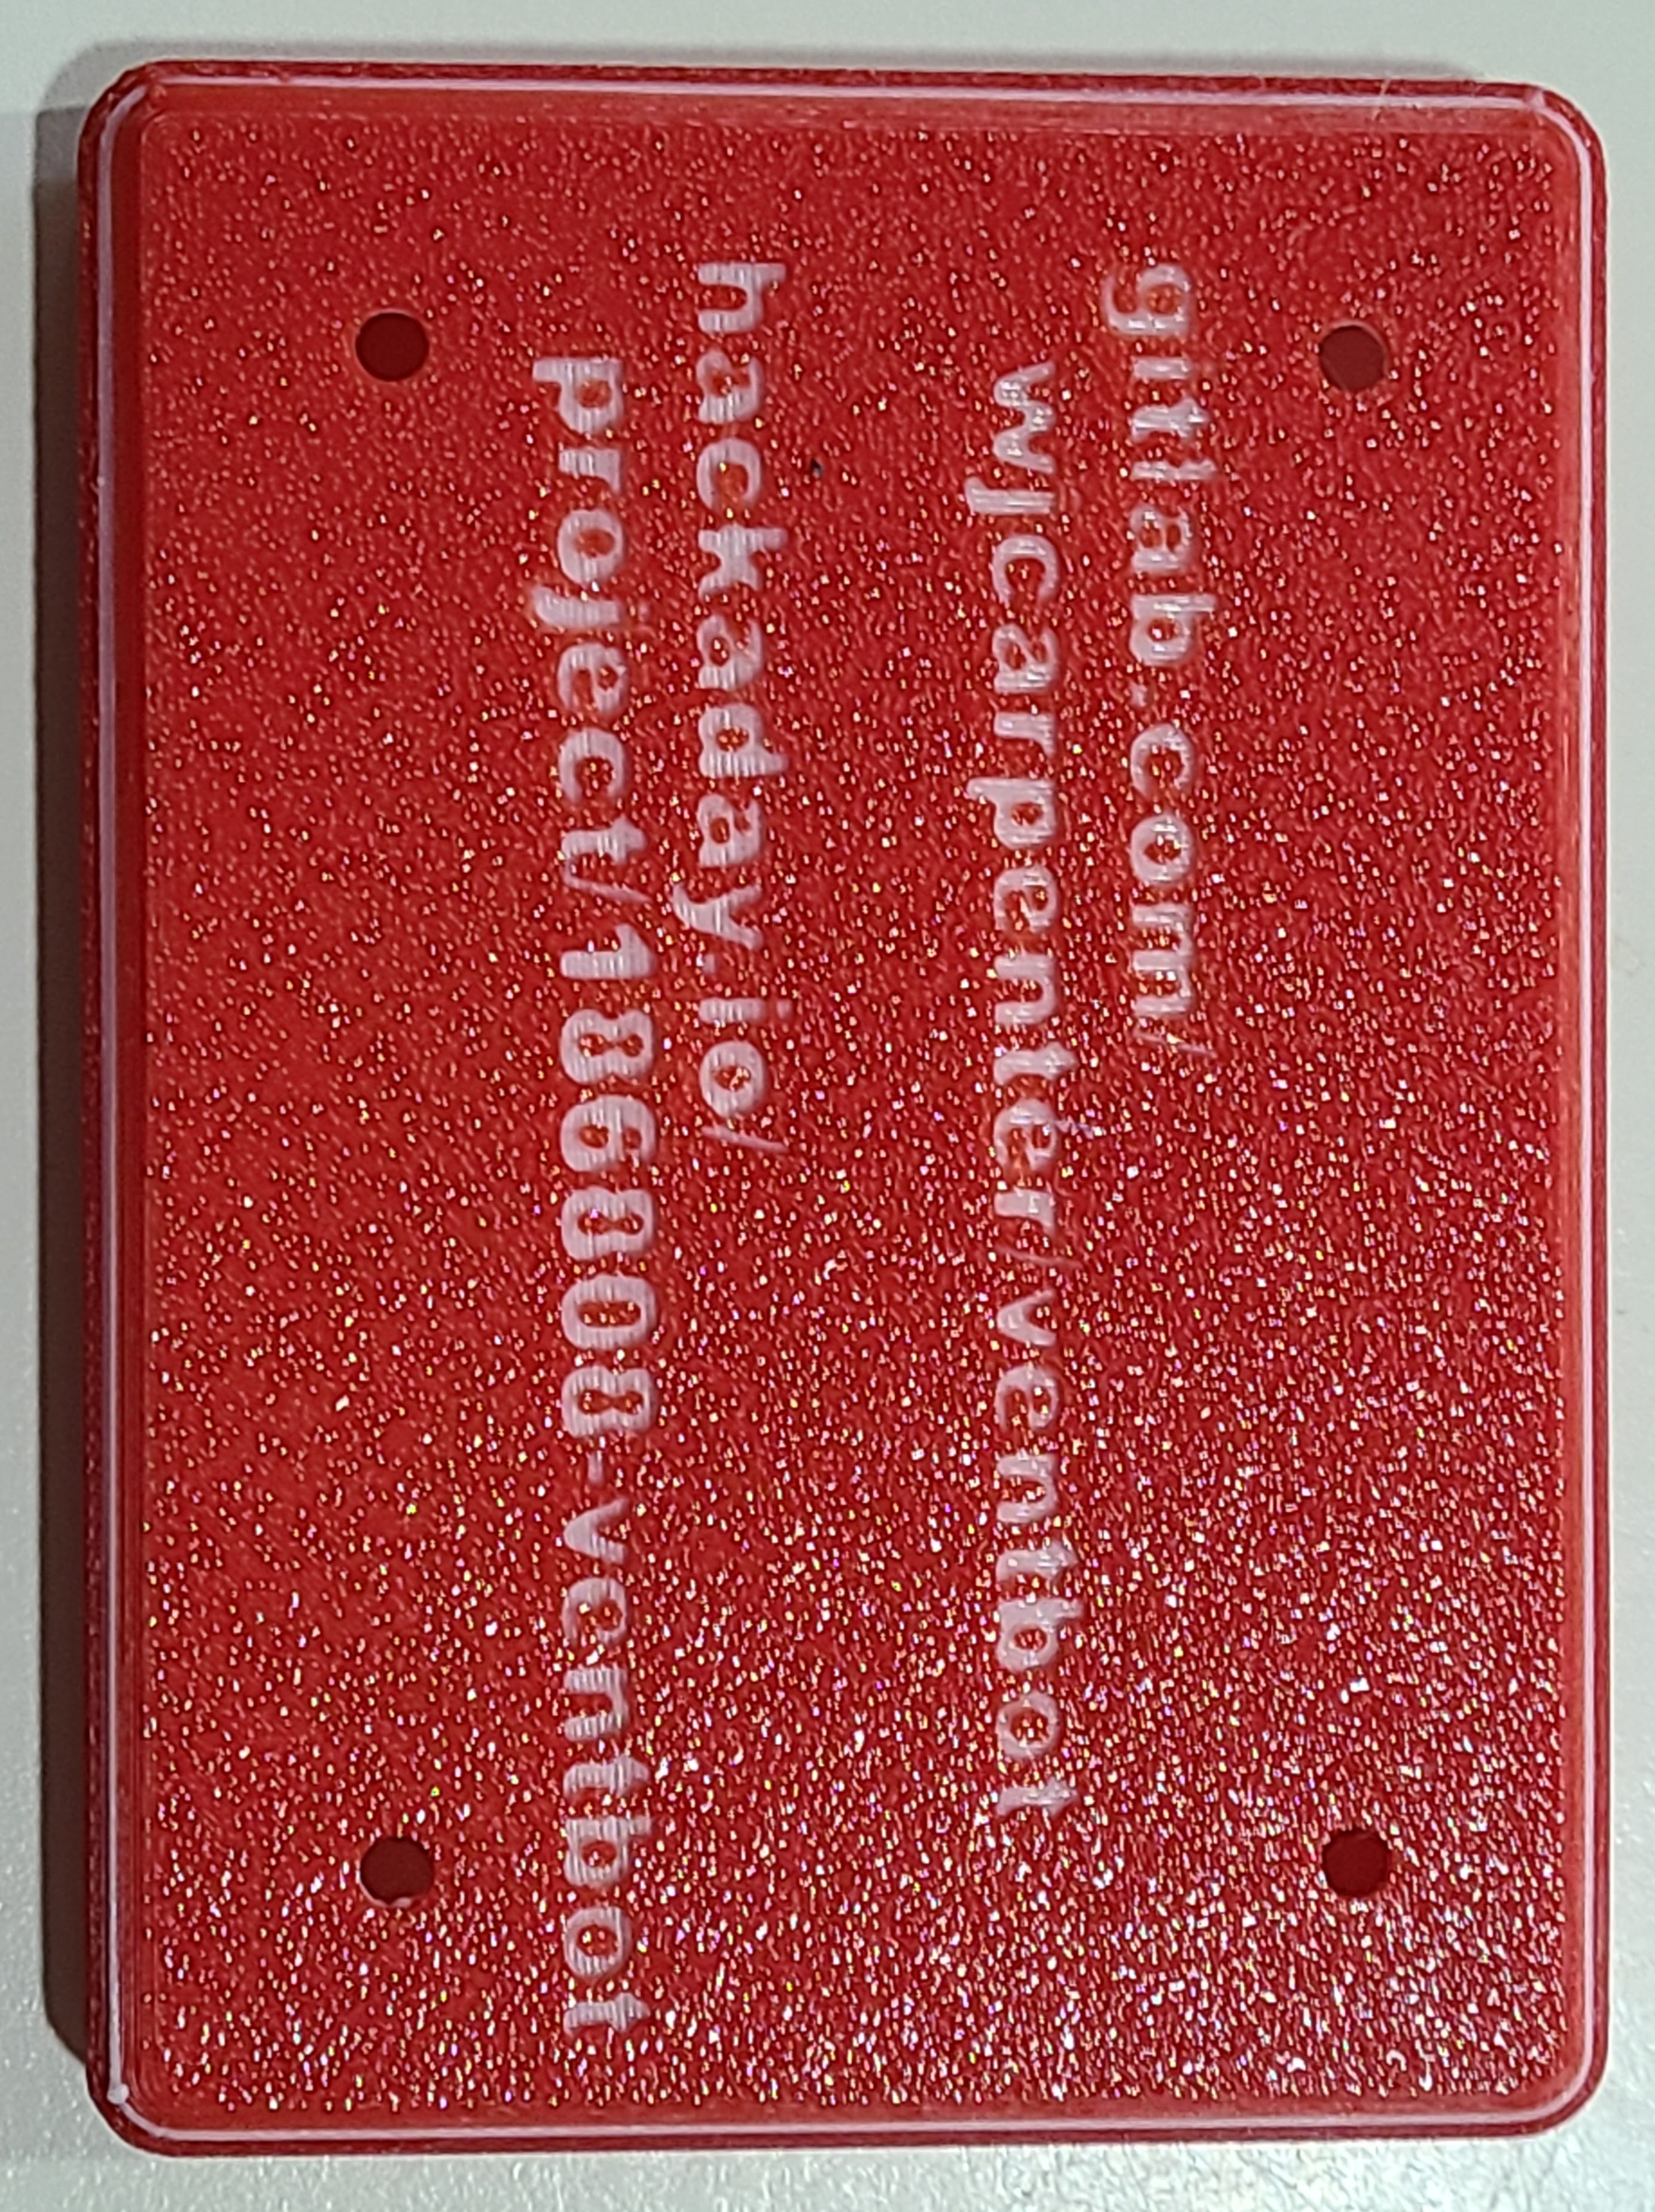
Not all the text on all of the colors is readily readable. The darker the color of the material, the harder it is to read the text. I did some experiments with filament changes during the print. This first one is a red enclosure with a few layers of white for contrast. Because of the simple filament swapping, it also puts a thin white stripe around the outside. For that print, I used a textured bed surface, which causes many tiny points of glare to work against my goal.

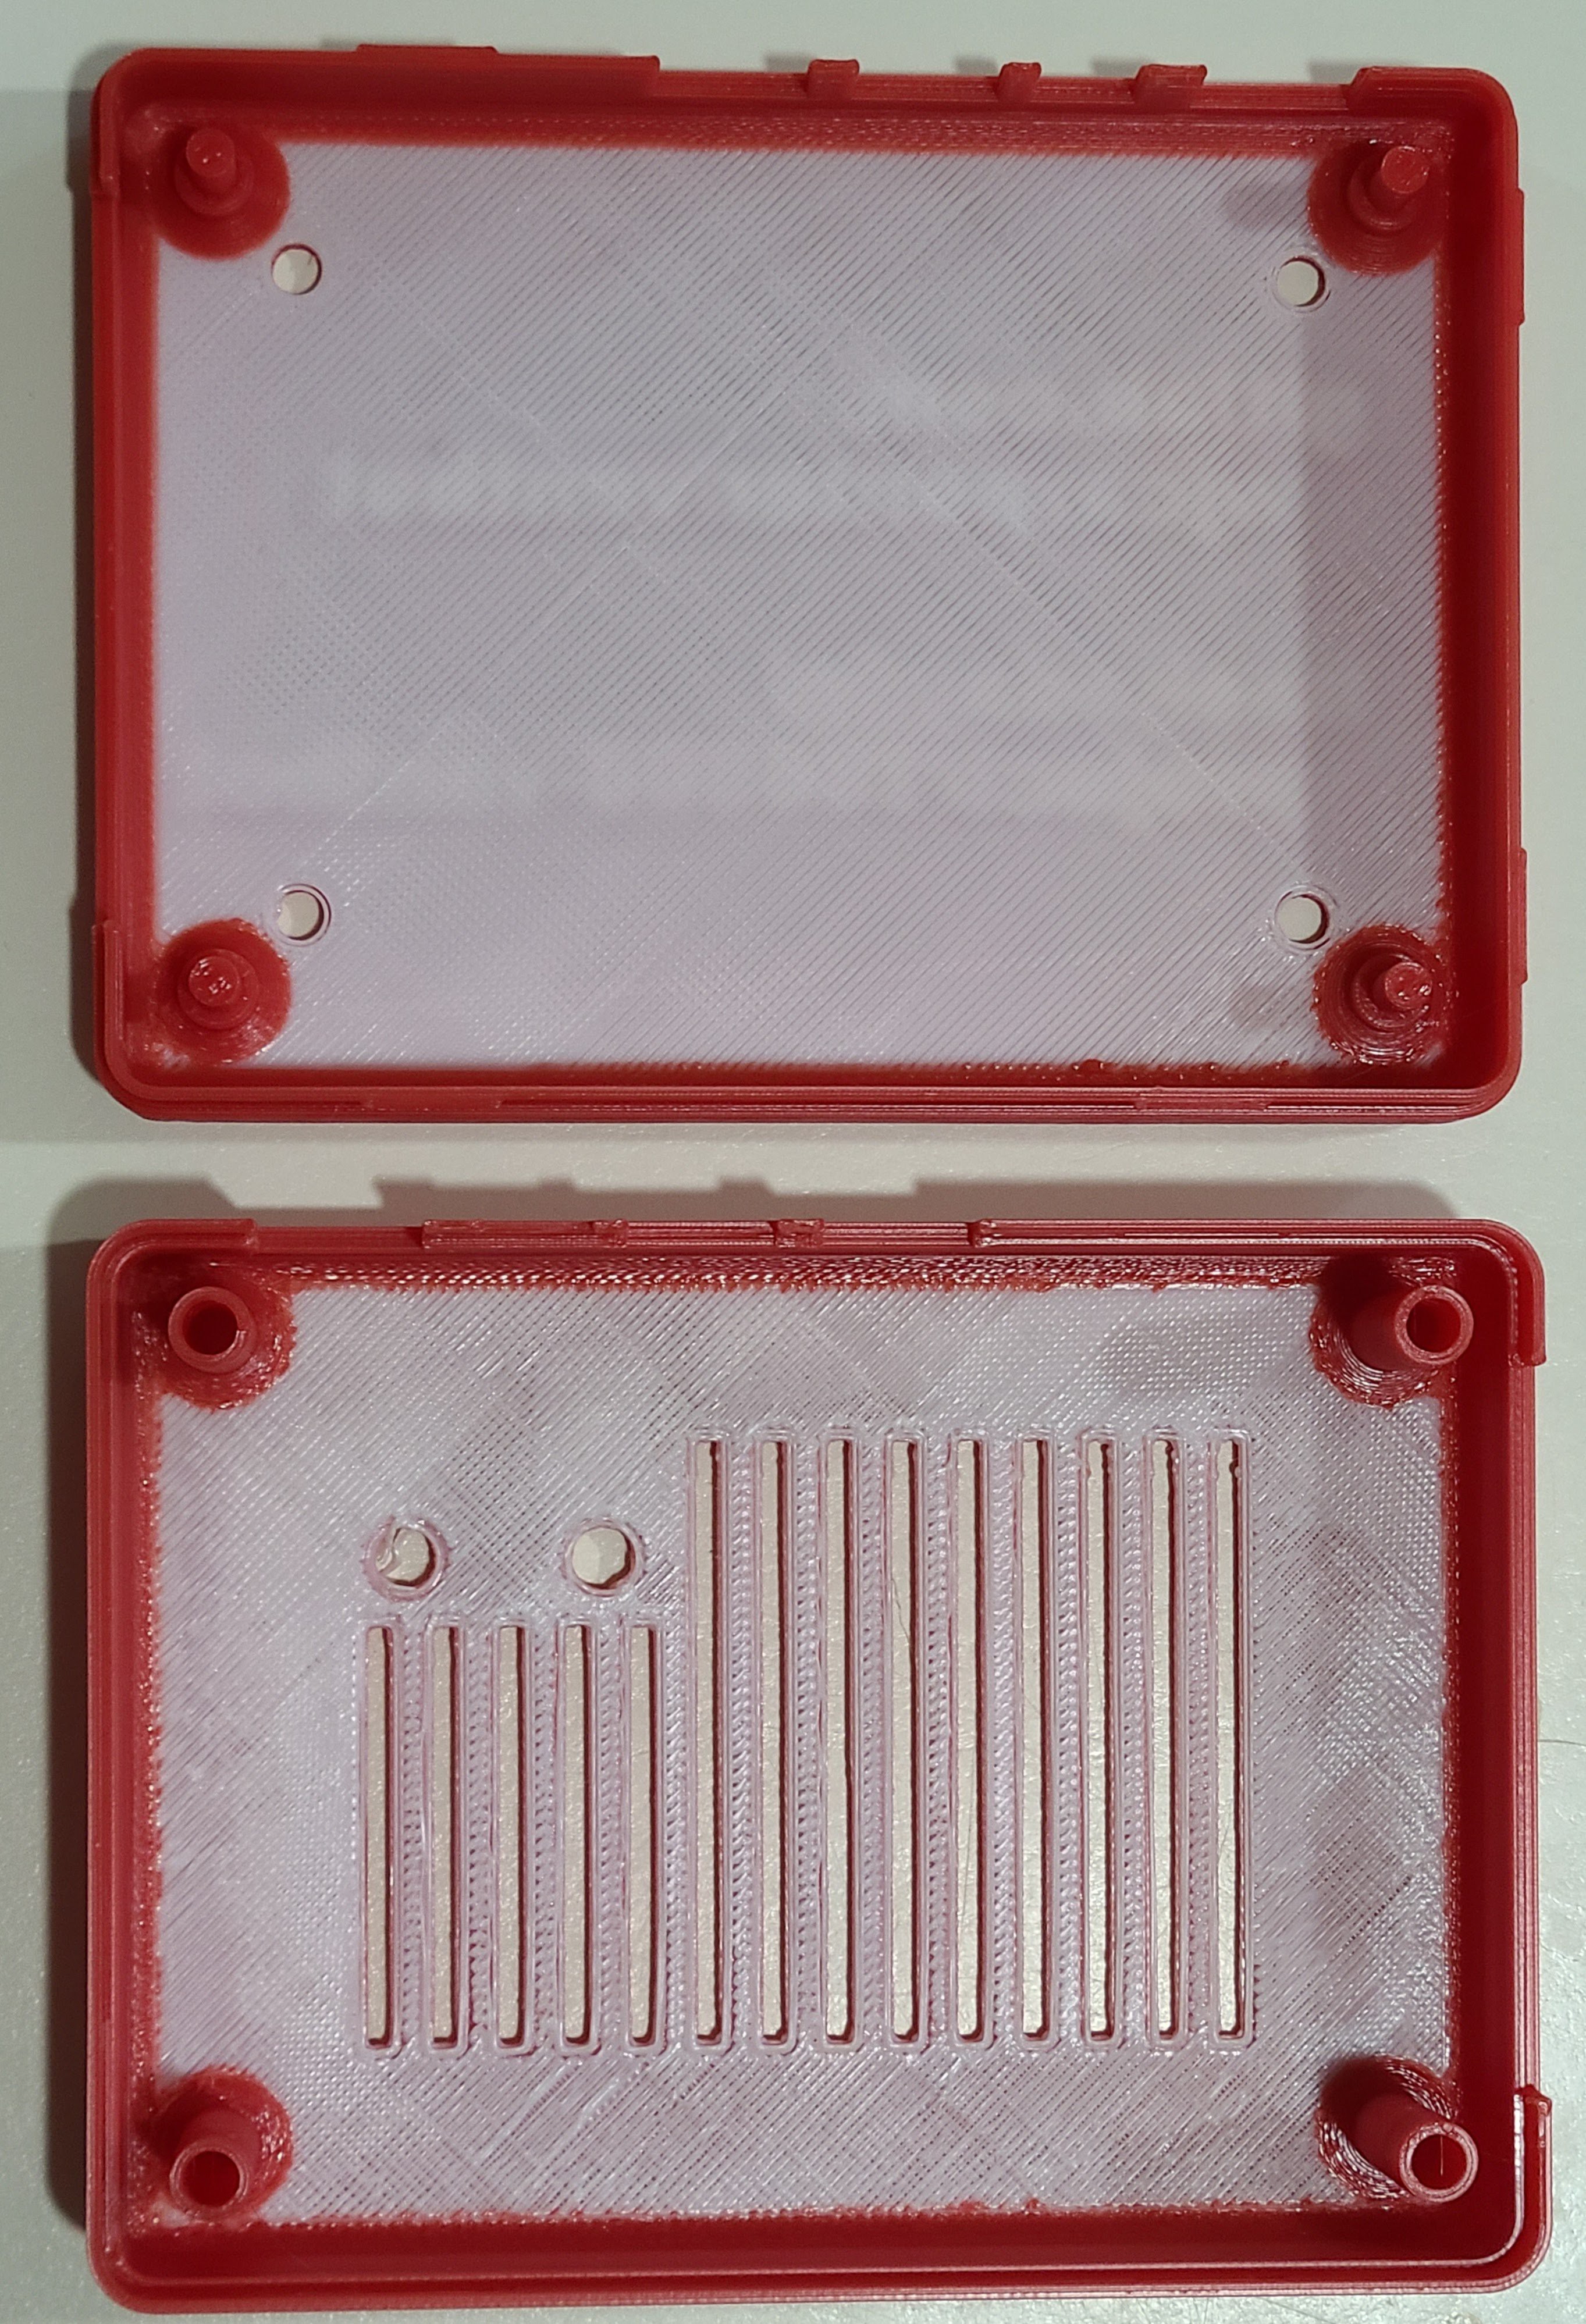
For what it's worth, here's what the inside looks like with this technique.
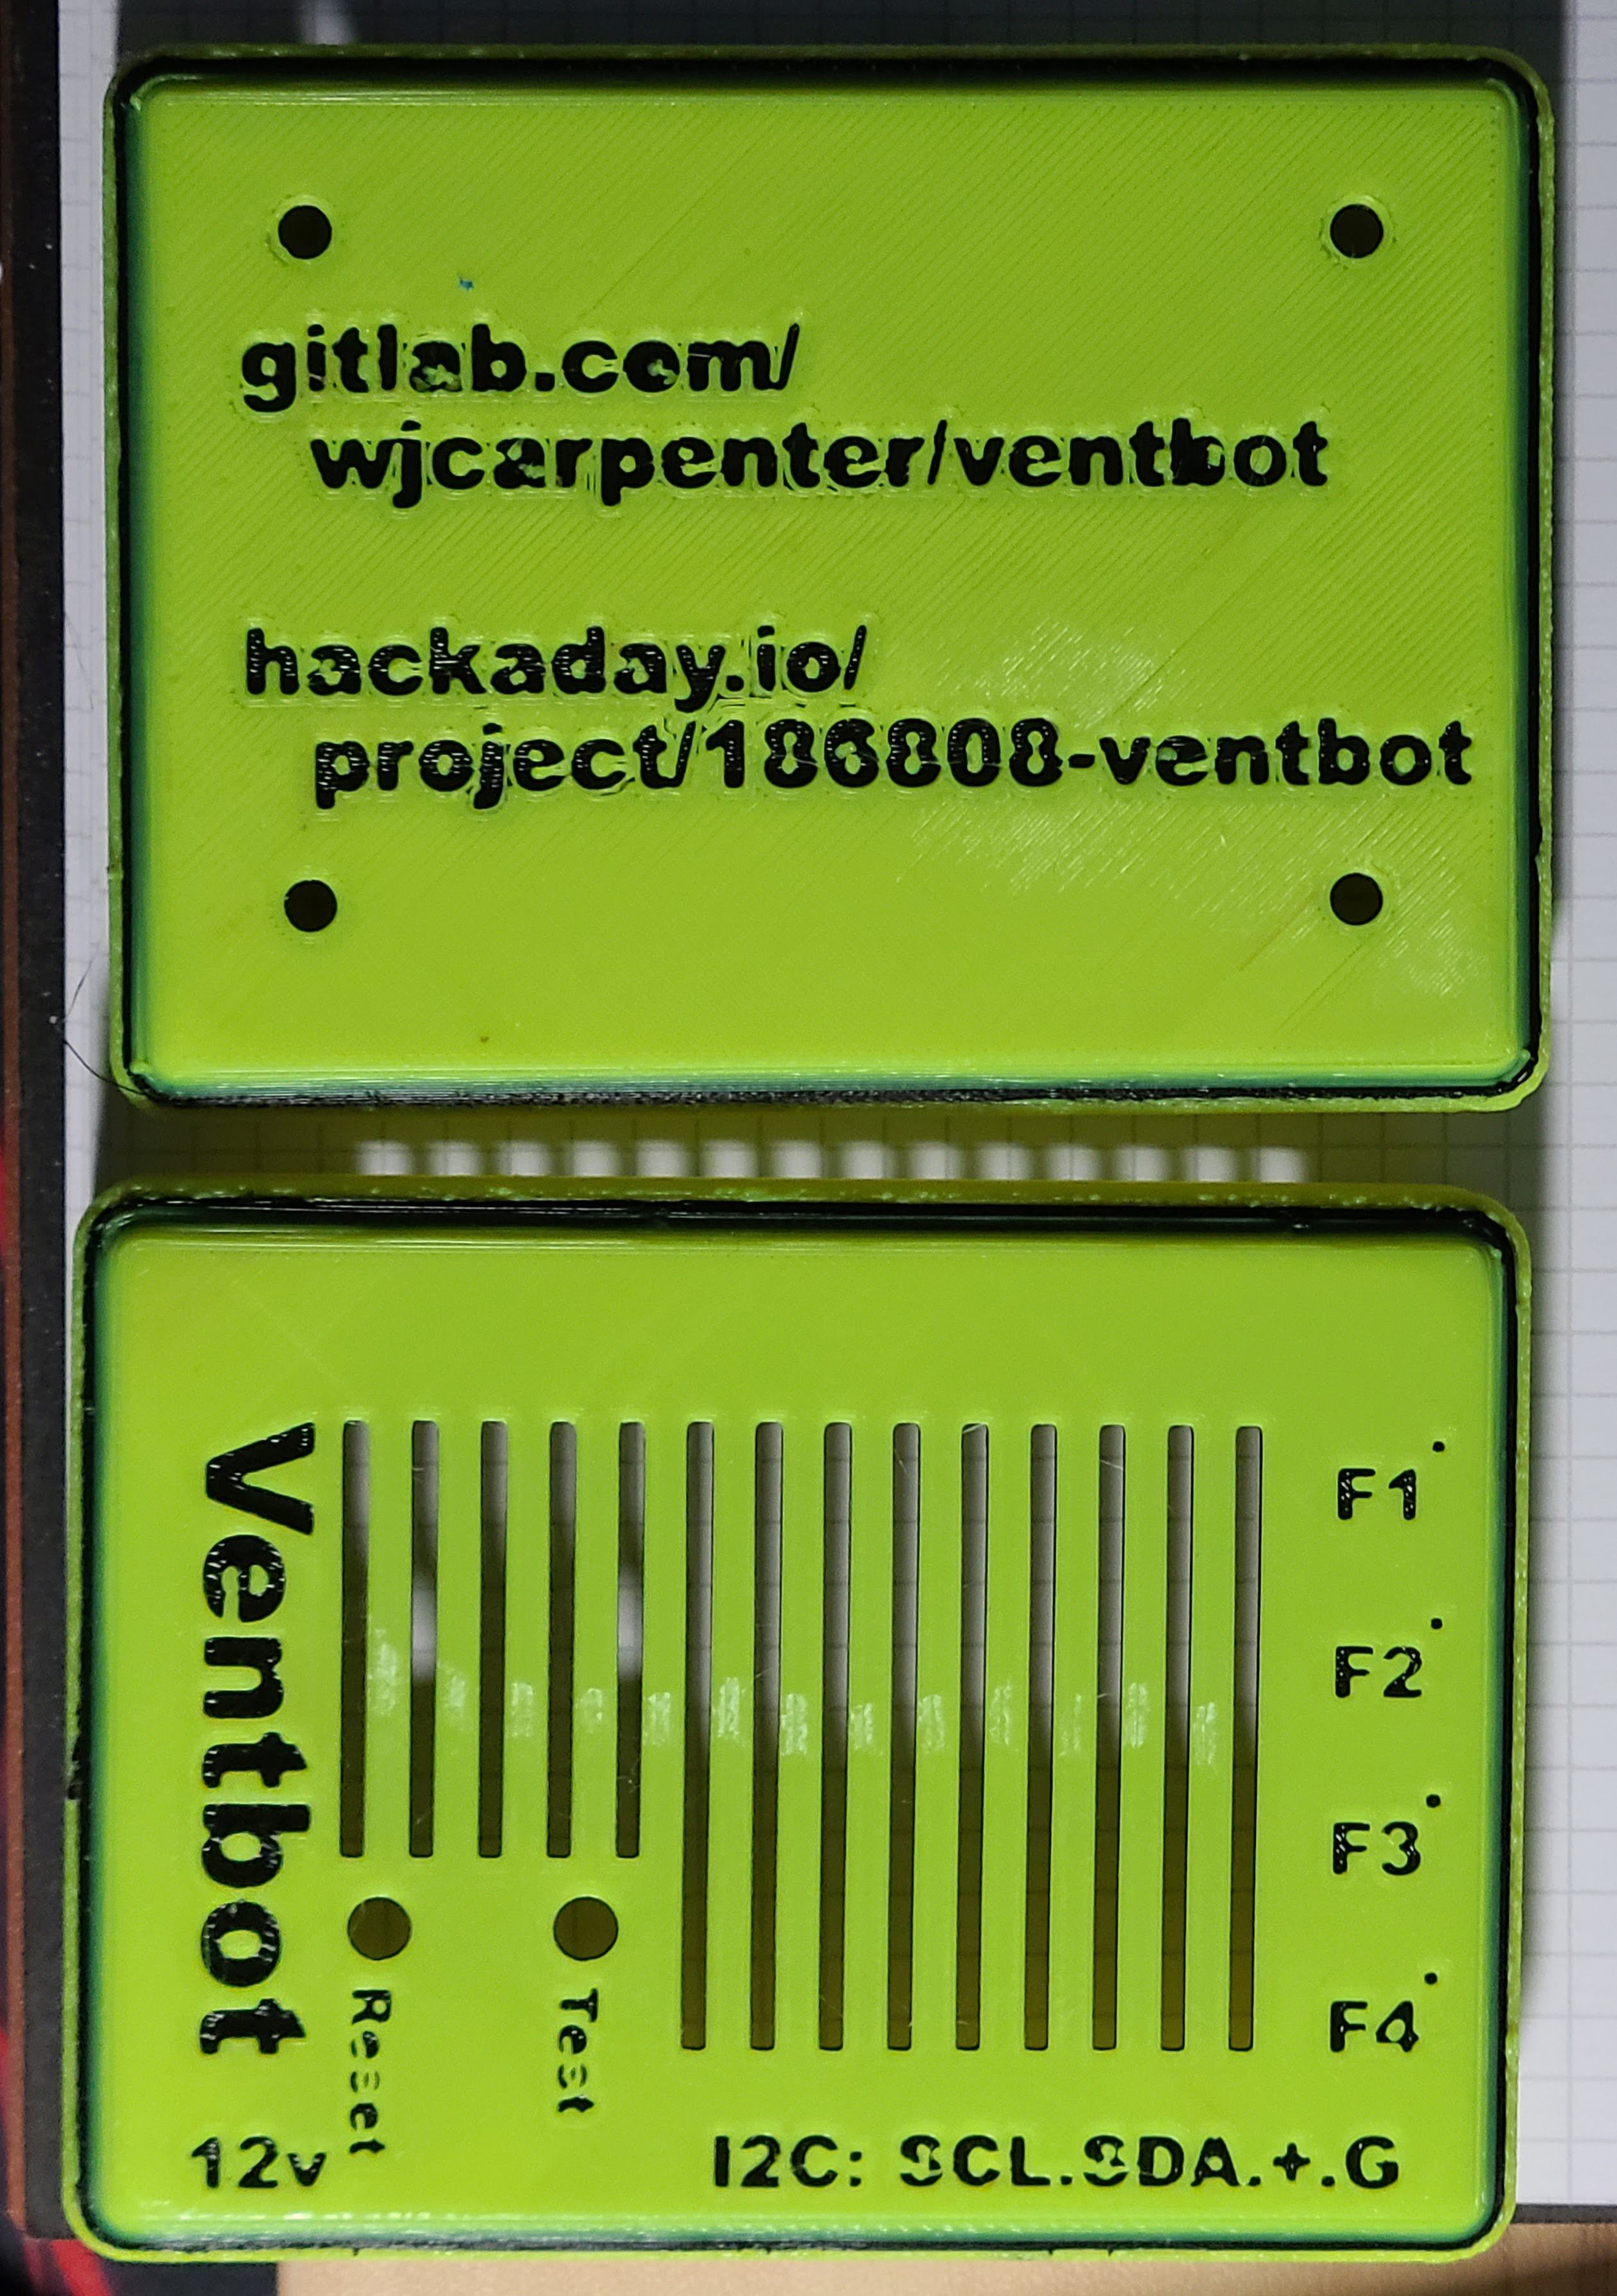
The next images are a similar experiment with PLA, but using a smooth build plate for a yellow enclosure with a few layers of black filament for contrast. That contrast makes those letters very readable, but the outlines of the letters are not especially crisp. I think it looks kind of cool, though.
Here is a trial with PETG on a textured build plate. The top and bottom are dark blue, with a contrasting gold layer (I didn't have any black or white PETG filament). Instead of switching back to blue after a few gold layers, I finished the print in gold. You can't see it very well in the pictures, but that gives a box with a blue top and bottom and gold sides all around. The textured surface and the color combinations makes the text pretty hard to read. (The raggedness around the edges is brim material that I didn't bother to clean up very well because I didn't plan to use this copy of the enclosure once I saw the text.)
In the end, I printed enclosures I plan to use in a variety of PETG colors with no contrasting layers. After all, I'm going to be shoving these things into a place where they will seldom be seen except by spiders and Darby O'Gill and the little people. Plus, I got tired of experimenting (each print took over 7 hours to complete). PETG tends to be inherently shiny, which makes the lettering harder to read. But, if you hold it at a slight angle to the light, the lettering becomes reasonably clear. All of these were printed on a smooth bed, except for the orange one, which was on a textured bed.
(I also have some color-changing PLA filament, which goes from orange to yellow at about 81F. That would be kind of interesting if these were going to be in a visible location.)
Discussions
Become a Hackaday.io Member
Create an account to leave a comment. Already have an account? Log In.