 f4drj
f4drj-
1Doing some simulations
![]()
![]()
![]()
![]()
-
2Make some shielding
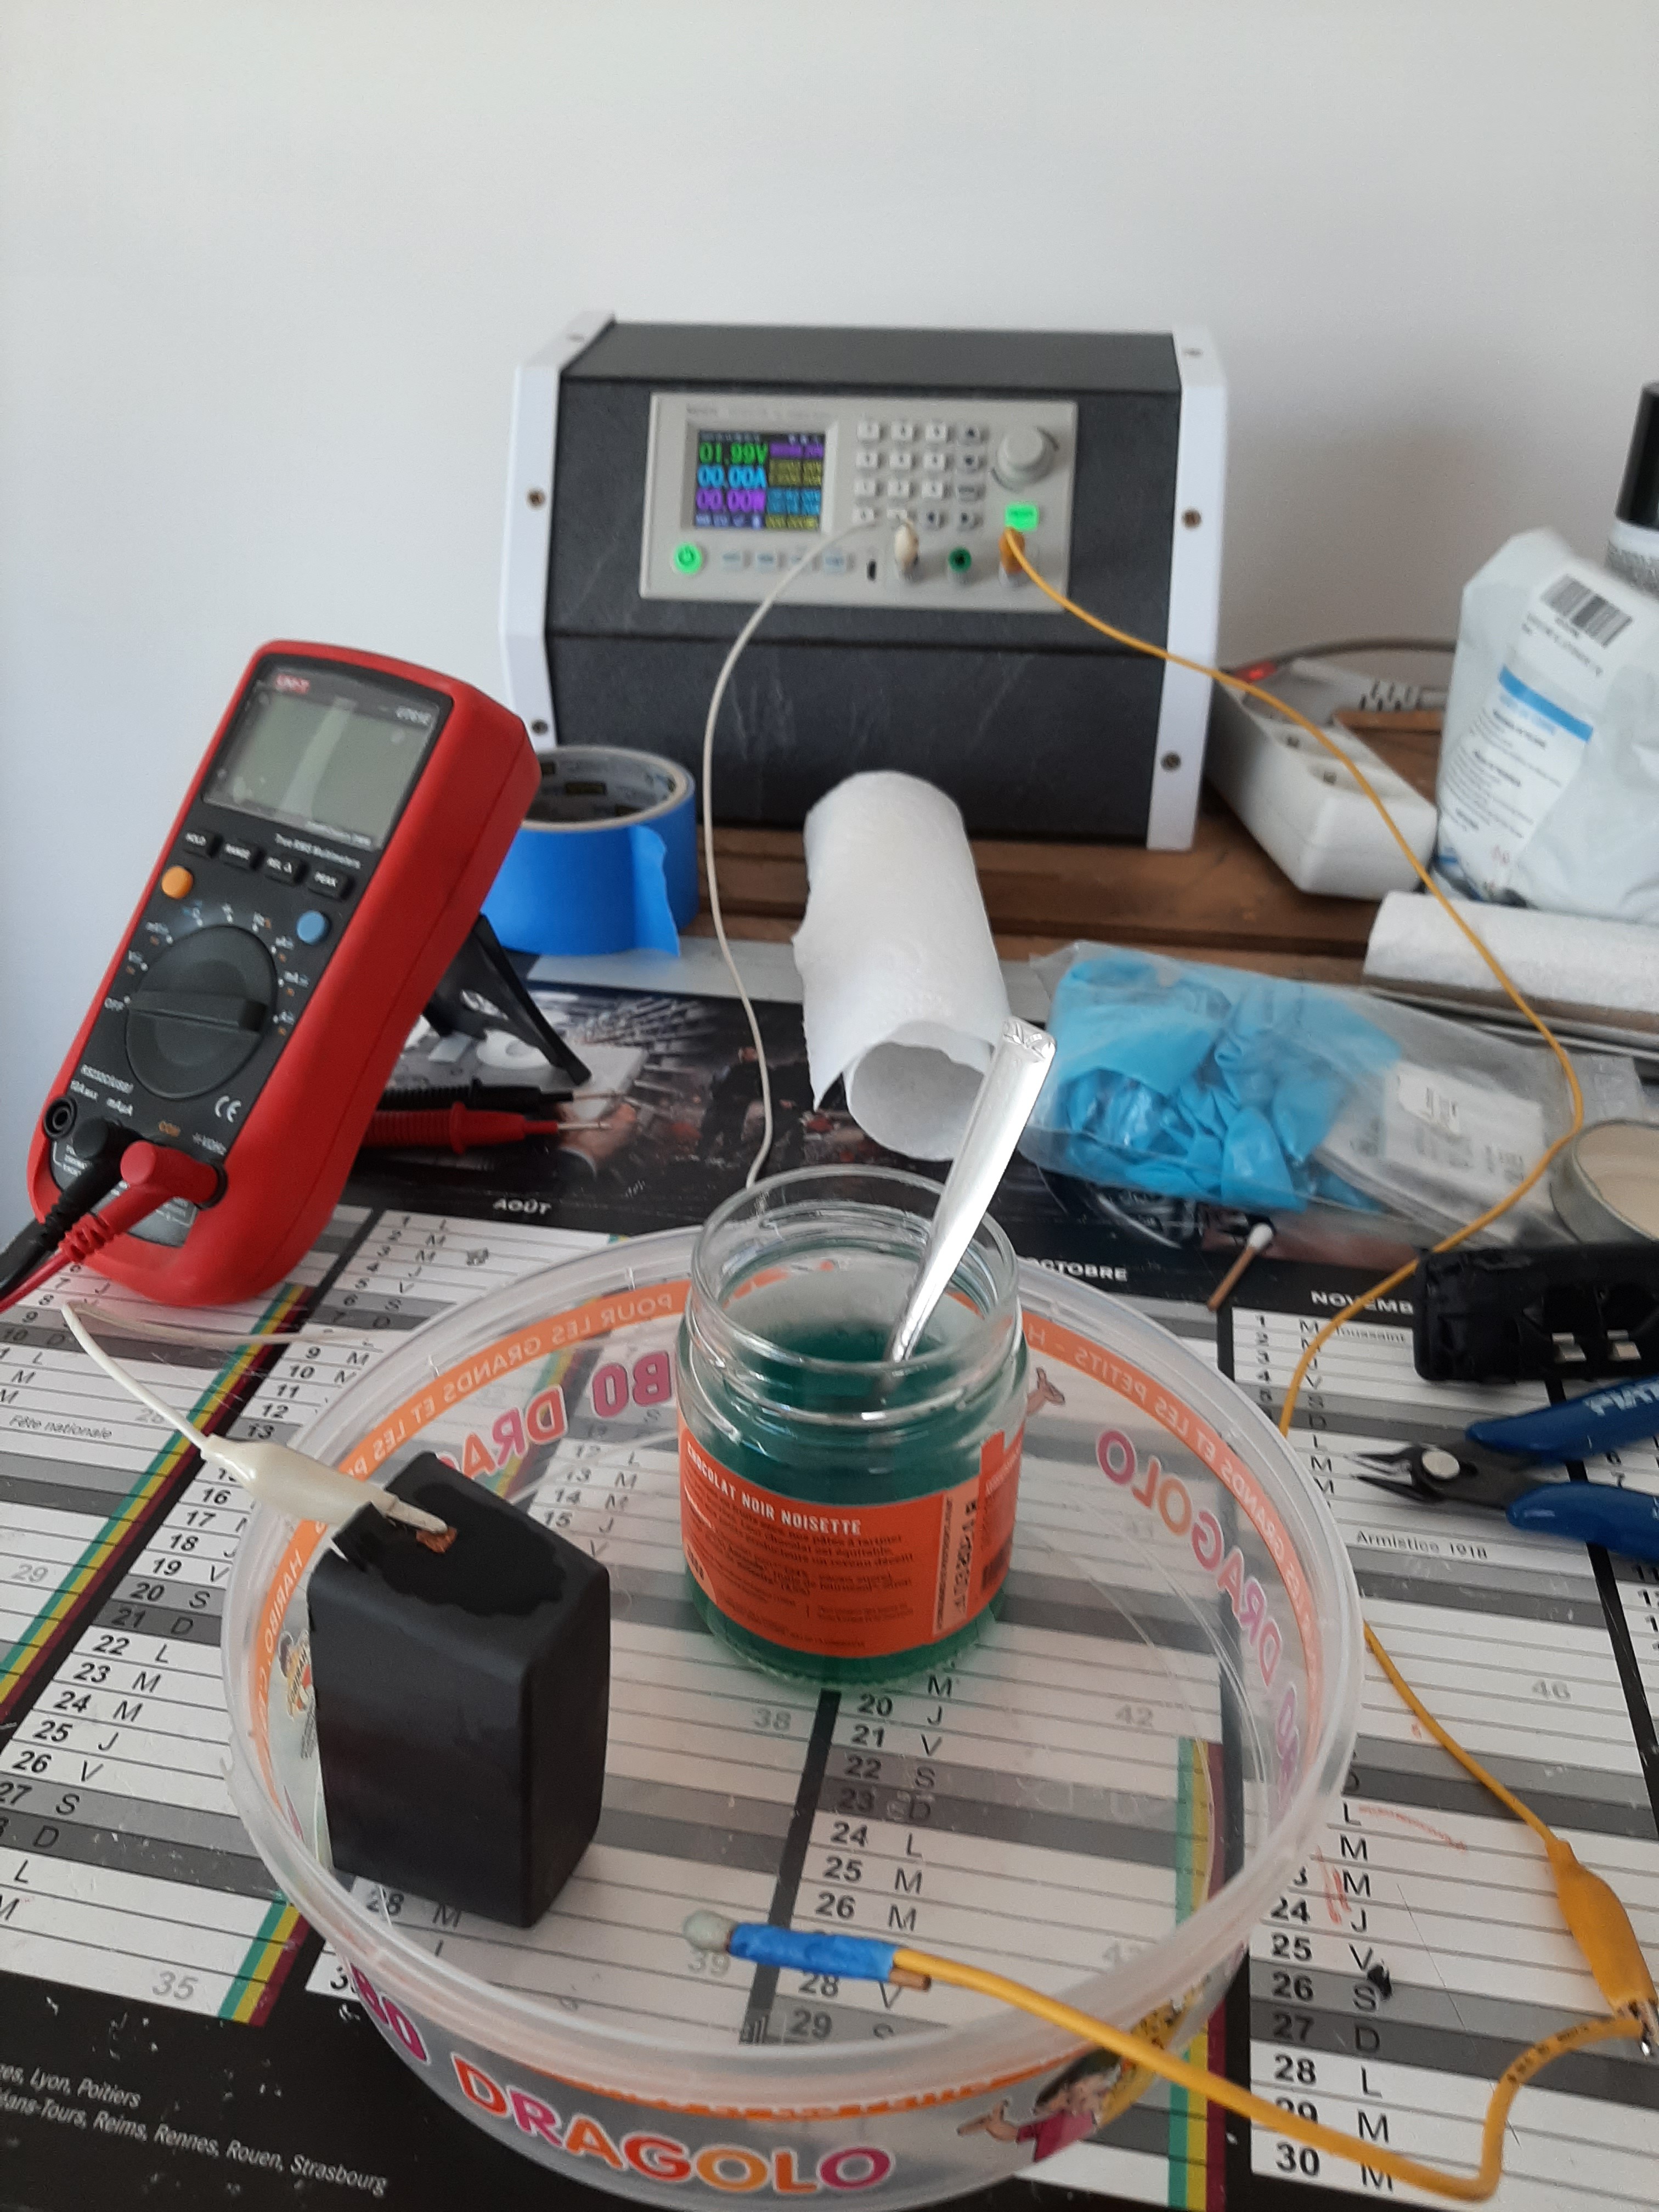
Tried first electroplating technics with copper sulfate but did not succeded unfortunatly. It looked promising though !
![]()
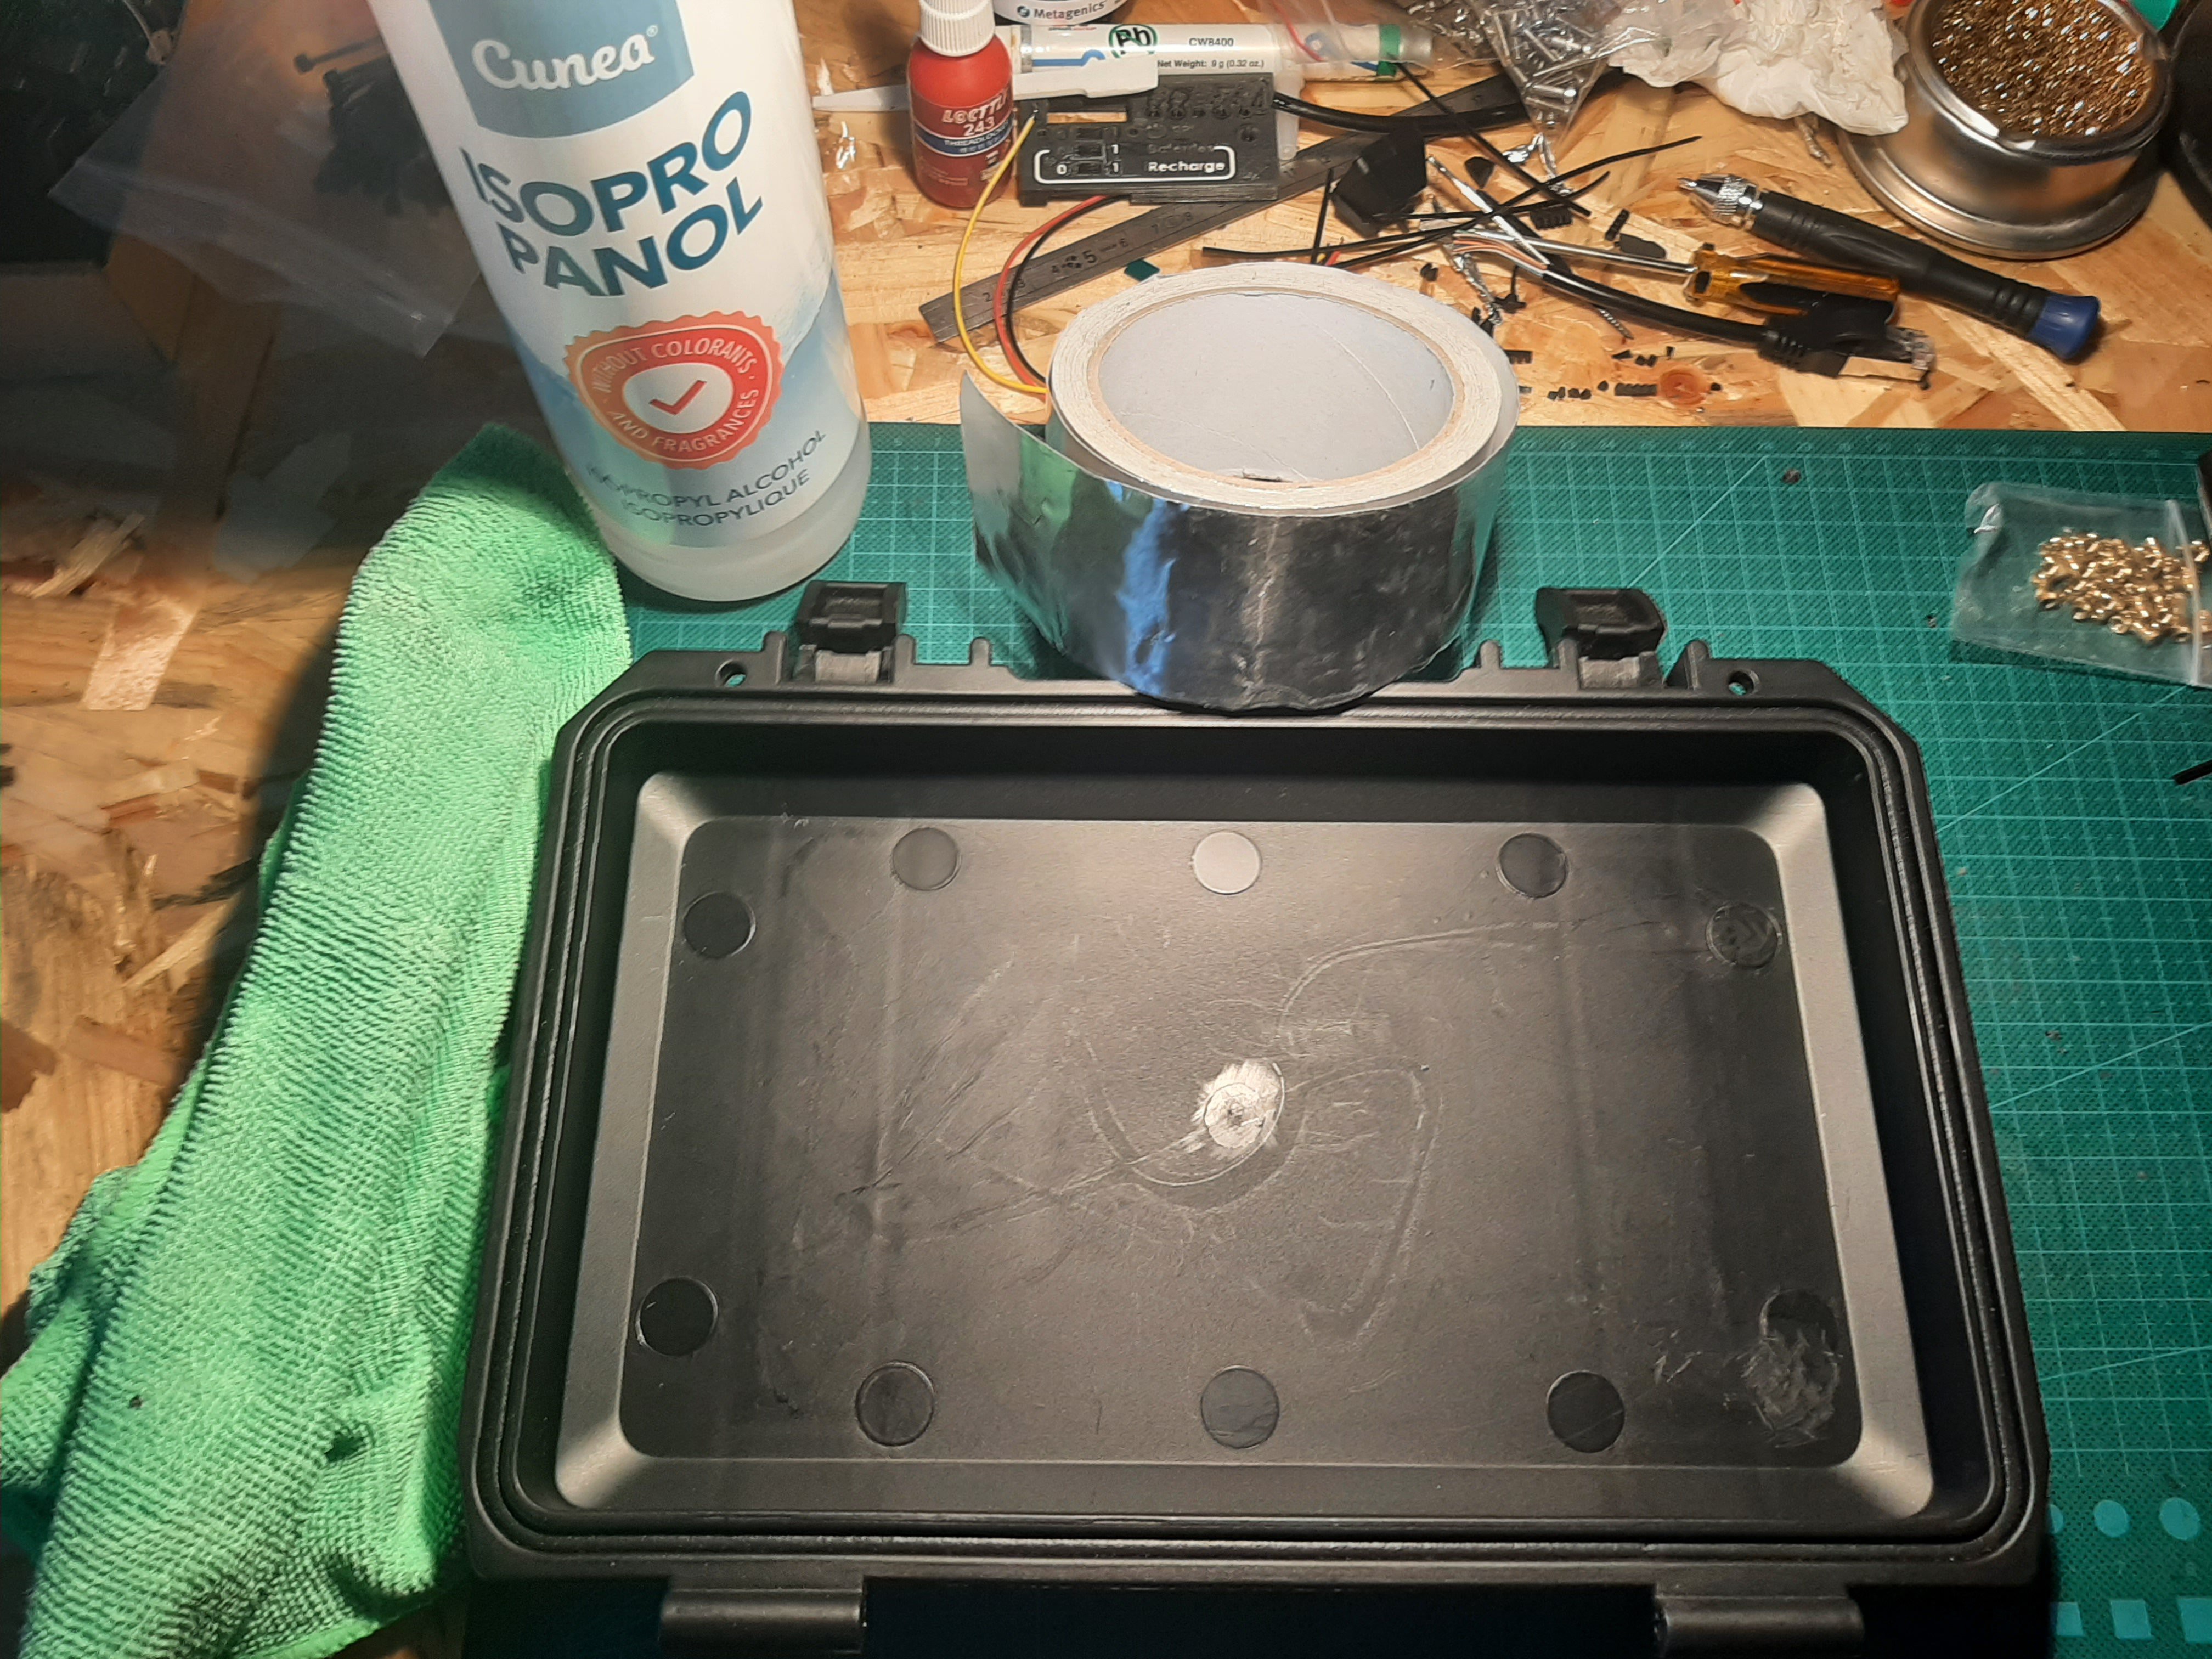
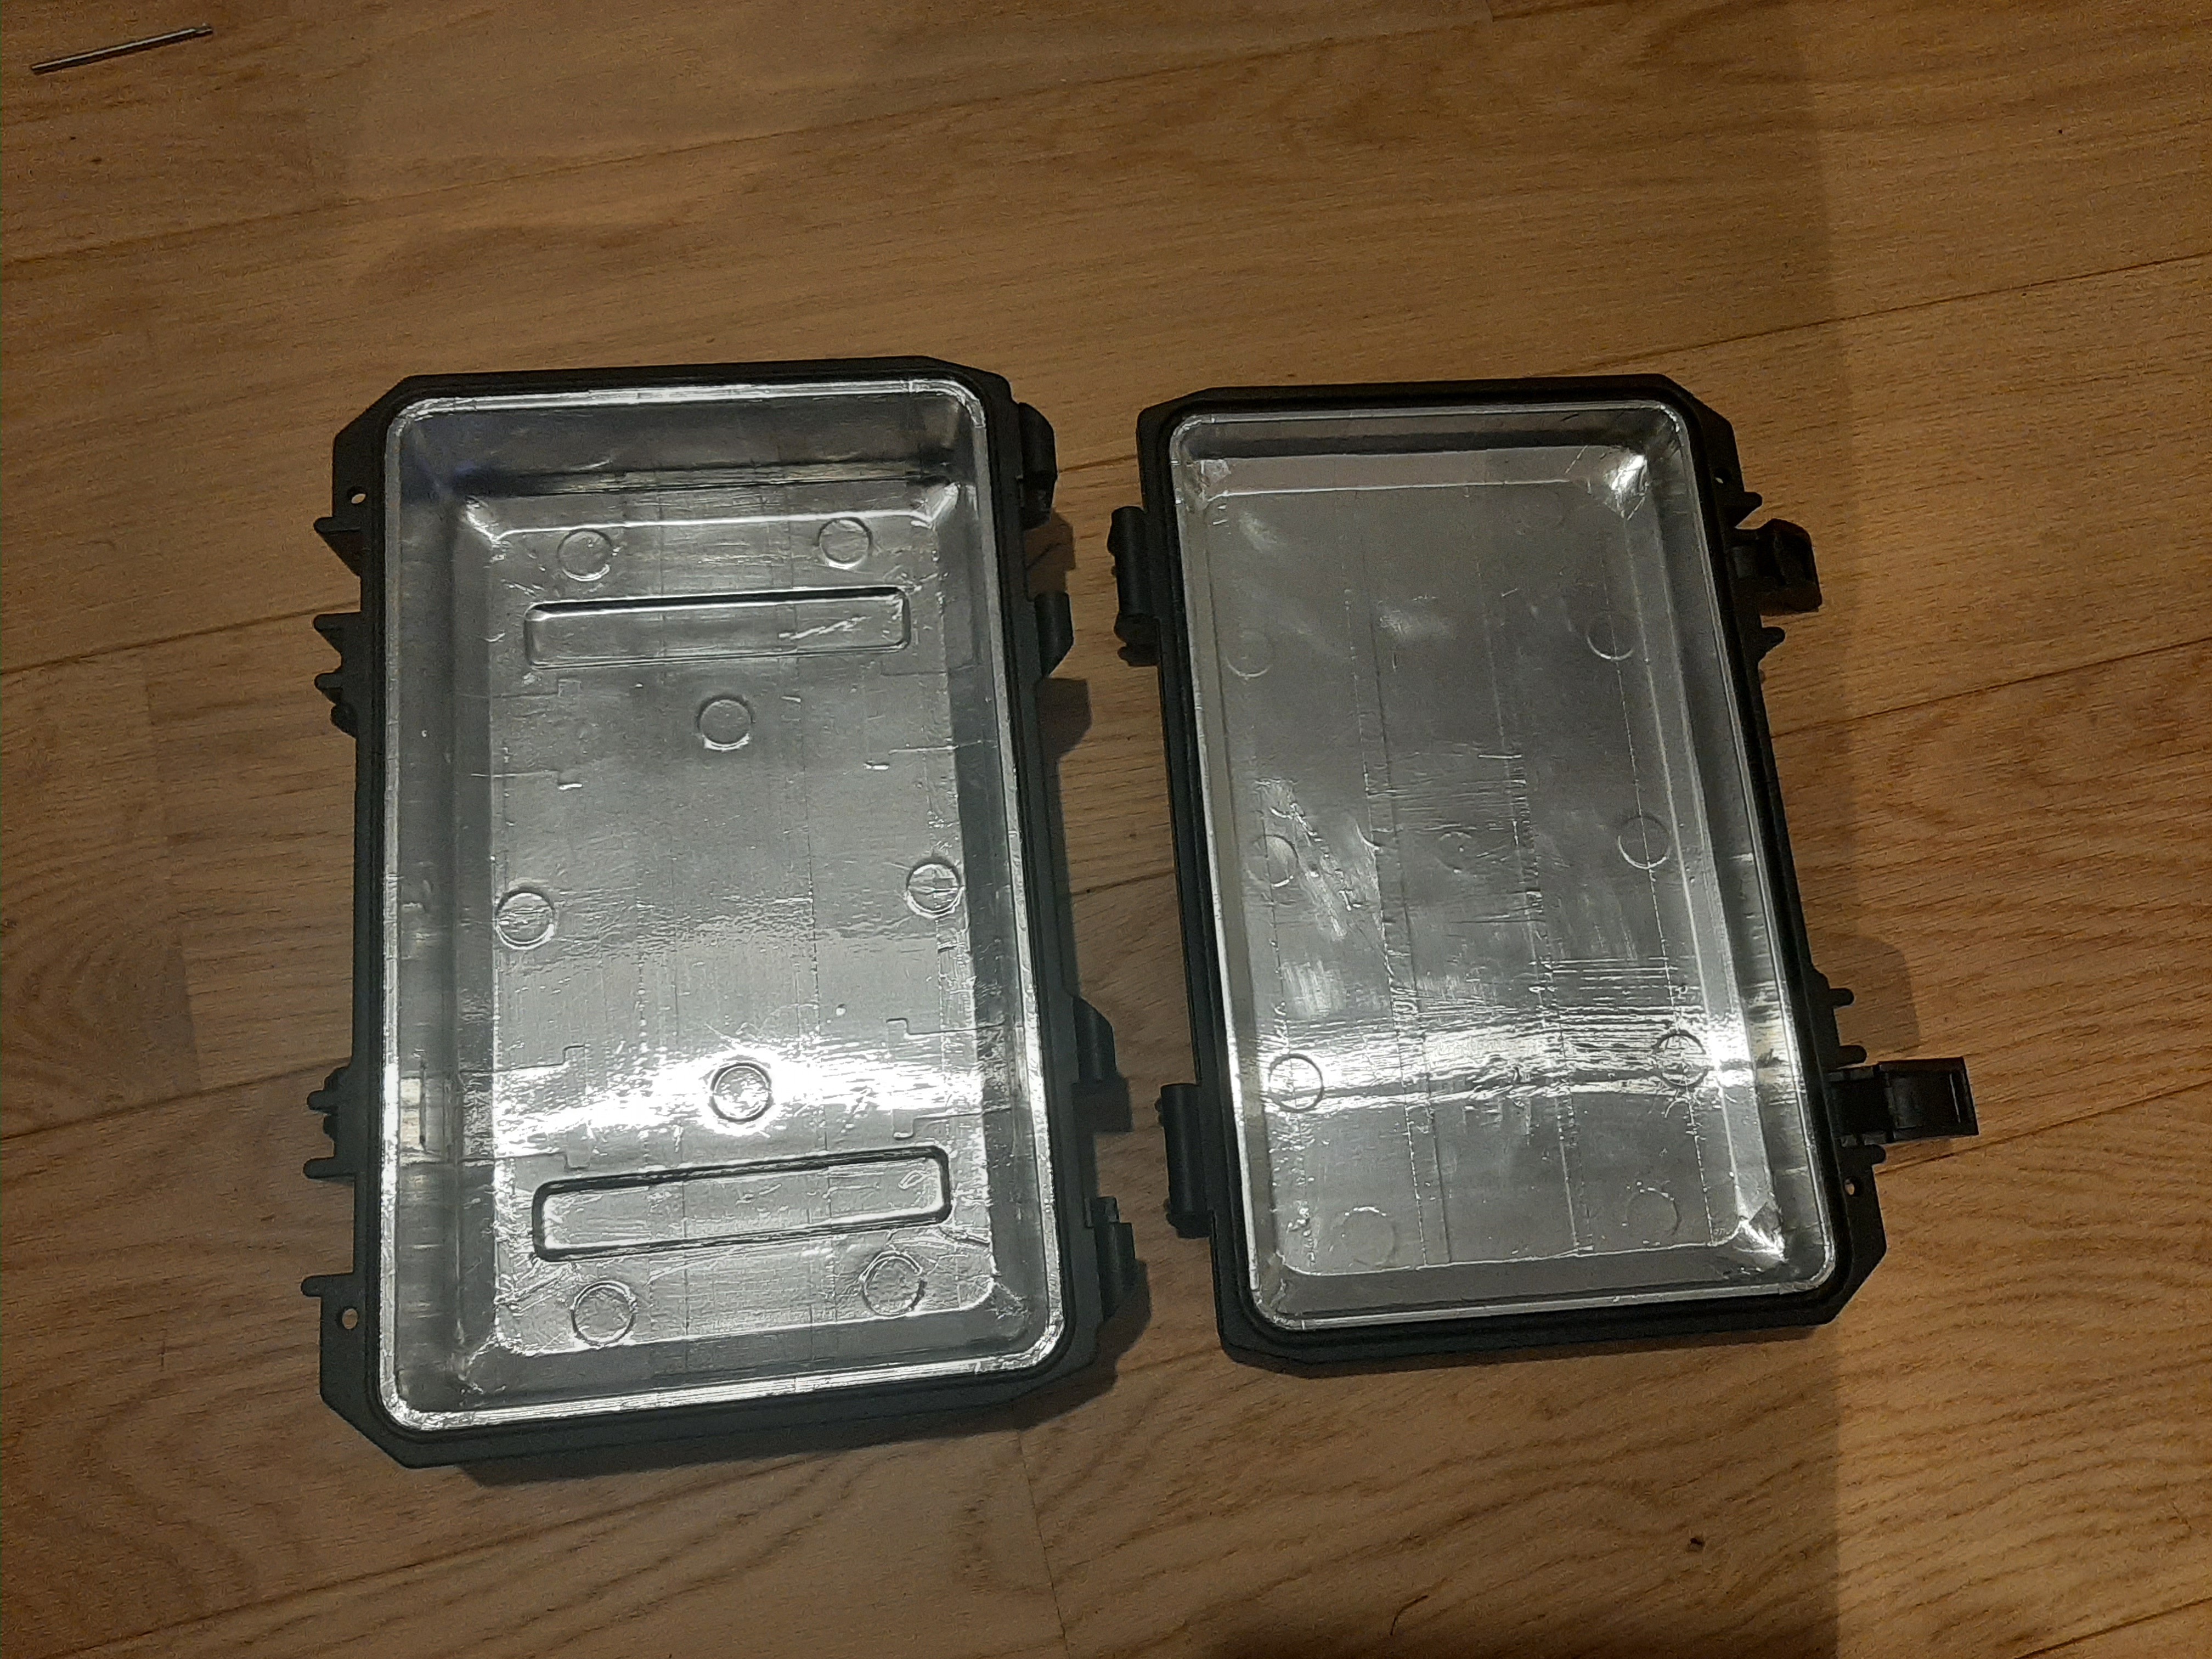
Second round and easy task - metal TAPING ! Prepare support for cleaning with isopropylic alcohol.
![]()
![]()
![]()
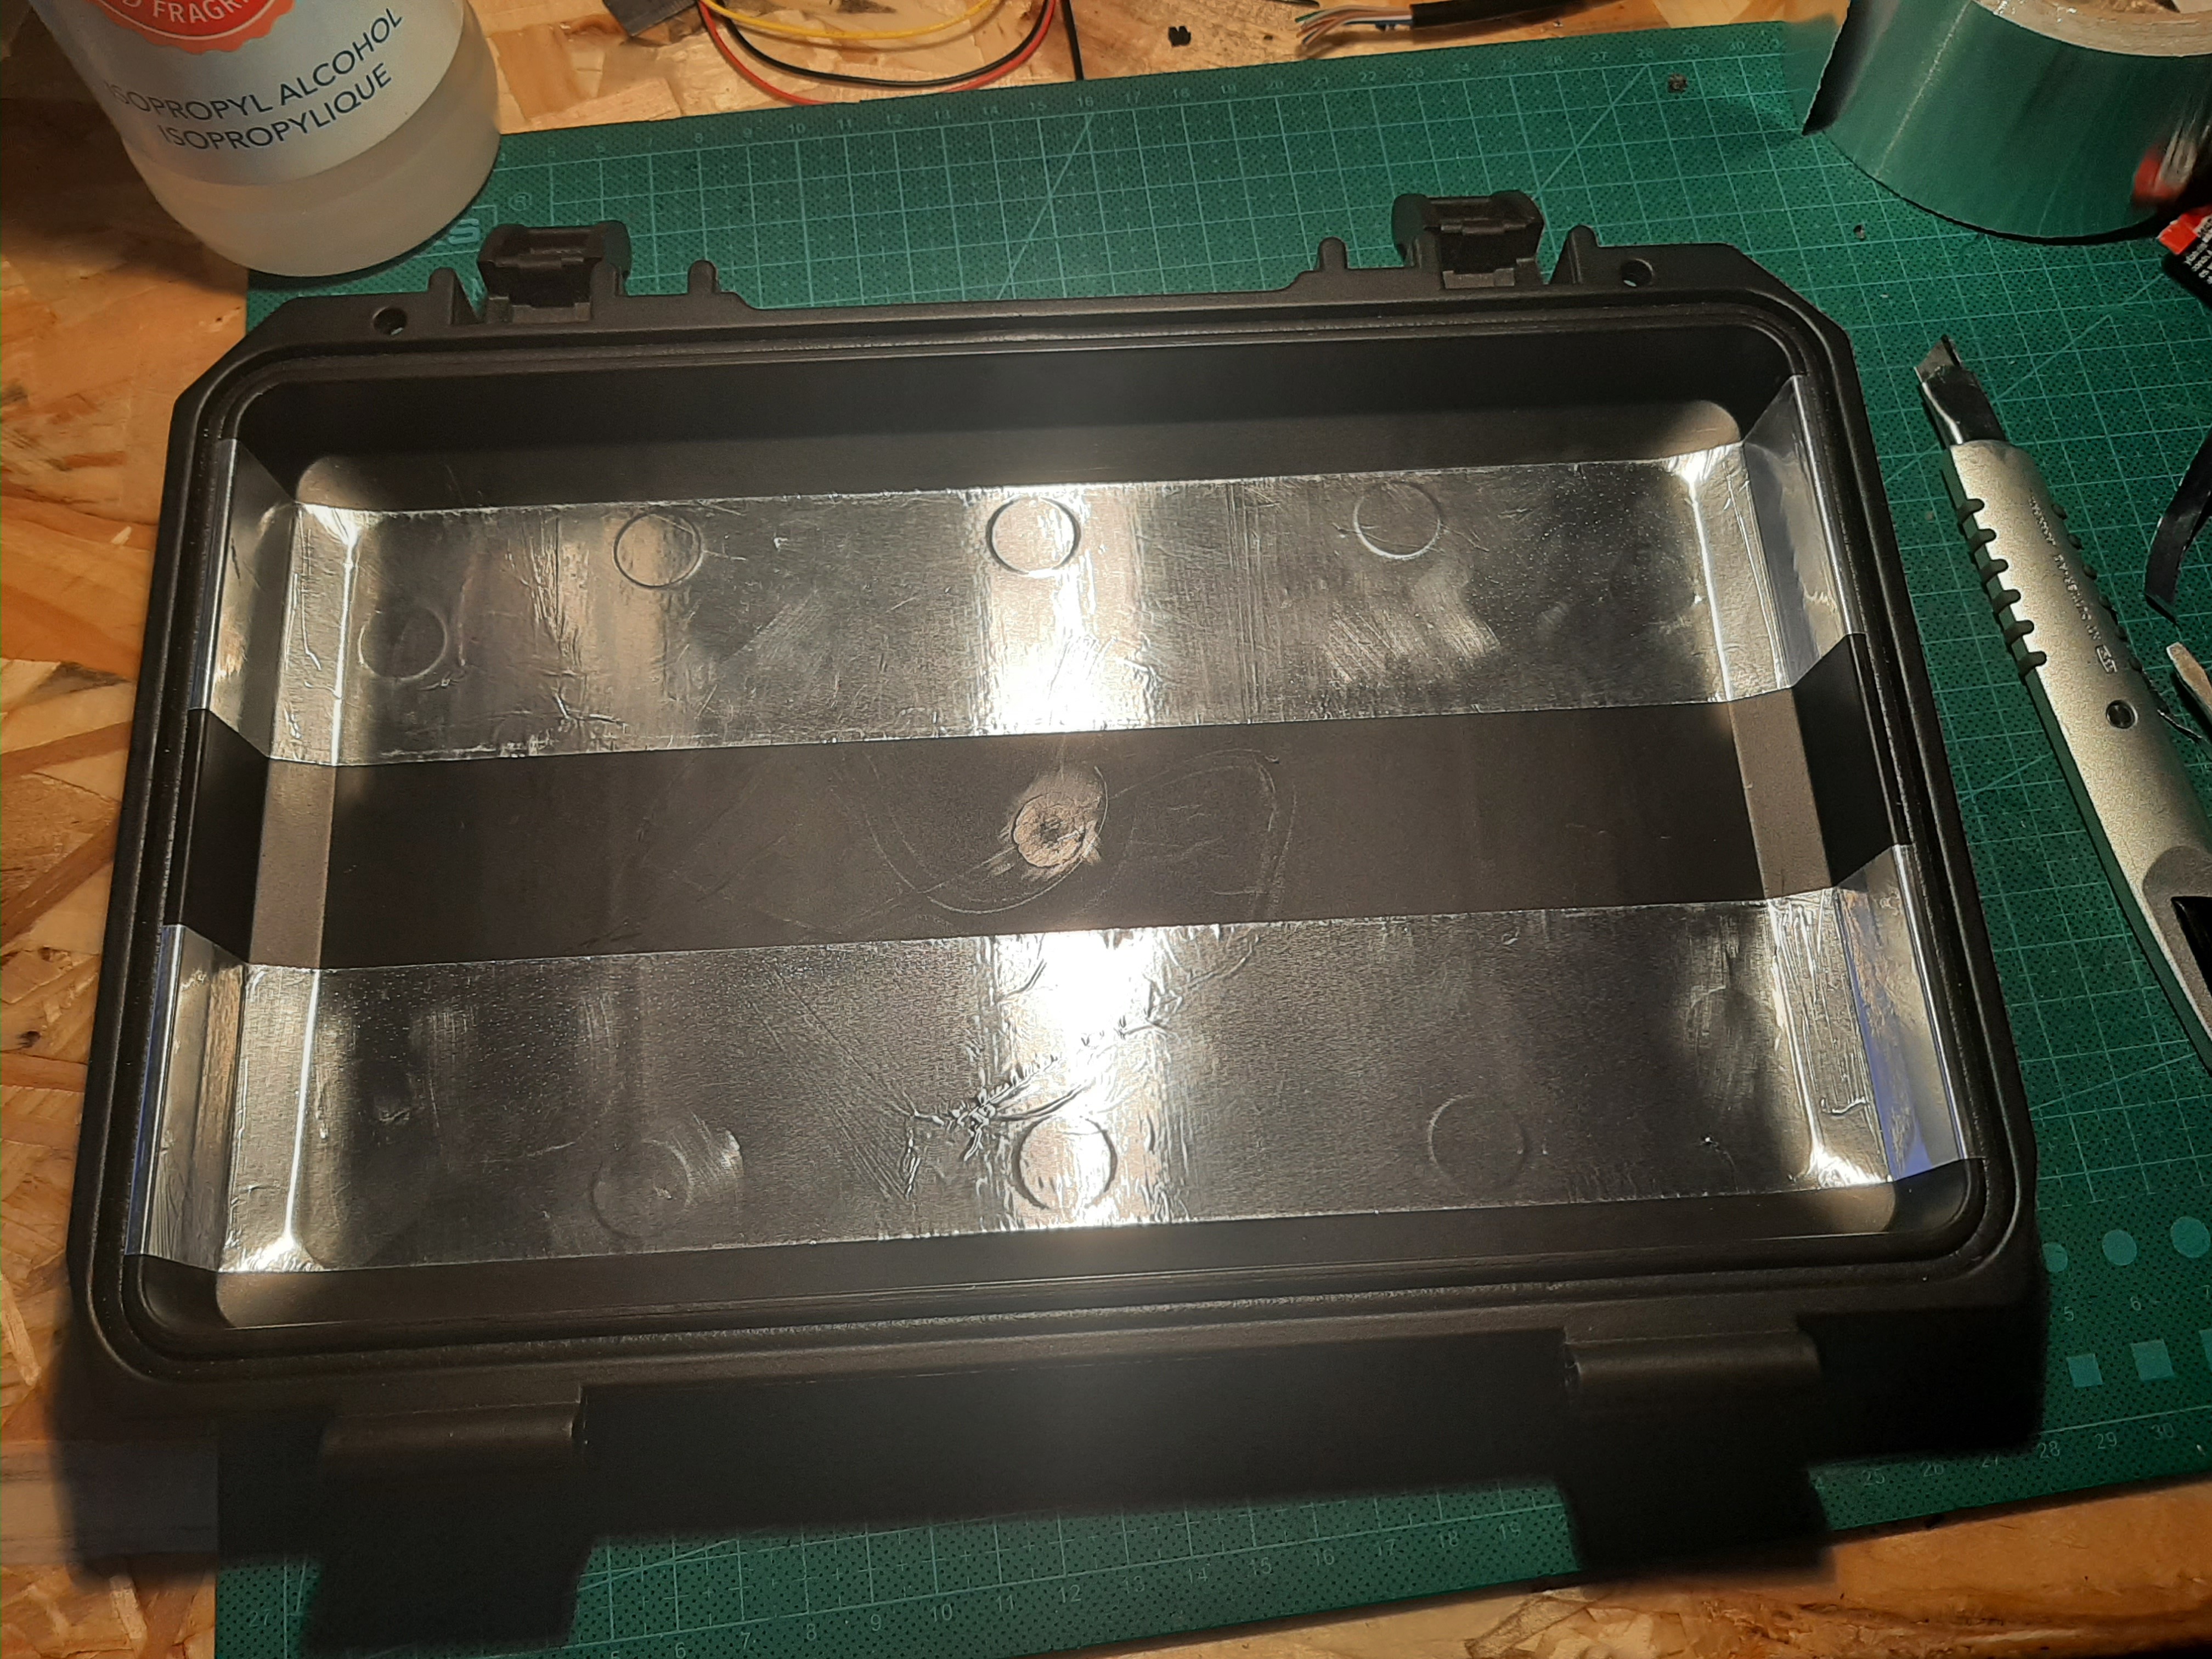
Make both sides.
![]()
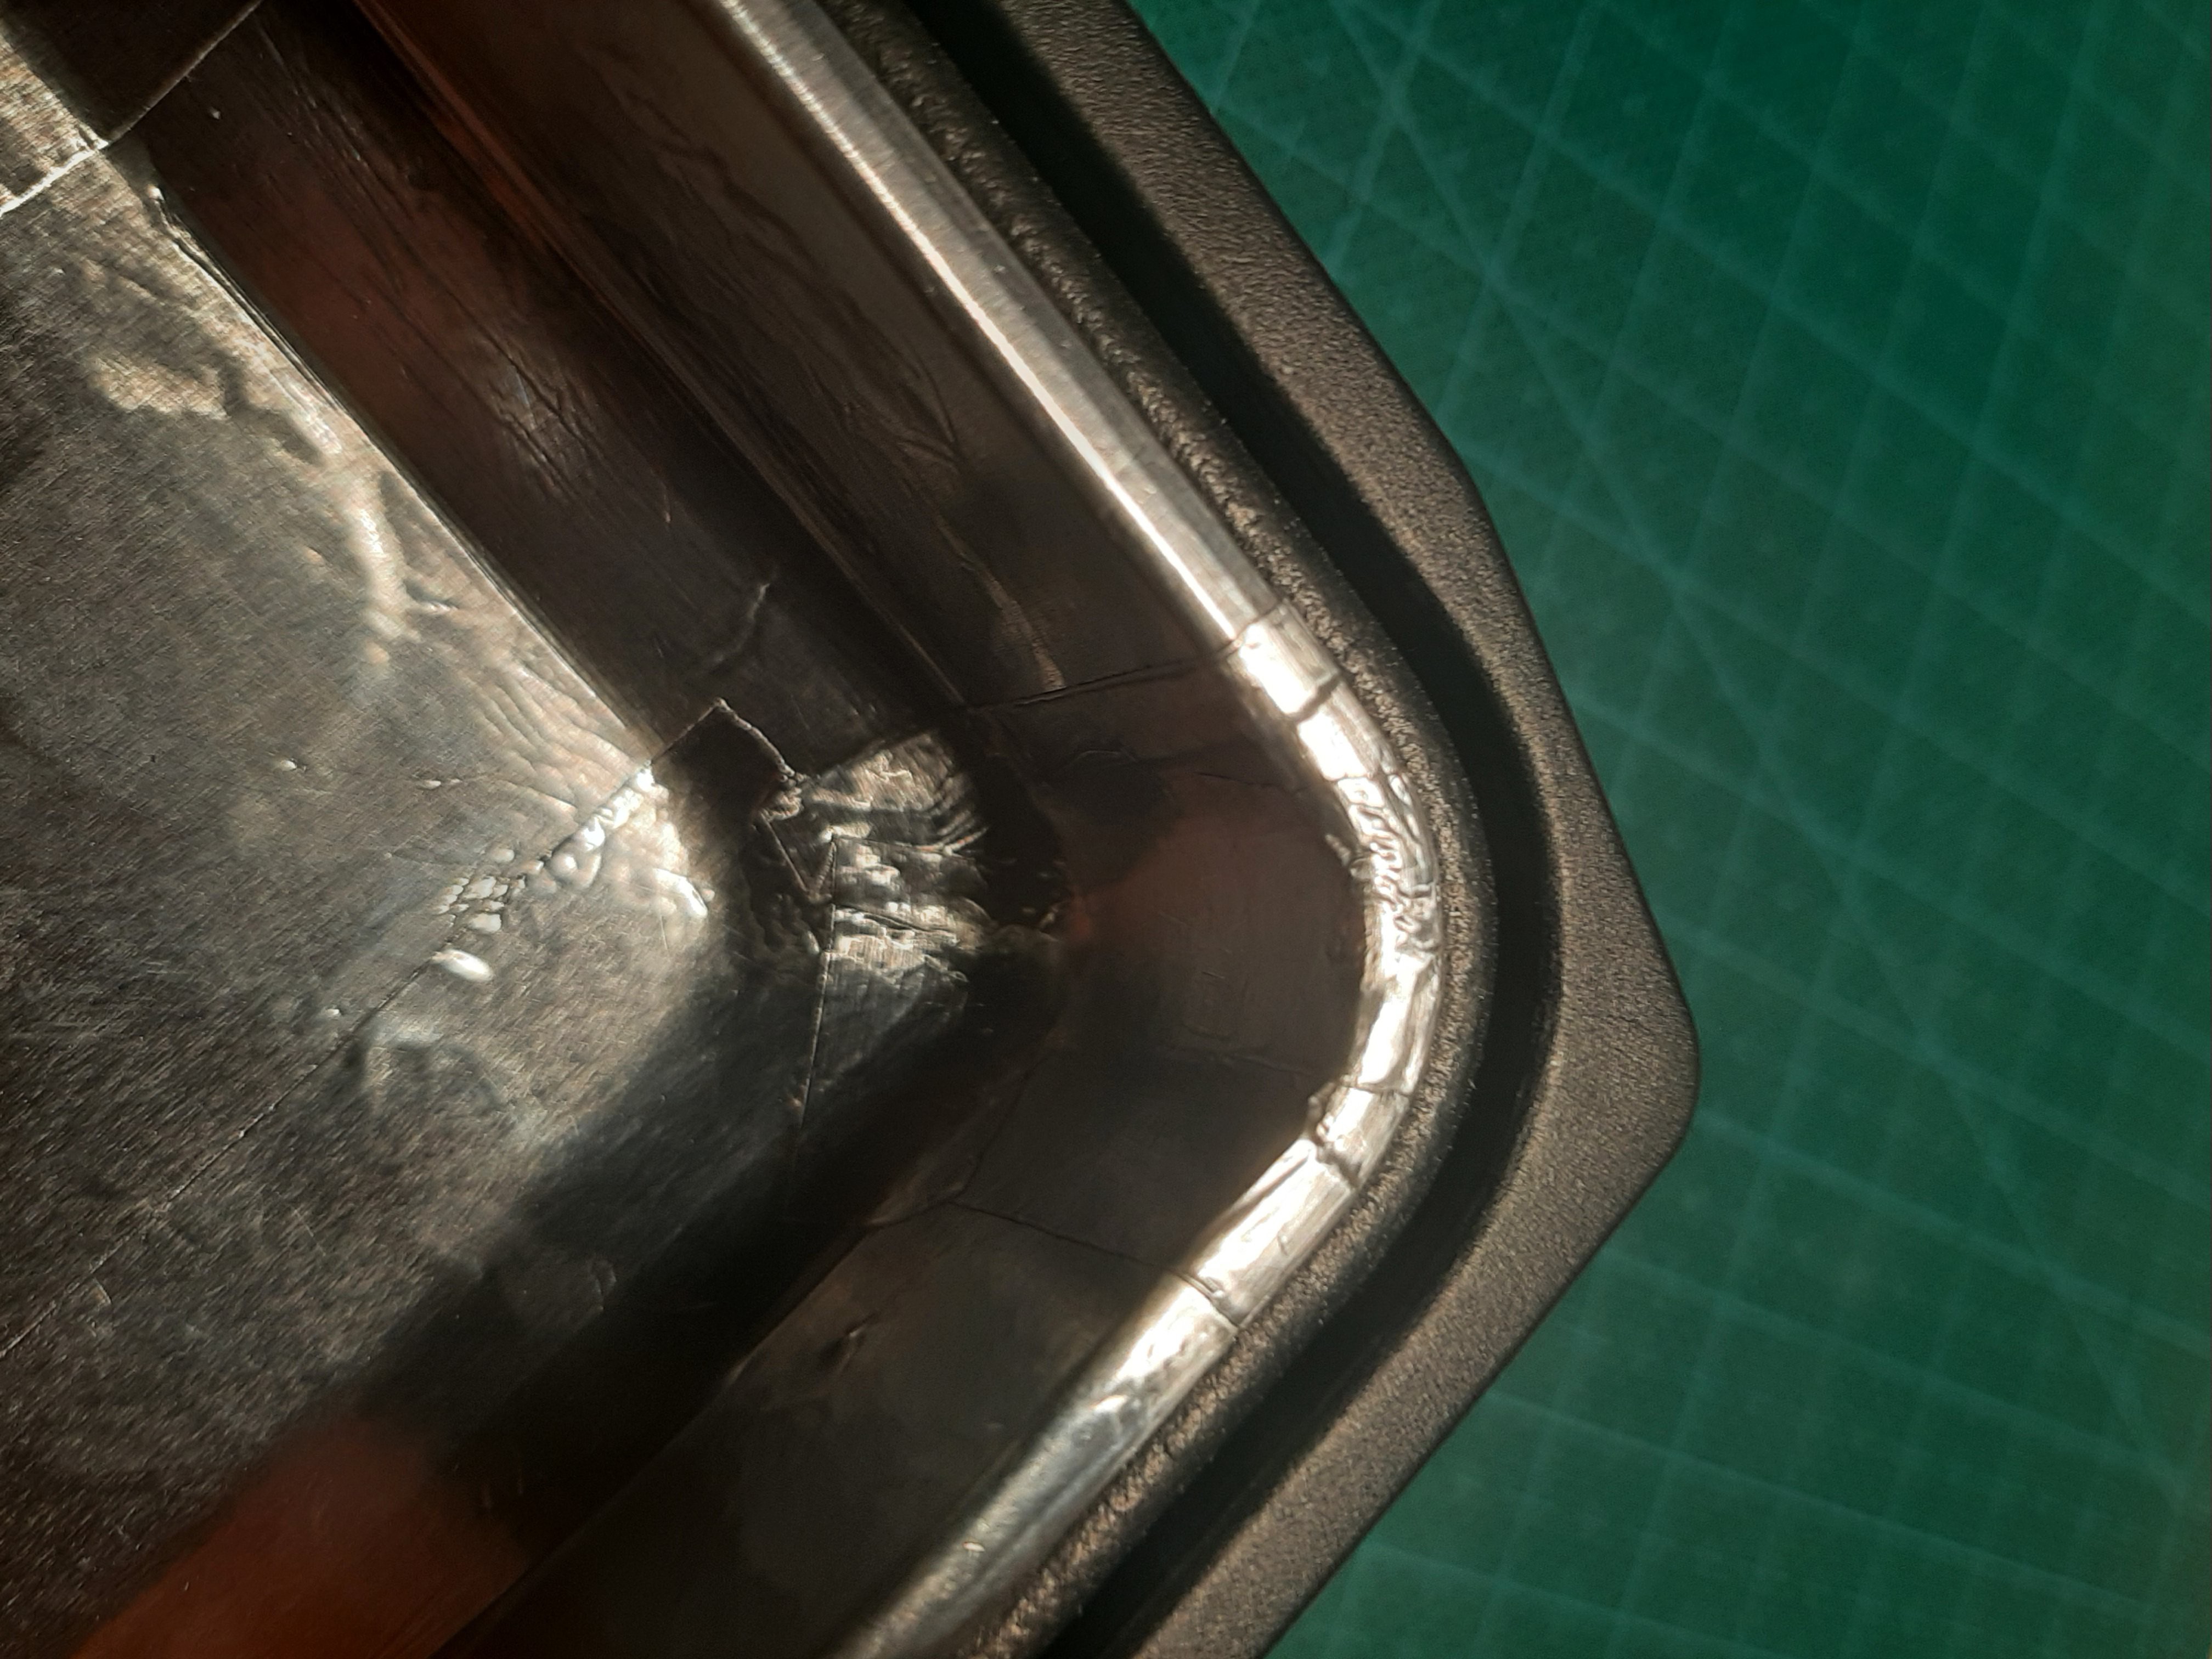
And do nice corners ;)
![]()
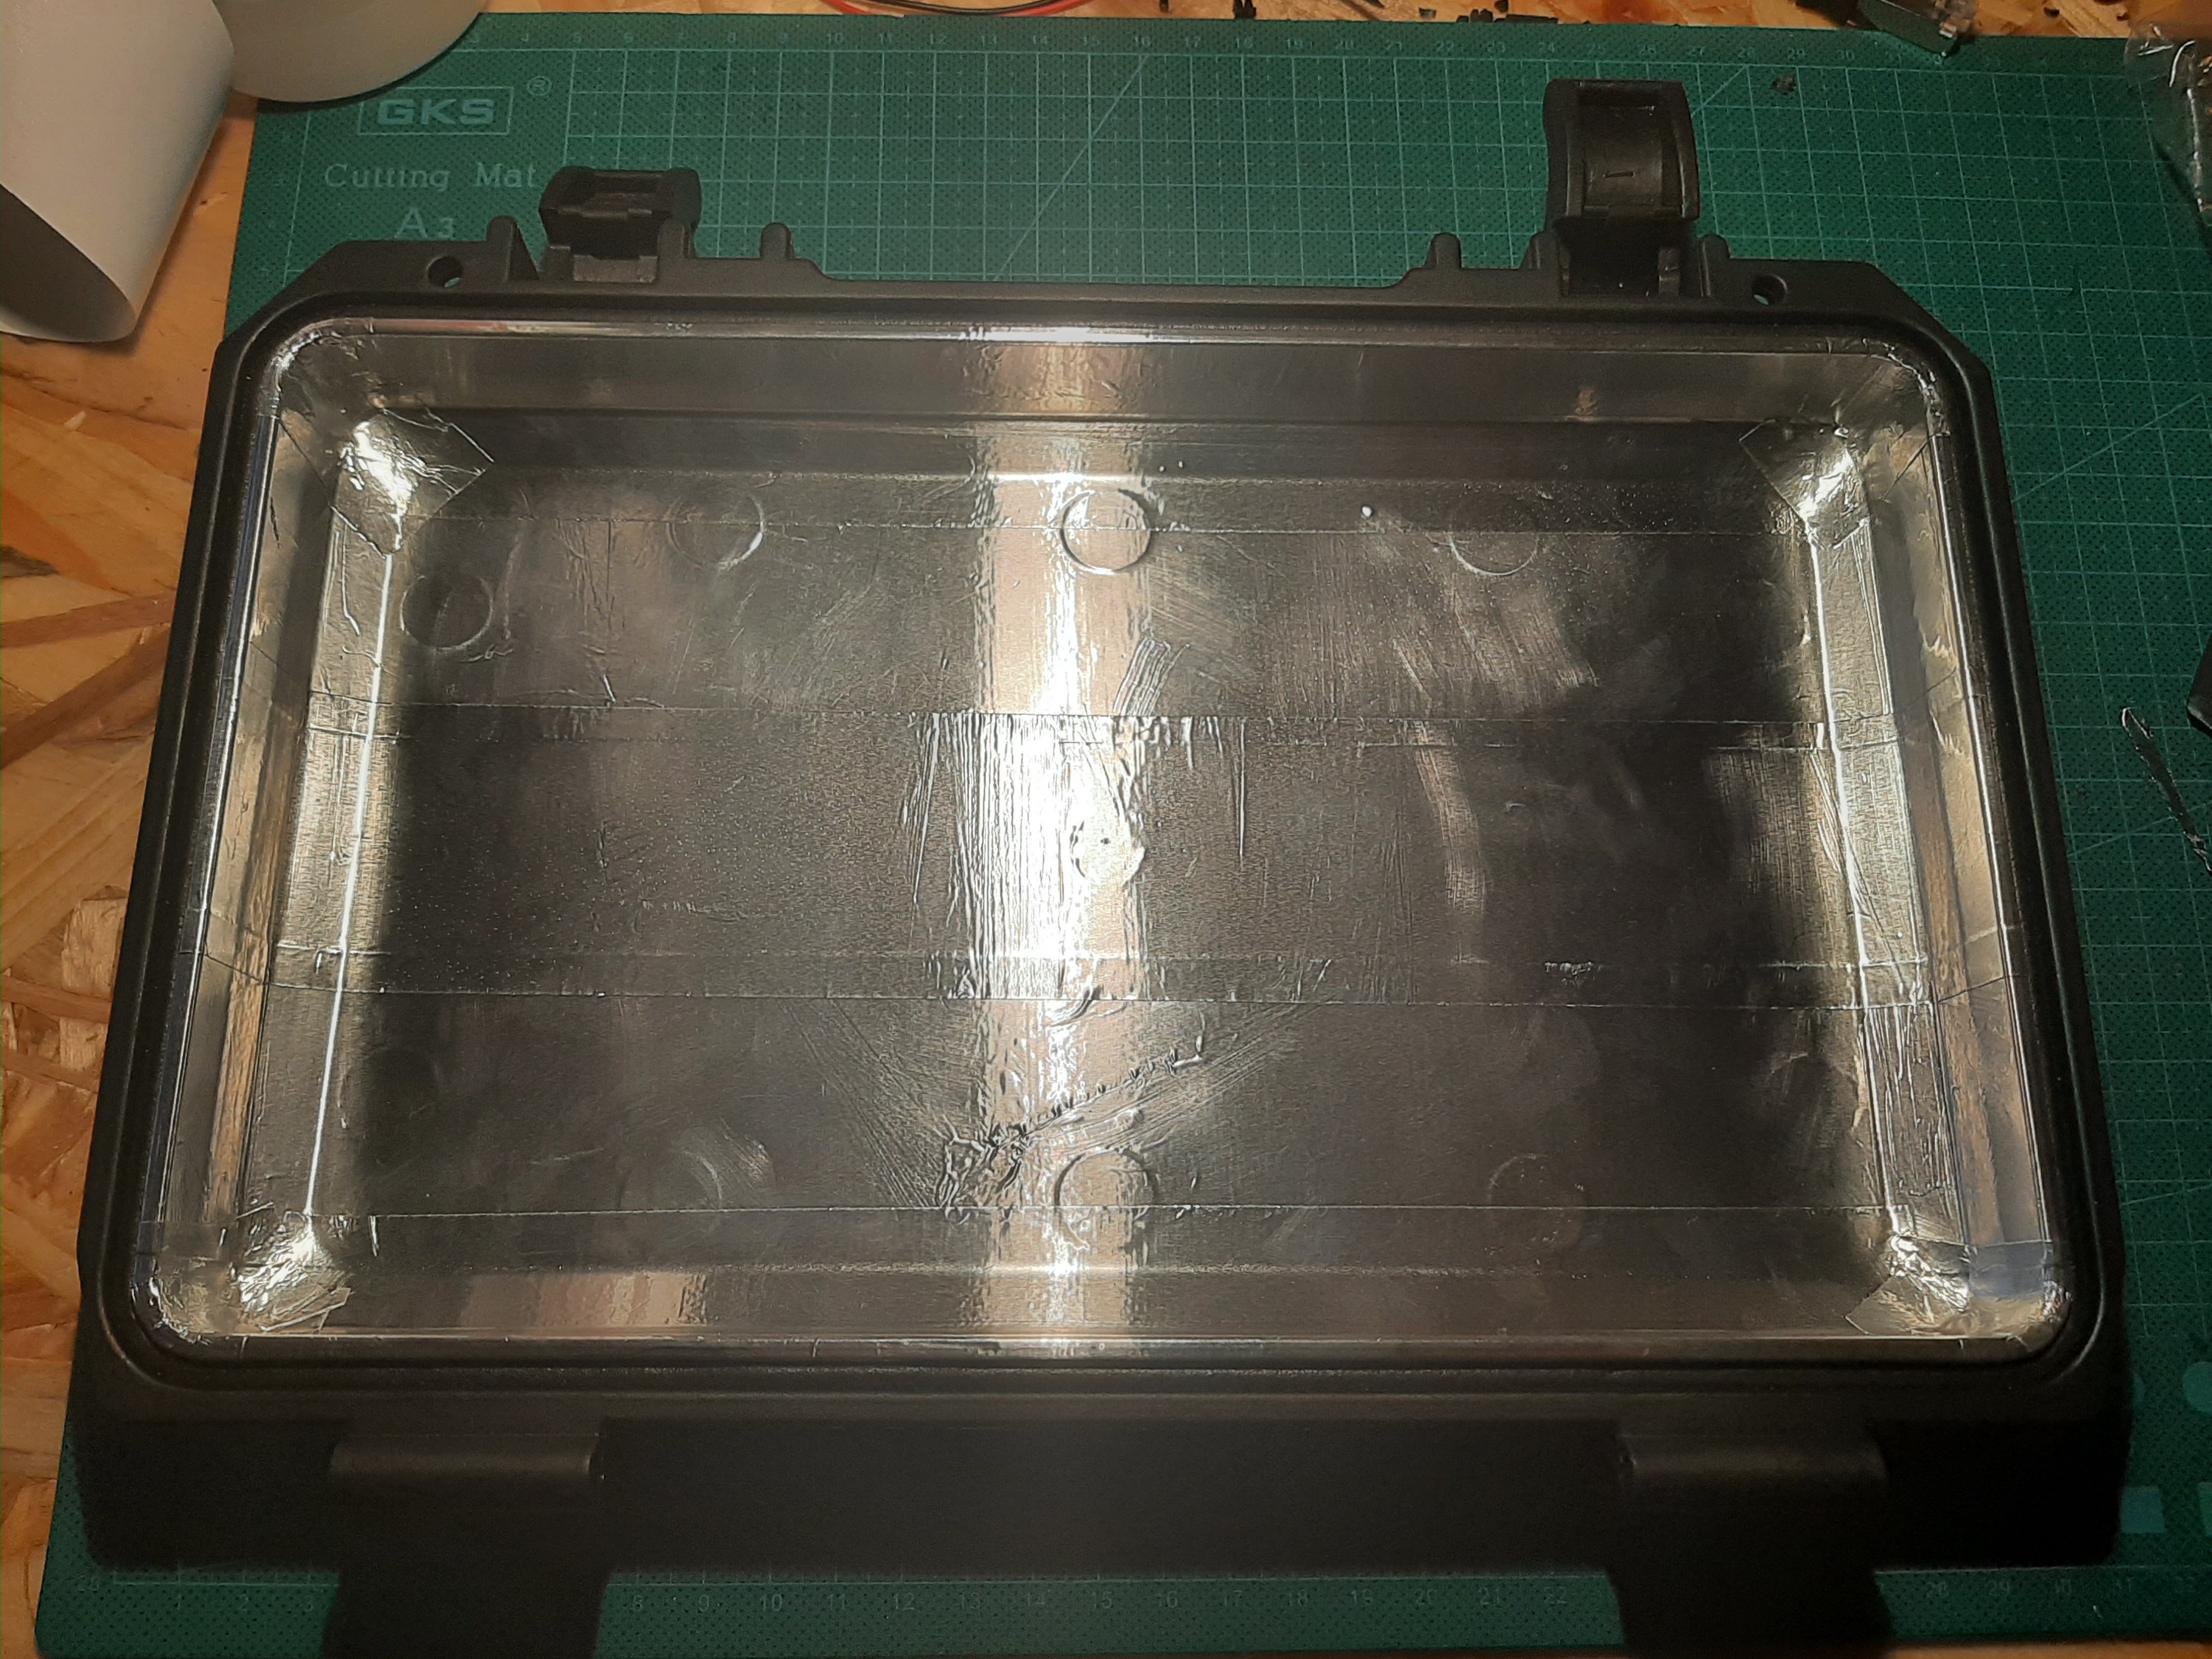
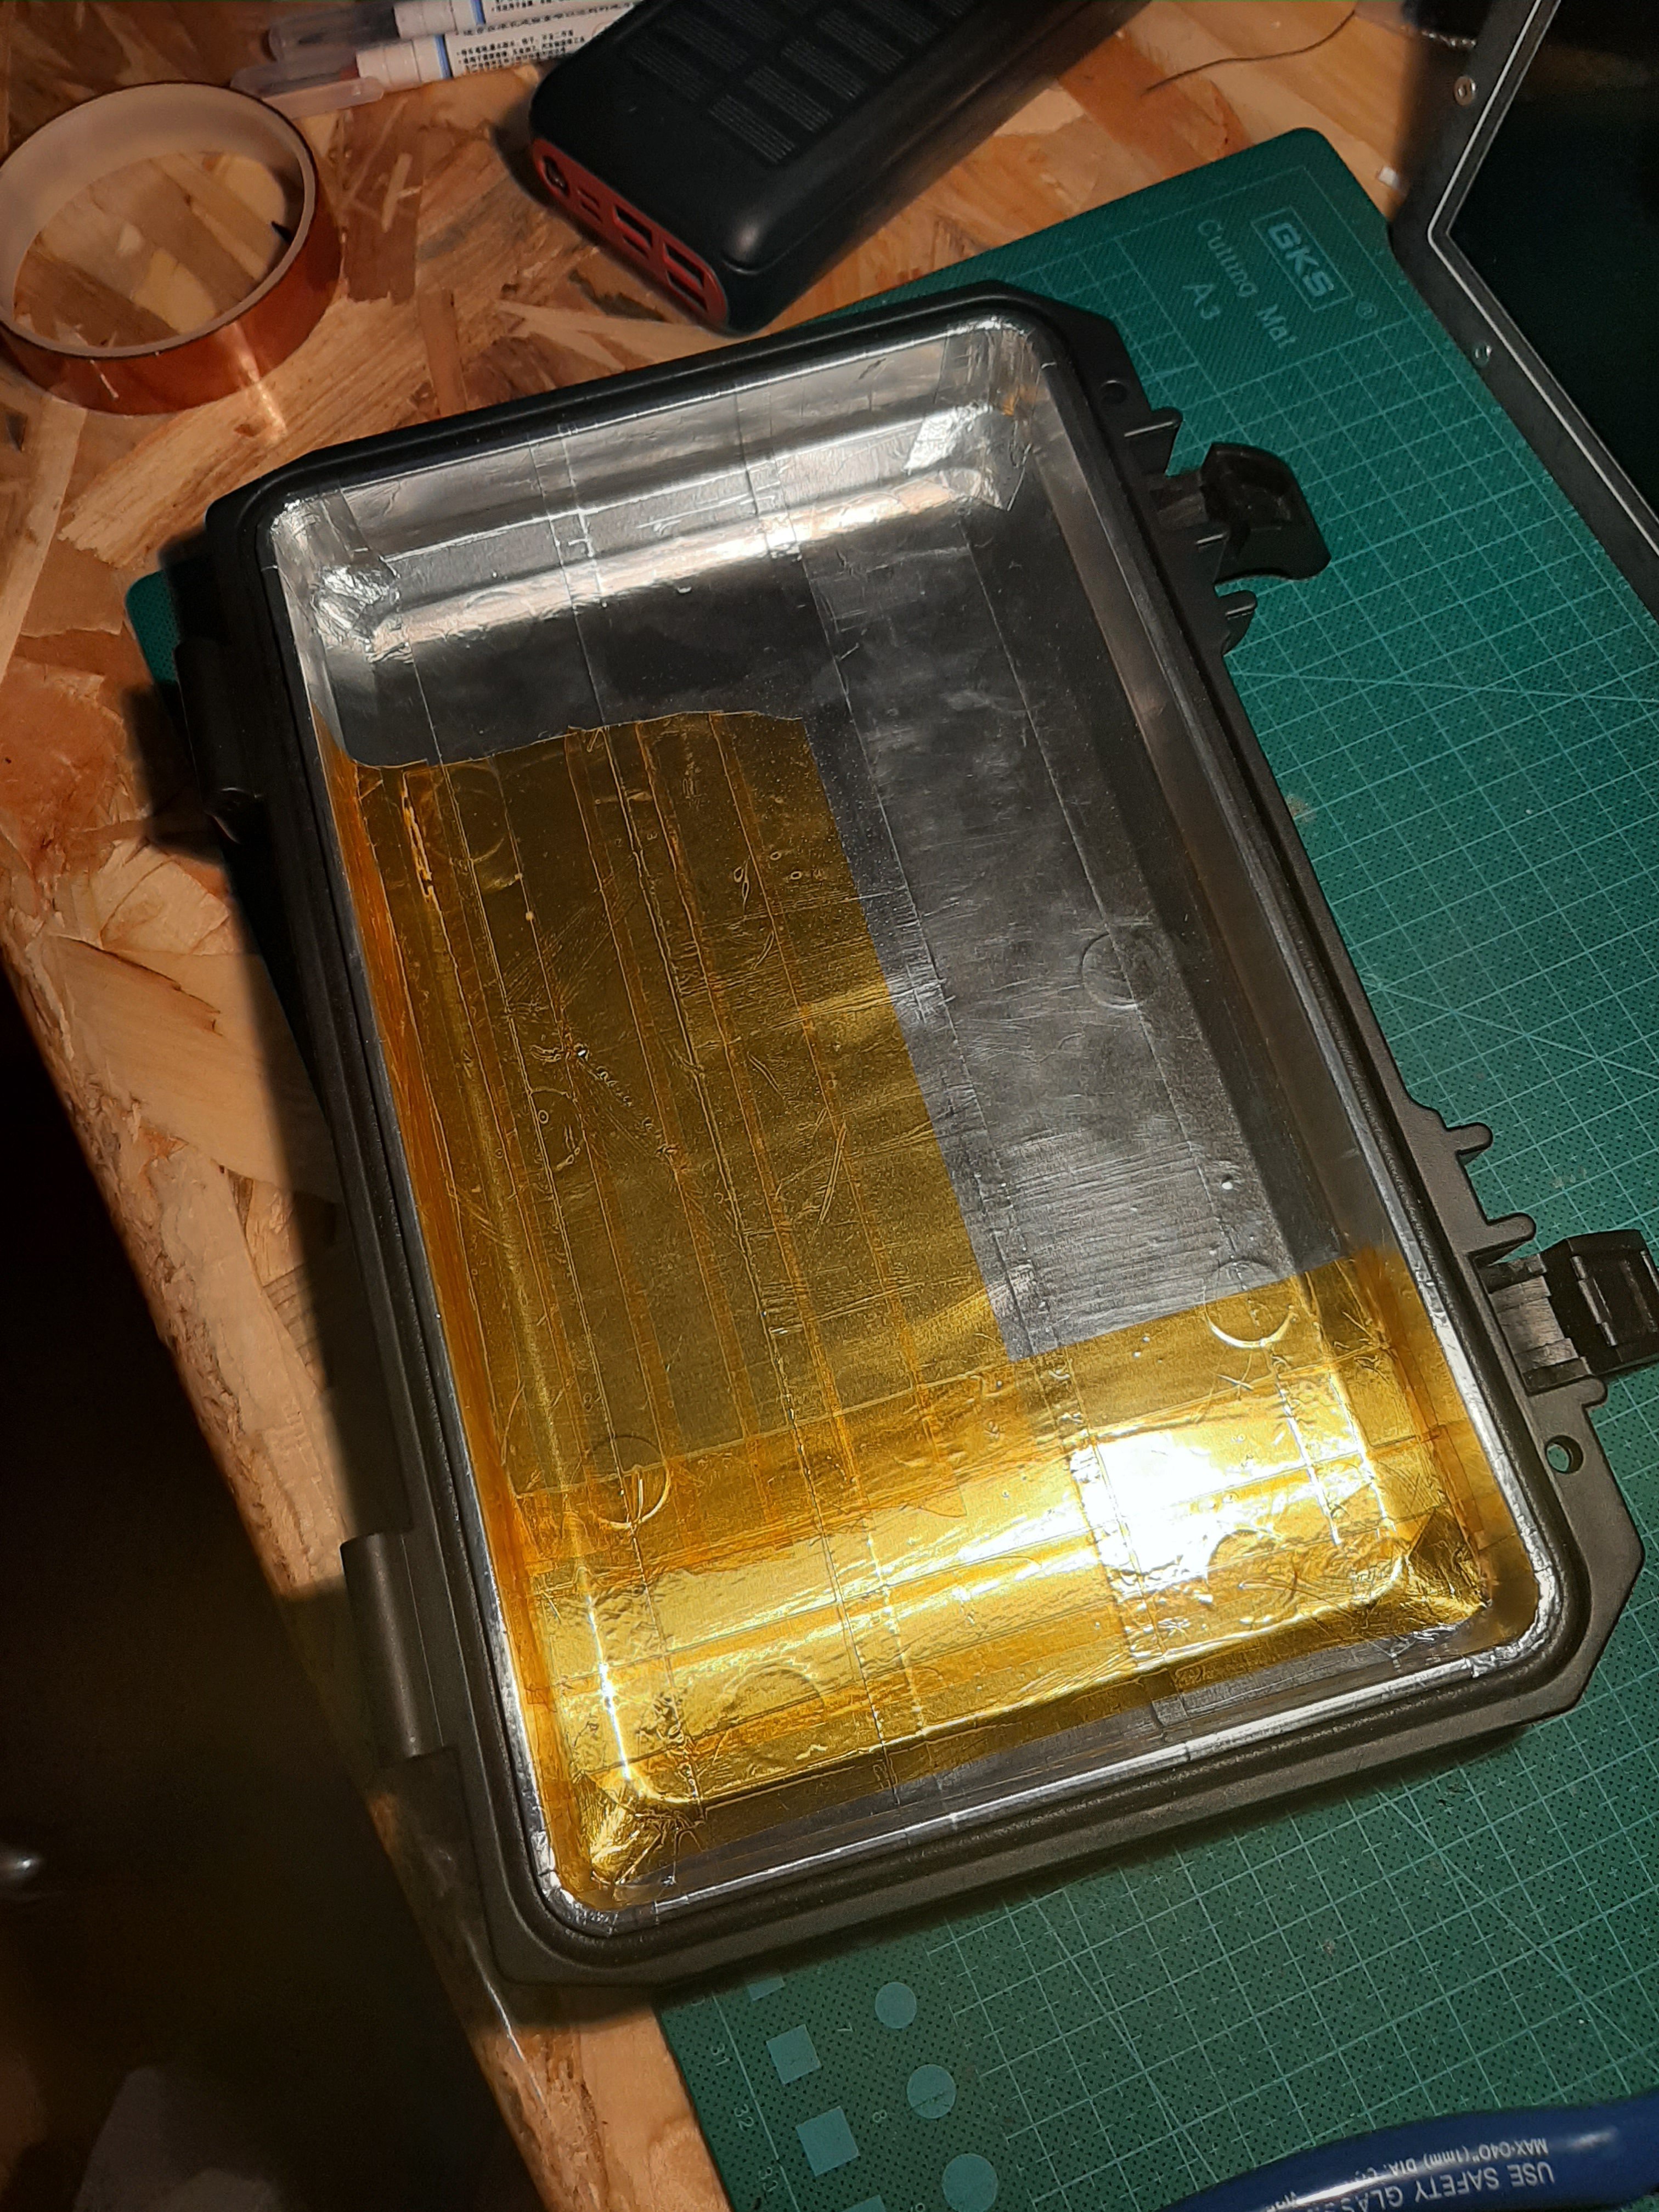
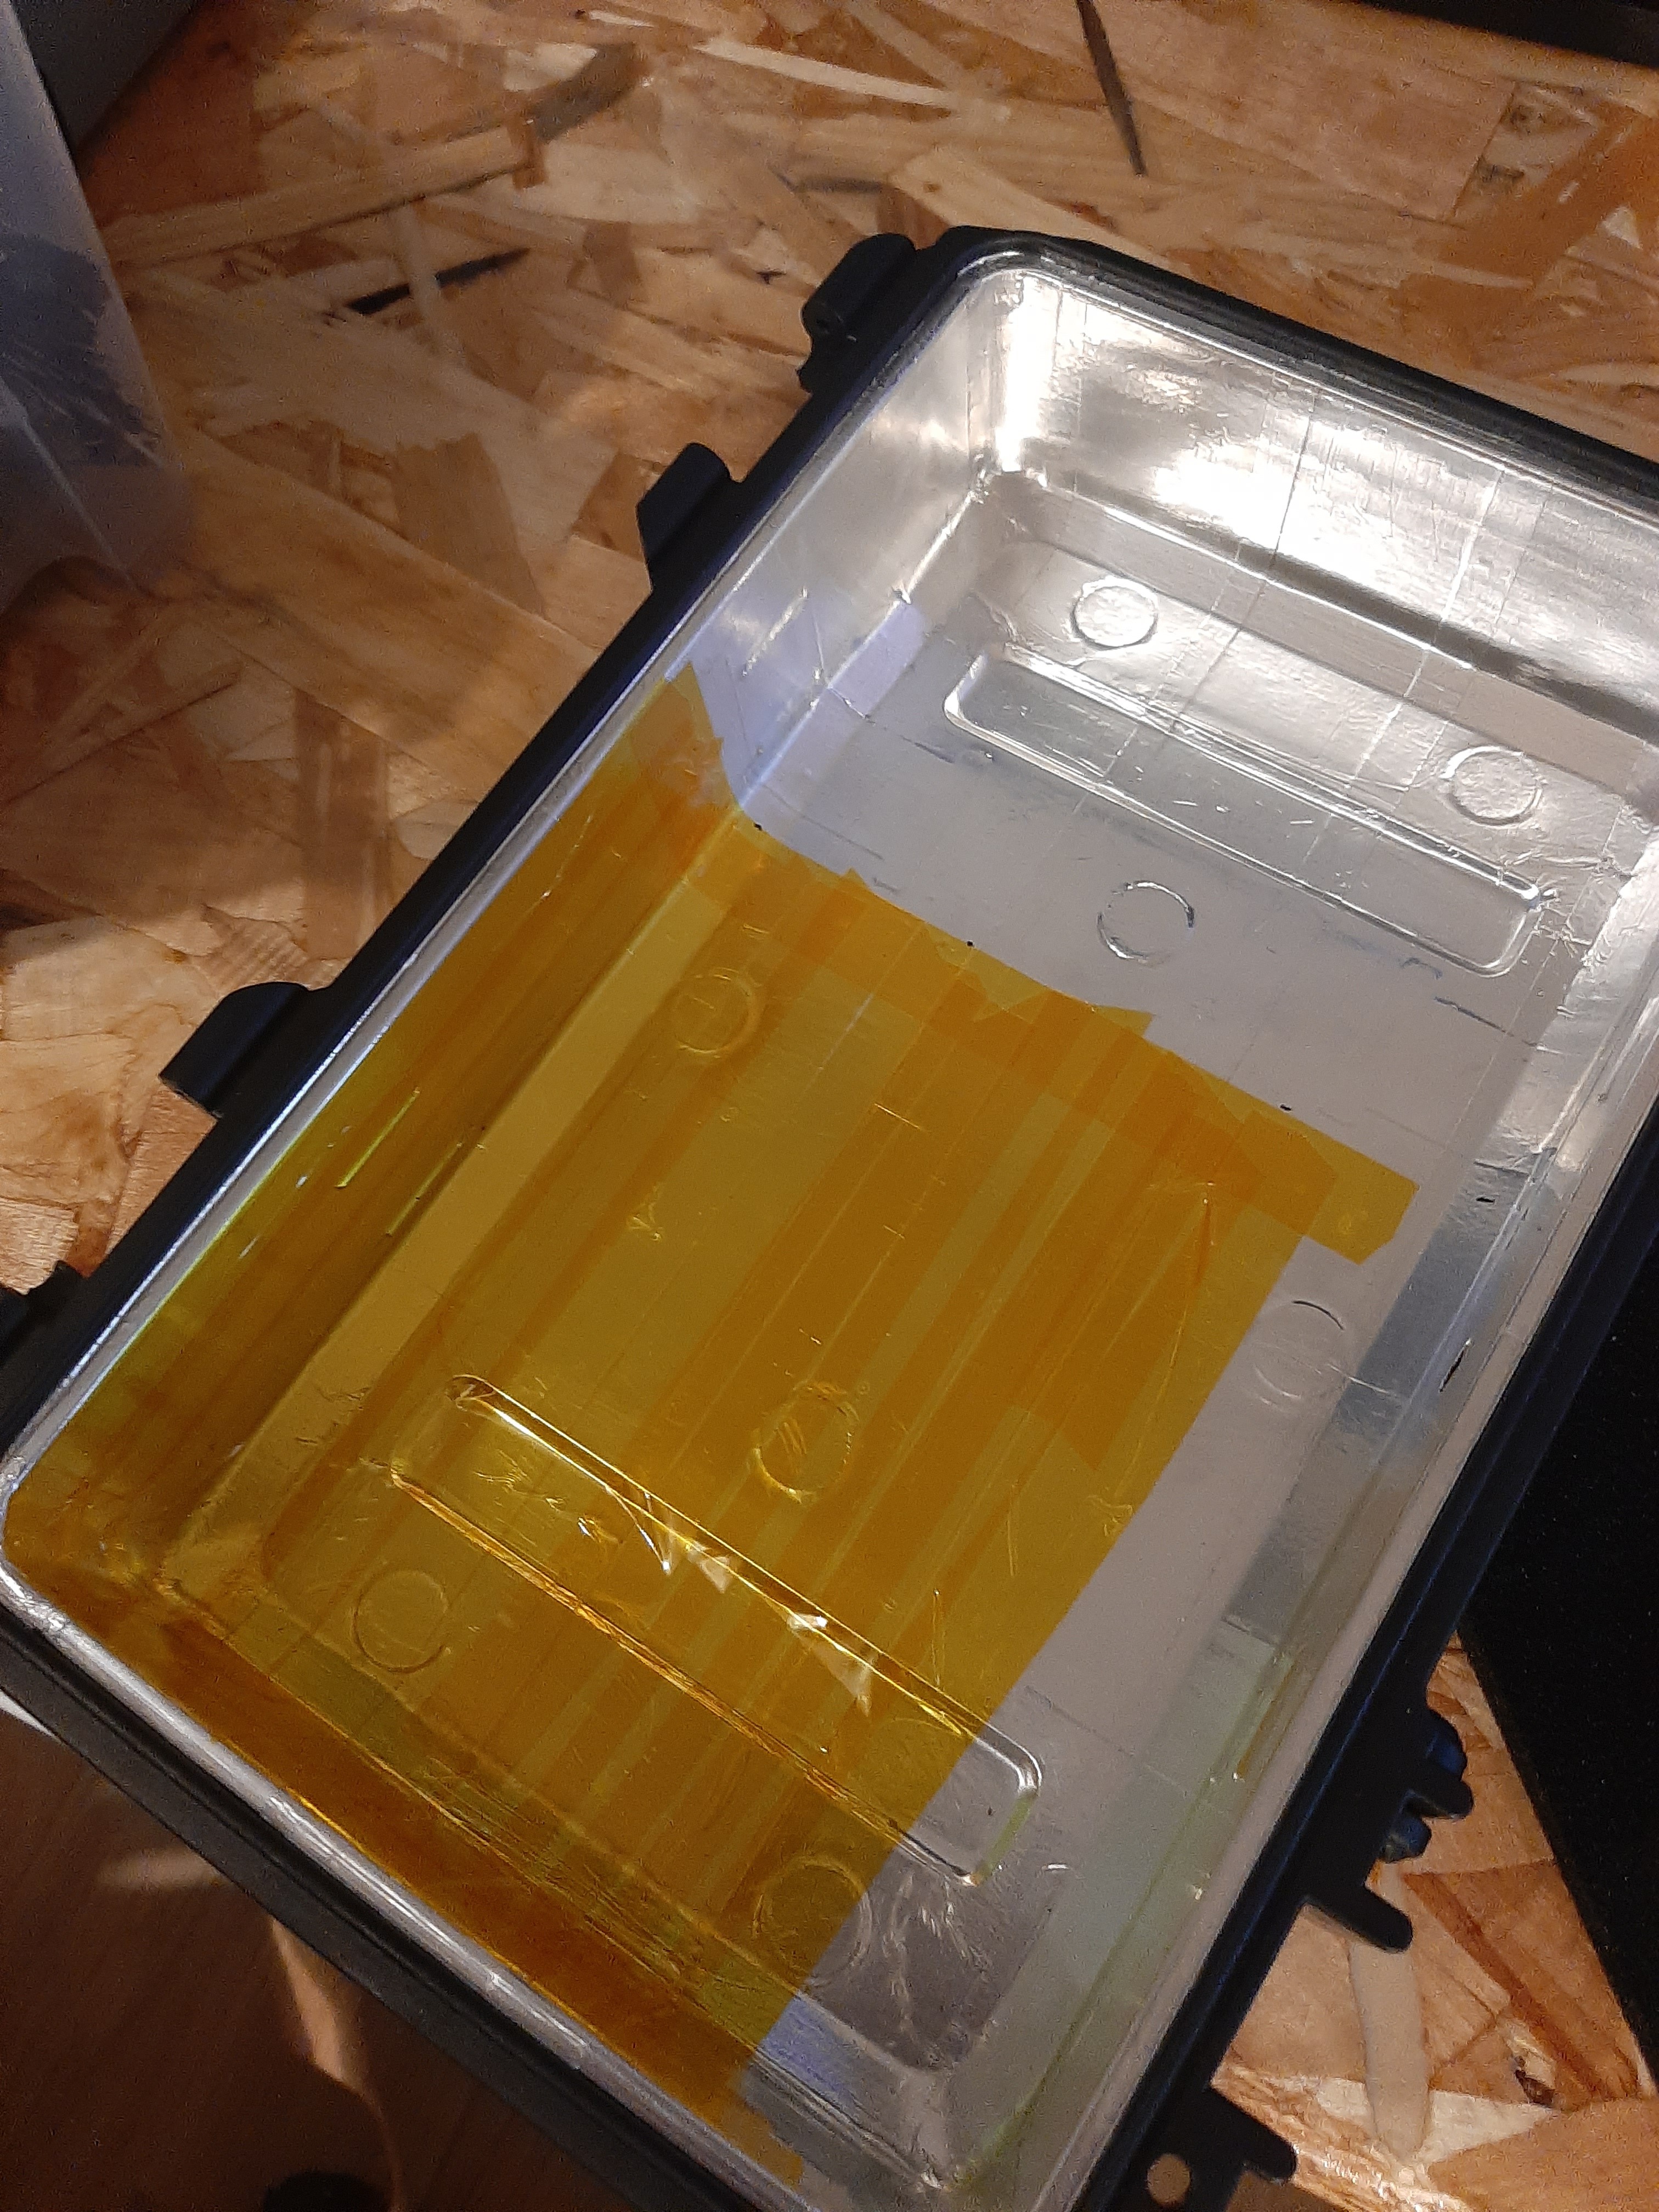
Final touch with some polyamide tape to avoid short-circuits.
![]()
![]()
-
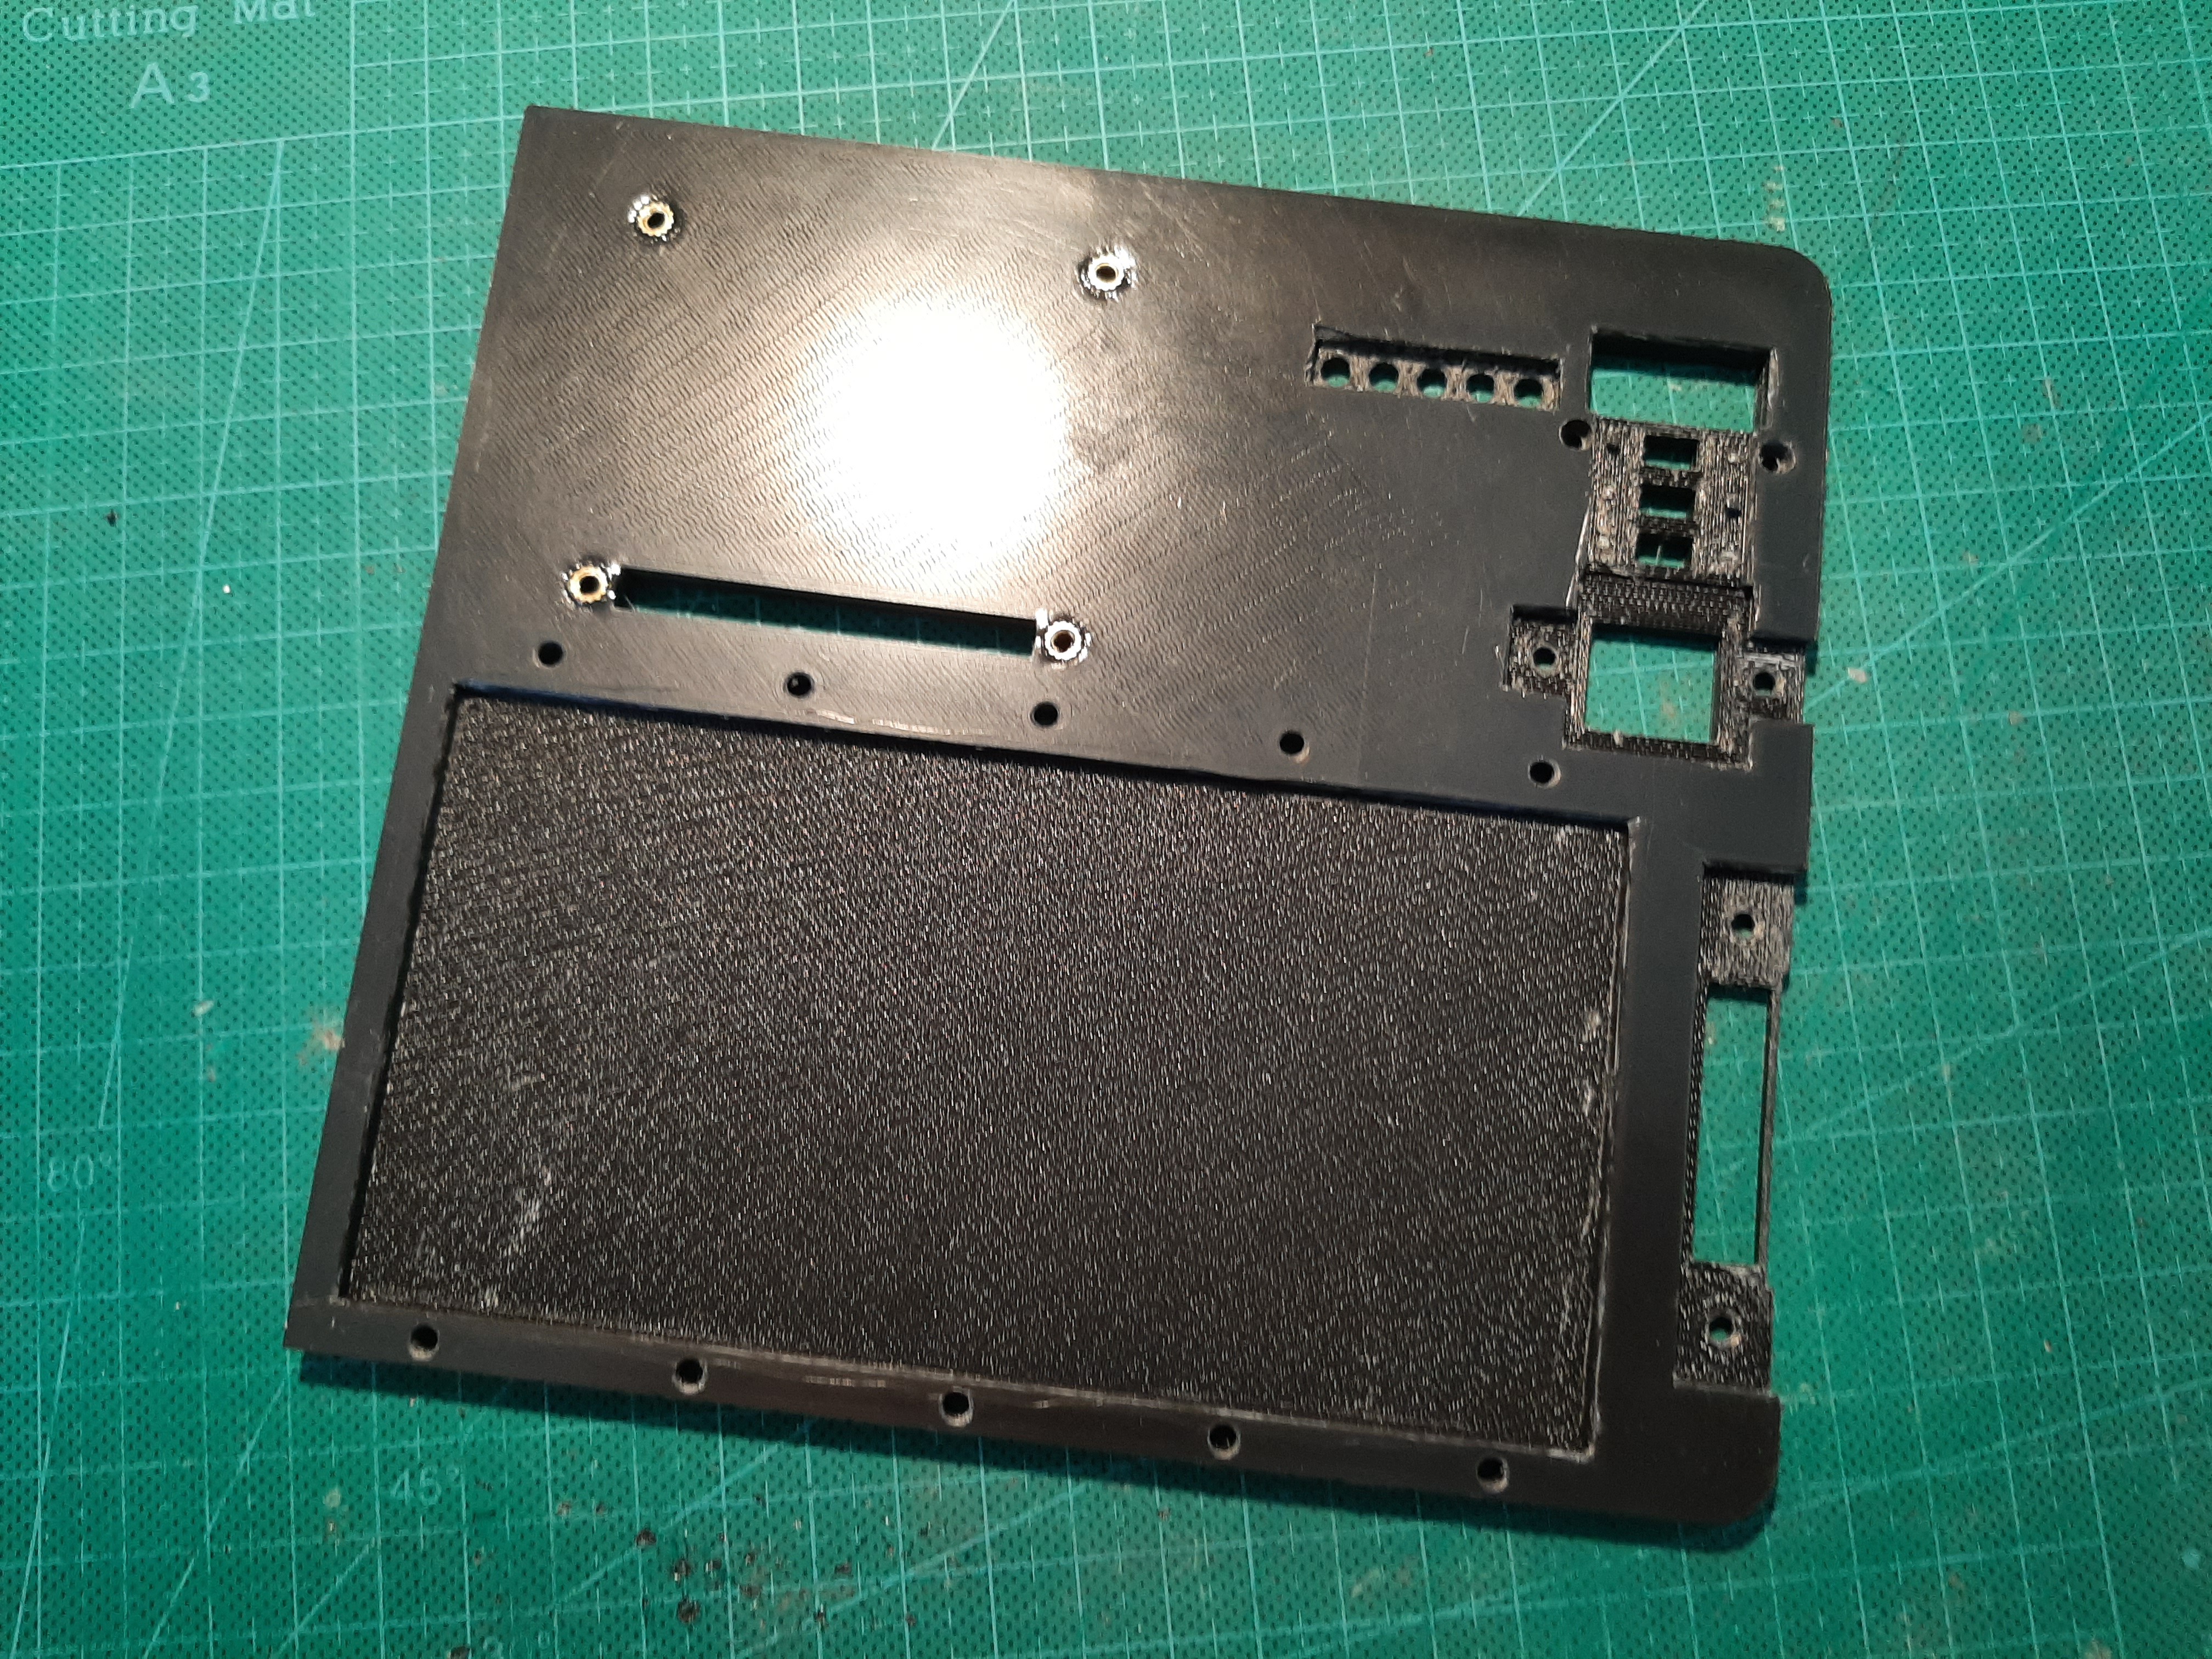
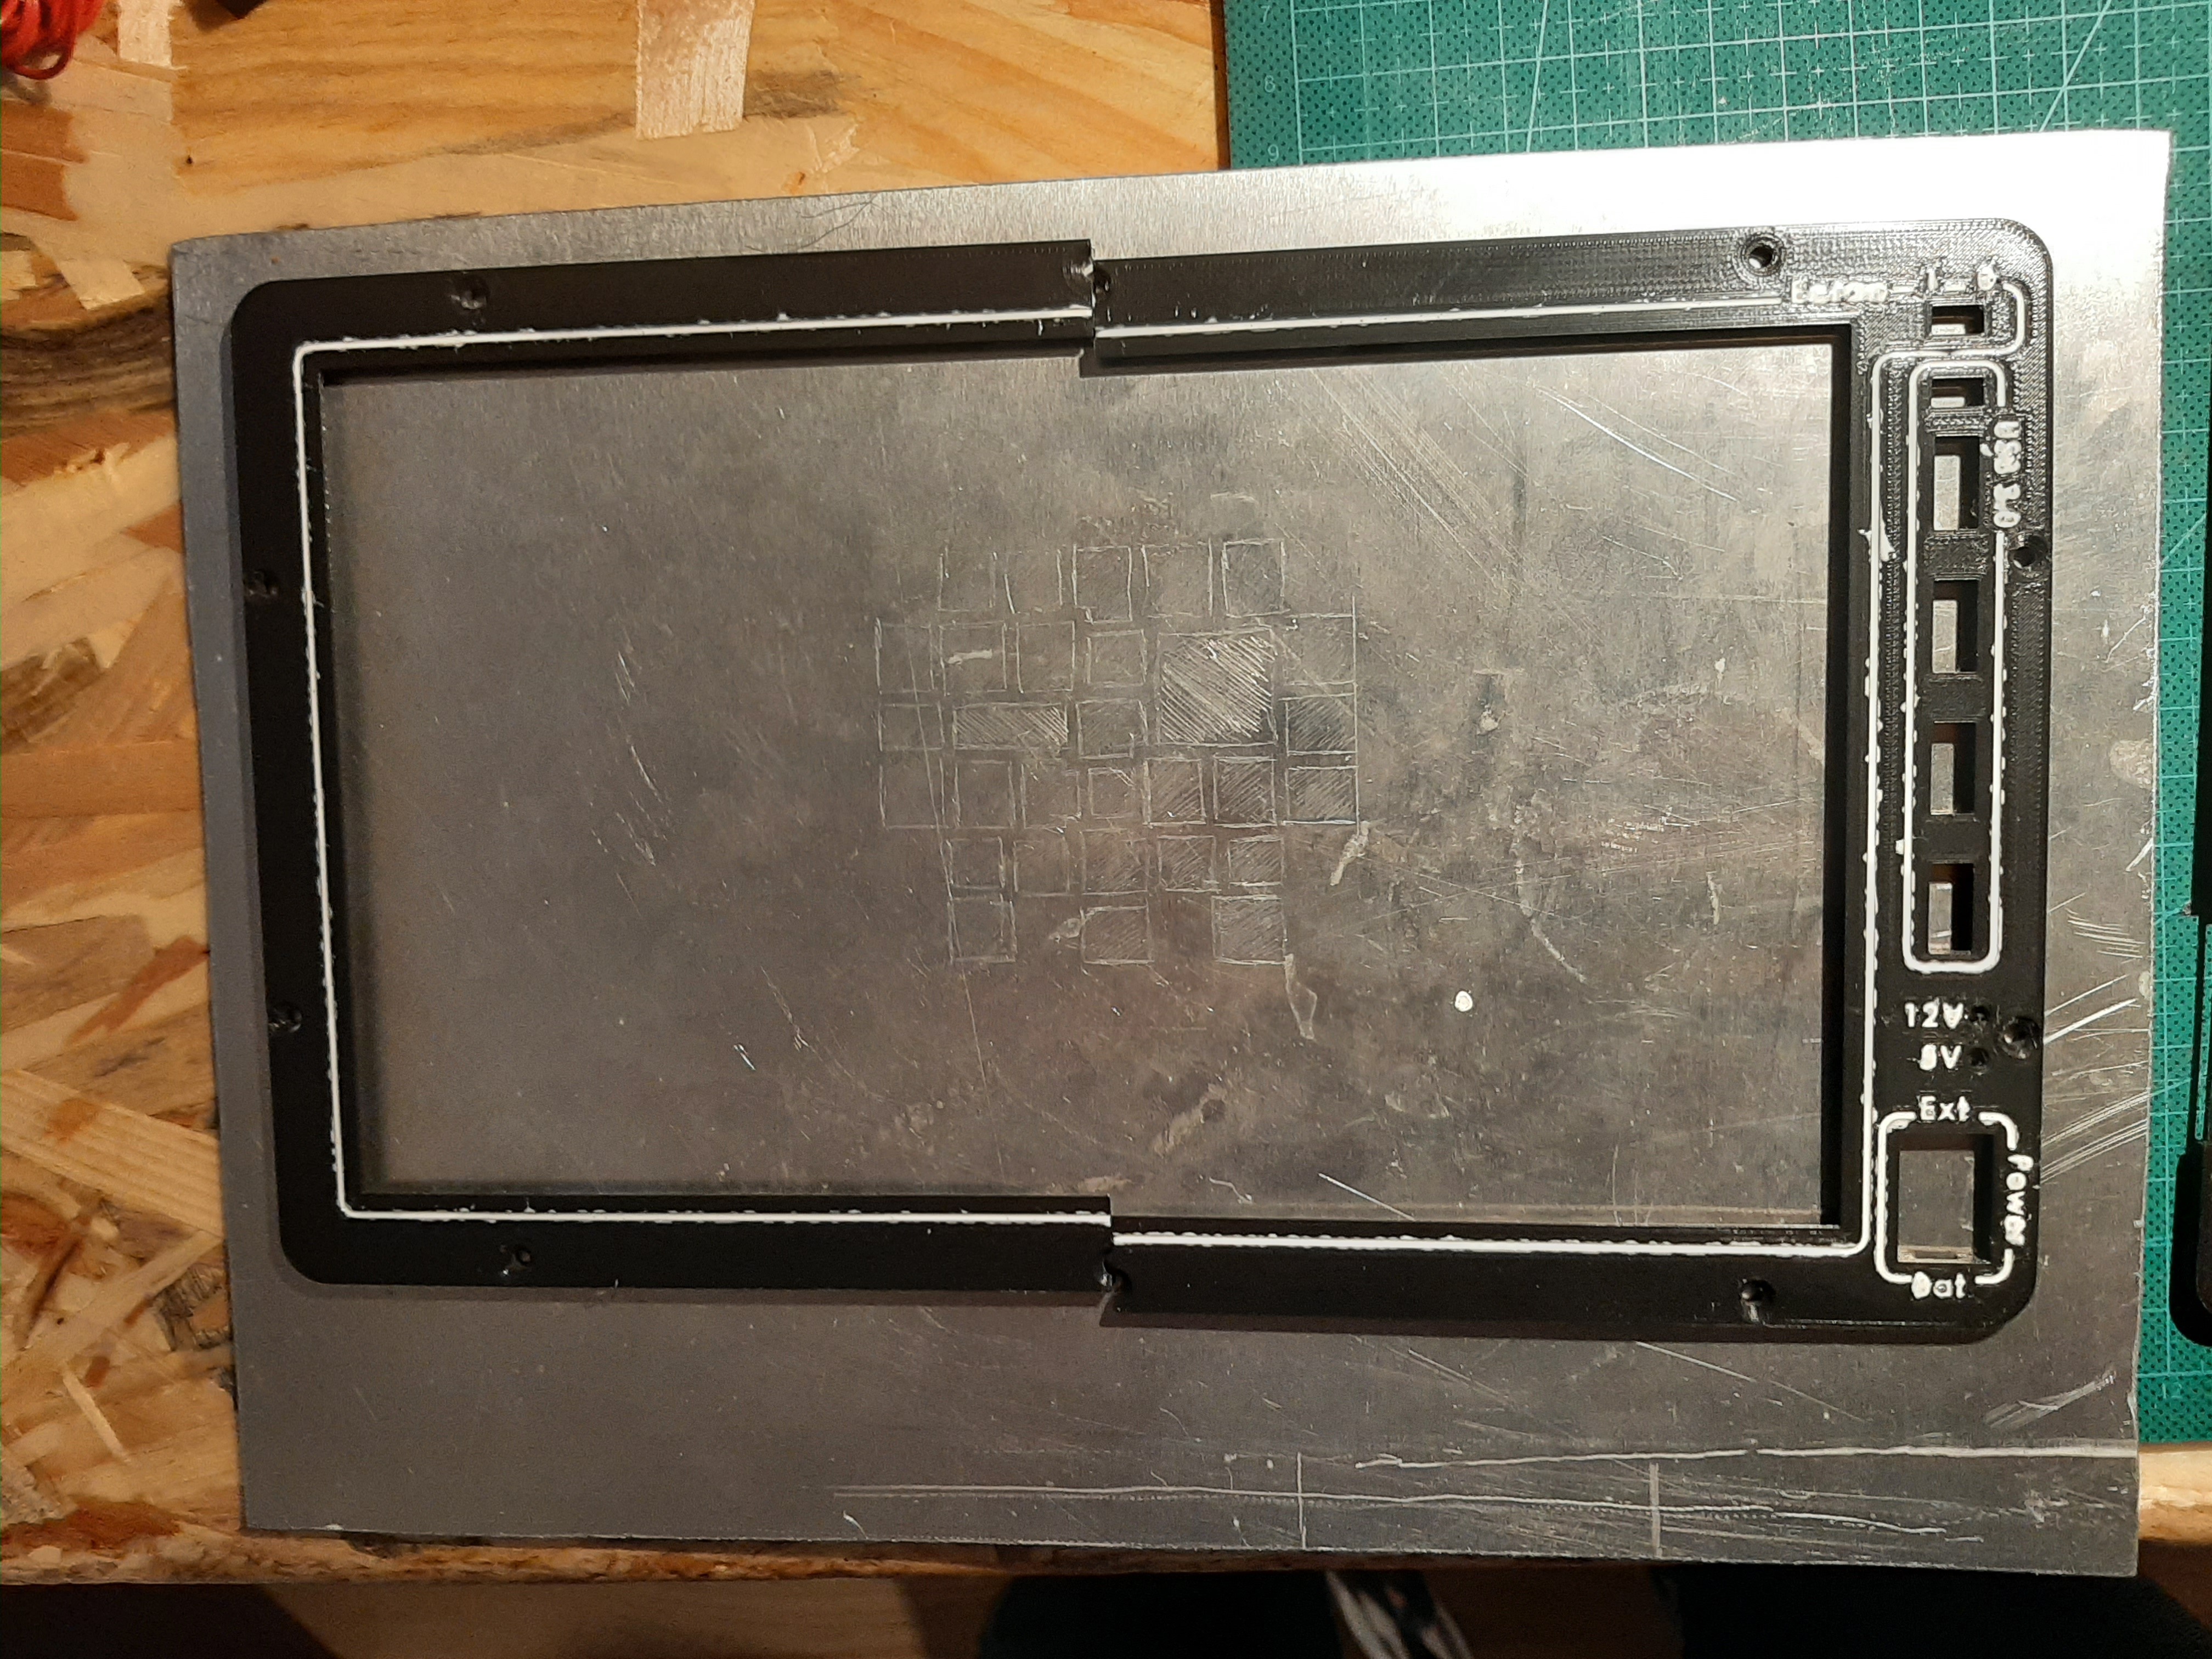
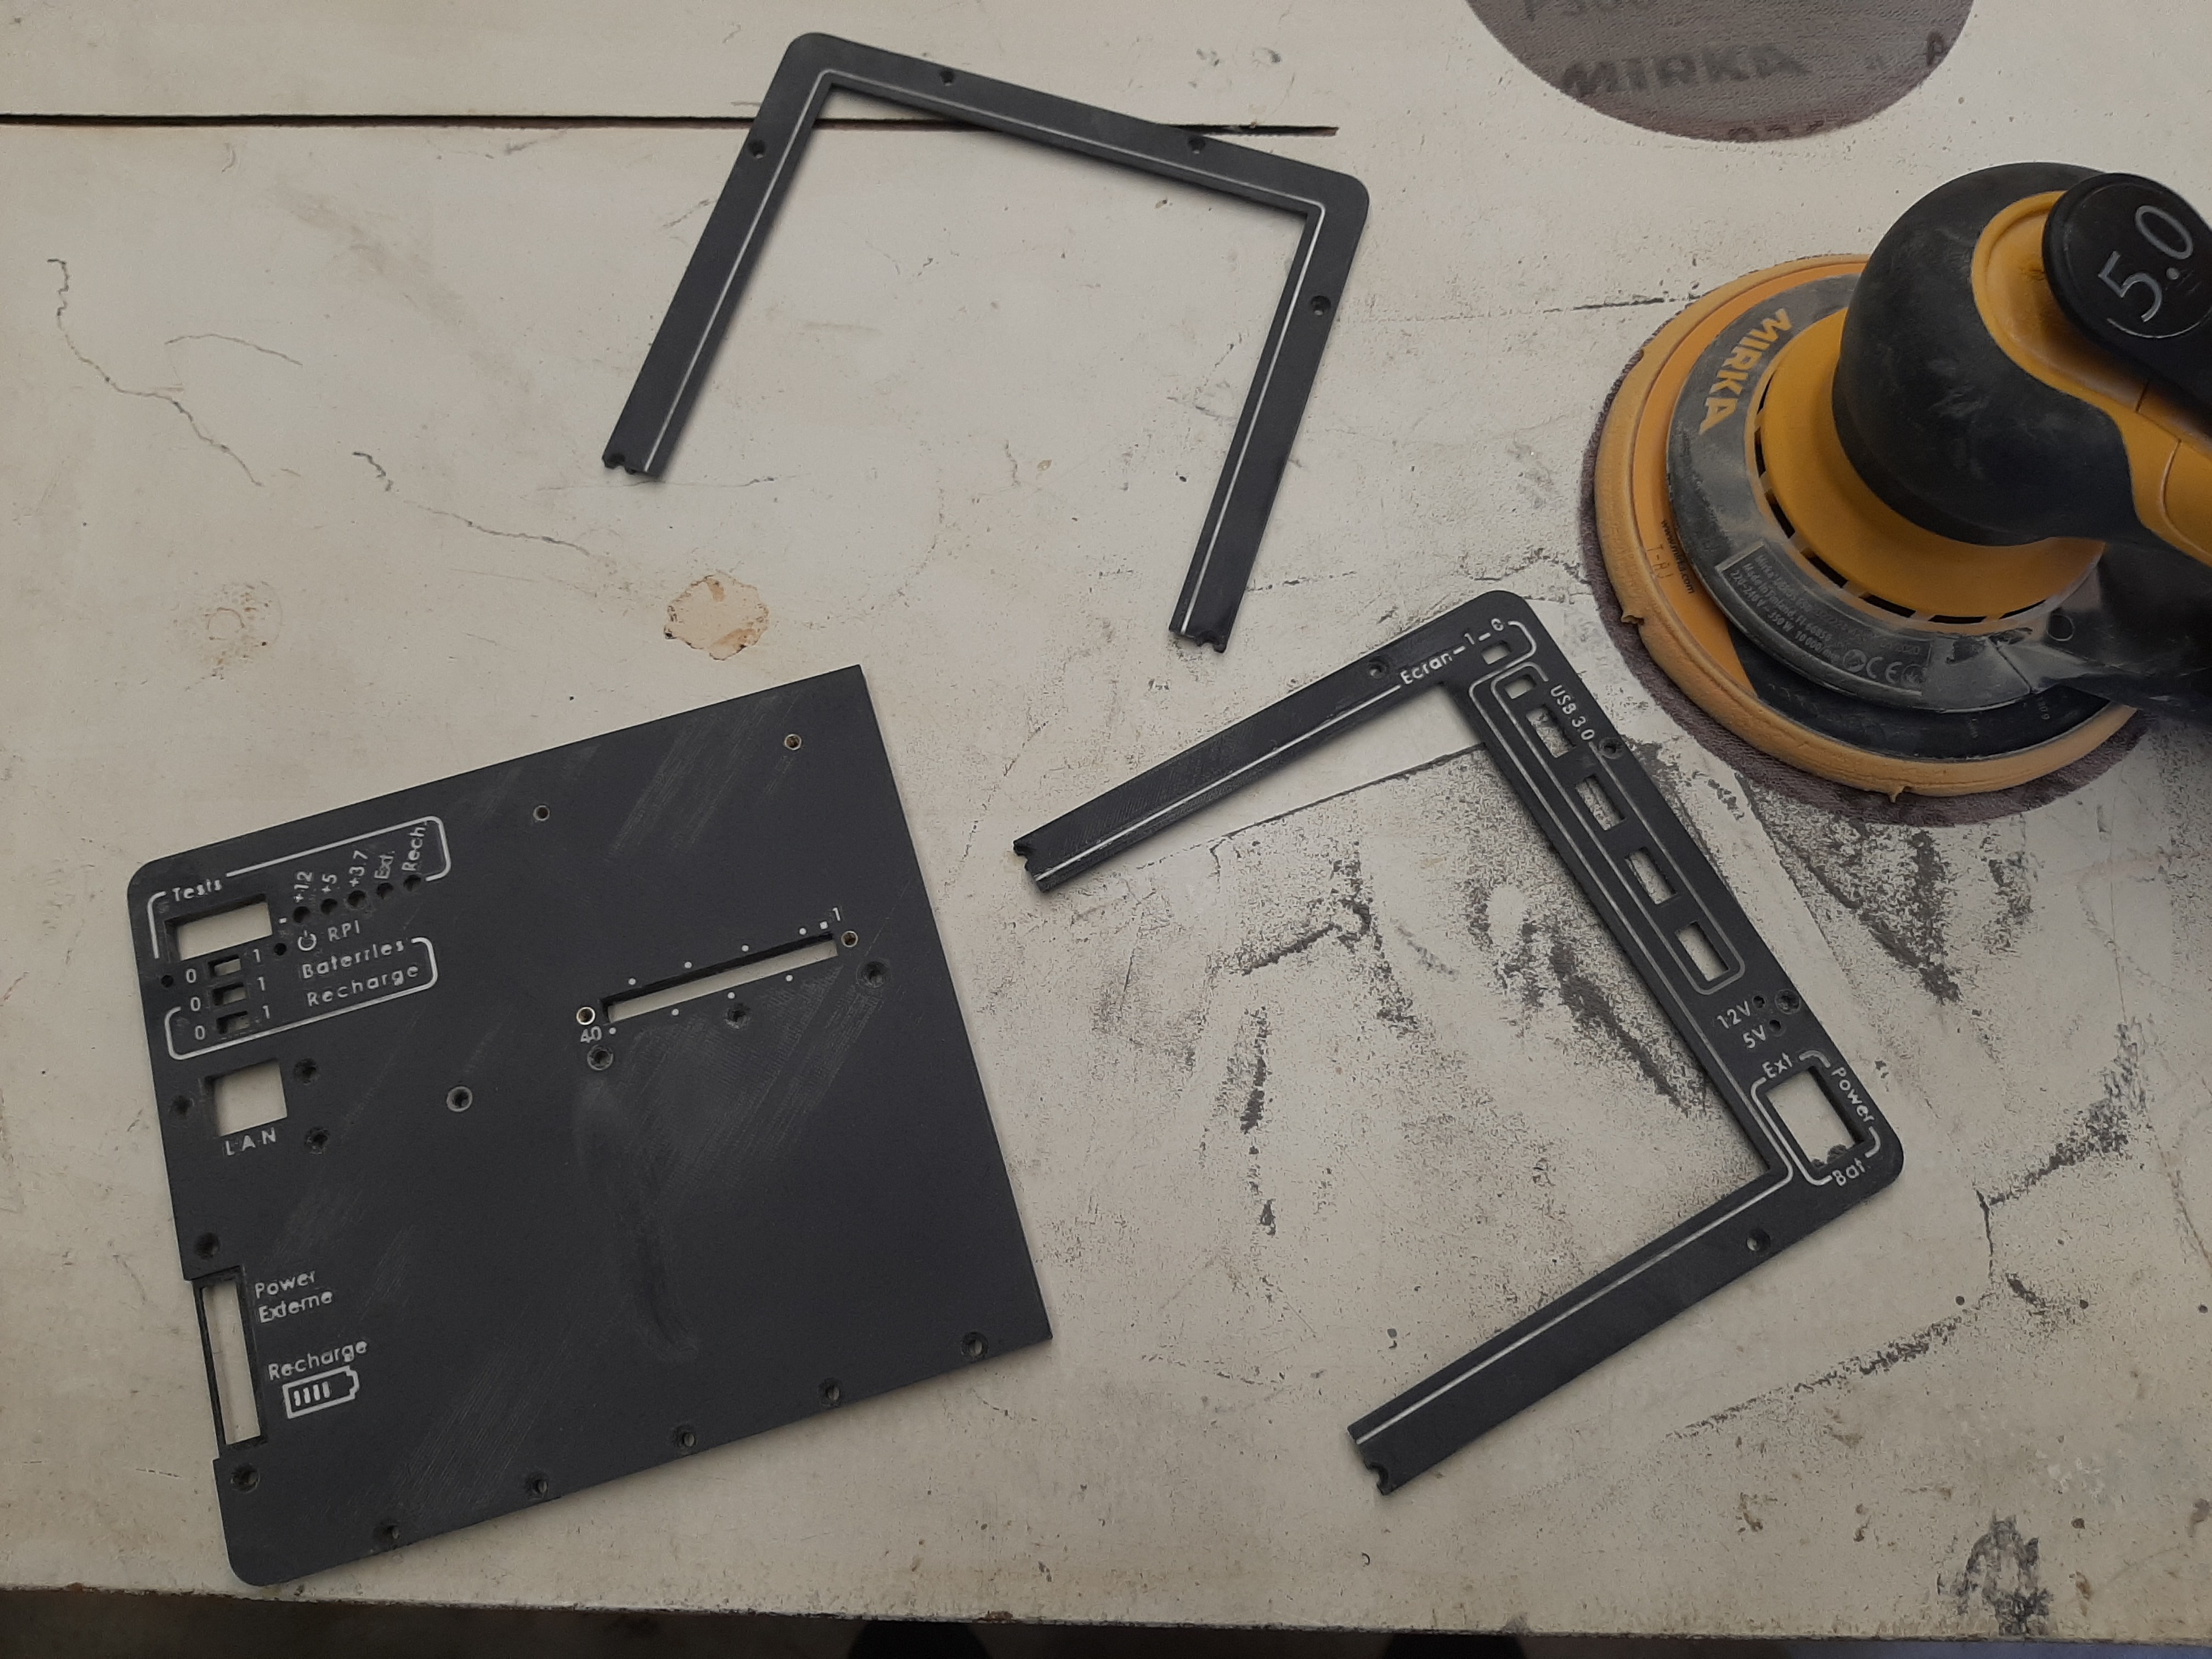
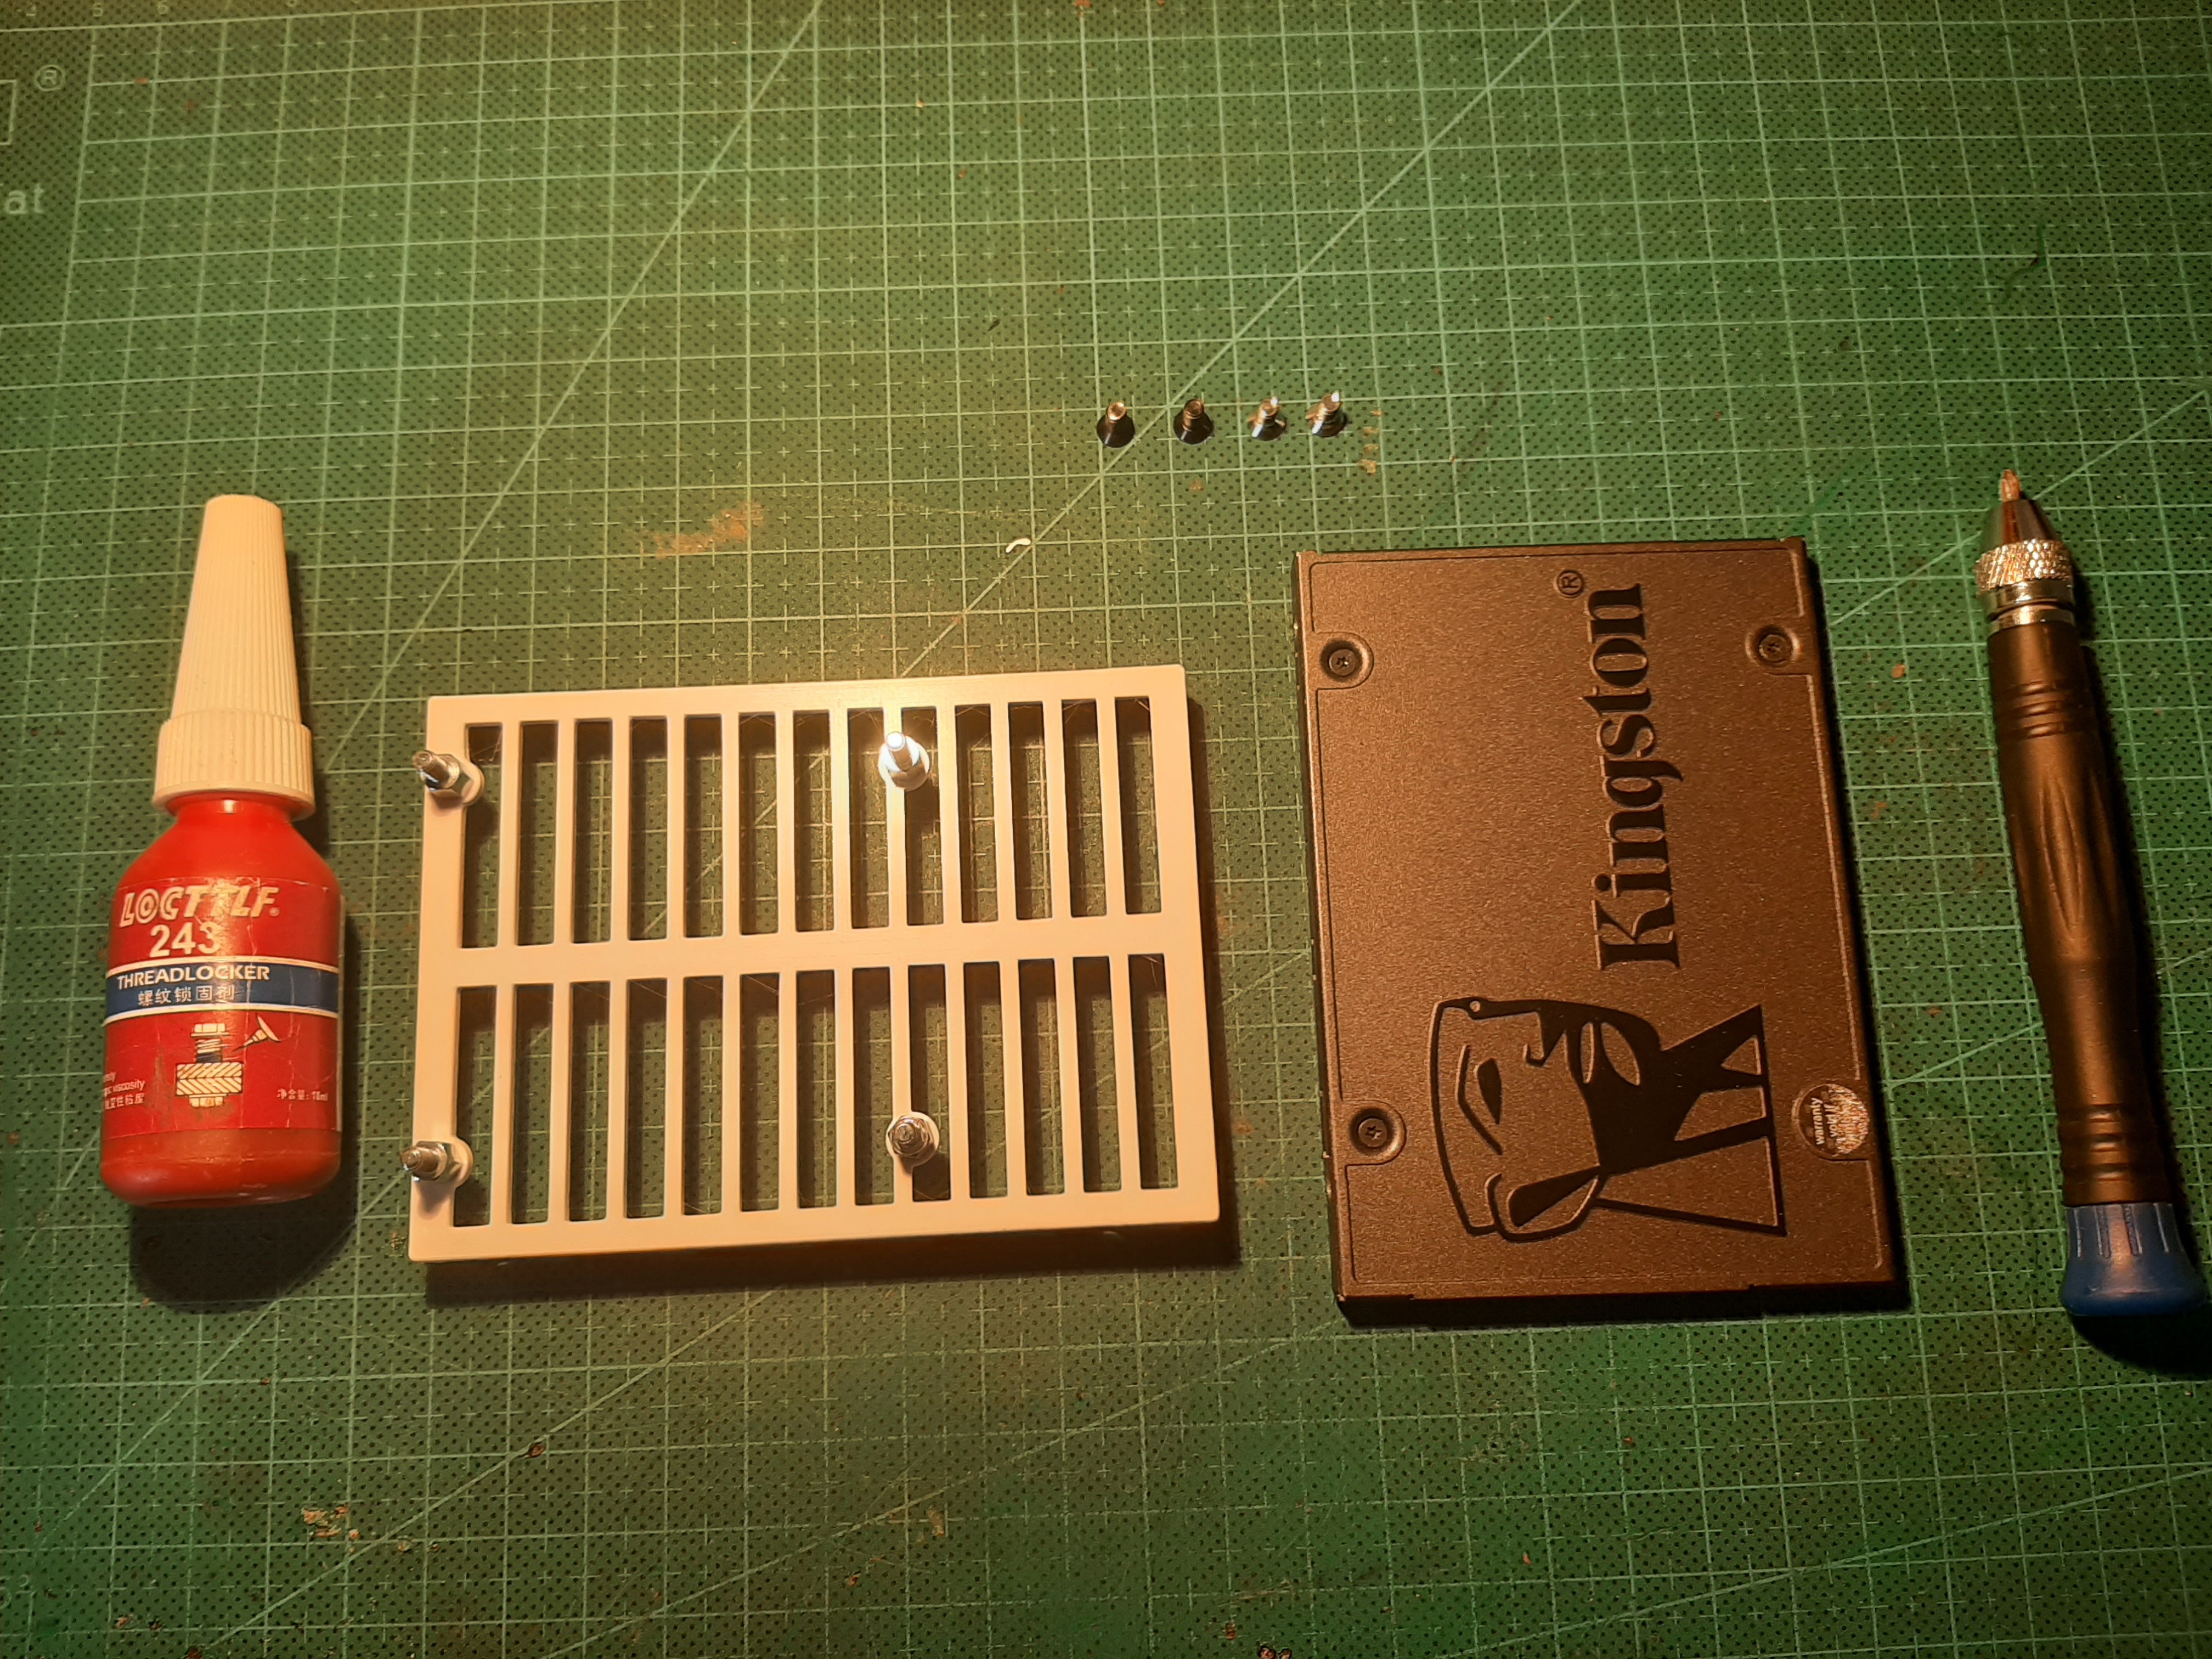
3Preparation of some 3d printed parts
![]()
![]()
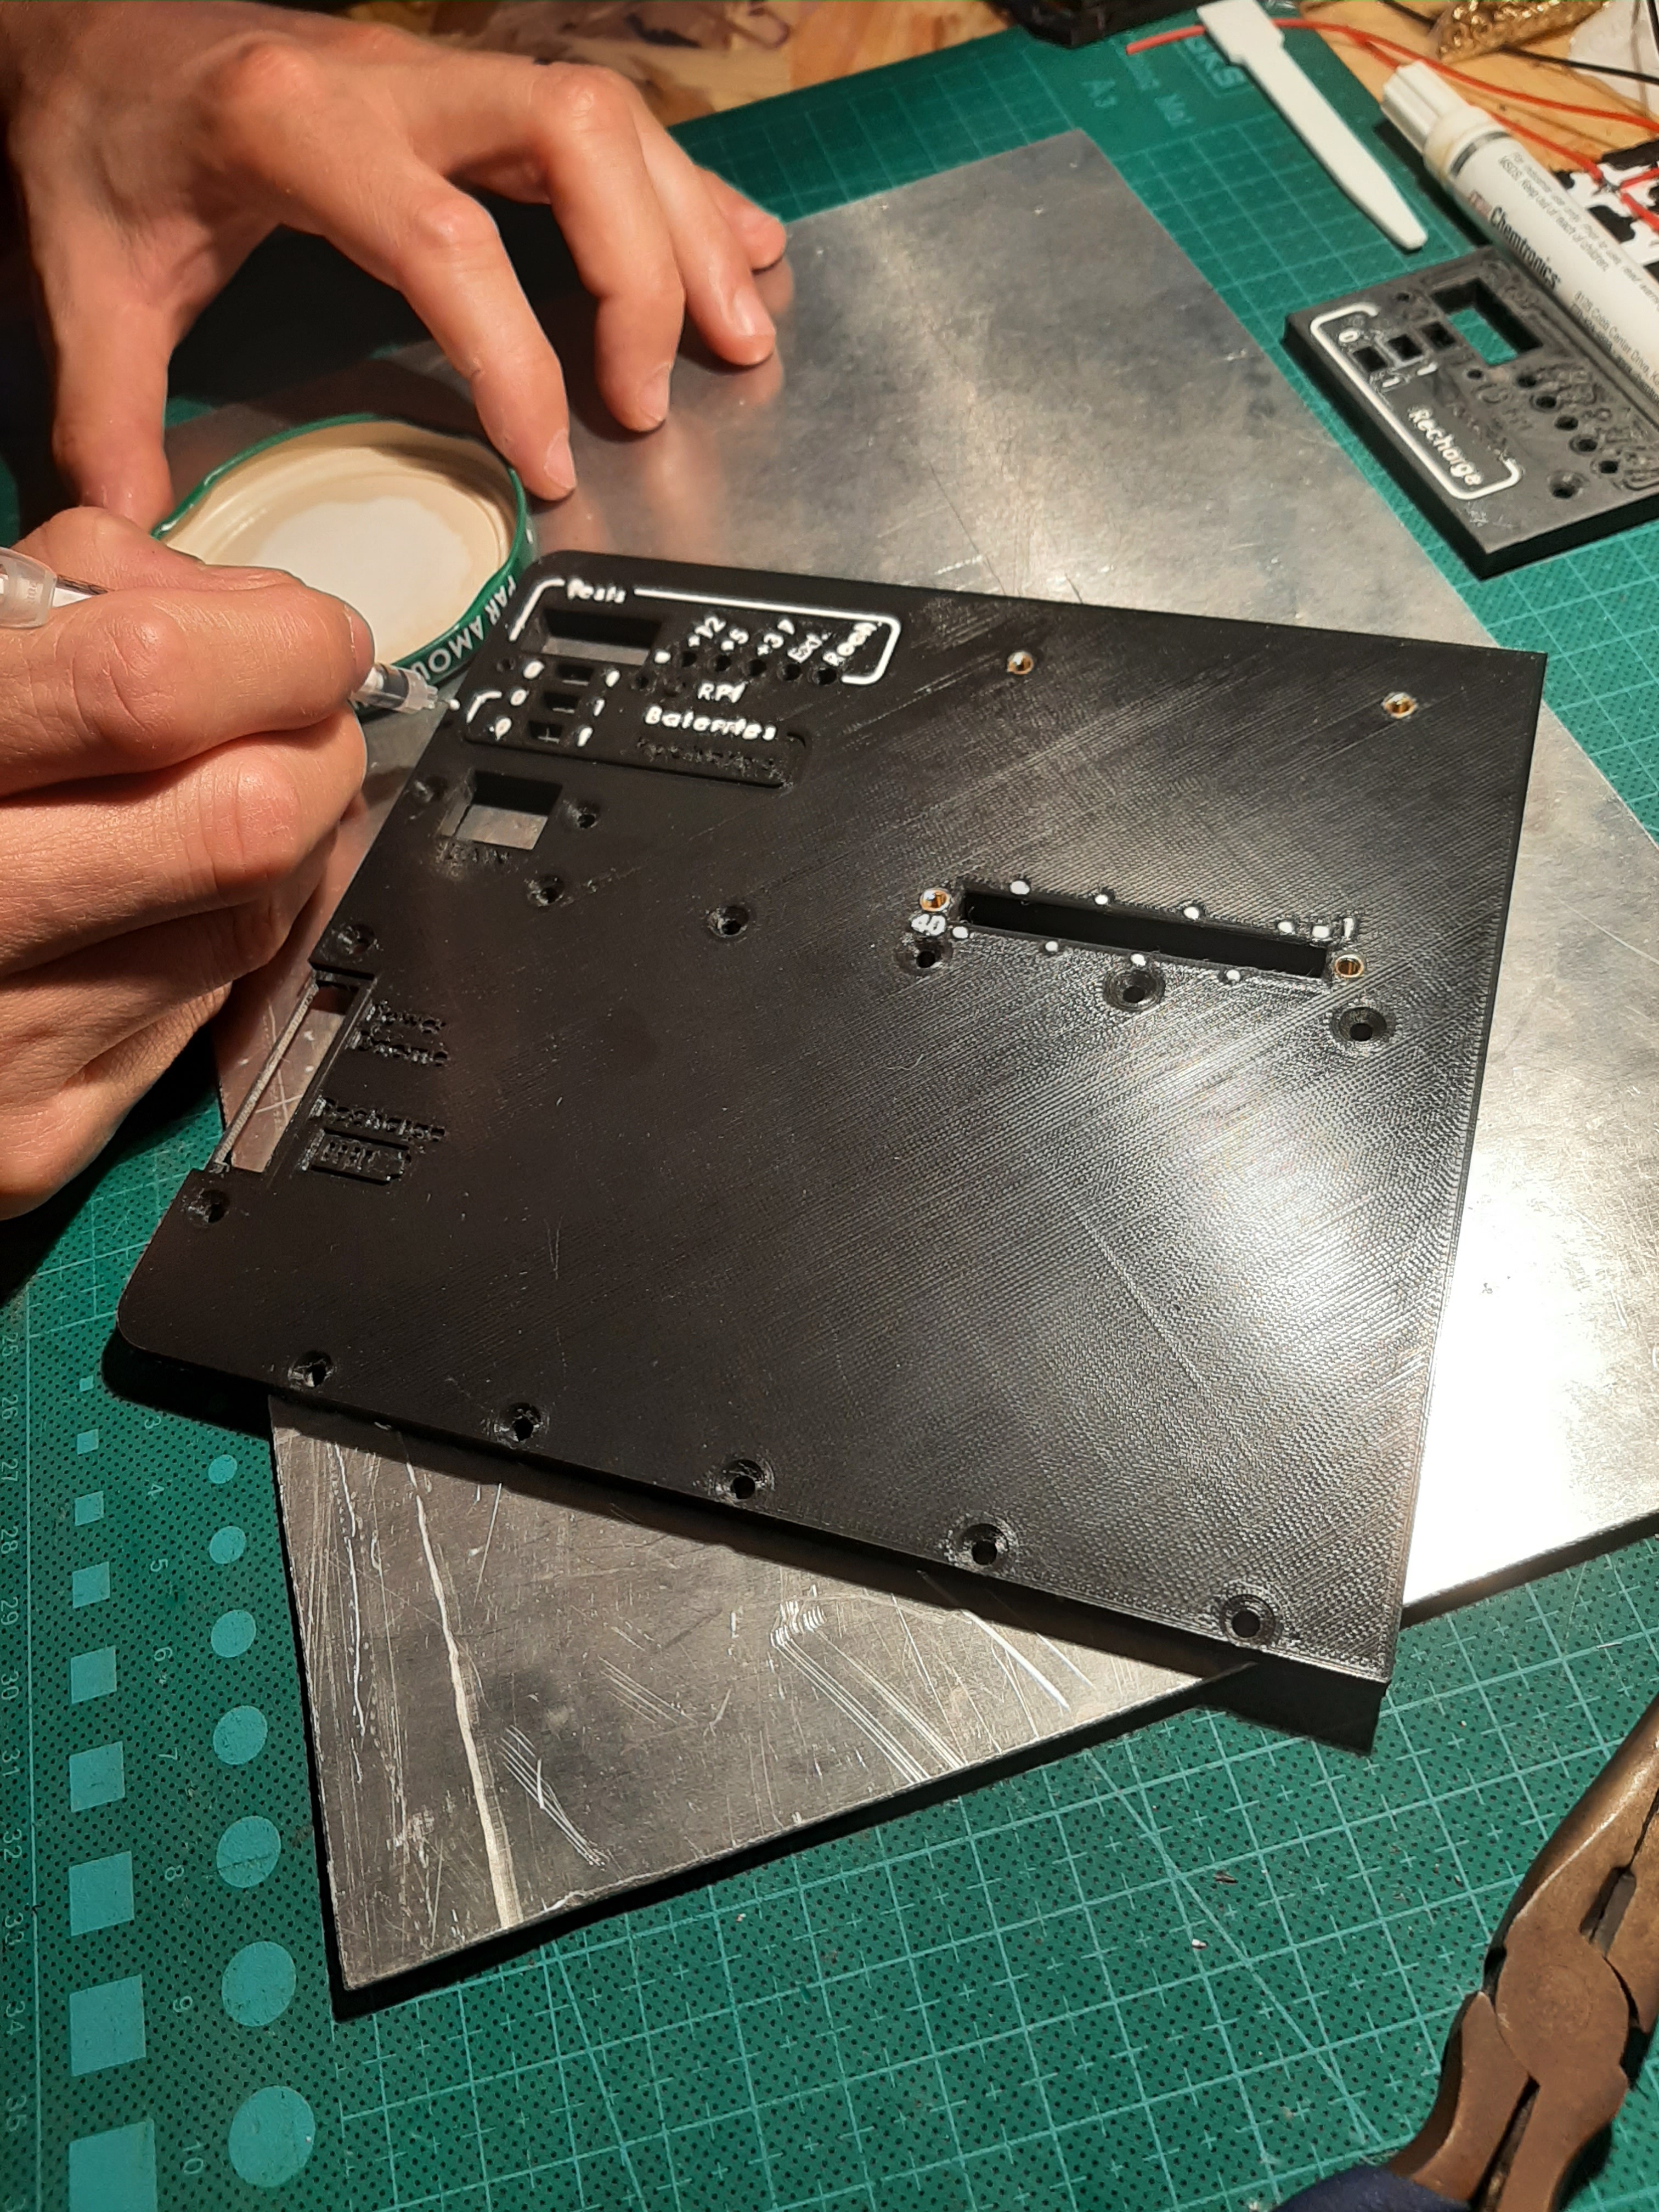
Do some painting with mixture of white paint and bicomponant epoxy resin. Tedious task because of the low viscosity... drop by drop... FUN PART![]()
![]()
![]()
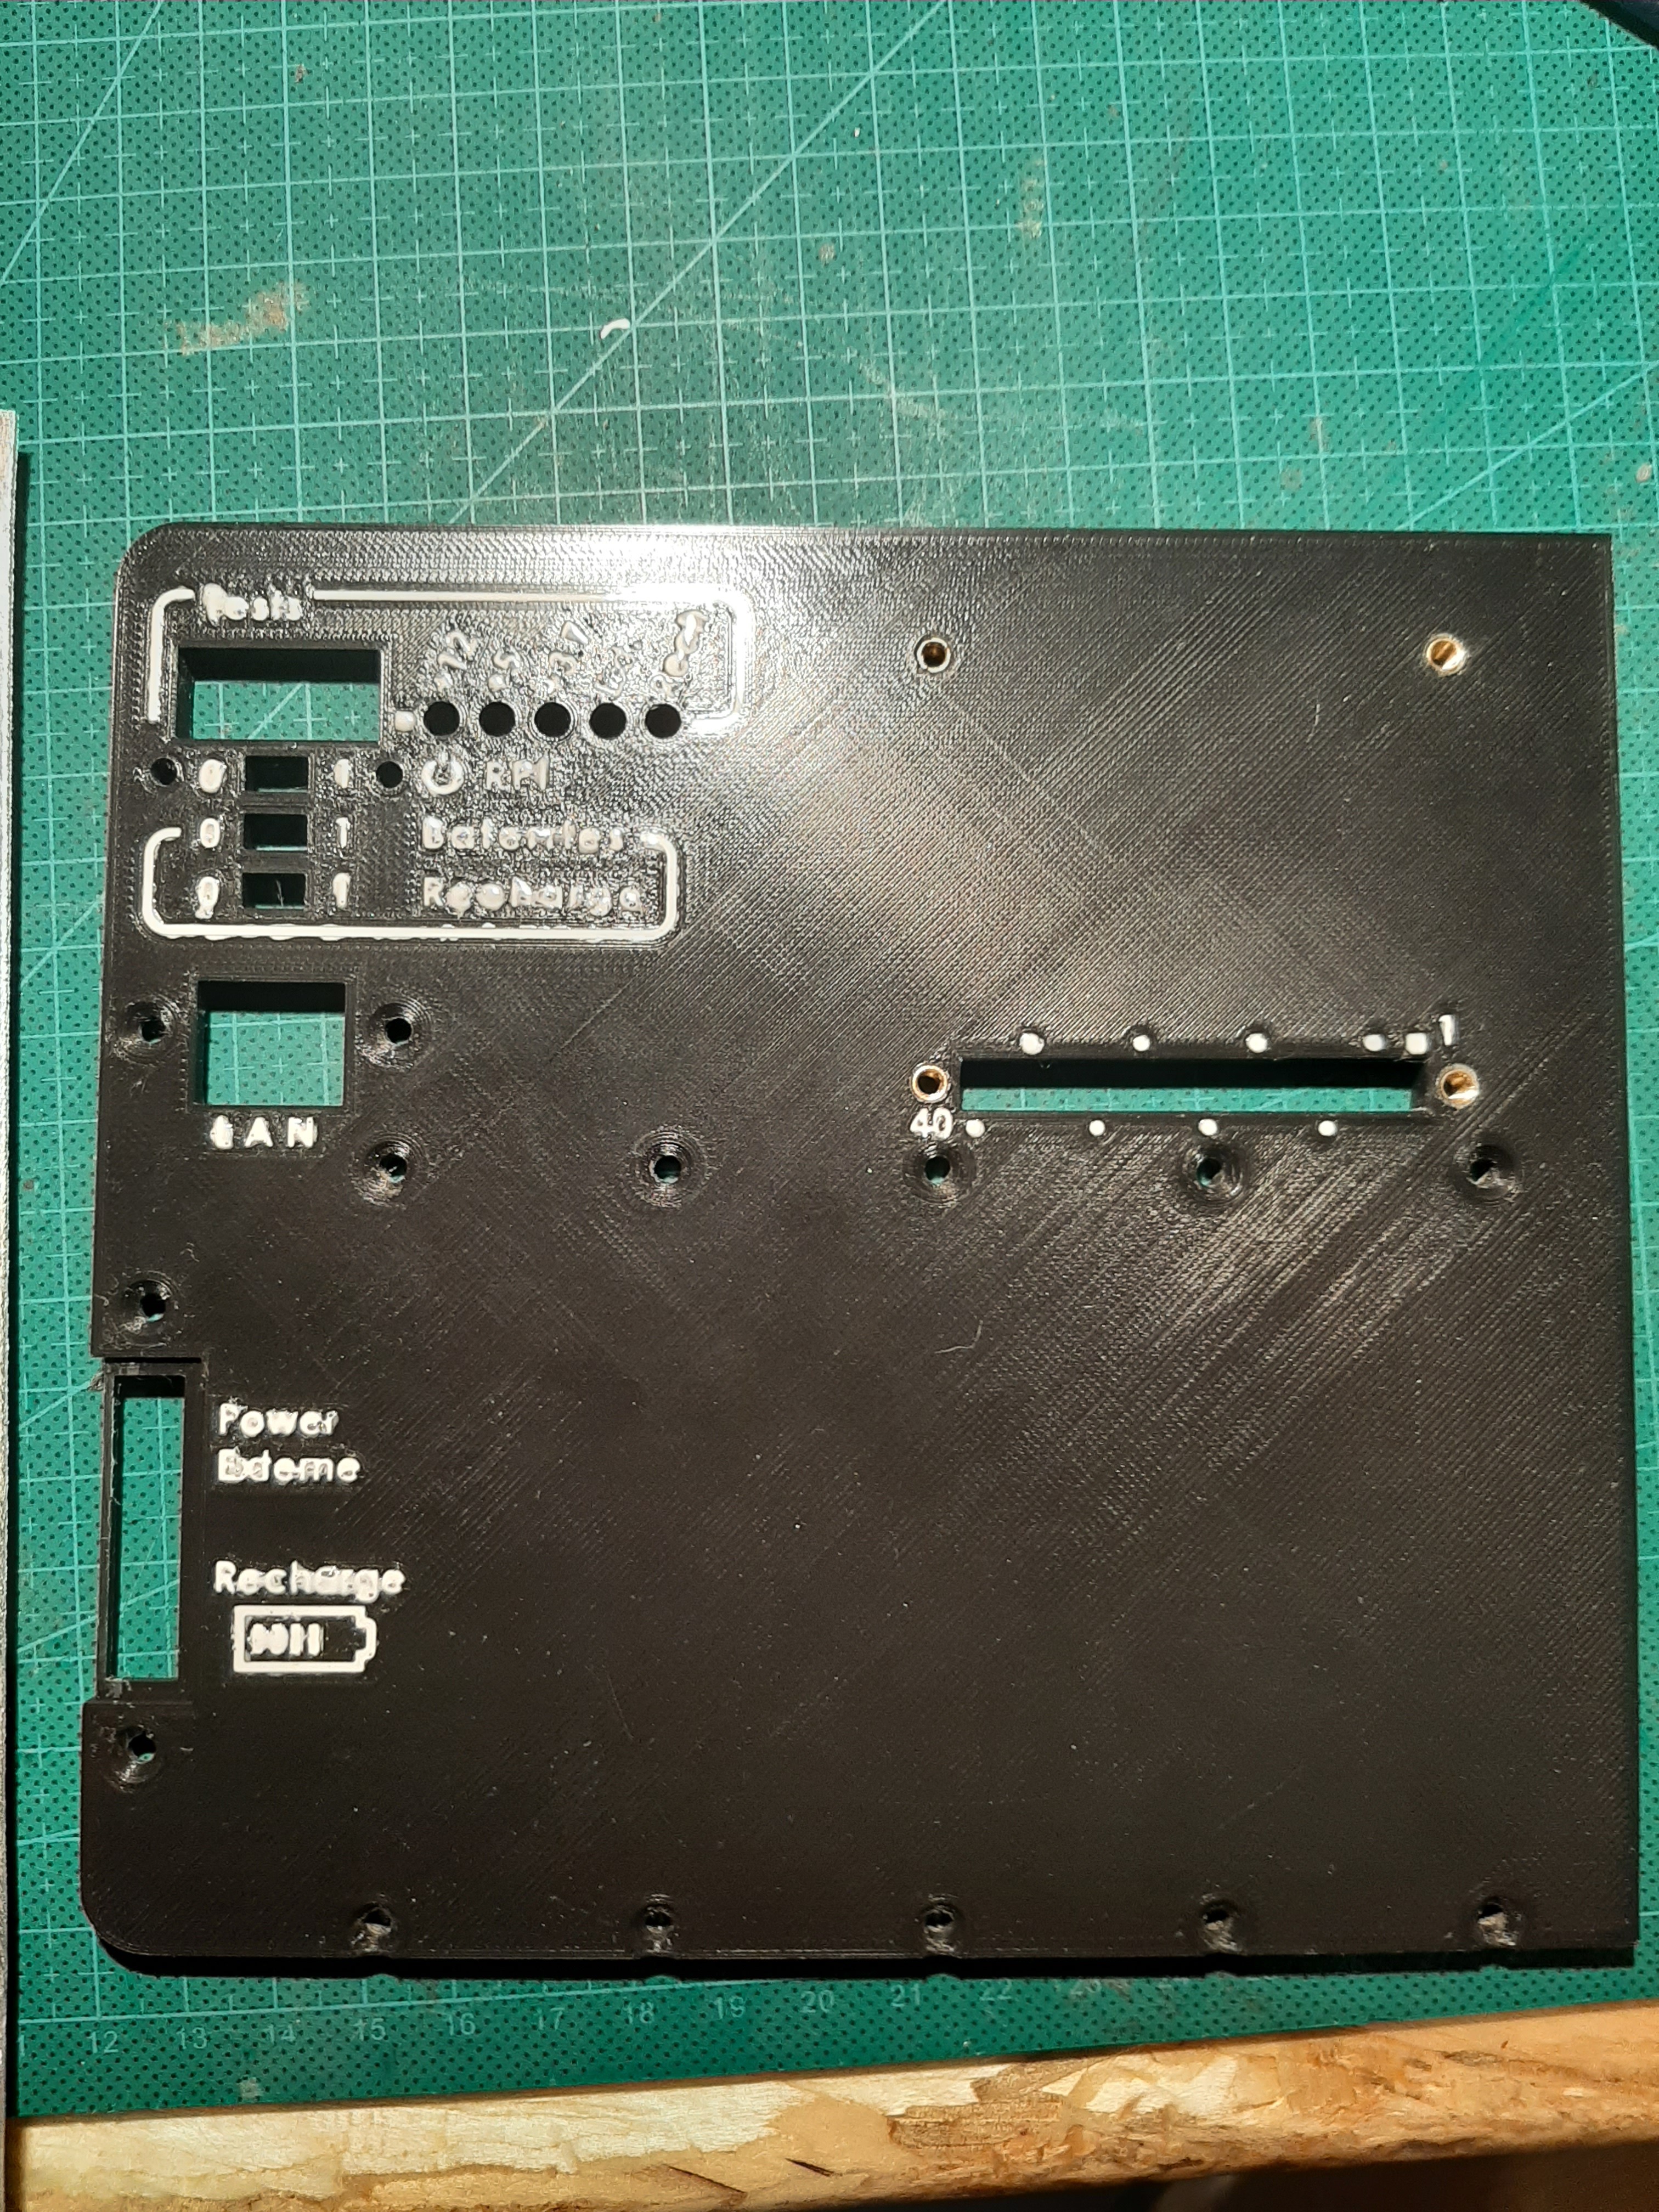
Finishing with some sanding job
![]()
Not so bad for PLA, looks mat with some 3d printed marks and gives it nice looking I think.
-
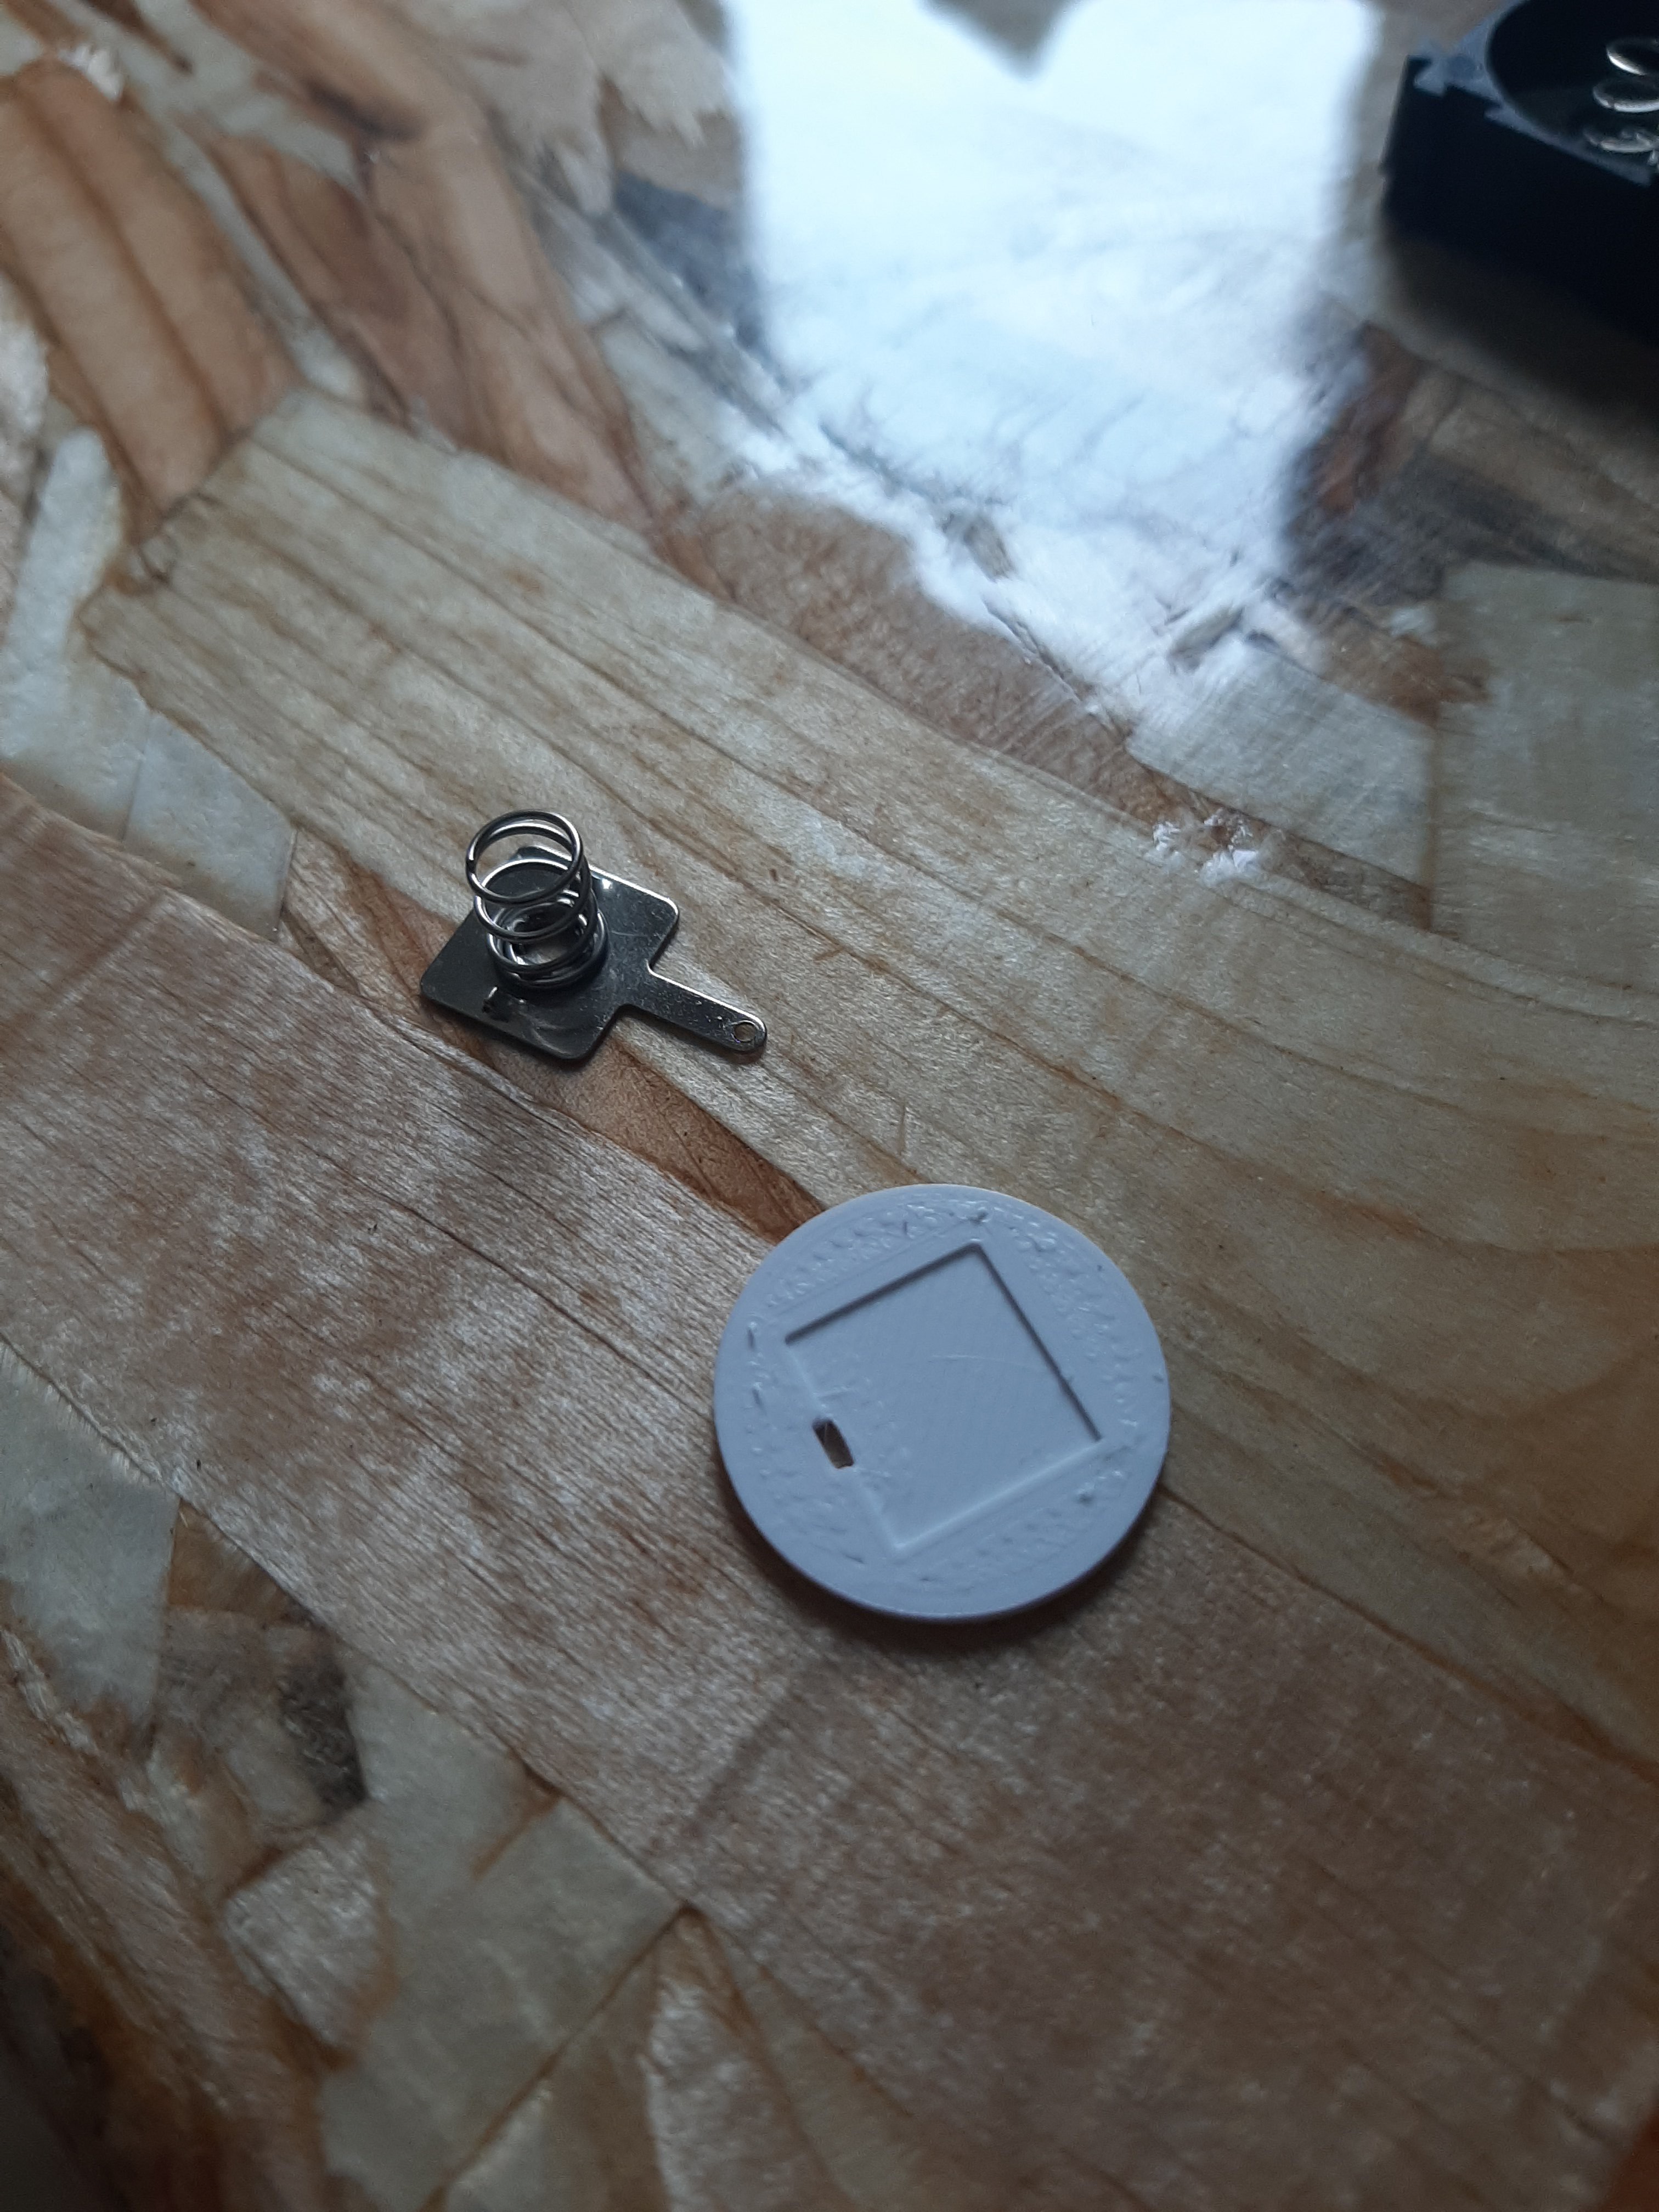
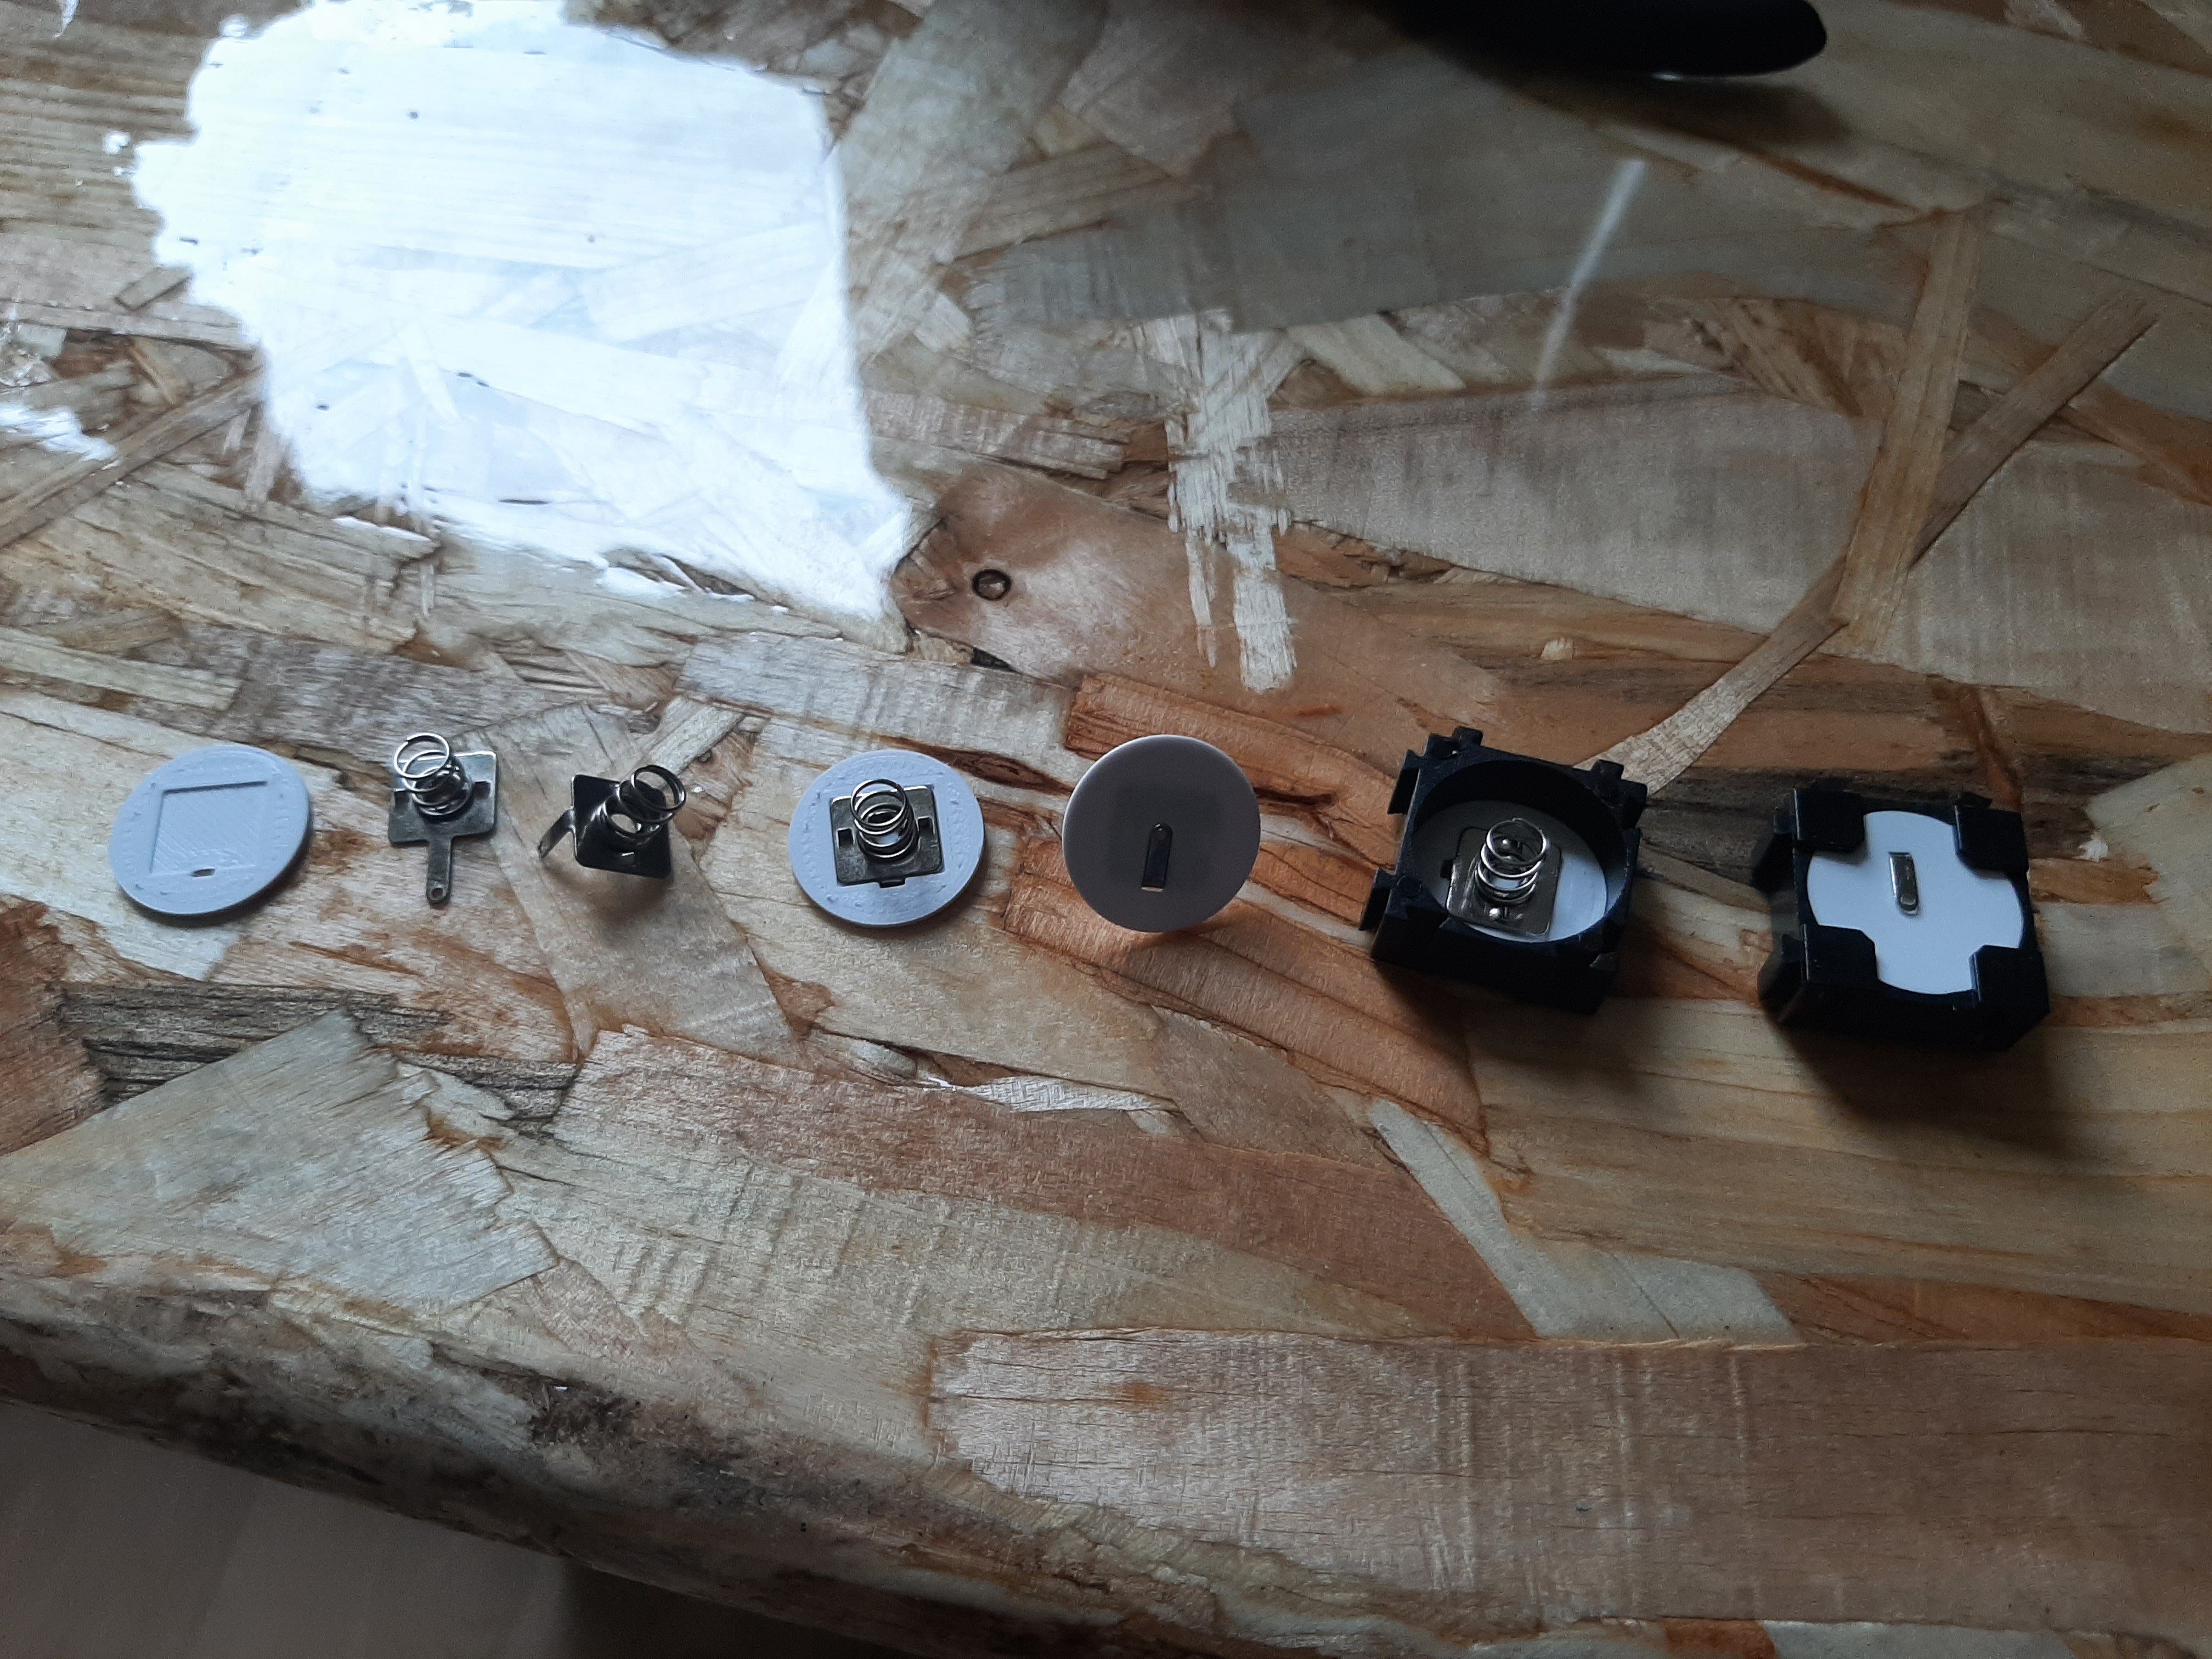
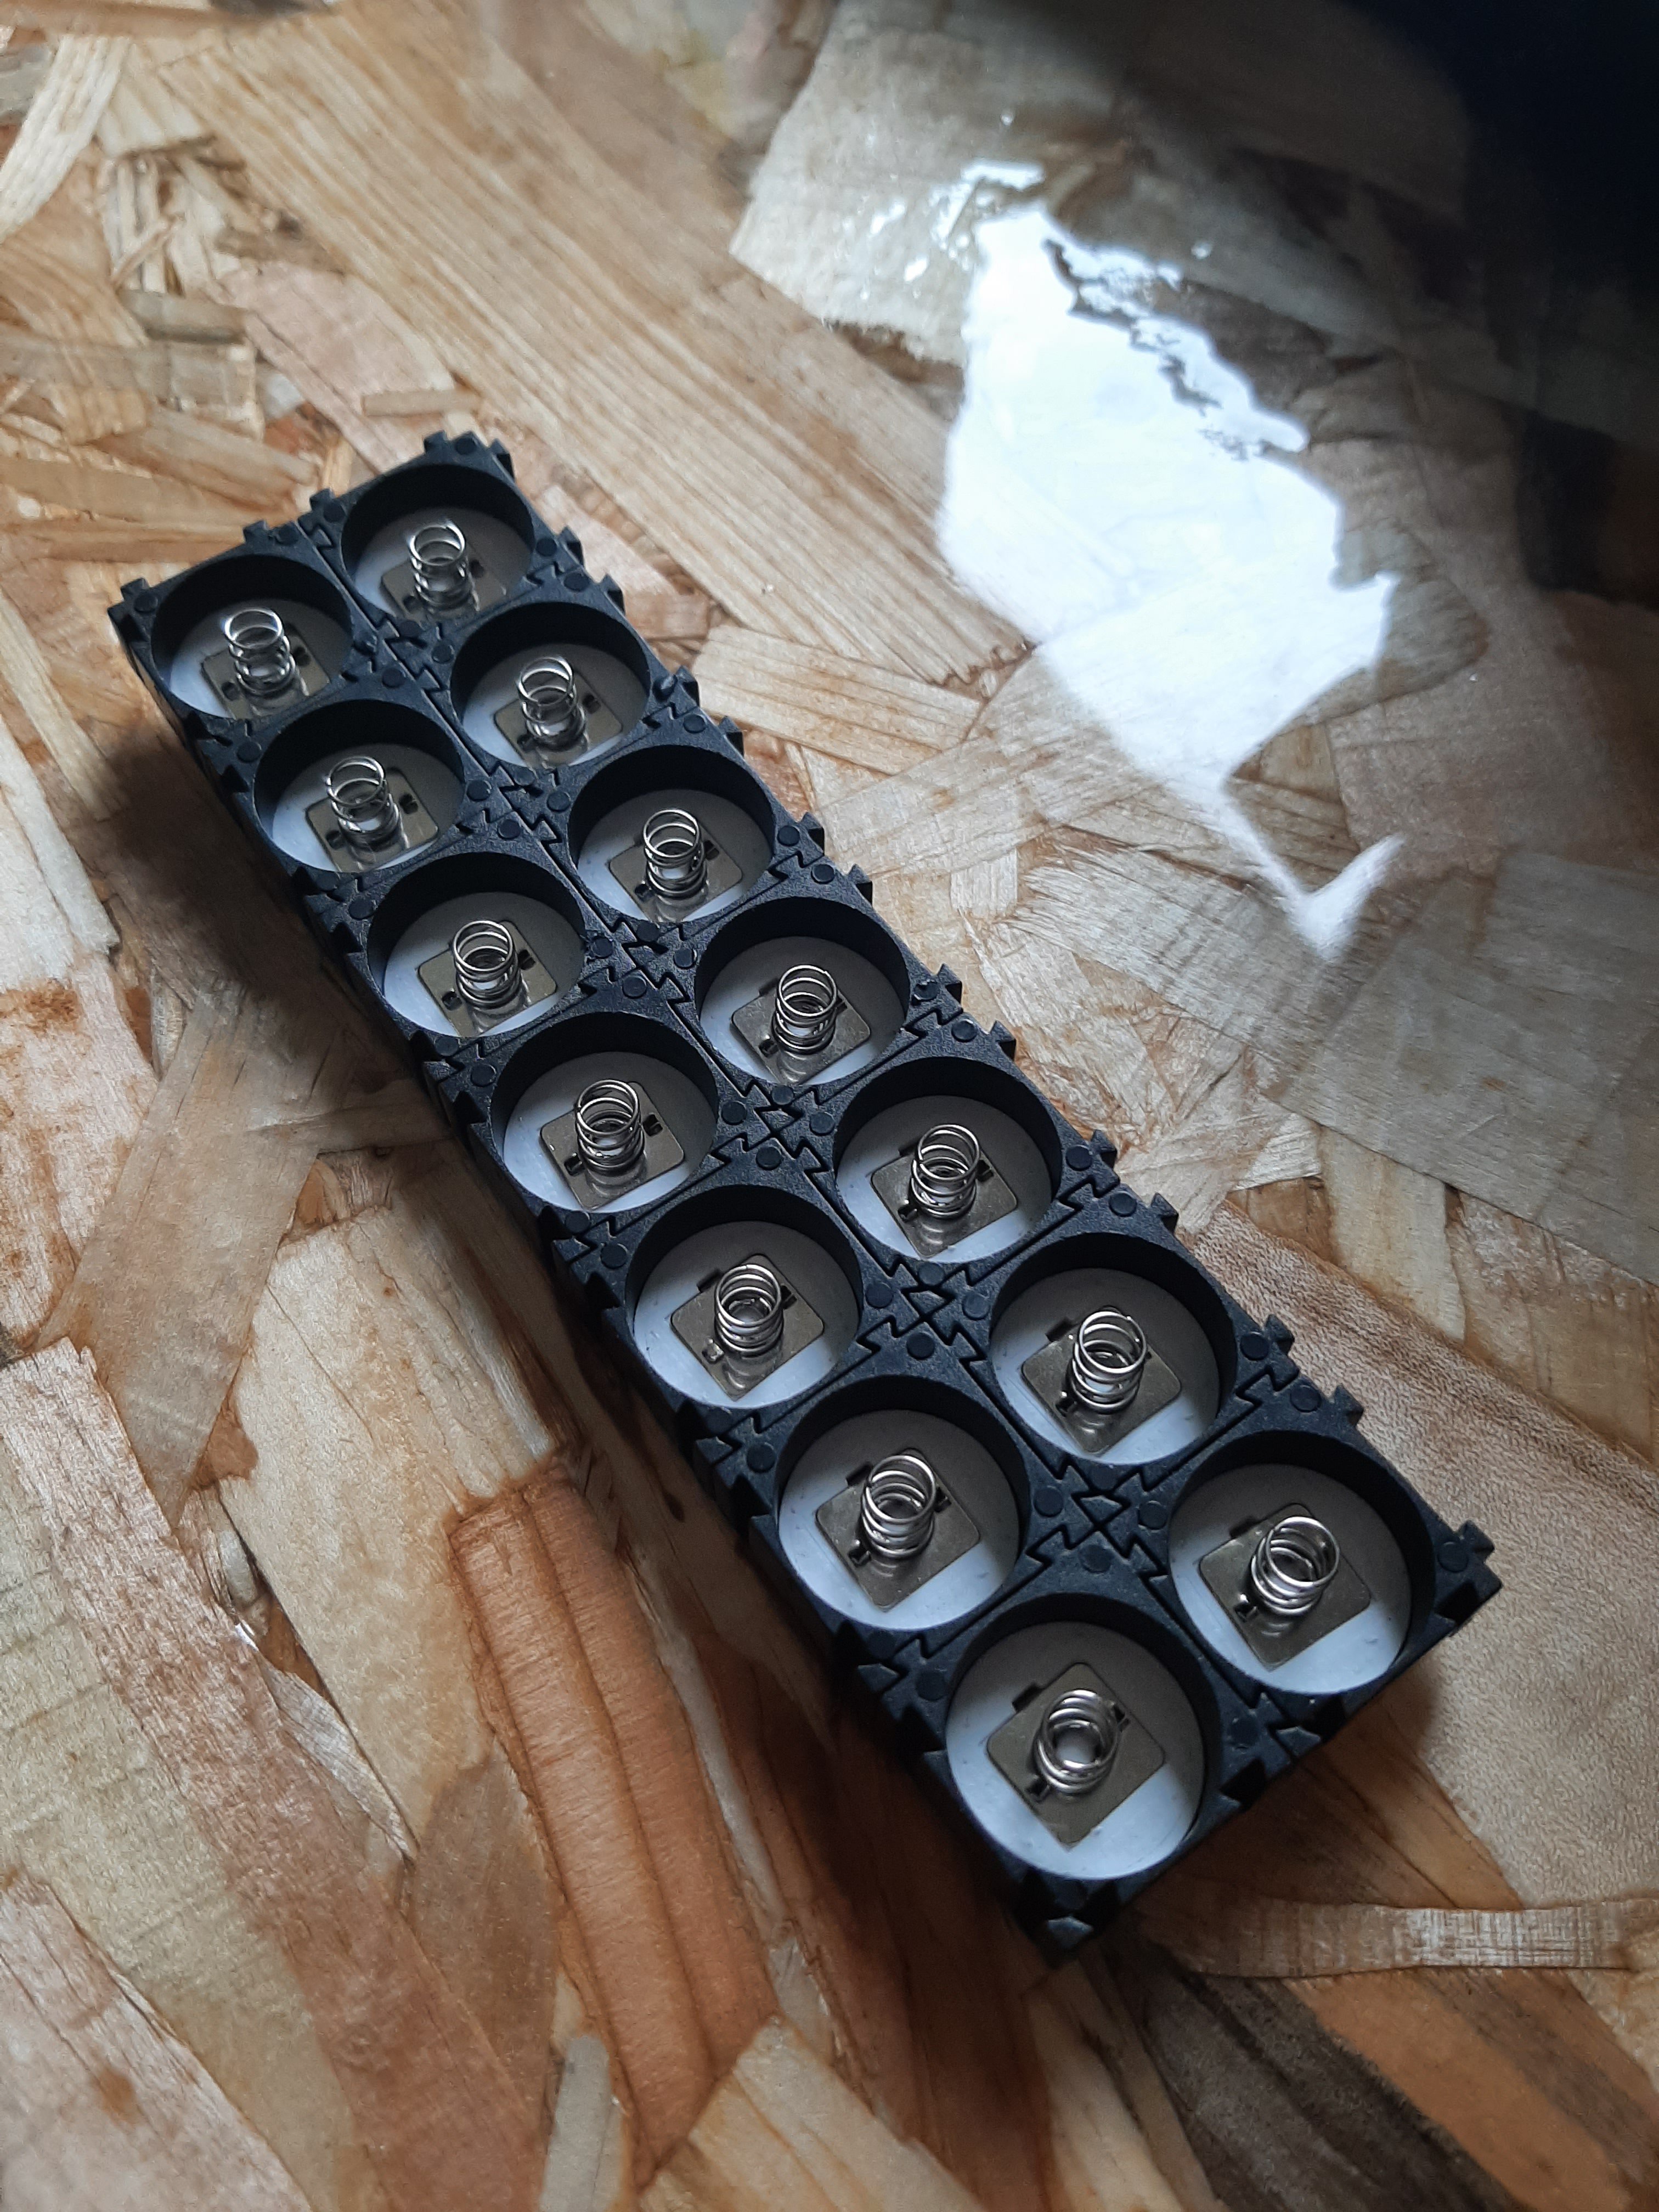
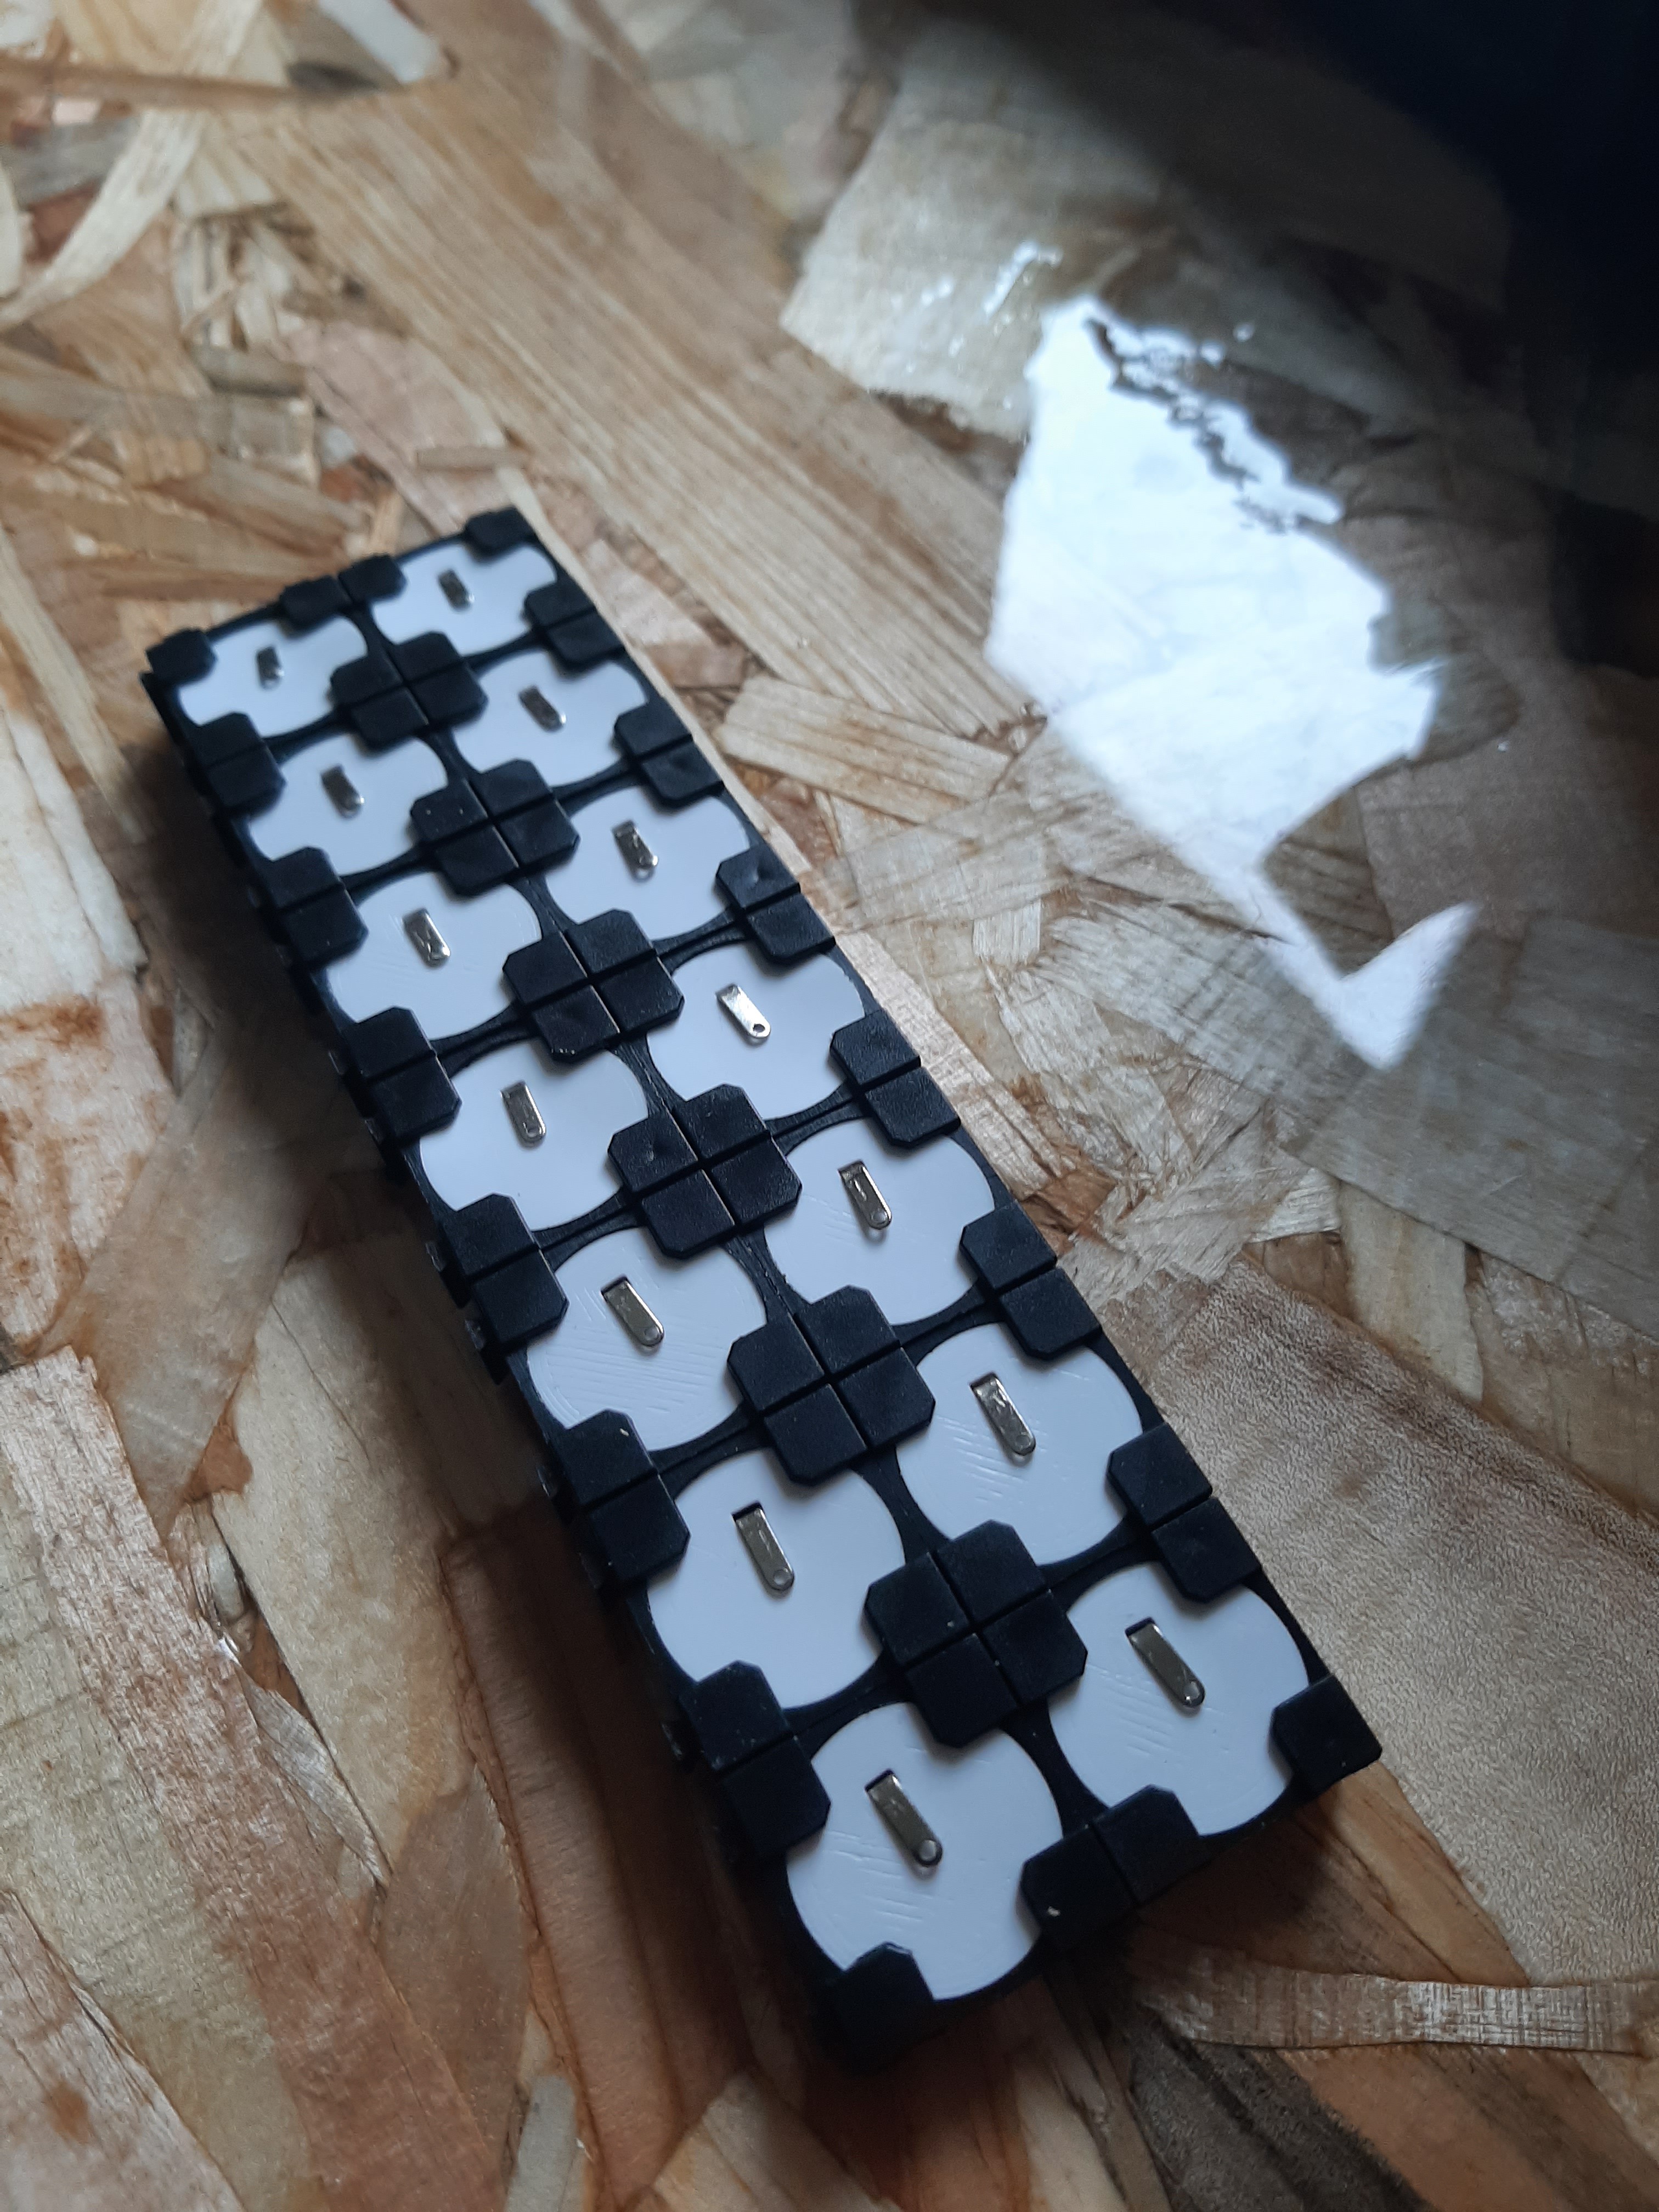
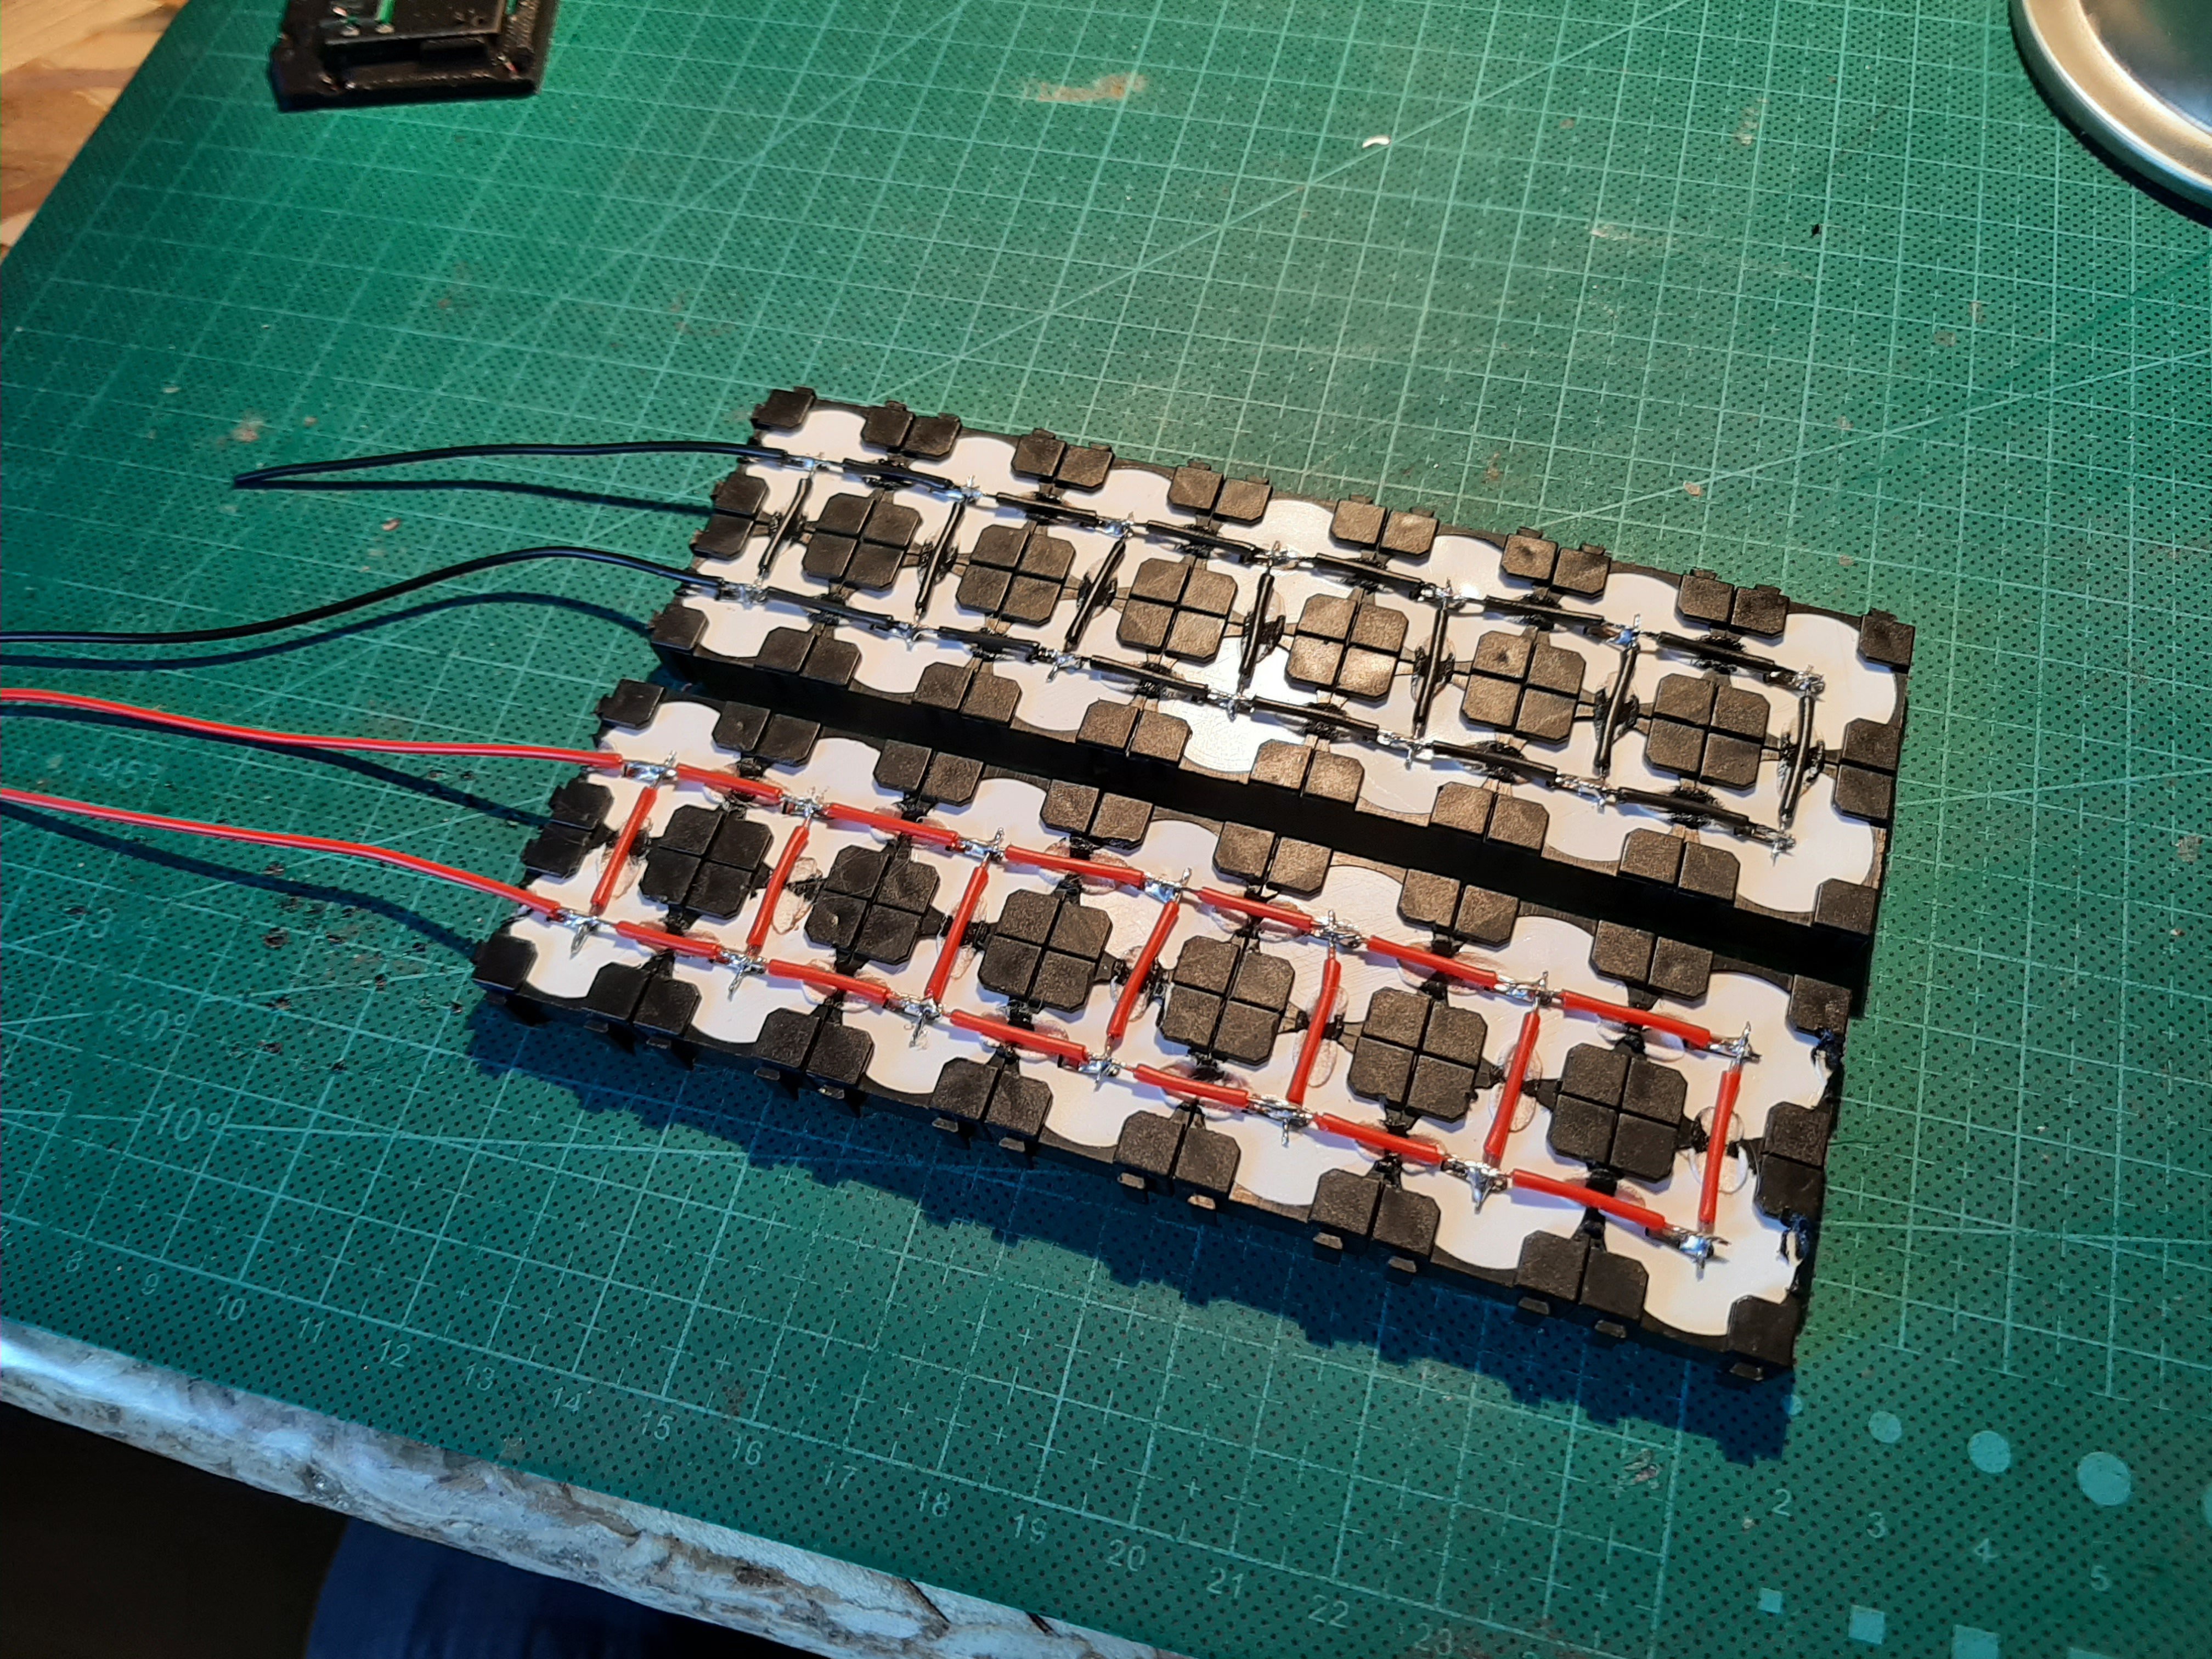
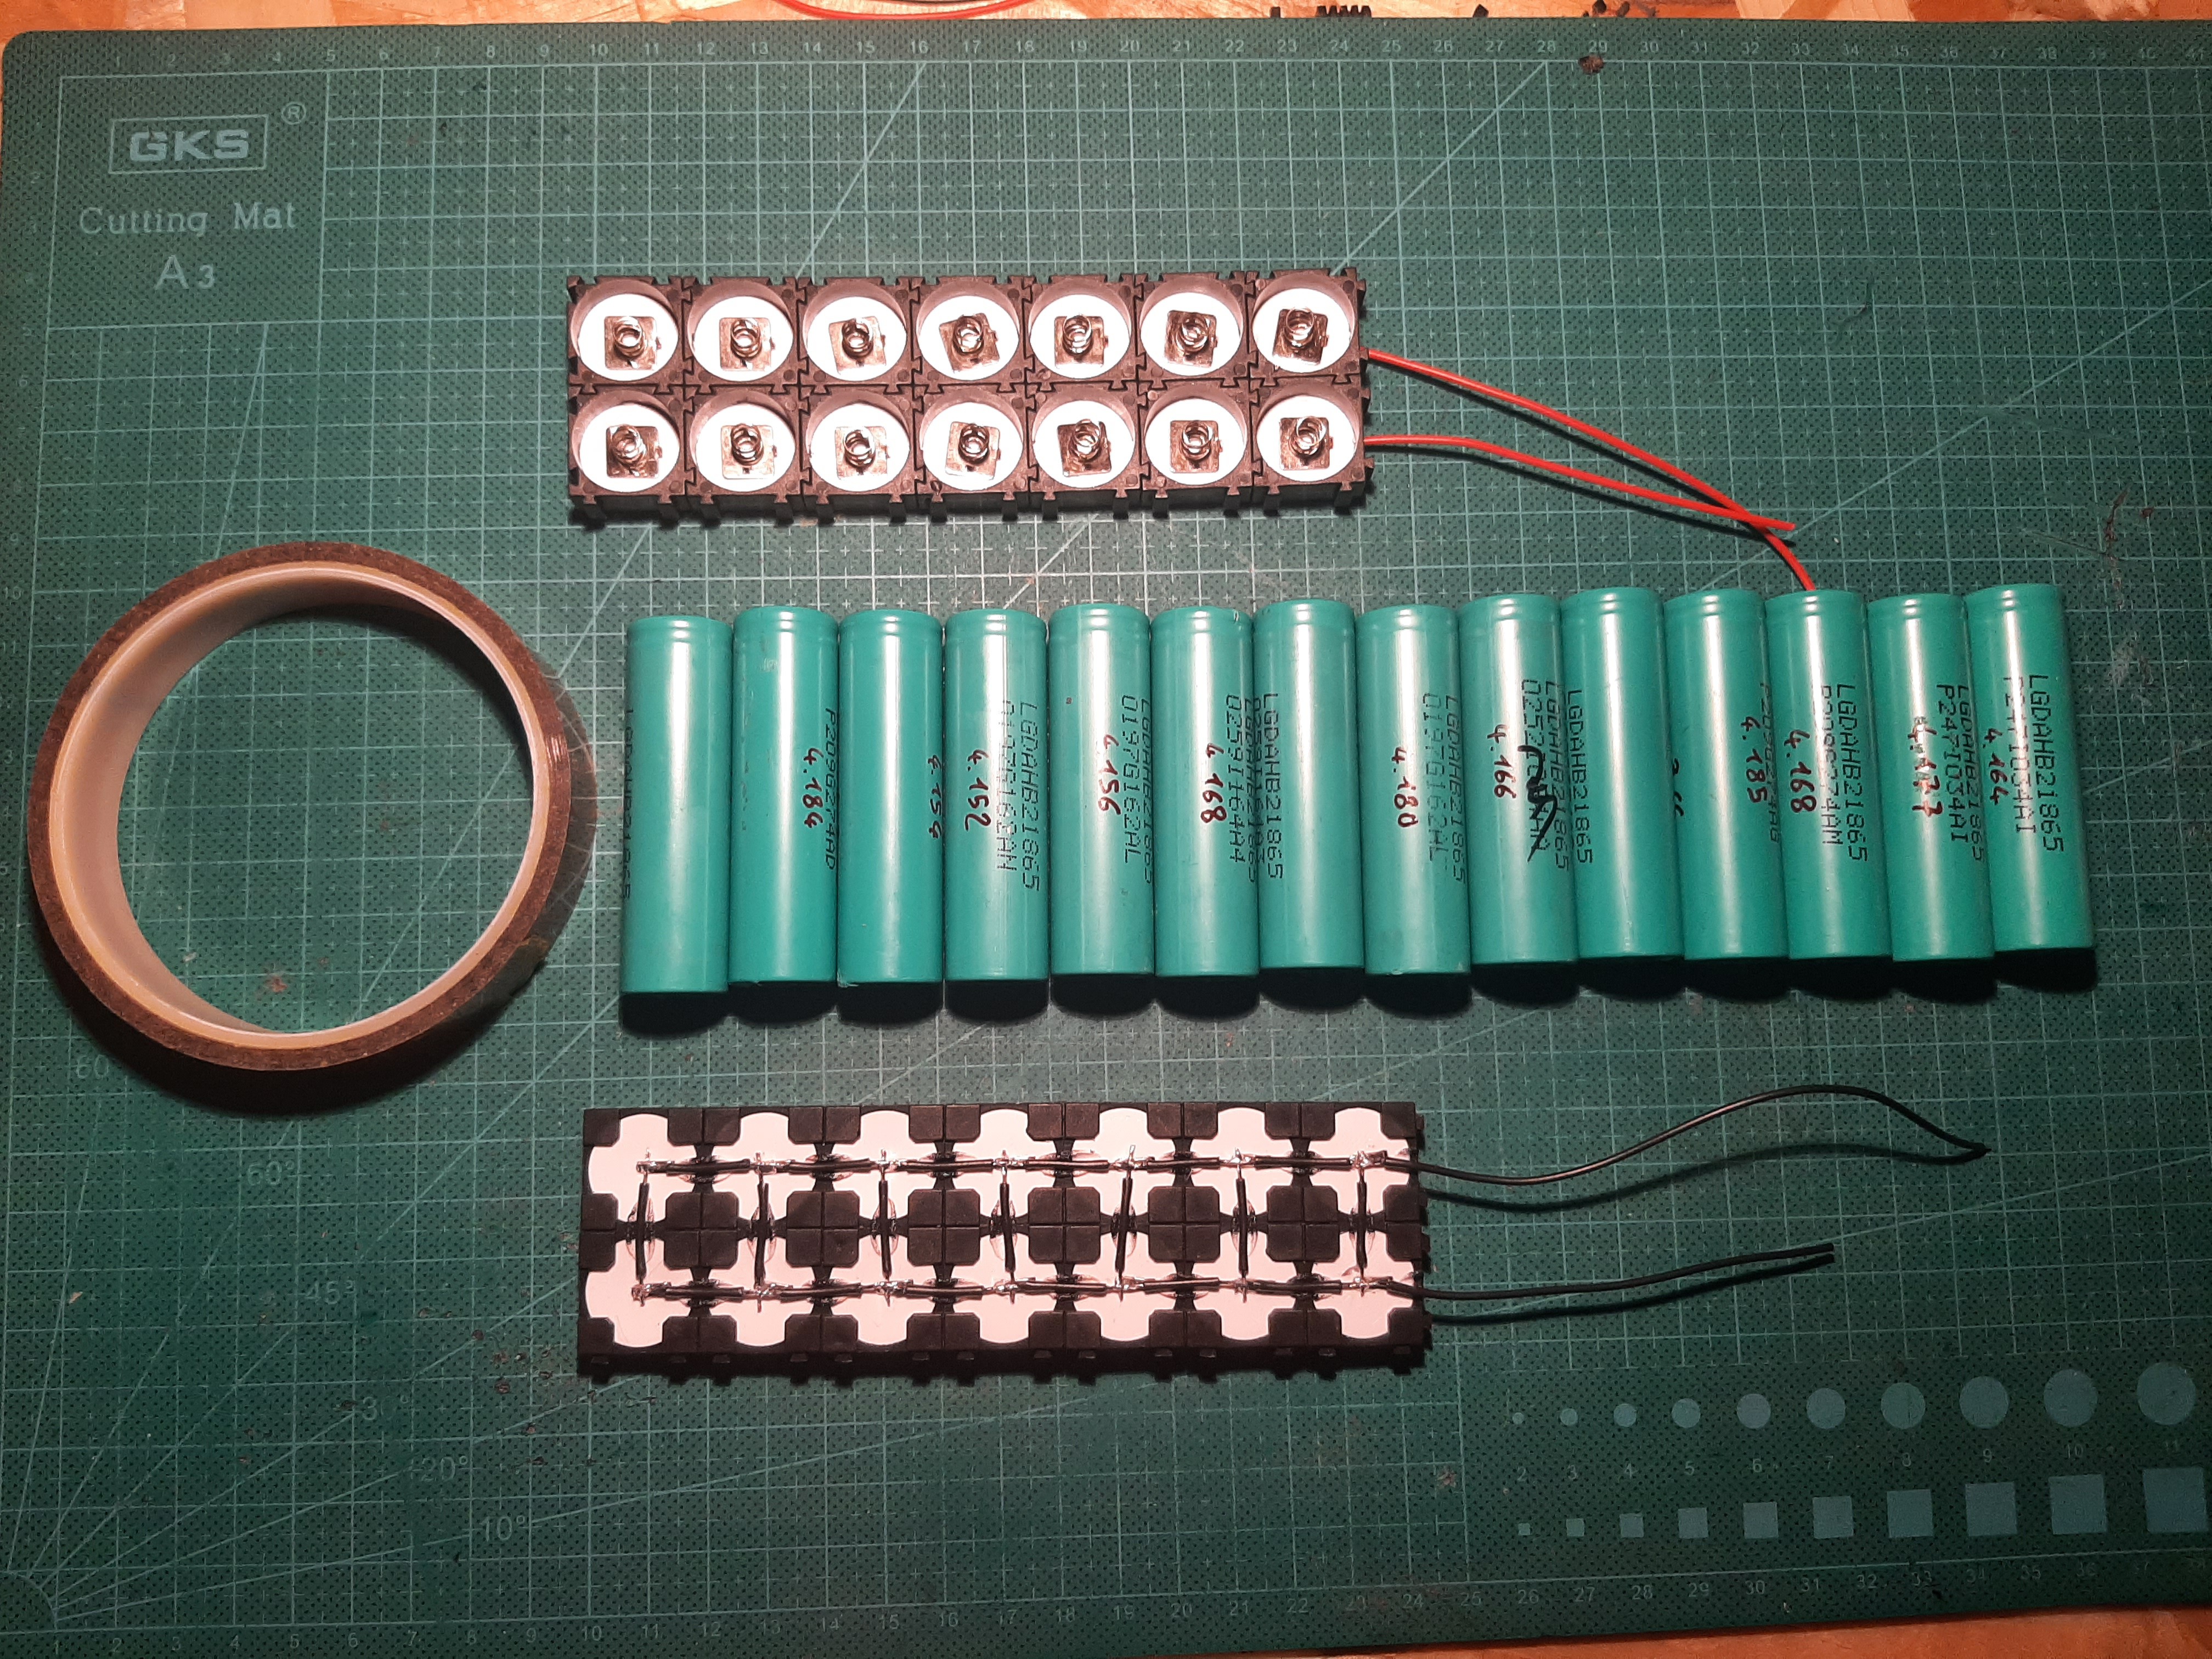
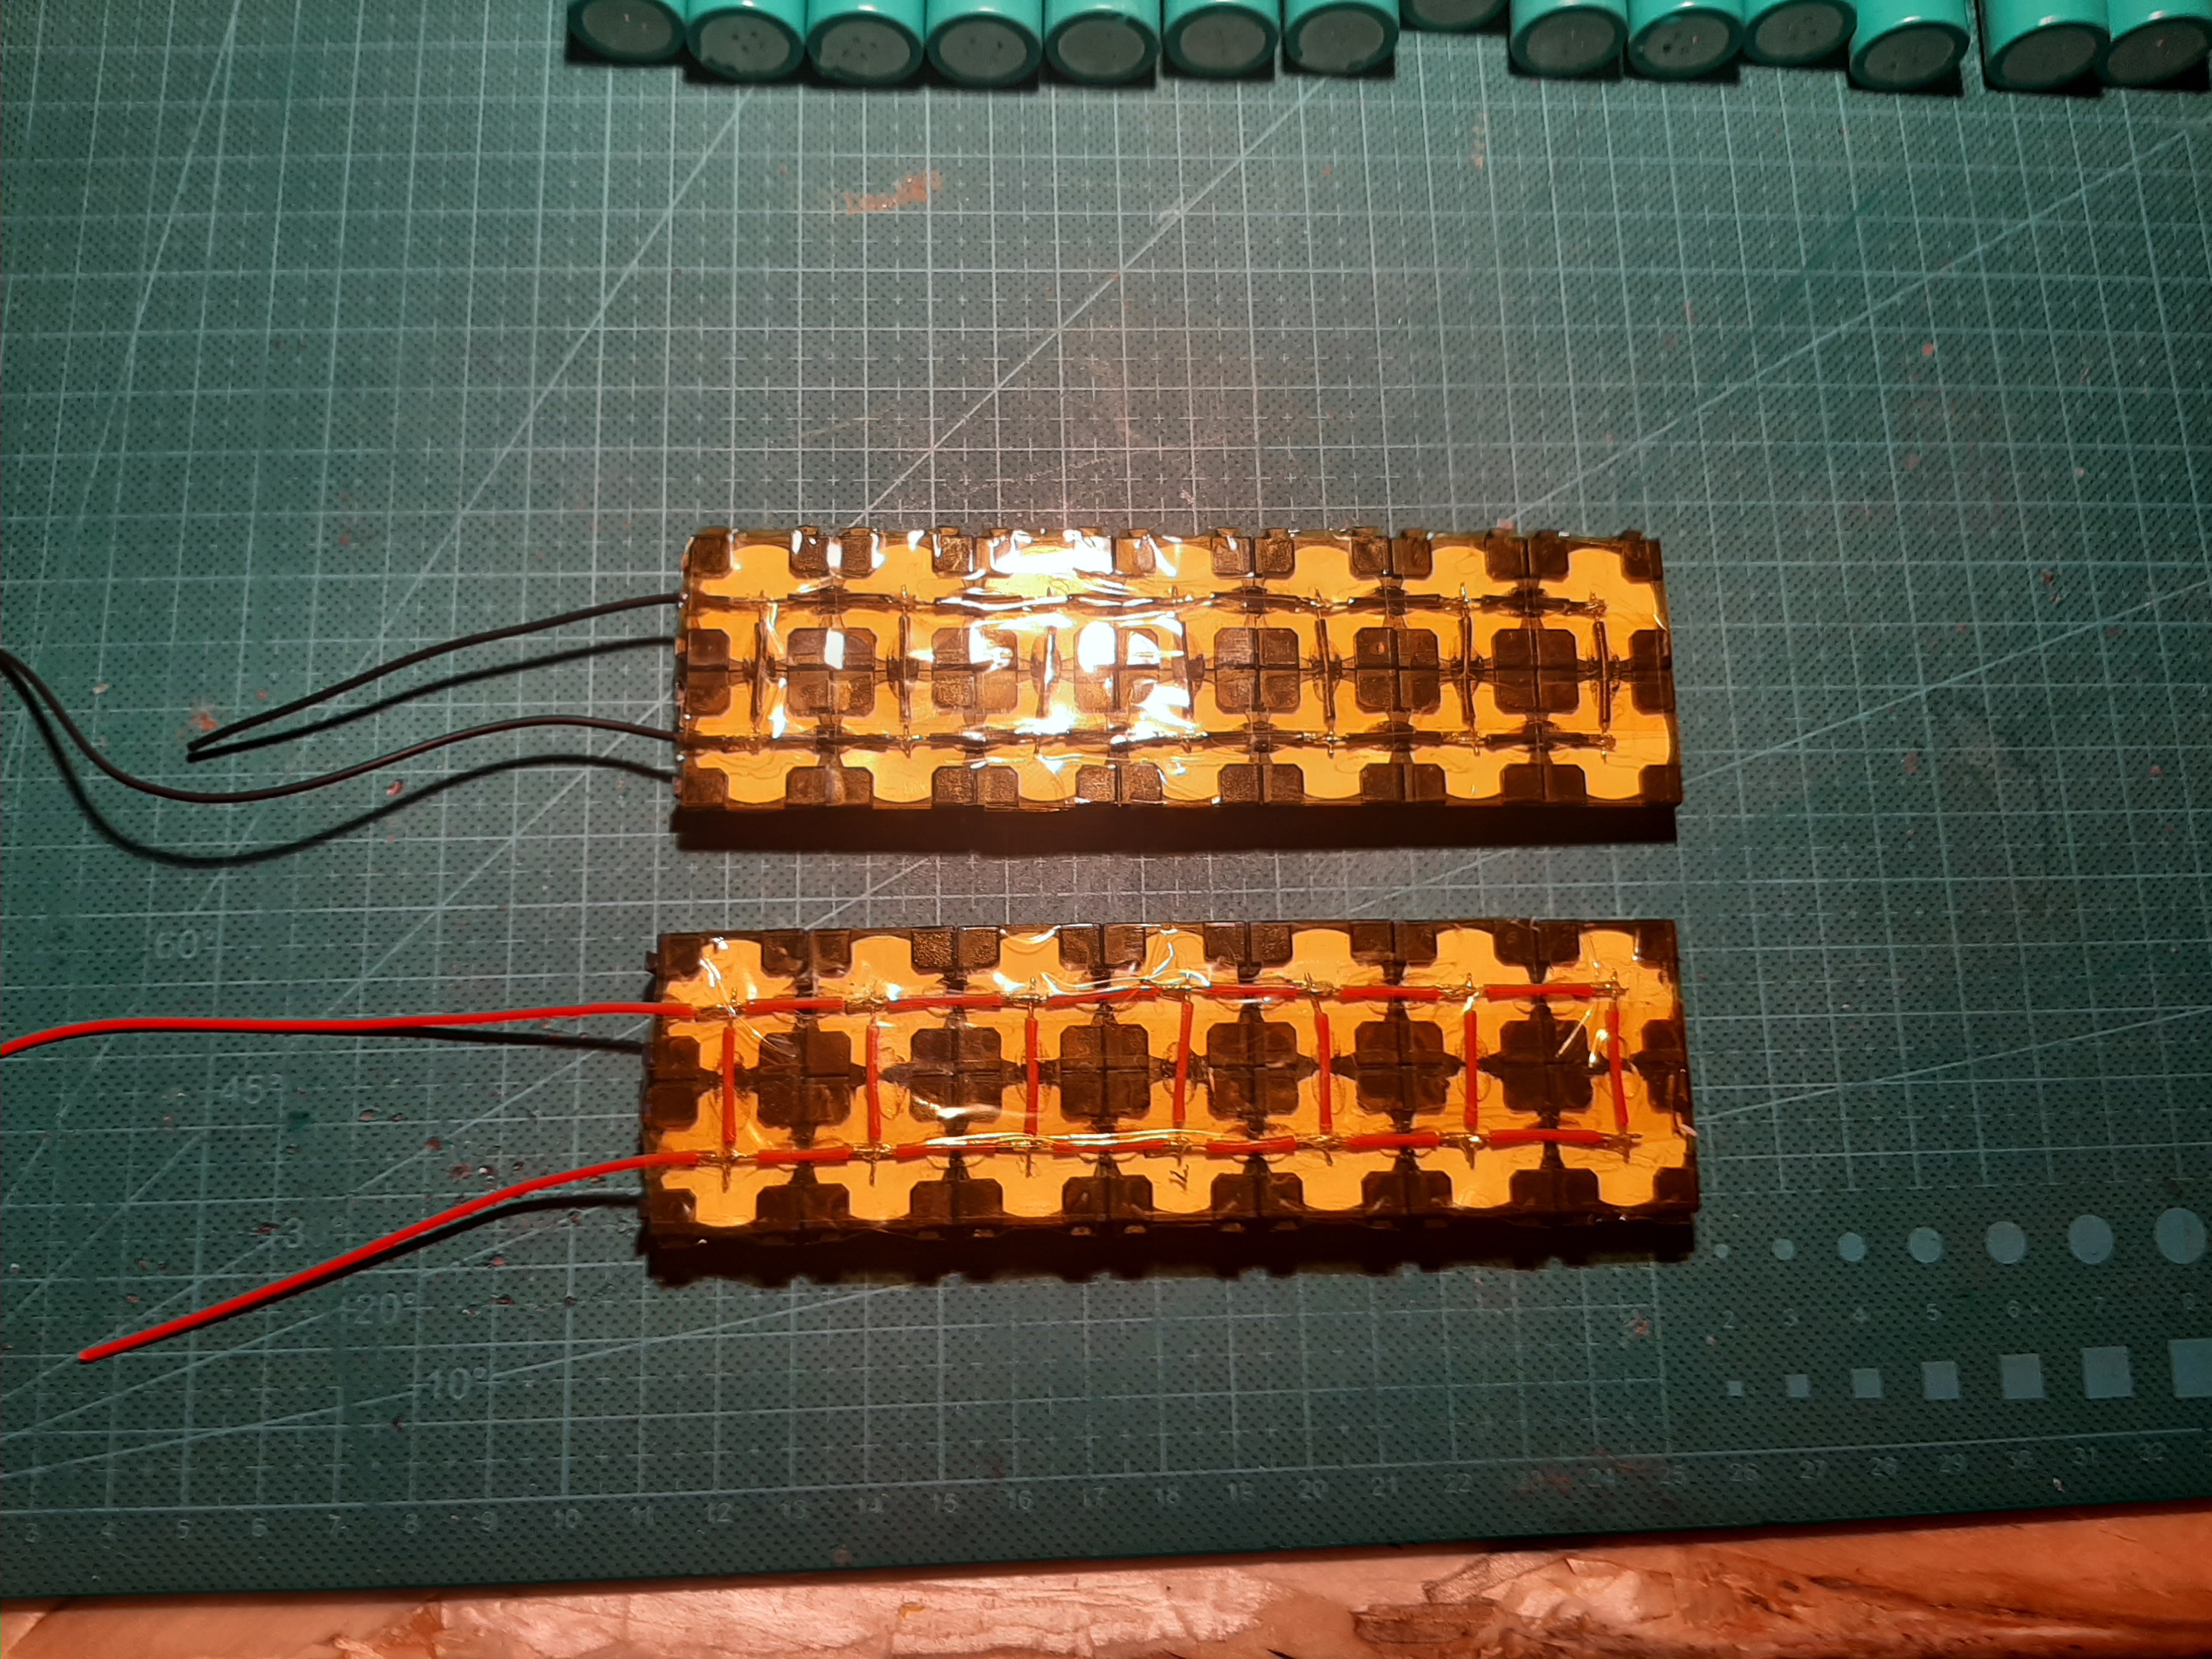
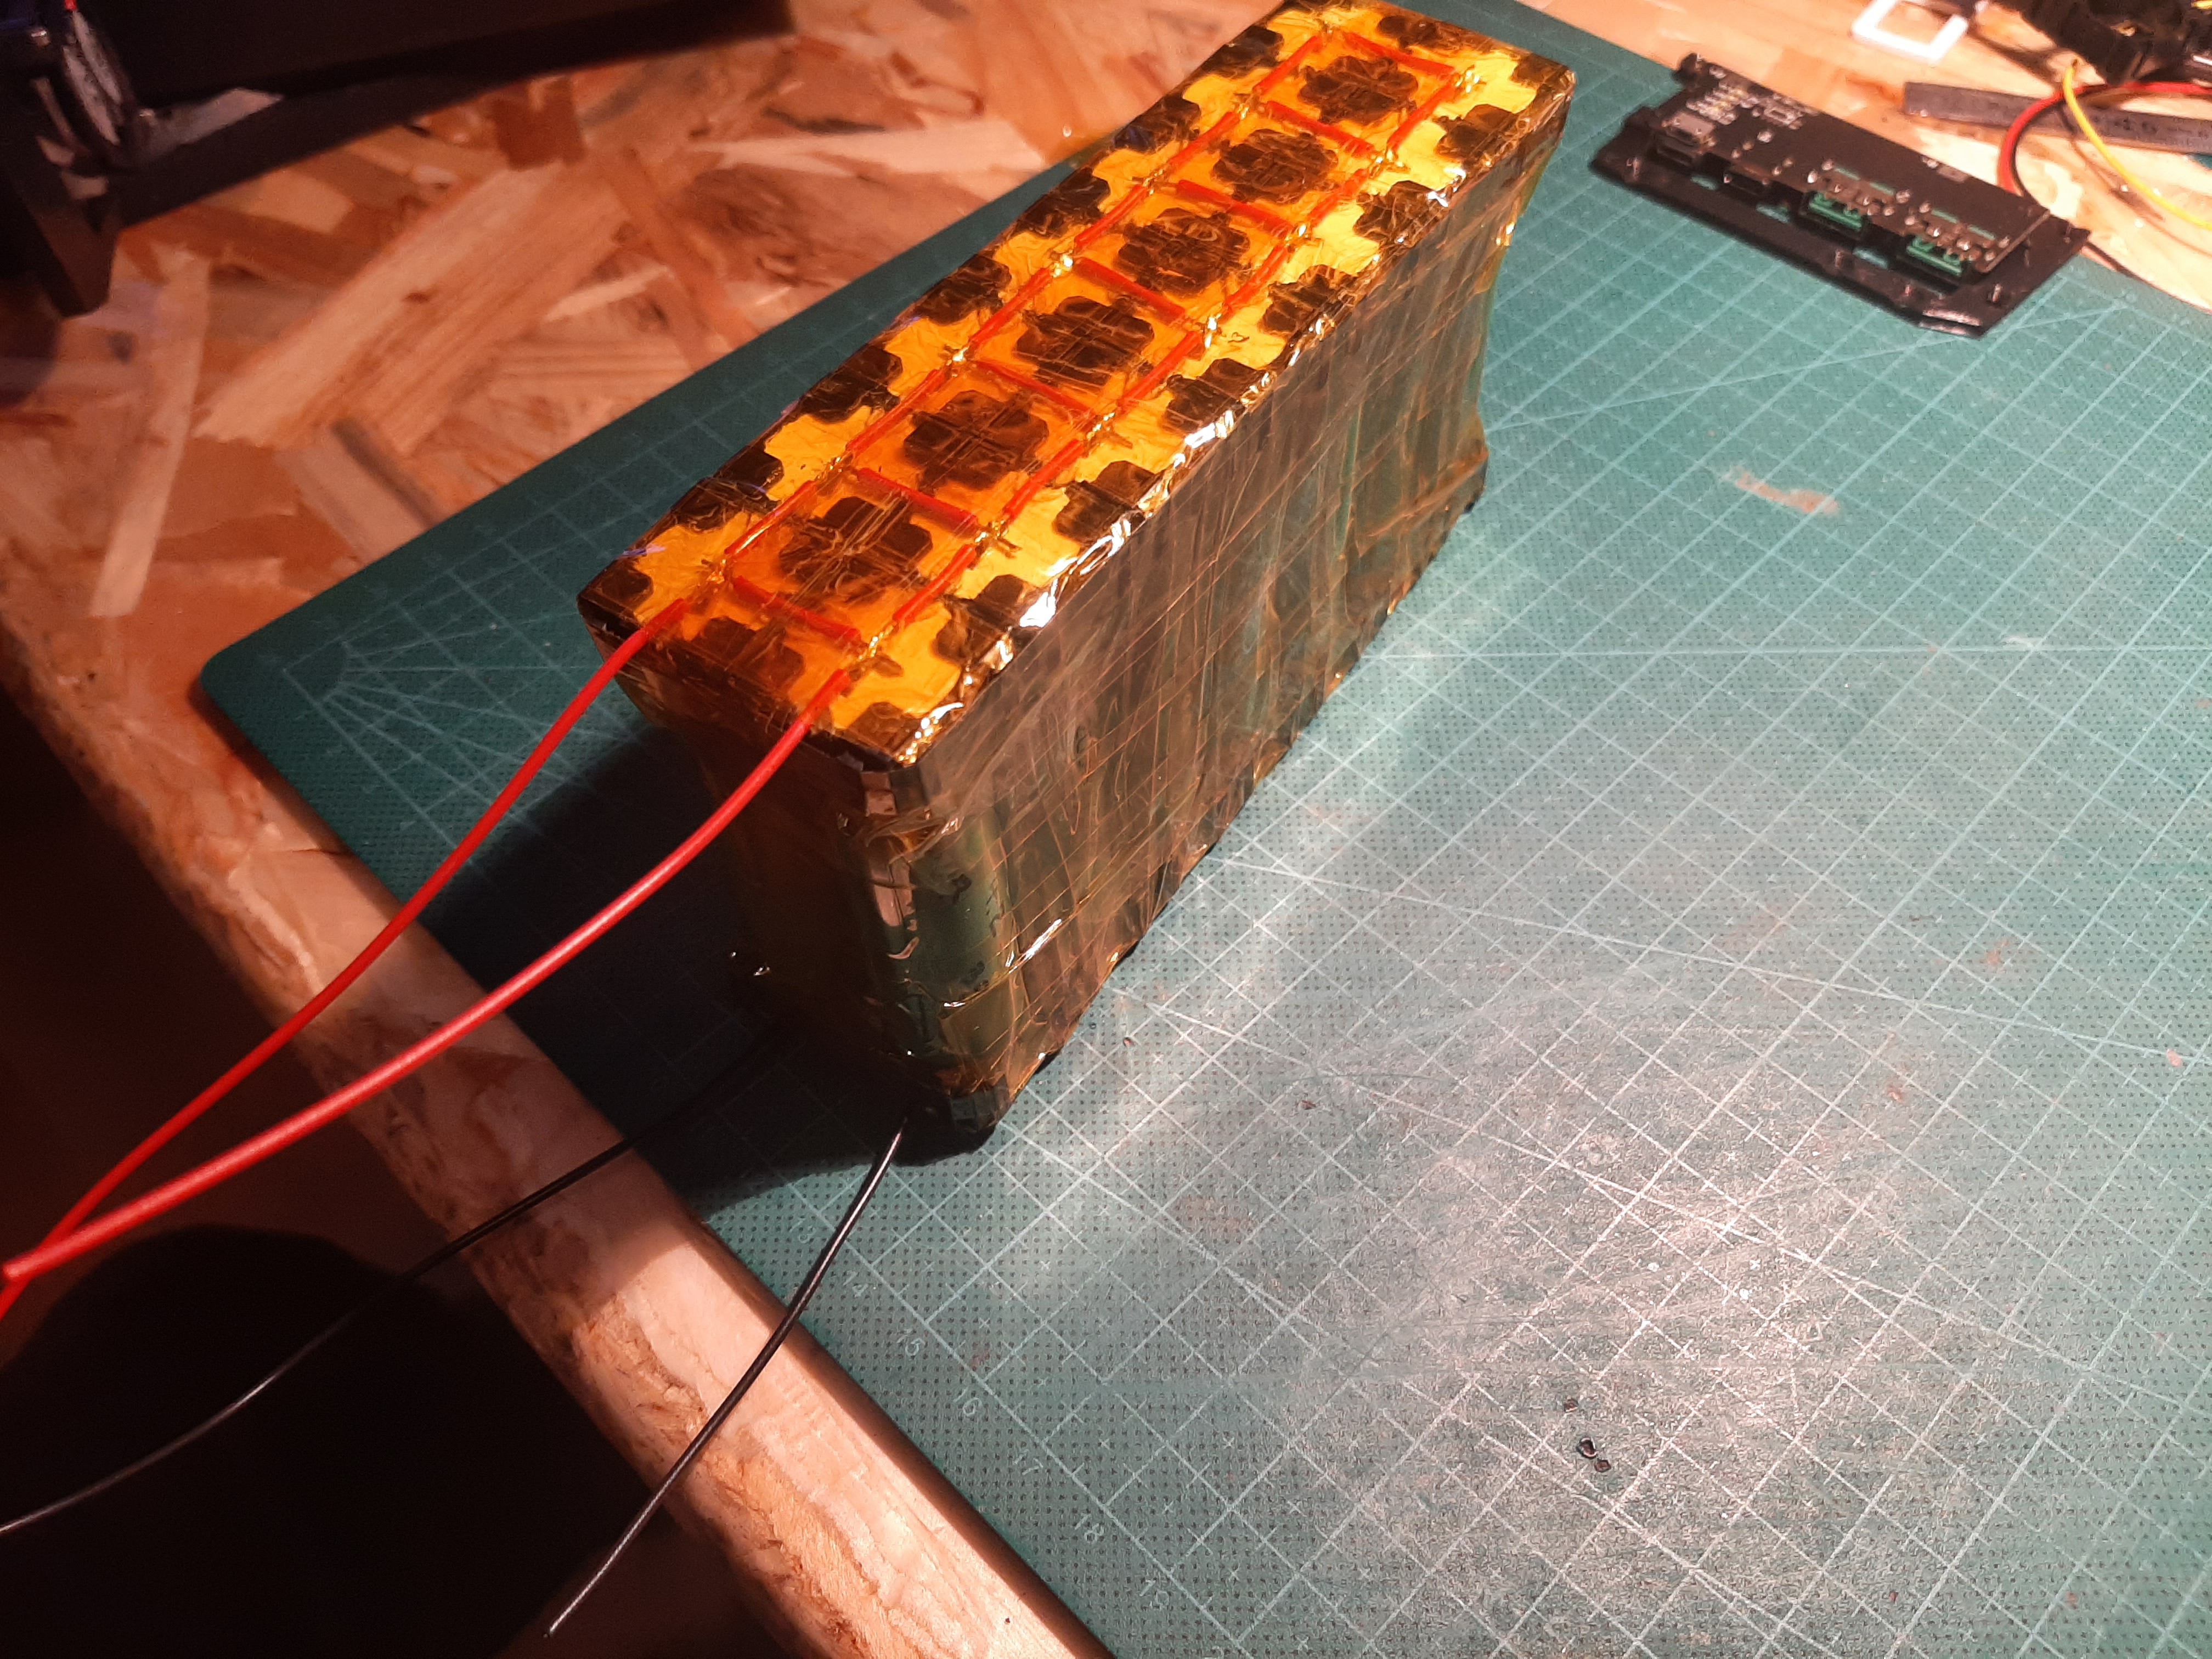
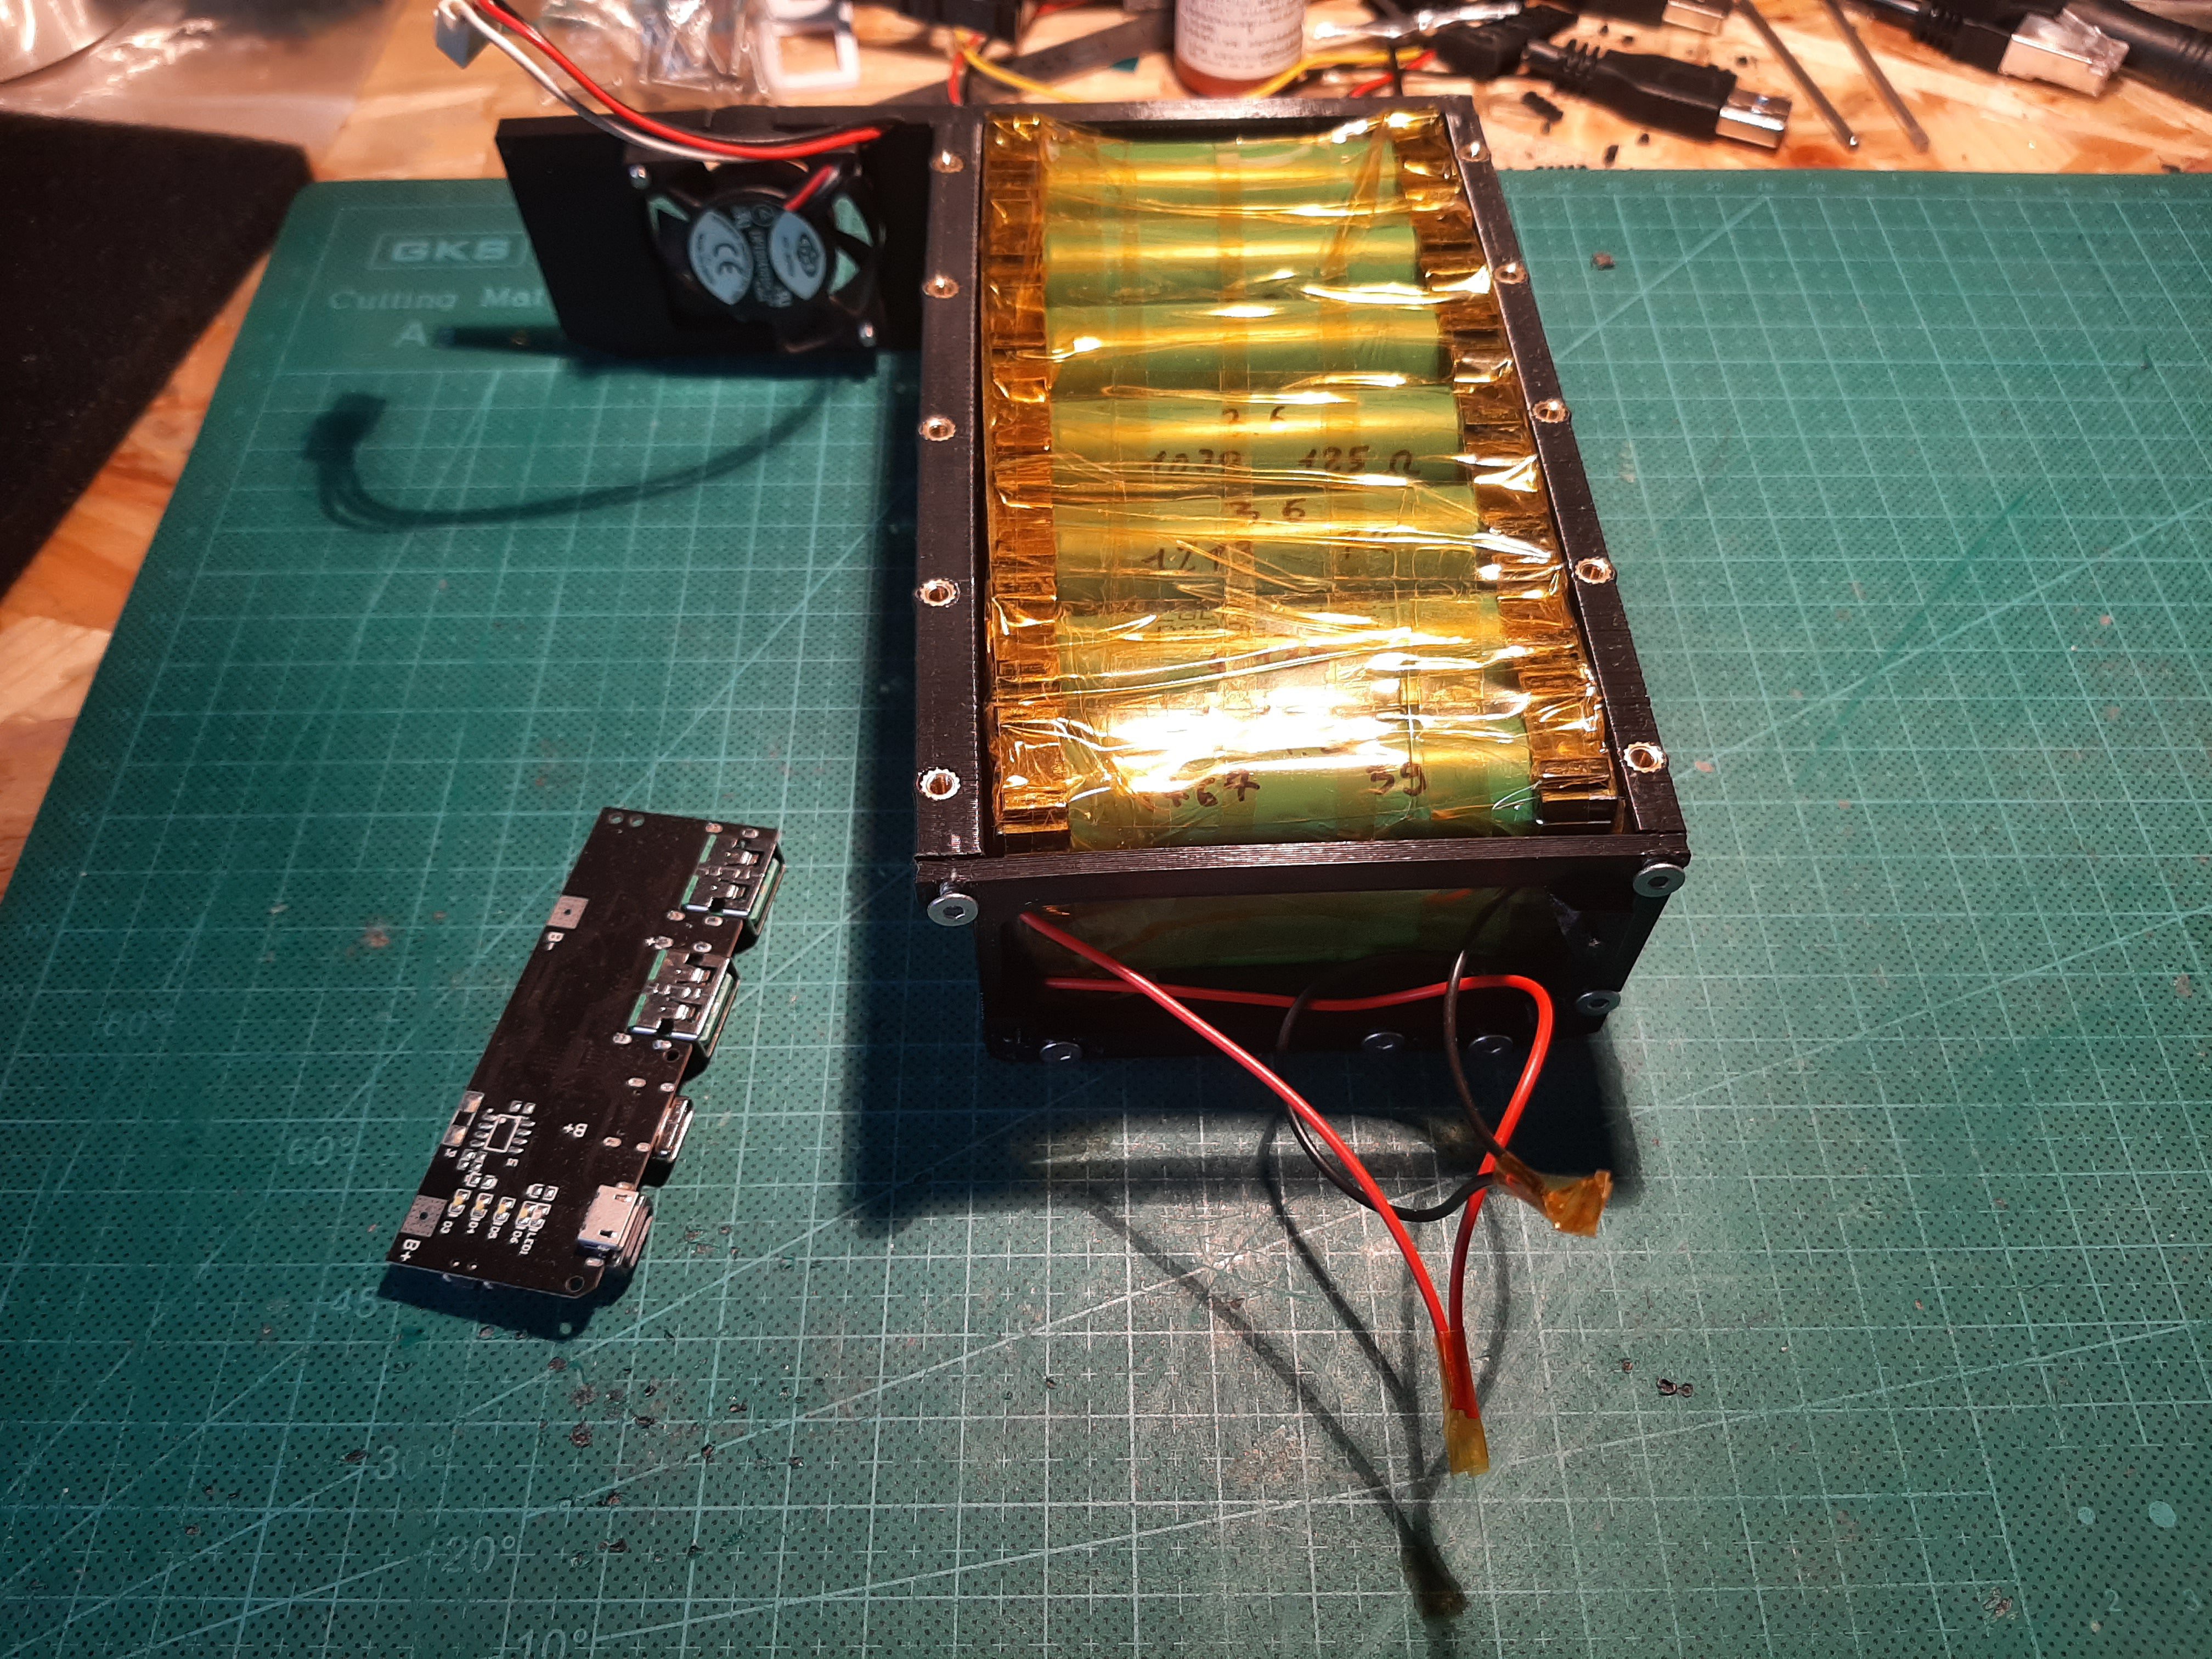
4Building the battery pack
14 cells in serie/parallel => 2S7P configuration
custom support for each sides of battery to avoid soldering directly to the pods, easy change.
Following pictures are from my previous attempt, 1S14P pack. I forgot to shoot the new battery, sorry :)
![]()
![]()
![]()
![]()
![]()
![]()
![]()
![]()
![]()
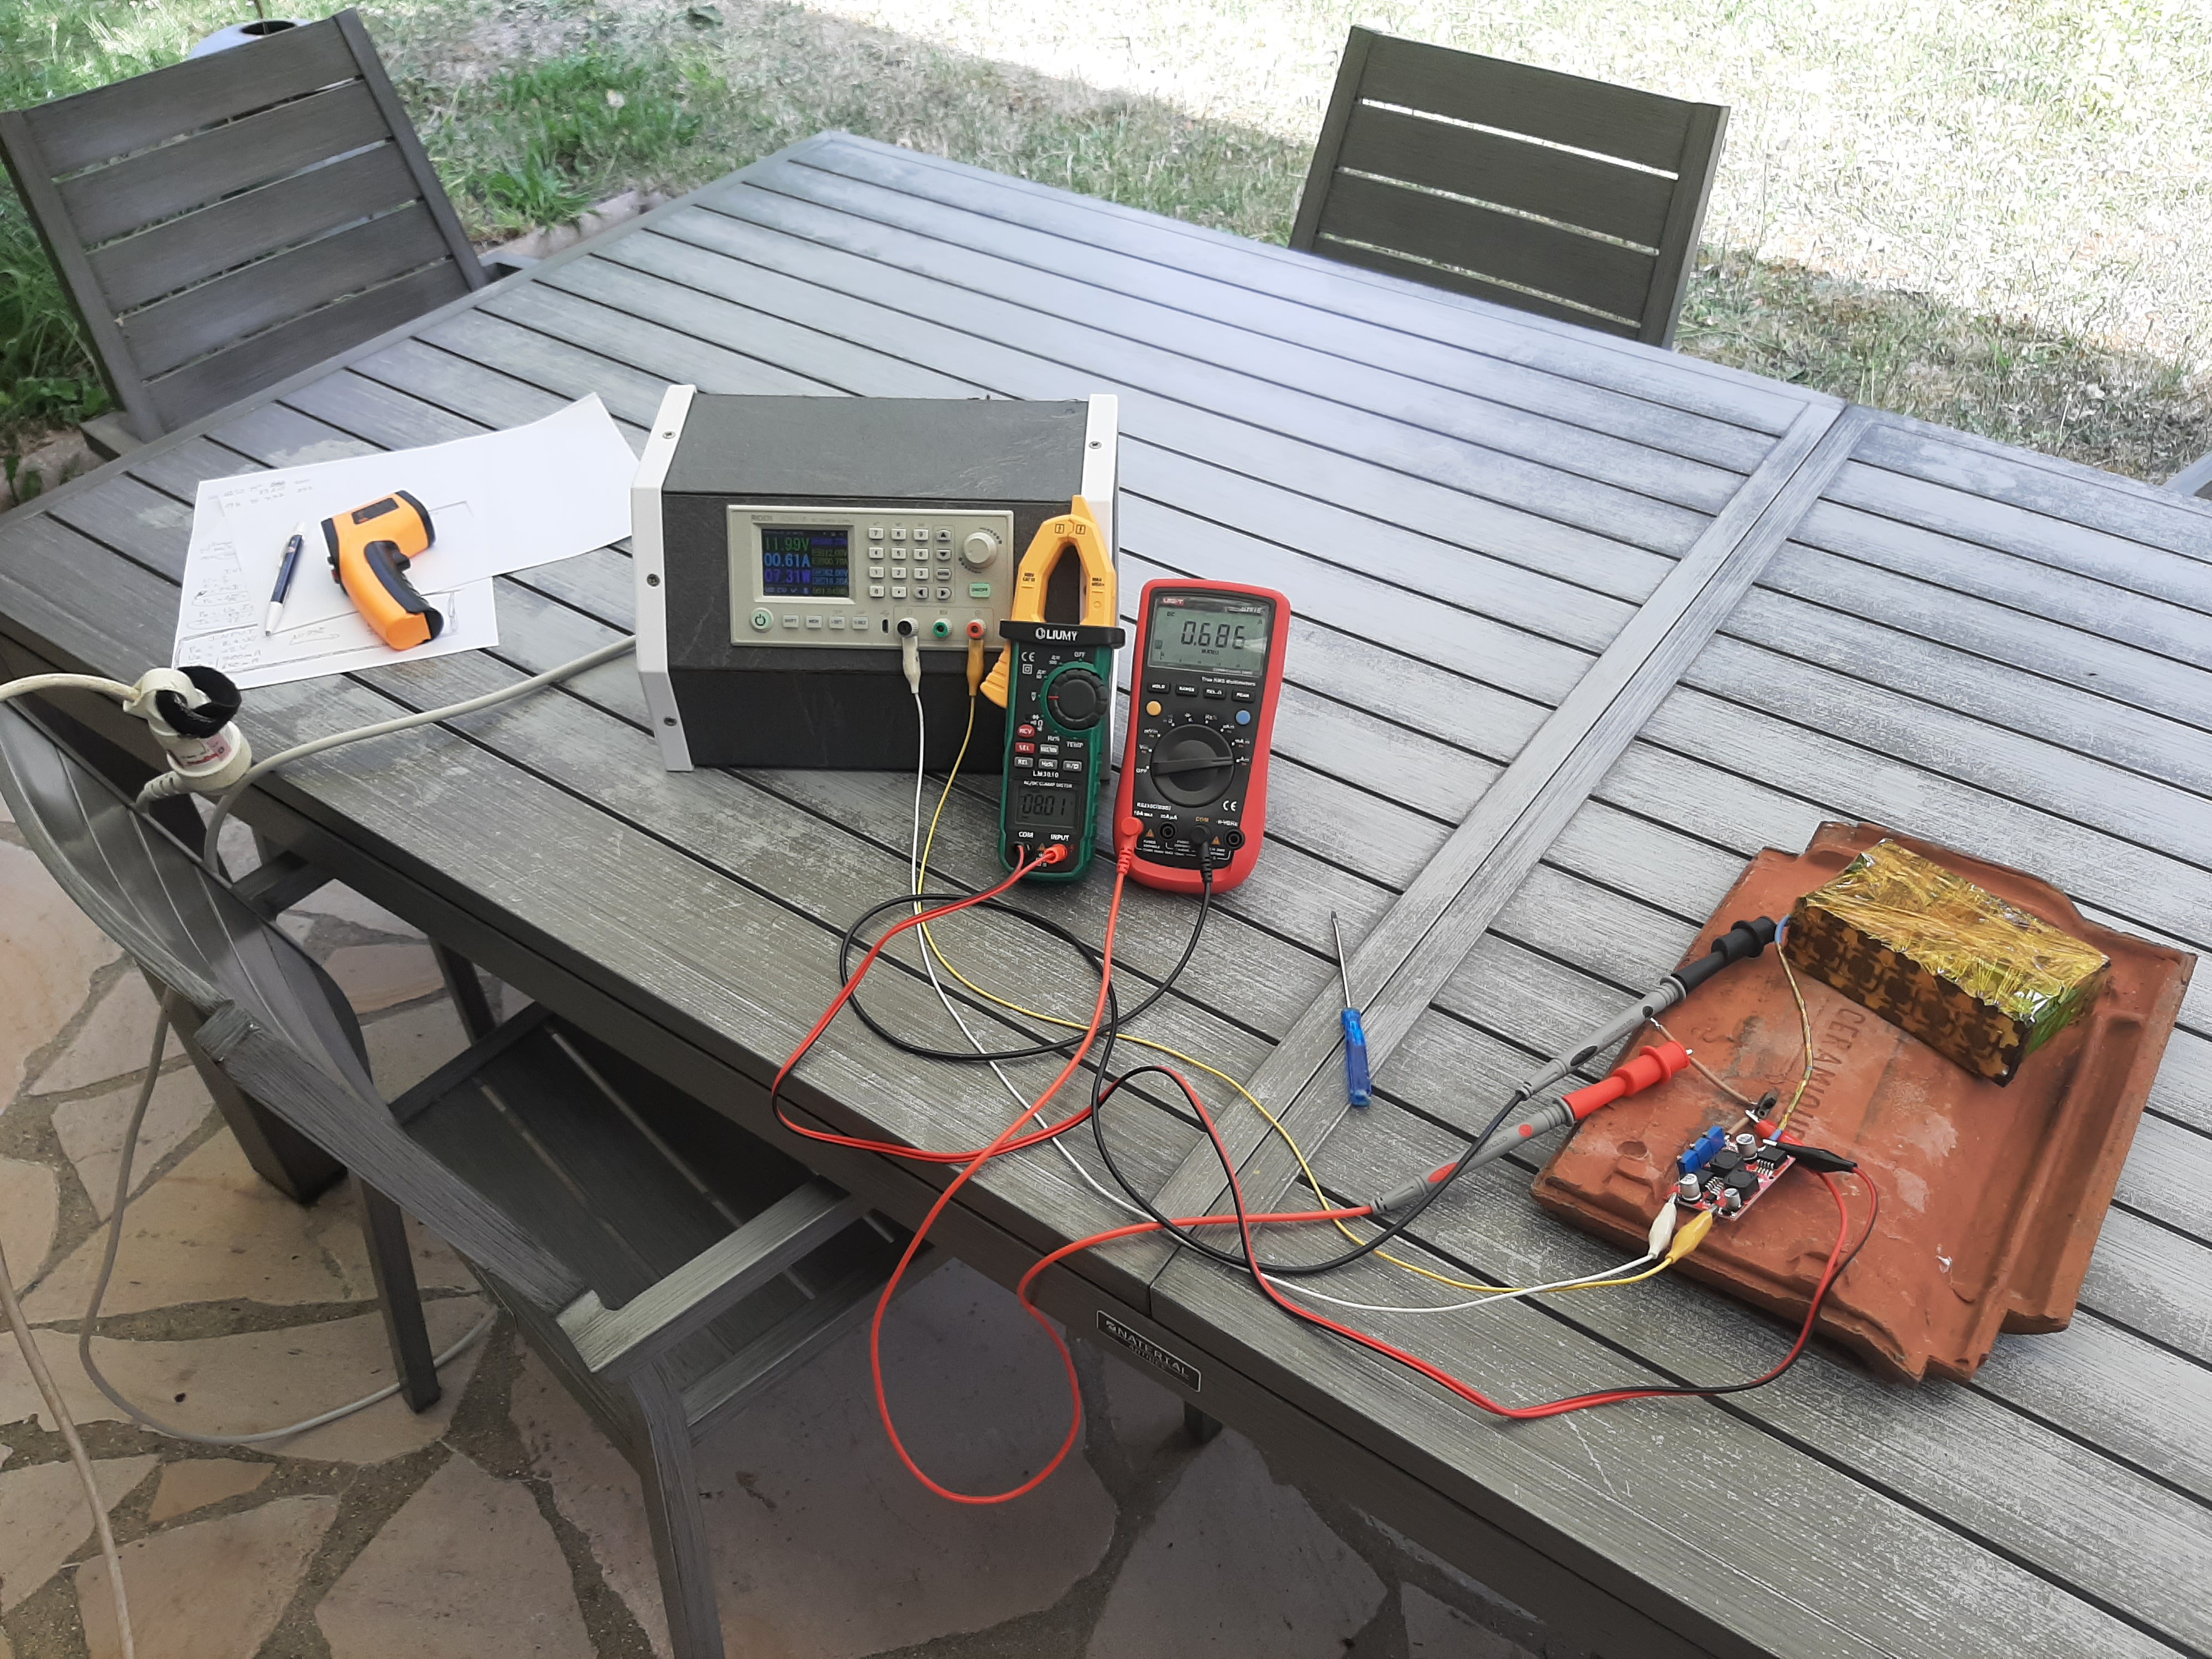
Battery pack testing with the real 2S7P pack. Seems working fine, no fumes :)
![]()
-
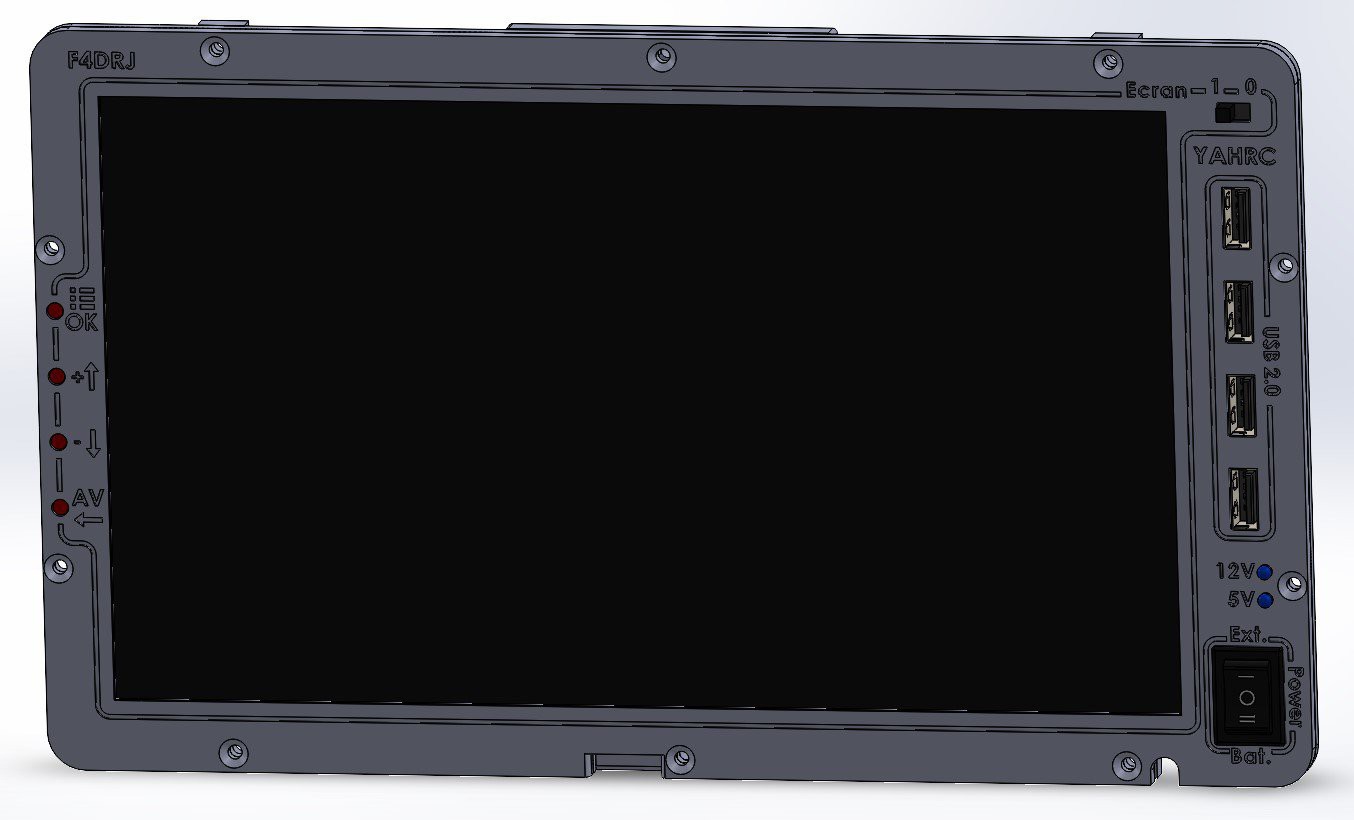
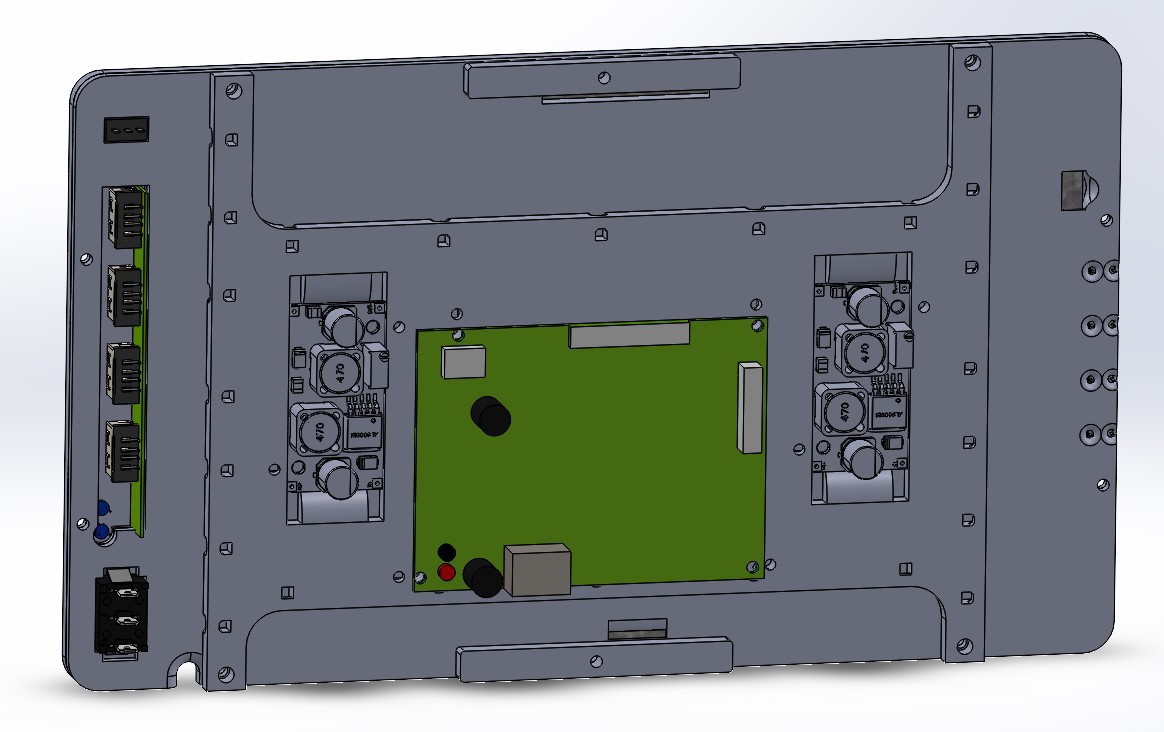
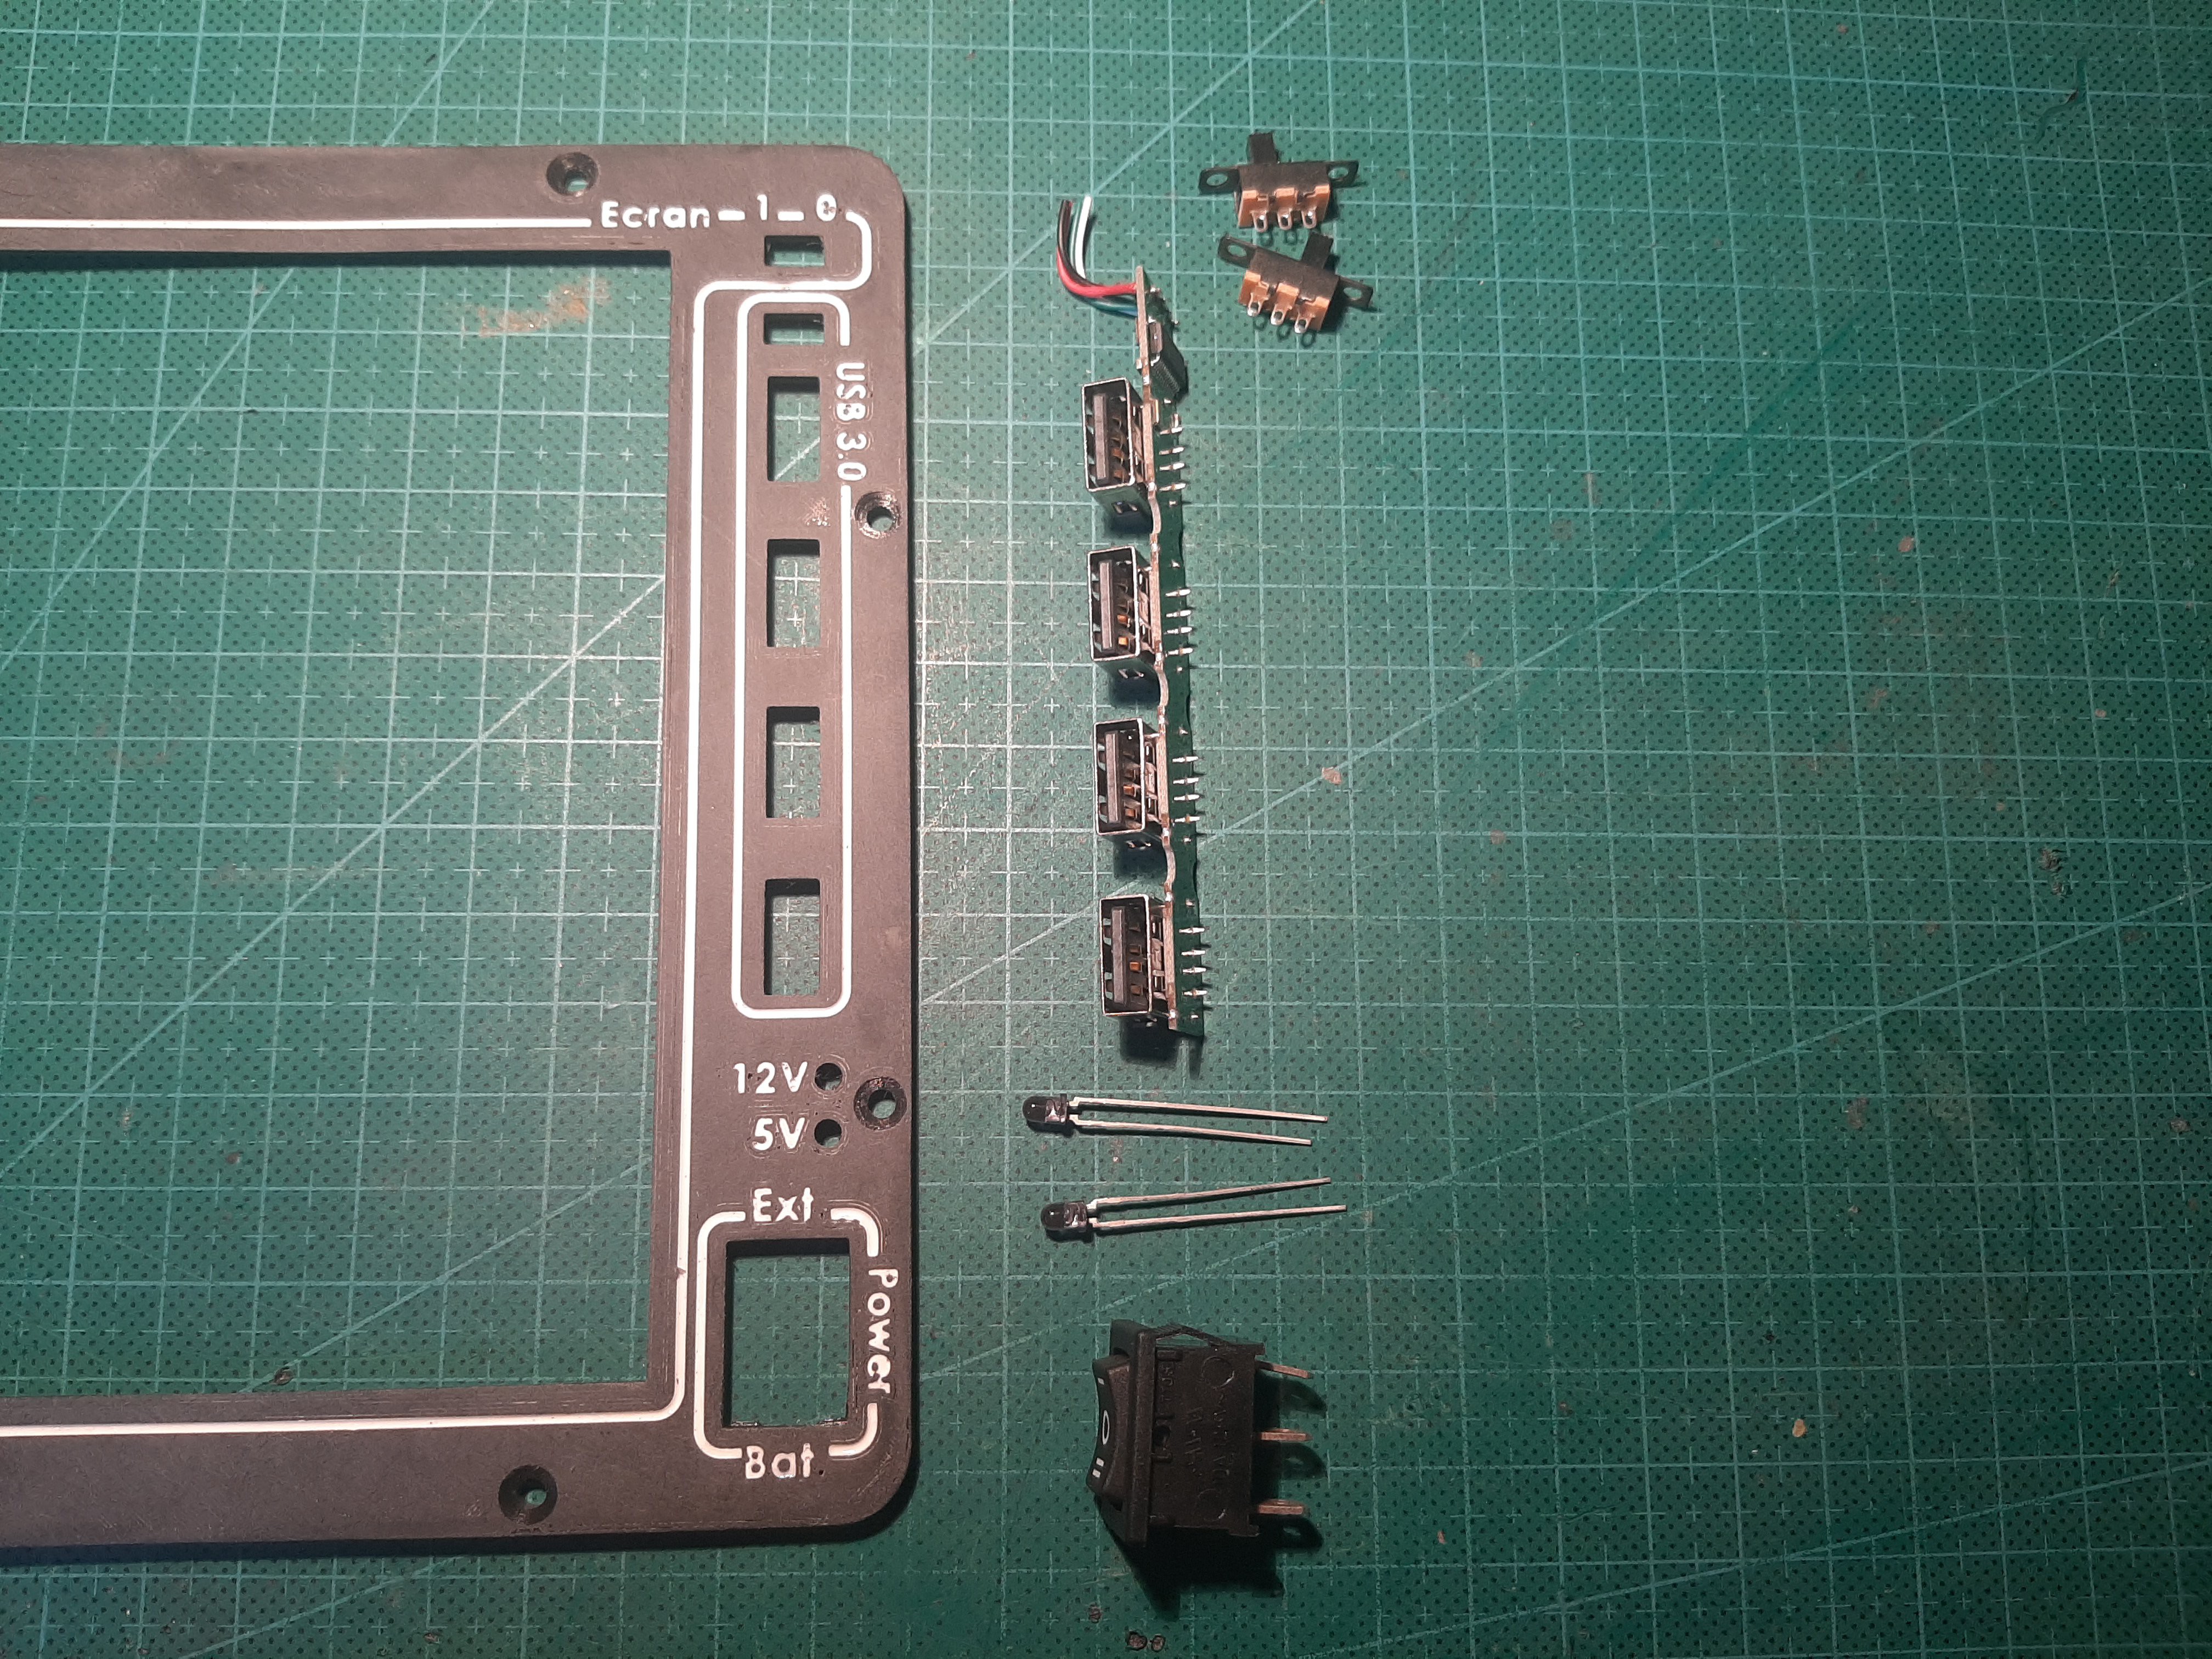
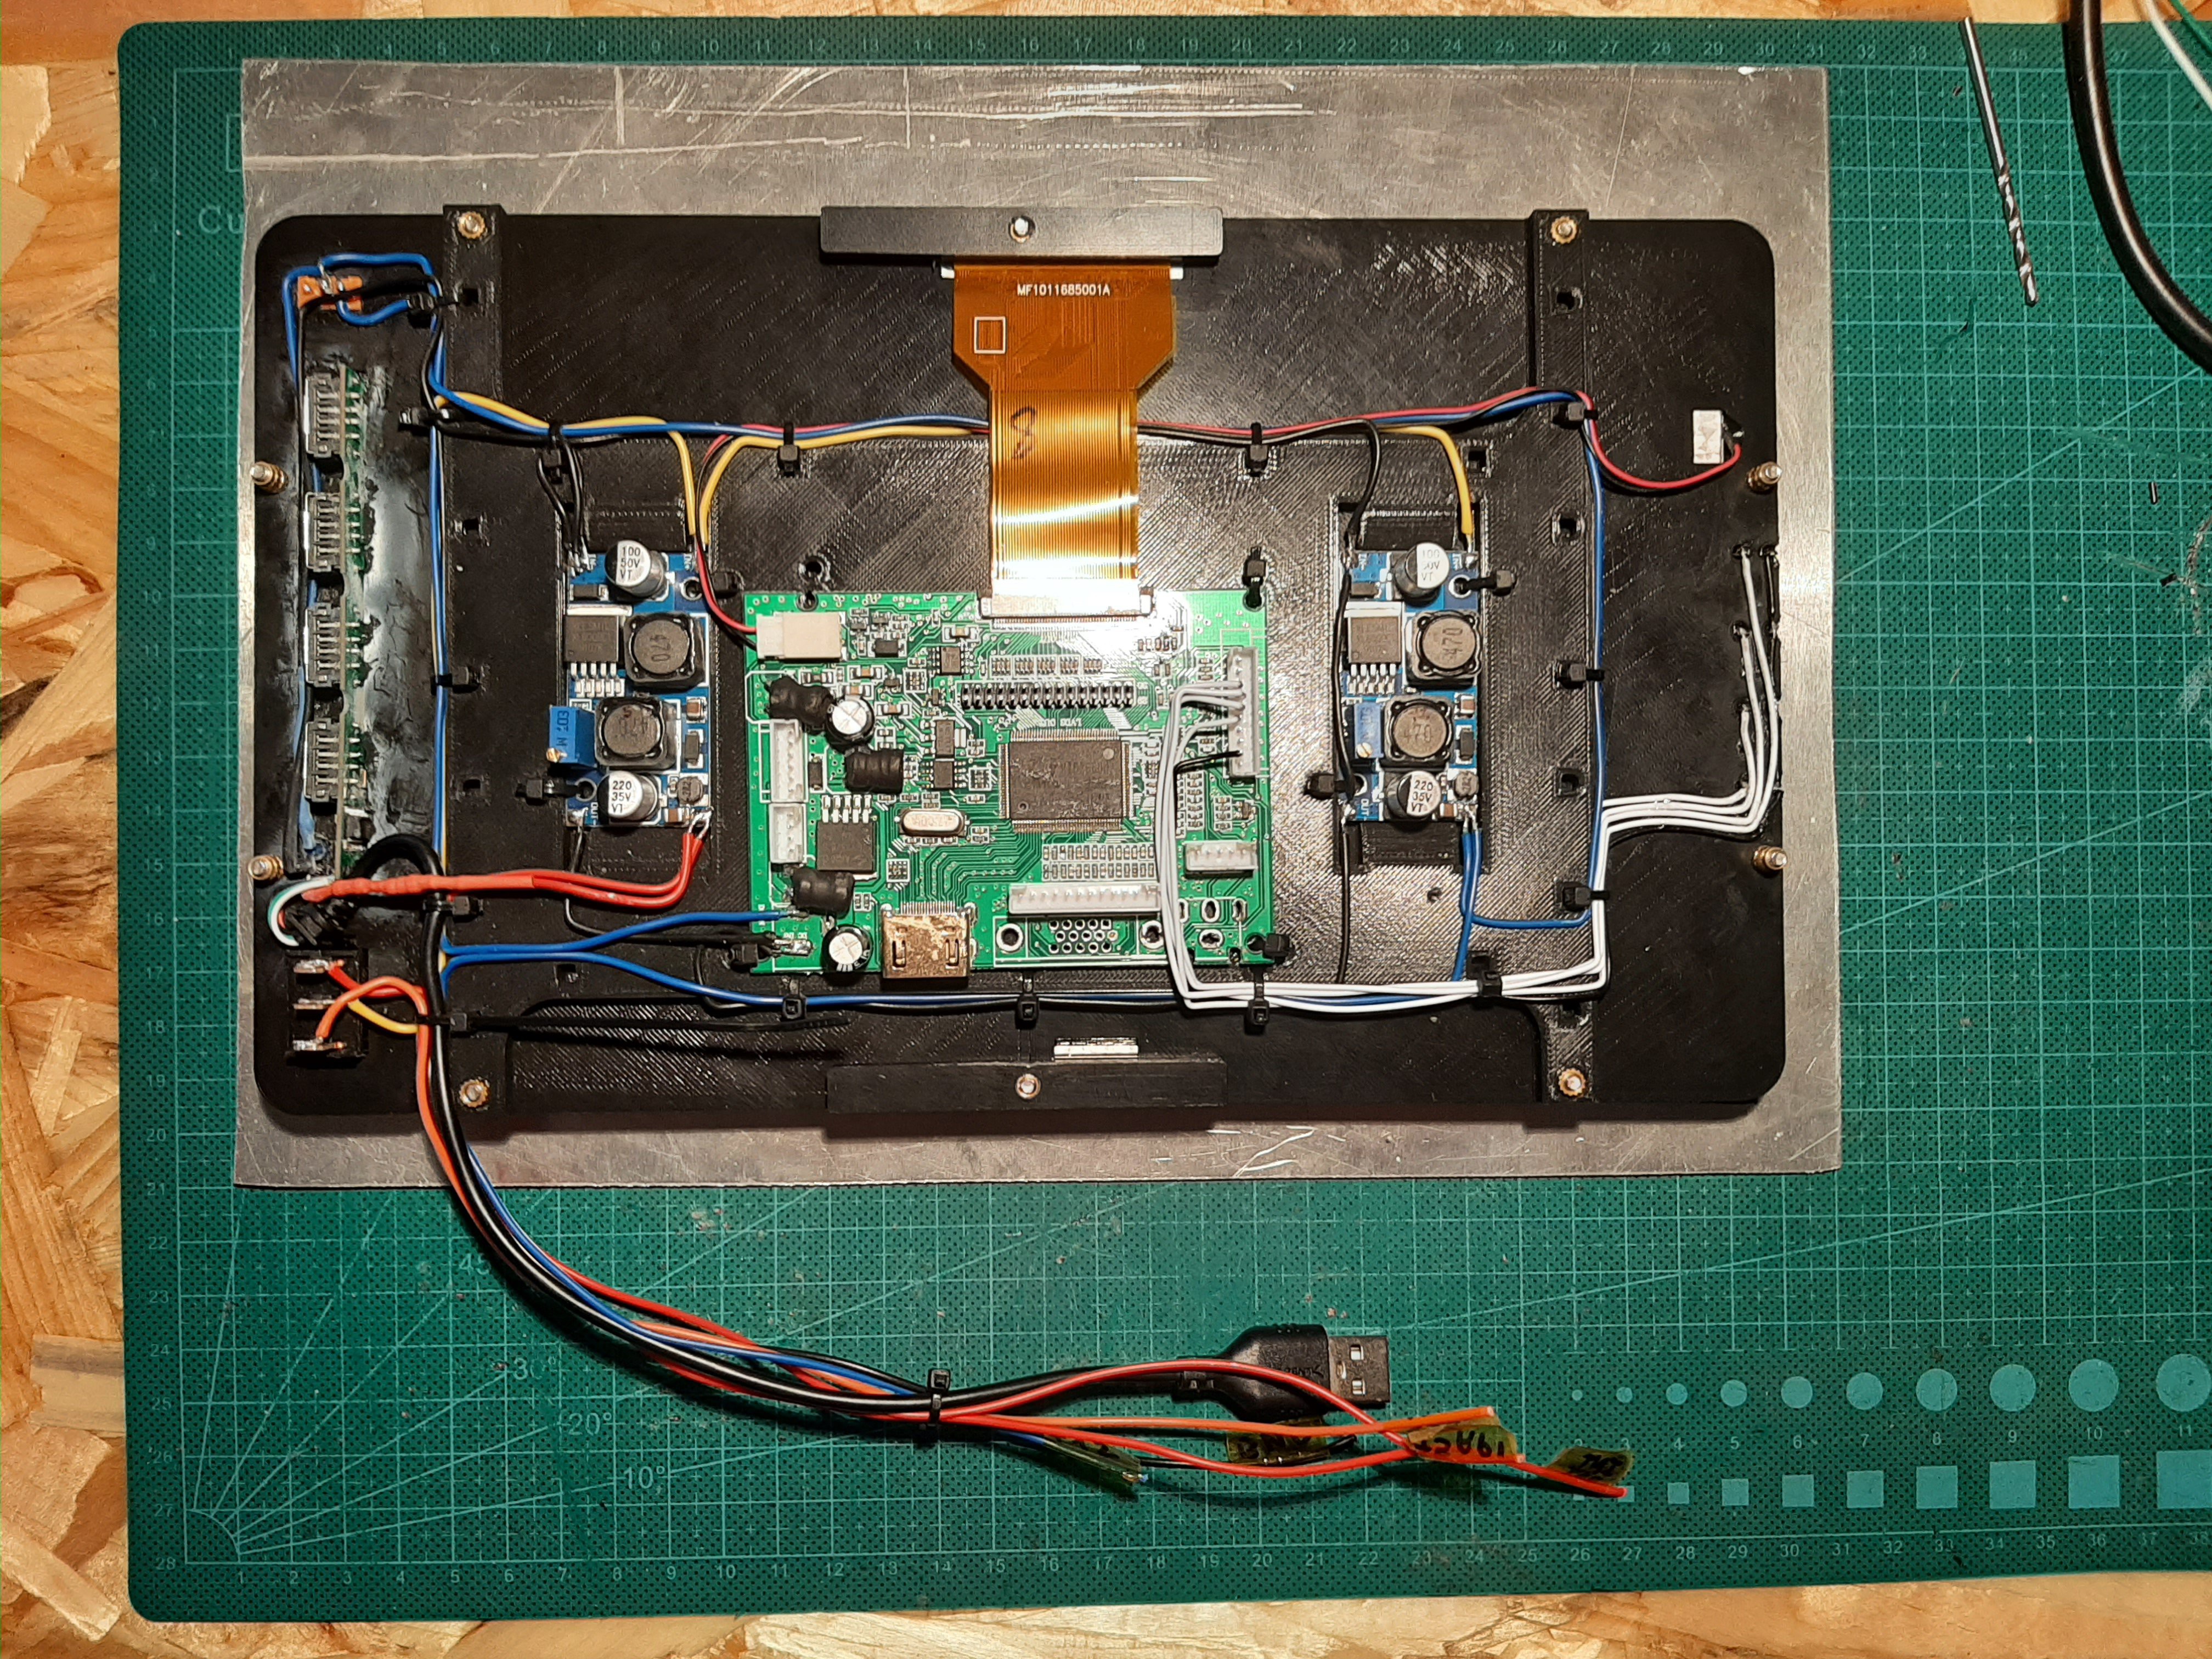
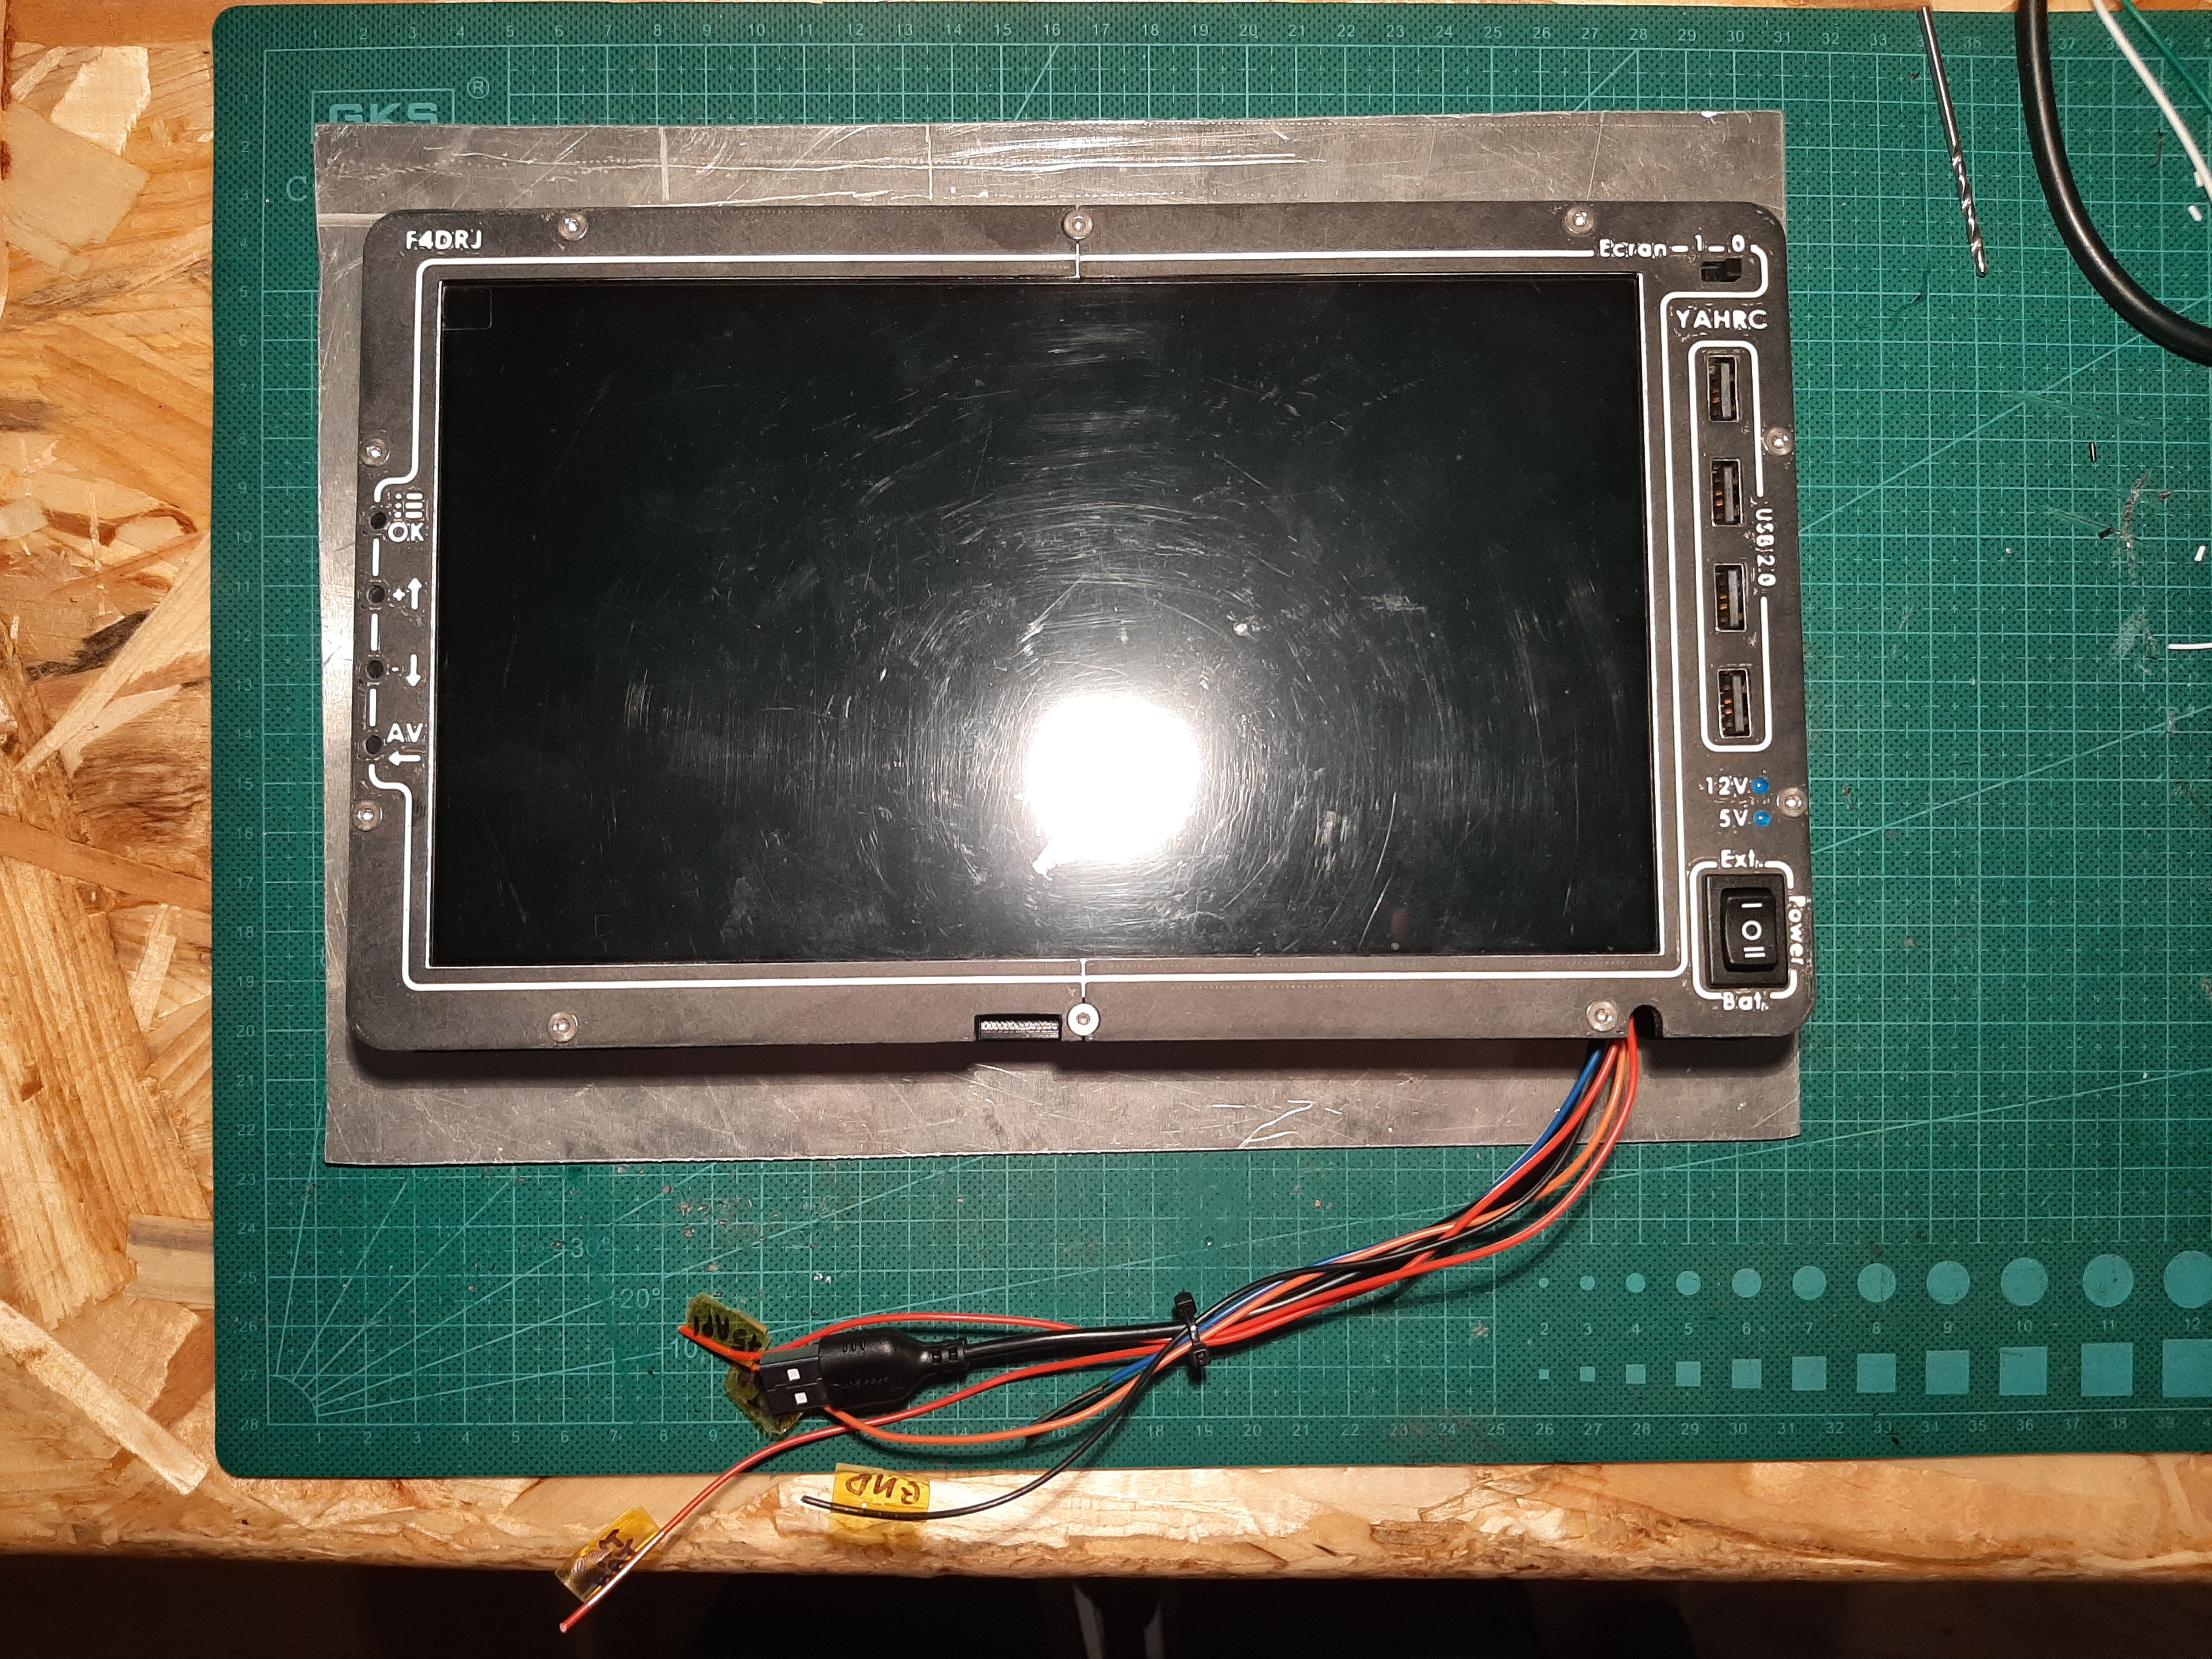
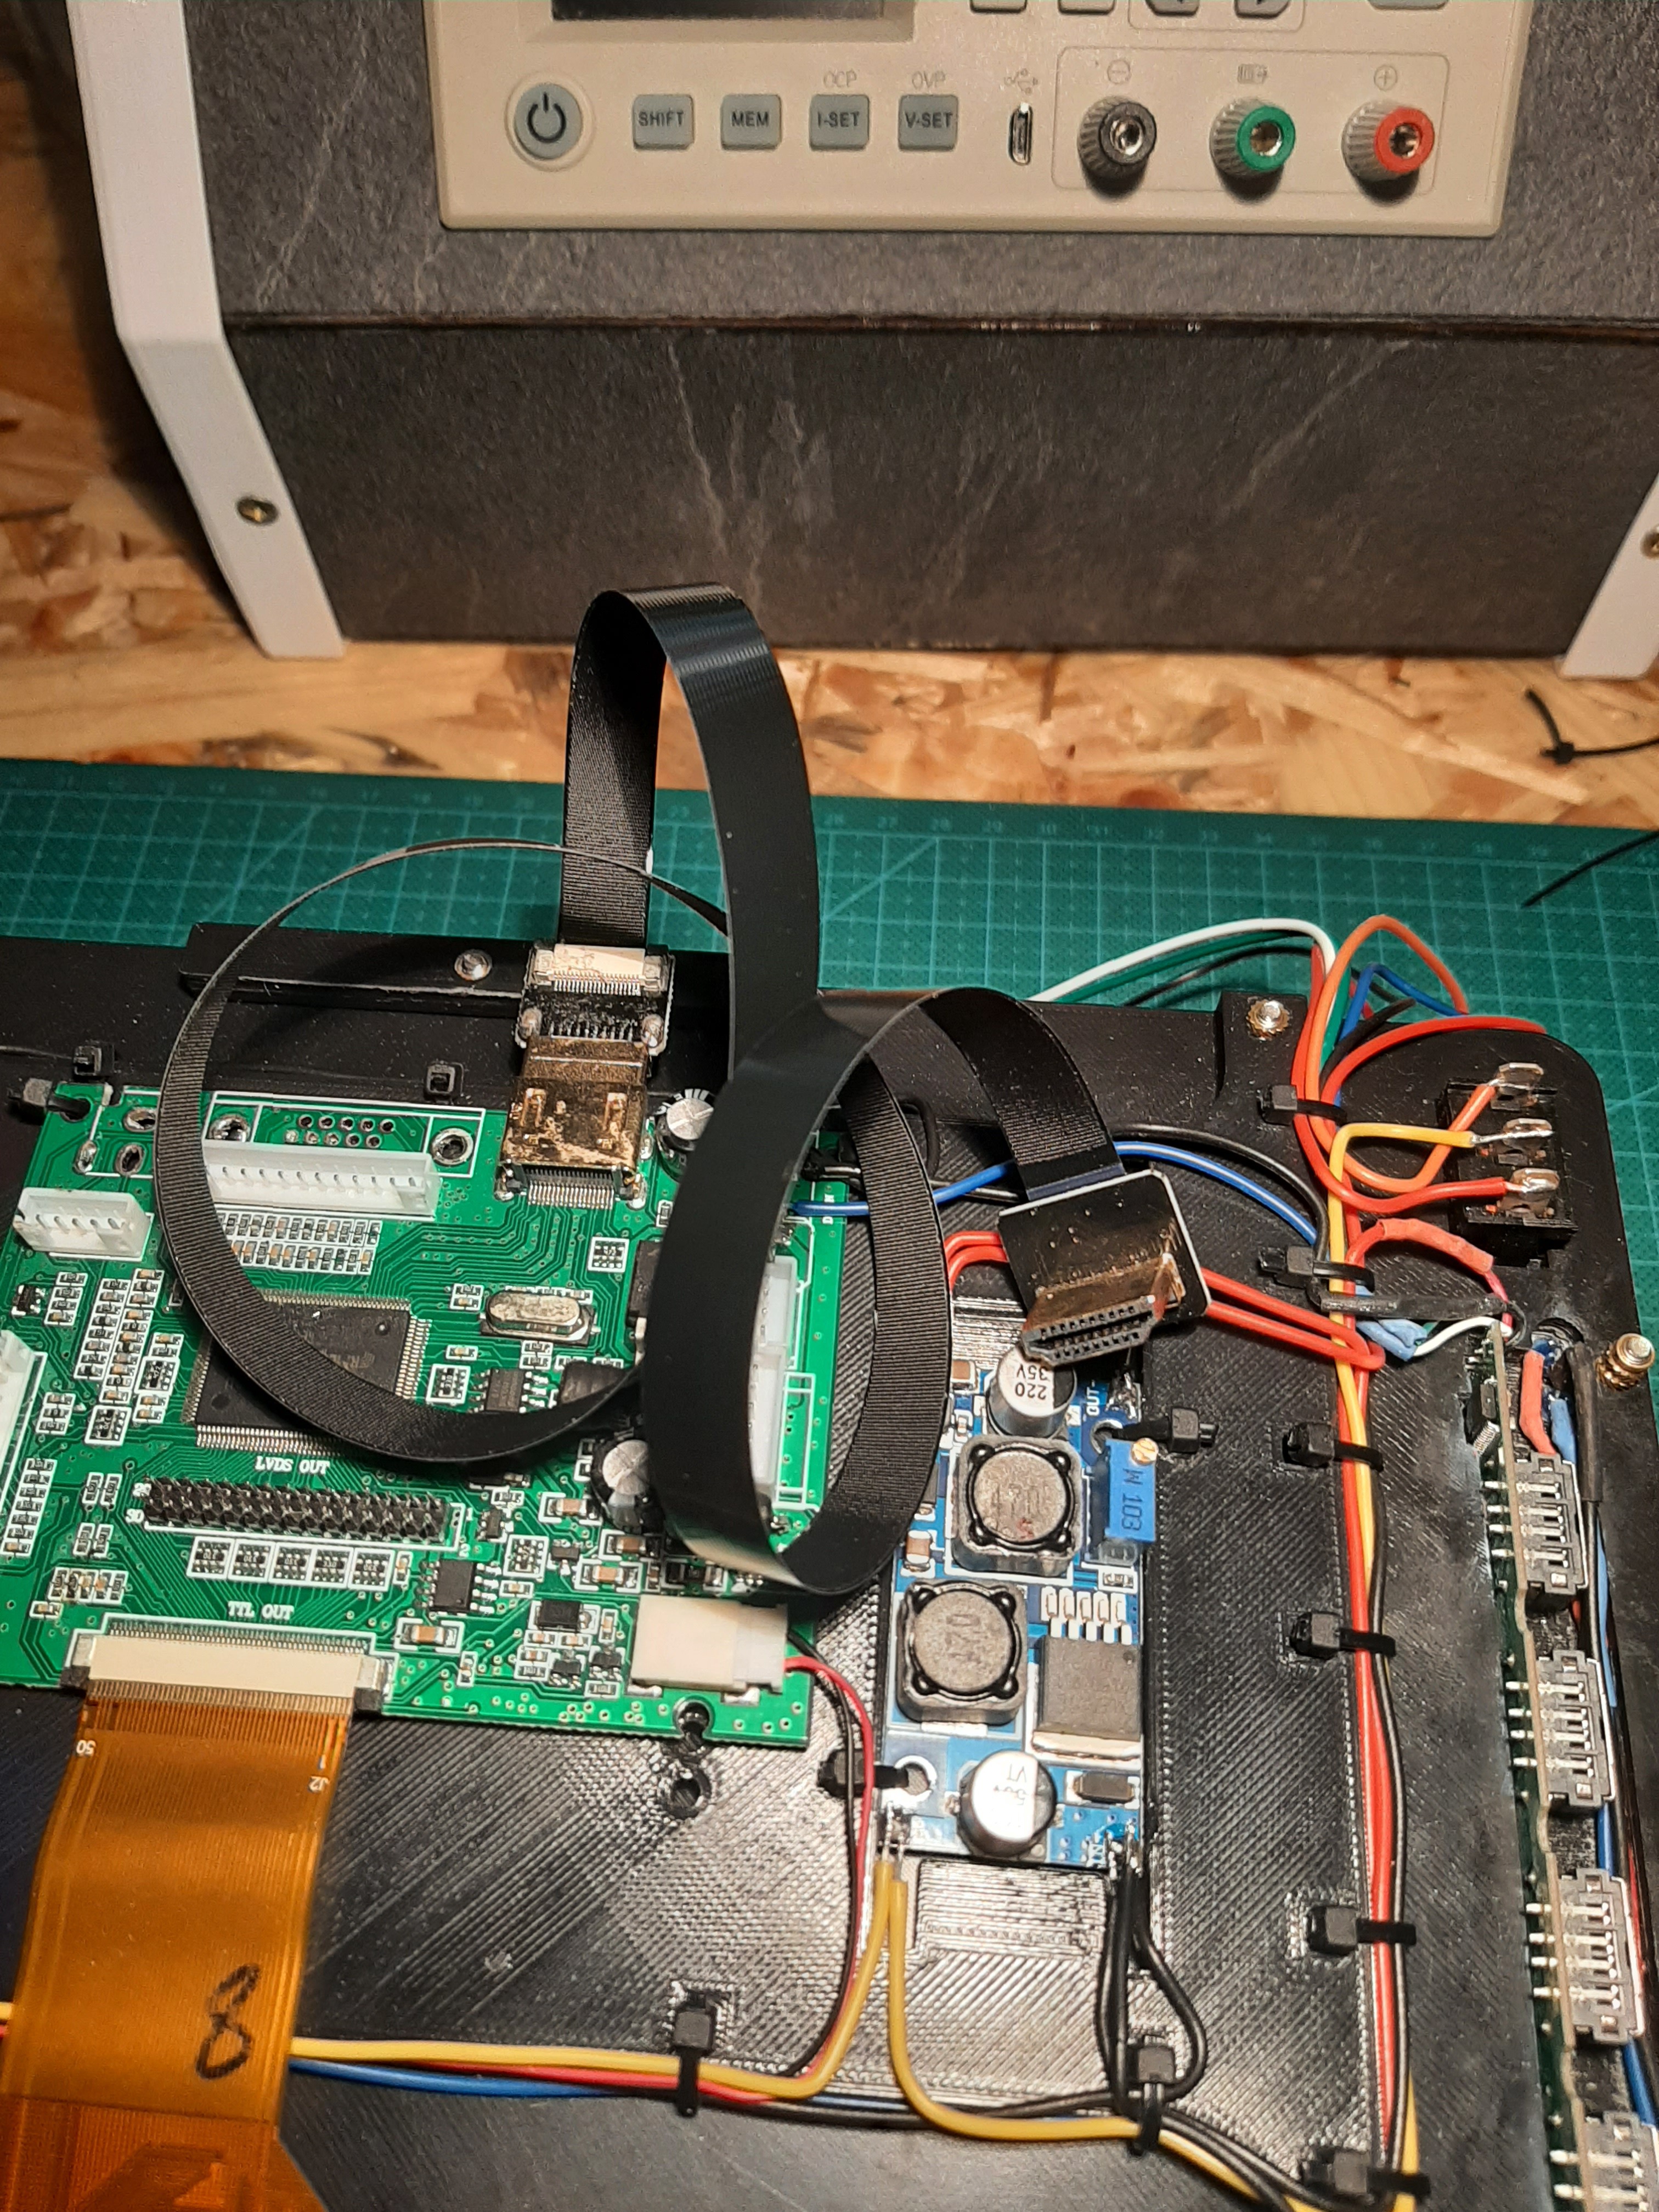
5Assembly of the screen part and cable managment
![]()
![]()
![]()
-
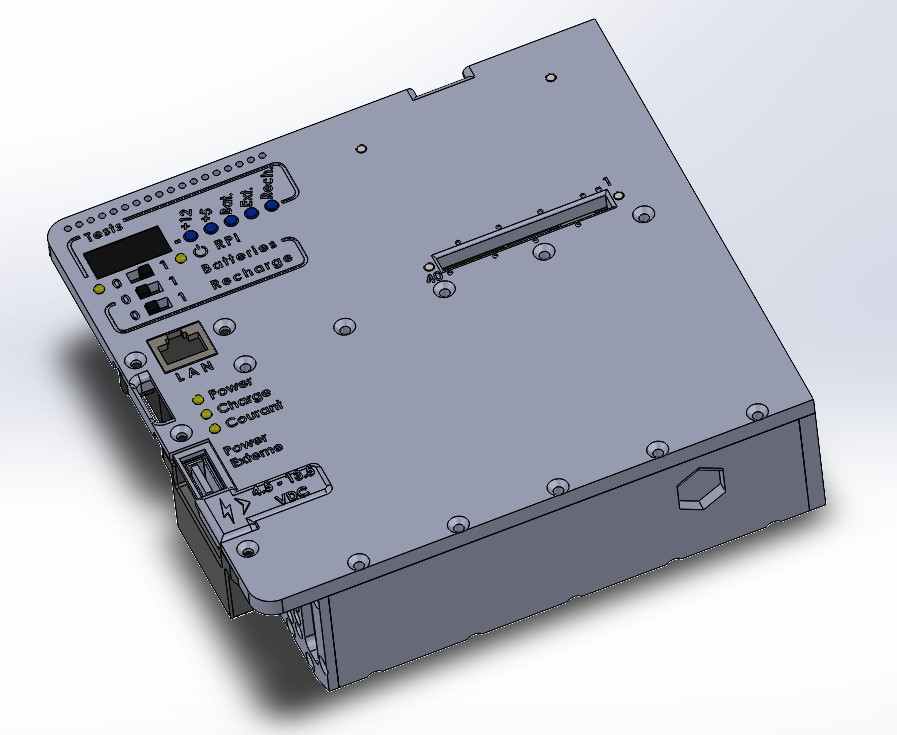
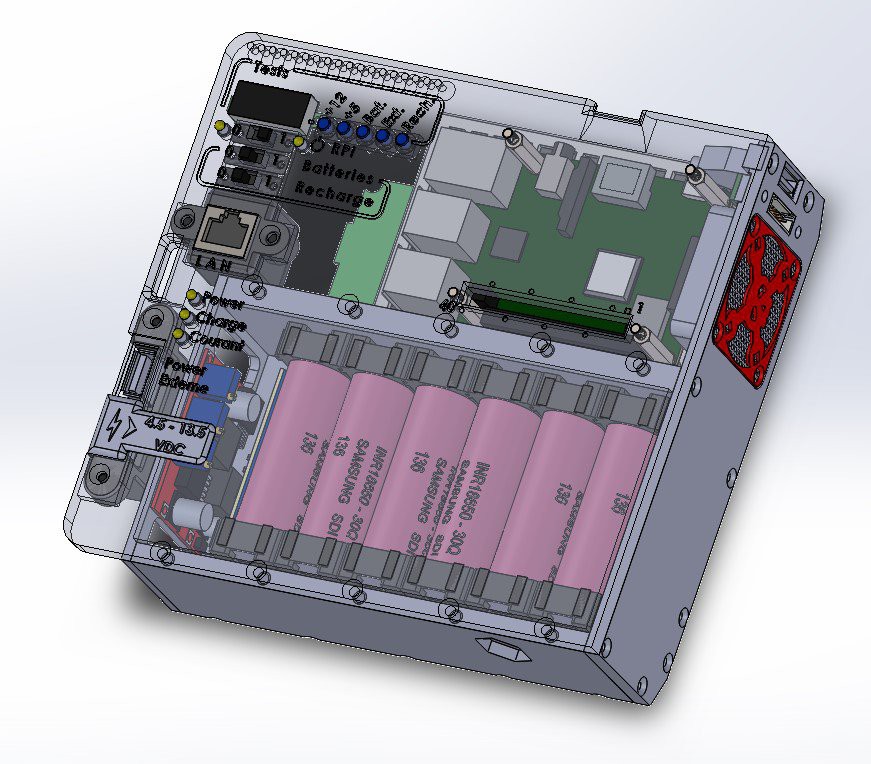
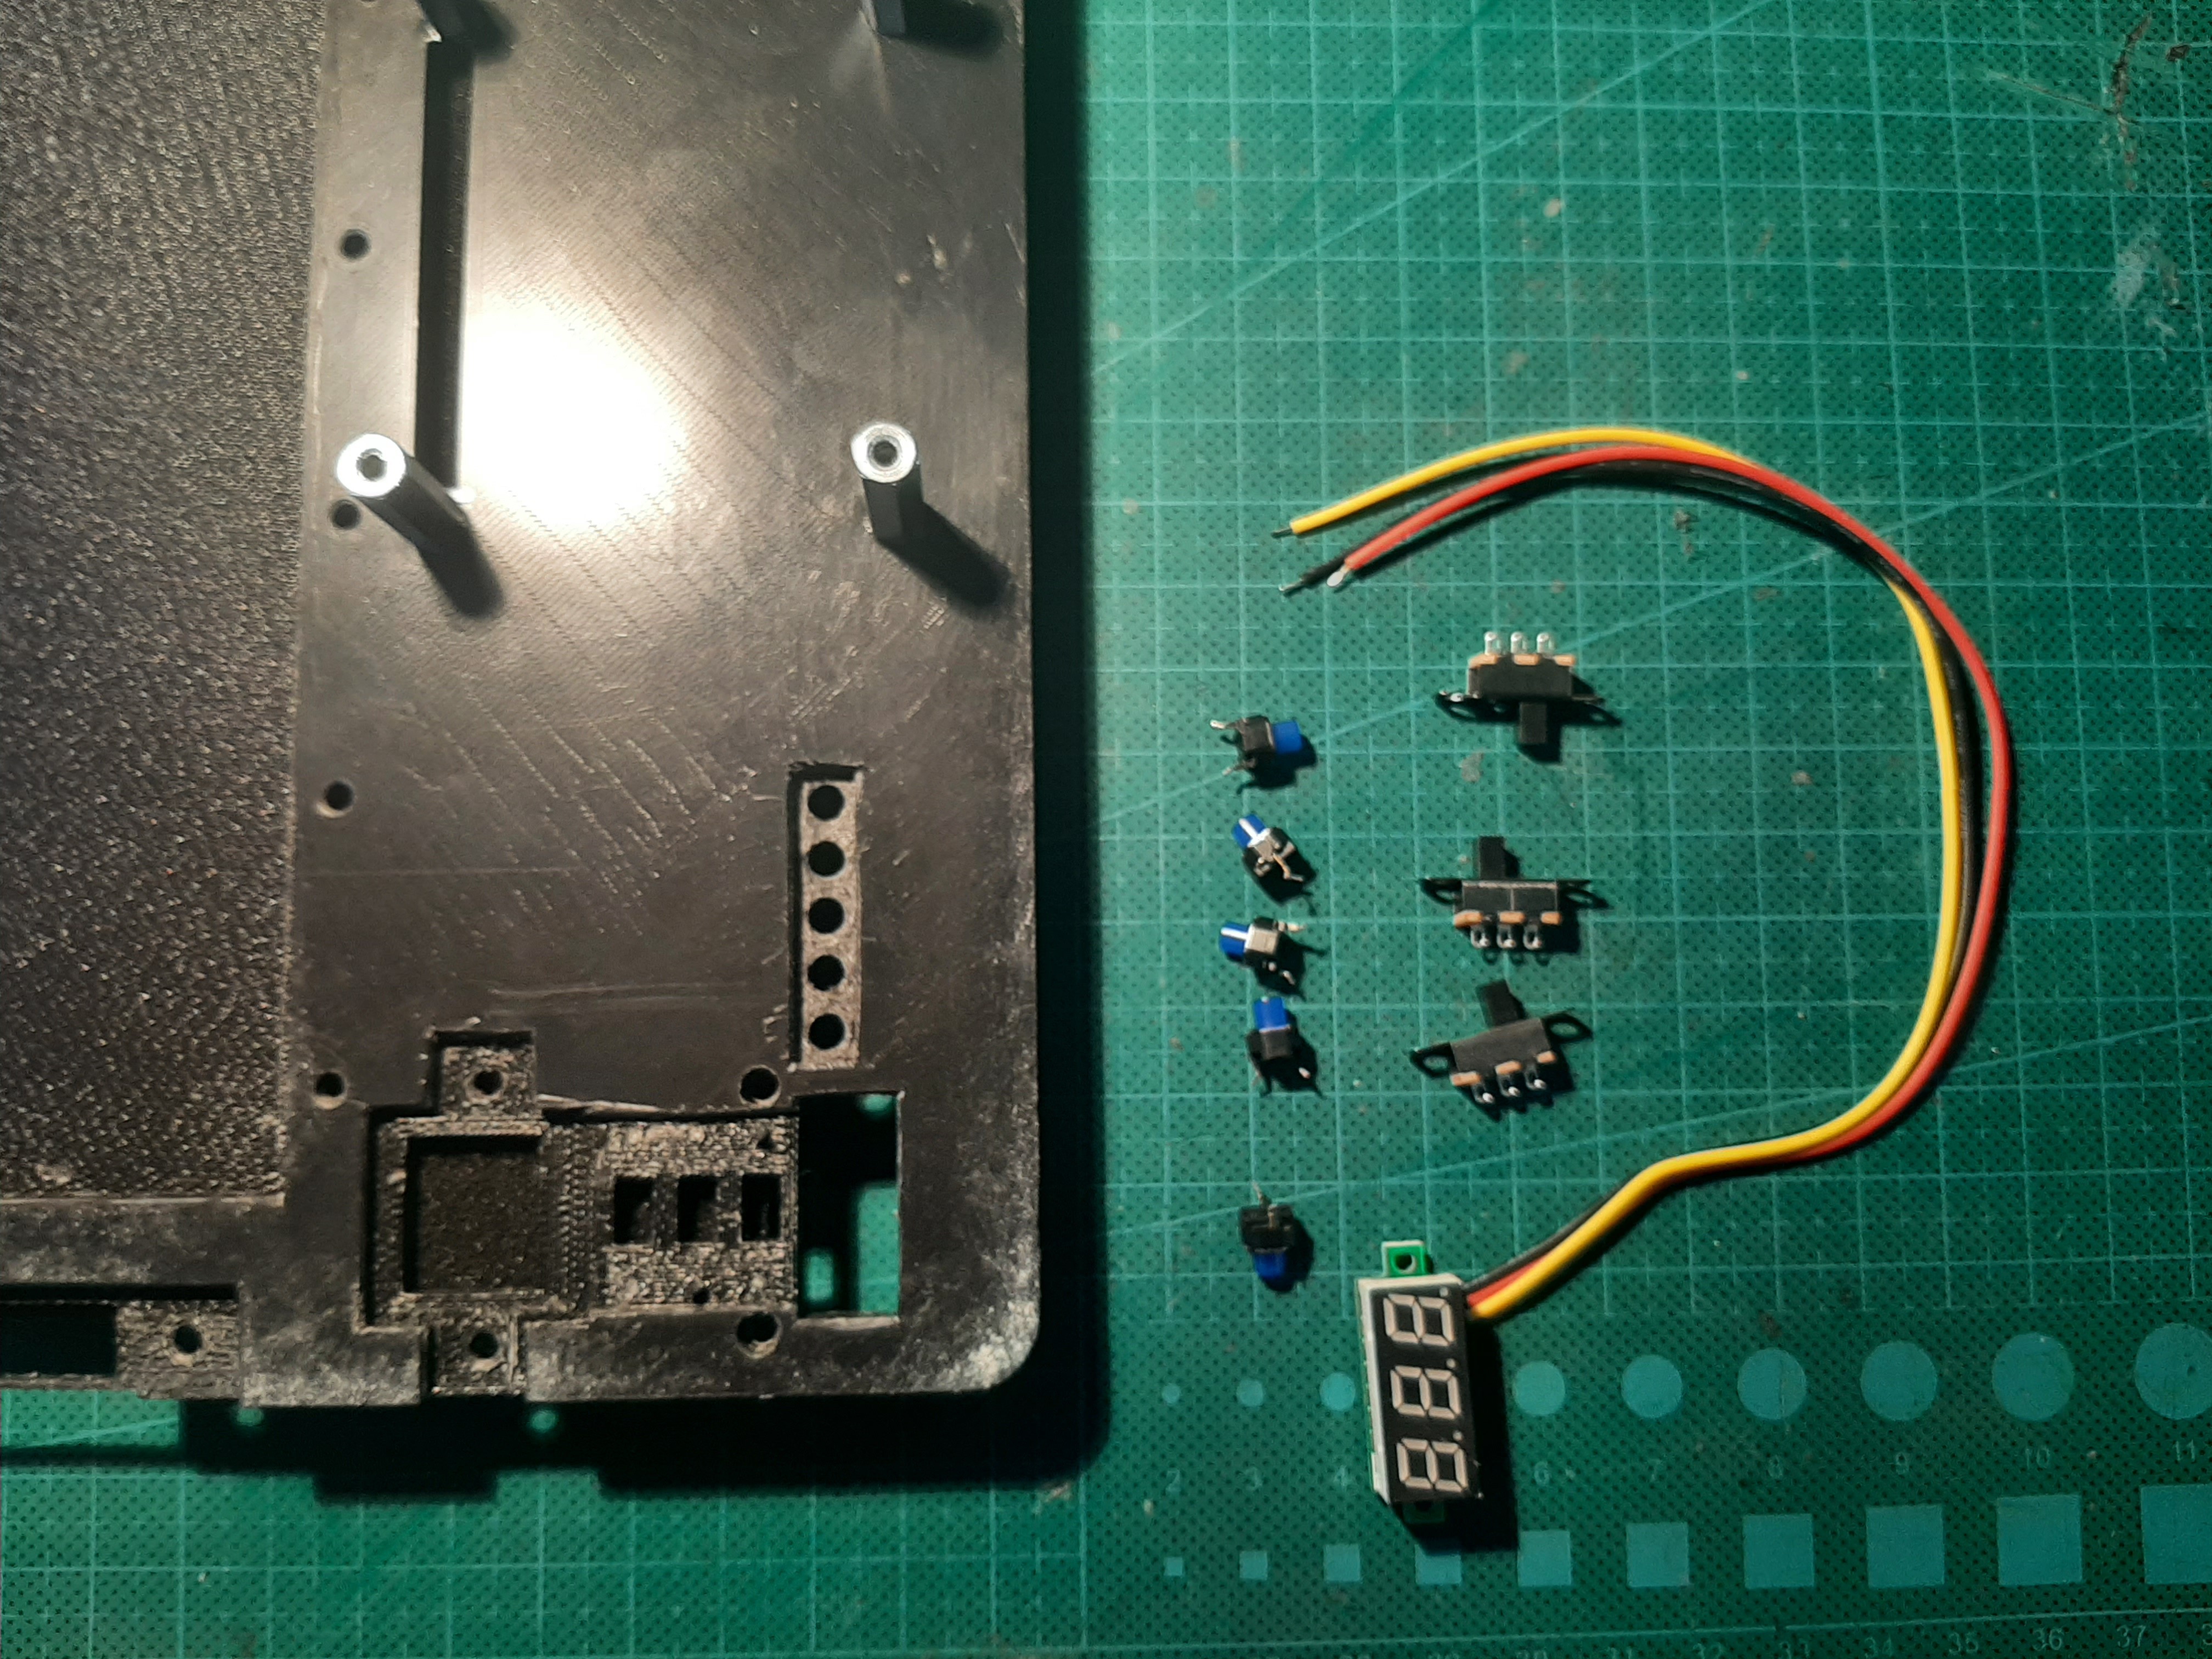
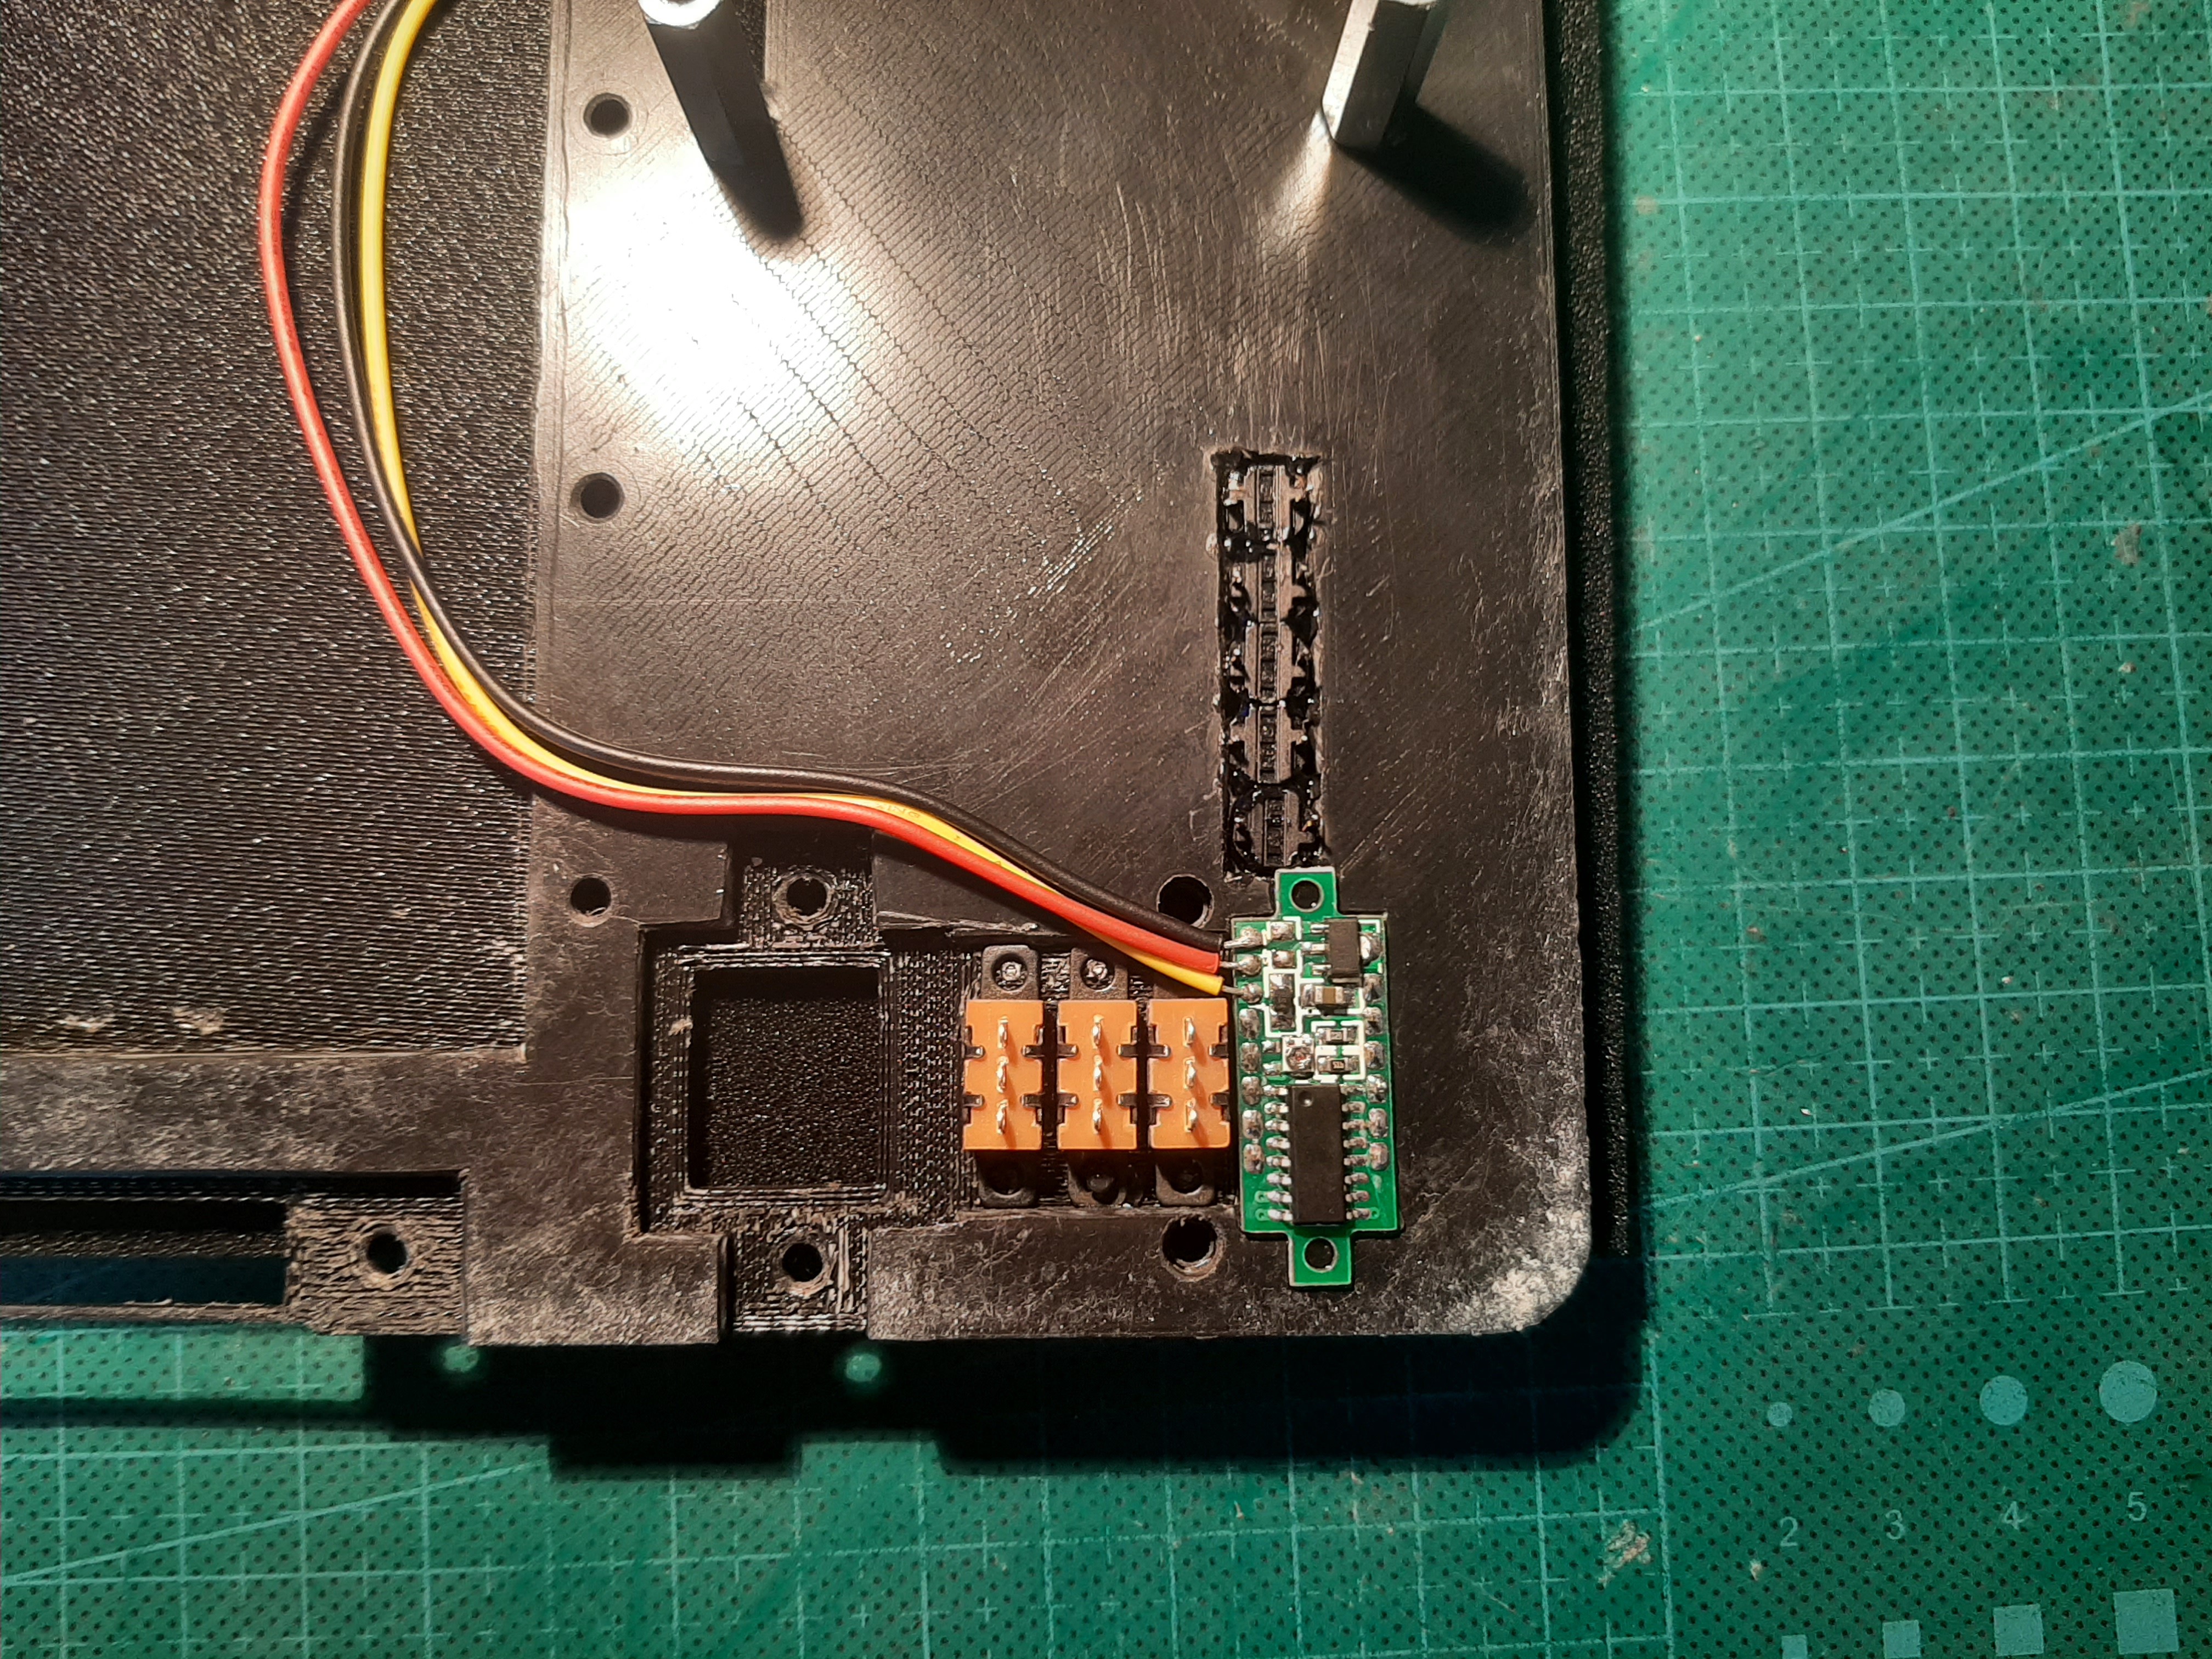
6Desk assembly
![]()
![]()
![]()
![]()
![]()
![]()
![]()
![]()
![]()
![]()
![]()
-
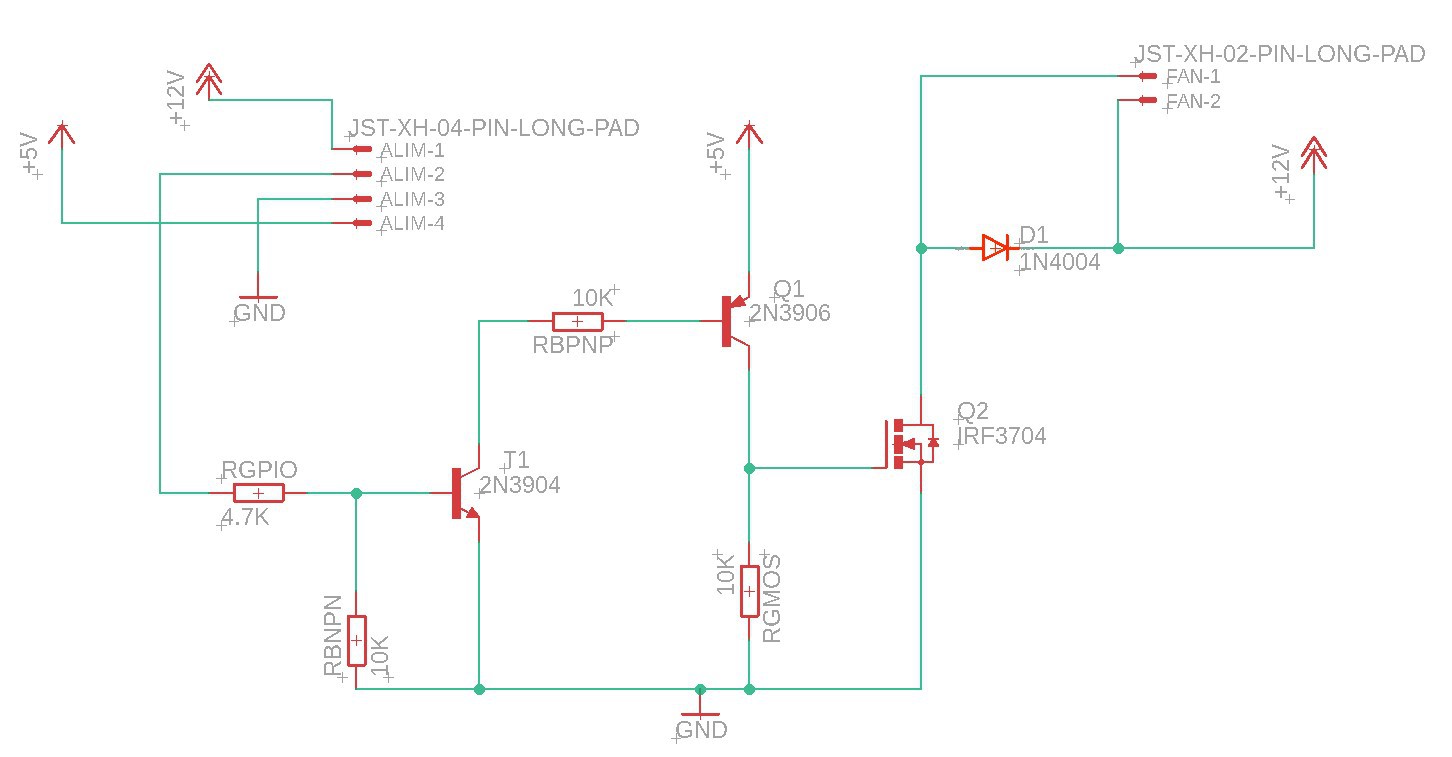
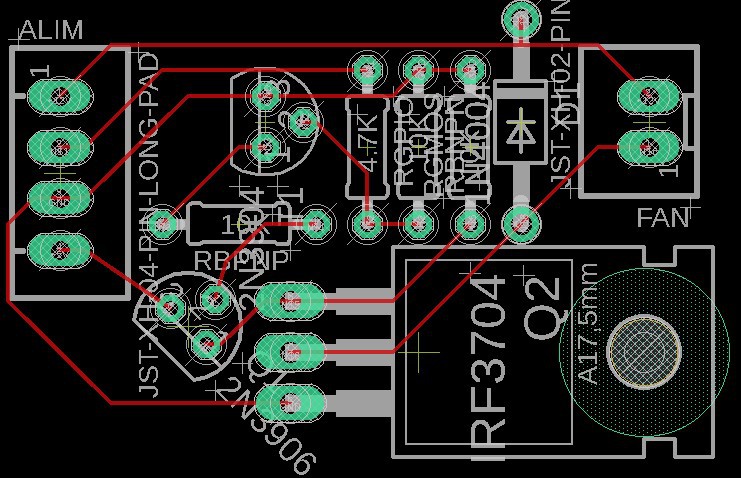
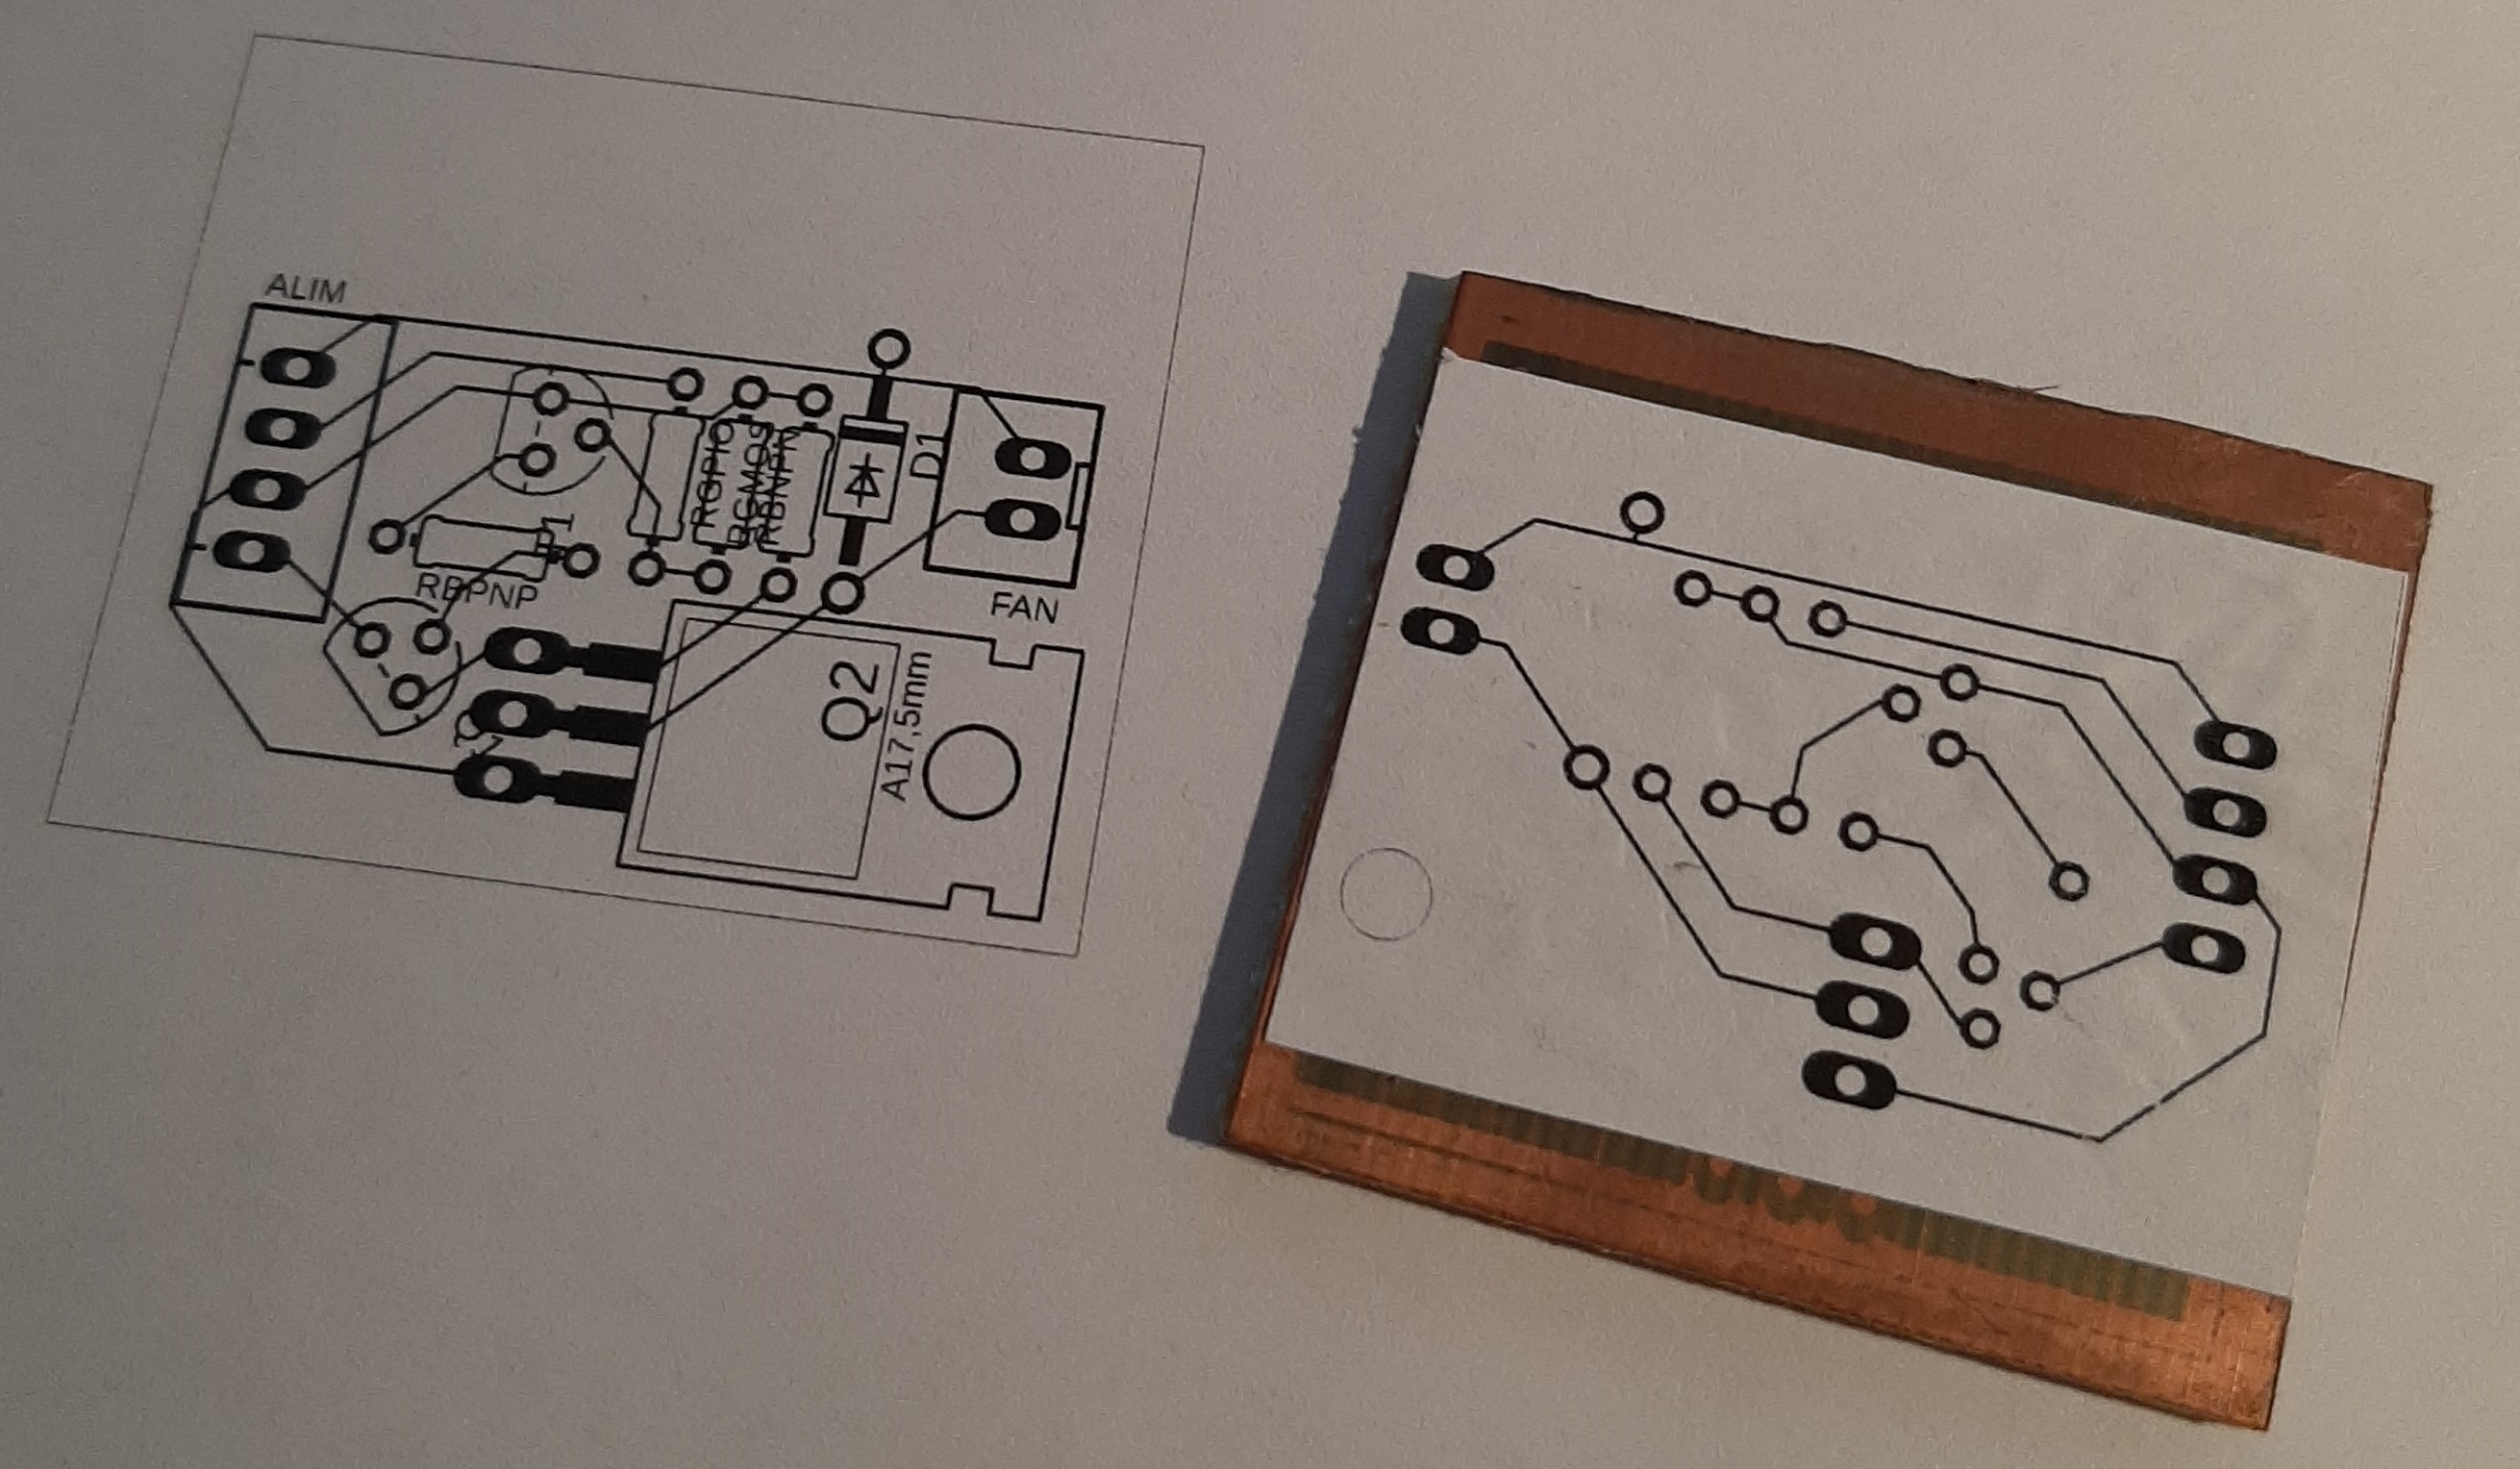
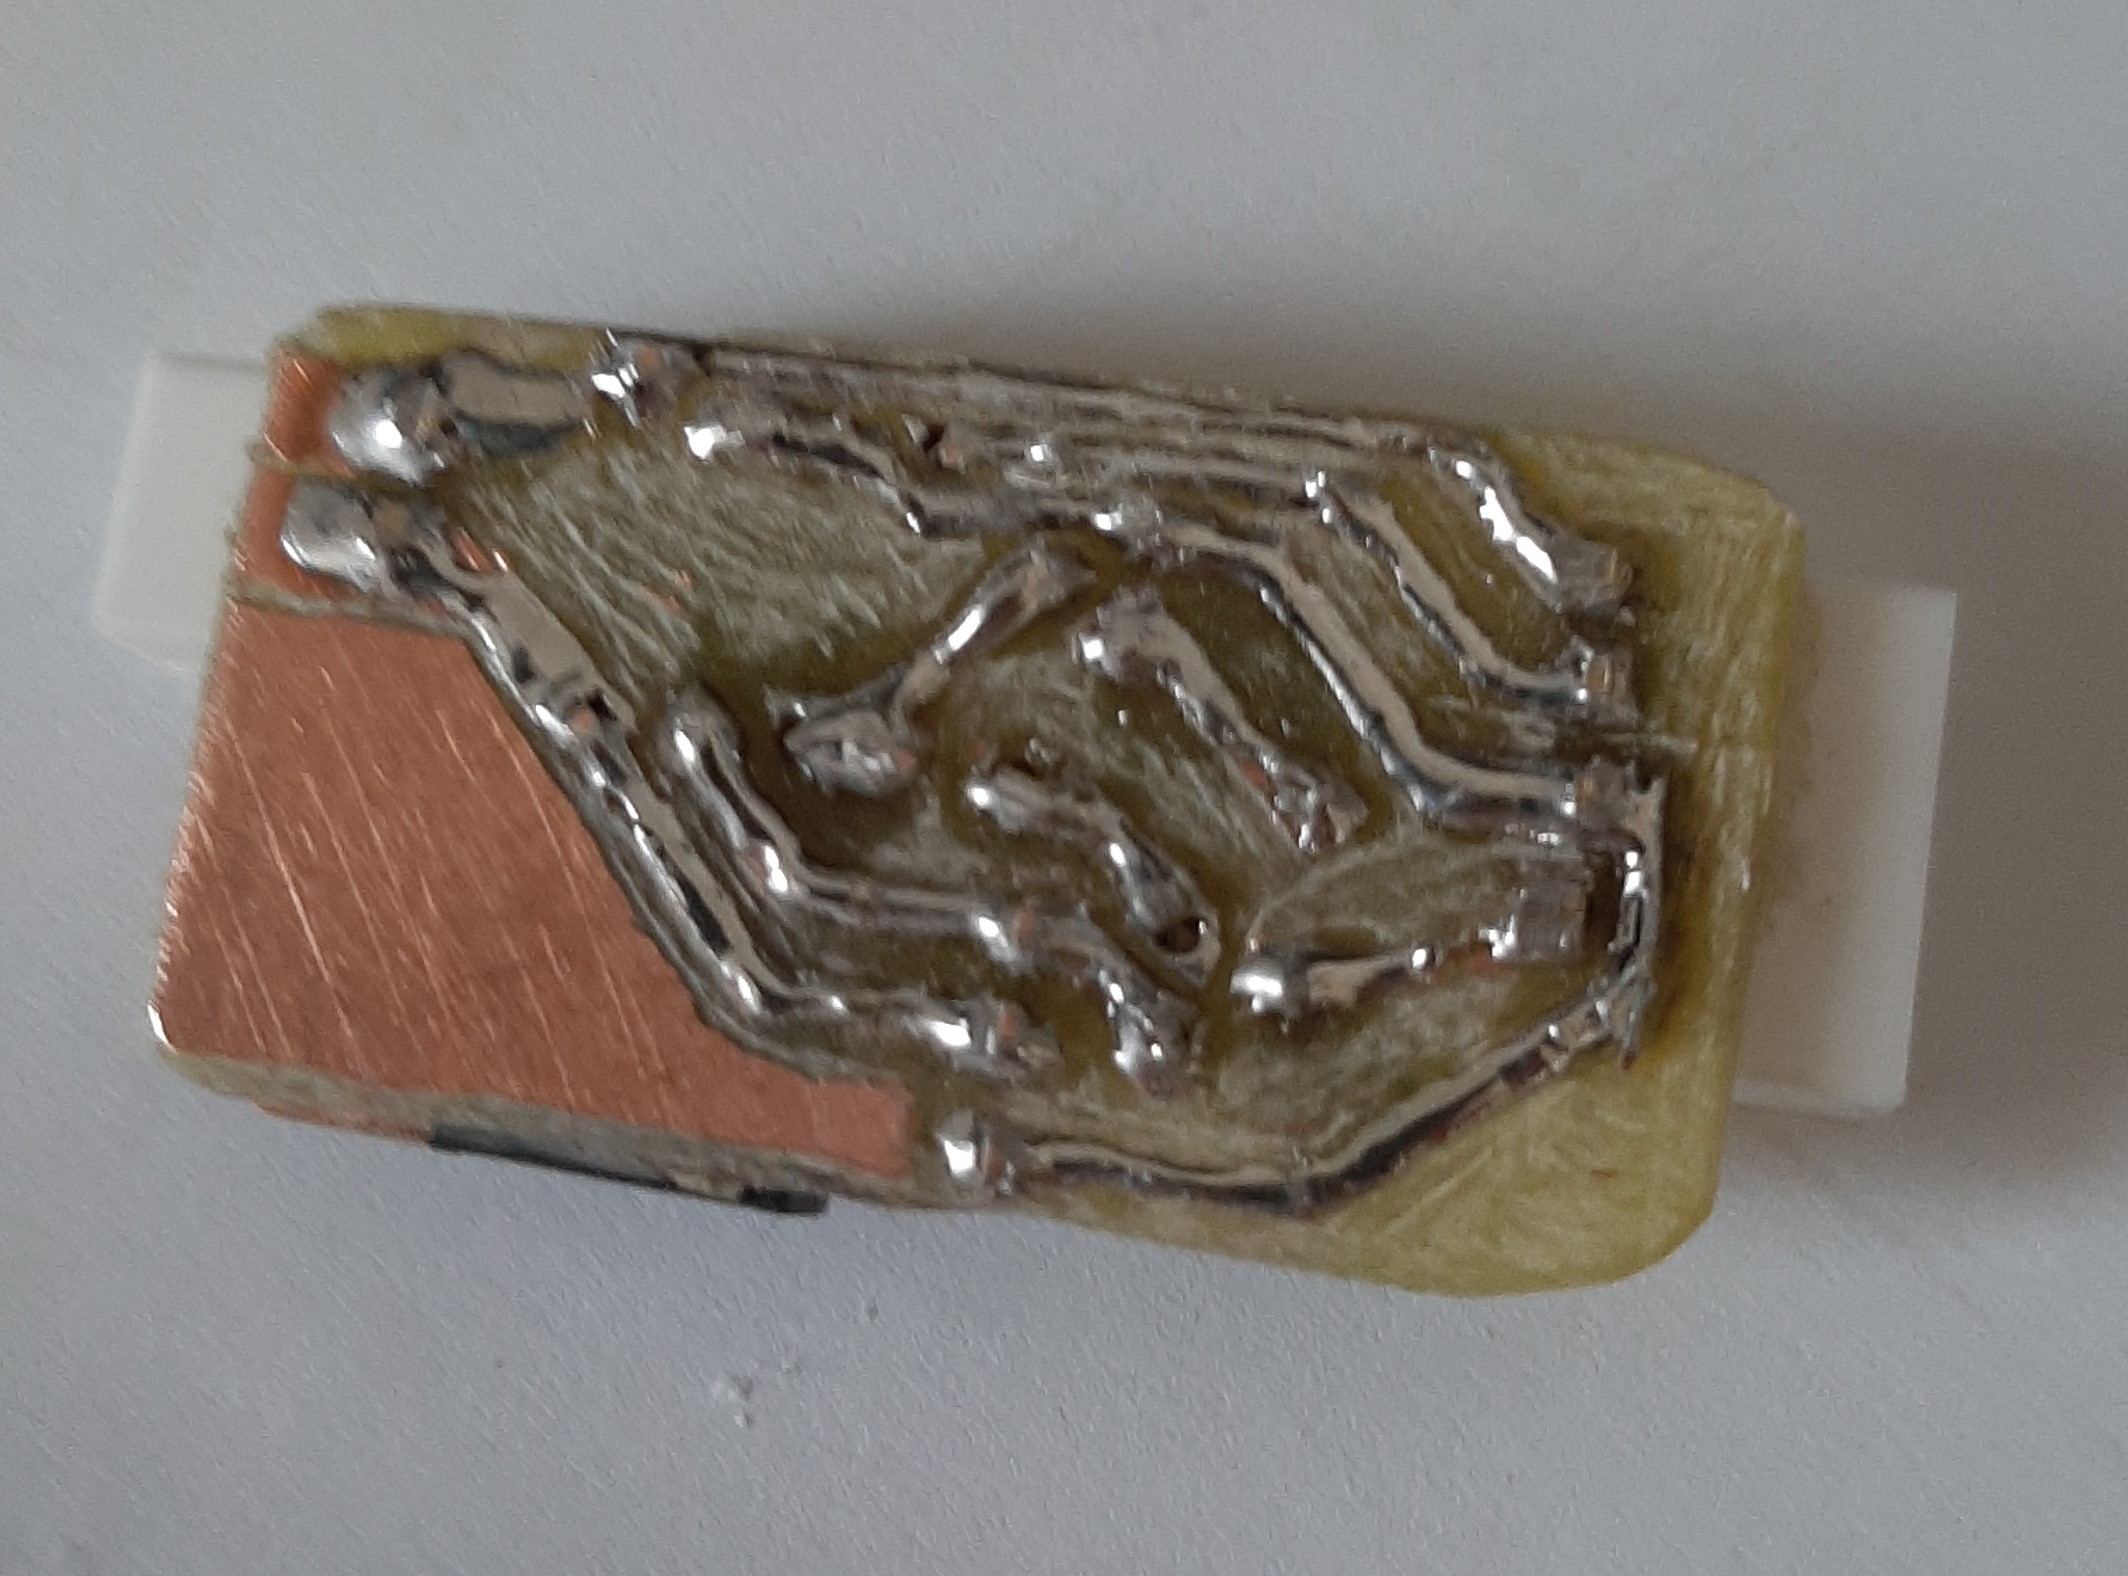
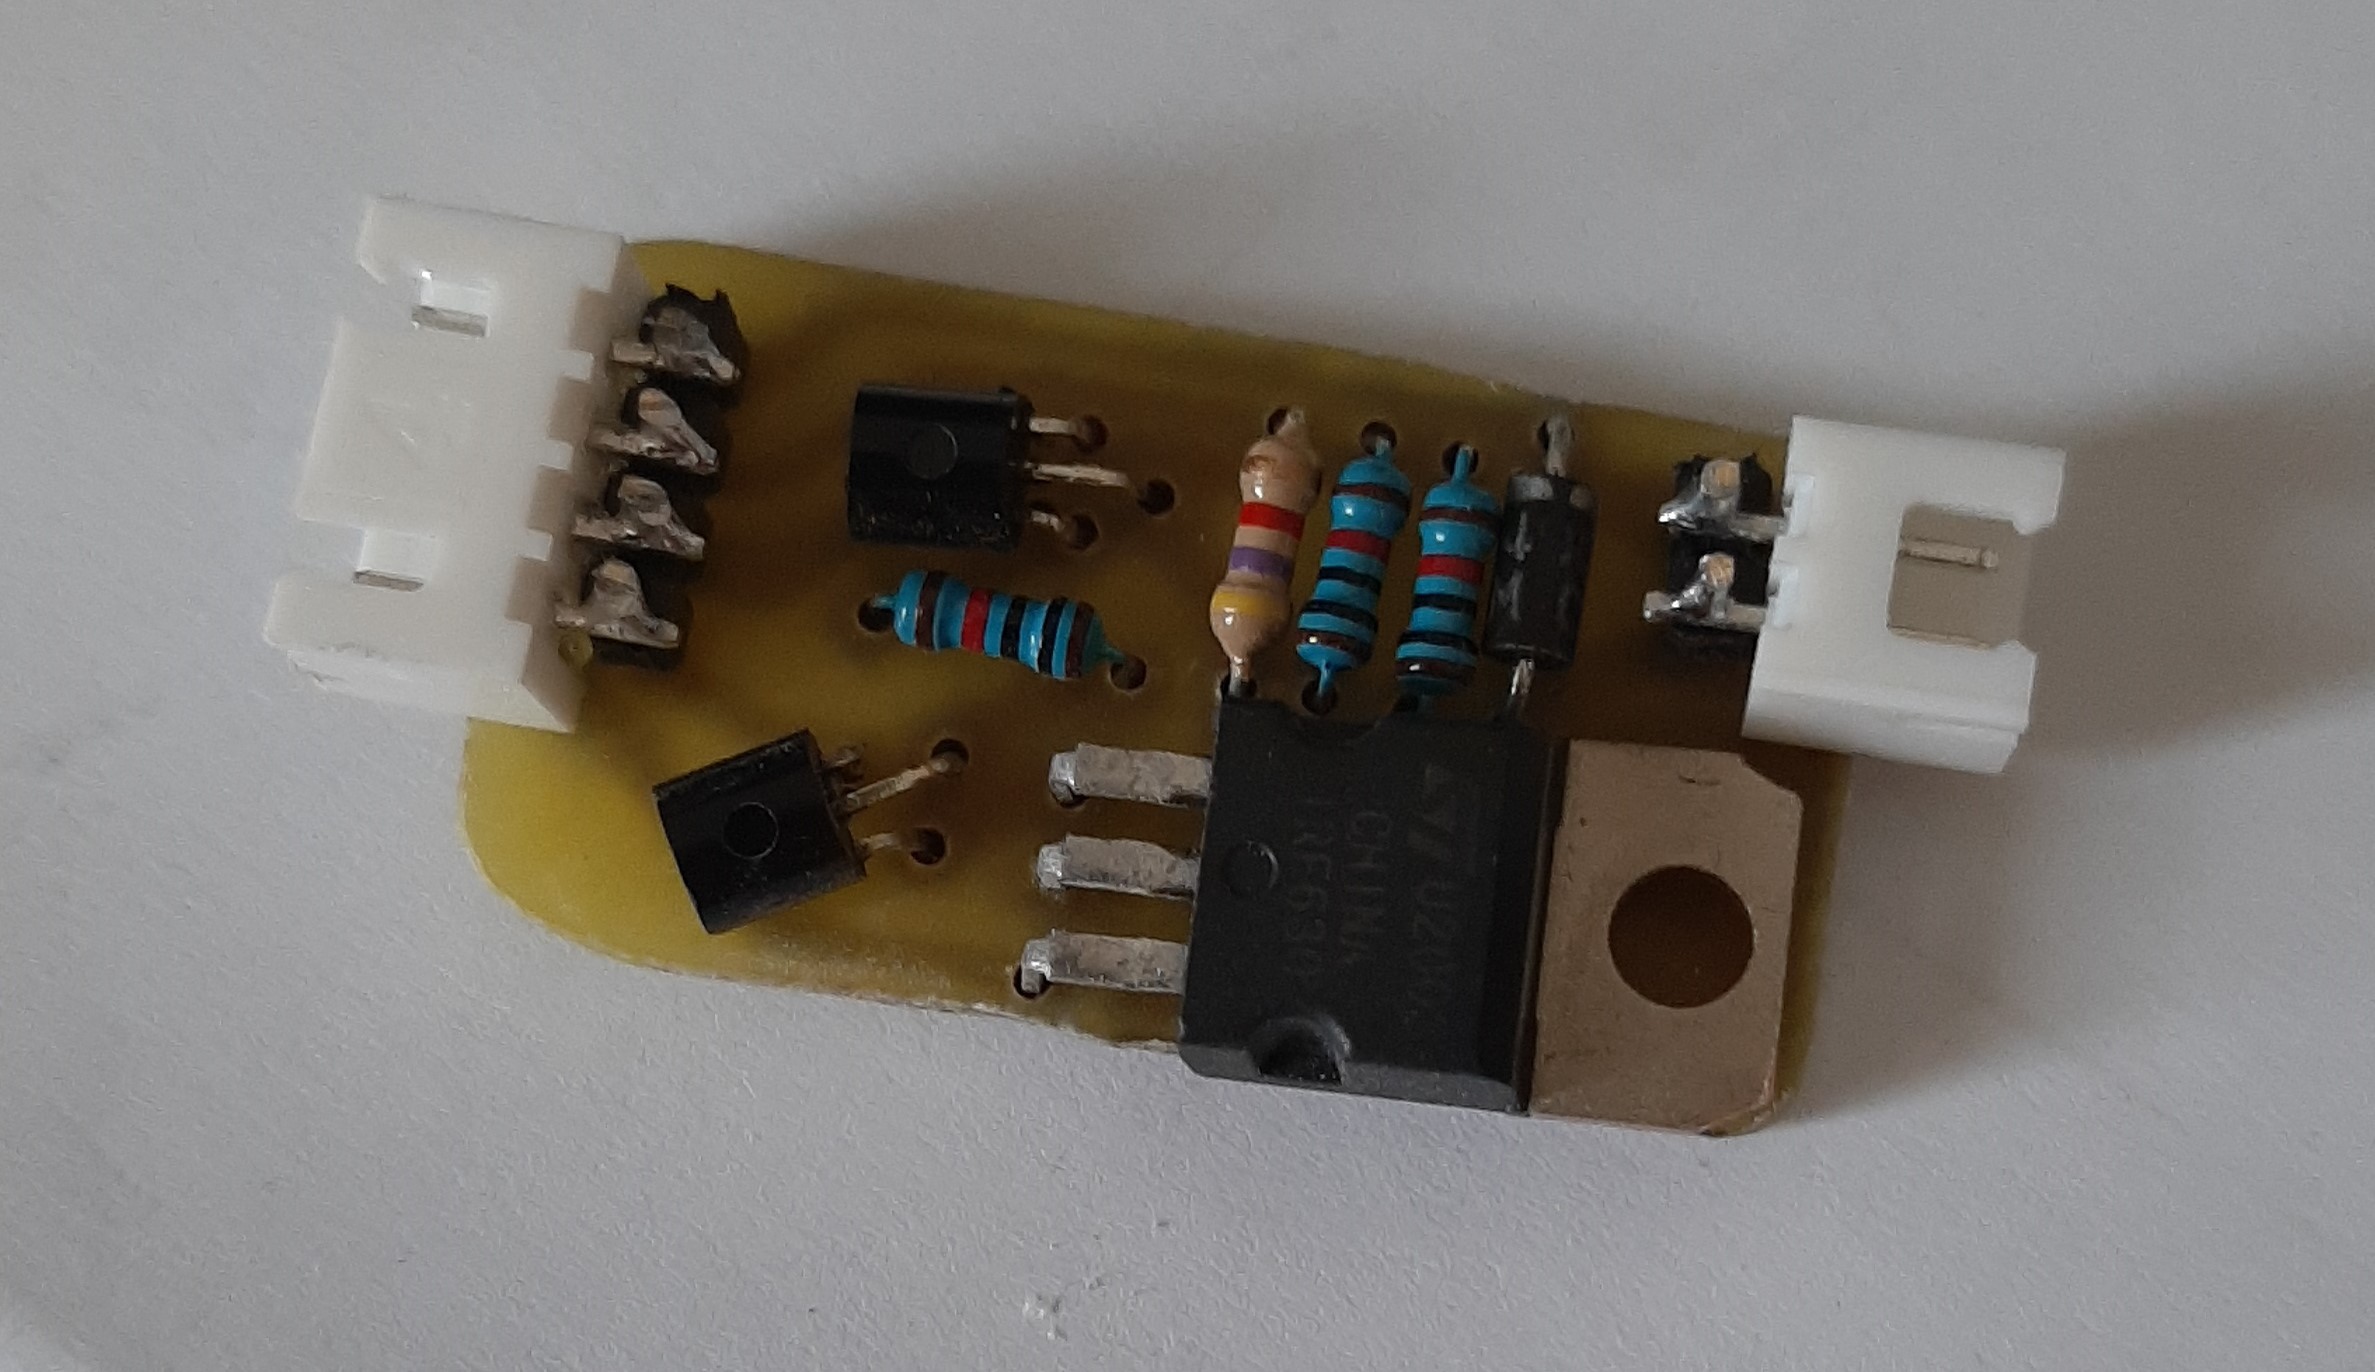
7Design pwm fan board
RPi GPIO provides 3.3VDC so to drive 12VDC fan you should add some other components and use more common 5VDC compatible MOSFET.
I had a few lying around.
- NPN (2N3904)
- PNP (2N3906)
- MOSFET (IRF3704)
Forgive me for the PCB soldering quality... (JLCPCB was a long option, etching too dirty and my CNC is still under construction).
![]()
![]()
![]()
![]()
![]()
-
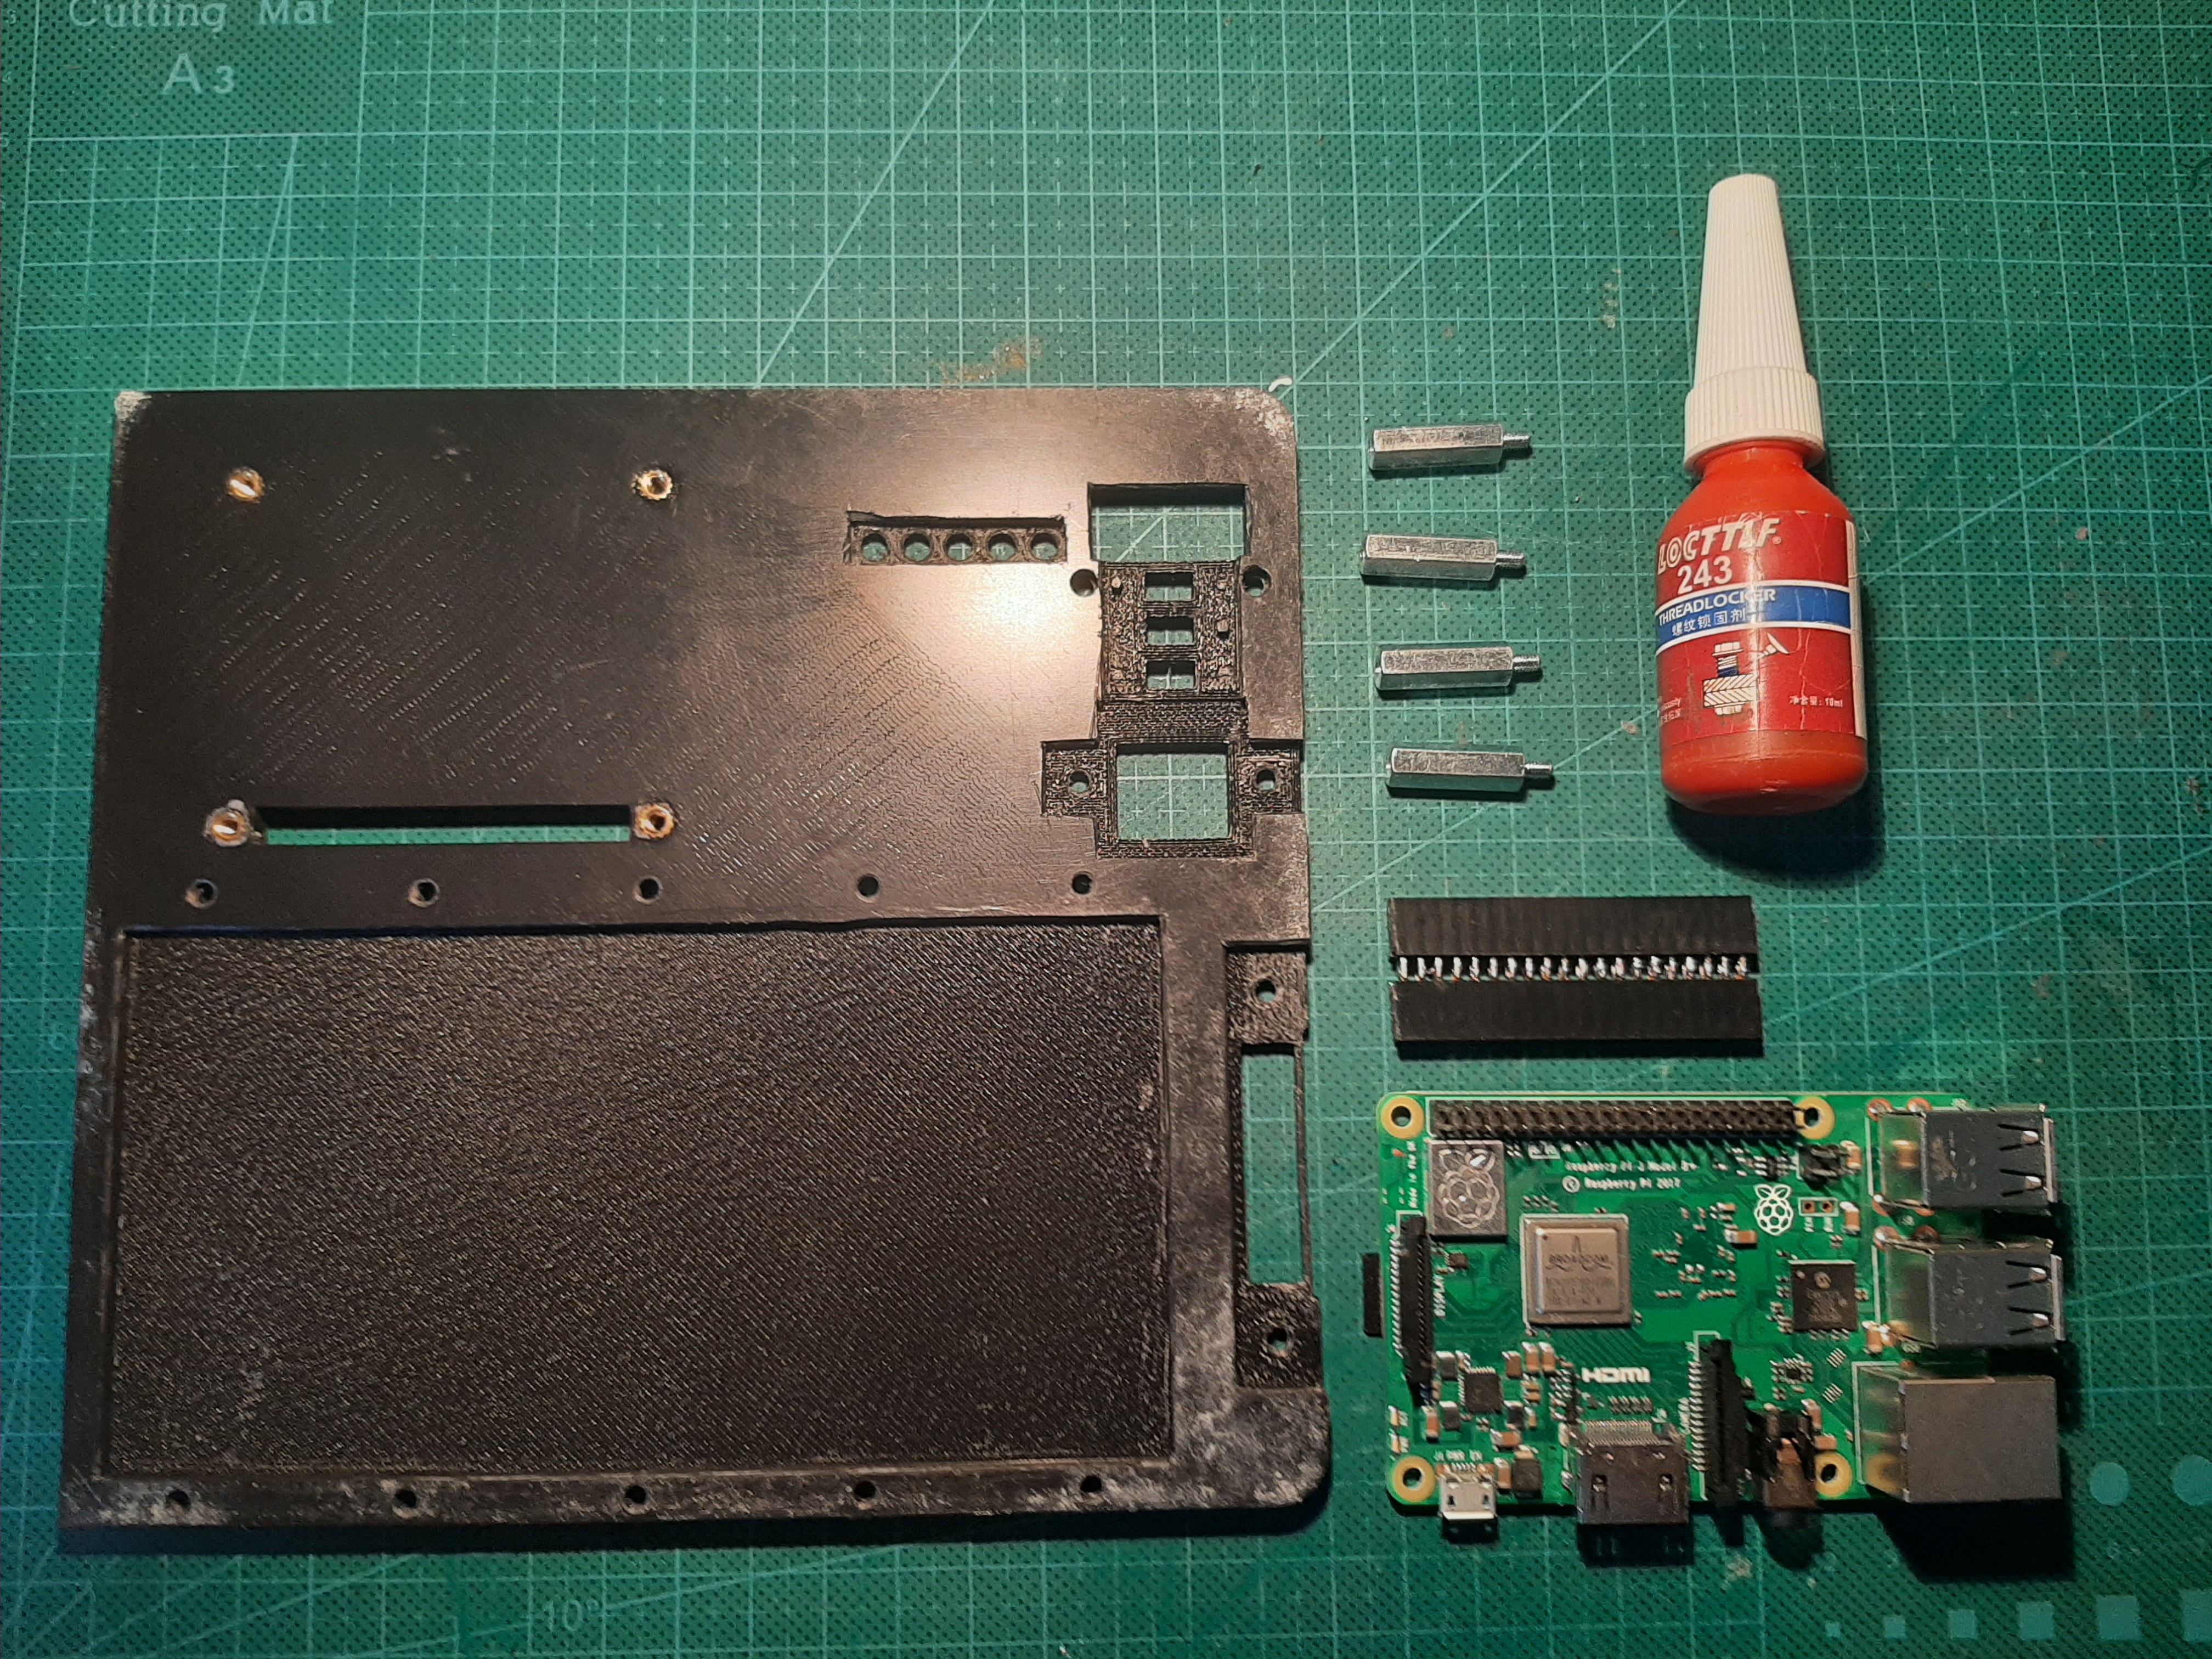
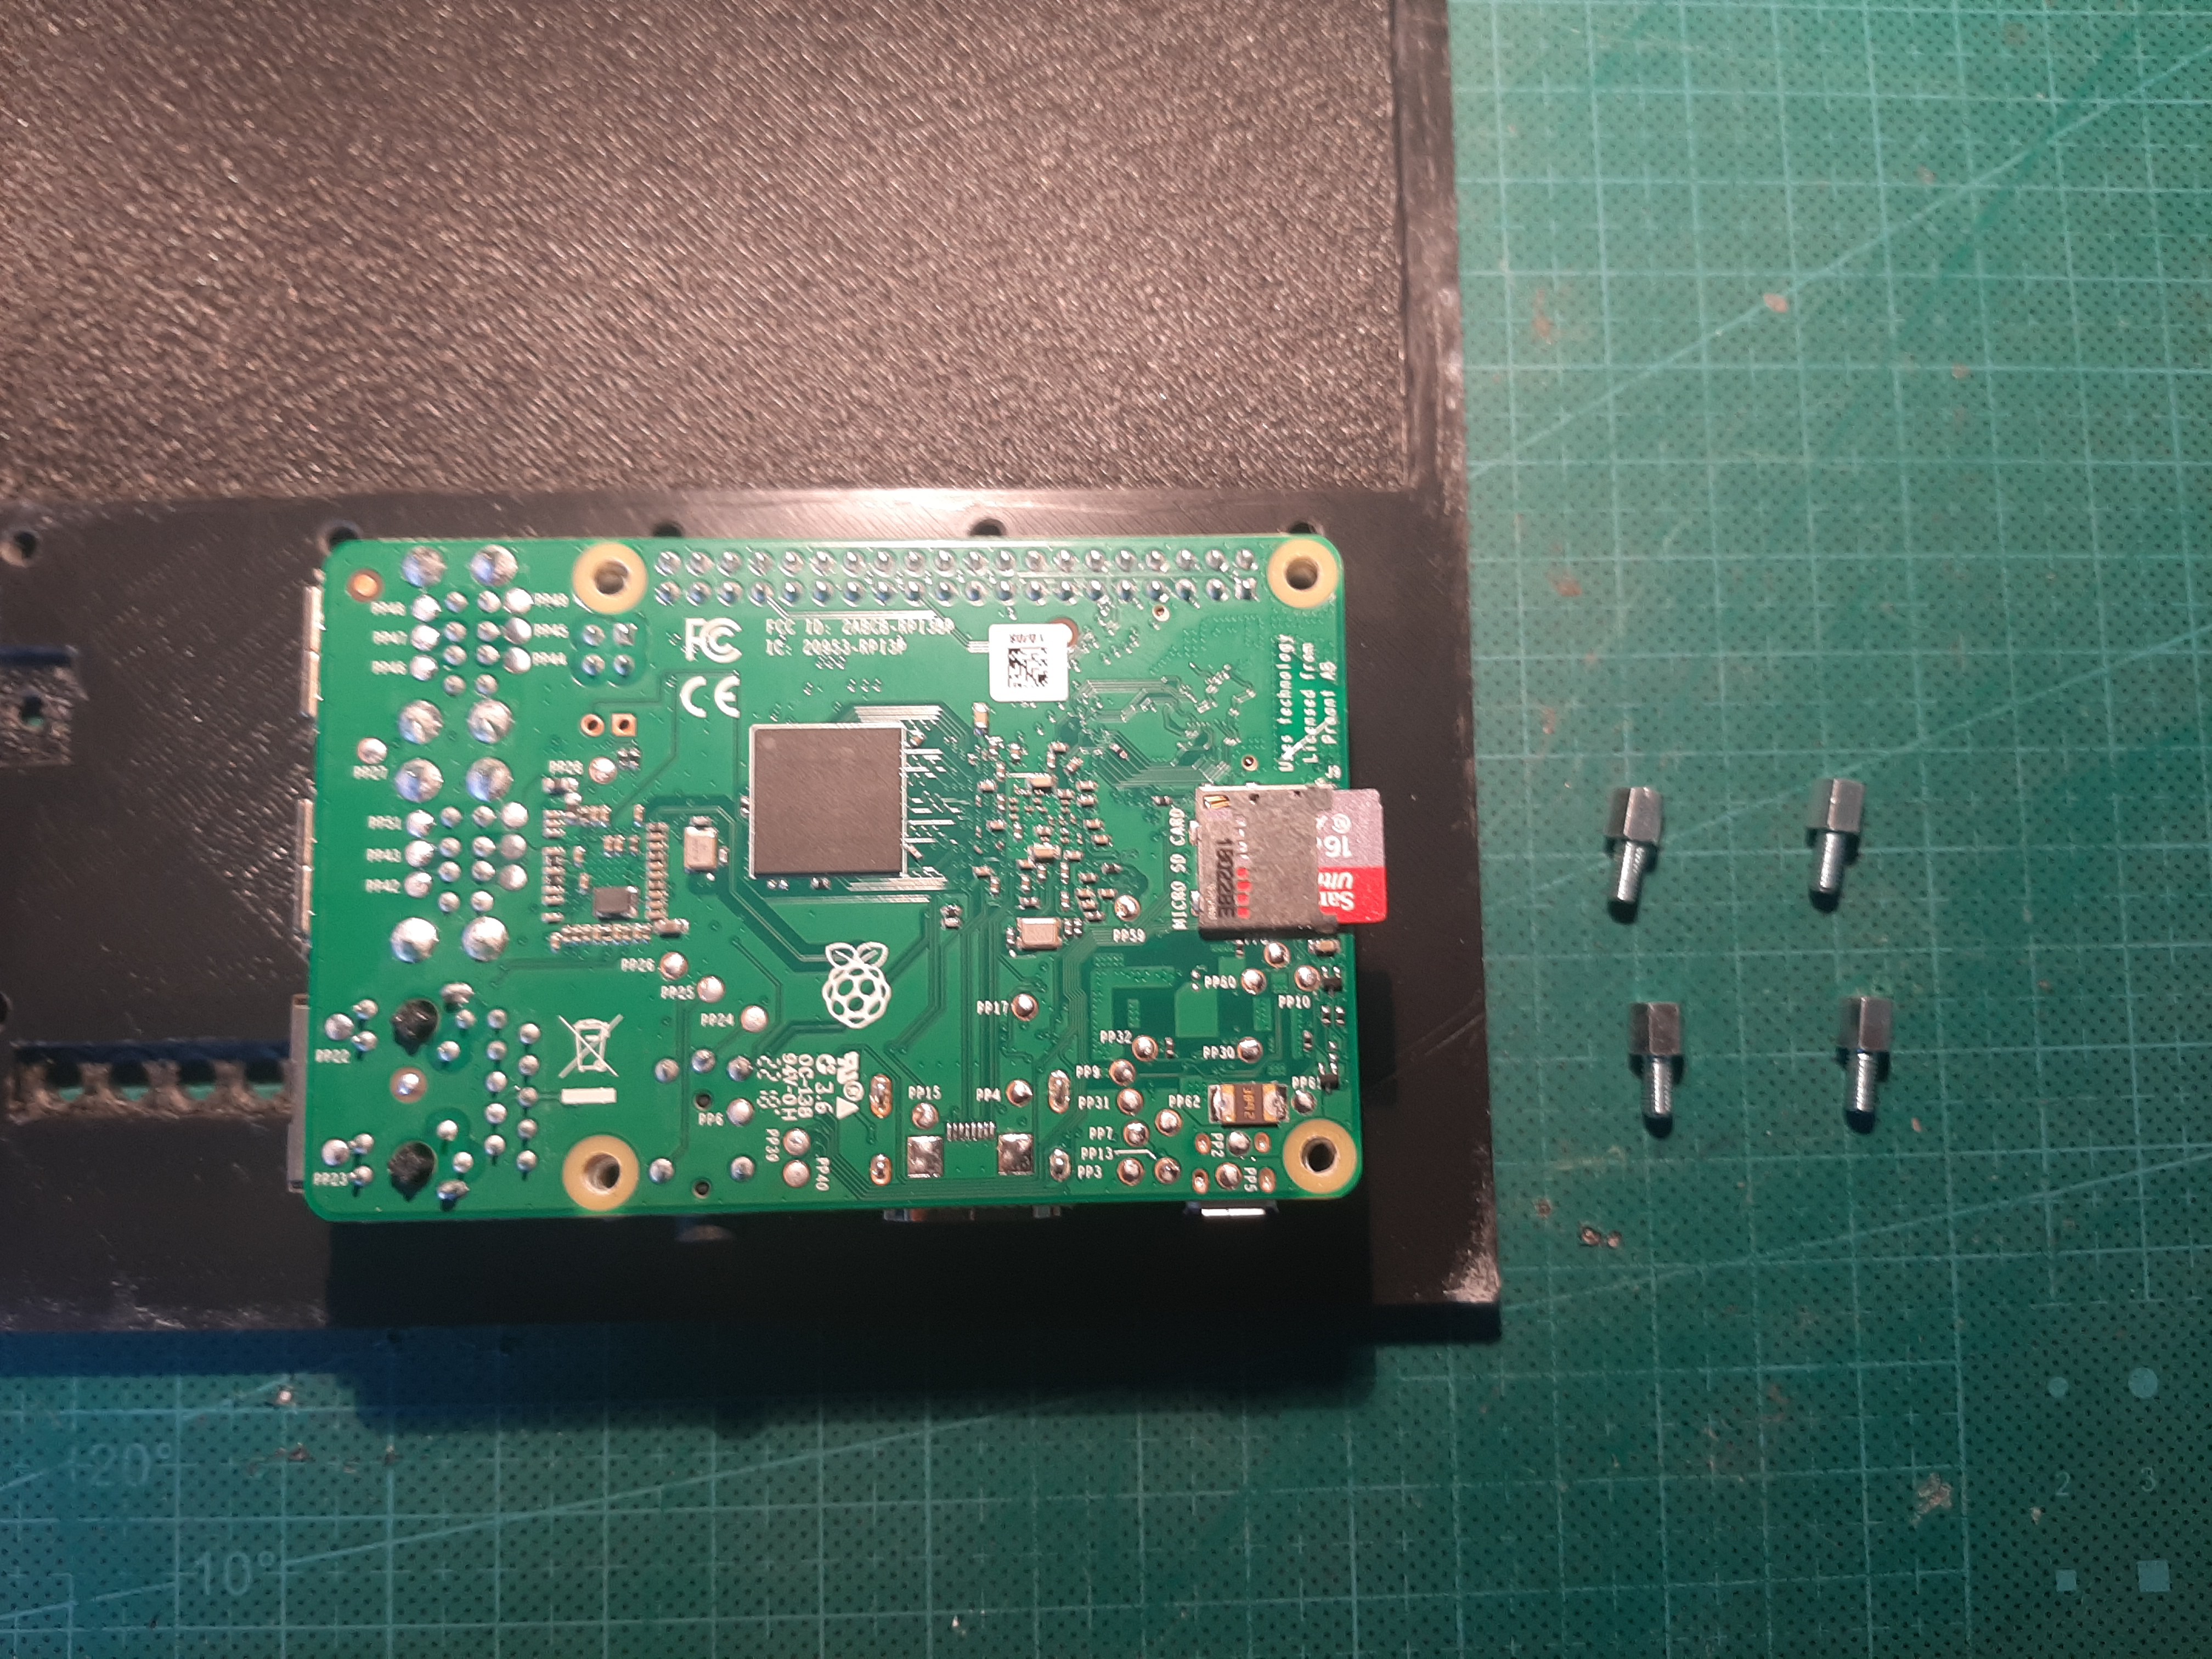
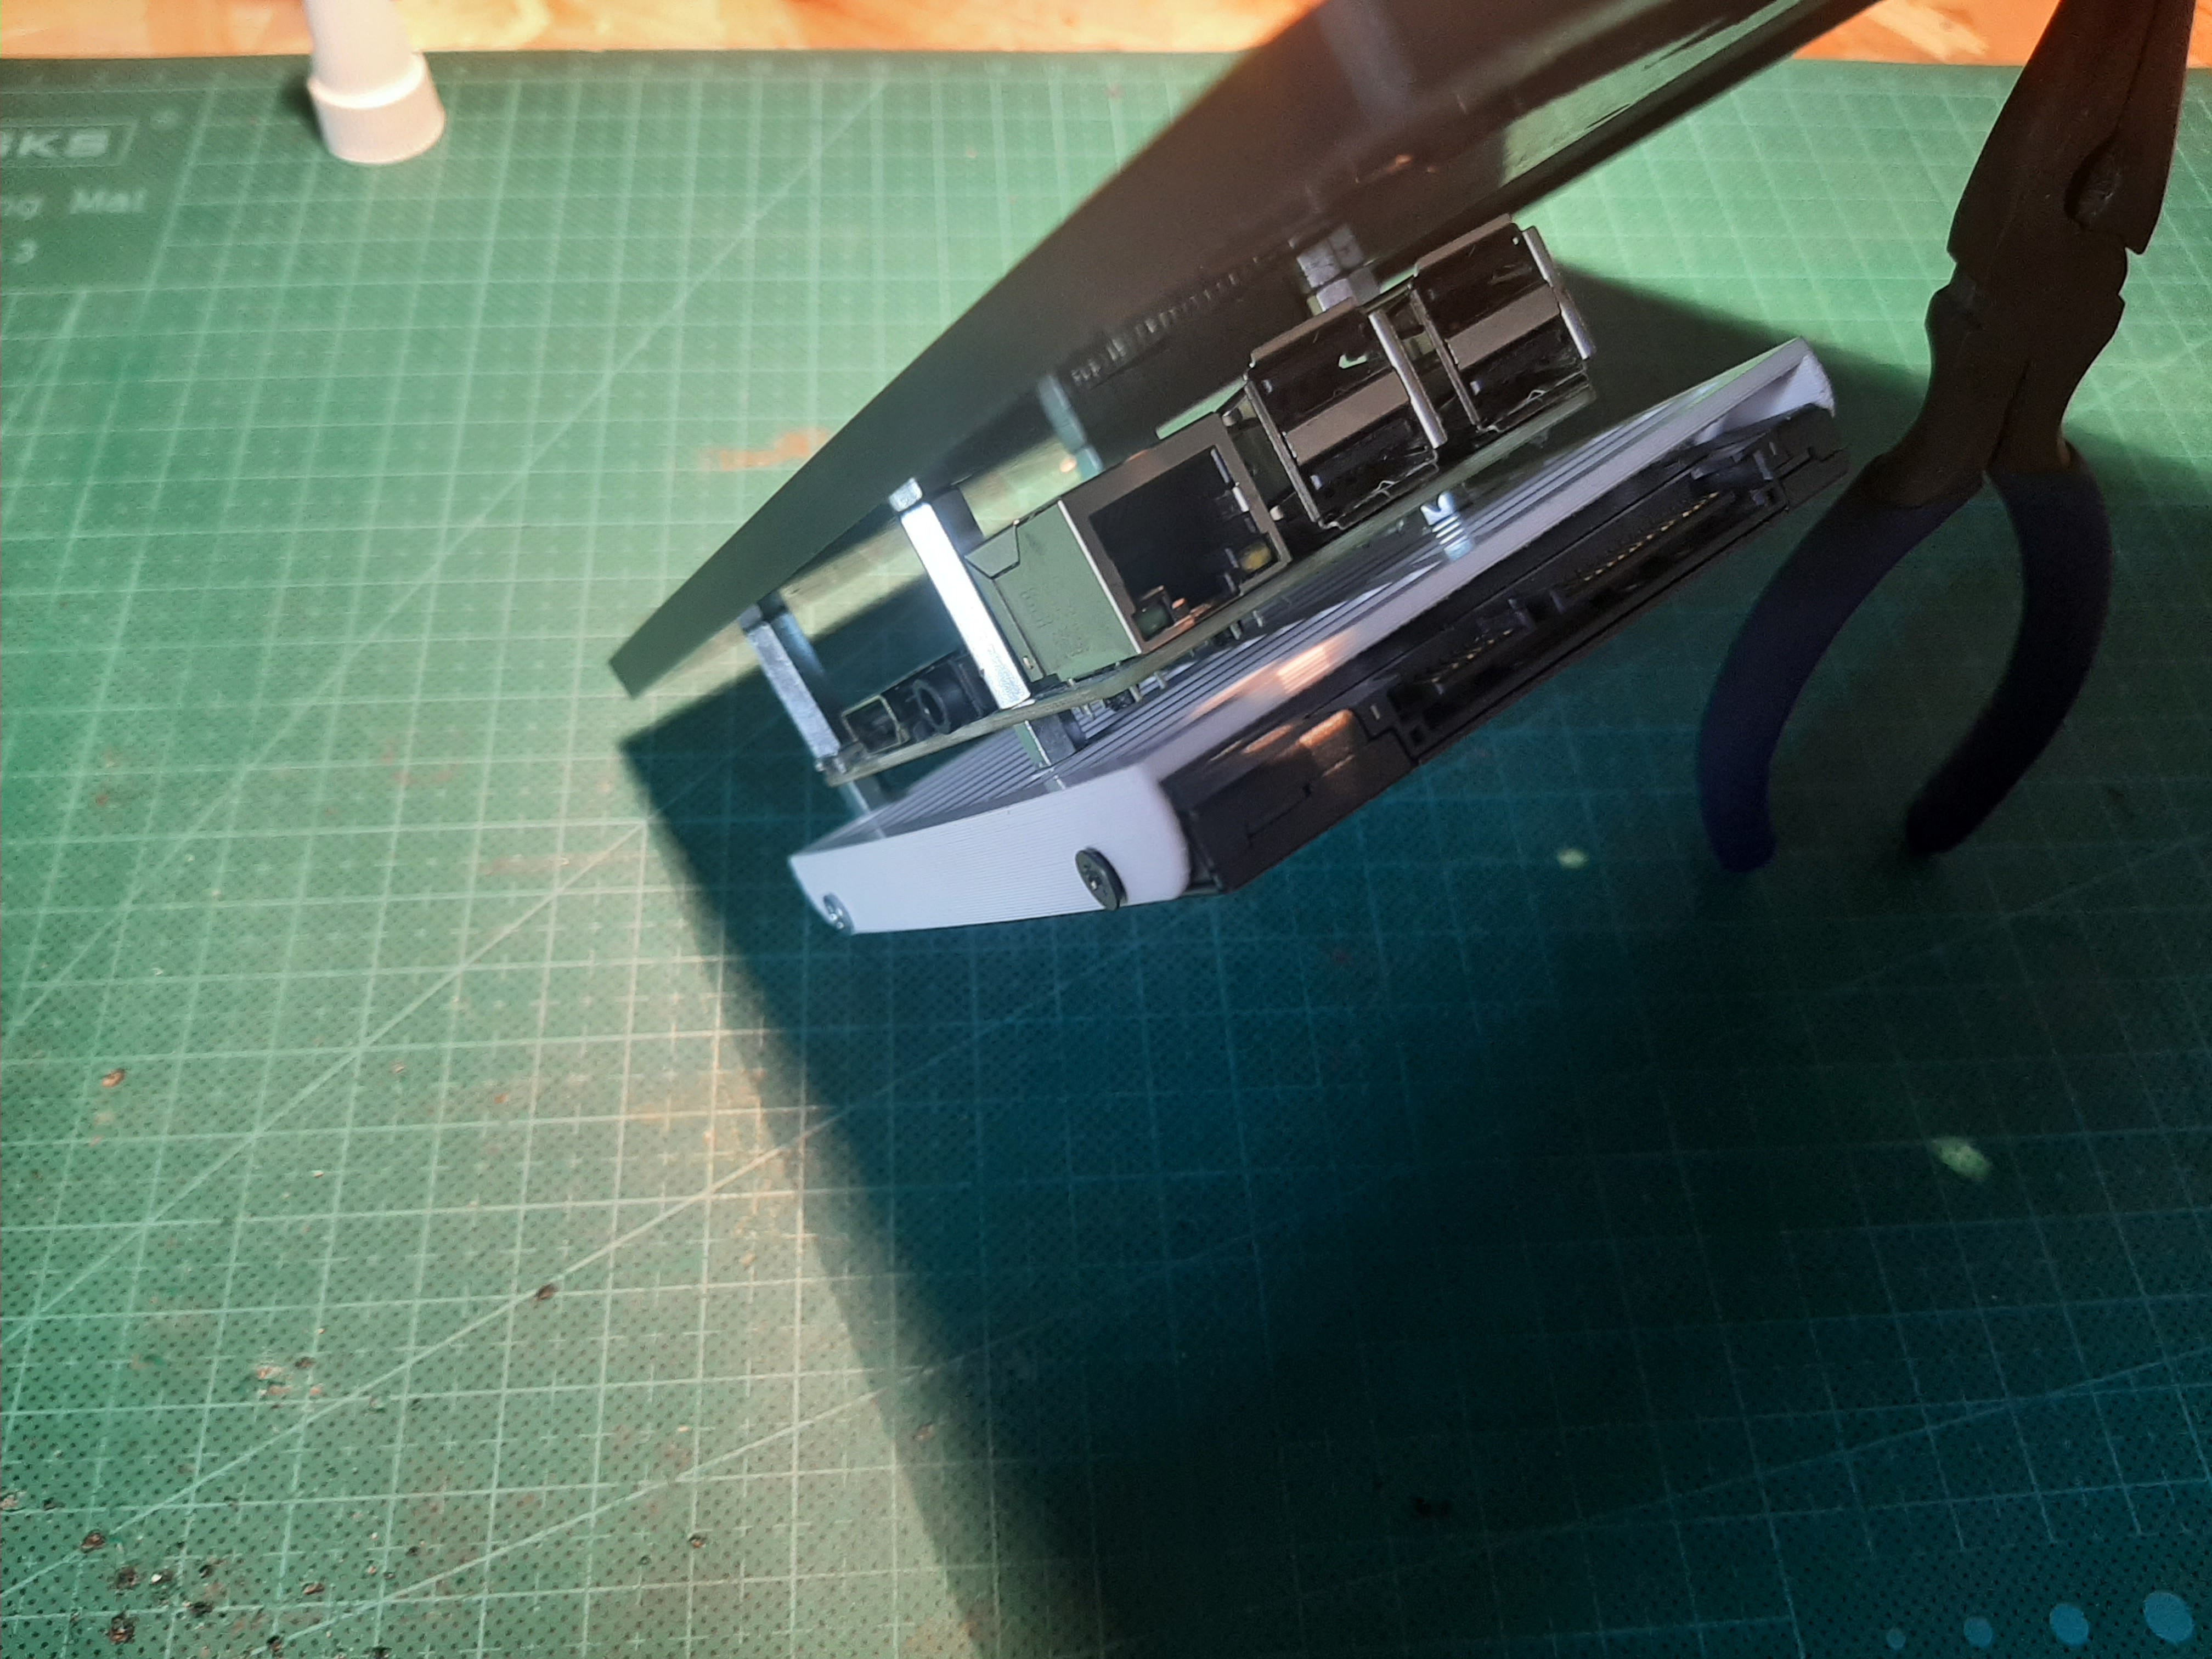
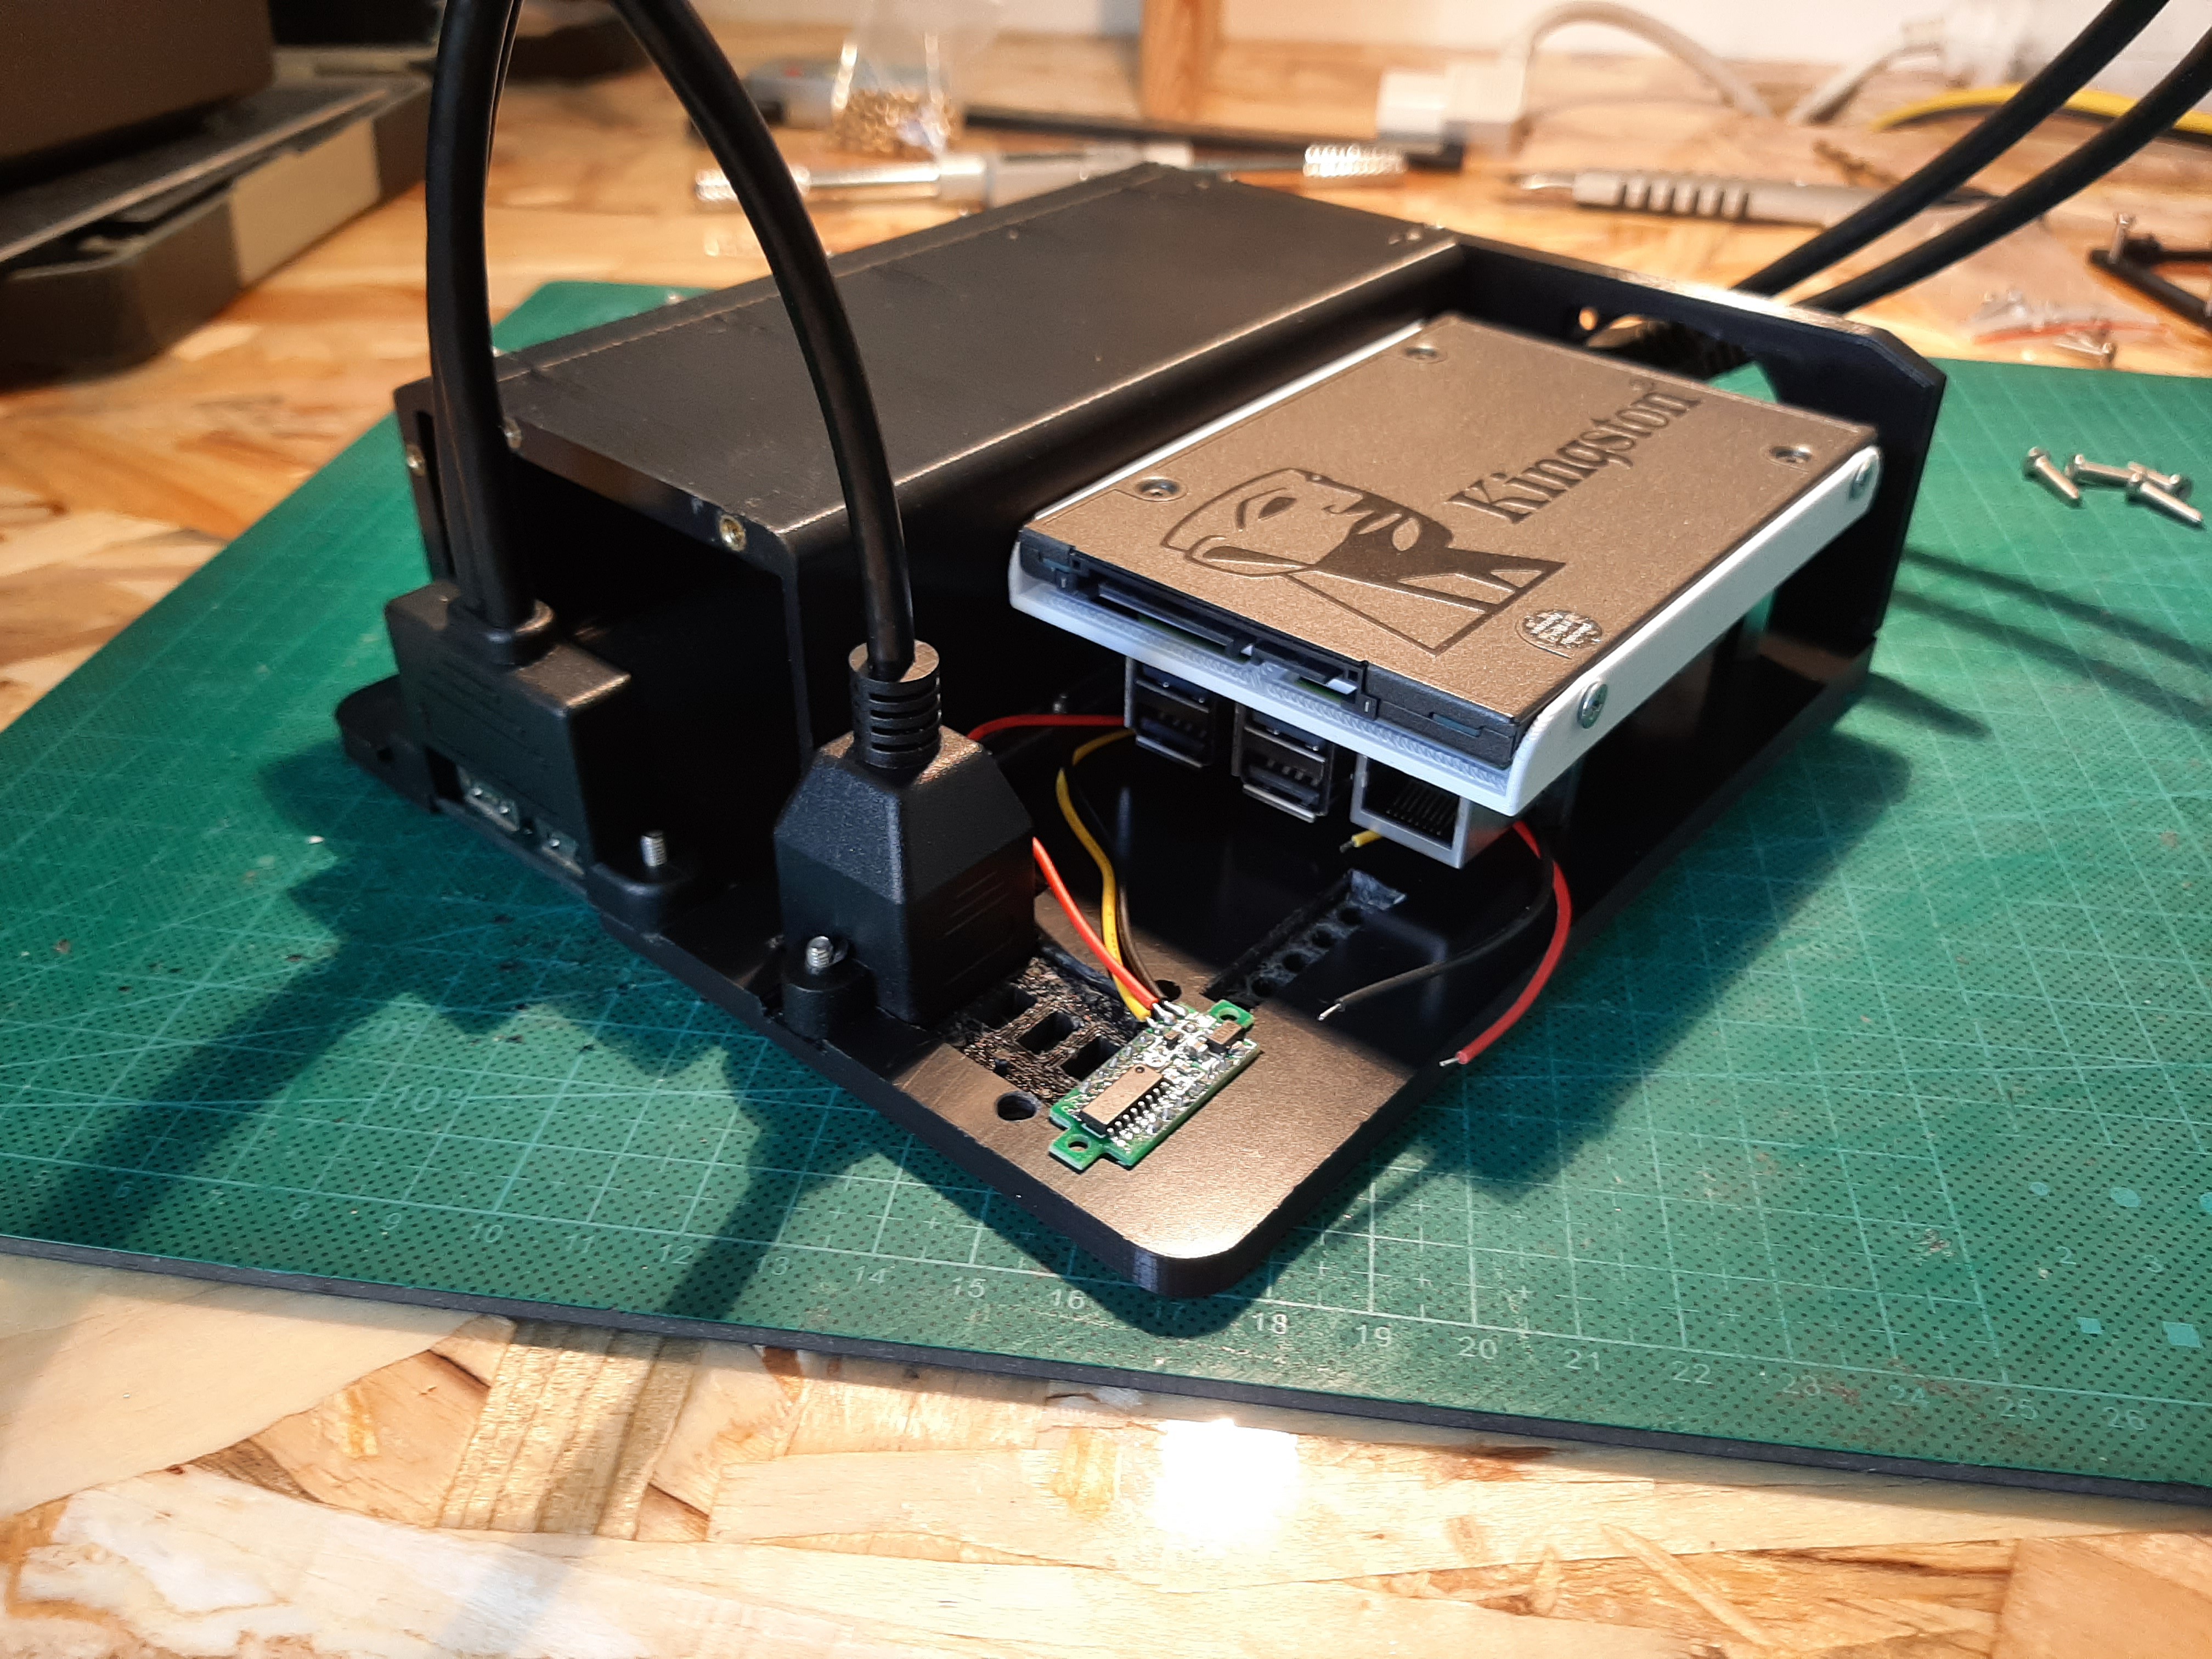
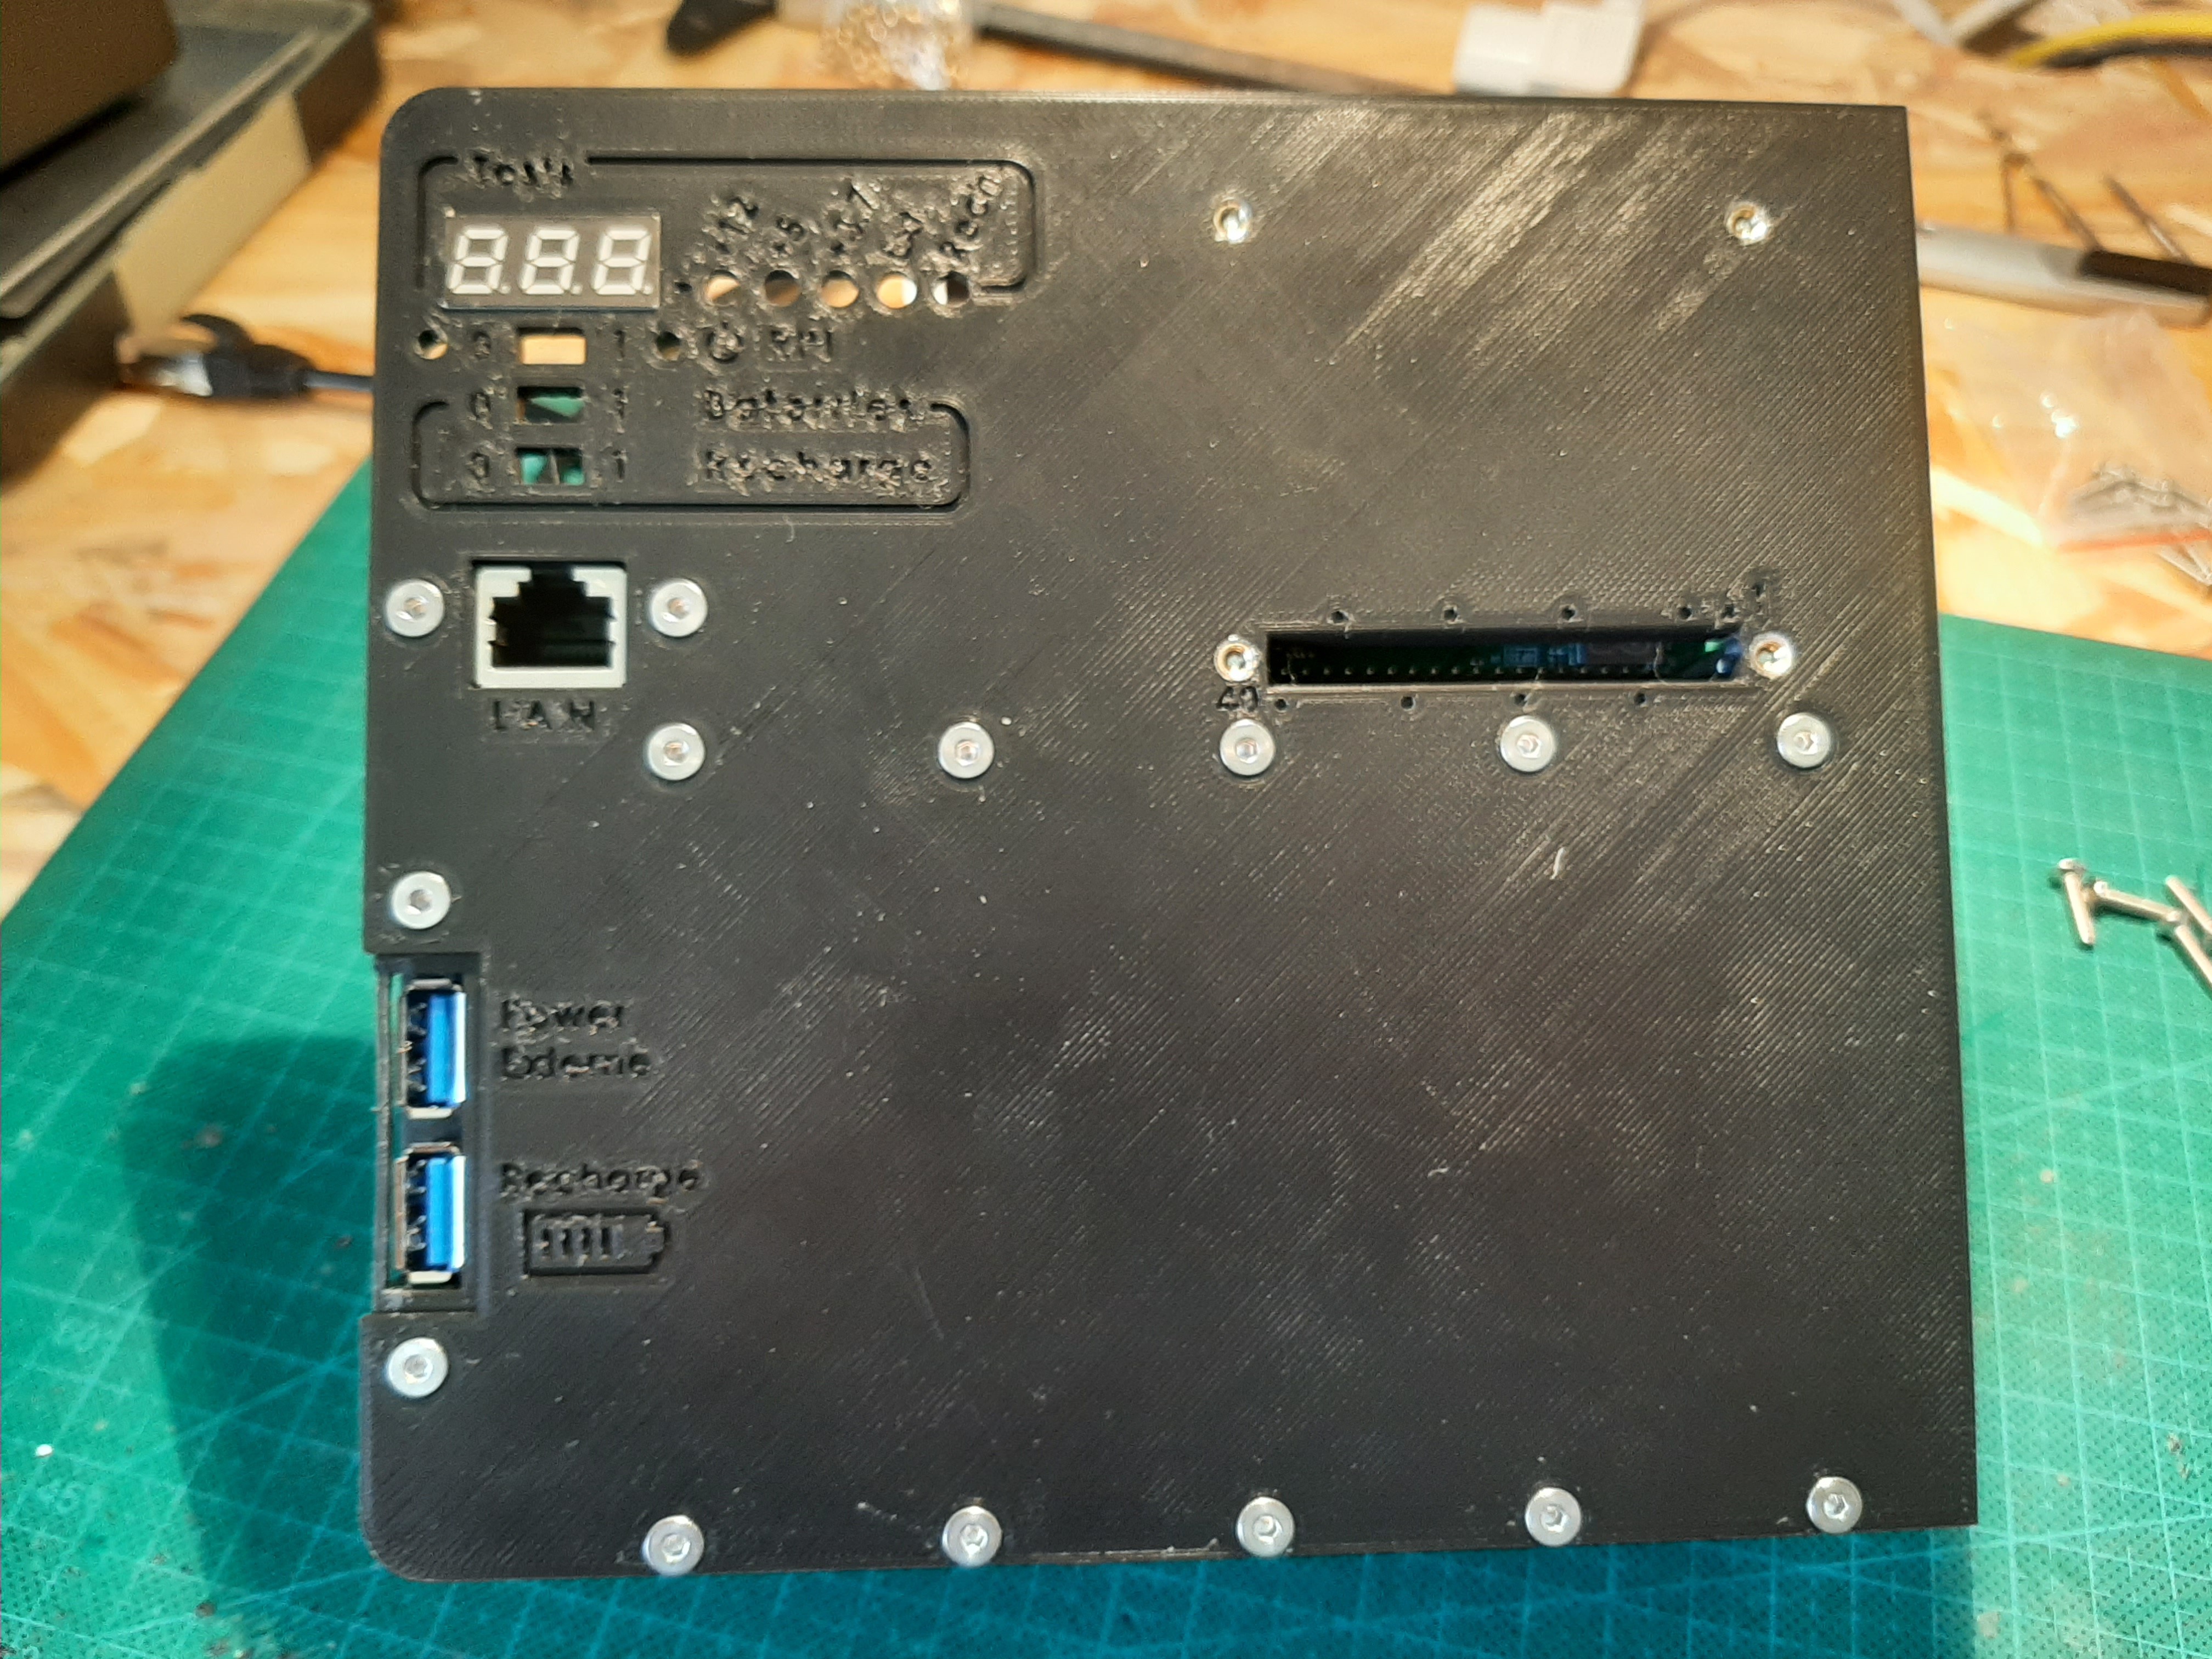
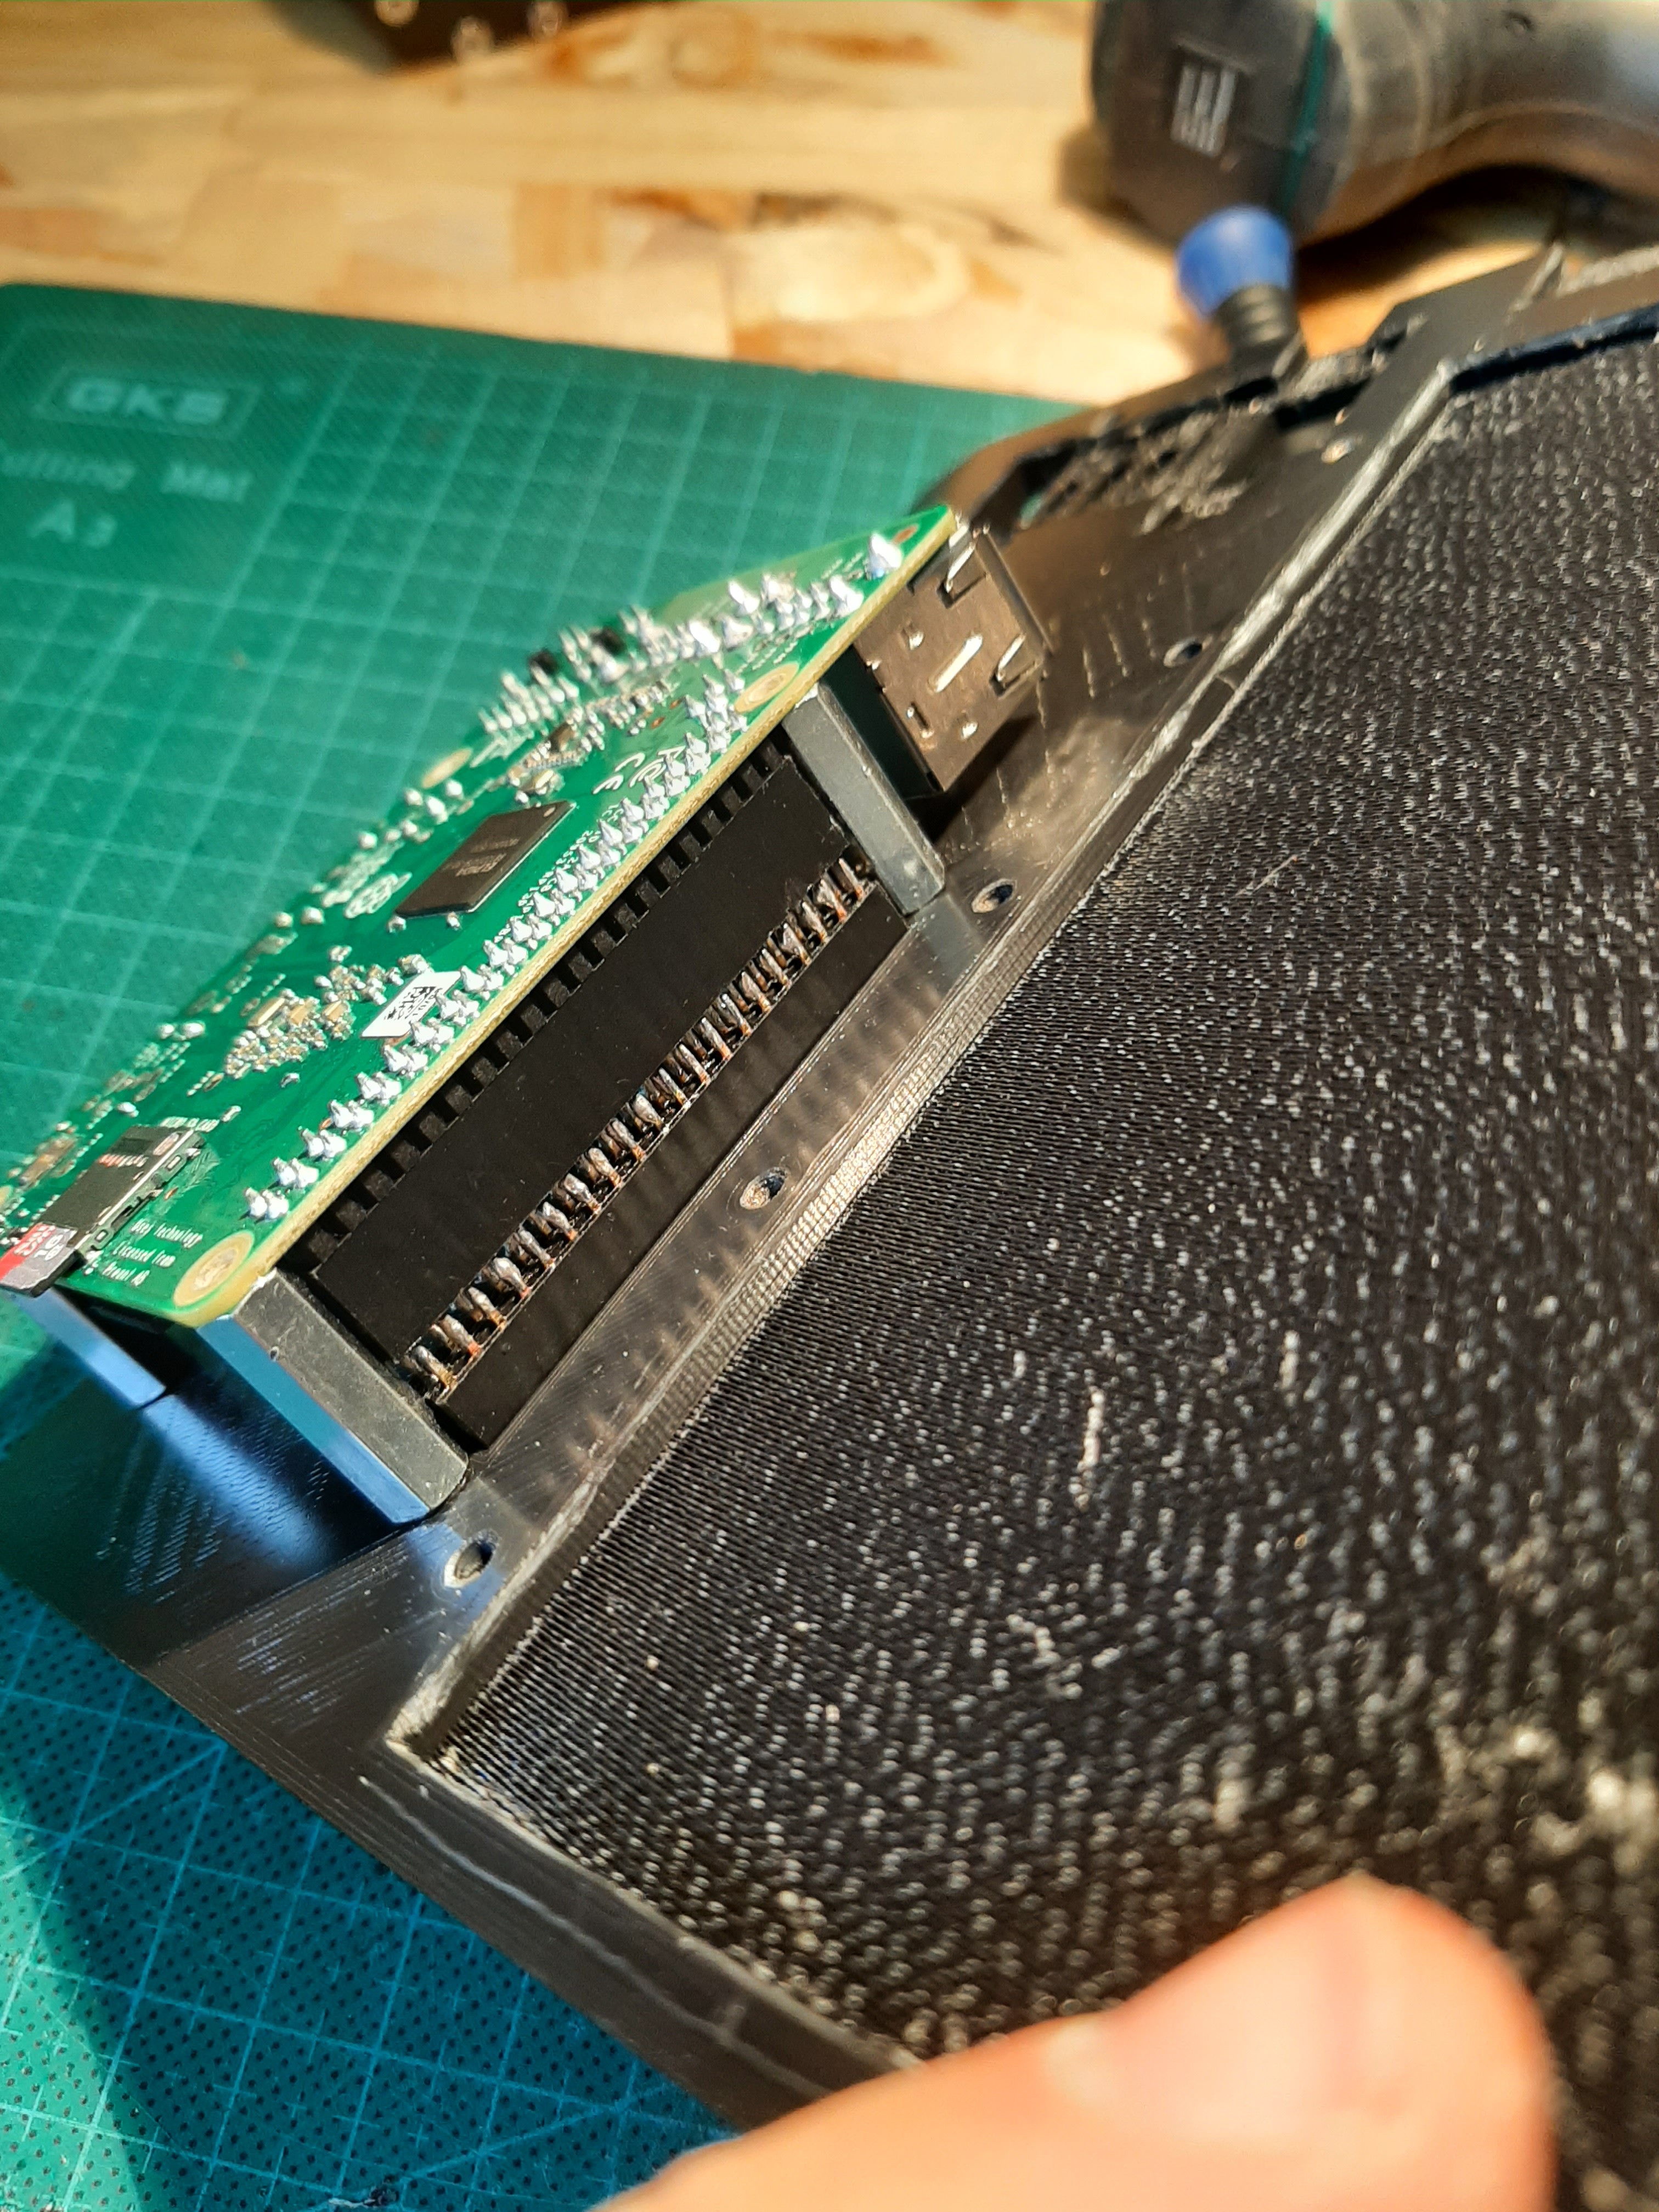
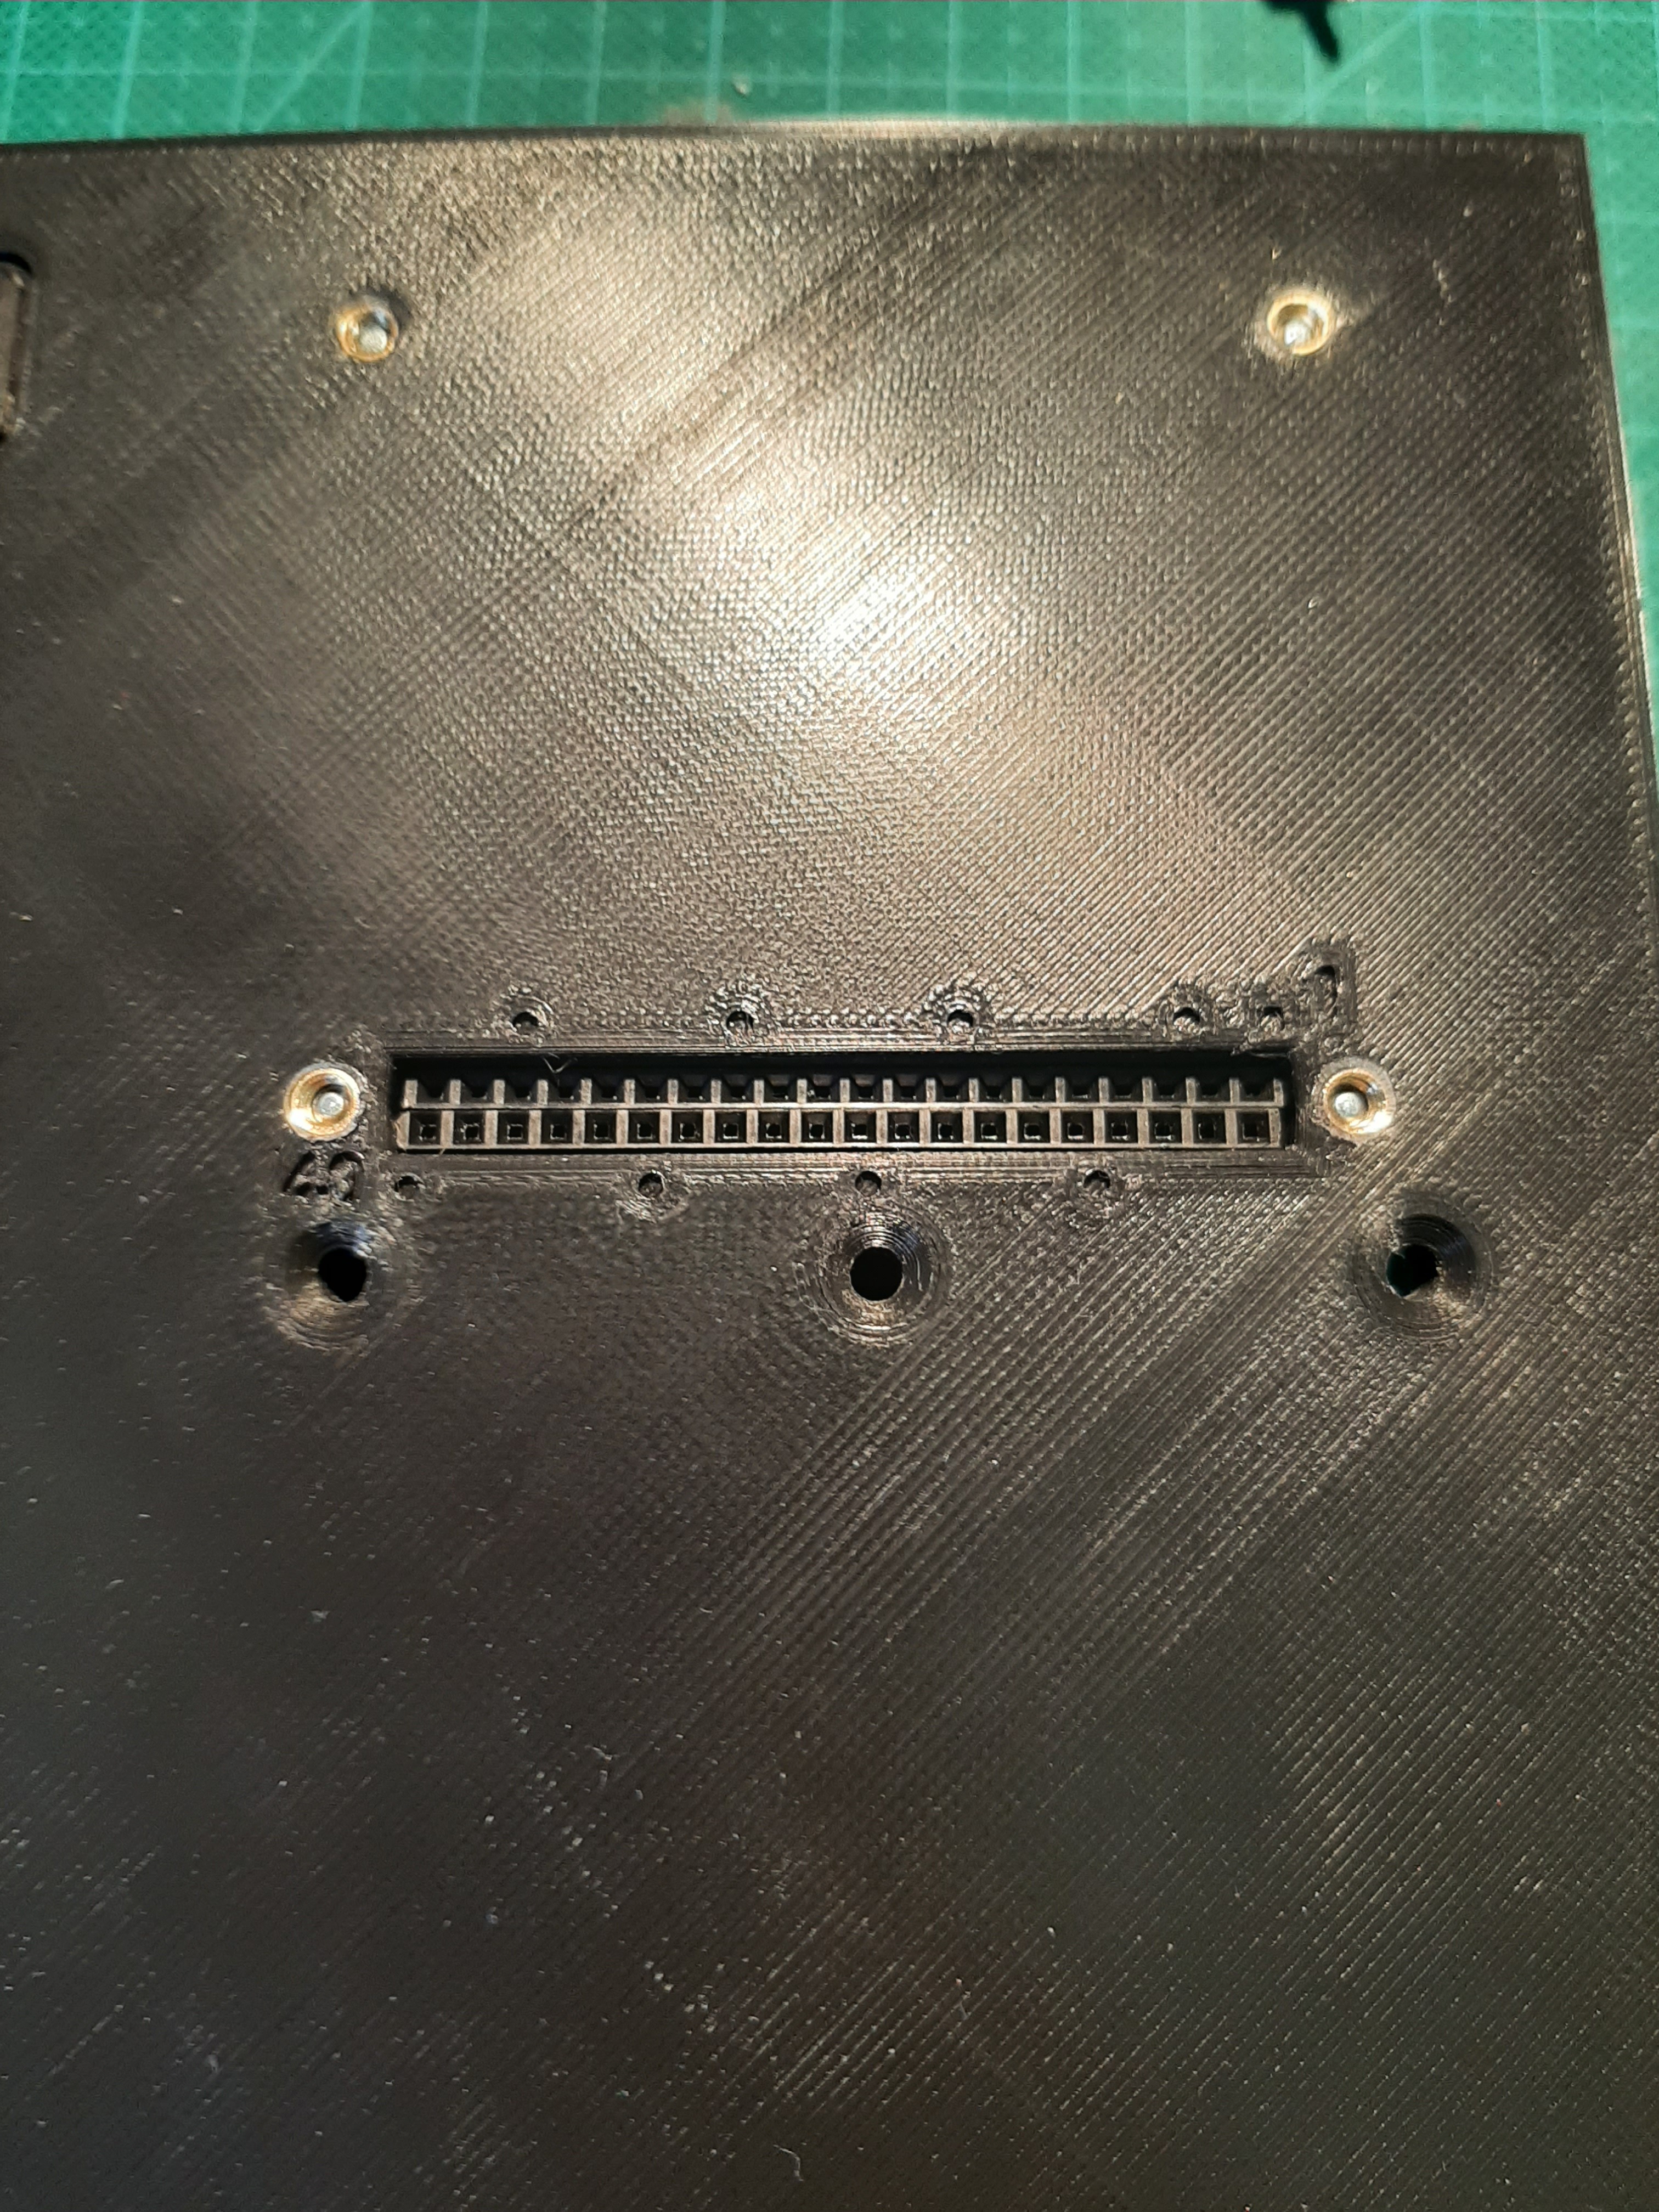
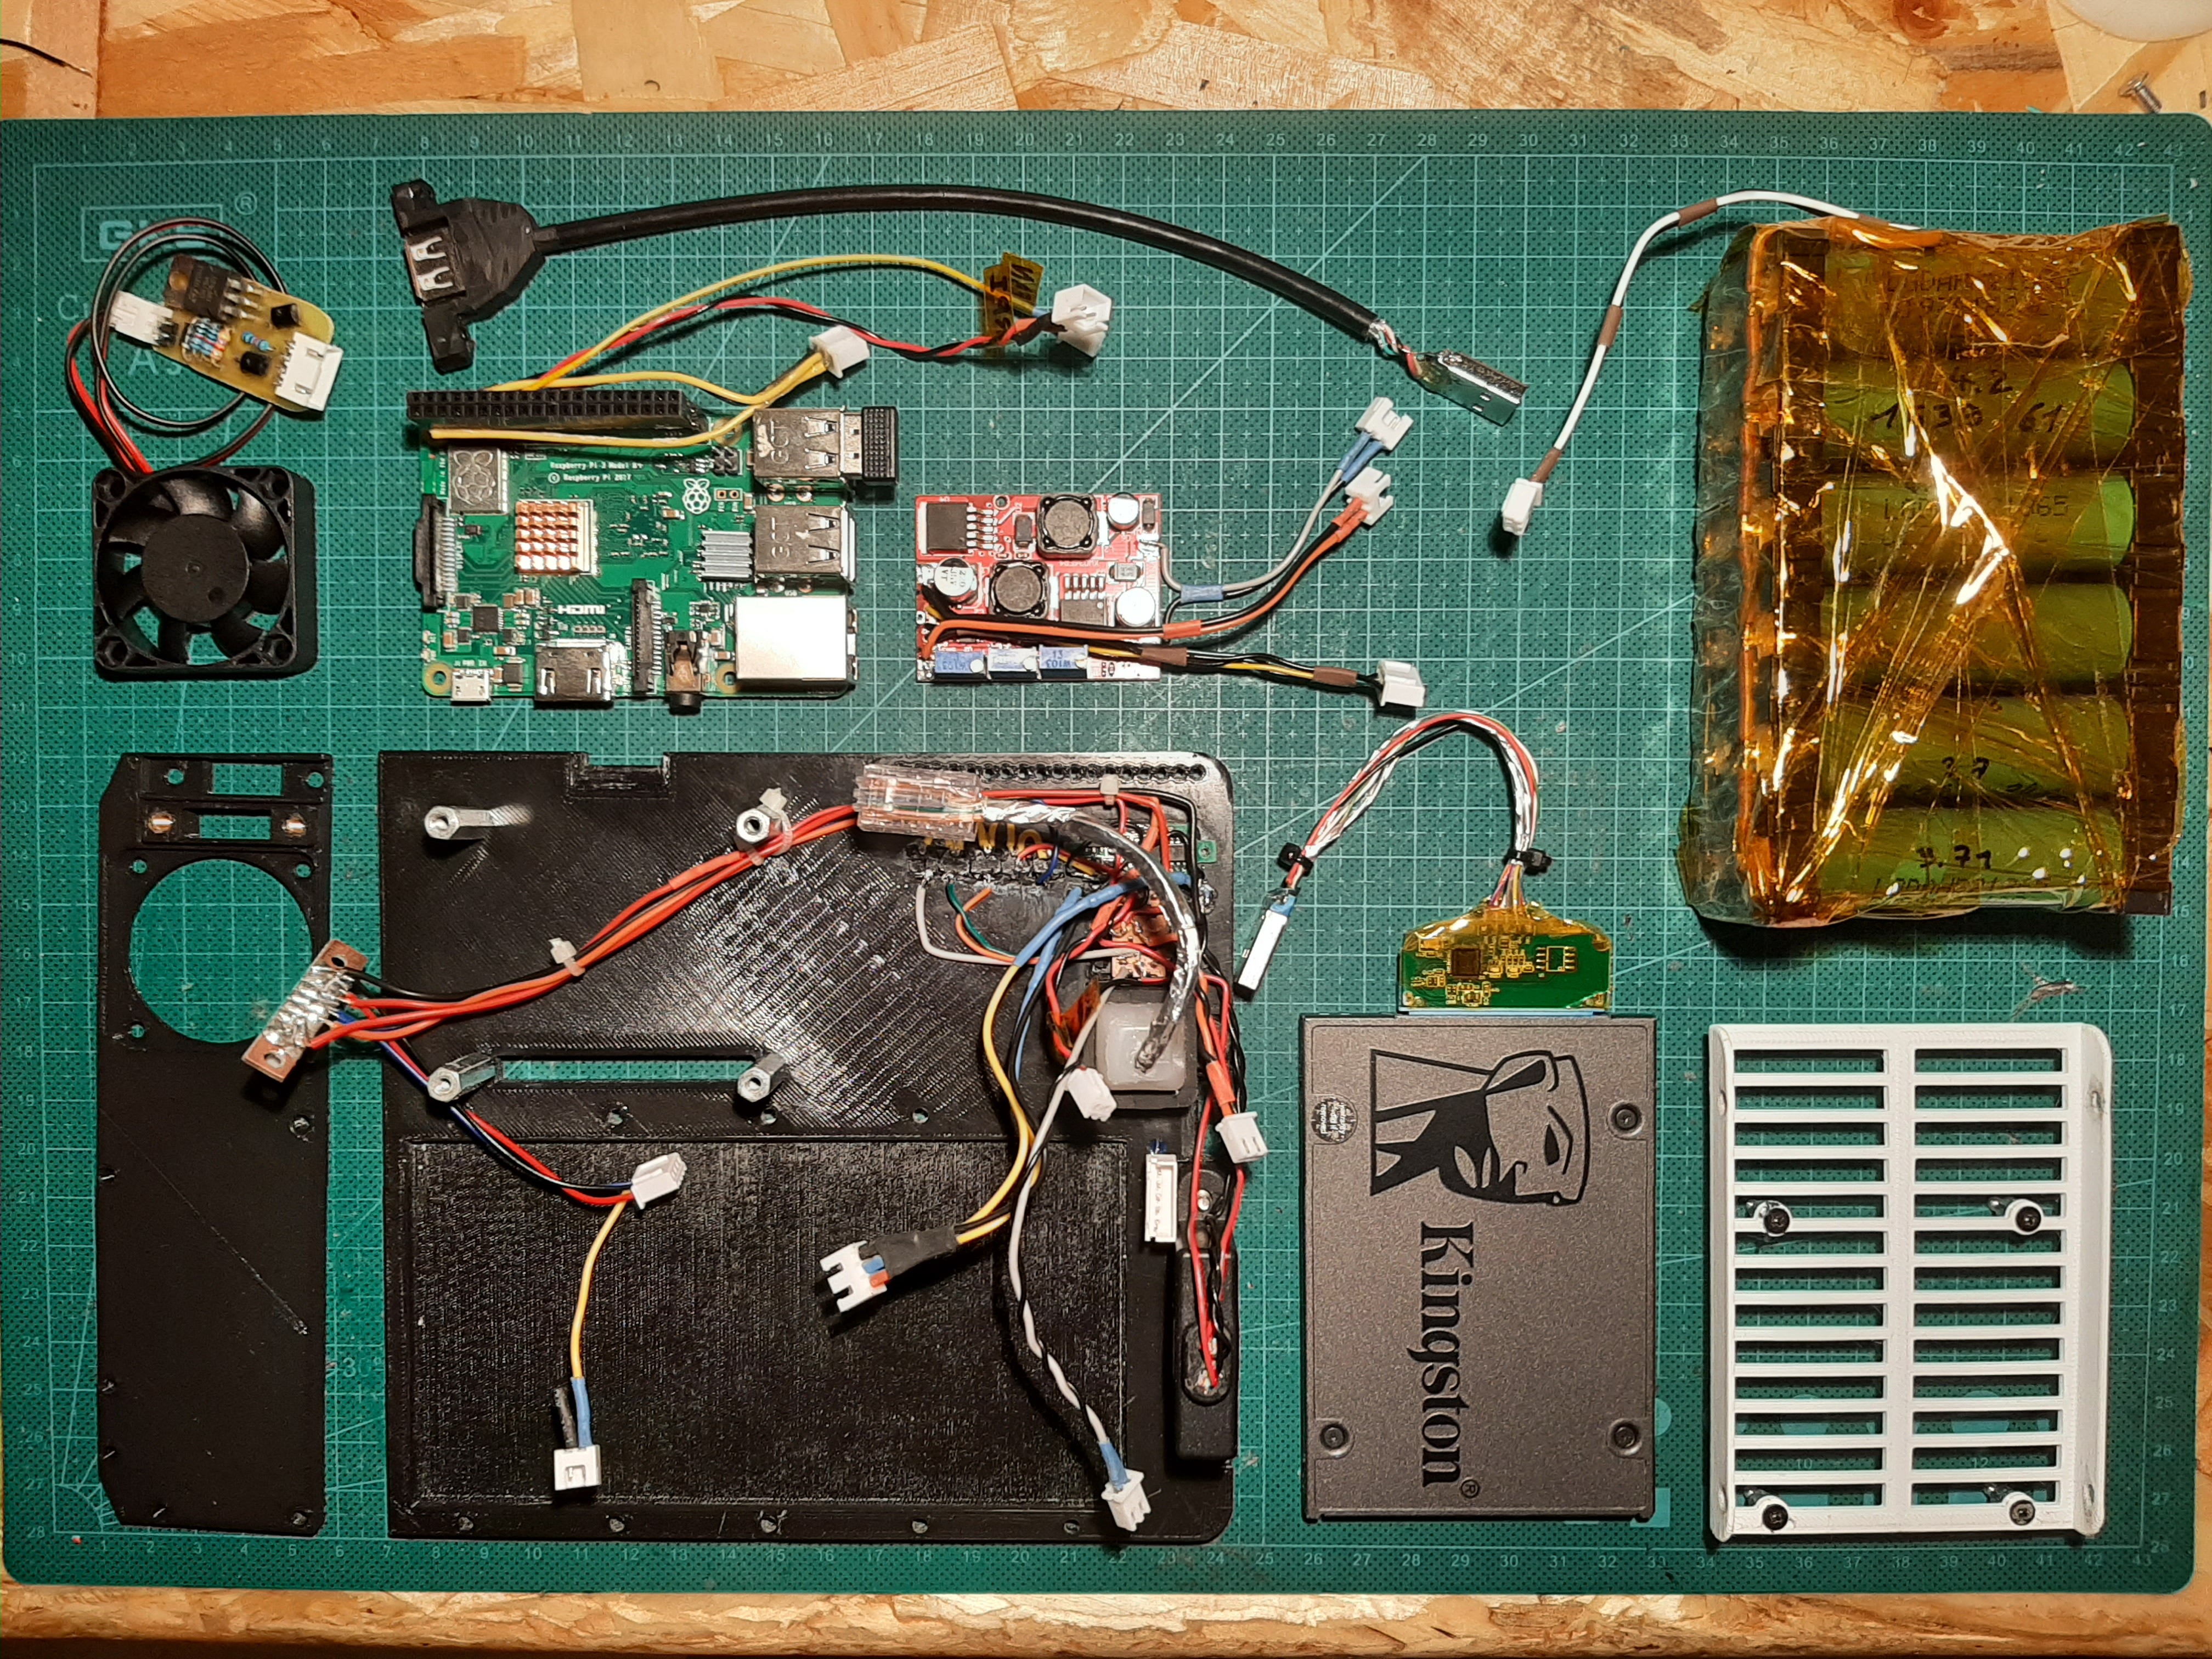
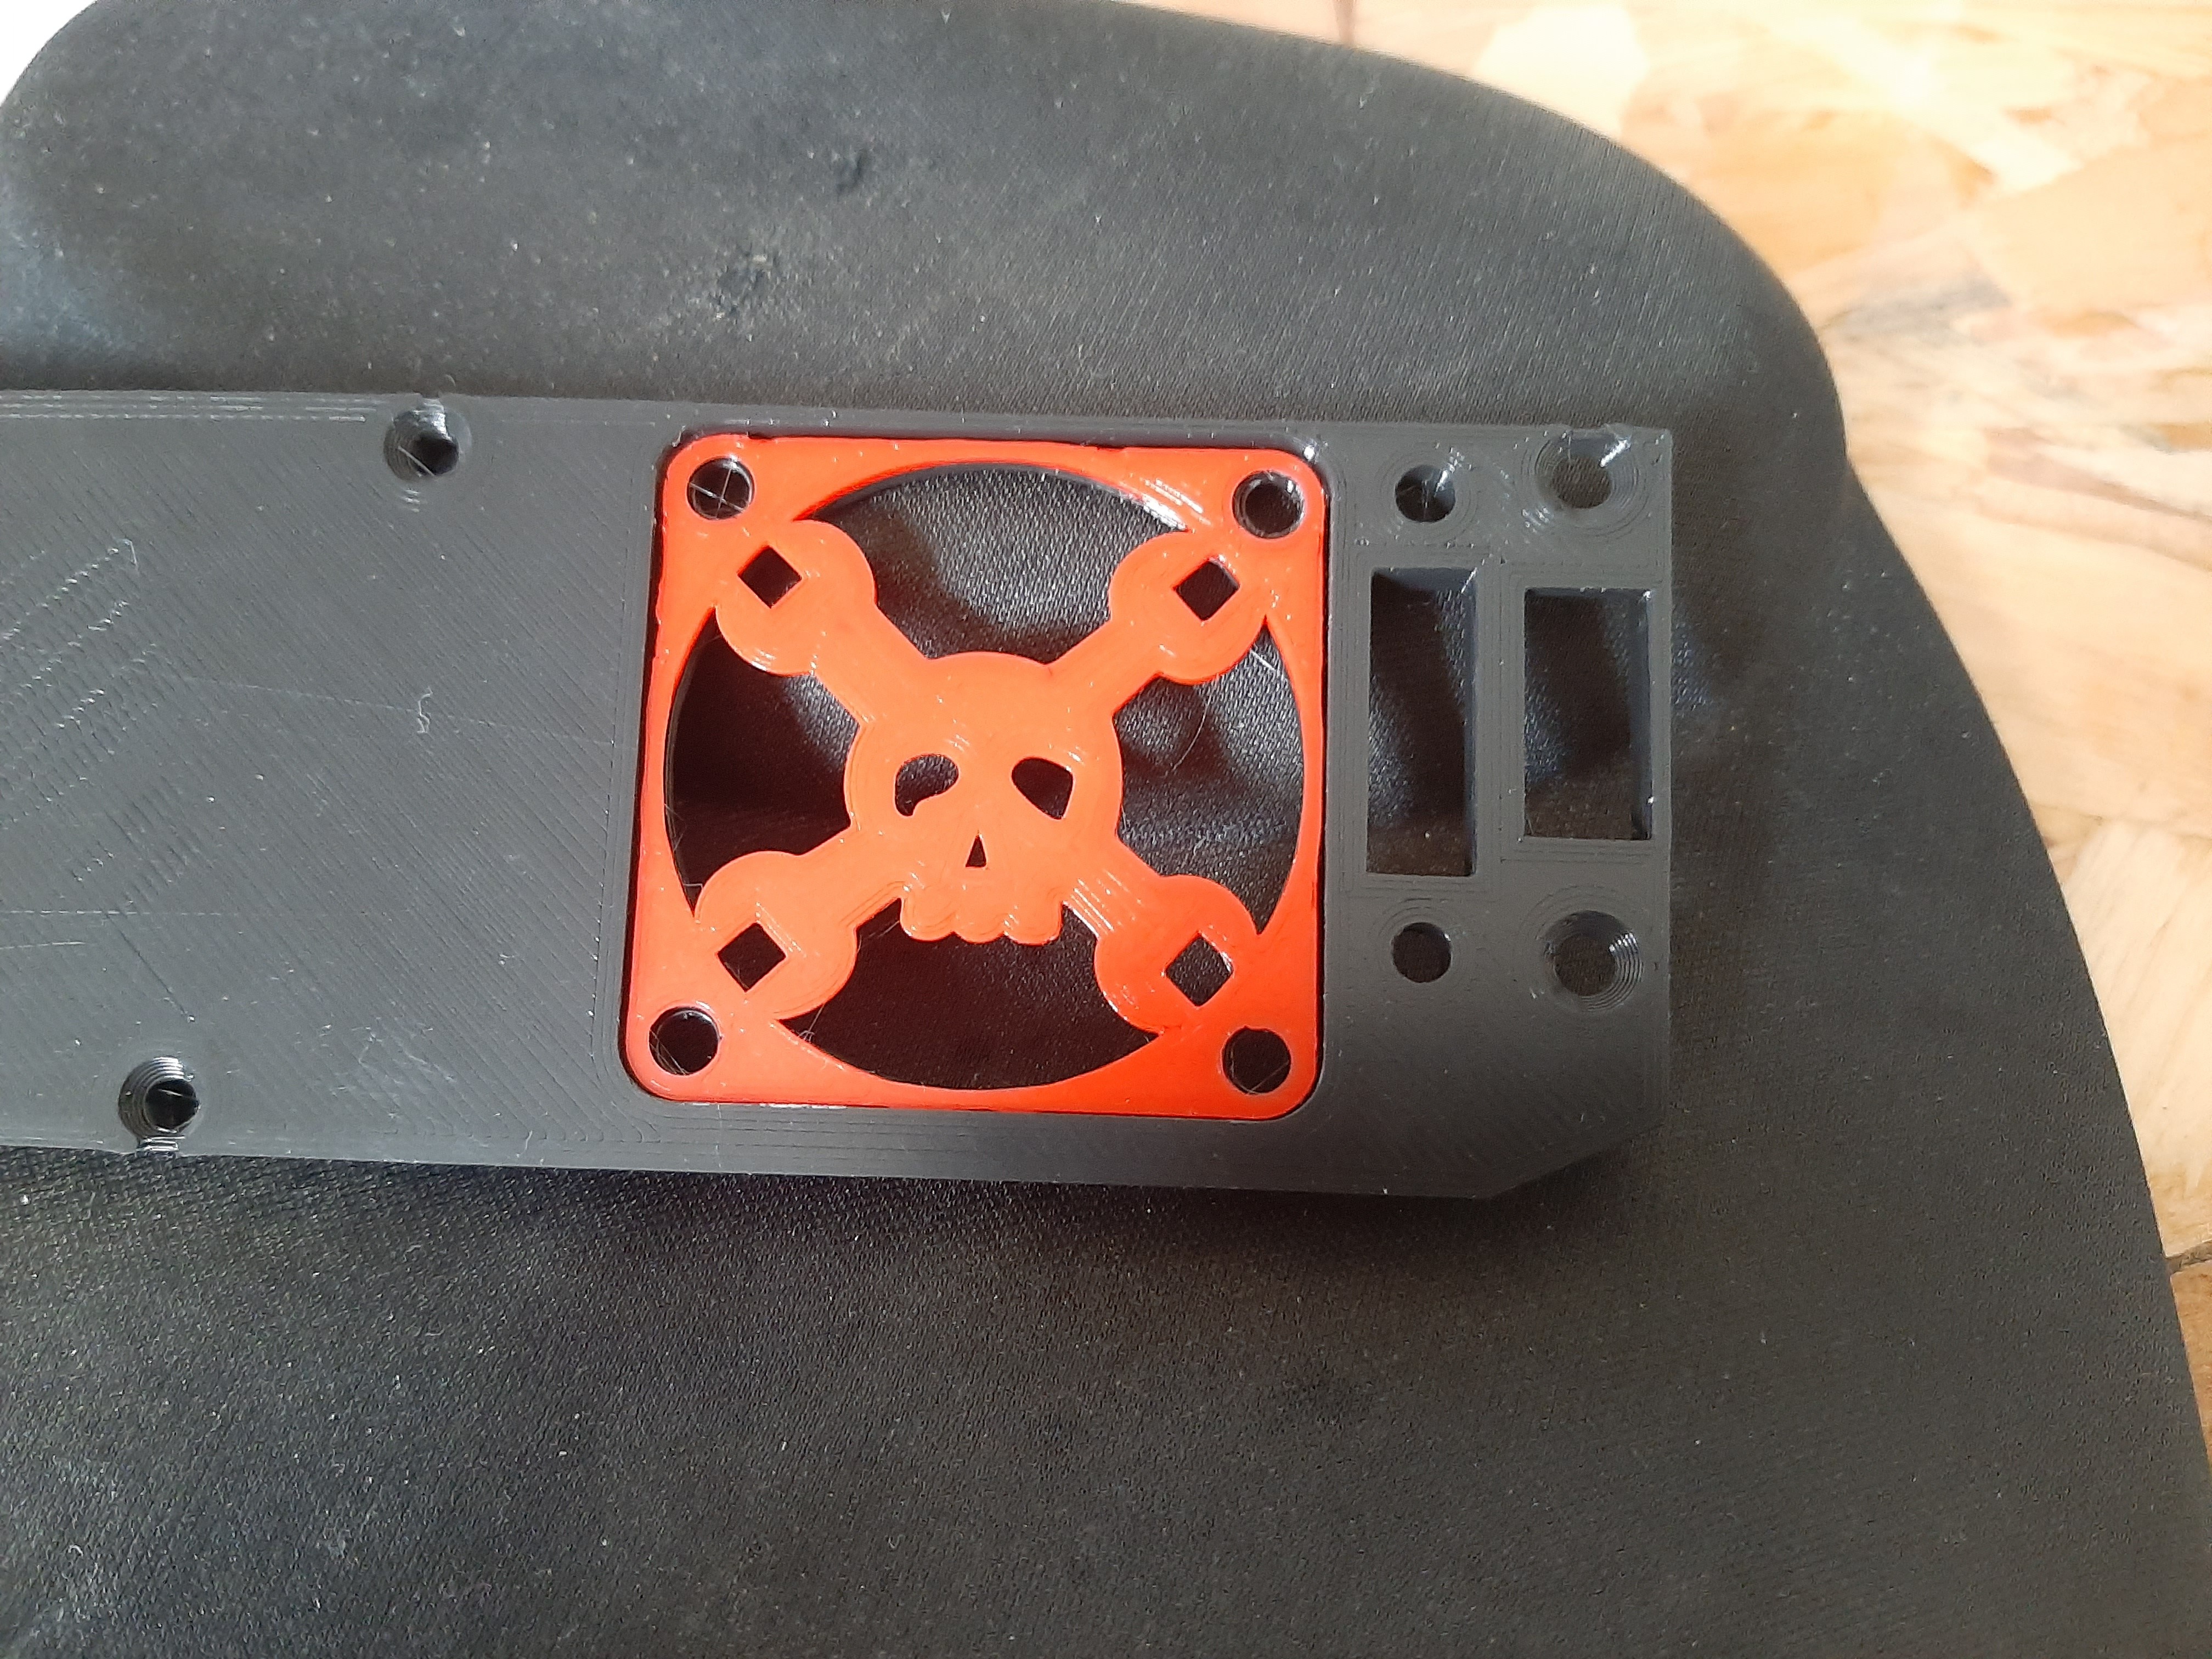
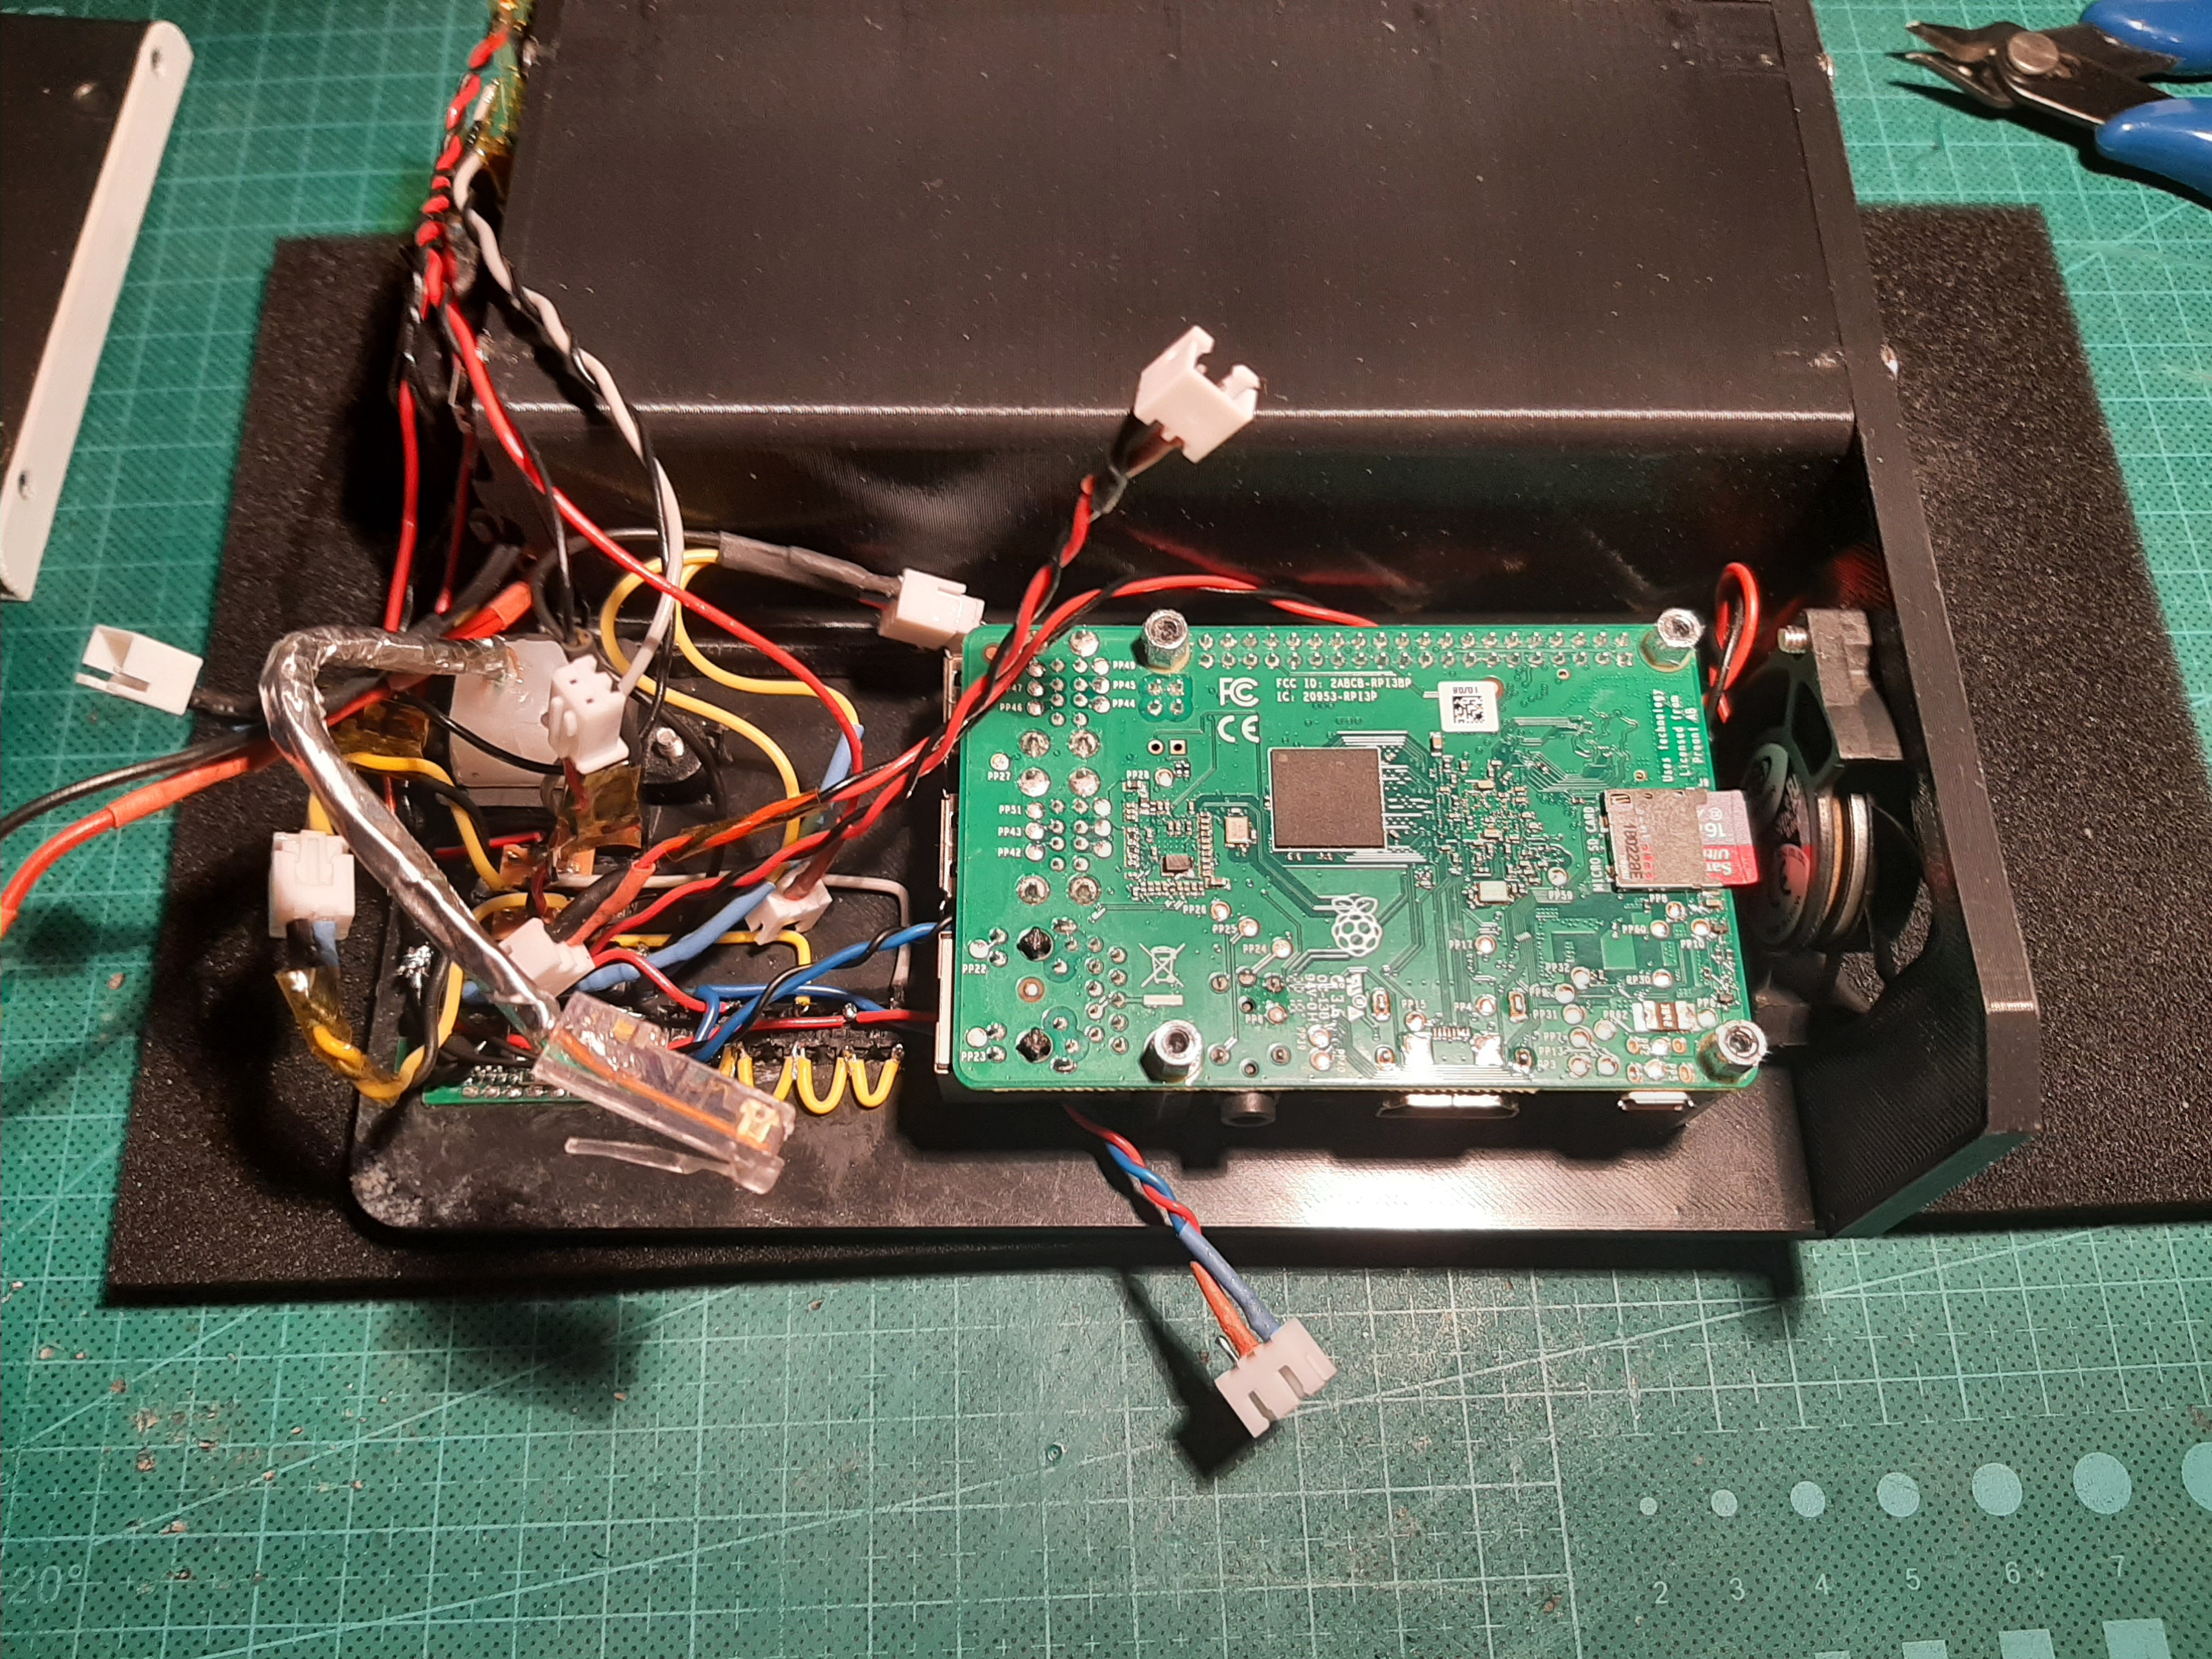
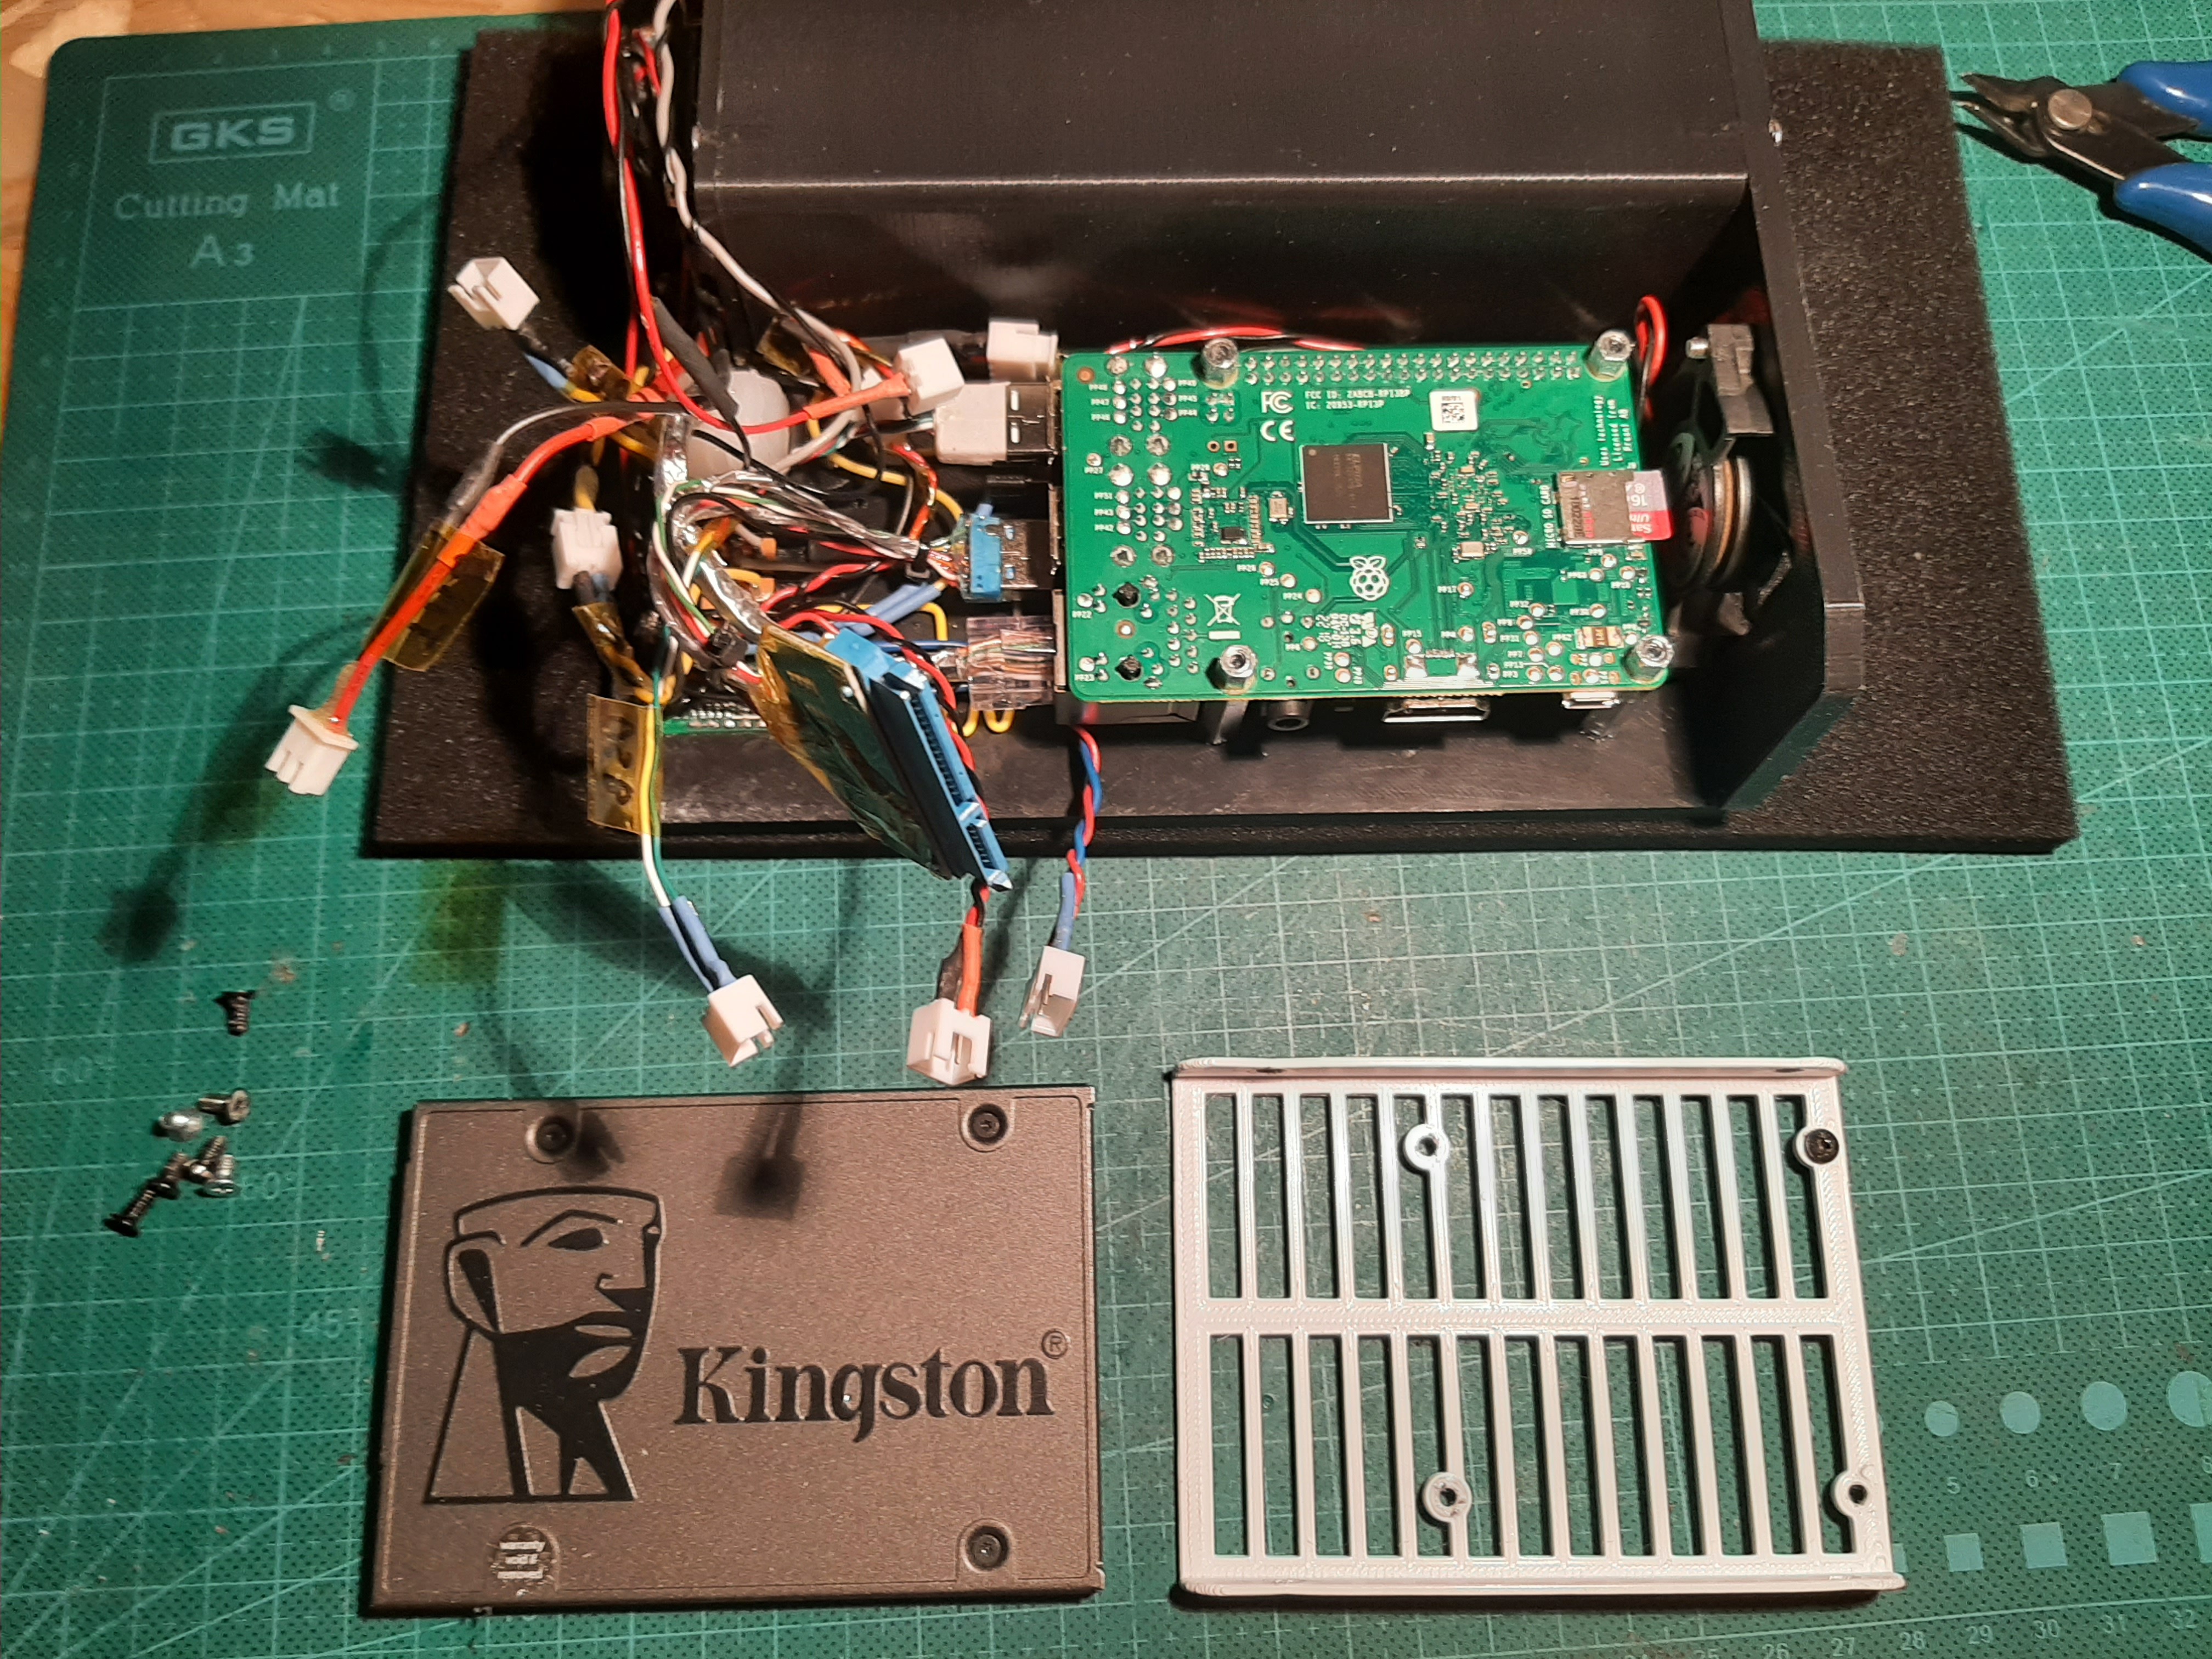
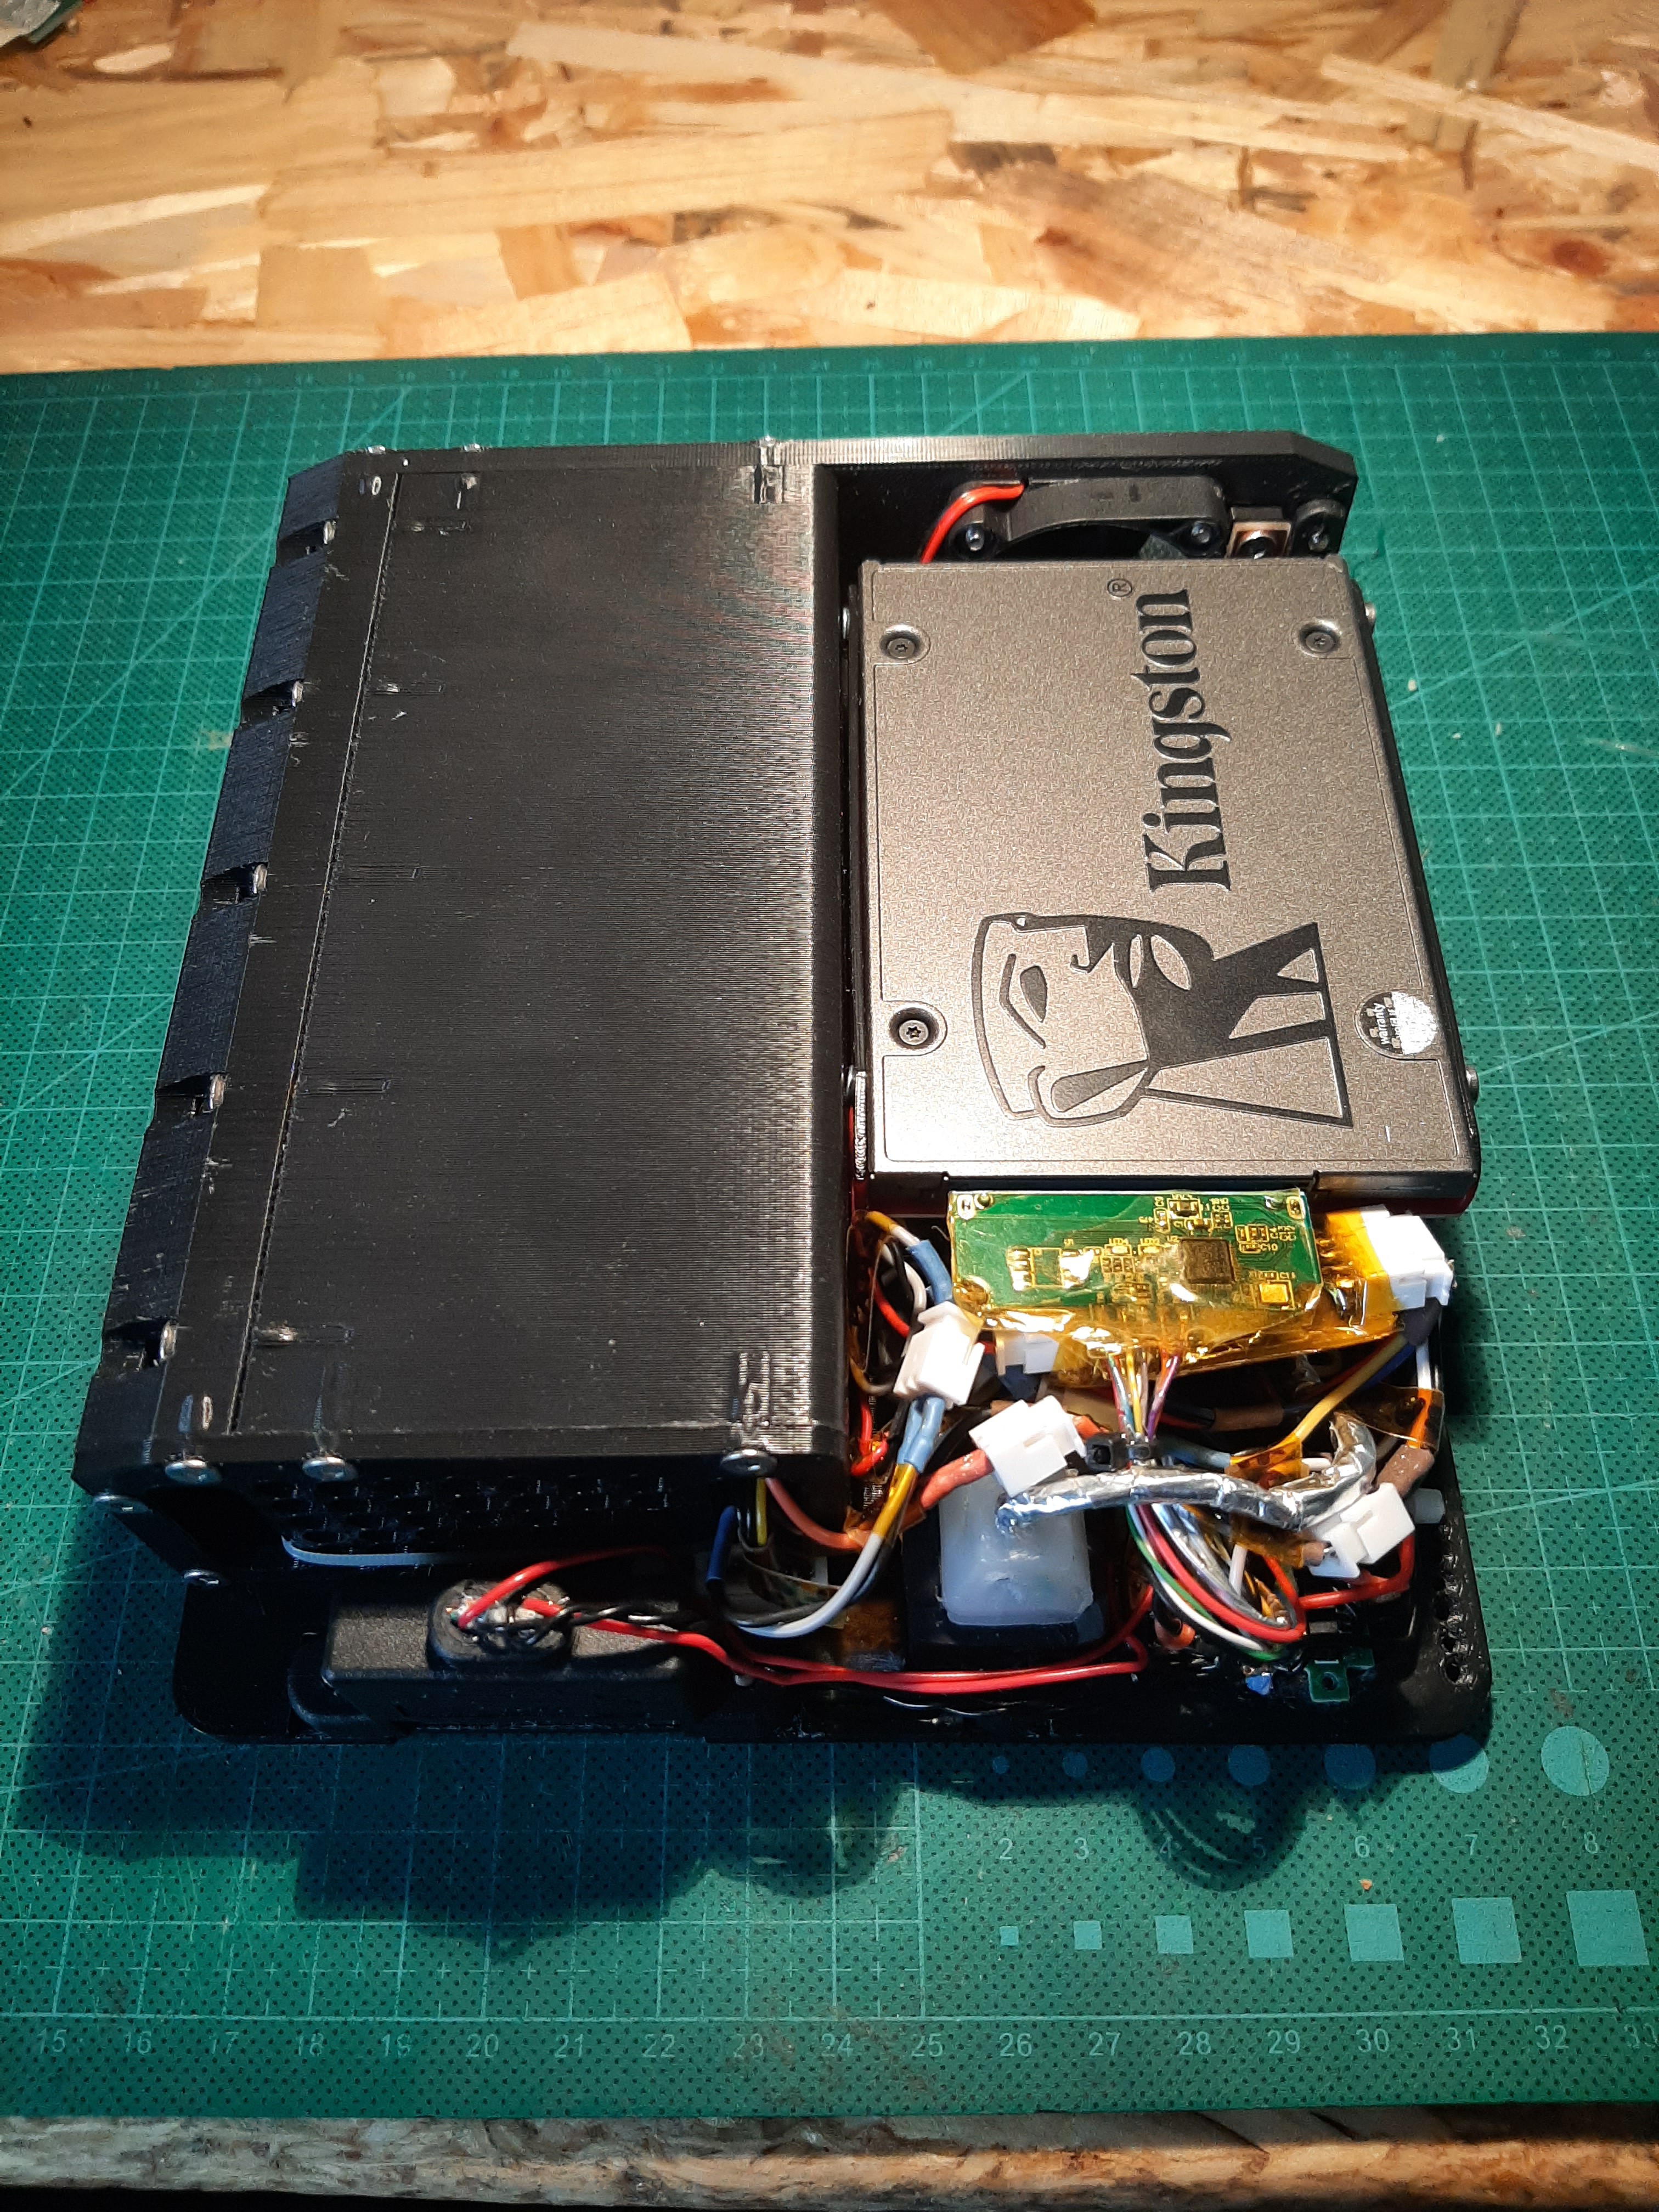
8Final assembly
Put all together ! Tricky part because of little space between components
![]()
![]()
![]()
![]()
![]()
![]()
-
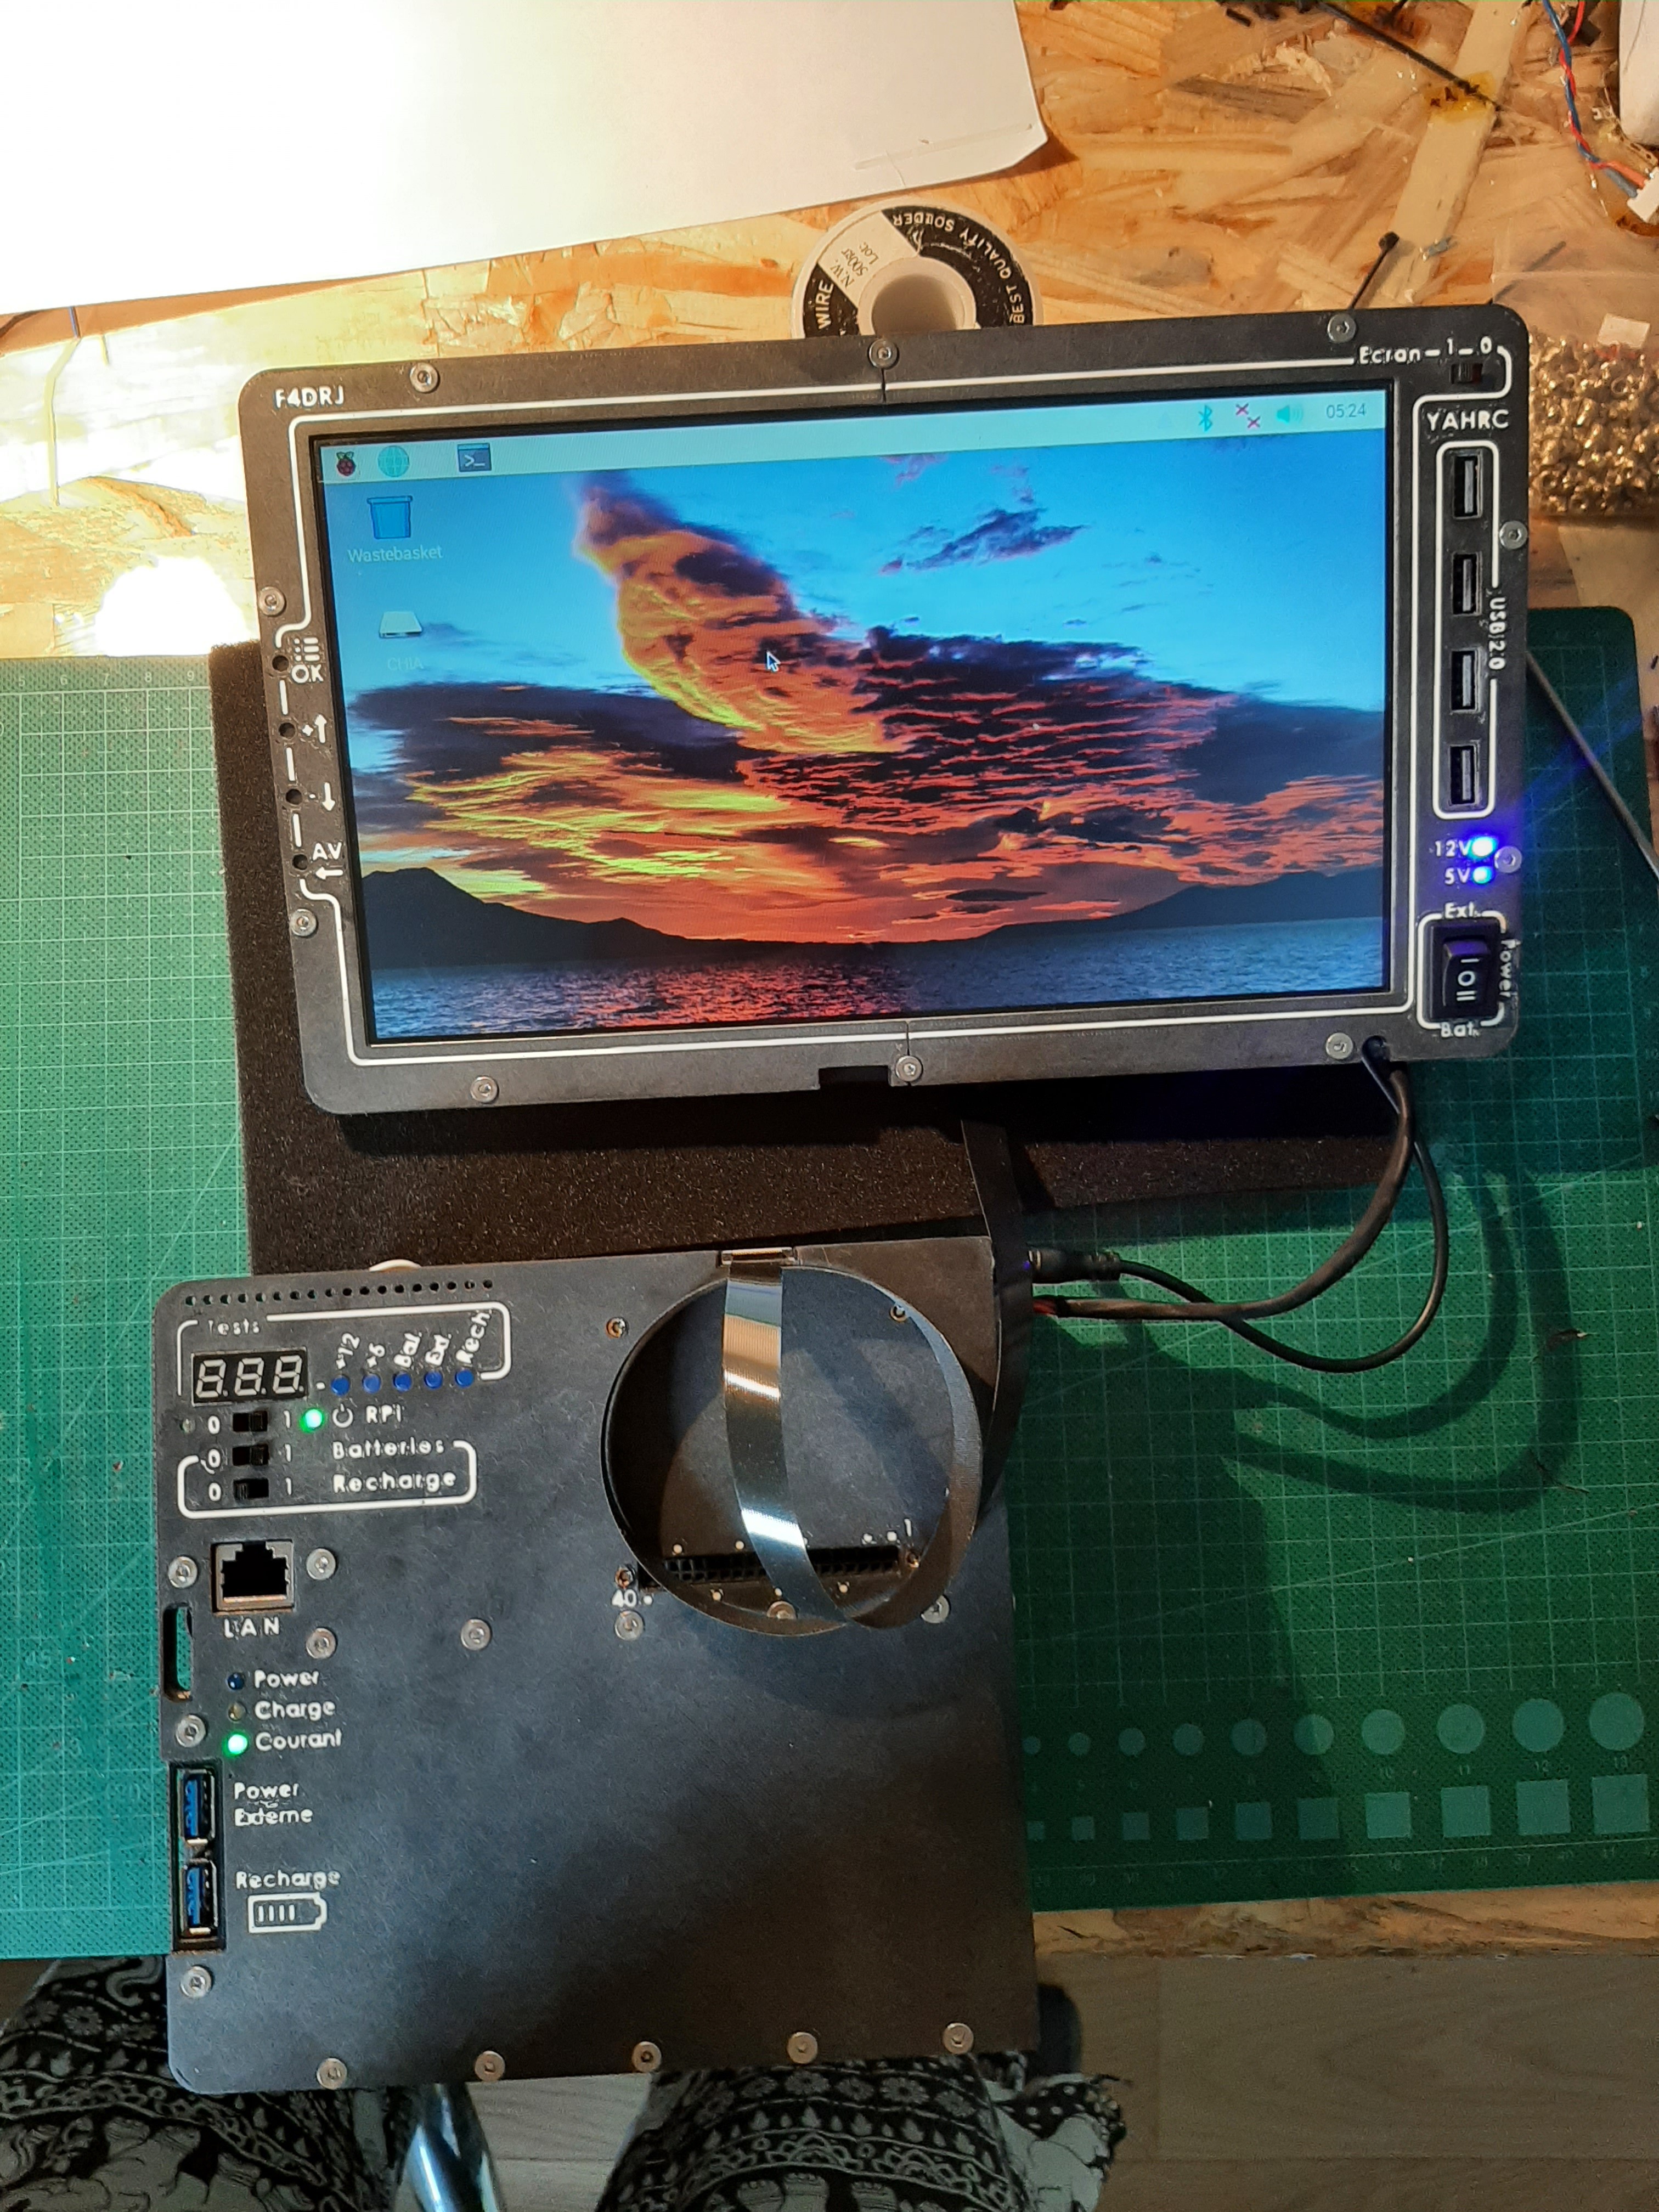
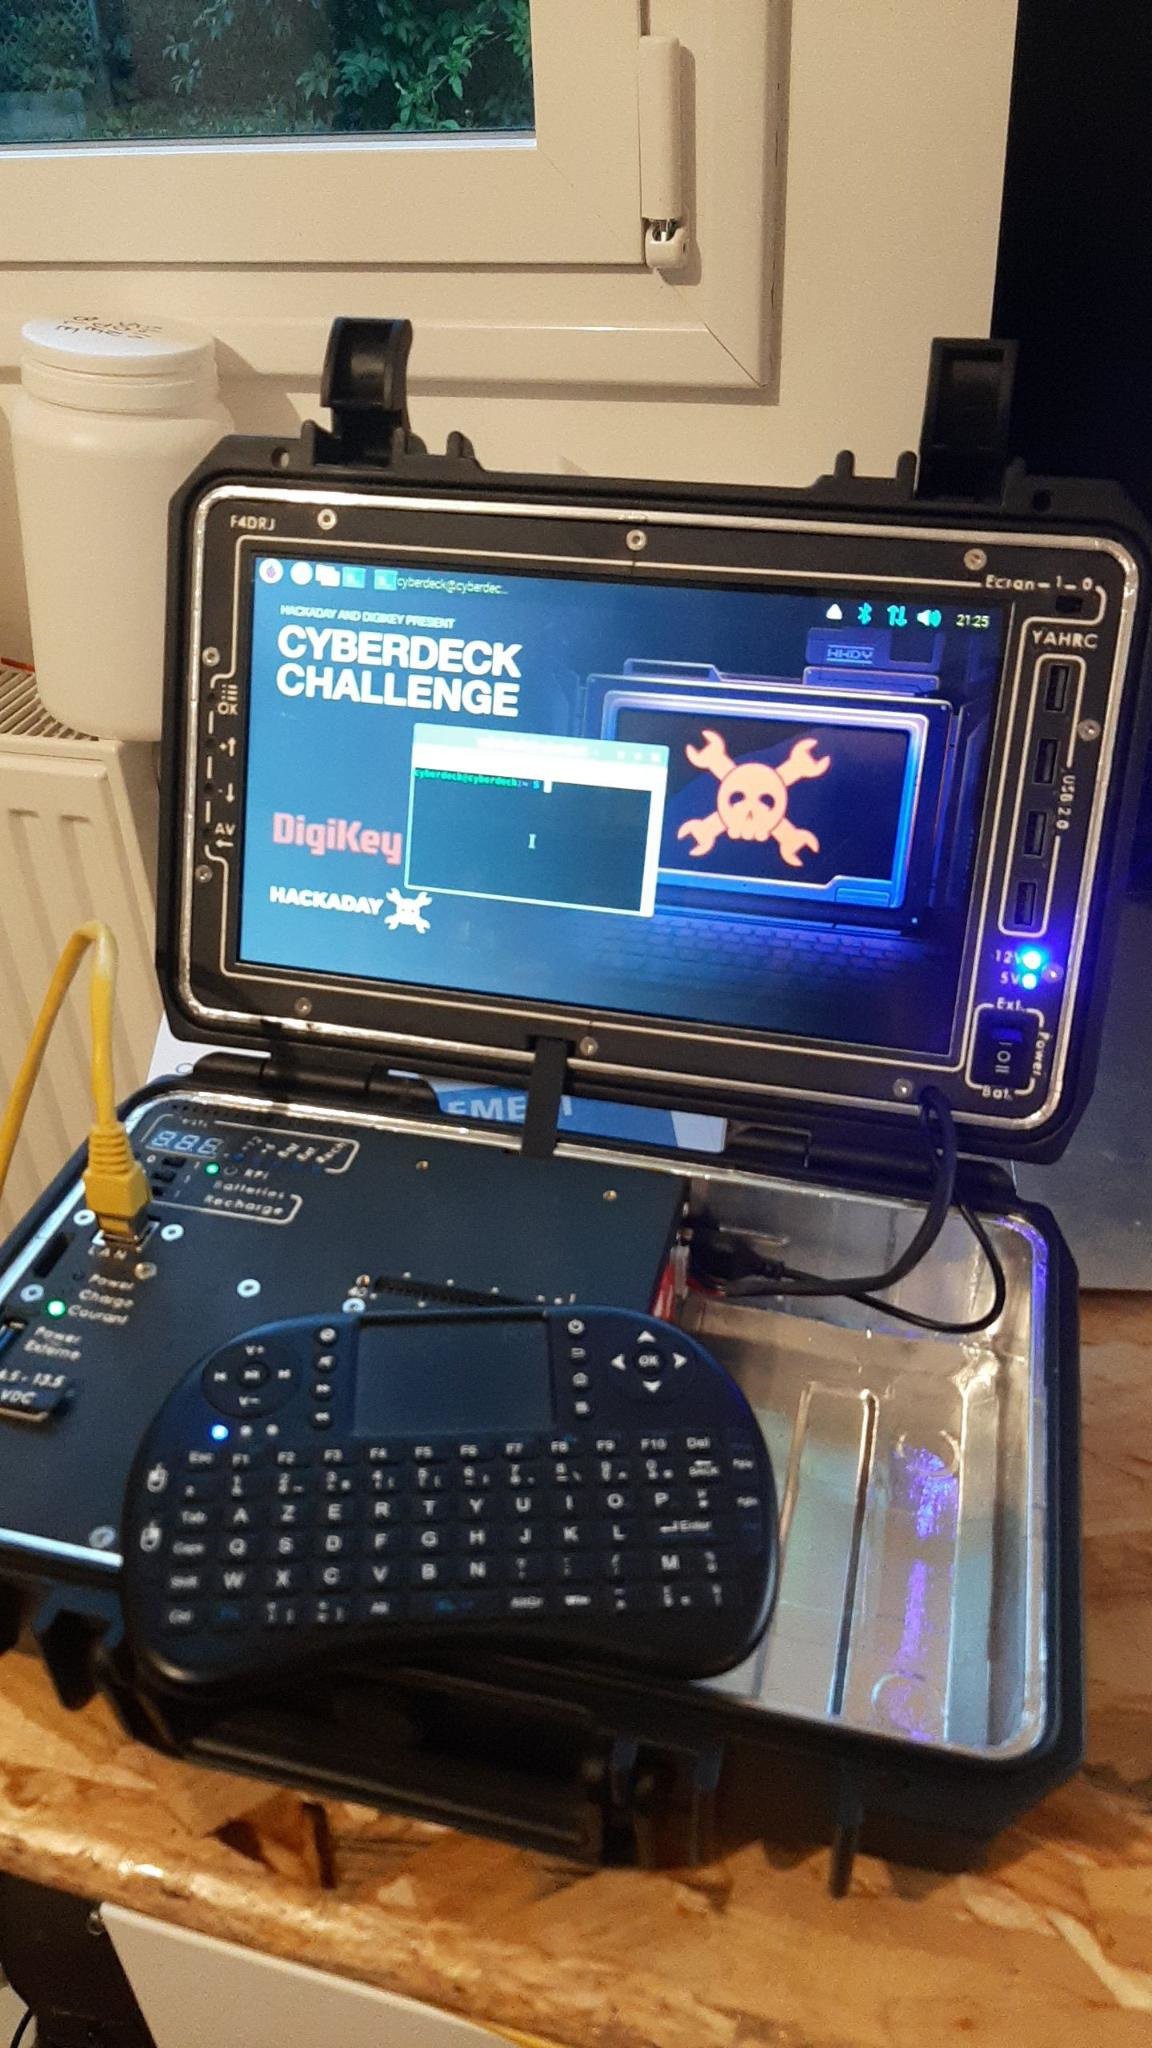
9Result !
![]()
![]()
Credits : wallpaper from Lutetium Cyberdeck 2023 Gallery
YAHRC - Yet Another Ham Radio Cyberdeck
How about a tiny rpi based cyberdeck, Huh ?

Discussions
Become a Hackaday.io Member
Create an account to leave a comment. Already have an account? Log In.