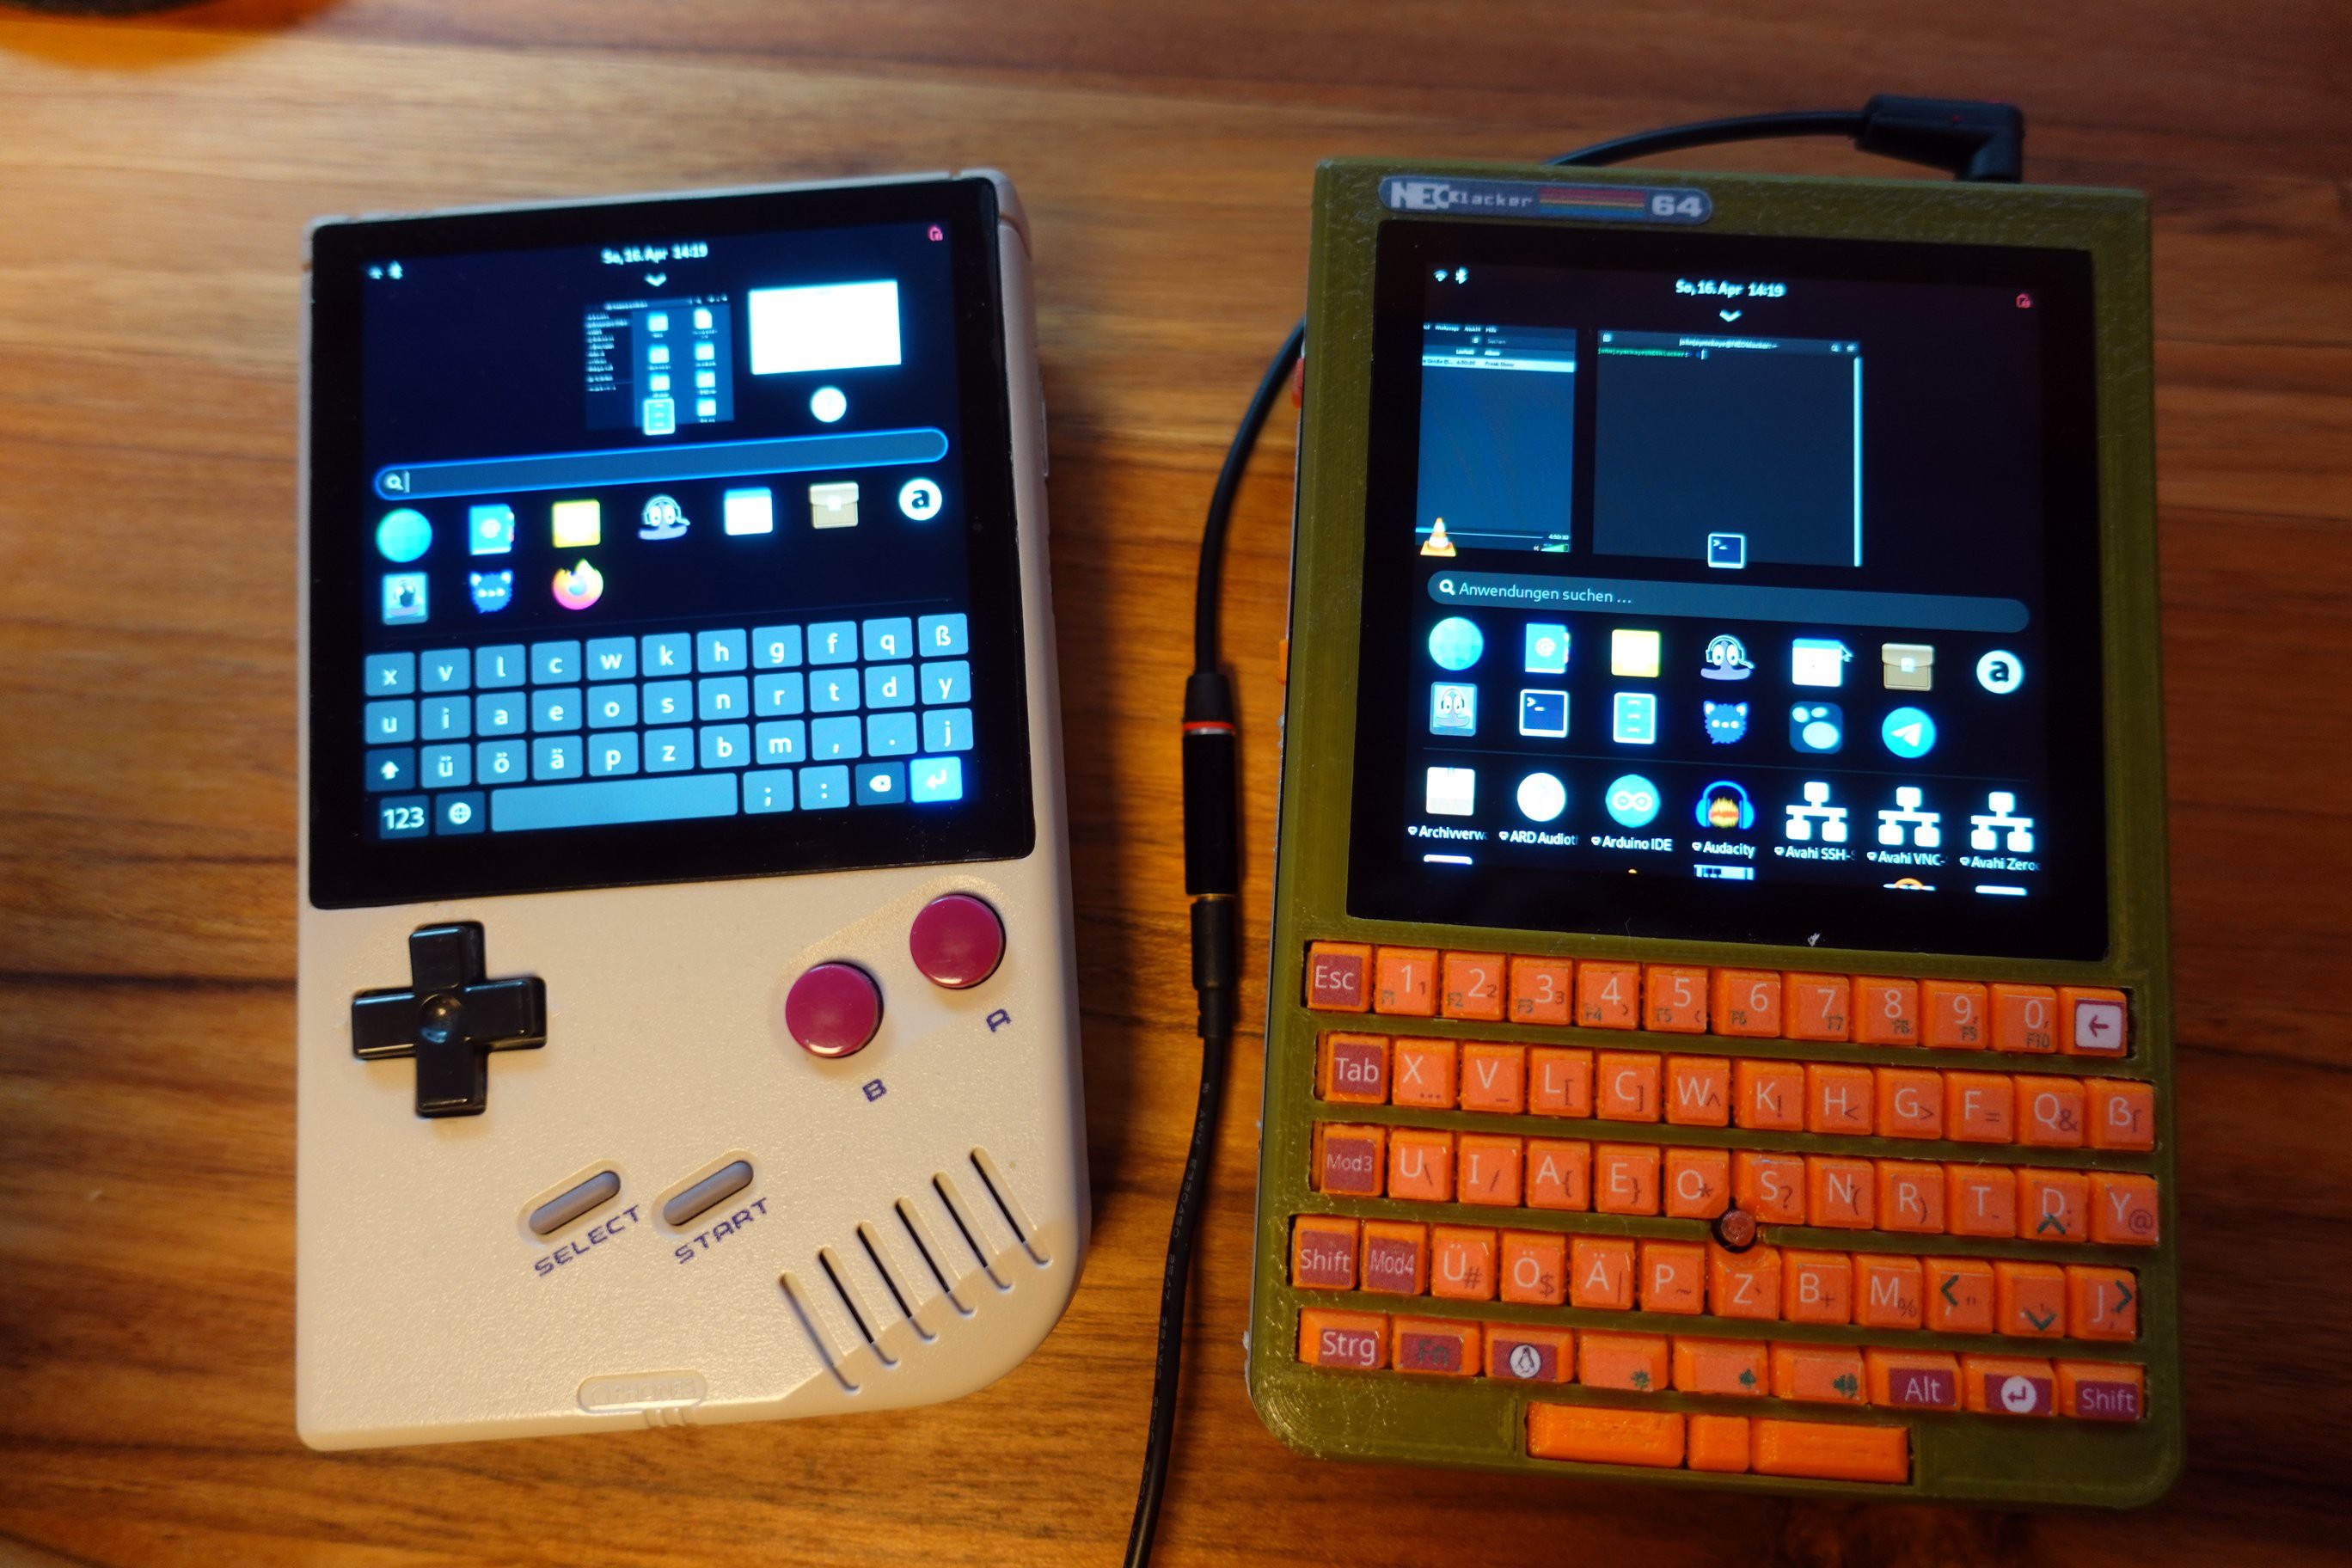
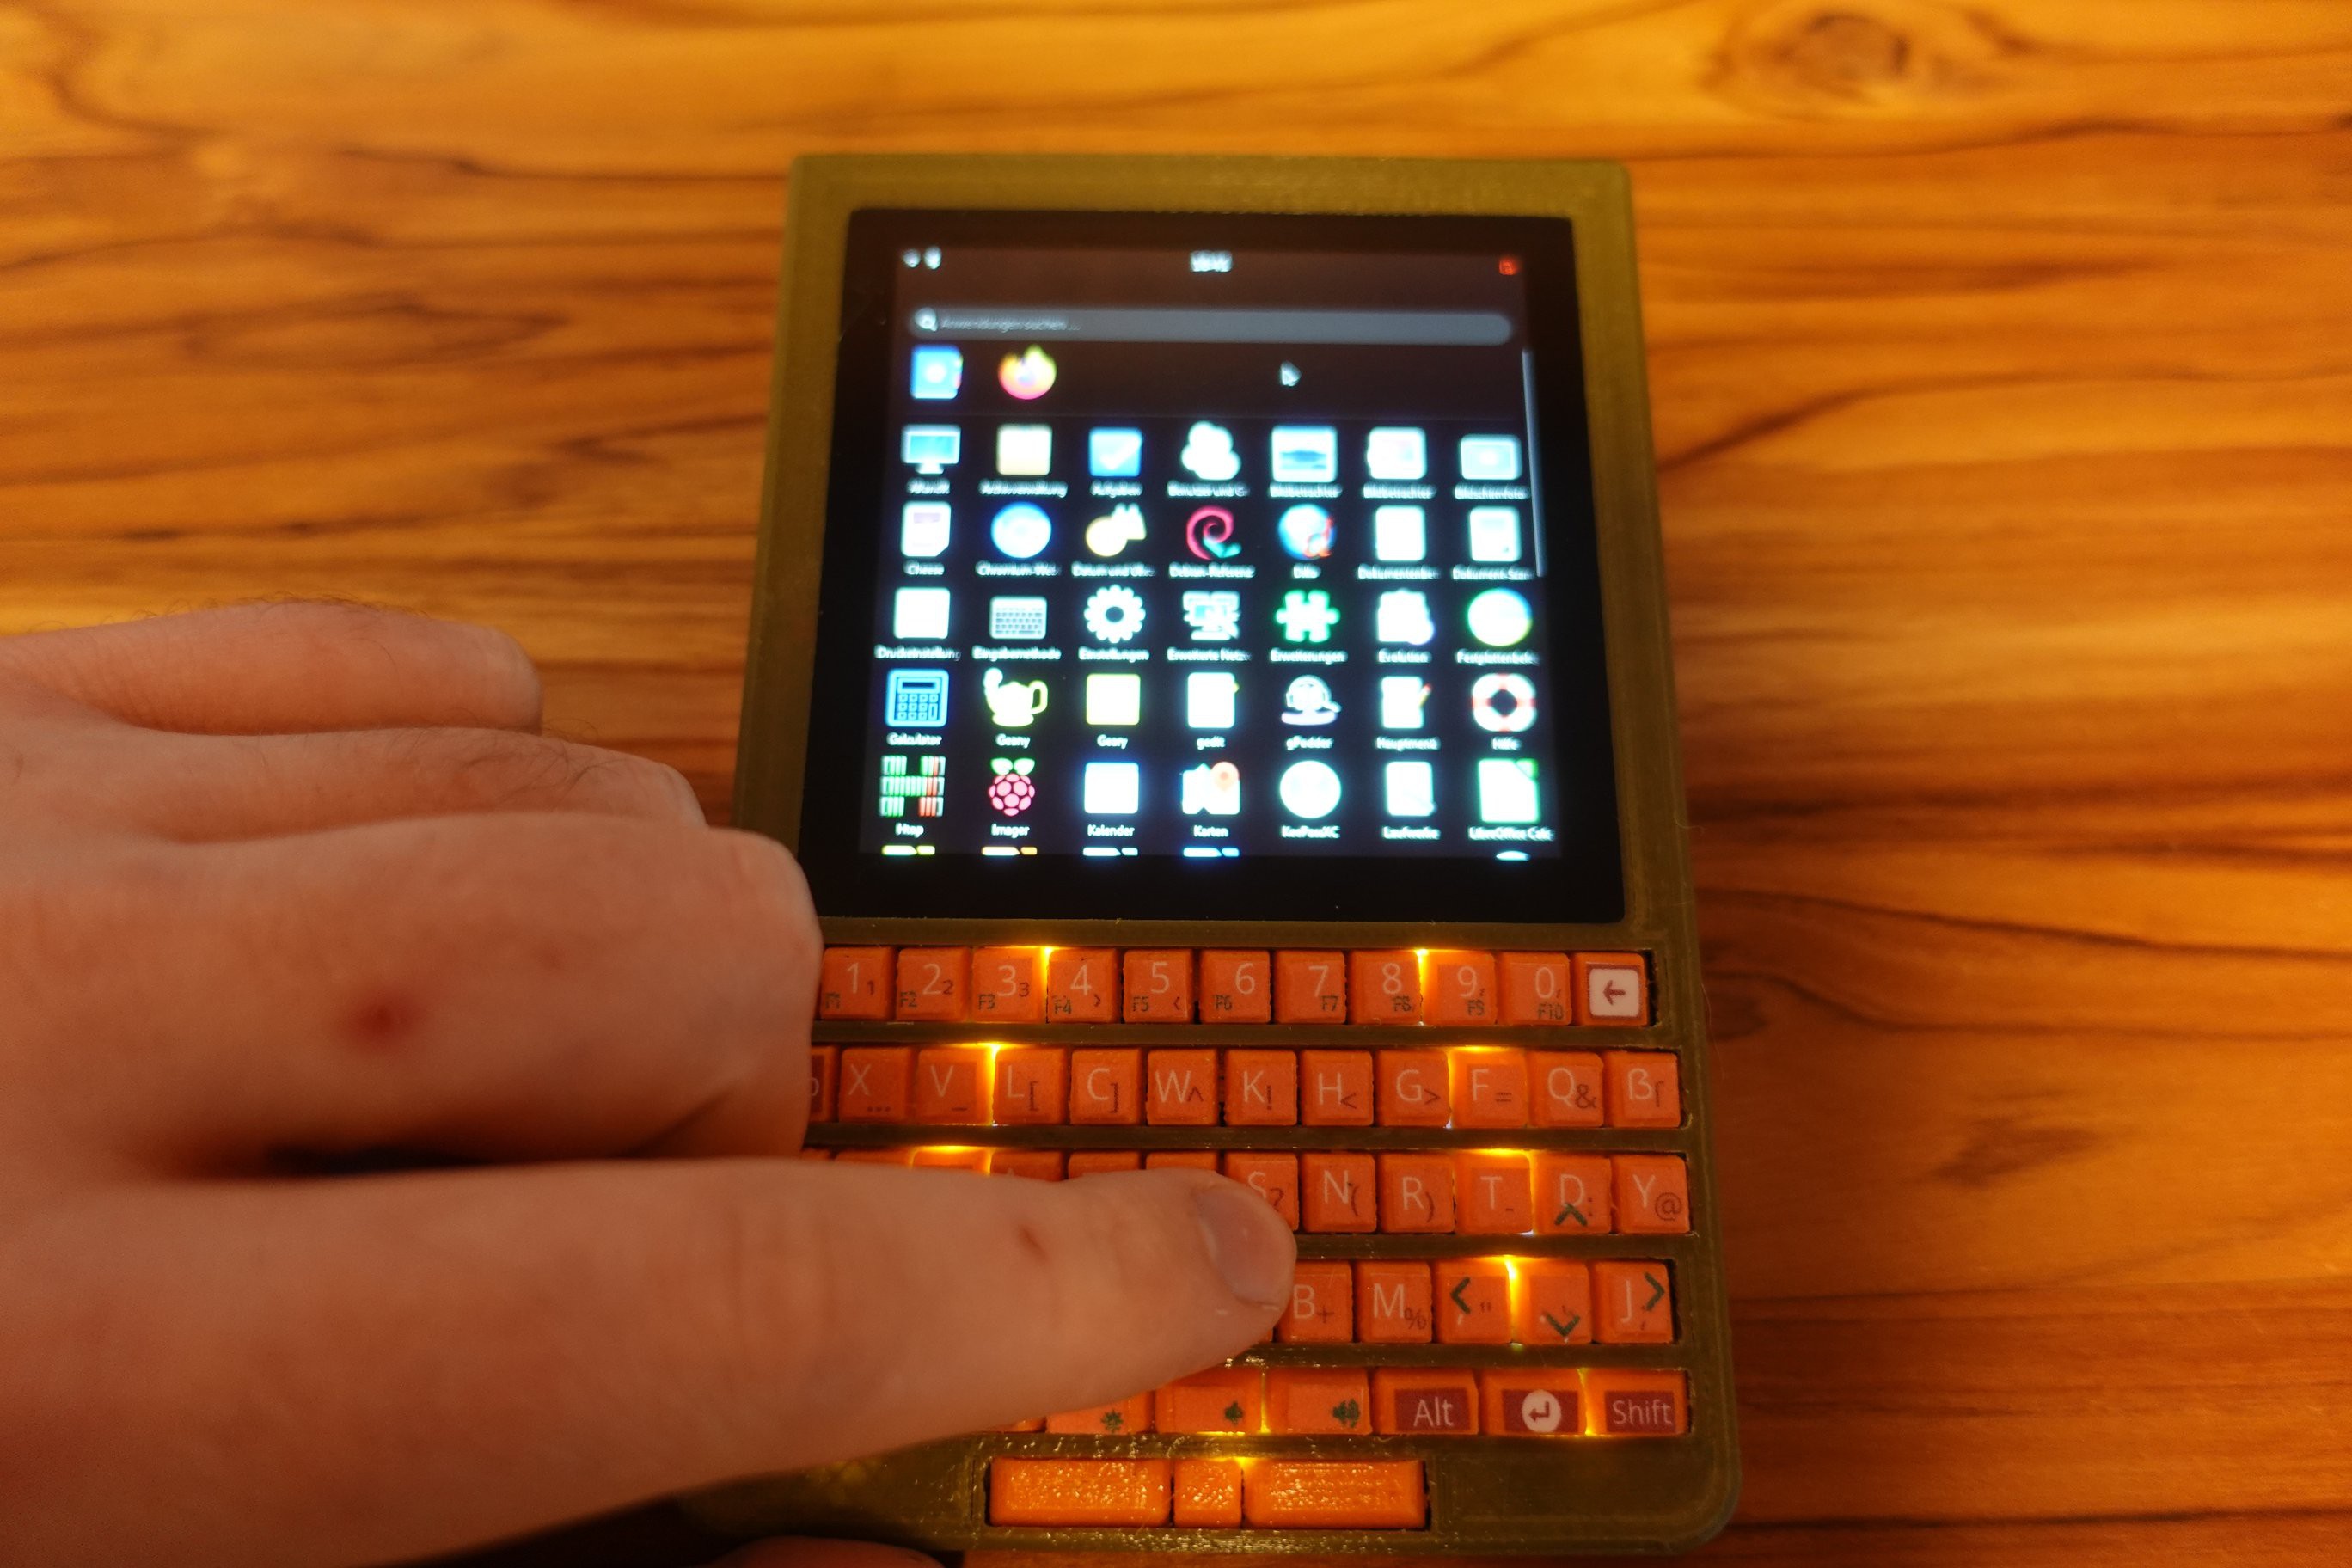
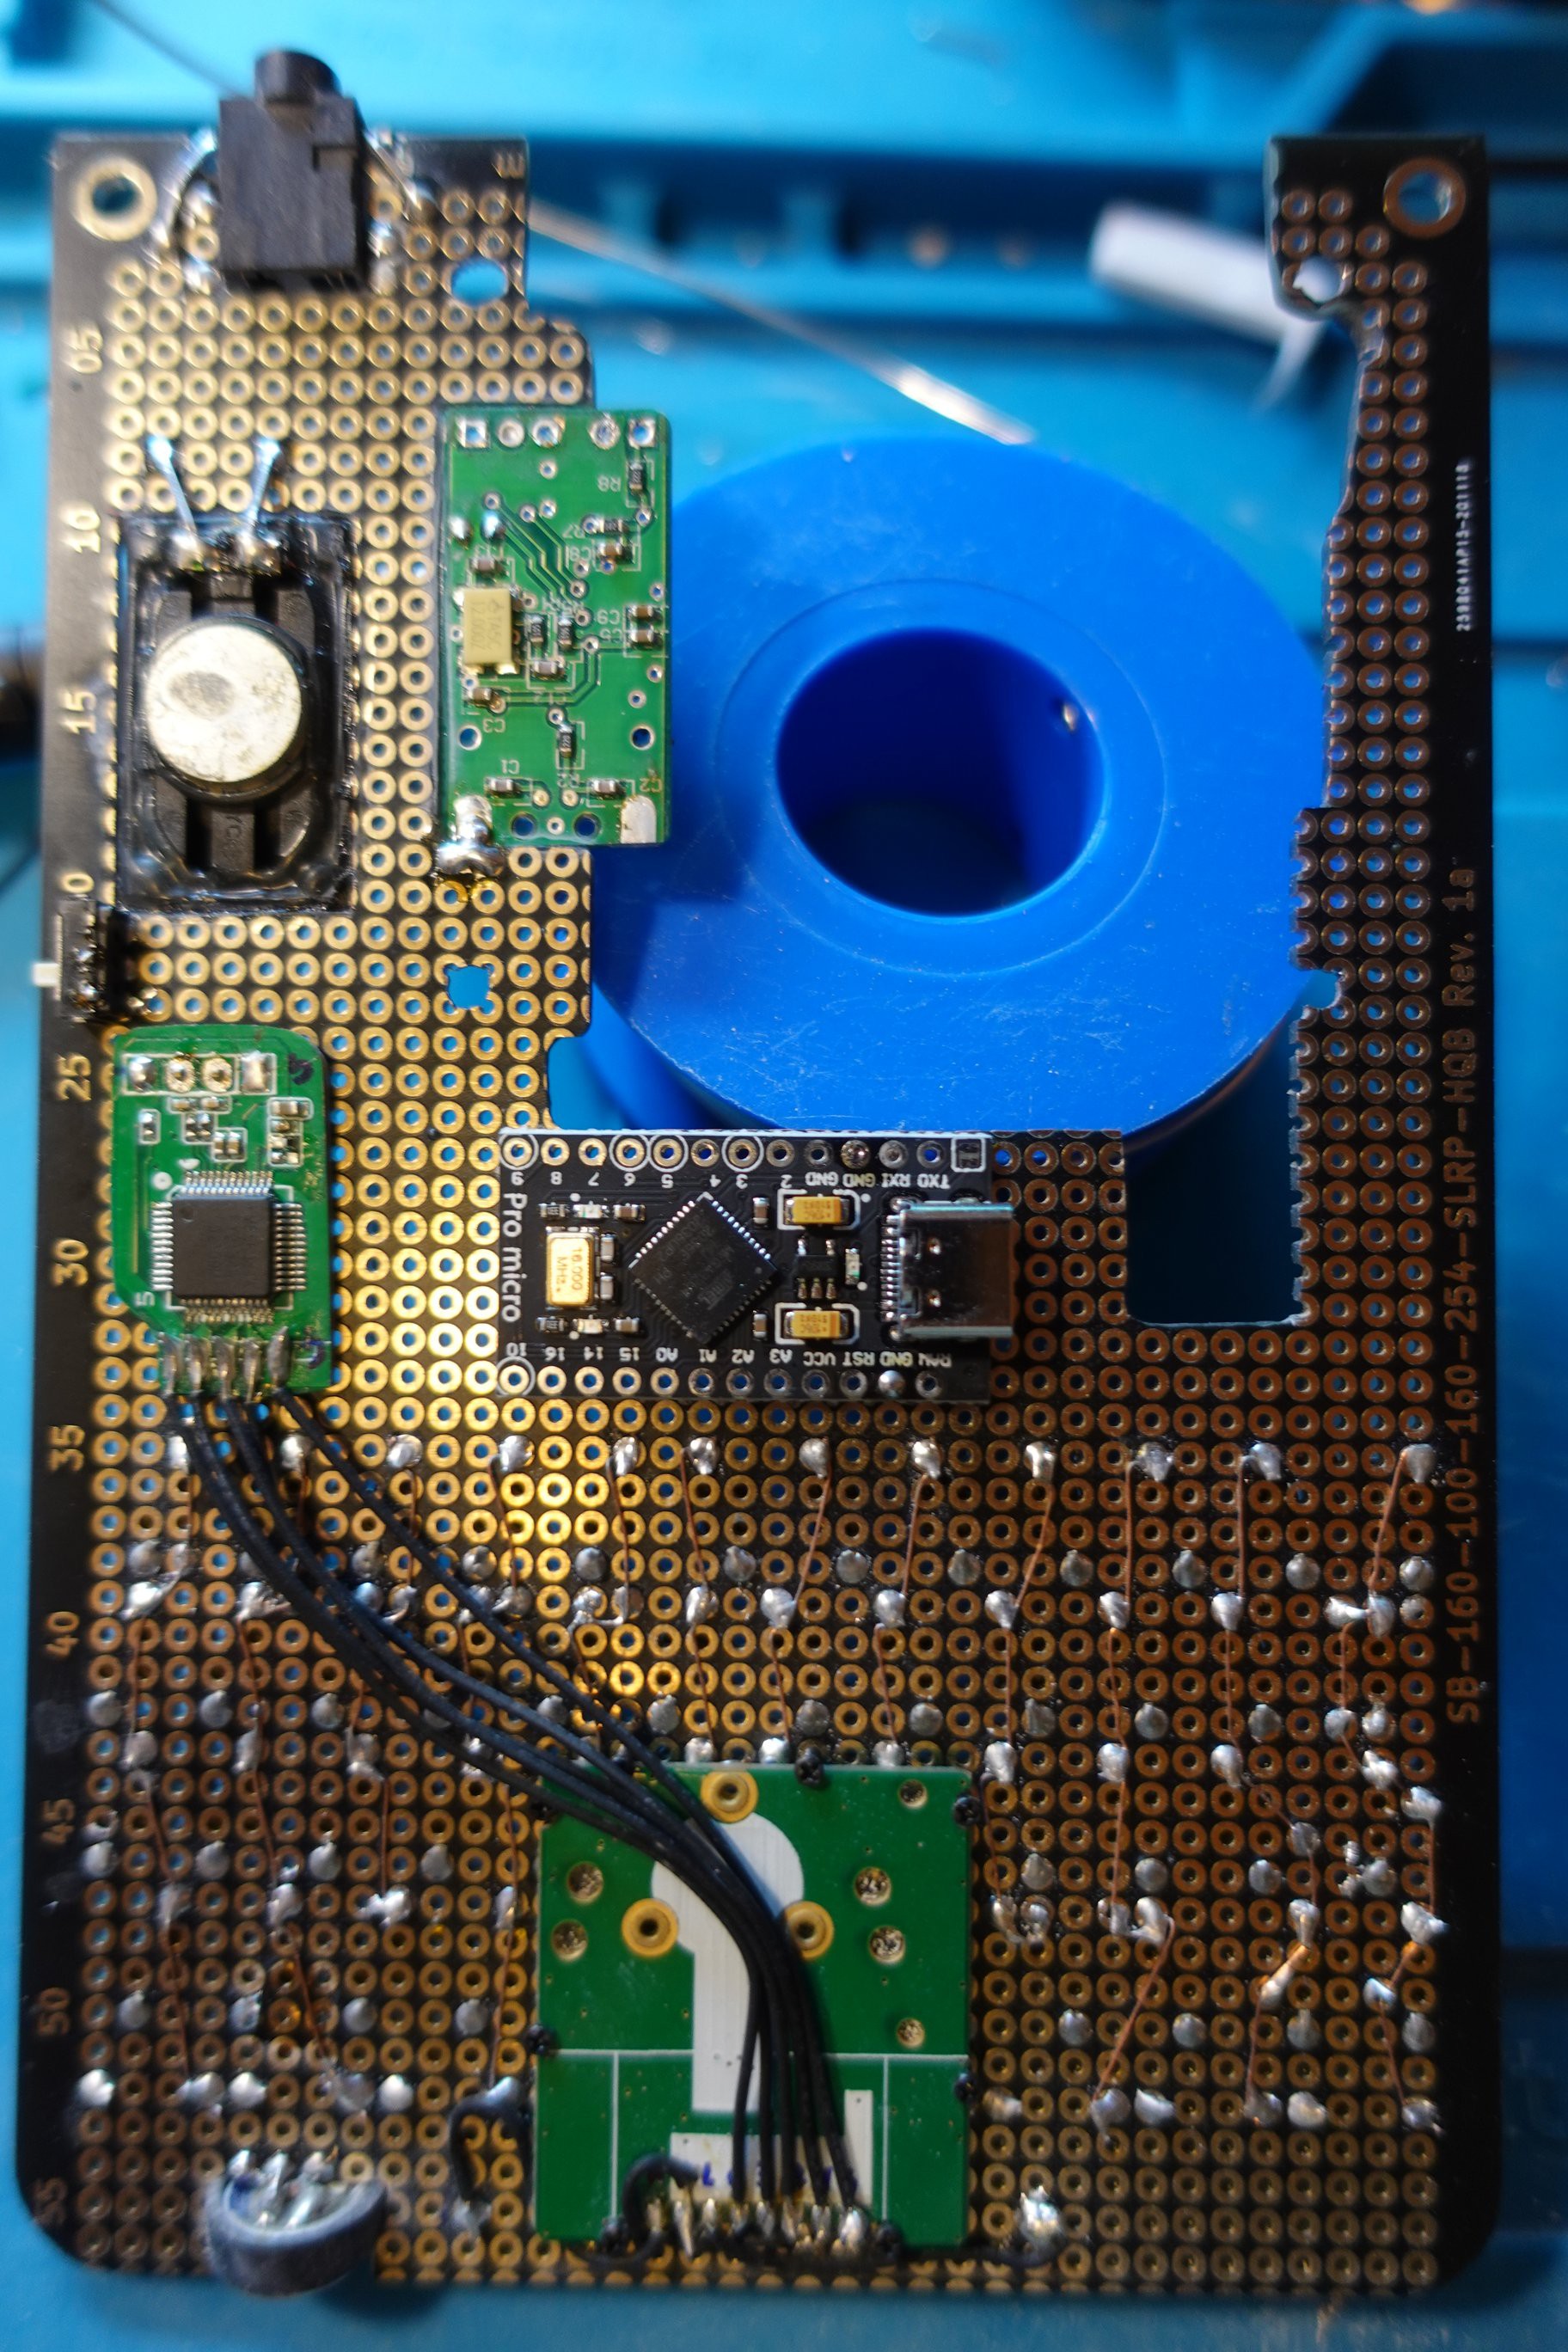
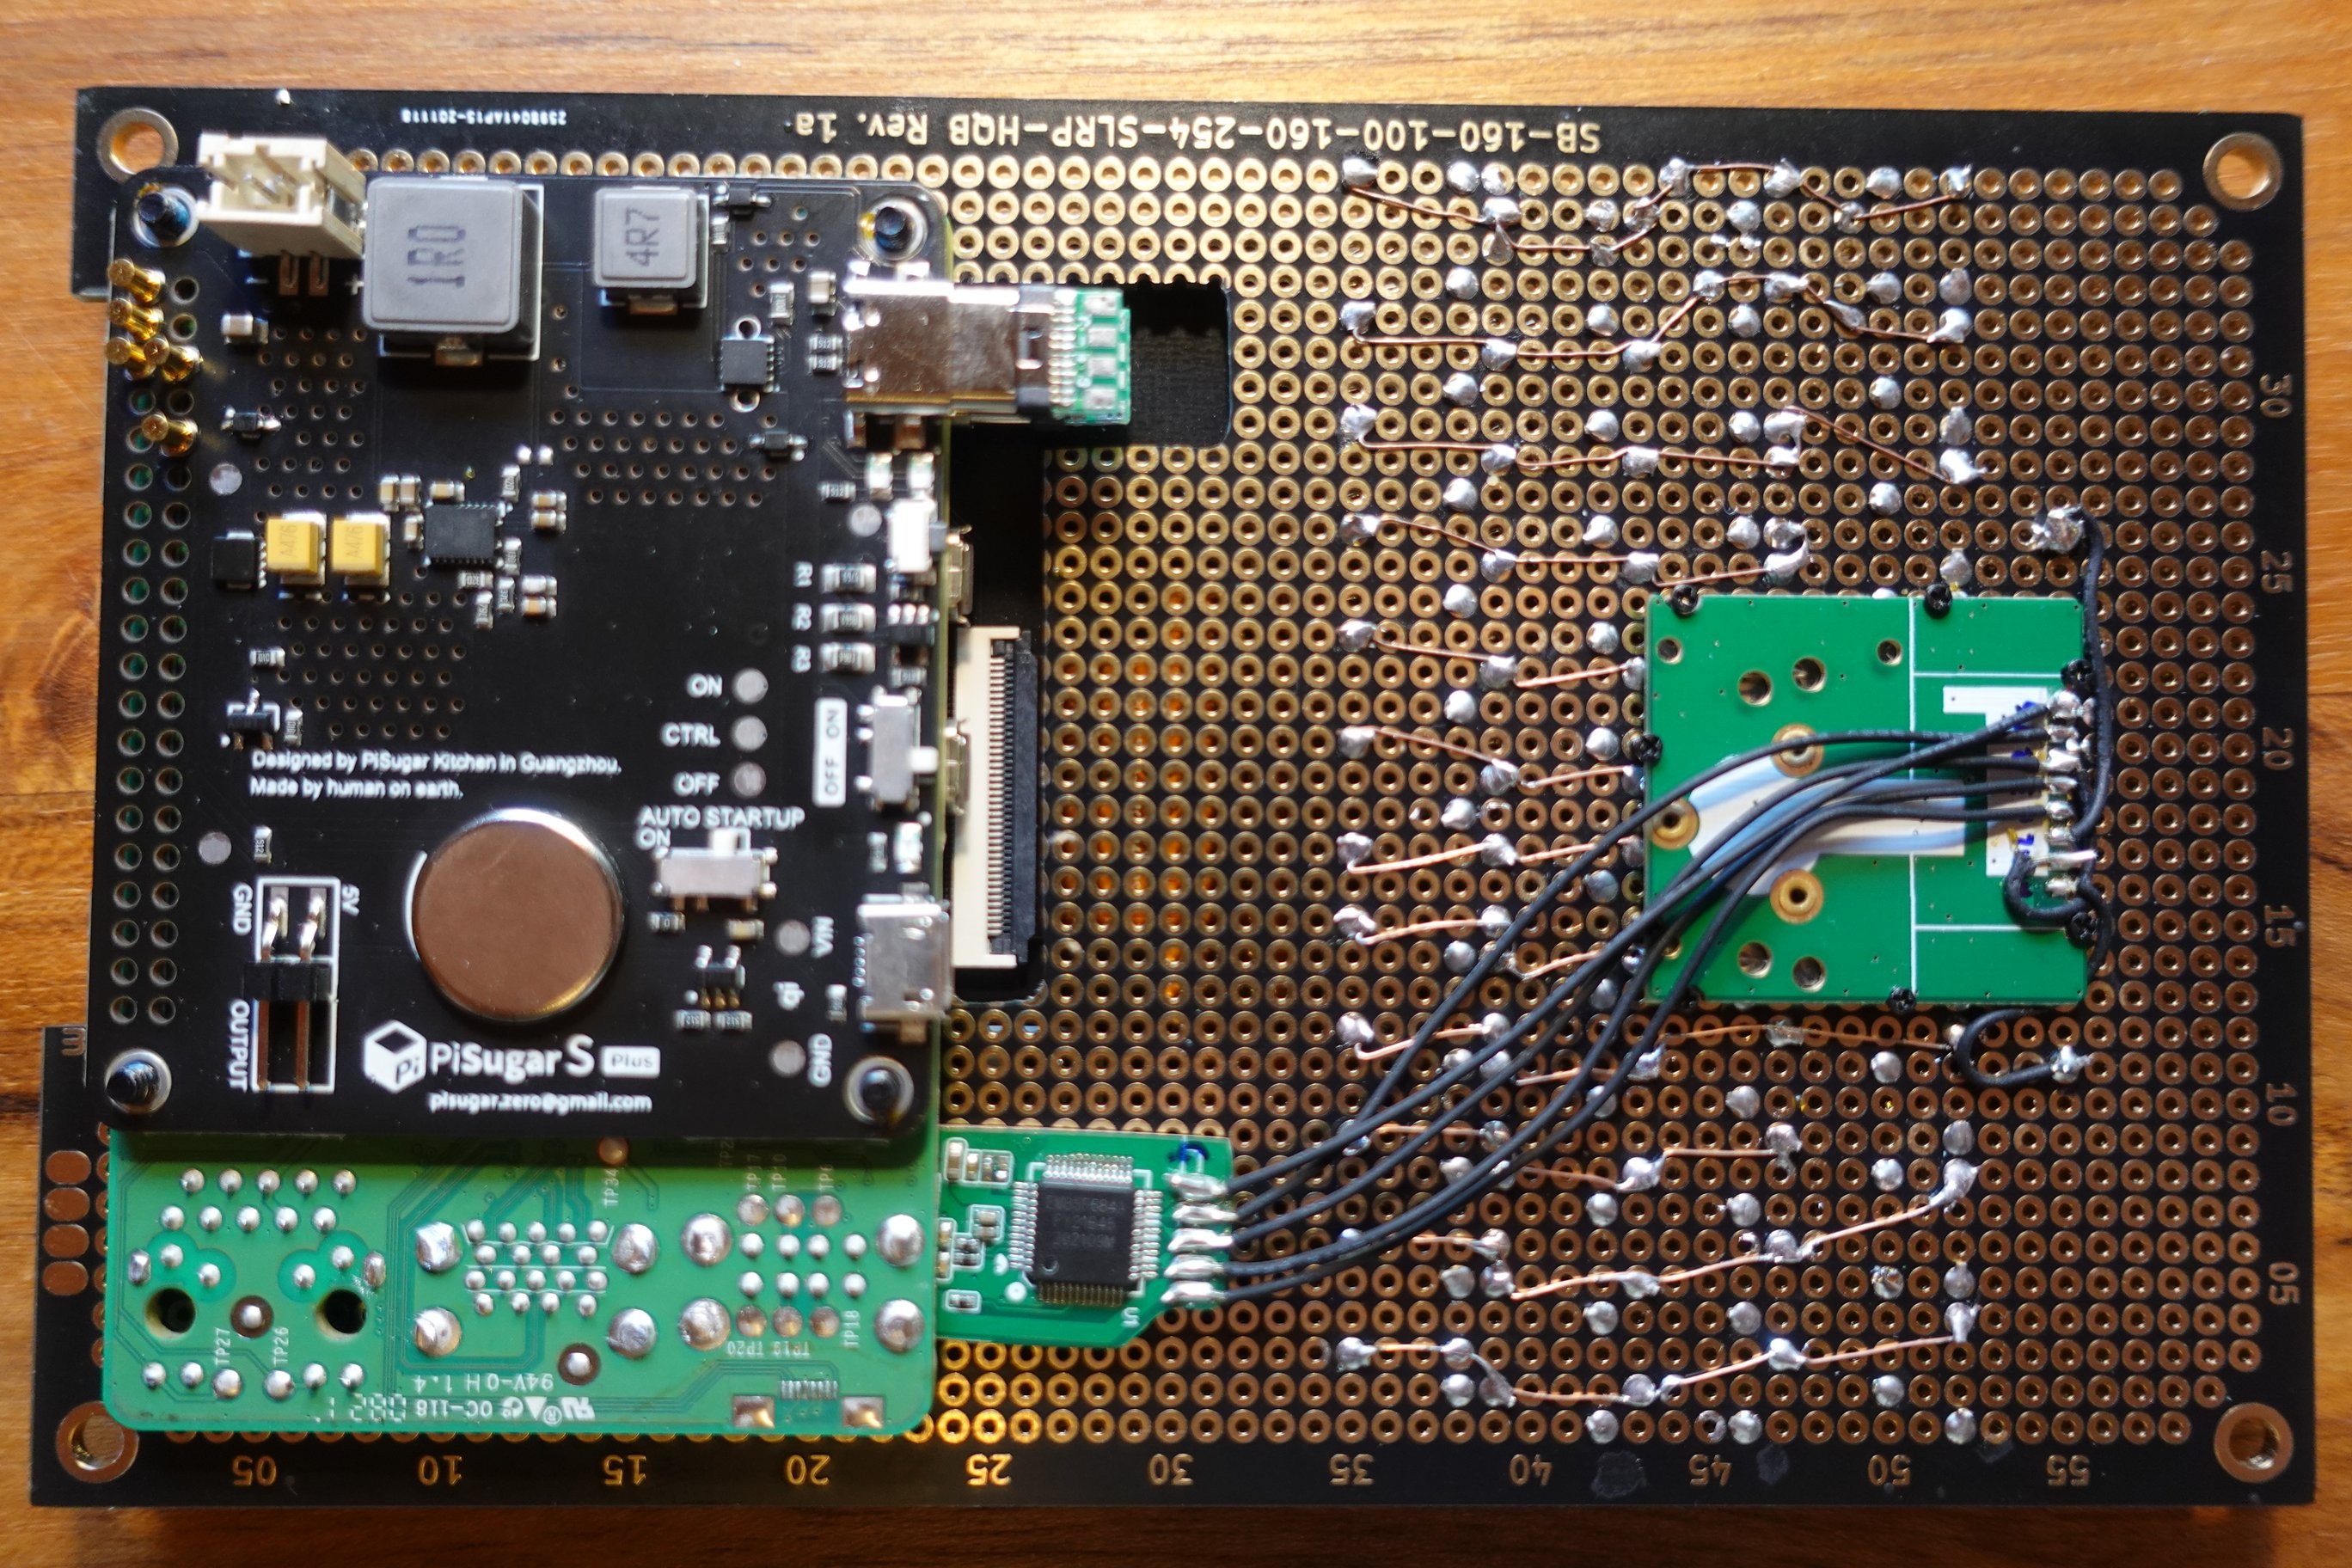
 Spider Jerusalem
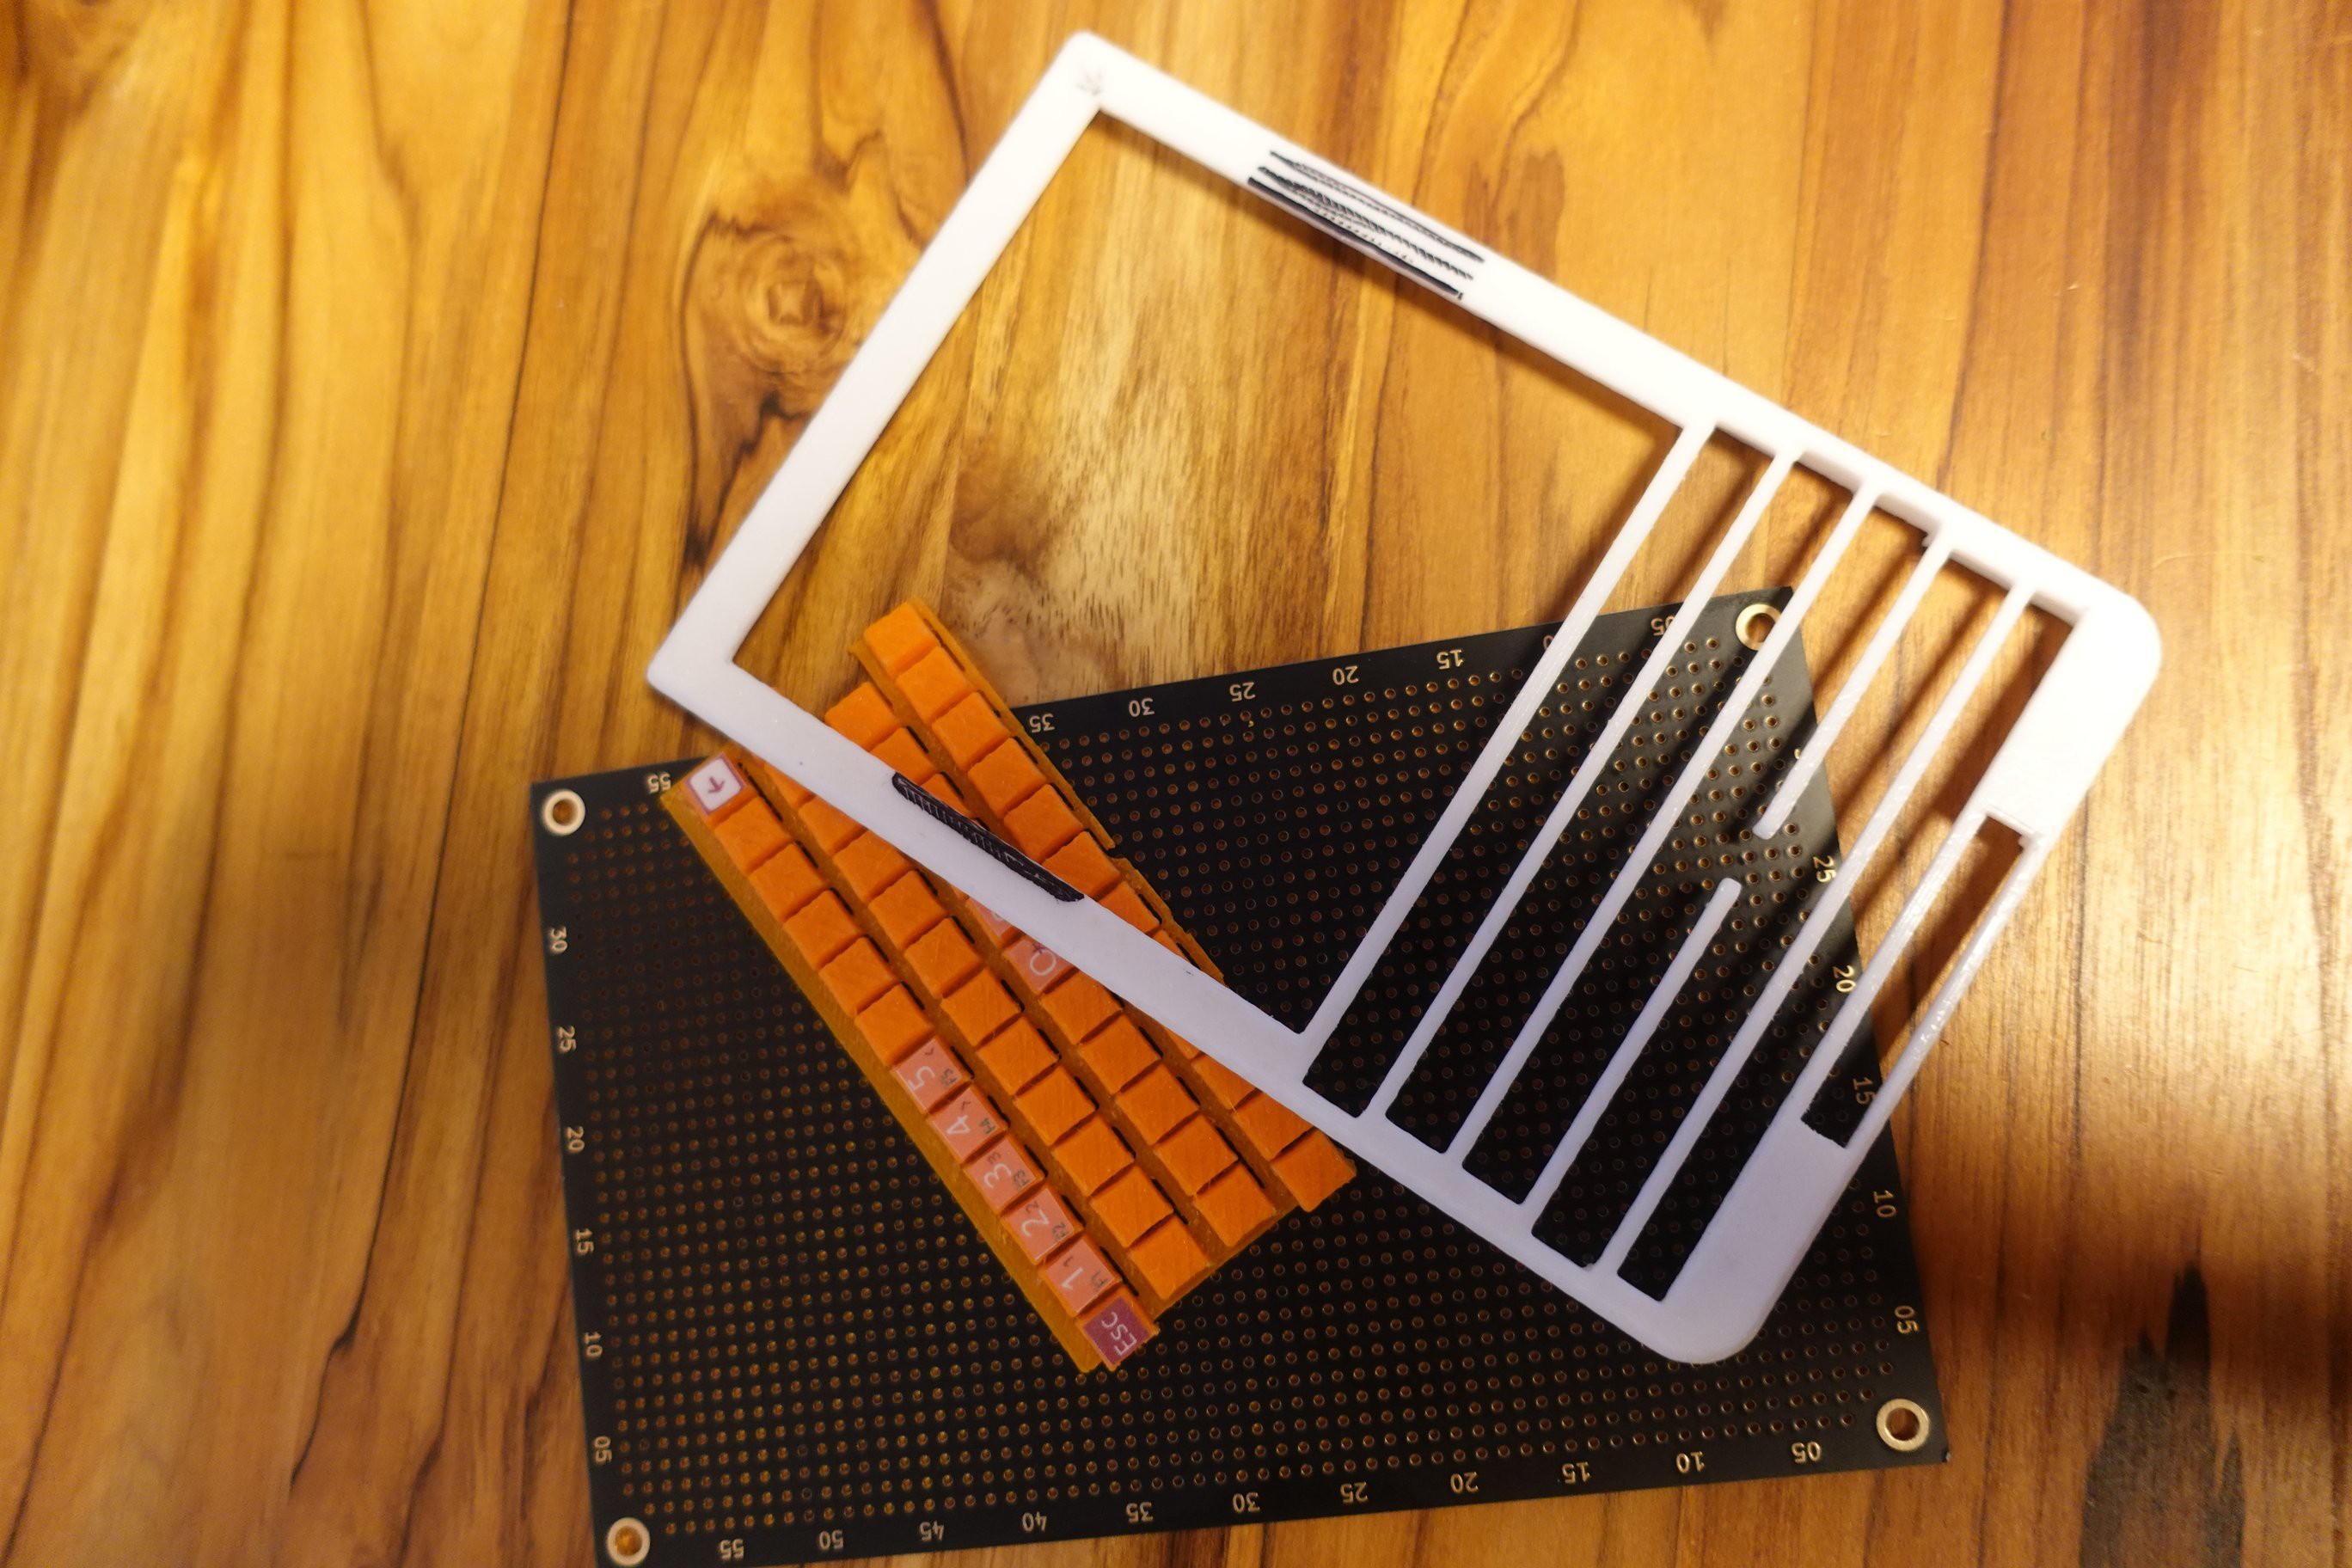
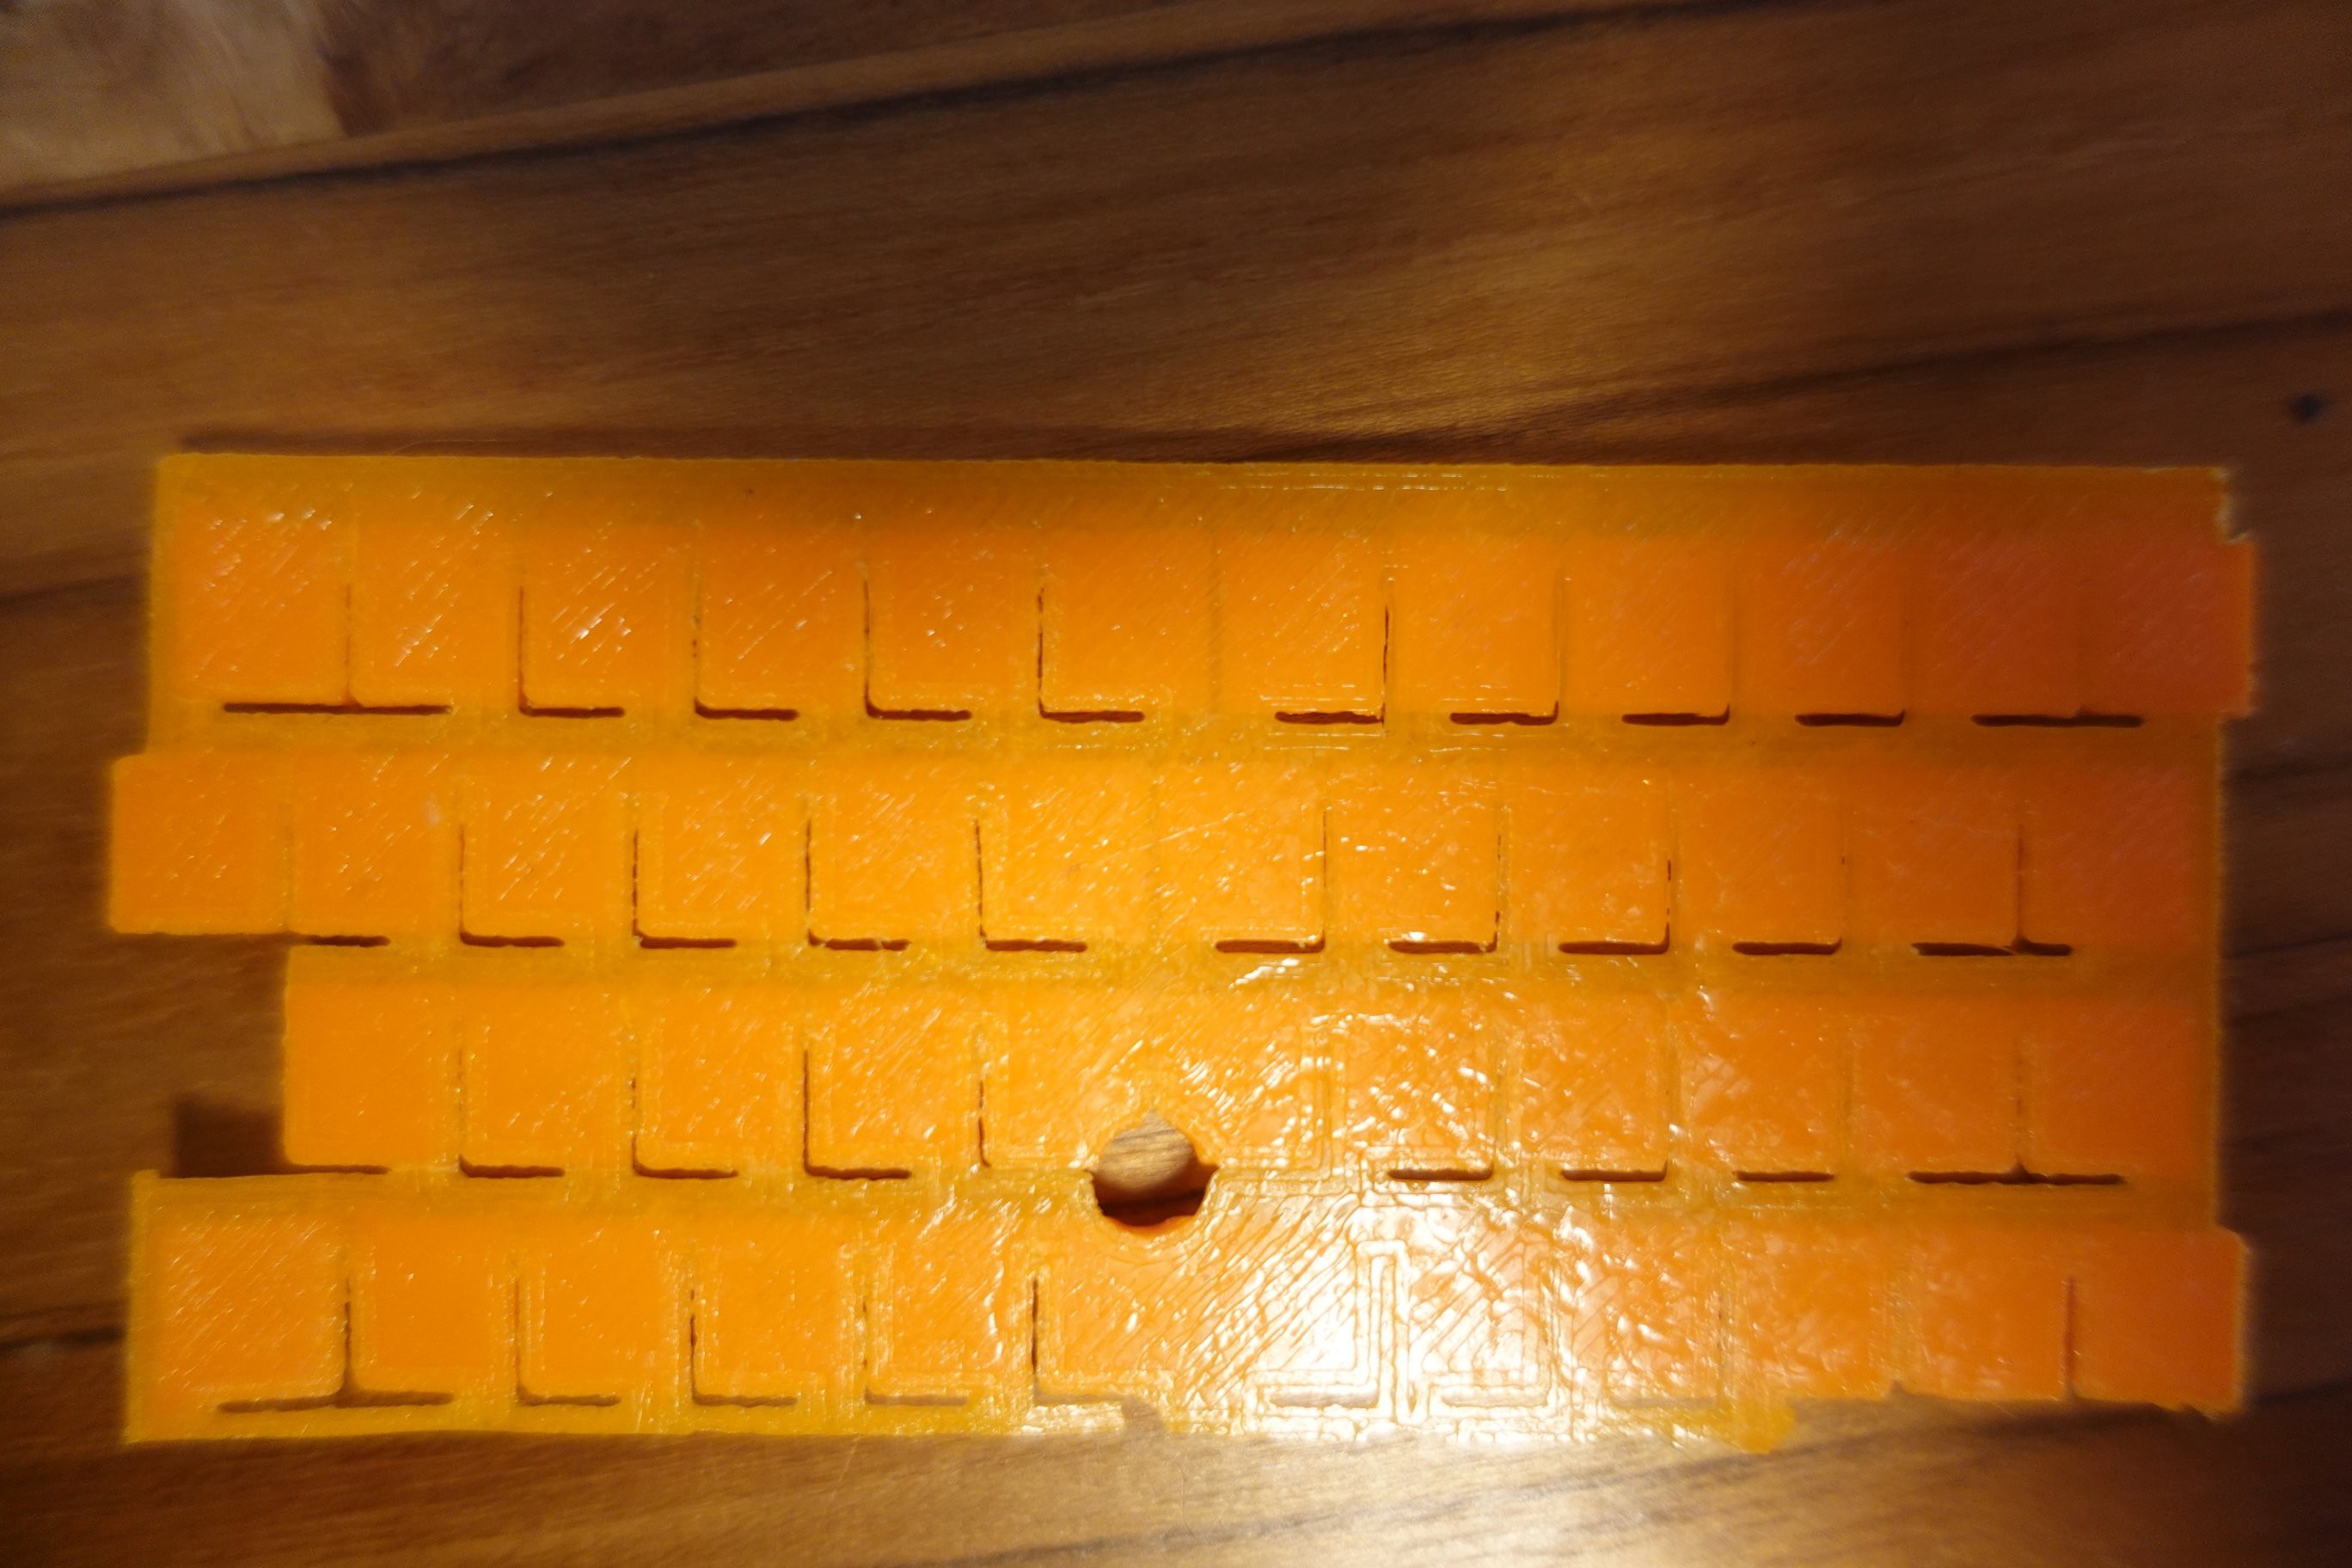
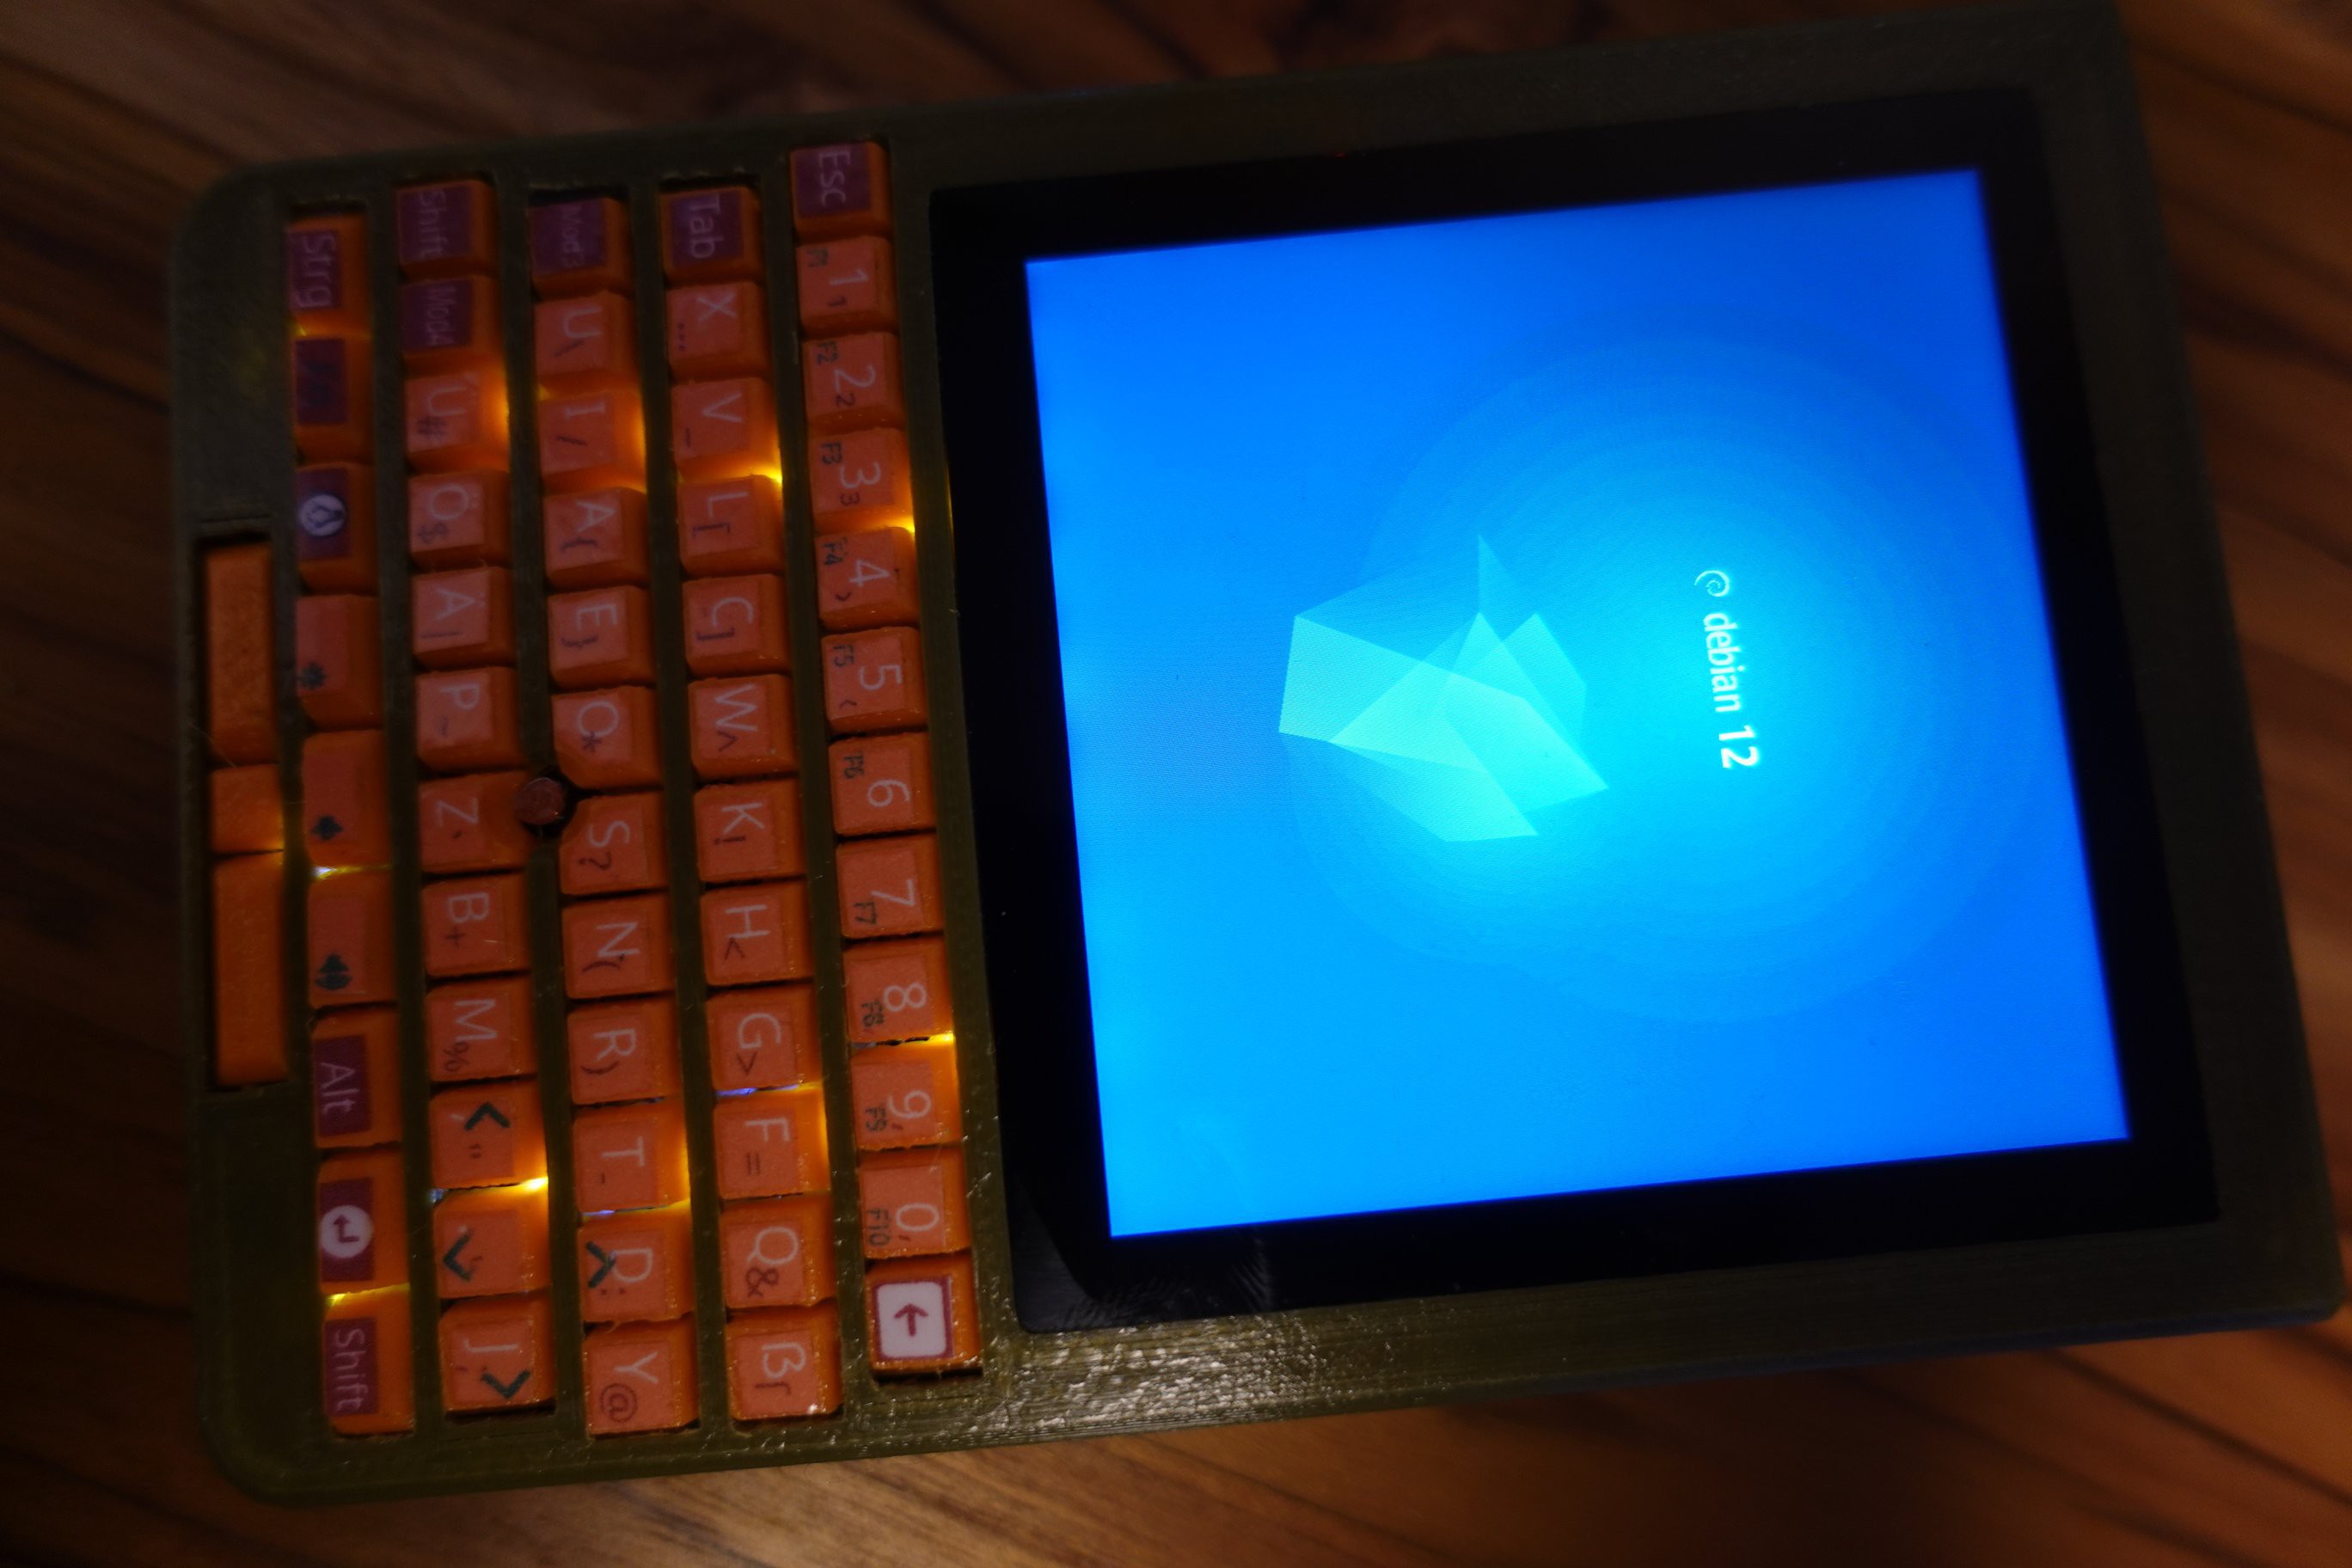
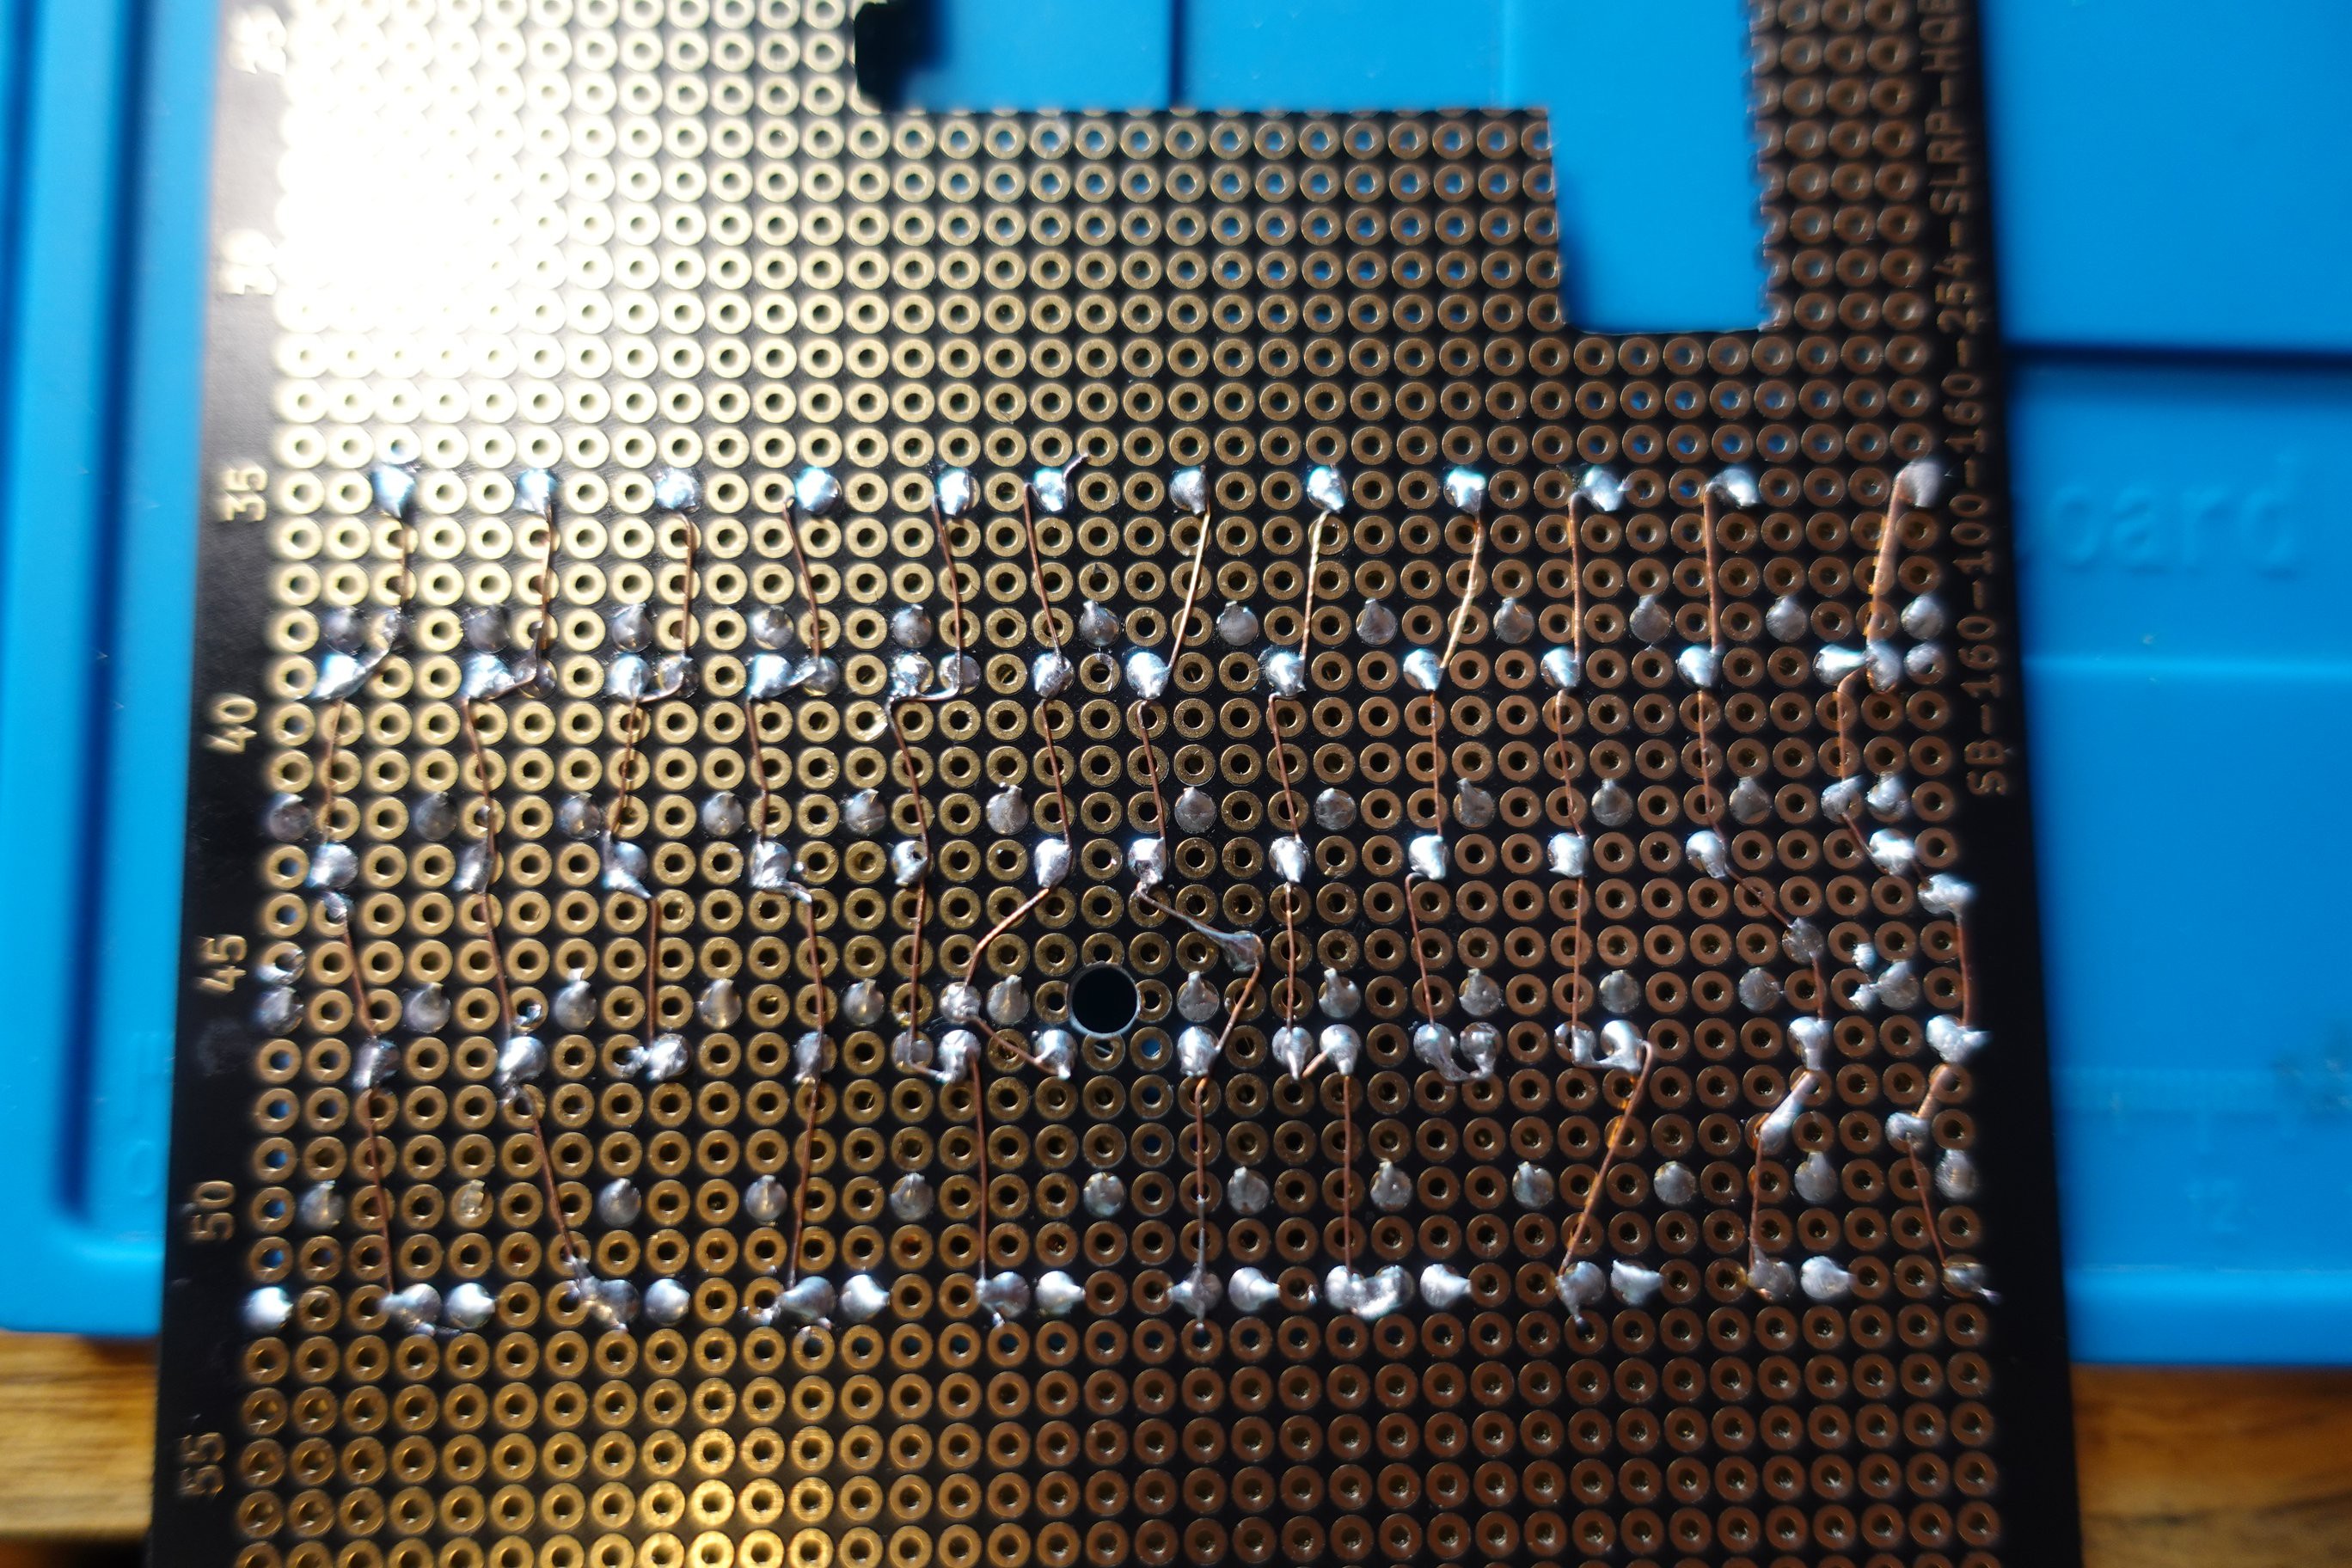
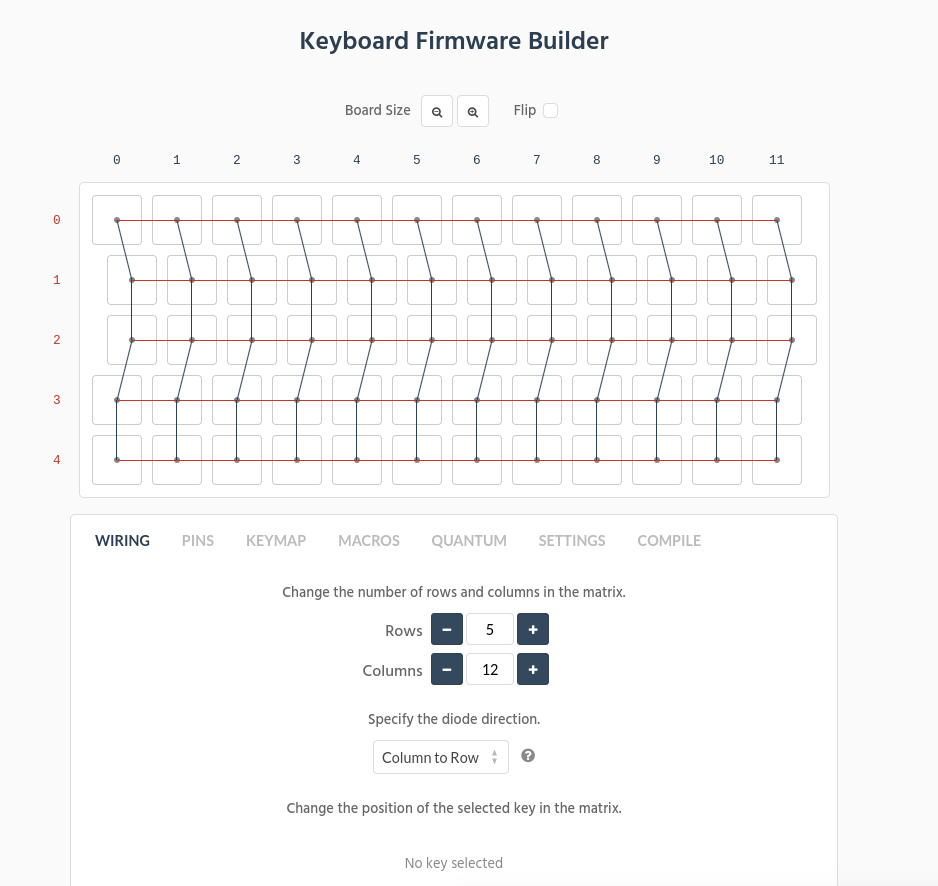
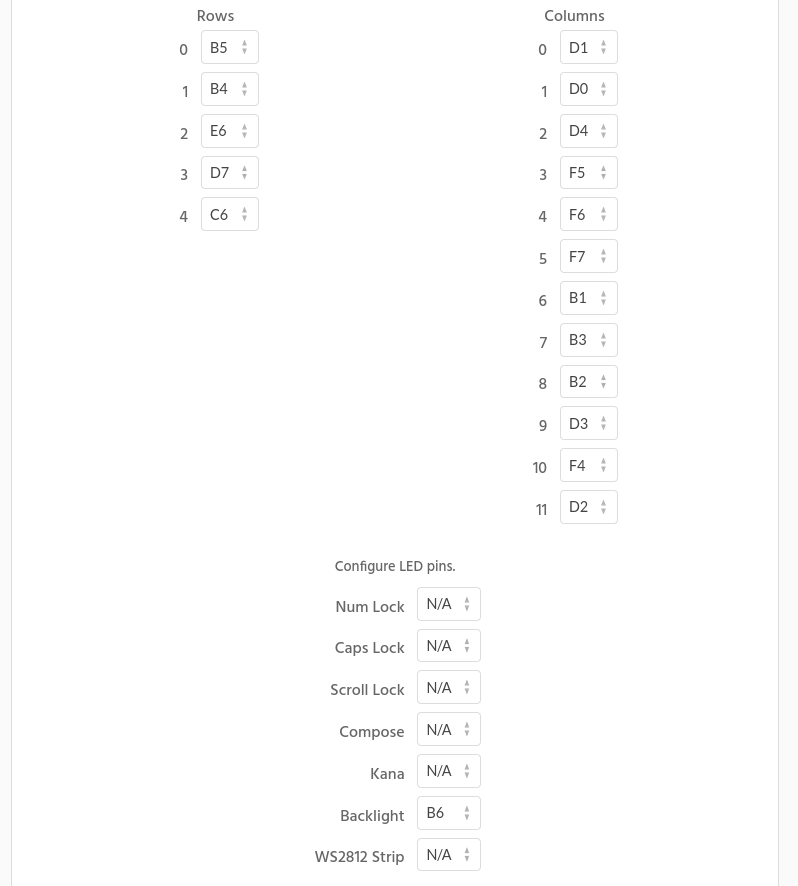
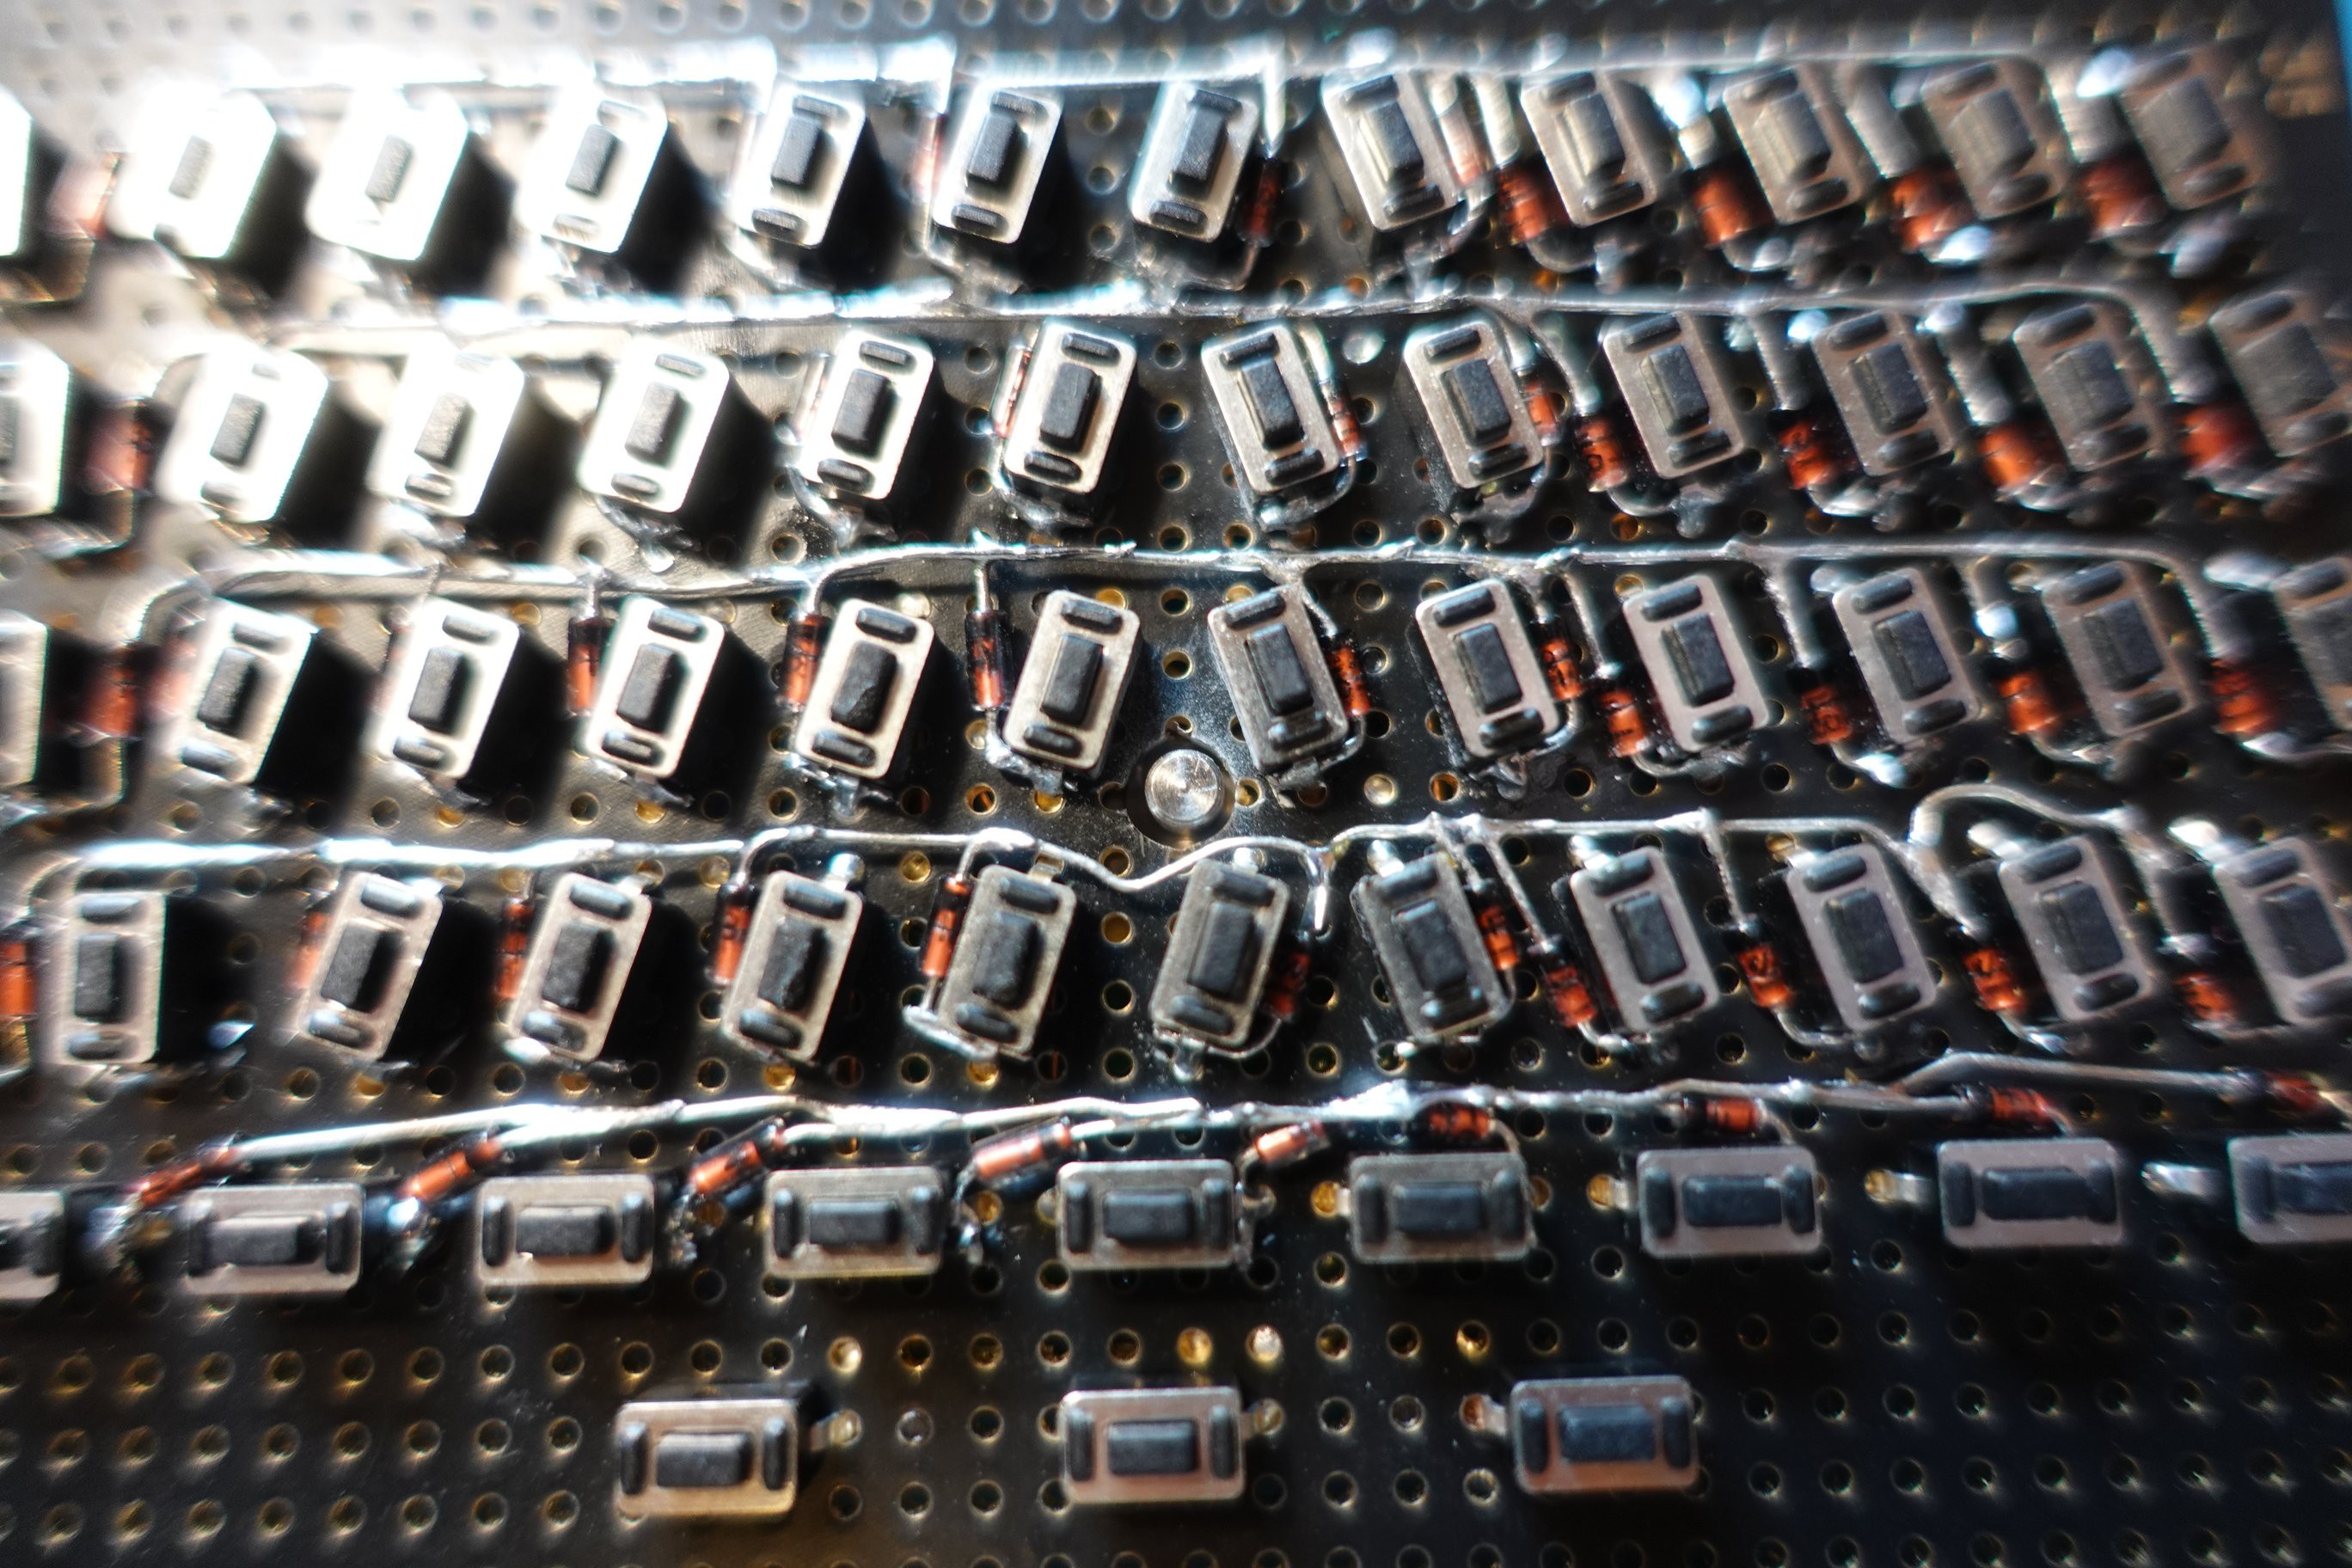
The keyboard is made with QMKeyboard.
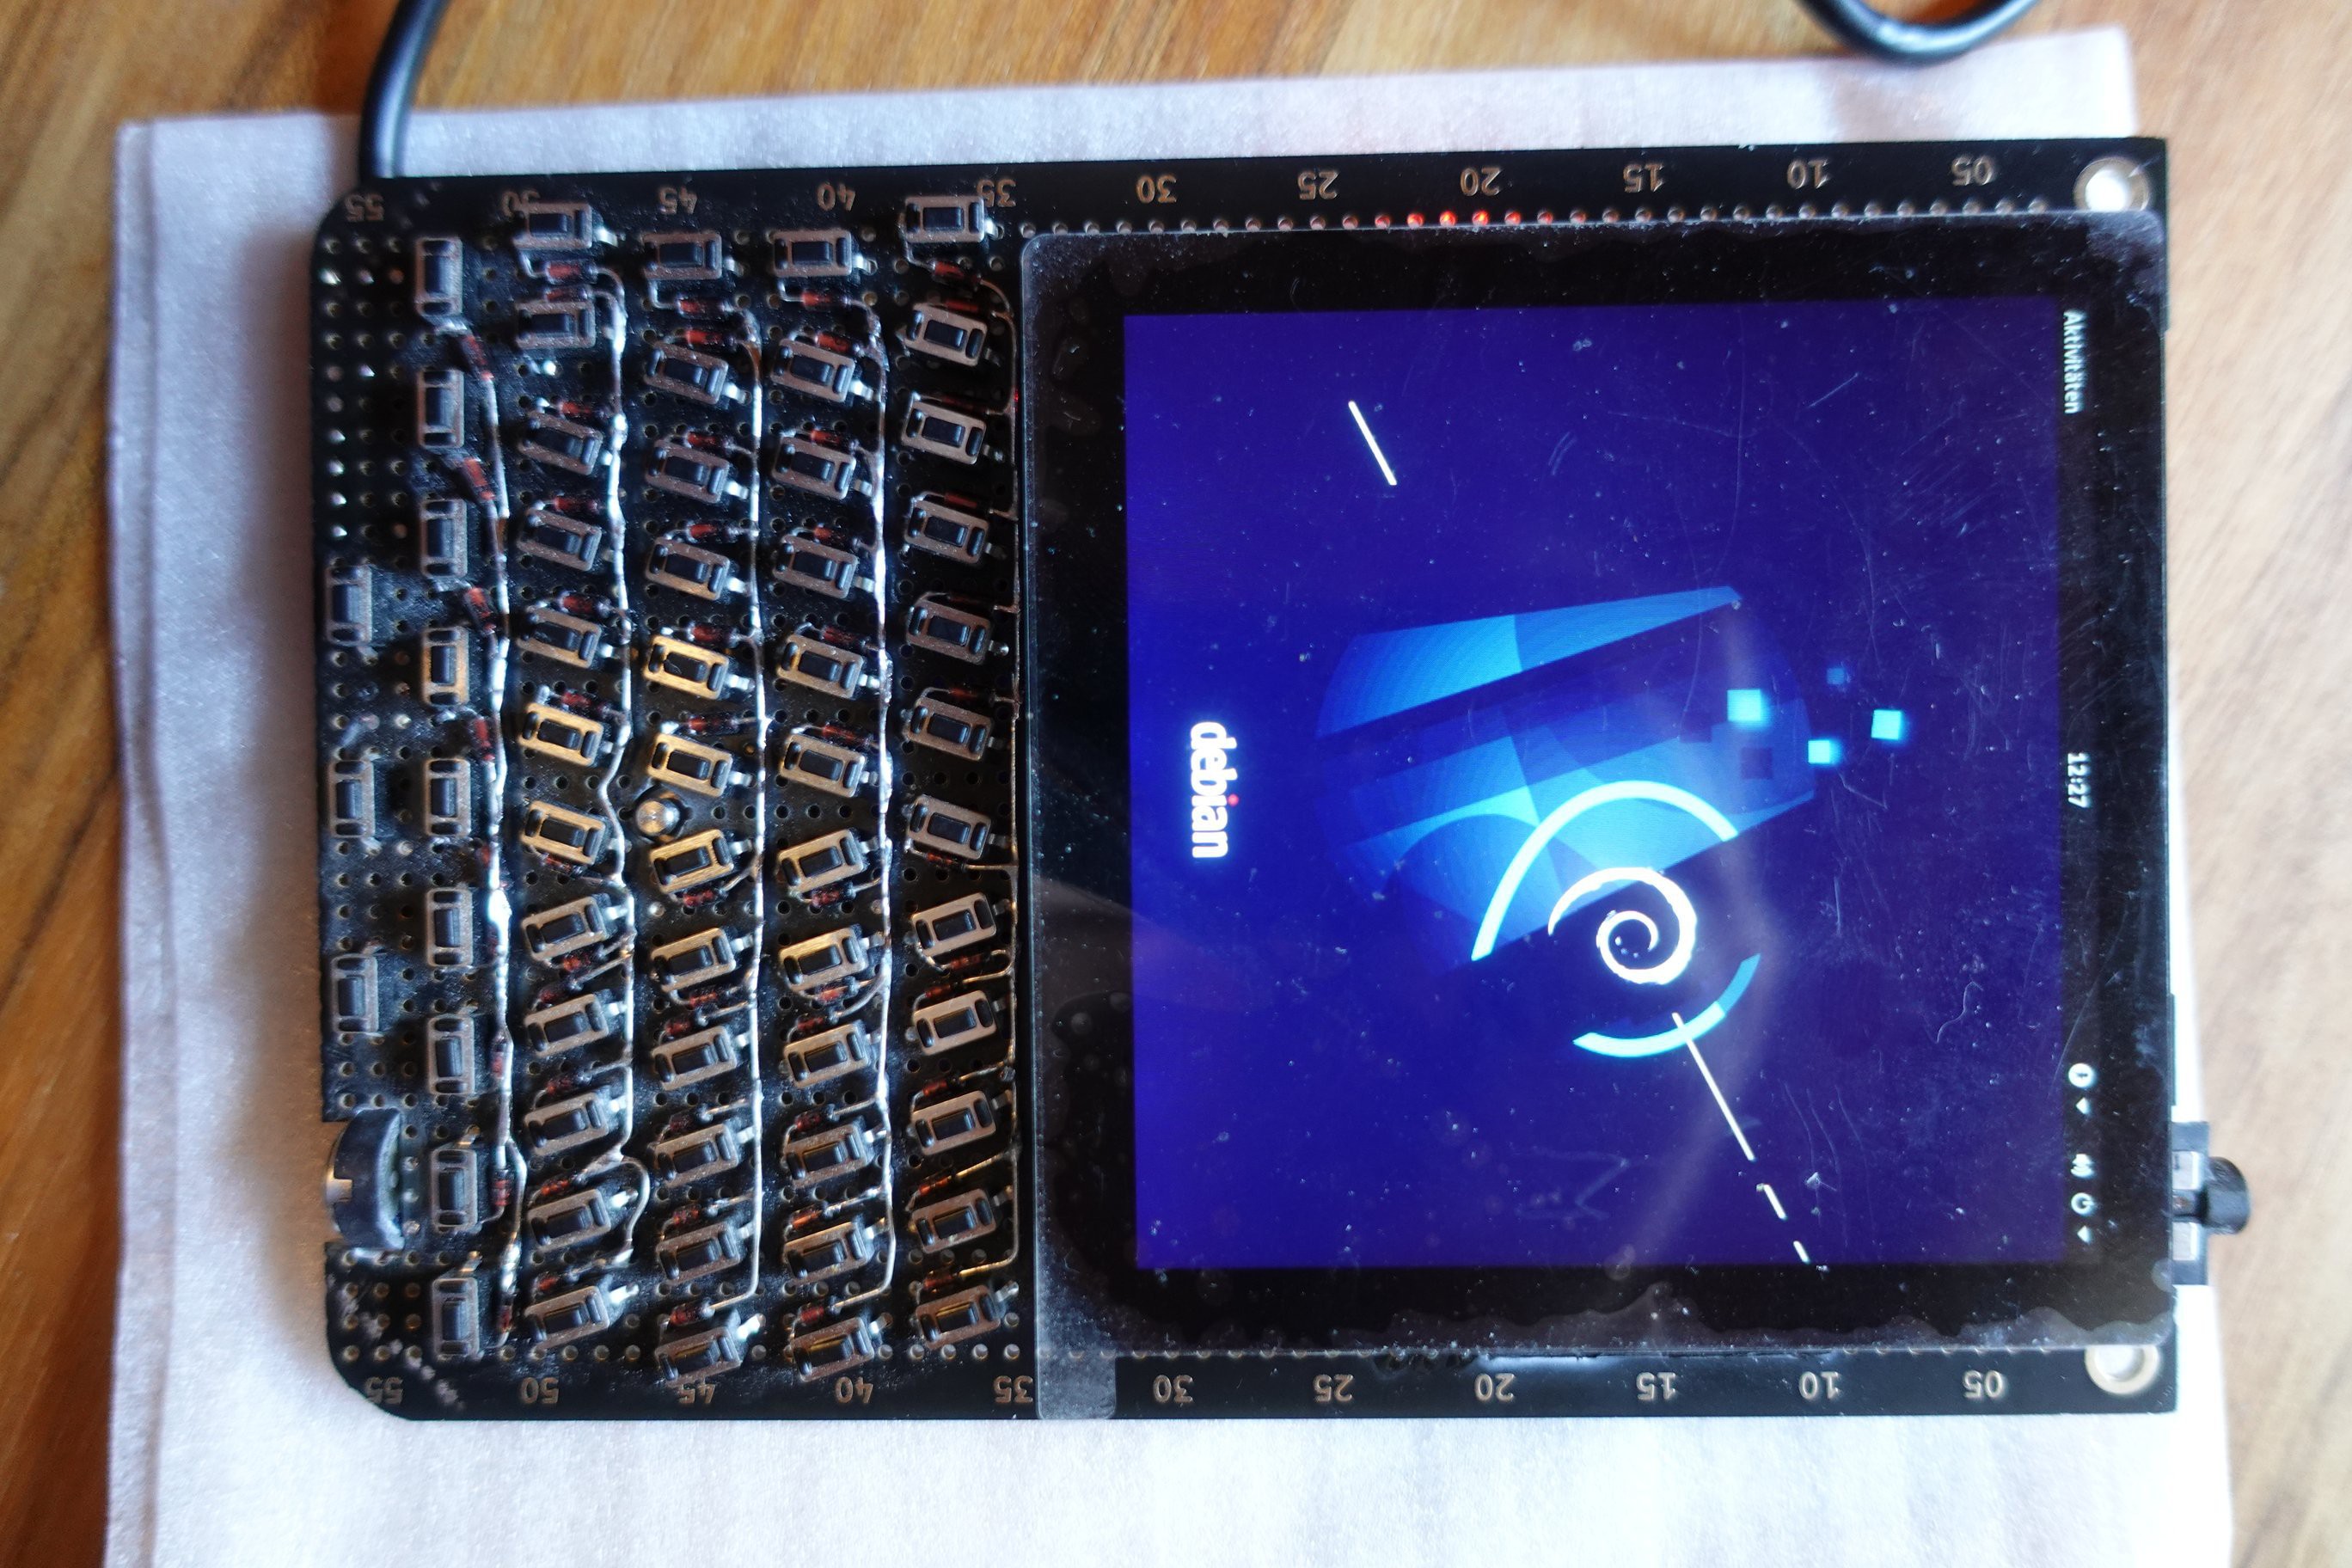
Raspbian OS with Phosh DE
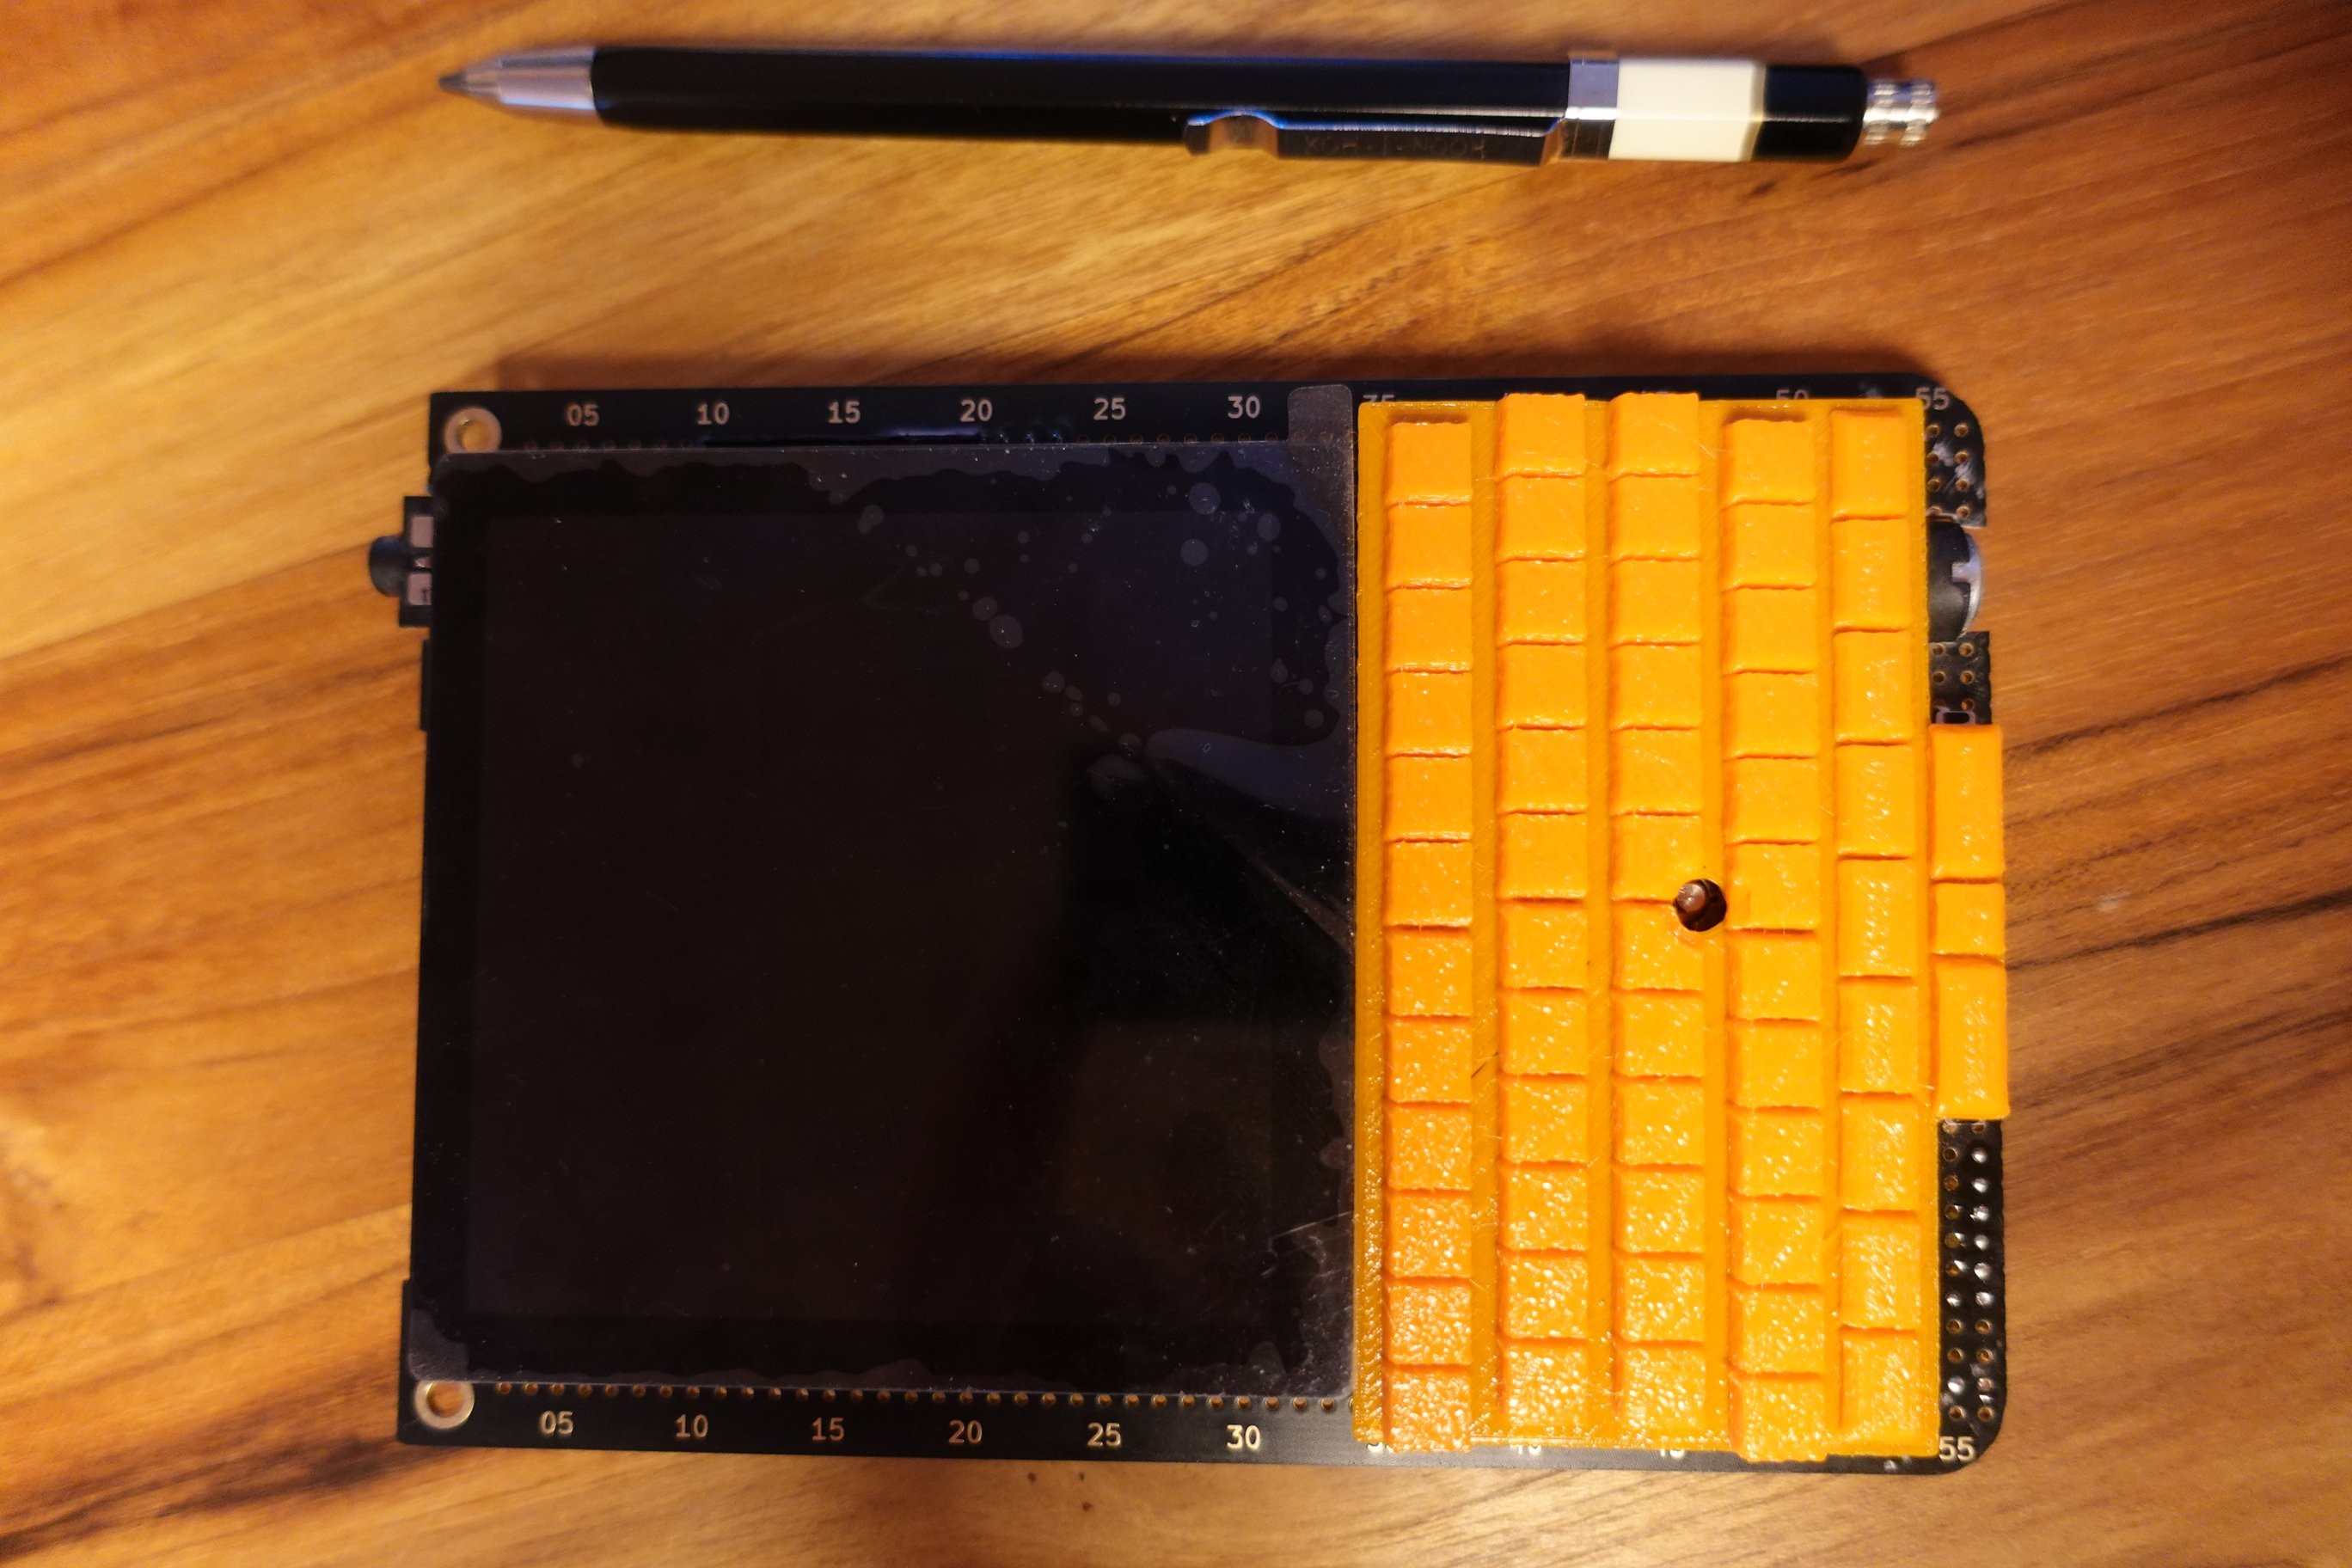
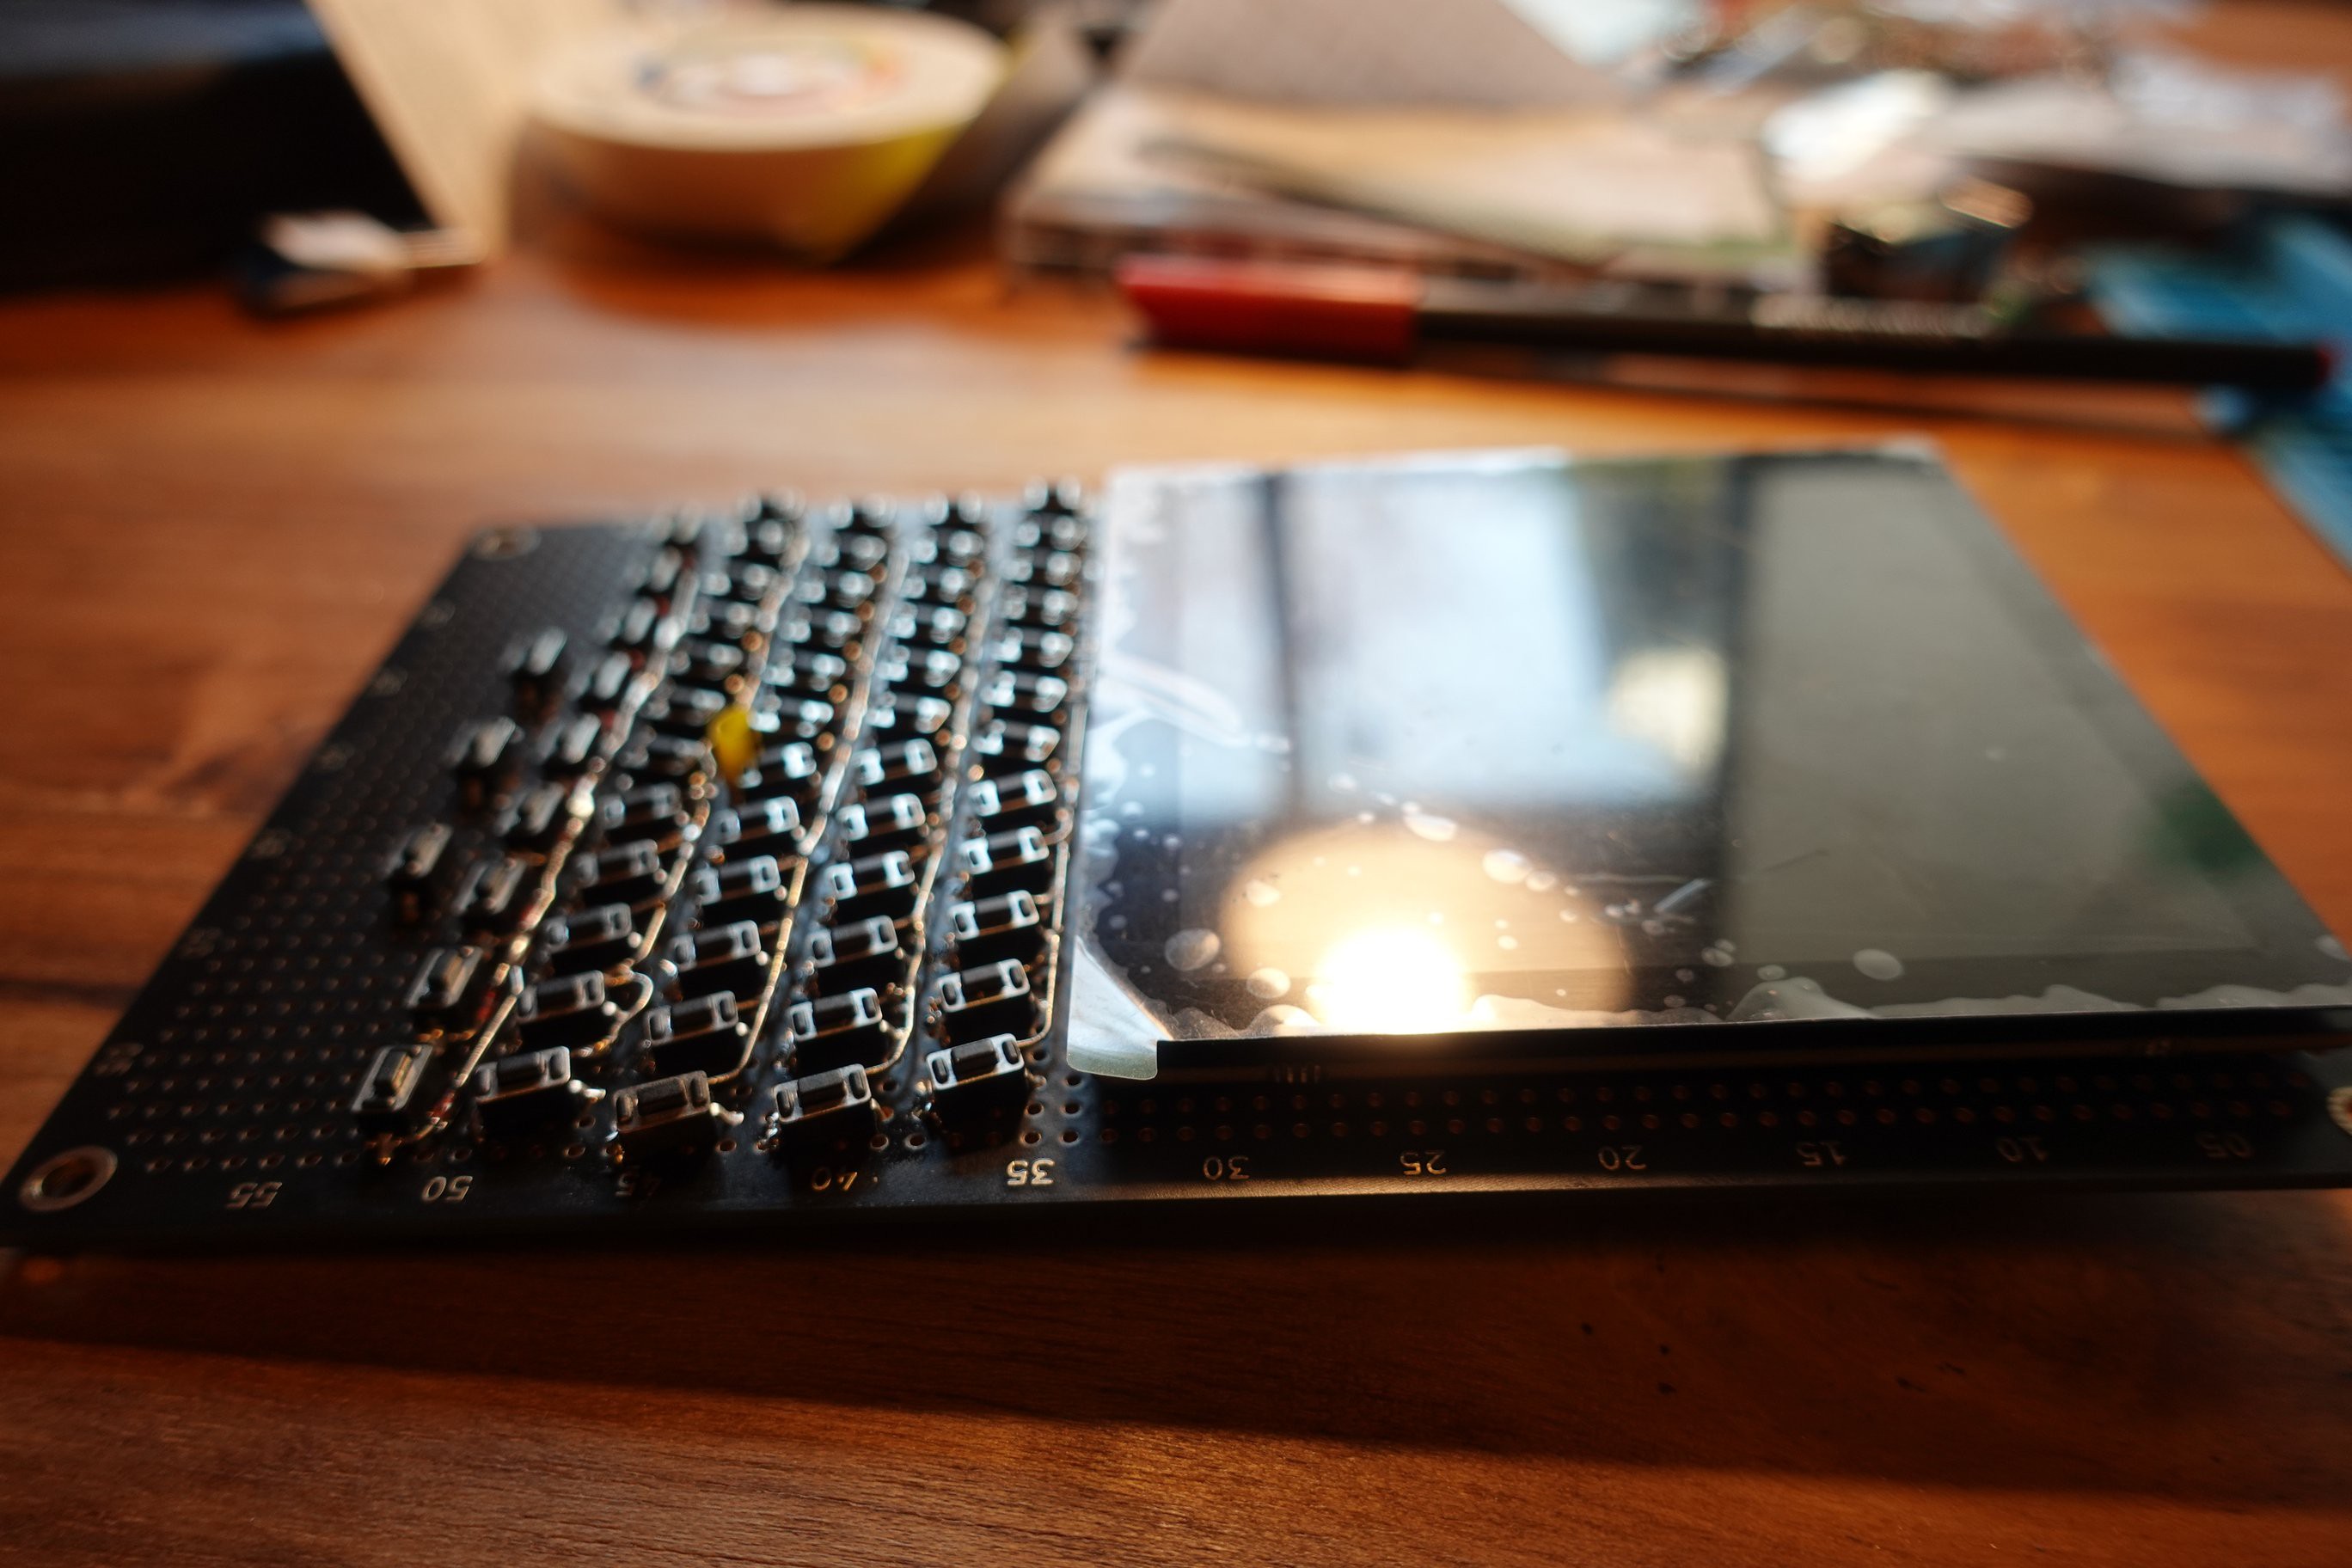
3D printed housing at [Thingiverse](https://www.thingiverse.com/thing:5943101)
German [VIDEO at odysee](https://odysee.com/@Spider_Jerusalem:c/NEOklacker:a?r=2xAtZoiV9cfi8Edap2mJSTbtCCfKXZoL)


 Michael Gardi
 SexyCyborg
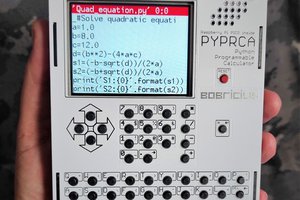
 bobricius
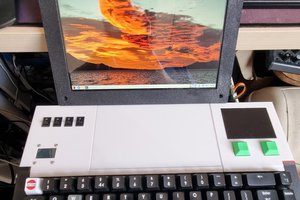
 Steve Anderson
very nice
how many weeks this device work on one charge?