OUR PROJECT:
The Beginning:
Our initial plan was to use a Seeed Studio NRF52 Xiao chip as our MCU. However, due to shipping delays, we had to pivot to an ESP32. Our goal was to make a glove, out of flex sensors and an IMU to track user gestures, which was supposed to be integrated on the NRF52 Xiao (we have since then switched to a separate IMU) and output different sounds depending on the gesture/orientation.
Our bare minimum goal was to be able to play out 12 distinct notes with 12 different gestures/hand positions. However, some of our other goals were to be able to record output audio, modify output sounds, and utilize another IMU to generate a guitar strum sound from a similar movement.
The Work:
Once we received the components that we ordered (minus the NRF52 Xiao )': ), we went straight to work!
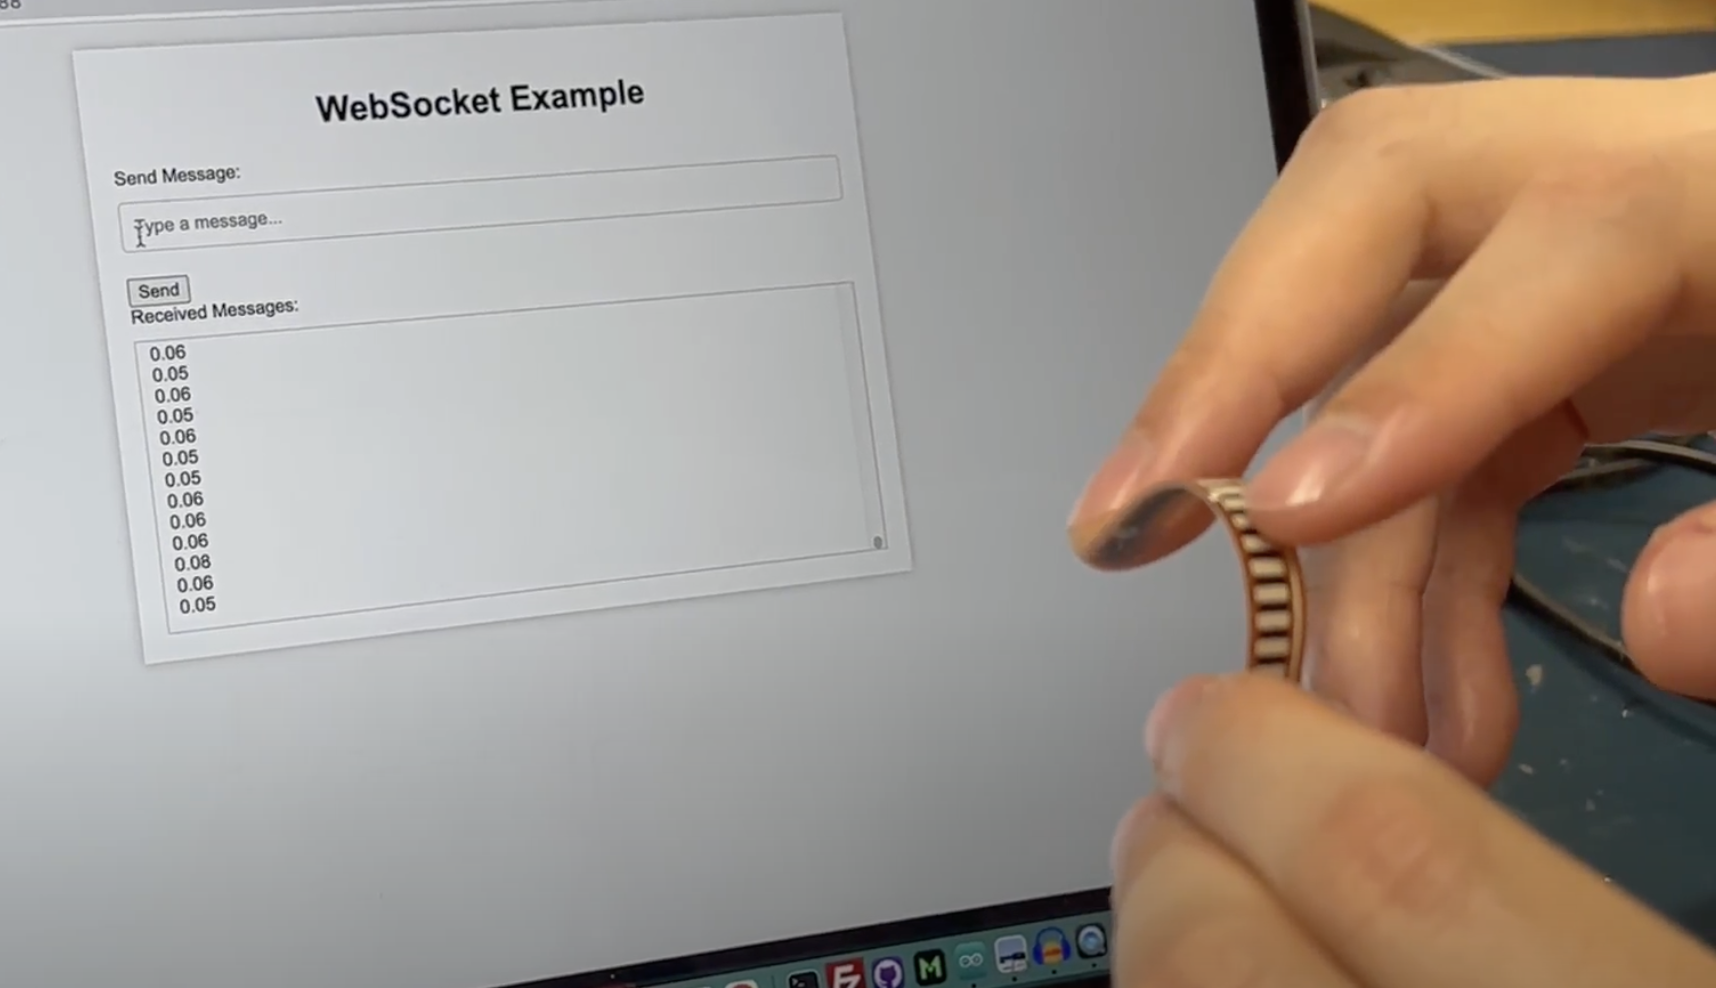
We started by soldering our flex sensors to wires, then connecting them to the ESP32 chip, using the ADC pins, and testing by utilizing the tornado web server example, which is written in Python, we were provided with in class. We implemented it exactly like it was shown, and found that the server and websocket worked, and that the ESP32 was able to connect to the websocket via wifi.
Our microcontroller code is written in C++ and uses the Arduino framework.
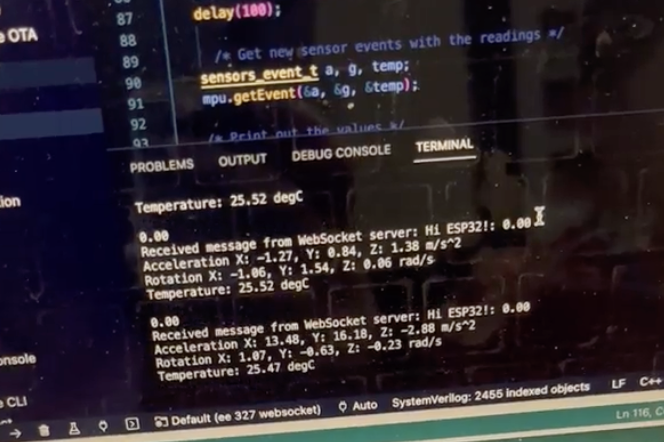
We began by testing each of our components, making sure they each respond to a change in external stimuli. We first tested our flex sensors:
Then, we tested our IMU:
Once we tested their functionality, we started with the programming.
We actually were able to make progress very quickly. We programmed the flex sensors and sound output logic in parallel, as one team member worked on each part for one week. With one day of work, we were already able to at least try playing a familiar nursery rhyme, using the principles of ~binary counting~ !
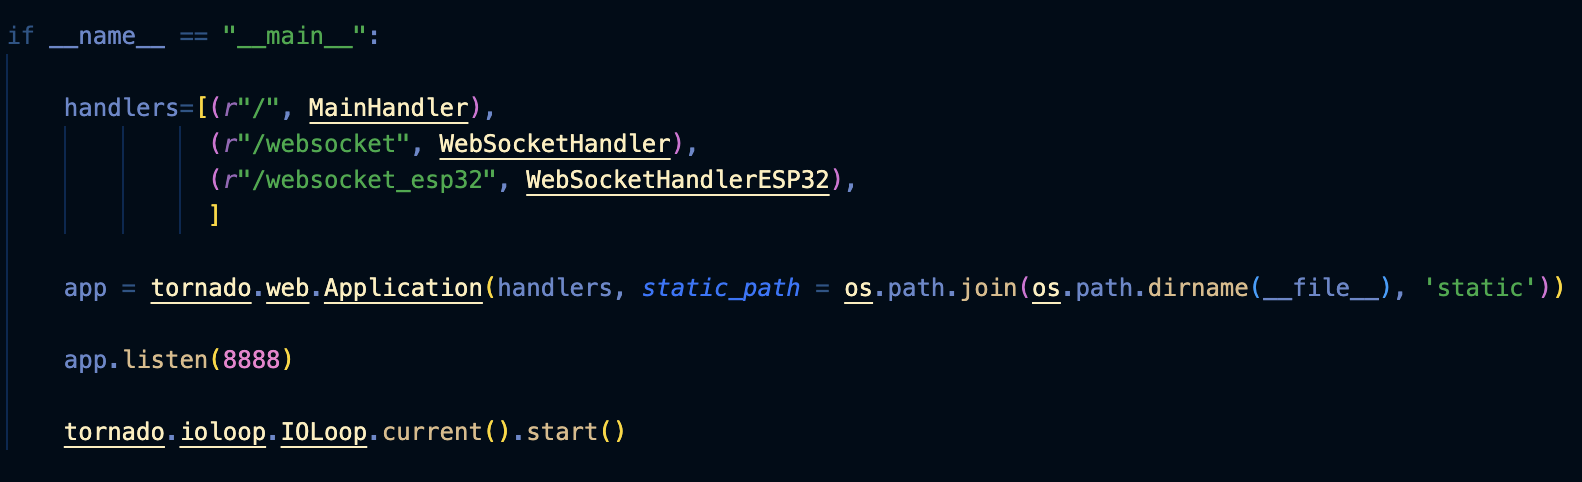
Additionally, we had to learn how to create and use the appropriate directories in the tornado server used to load and play out audio files. In our case, we had to create a static directory, and reference it properly.
In Python code:
In HTML code:

While we were able to make some cool progress, we had to debug a little bit, making sure that the sounds were able to interrupt themselves in the middle of playing. We also had to refine our thresholds/algorithm to prevent unintended sounds from being played.
A week later, we were able to fully utilize our flex sensors to generate different sounds.
Our flex sensor code for this iteration code is detailed below:
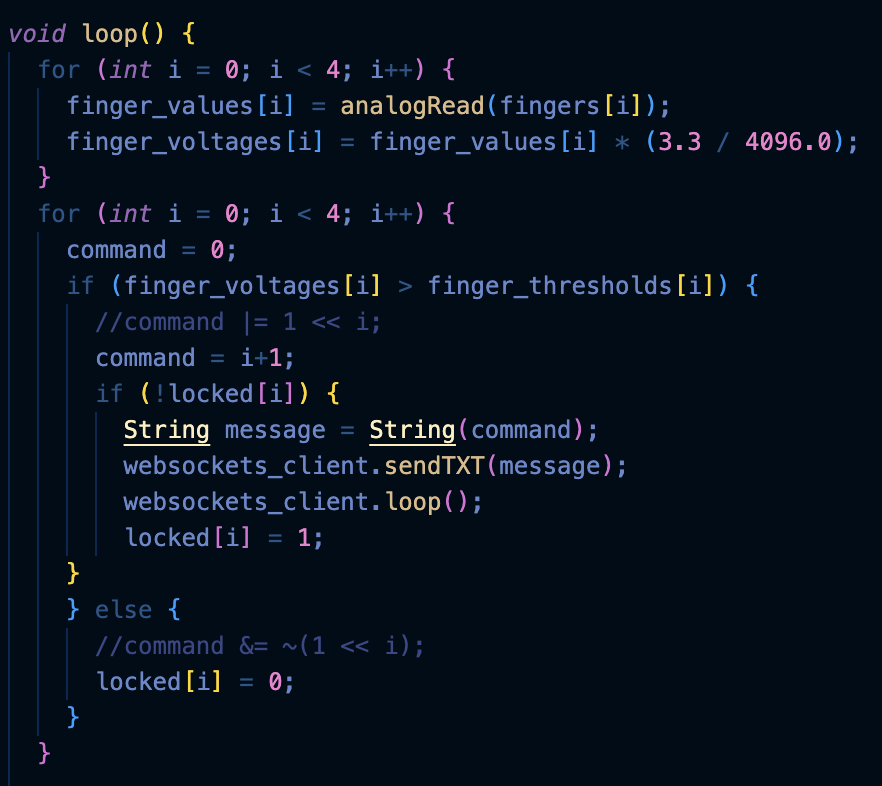
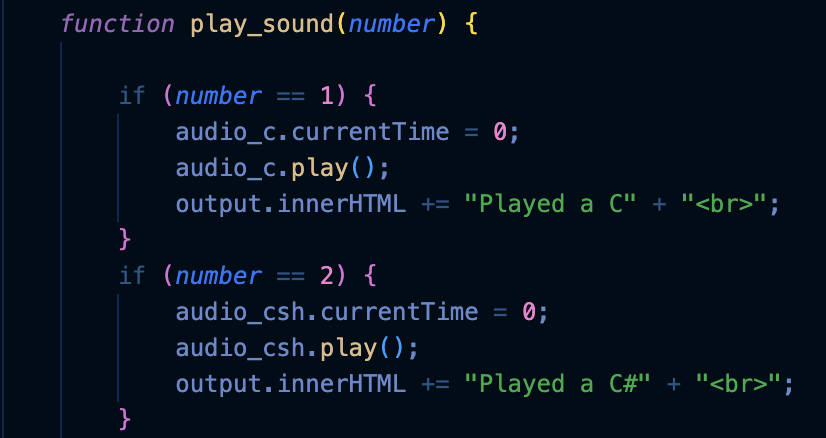
The ESP32 will send a byte value to the server as shown above, and the website will play out the note corresponding to that number.
Afterwards, we needed to refine our design by integrating the IMU. We began by utilizing acceleration to add to our functionality. In our case, a hand tap would switch which "mode" we would operate in.
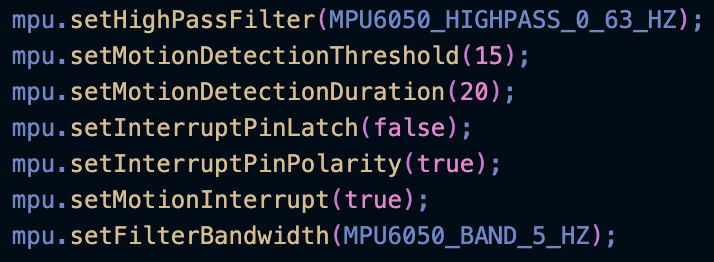
The IMU was a pretty fun part of the project, and we did get some of the functionality we wanted for it on the final project. Right now, the gloves have two modes that they switch between, and that switch is achieved by a hard smack on a table (or a clap if we weren't attached to the breadboard). This is implemented through an interrupt on the IMU (pictured below). In a separate branch on the repo we got orientation working through the example of J Rowberg, who wrote the I2Cdevlib library for the MPU6050. It is currently not integrated into the full system, but that is in the works.
On the software side, we started to modify the HTML and CSS code to get rid of clutter, and to partition the website into two: recording outputs and websocket messages.
The recording software took us some time to get right. We switched approaches a few times, but eventually landed on a solution.
We created a gainNode from the AudioContext connected each audio object to the AudioContext gainNode. From the gainNode, we had to...
Read more »
 Dan Julio
 Patrick
 Mark J Hughes
 Pansee Atta