Close
0%
0%

Diving Goggles

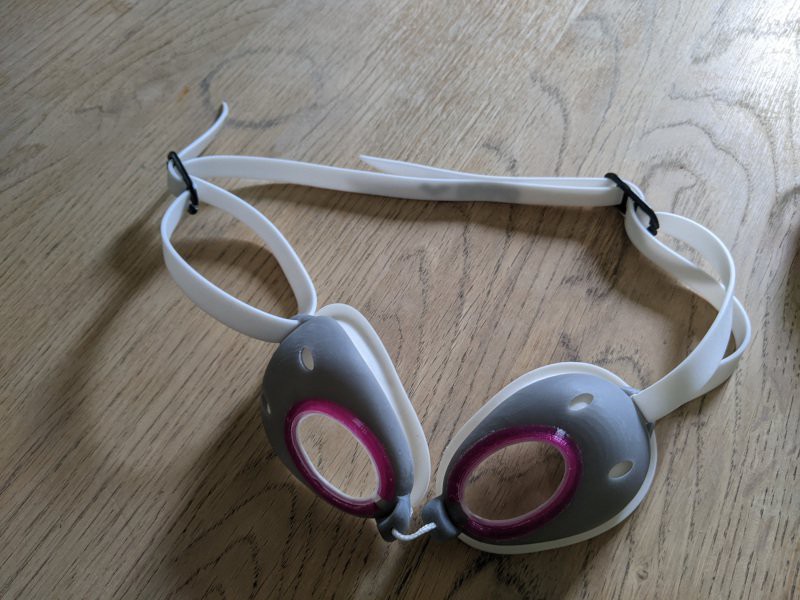
A practical way to freedive, without using a diving mask.

Similar projects worth following
These are freediving goggles, not swimming goggles. You could conceivably use these goggles to swim but if you want swimming goggles, I recommend the most cost-effective and practical solution: go buy a pair from your closest sports store.

The basics of how these goggles work is described in the USPTO patent 20170203159A1 and in the presentation of the indiegogo campaign for Hektometer goggles.

Because the patent is abandoned, and, Hektometer goggles have not been available for sale since 2020, this project documents how I made a pair for myself using hardware from my local FabLab, SoFAB. Even though the principles of operation are similar, the design is fairly different, to adapt to the production tools that were available to me and potentially other makers.

Full source code to generate the STLs, DXFs, and SVGs for this project can be found in our github page.

A lot of help was provided by Xavier, the SoFAB Fab Manager, as well as a couple of experienced makers: Guy who helped me make the overmold and provided invaluable advice on mold design and plastic injection, Pascal who shared his experience with plastic injection, and Laurent who criticized the design over the course of the 18 months it took me to bring this project from idea to prototype.

bottom-mold.stl

The bottom part of the 2-part resin mold for the skirt

Standard Tesselated Geometry - 12.69 MB - 07/24/2023 at 11:47

Download

top-mold.stl

The top part of the 2-part resin mold for the skirt

Standard Tesselated Geometry - 12.75 MB - 07/24/2023 at 11:47

Download

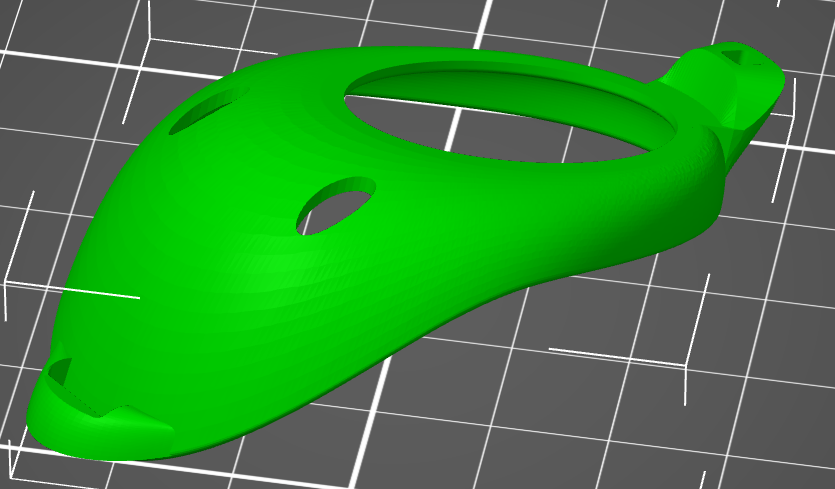
shell.stl

The outer resin shell of the goggles.

Standard Tesselated Geometry - 9.53 MB - 07/24/2023 at 11:47

Download

bottom-plate-v2.dxf

Bottom plate of the overmold

AutoCAD DXF - 57.61 kB - 07/24/2023 at 11:47

Download

back-clip.stl

Clip for the elastic band to attach the goggles.

Standard Tesselated Geometry - 454.87 kB - 07/24/2023 at 11:47

Download

View all 10 files

  • Groover modifications

    Mathieu Lacage10/02/2023 at 07:33 0 comments

    First, the good news:

    • This summer, Stephen recorded a 41+ meter dive with the goggles, confirming that the design is sound. He complained about aberrations in his visual field that I have not had time to investigate myself yet. This will be a topic for the v2.
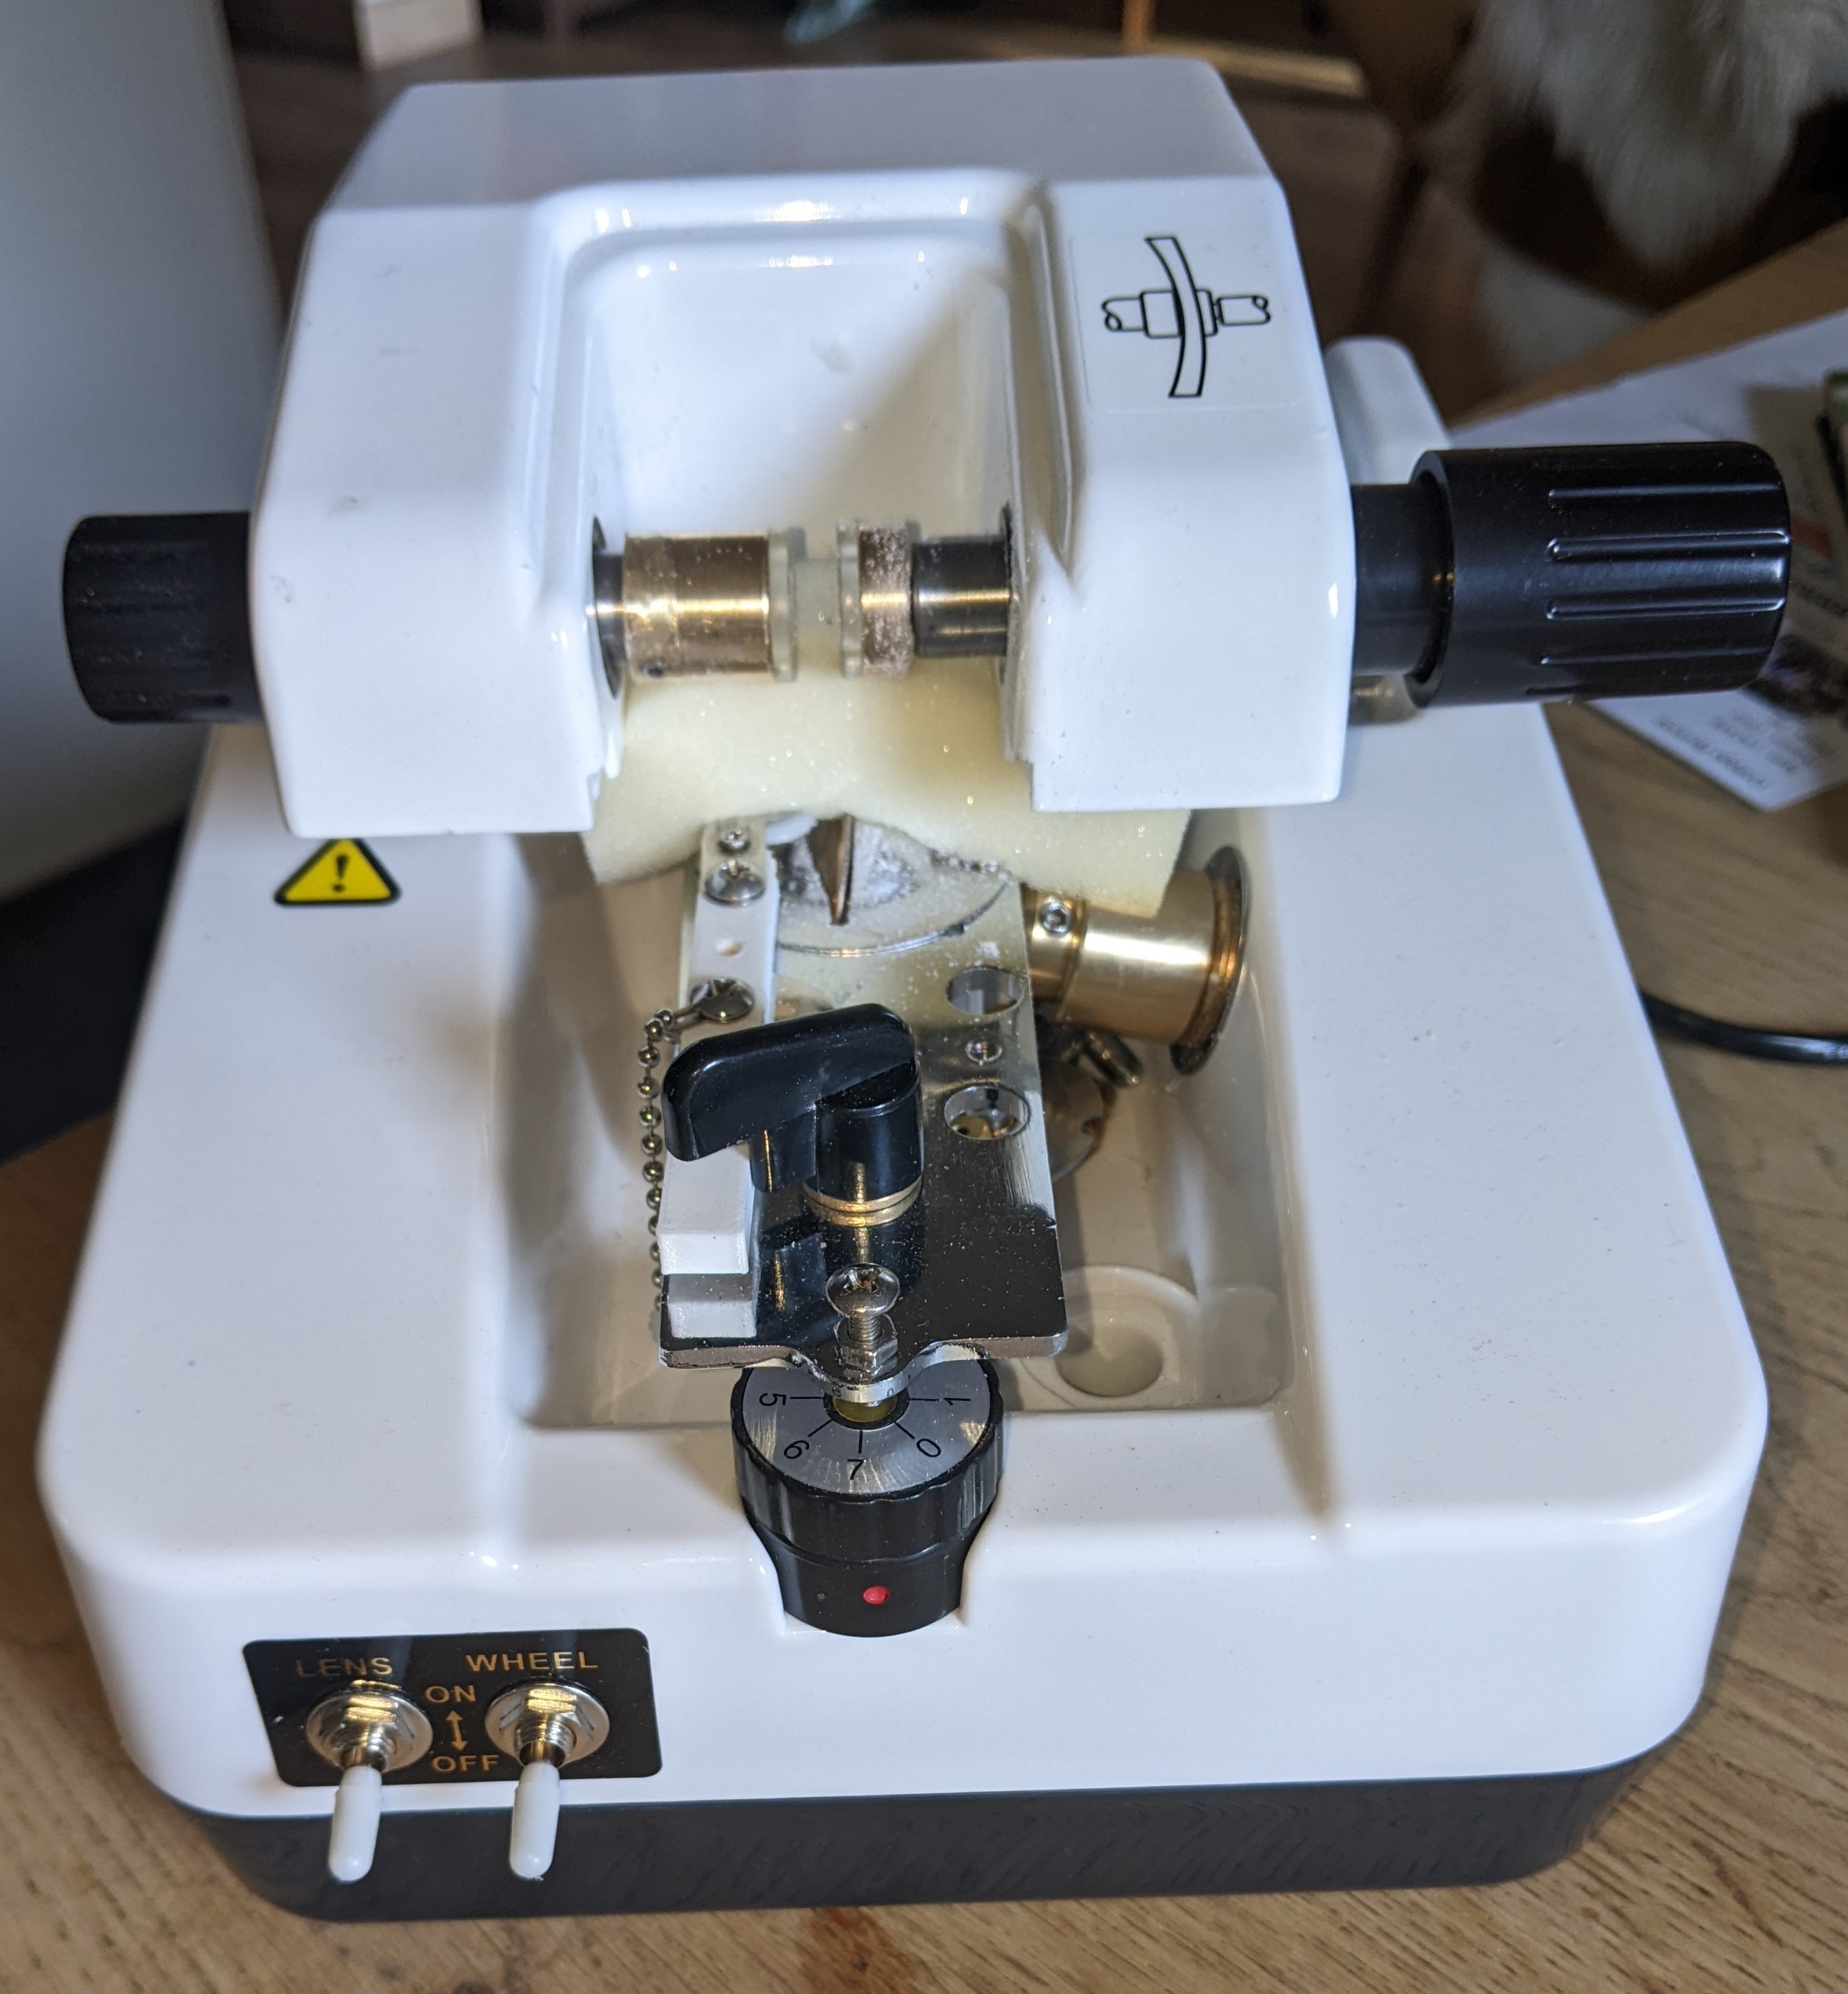
    • The chinese groover arrived last august

    Of course, since I did not have any spare lens to groove, I had to wait until the fablab re-opened in september, and, then, getting finished with my day job for the past 12 years became a priority until september 15th when, suddendly, plenty of spare time became the new normal.

    To make this story short, I cut a new lens, attempted to groove its side, and this is when I discovered that I missed a critical parameter when I bought this nice little machine: the minimal lens diameter that can be grooved is 28mm while the smallest diameter of my lenses is 21.8mm... Ouch.

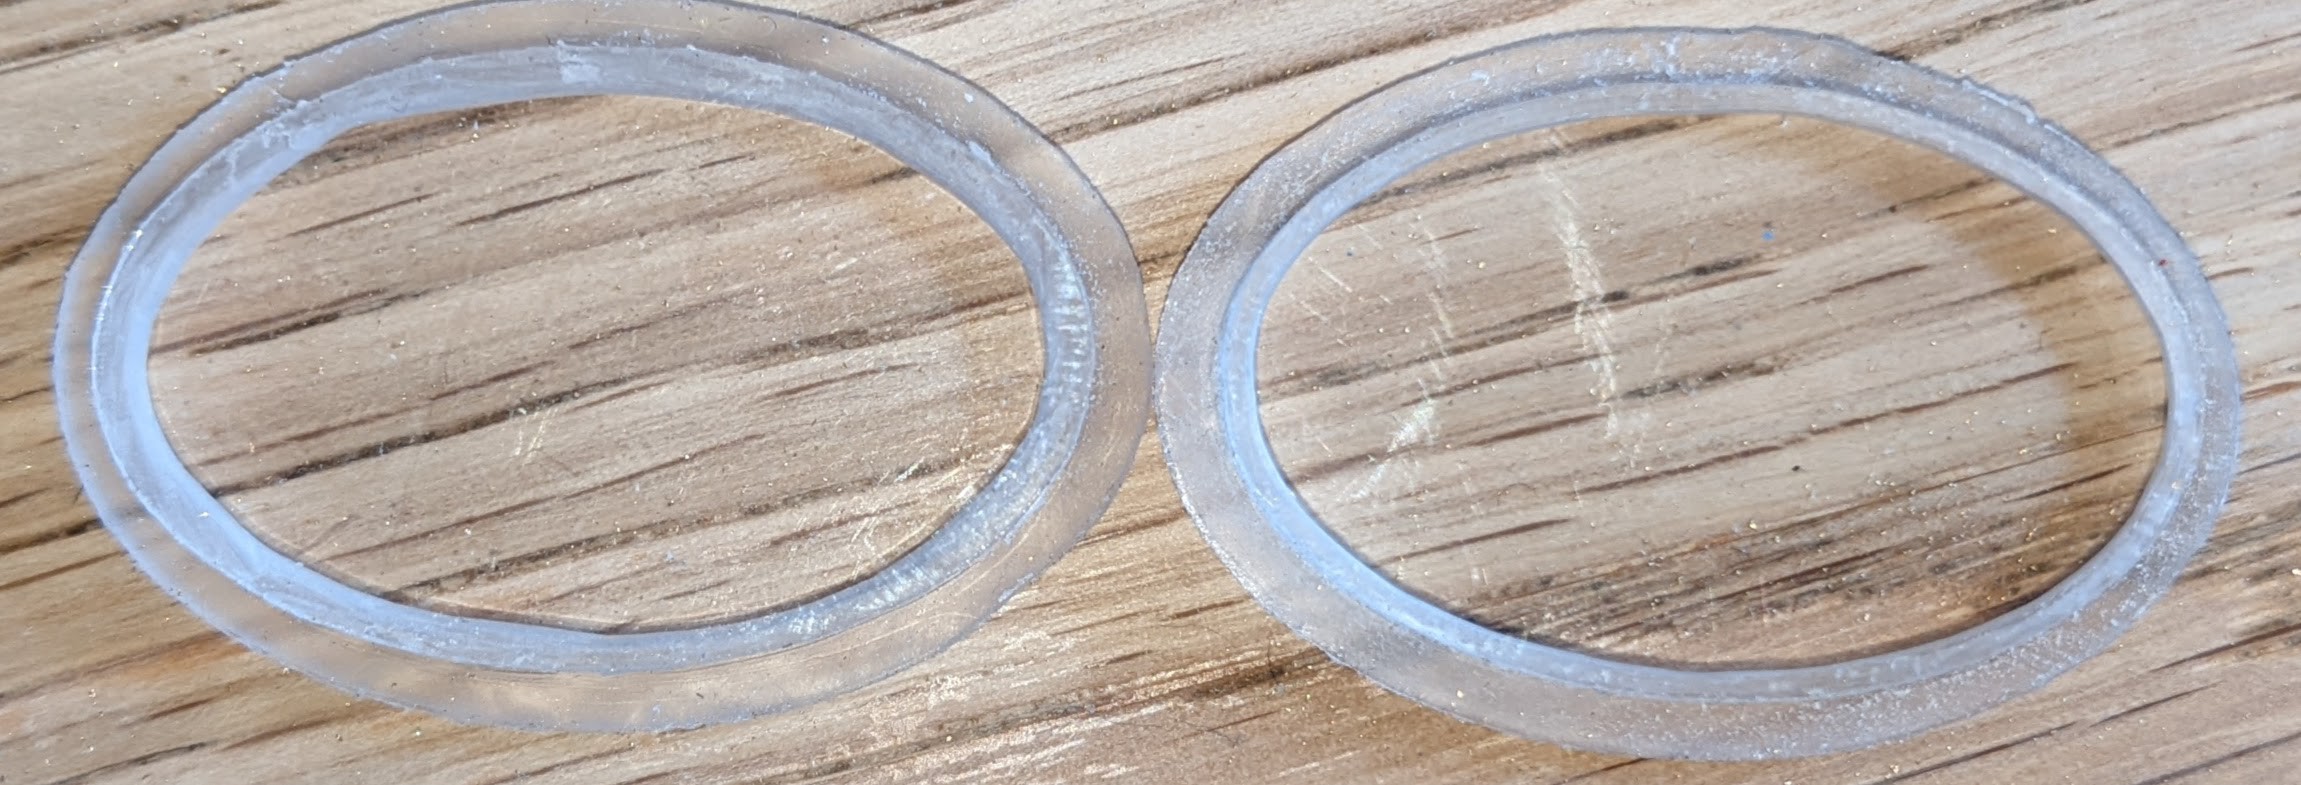
    Hopefully, none of this can't be fixed. I made a couple of cutting, grinding, and 3d-printing modifications to the groover until I was able to groove my first lens yesterday. The result ? On the left, a lens with the old DIY groover, on the right, the modified chinese groover: the one on the right has a noticeably more uniform depth. It looks terrific !

    The next step will focus on more modifications to the groover to make it possible to control the width of the groove in a repeatable way.


  • First 25m dive

    Mathieu Lacage07/30/2023 at 09:41 0 comments

    Thank you Stephen and Mehdi :)

  • 4th working pair

    Mathieu Lacage07/29/2023 at 13:36 0 comments

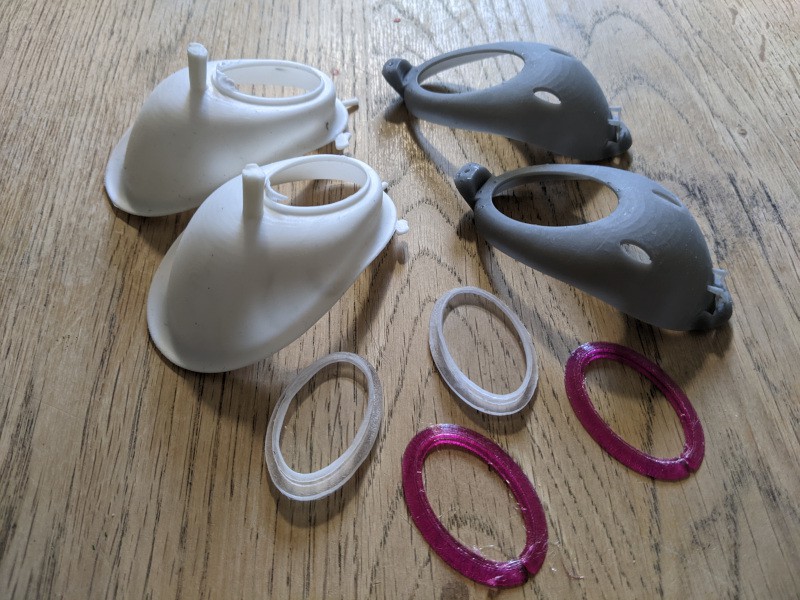
    Before the sofab closes for summer, I had time yesterday to print one last pair of alternate shell designs a inject a pair of skirts. Time for assembly !


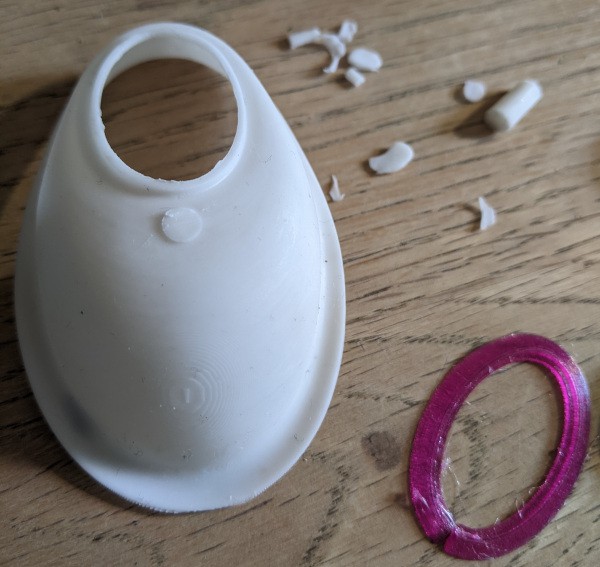
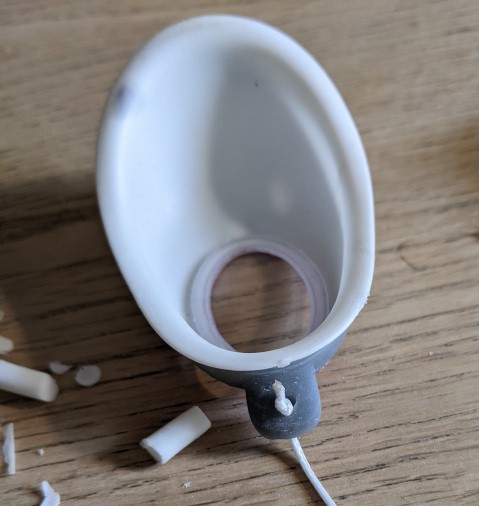
    First, there is some flash to remove:


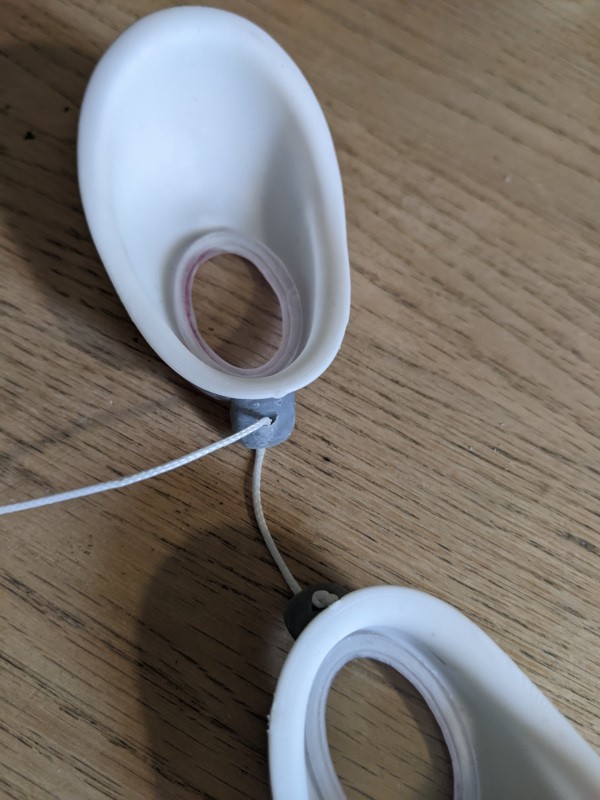
    A knot, and this gives us the first shell designed for assembly without an elastic band:

    We have a pair:

    It's missing only the elastic band:

    but the band is too short for the classic single-clip attachment so, I had to improvise a bit with two clips:

    And this is a winner down to 10m on the first attempt :)

    The lens clips need adjustment after the latest run of oversized lenses to improve fitting and water tightness. I will have to wait until sept 4th to be able to launch new prints at the lab.

  • Alternate approaches to Equalizing goggles

    Mathieu Lacage07/28/2023 at 06:21 0 comments

    Yesterday, someone pointed me to an alternate DIY approach to equalizing goggles. Beware: facebook link. This alternate design has a fairly long tradition.

    Yet, somehow, someone managed to get patent FR2979610A1 and patent US20040177432A1 for that. fXXXX up patents.

  • PC vs PMMA

    Mathieu Lacage07/26/2023 at 07:09 0 comments

    Historically, I have been using 5mm or 6mm PMMA sheets to make lenses for the goggles. One of the most challenging part of making these lenses is grooving the side so that the assembly clip can slip in place easily: position from the side of the lens, depth and, width are all important to ensure a water-tight fit for the lens on the skirt. So, historically, my DIY groover worked well for PMMA sheets but the resulting lenses were easy to scratch. Picture water, sand, waves, etc.

    Eventually, I ordered a set of different types of Polycarbonate sheets to make scratch-resistant lenses because, PC, is a lot tougher than PMMA...


    Sadly, what makes PC so much better from the point of view of being scratch-resistant, makes it so much less fun to groove with my DIY groover: the distance, and depth parameters keep going off. It takes at least 10 to 15 minutes to groove a single lens. I have no doubt I could learn to groove PC faster and more accurately but, really, now is the time to order a GM-150 groover from aliexpress. Hopefully, making new lenses will become less painful.

View all 5 project logs

  • 1
    What you need

    For the inner flexible skirt:

    • A resin 3D printer for the mold. I used a Formlab Form 3B+.
    • Resin for the mold. I used Grey Pro.
    • 12 5x20 threaded screws to hold together the aluminium overmold
    • 10mm thick aluminium plates for the overmold. I bought 2 10x100x500 plates from Blockenstock
    • Something to cut 10mm tick aluminium plates. I used the services from Decouplaser, a local metal shop
    • A drill press with drill bits (diameter 5) for aluminium.
    • Threading bits for aluminium. Kindly provided by a maker, Guy Mausy.
    • A plastic  injection machine. I used a Holipress from Holimaker
    • TPU Plastic pellets. I used SEBS 90A, the recommended flex pellets from the machine builder.

    For the outer rigid shell:

    For the lenses:

    • Transparent Acrylic/PMMA/Plexiglas sheets (5mm thick).
    • A router. I used an Origin. A manual router should work too but it might be challenging to make accurate guides for the lens shapes.
    • A groover. I made one with sheets of wood, screws, and a dremel.

    For the lens clip assembly:

    • A simple extrusion 3D printer. I used a Prusa MK3
    • PETG or PLA filament

     
    For assembly, you will need a silicon band to attach the left and right side of the goggles. I spent 4 EUR on swedish-style swim goggles to reuse the band that came with them. You should be able to find a similar-looking pair in any swim store online. Replacement bands can often be bought separately.

  • 2
    Get the models

    It is is easy to download all the STLs, SVGs, and DXFs from our guithub repository.

    It is also possible to rebuild these models from the source Python code after you install OpenSCAD and SolidPython:

    $ sudo dnf install -y openscad
    $ pip install SolidPython
    $ make release

    The resulting files will be located in the goggles-XXXX-XX-XX subdirectory.

  • 3
    Print The shell

    I have printed the shell successfully on the SoFAB's Formlab resin printer with both Draft and Grey Pro resin. The quality difference between the two resins is not visible but I picked Grey Pro to avoid potential problems with part durability.

    I used the Formlab's slicer (Preform) with its default "magic wand" tool for orientation and support.

View all 9 instructions

Enjoy this project?

Share

Discussions

Similar Projects

Does this project spark your interest?

Become a member to follow this project and never miss any updates