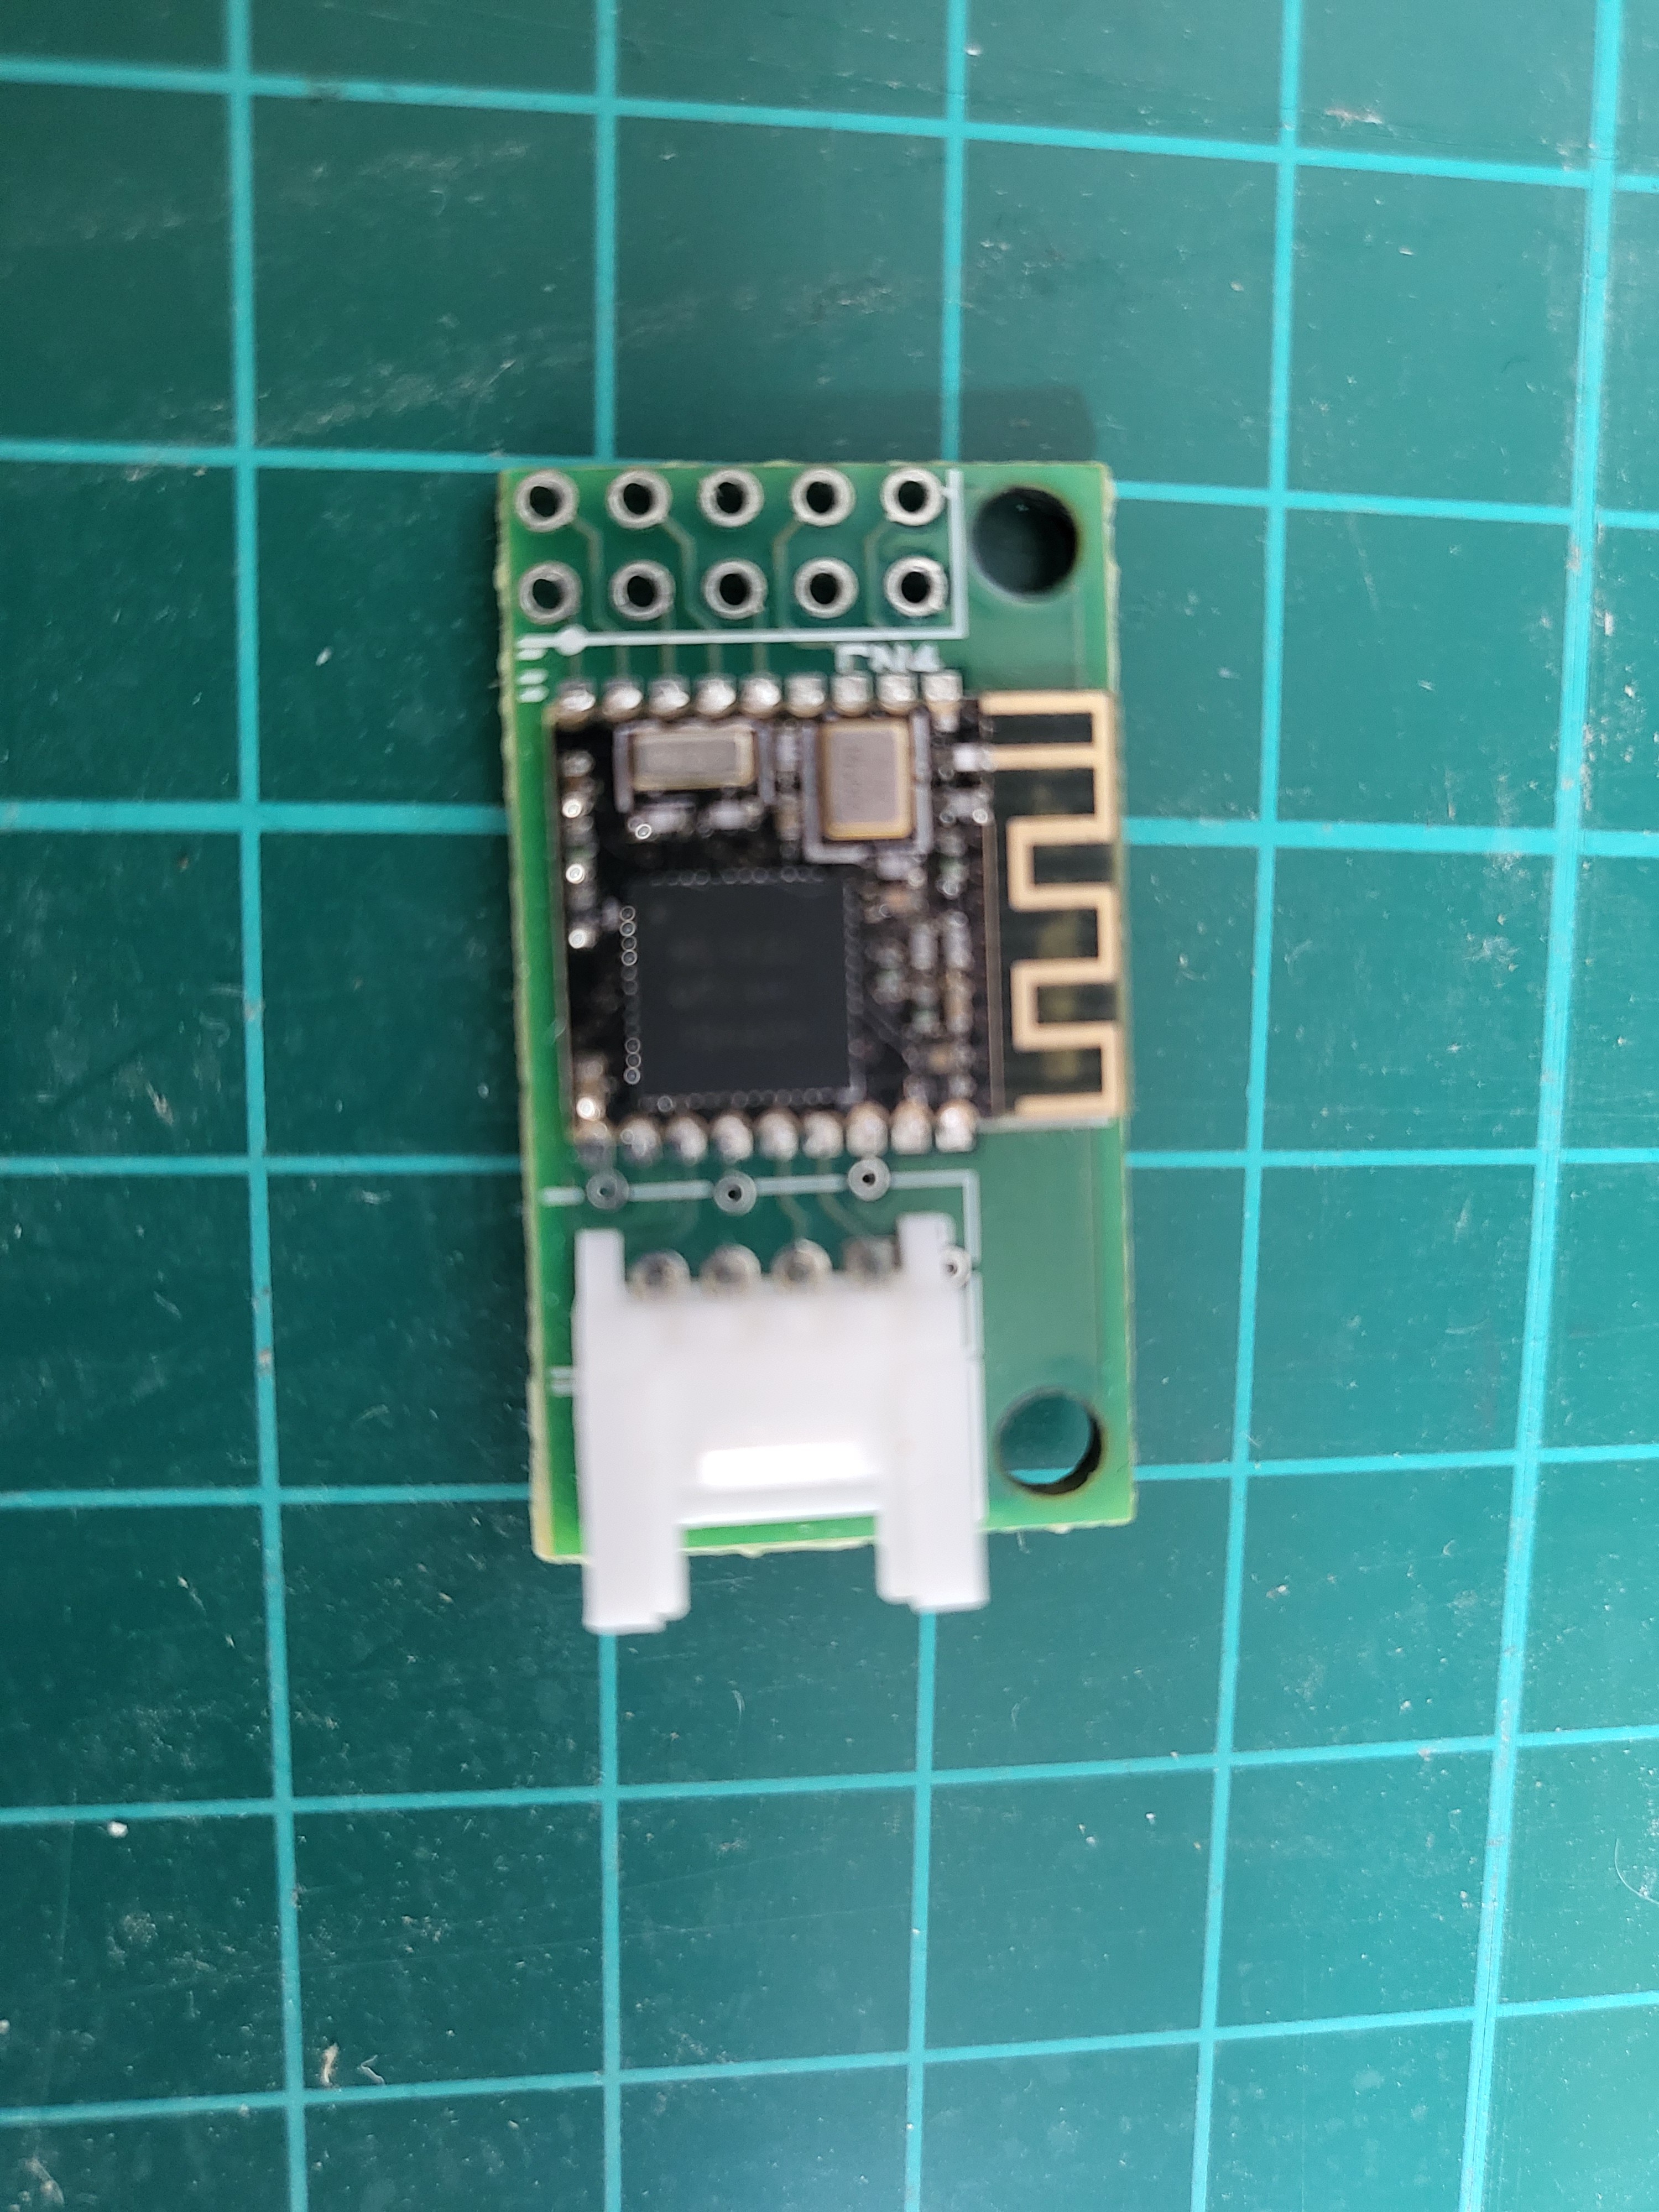
Close
0%
0%

Bluet$$th controlled light with high tension

High tension glass insulator plus nrf51 module equals a cool desk lamp

Similar projects worth following
116 views
0 followers
Starting from
$3.00
brianw has 15 orders / 1reviews
Ships from France
I acquired some high tension glass insulators (following work to remove high tension wires in the street). These ones are round with a central hole for the support, made from green transparent glass and pretty cool... I wanted to make them into lamps, and indeed with a central high power LED they make a nice table lamp.
However, I also had some Bluet$$th modules on breakout boards with nrf51 cores, and thought it would be cool to control the lamp this way. Picking up an existing nRF51 project, I added control of 3 LEDs directly driven from the GPIOs, and made them light up when the module sees a particular iBeacon major/minor. RSSI controls if 1, 2 or 3 LEDs light up, so roughly the closer the iBeacon, the brighter the lamp!
While developing the code, I also read about AirTags and the ble beacons they emit for the FindMe function. By detecting these, and making the LEDs flash when seeing these packets, the lamp can also tell you if someone is tracking you without your permission!

nRF51 bluet$$th:

- project uses old softdevice/SDK but its just too hard to update to latest SDK....

- don't call this a bluet$$th product, or the SIG will want 9600$ to 'qualify' it....

- lamp base - from an ikea 'glass dome' where the glass got broken, but I kept the nice wooden base...

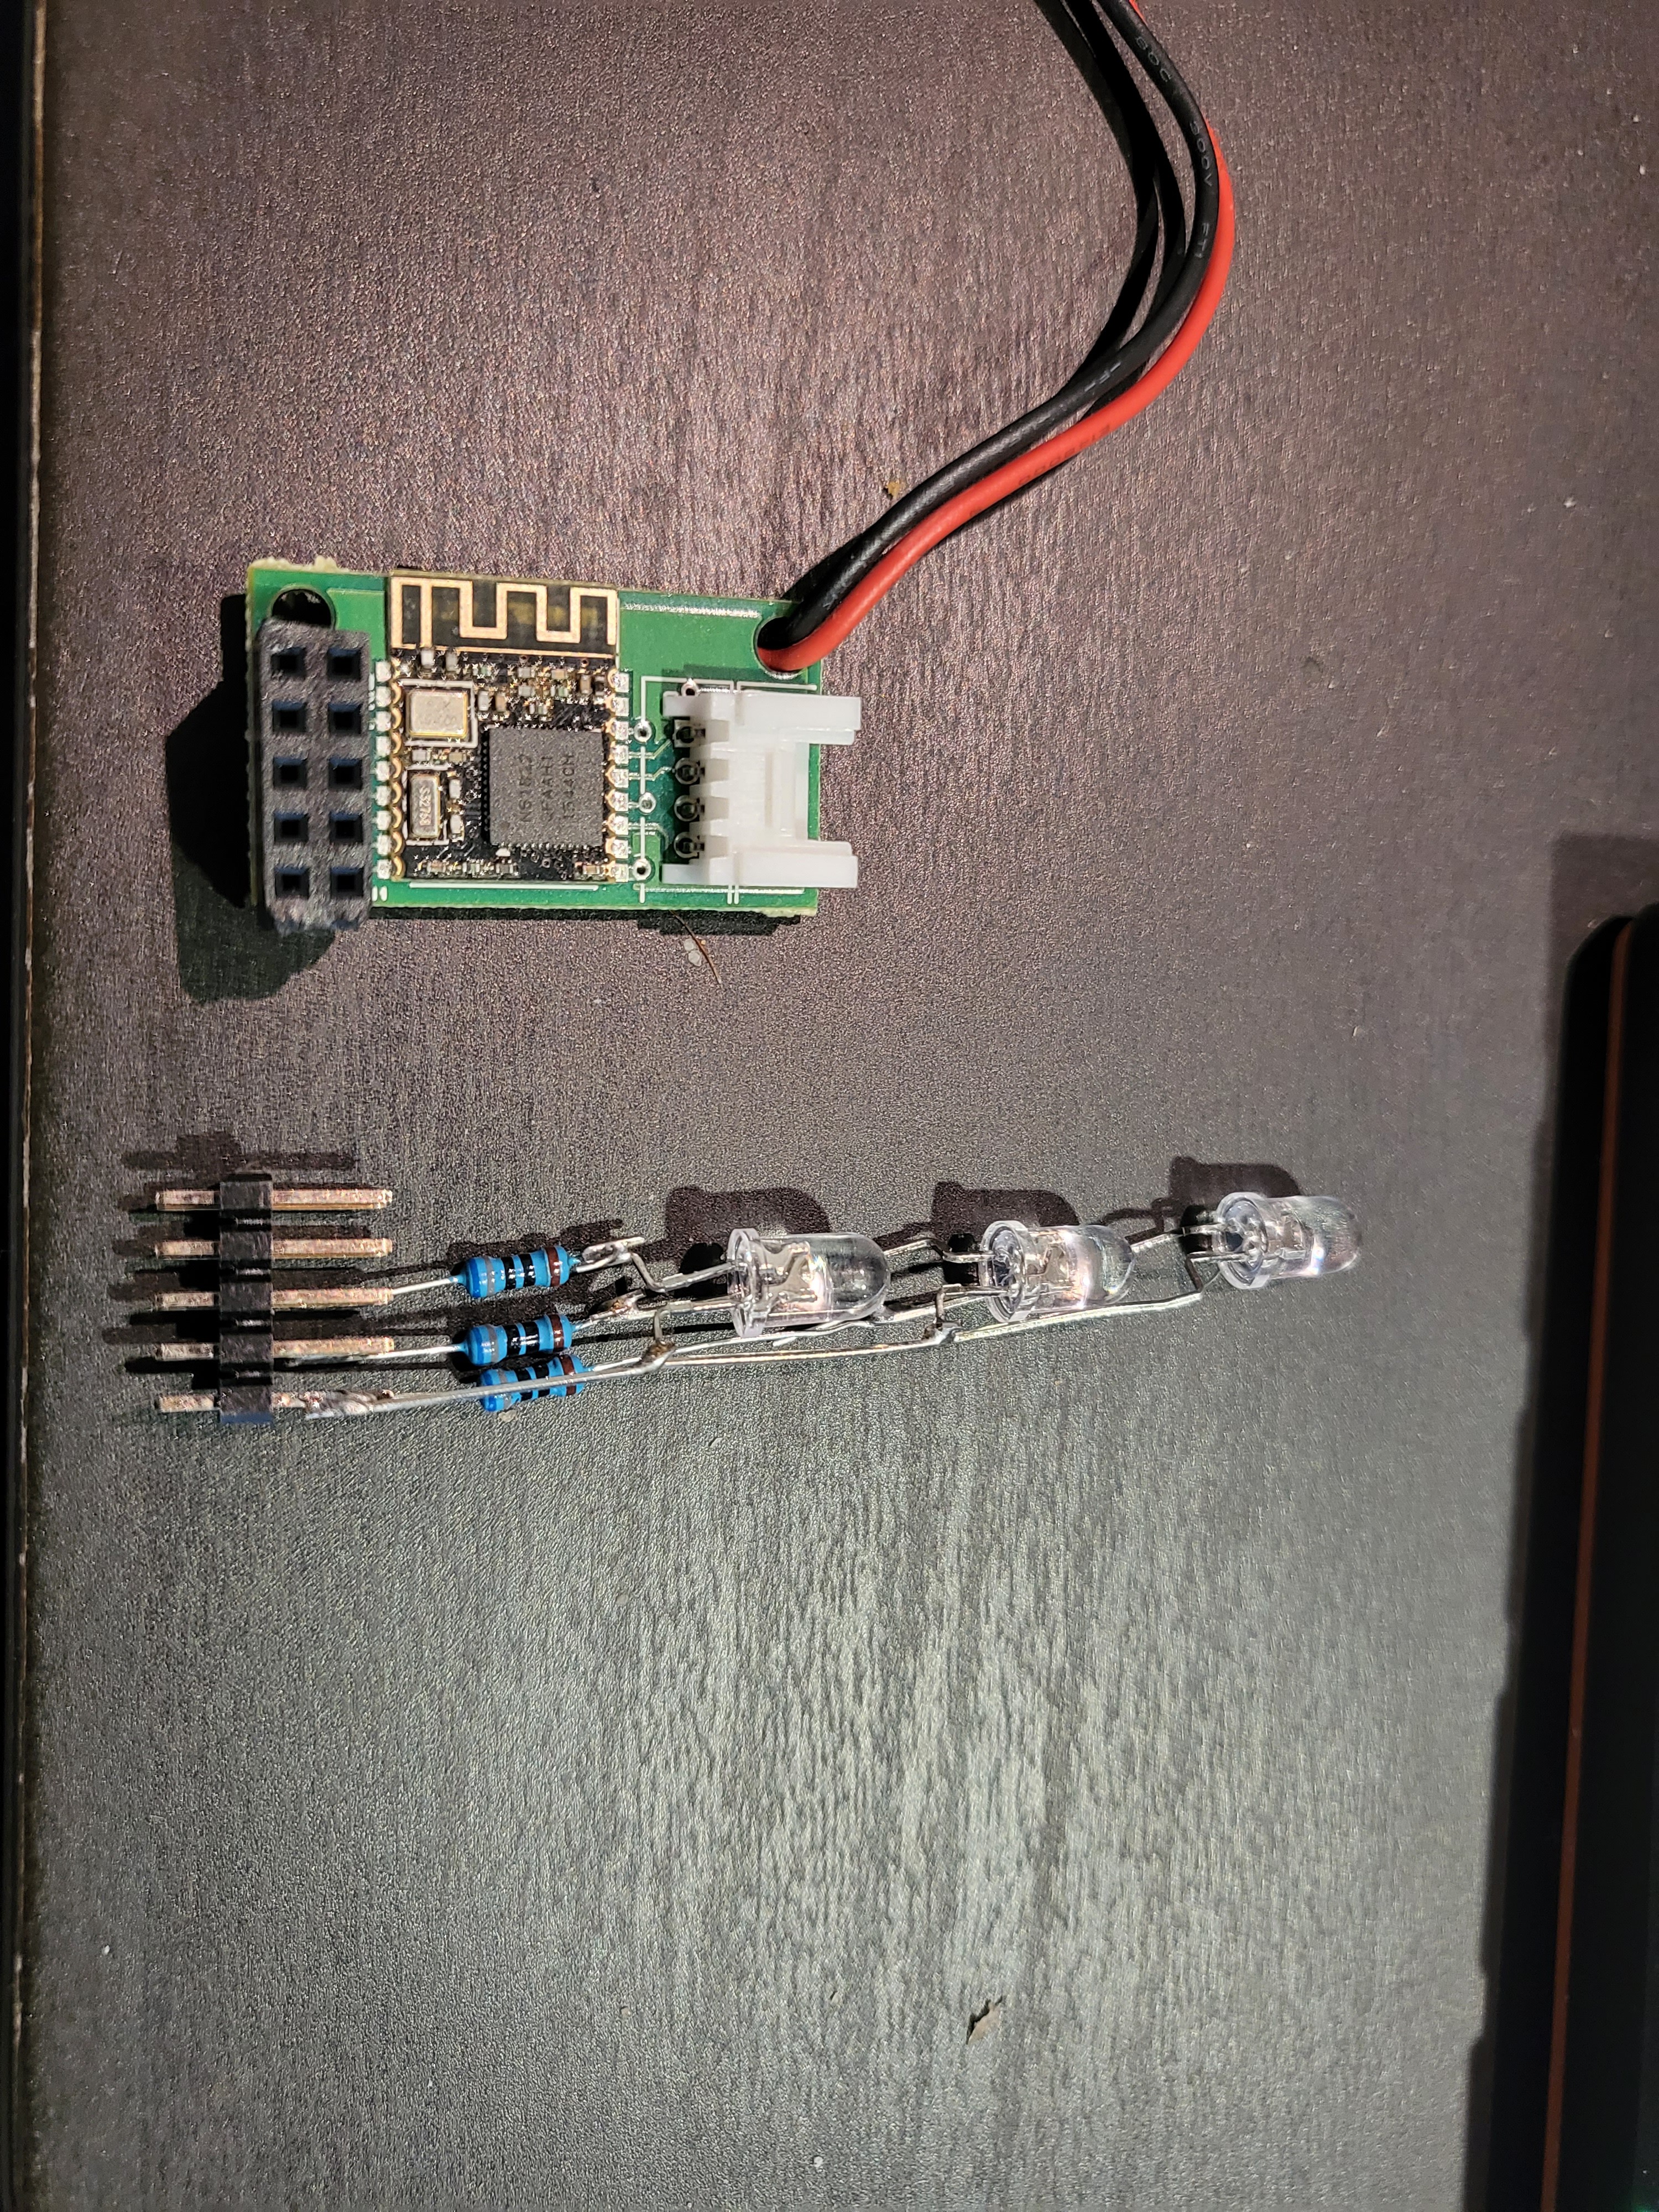
- direct driving LEDs from GPIOs is ok for 1 or 2, but can exceed the max GPIO current (15mA total). Resistor calculation to limit the current to 5mA//LED...

- nrf51 also allow GPIO to be configured as 'high drive' 

- would be better to sink the current on the GPIO (drive low to light up) rather than source it as slightly higher capacity for sinking - however my breakout has GND on the connector but not 3.3V -> wiring would be more untidy...

  • 3 × LED Fiber Optics / Emitters
  • 3 × 680ohm resistor
  • 1 × nrf51 breakout board from Tindie or whereever
  • 1 × USB->3.3V supply USB A captive cable DC-DC supply to provide 3.3V
  • 1 × Wooden round base From IKEA

View all 7 components

  • 1
    build and flash firmware to nRF51

    clone the project from https://github.com/brianwyld/ble_nrf51_light

    install tools (GNU gcc, make, jlink or other SWD probe, nrfjprobe)

    build hex files

    flash to the nrf51 breakout board. 

    If you are not using this one from Tindie, you will need to adapt the pin allocations for the UART and the LEDs

    To flash, I used a Jlink SWD probe and a 5-way pushpin "clothes peg'' to contact the 5 pads on the board.

  • 2
    build the LED 'tower'

    Bend the LED leads to allow to solder them one above the next. Shorter led (-ve) are soldered together to go to GND, longer led (+ve) are each solderd to a 680ohm resistor to create the 3 led control signals.

    solder the gnd and 3 resistor legs to a 2x5 header to make it easy to plug into the breakout board, or directly to the board if you are confident! (I wasn't)

    plug the led tower into the breakout board

  • 3
    test operation

    Connect the UART grove connector tx/rx to a UART->USB  dongle. I like to use the FTDI dongles with a built in cable that include a 3.3V supply as then this can also power the board (just make sure its a 3.3V one not the 5V one...)

    Plug in the LEDs to the 2x5 header. (or the correct pins if you use a different nRF51 board)

    Power up the breakout board (either by soldering on GND/3.3V wires and powering from 3.3V, or by a UART+power grove connection)

    The LEDs should flash for 2s, and then go off. Logs should be visible on the UART output (115200 baud).

    On the UART, type 'AT<CR>' and get a '+OK' return. AT+INFO<cr> to see the name of the device being advertised by BLE.

    Using a BLE serial terminal app, find and connect to the advertised BLE 'Nordic UART service' : you can then send the same AT commands as the UART cable.

    The Nordic Semi 'nrfConnect' app is also very useful to check the device is emitting adverts for connection, checking your iBeacon etc...

View all 6 instructions

Enjoy this project?

Share

Discussions

Similar Projects

Does this project spark your interest?

Become a member to follow this project and never miss any updates